Baking in Security with .NET CLI Templates

Let’s face it: developing good security is hard, unglamorous, and time-intensive. People tend to think about it as an afterthought instead of a priority. What if there were a way to make all your new projects more secure out of the box, and also make your company’s development processes easier and more repeatable in the process? Good news everyone, I have just the thing: .NET templates. You are going to love how much time and energy this saves you and your team.
Before we get started, you’ll need a couple of things.
- .NET 3.1 SDK
- Visual Studio Code
- Nuget Package Manager
- An Okta Developer Account (free forever, to handle your OAuth needs)
Note: In May 2025, the Okta Integrator Free Plan replaced Okta Developer Edition Accounts, and the Okta CLI was deprecated.
We preserved this post for reference, but the instructions no longer work exactly as written. Replace the Okta CLI commands by manually configuring Okta following the instructions in our Developer Documentation.
Project Setup
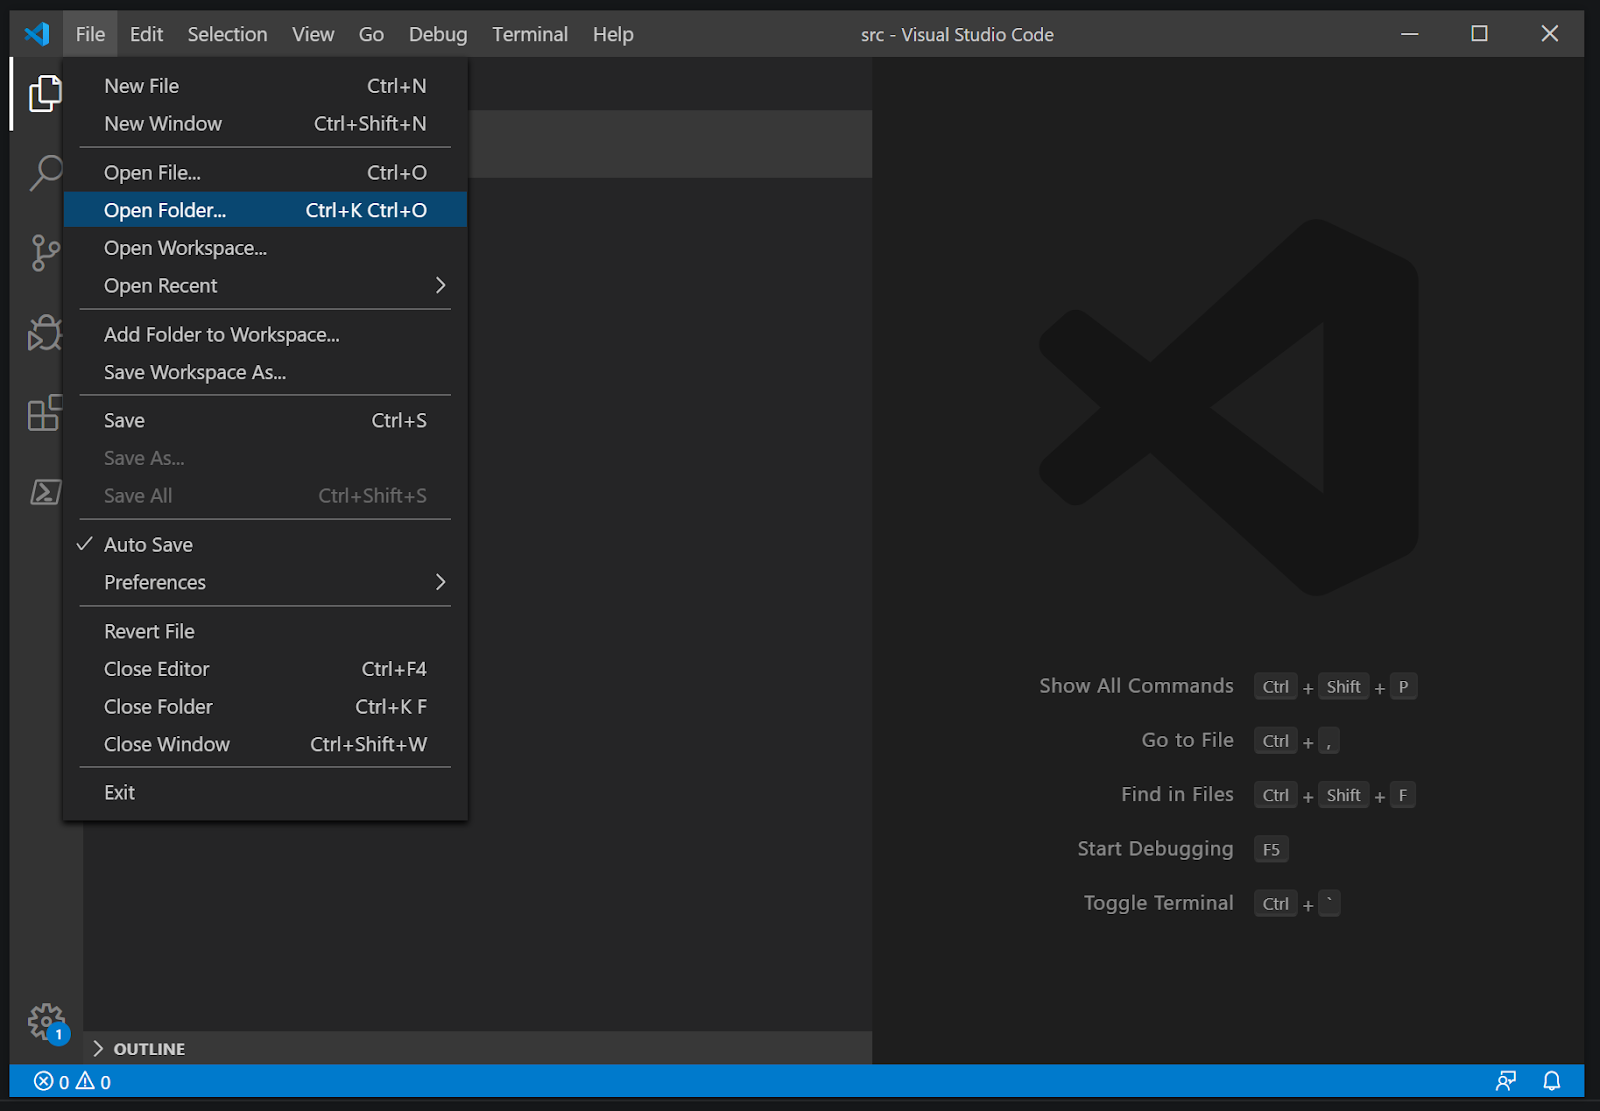
With that in place, open up Visual Studio Code and click on File in the toolbar. Then click Open Folder, and then select somewhere on your computer you want to do your work.
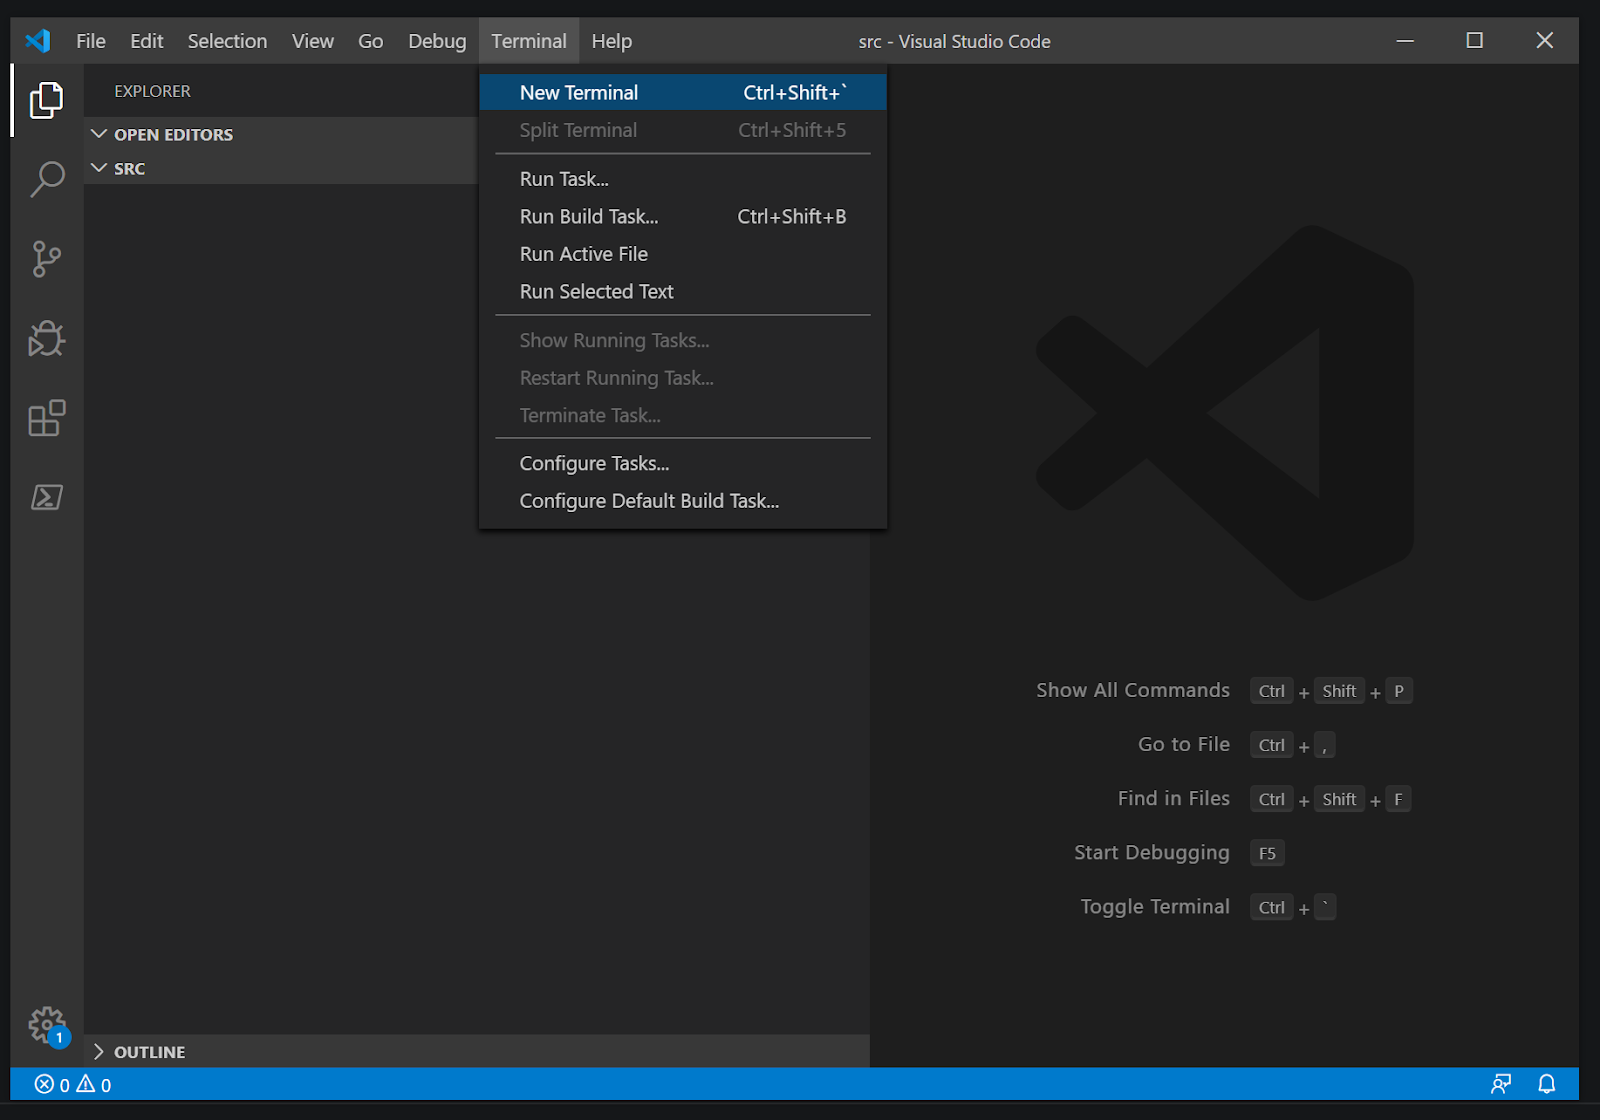
One of the things I love about Visual Studio Code is that it has an integrated terminal that we can use to interact with the .NET CLI or anything else we might do from the command. To open it, press CTRL+Shift+` (the backtick button—it’s above the tab on most keyboards) or go to the toolbar and click Terminal, then New Terminal.
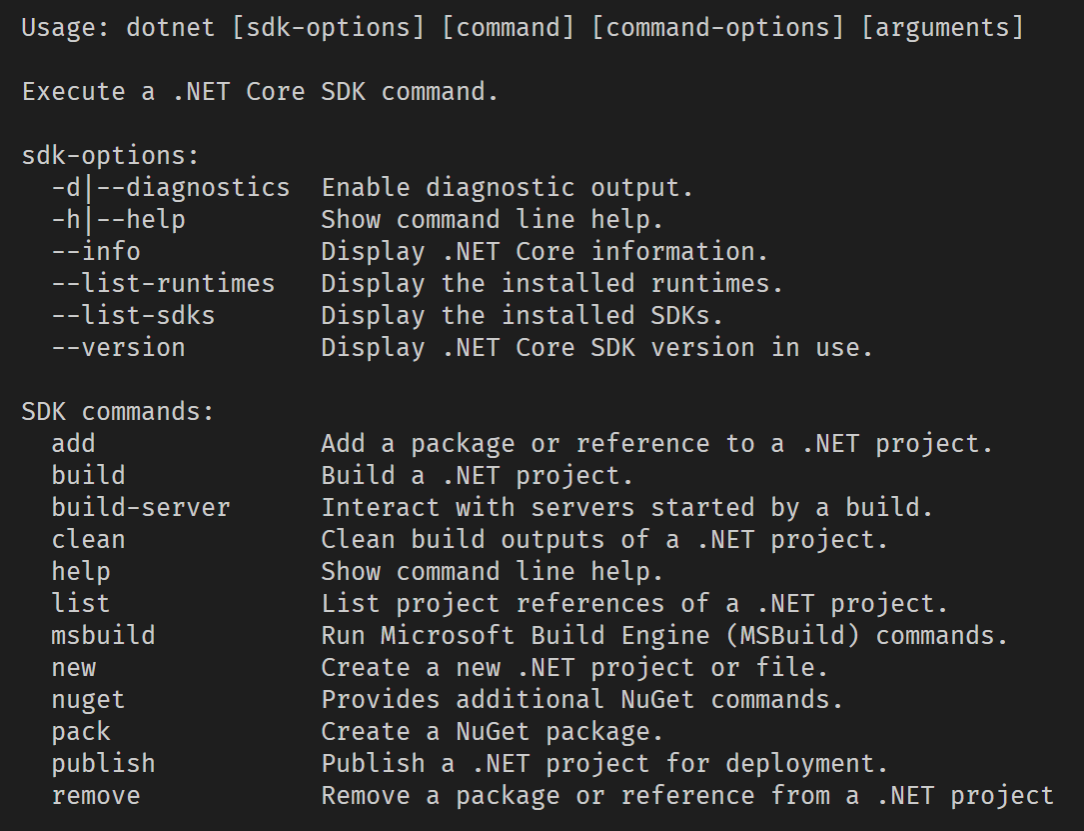
If you want to see all the things you can do with the .NET CLI, type in
dotnet --help
Now we need to create a template to use in later projects. To start, let’s use an existing template. Since we’re going to make a web application, let’s use the Model-View-Controller template. You can get a new MVC app with Razor by using this command
dotnet new mvc -n "ChangeMe"
cd ChangeMe
We’re going to use the name ChangeMe for our project because ultimately we want to change that with our template. This will make more sense later.
The cd command changes the directory in the terminal to the newly created folder.
Visual Studio may ask you if you’d like to add the C# extension. Go ahead and get that if you don’t already have it. We won’t need it much for this tutorial, but it’s nice to have if you are going to be working with C# in VS Code.
Adding Security
Fortunately, we live in a world where we do not have to come up with our own security standards and SDKs. It used to be when a company wanted to manage security for their applications, they had to come up with the entire stack themselves. Products like Okta have made that process easy, with the entire company dedicated exclusively to your security. If you have not done so yet, sign up for a forever-free developer account and activate your unique Okta org to continue below.
For this example project, we’ll be leveraging the Okta .NET SDK to make setup simple and robust.
Install the Okta.AspNetCore package using the dotnet CLI and a wildcard for version. Using the asterisk will default to the latest version available for this package. While this may break builds if any contracts change, it helps you to always be ready for any security patches when you build and deploy.
dotnet add package Okta.AspNetCore -v *
Edit the appsettings.json file to include the following lines
"Okta": {
    "OktaDomain": "OktaDomainSymbol",
    "ClientId": "ClientIdSymbol",
    "ClientSecret": "ClientSecretSymbol"
}
Our template is going to use the values OktaDomainSymbol, ClientIdSymbol, and ClientSecretSymbol so that when a developer is using our template, they can enter those values as needed for their project.
Next, let’s set up the services for our web application to include our Okta setup.
public void ConfigureServices(IServiceCollection services)
{
    var oktaMvcOptions = new OktaMvcOptions()
    {
        OktaDomain = Configuration["Okta:OktaDomain"],
        ClientId = Configuration["Okta:ClientId"],
        ClientSecret = Configuration["Okta:ClientSecret"],
        Scope = new List<string> { "openid", "profile", "email" },
    };

    services.AddAuthentication(options =>
    {
        options.DefaultAuthenticateScheme = CookieAuthenticationDefaults.AuthenticationScheme;
        options.DefaultSignInScheme = CookieAuthenticationDefaults.AuthenticationScheme;
        options.DefaultChallengeScheme = OktaDefaults.MvcAuthenticationScheme;
    })
    .AddCookie()
    .AddOktaMvc(oktaMvcOptions);

    services.AddControllersWithViews();
}
Lastly, you’ll need to add authorization and authentication middleware to the ASP.NET Core pipeline. Like so:
public void Configure(IApplicationBuilder app, IWebHostEnvironment env)
{
    if (env.IsDevelopment())
    {
        app.UseDeveloperExceptionPage();
    }
    else
    {
        app.UseExceptionHandler("/Home/Error");
        // The default HSTS value is 30 days. You may want to change this for production scenarios, see https://aka.ms/aspnetcore-hsts.
        app.UseHsts();
    }

    app.UseHttpsRedirection();
    app.UseStaticFiles();

    app.UseRouting();

    //Required for authentication
    app.UseAuthentication();

    app.UseAuthorization();

    app.UseEndpoints(endpoints =>
    {
    endpoints.MapControllerRoute(
    name: "default",
    pattern: "{controller=Home}/{action=Index}/{id?}");
    });
}
The important lines for the secure controller to work properly are the following:
app.UseAuthentication();
app.UseAuthorization();
Add a Secure Controller
Now that we have the basic setup, let’s add a default secure controller that is already set up for authentication.
Let’s call our controller SecureController.cs.
using ChangeMe.Models;
using Microsoft.AspNetCore.Authorization;
using Microsoft.AspNetCore.Mvc;
using Microsoft.Extensions.Logging;
using System.Diagnostics;

namespace ChangeMe.Controllers
{
    [Authorize]
    public class SecureController : Controller
    {
        private readonly ILogger<SecureController> _logger;

        public SecureController(ILogger<SecureController> logger)
        {
            _logger = logger;
        }

        public IActionResult Index()
        {
            return View();
        }

        [ResponseCache(Duration = 0, Location = ResponseCacheLocation.None, NoStore = true)]
        public IActionResult Error()
        {
            return View(new ErrorViewModel { RequestId = Activity.Current?.Id ?? HttpContext.TraceIdentifier });
        }
    }
}
Finally, let’s add a view so that we can verify our secure page is working correctly.
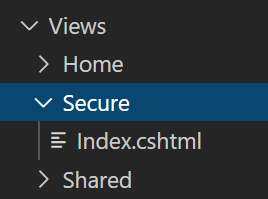
index.cshtml
@{
    ViewData["Title"] = "Home Page";
}

<div class="text-center">
<h1 class="display-4">A Secured Page</h1>
</div>
Converting to template
At this point, we could continue this process and add any branding, filters, methods, utility packages, etc. that we would like to be in all our projects. For the sake of brevity, we’ll be just sticking to this much, but you’ll be able to see how you could carry this forward into anything you want to do.
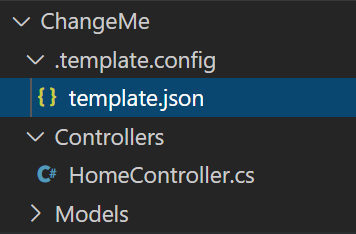
Now we need to do something that might feel kind of foreign for most Windows users but will not seem odd for Linux folk. We’re going to add a new folder called .template.config and inside that folder, we will have a file called template.json like this:
{
    "$schema": "http://json.schemastore.org/template",
    "author": "Chase Q. Aucoin",
    "classifications": ["Custom", "WebApp", "MVC"],
    "identity": "MyOrg.SecureWeb",
    "name": "MyOrgs Secure Website",
    "shortName": "secure-web",
    "sourceName": "ChangeMe",
}
Let’s go over what each of these does.
- $schema
- The JSON schema type the system uses this to help parse the JSON file. (Side note: to see all the available attributes, you can go to the URL.)
- author
- The name of the person who created the template. Likely, it will be you, the reader.
- classifications
- The tags that you see when you get a list of all the templates available using “dotnet new –list”.
- name
- This is the full name you want to be visible in the template list.
- shortname
- This name is what you will call the template. In our example, we’ll use dotnet new. secure-web
- sourceName
- This is the symbol that will be used throughout the files to be replaced with the name of the project when calling dotnet new.
Now we need to tell the templating system how to change our symbols. We can do that by adding the following lines to our JSON object after “sourceName”
"symbols": {
  "OktaDomain" : {
    "type": "parameter",
    "defaultValue": "https://MyOrg.okta.com",
    "replaces":"OktaDomainSymbol",
    "isRequired": true
  },
  "ClientId" : {
    "type": "parameter",
    "replaces":"ClientIdSymbol",
    "isRequired": true
  },
  "ClientSecret" : {
    "type": "parameter",
    "replaces":"ClientSecretSymbol",
    "isRequired": true
  }
}
Note that for each option we have a “replaces” value that matches our symbols from earlier in the appsettings.json file.
Packaging the Template
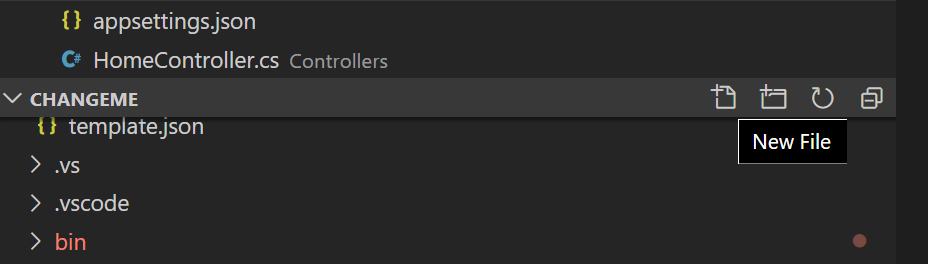
To package the template for delivering to your team, you can use NuGet Package Manager. To start, we need to define what the contents of our package will be. We do this by creating a blank .nuspec file that will have all the descriptions and mappings for our template. For this demonstration, I’m going to use MyOrg.SecureWeb.nuspec as the file name. We can do that in VS Code by pressing the add file button.
<package>
  <metadata>
    <id>MyOrg.SecureWeb</id>
    <version>1.0</version>
    <authors>Chase Q Aucoin</authors>
    <description>A Secure Web App for MyOrg</description>
    <packageTypes>
      <packageType name="Template" />
    </packageTypes>
  </metadata>
<files>
  <file src="**" exclude= "bin\**;obj\**;.vs\**;.vscode\**;.git\**;*.nuspec" target="content/" />
  </files>
</package>
Set ID to something meaningful for your organization. Also, it is important that the packageType be set to Template since this will specifically be a template package.
You’ll notice in the file section we are using the file matching pattern syntax to exclude a few directories. This will make sure we only capture the folders we want in our template—nothing more.
With our new spec in place, we can run the following command:
nuget pack MyOrg.SecureWeb.nuspec
This will create a file called MyOrg.SecureWeb.1.0.0.nupkg. This will let us install our template and push into any public or private NuGet repo.
Installing and Using the Template
We can install the template using the install flag like this:
dotnet new -i MyOrg.SecureWeb.1.0.0.nupkg
Then you should see your template in the template list.

With the template installed, you can try creating a new project. We can use the new command to do this:
dotnet new secure-web -n SecureSite -o SecureSite
We are using the -n to specify the name of our site. This value will replace whatever you have your sourceName set to in our previous template.json file. By using the -o flag, we can specify the folder the template will be installed to.
You will notice that by running the above command you’ll get an error.

To alleviate that error, you will need your details from your Okta account for the application you want to authorize.
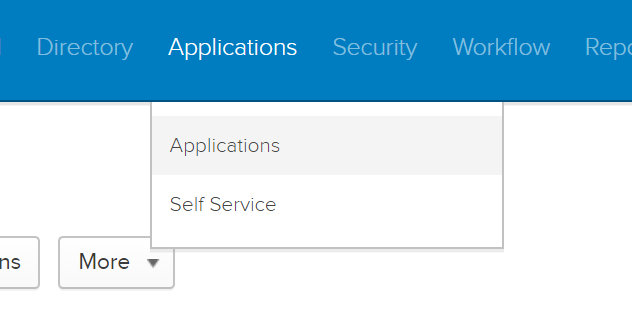
You can find those by going to your dashboard and then to applications.
Then click on your site. I will include the clientId and secret in the screenshot for this test account, but I will delete them by the time this tutorial has been published. Do not share your secrets. Keep them secret, keep them safe.

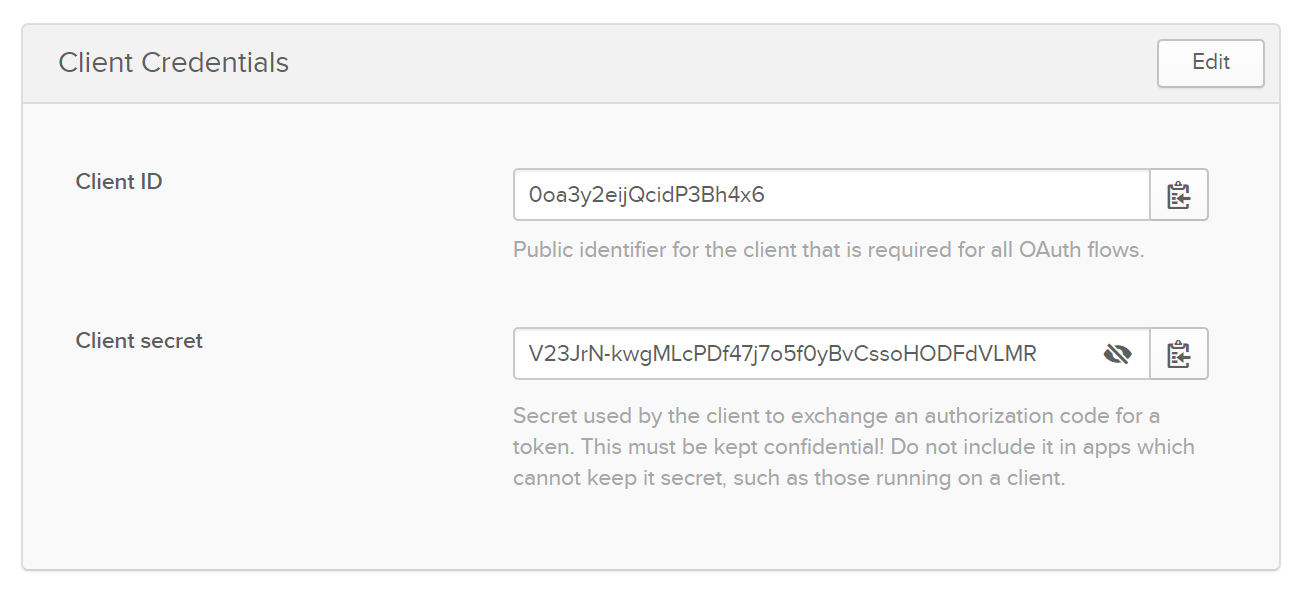
Now with those pieces of information in hand, you can put the following into your terminal. I’m using Powershell, so the command for doing a line break for commands is the backtick. Your platform may be different.
dotnet new secure-web `
-n SecureSite `
-o SecureSite `
--OktaDomain https://myorg.okta.com `
--ClientId 0oa3y2eijQcidP3Bh4x6 `
--ClientSecret V23JrN-kwgMLcPDf47j7o5f0yBvCssoHODFdVLMR

Congrats!! You’ve just used your first secure template, so try opening it up and running it. You should now be able to navigate to the secure path, and Okta will direct you to log in if you aren’t already logged in.

You can check out the detailed GitHub repository of the entire project here.
Looking Forward
From here the possibilities are only limited by your need and imagination. You aren’t limited to whole projects either. You can template everything you do repetitively as an organization, including the way you set up controllers, services, and data contexts, this same way. Consistency within an organization drives high performance. The fewer people have to think about how to do best practices the more likely they are to do them.
Happy secure coding!
Okta Developer Blog Comment Policy
We welcome relevant and respectful comments. Off-topic comments may be removed.