5 Minute Serverless Functions in Azure without an IDE

Microsoft Azure makes it incredibly easy to get a basic API/microservice up and running quickly! If you are unfamiliar with building serverless architecture in the Microsoft ecosystem, using Azure Functions has become a quick way to get back-end code up and running that is easy to understand and usable for anyone.
In this tutorial, we will set-up an API endpoint using the HTTP Trigger invocation that you can use with any front-end site. I use this approach all the time when I am on the go or on a computer that doesn’t have Visual Studio installed. It’s super powerful for hackathons, quick proof of concepts, and shareable across diverse programming teams with almost no friction. I think you’re going to like the results, so let’s get started!
If you’d rather watch a video, I created a screencast of this blog post.
Note: In May 2025, the Okta Integrator Free Plan replaced Okta Developer Edition Accounts, and the Okta CLI was deprecated.
We preserved this post for reference, but the instructions no longer work exactly as written. Replace the Okta CLI commands by manually configuring Okta following the instructions in our Developer Documentation.
What is an Azure Function HTTP trigger?
The HTTP trigger lets you invoke a function with an HTTP request. You can use an HTTP trigger to build serverless APIs and respond to webhooks.
By default, an HTTP trigger returns HTTP 200 OK with an empty body in Functions 1.x, or HTTP 204 No Content with an empty body in Functions 2.x. Several languages are supported for Azure Functions such as JavaScript, Python, F# and Java. While this tutorial will be created in C#, more specifically .NET Core, the basic process is still applicable to any developer.
Get your Function Started in Azure
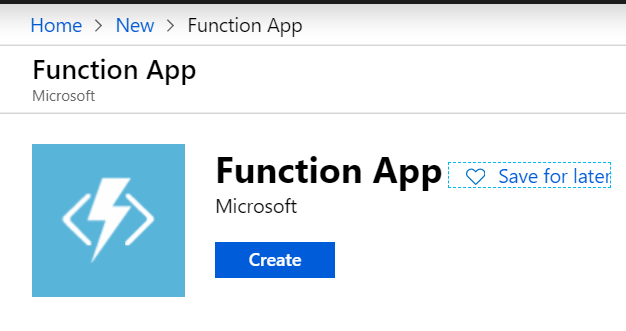
If you don’t have an Azure subscription, create an account before you begin. After logging in, select the Create a resource button, type Function App into the search field then select it.
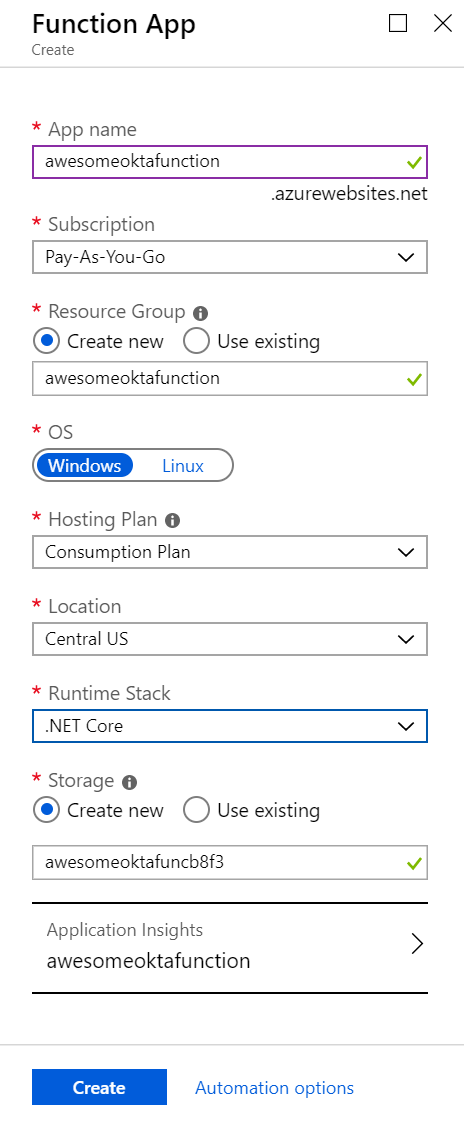
Enter a name for your function, adjust the rest of the settings as seen in the screenshot below and select Create.
Look at the bell icon to check notifications when the provisioning has been completed for your function.
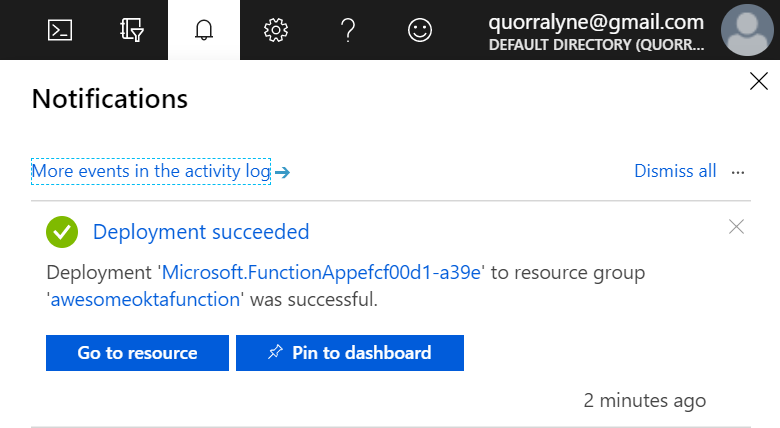
Once it has successfully been deployed, click Go to resource to view your new function app. You can also select Pin to dashboard to make it easier to return to it from your dashboard for subsequent portal logins.
Create a Function Inside of your New Function App
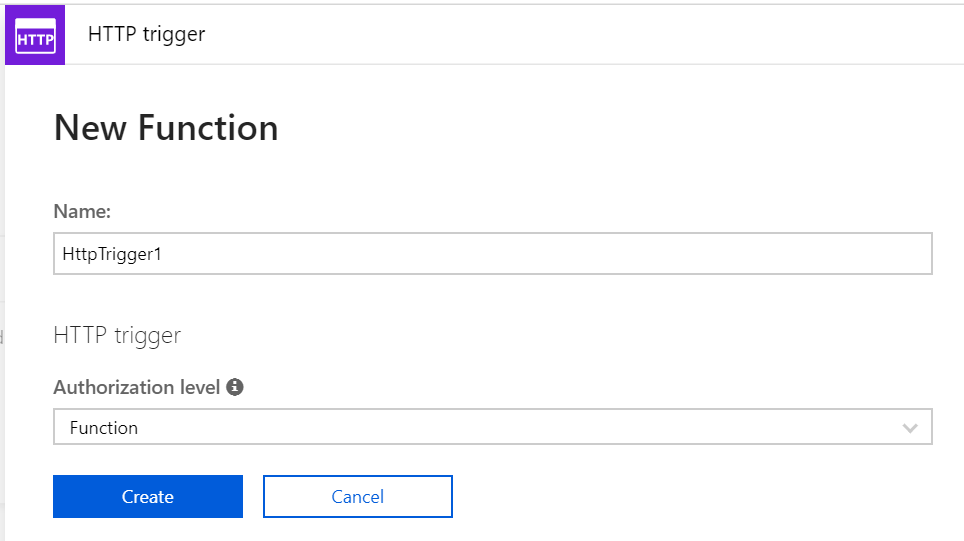
Now it’s time to add some code! Click the + sign next to Functions on the left-hand side menu, select New Function and leave the default naming for now. Click Create to get started. This function will run whenever it receives an HTTP request.
Your base function has been generated with some default code.
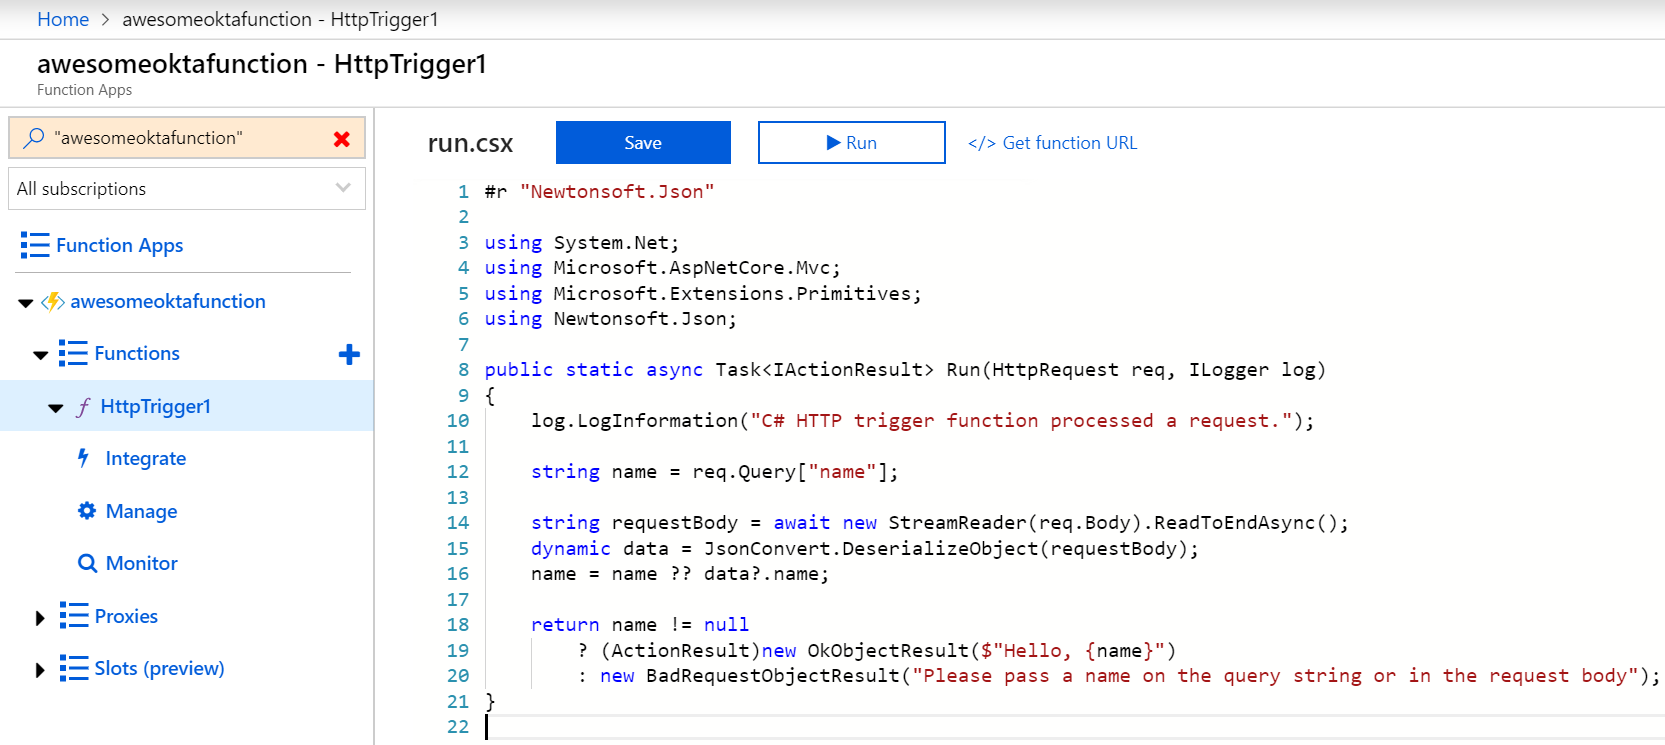
In your new function, click </> Get function URL at the top right, leave the drop-down set to default (Function key) and copy it. Paste the URL in another tab in your browser to test it out. You should see a response asking for a name to be passed in the query string.

Secure your Serverless HTTP Trigger by Adding Identity Management
Now that your function has been created, you might not want just anyone accessing it. Identity management can be a mess to set-up, but Okta (a developer API service focused on providing user management) makes it really painless! Let’s say you would like to assign client credentials that you control to a server that calls your API, gets validated, then delivers authenticated results from your Azure Function. Follow the steps below to secure this HTTP trigger.
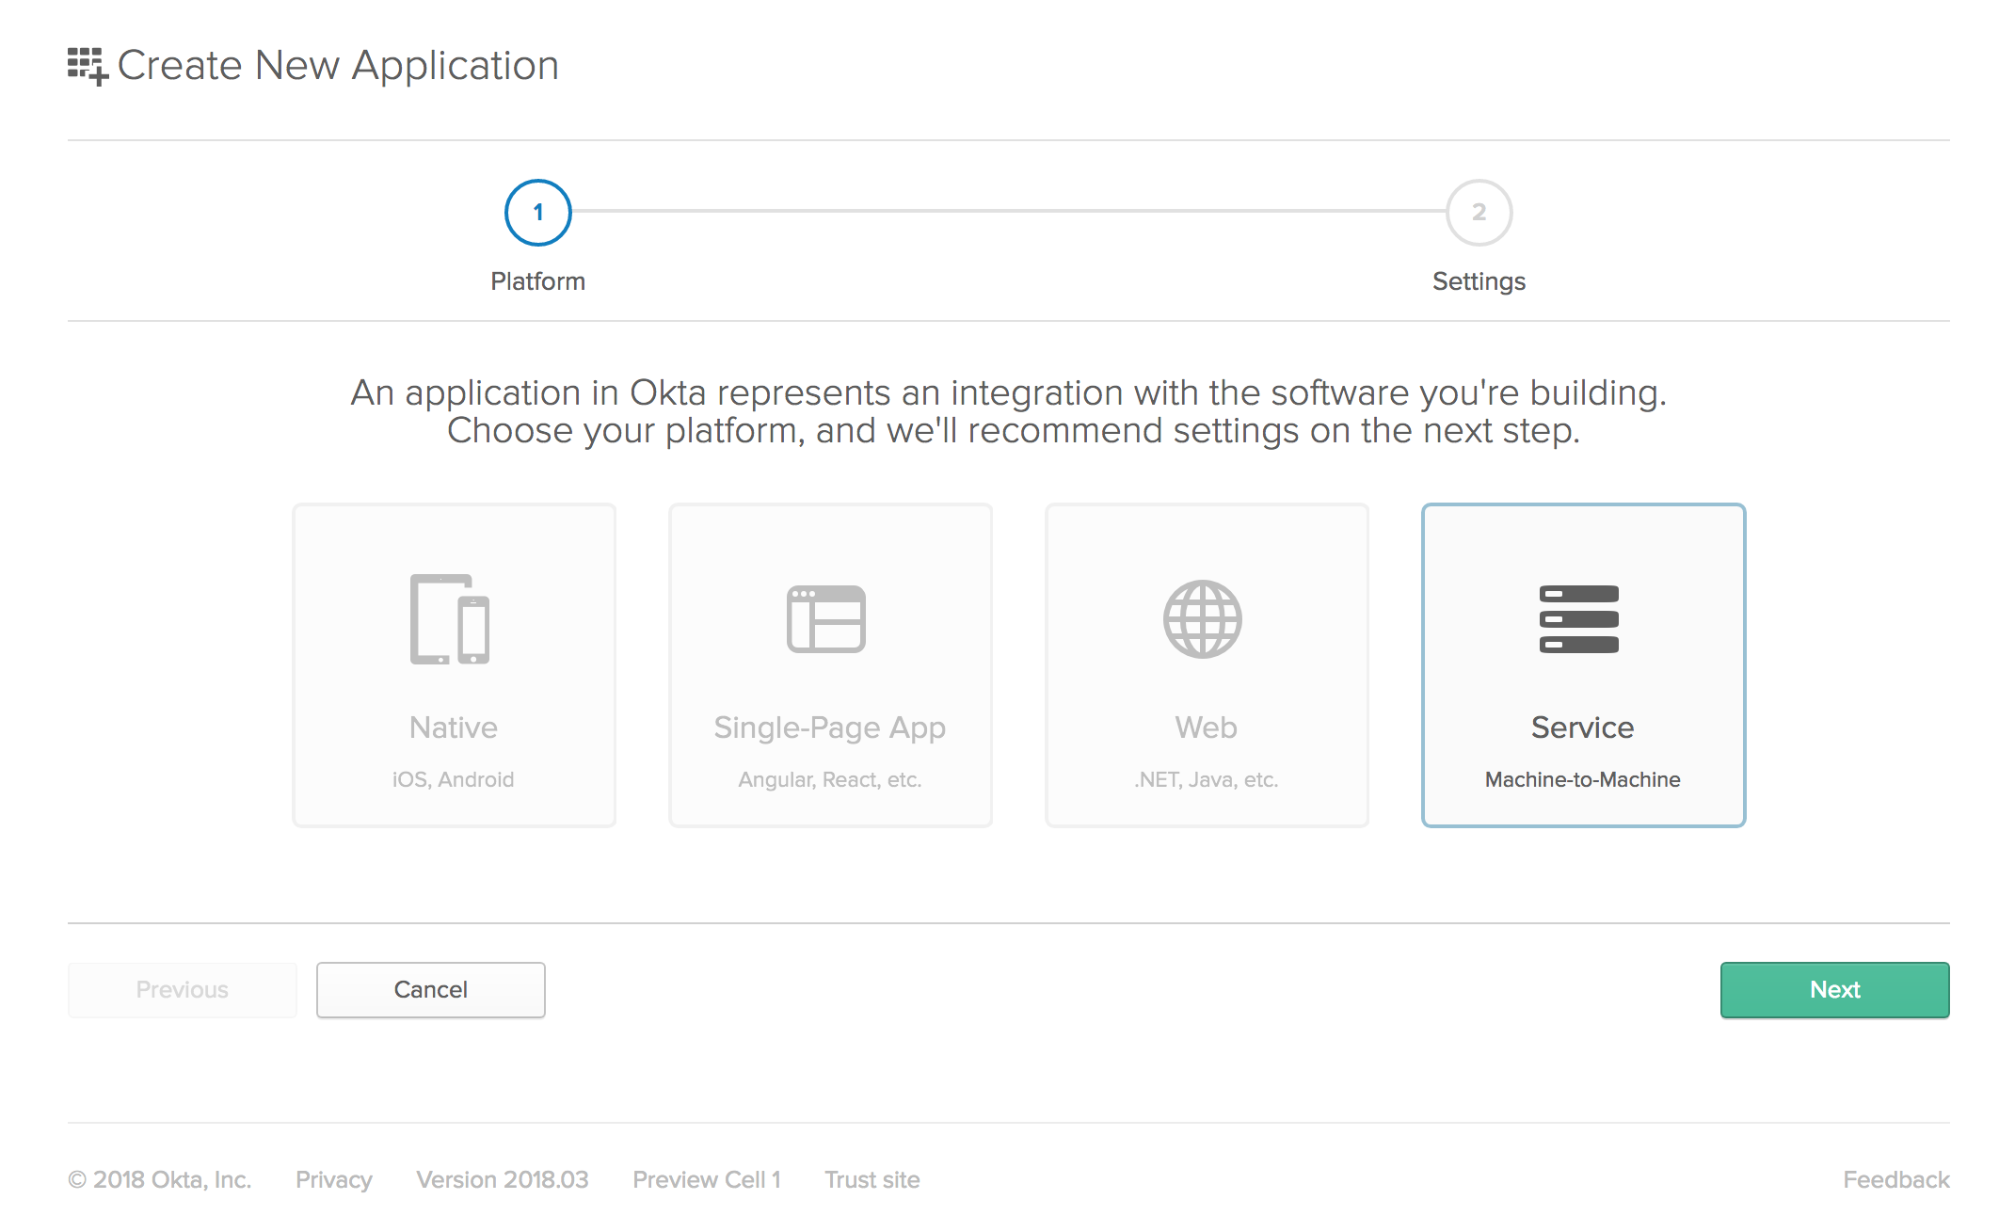
To integrate Okta’s Identity Cloud for user authentication, you’ll need to sign-up for a forever-free developer account first. Once logged in, navigate to Applications > Add Application. Select the Service flow for machine-to-machine and click Next.
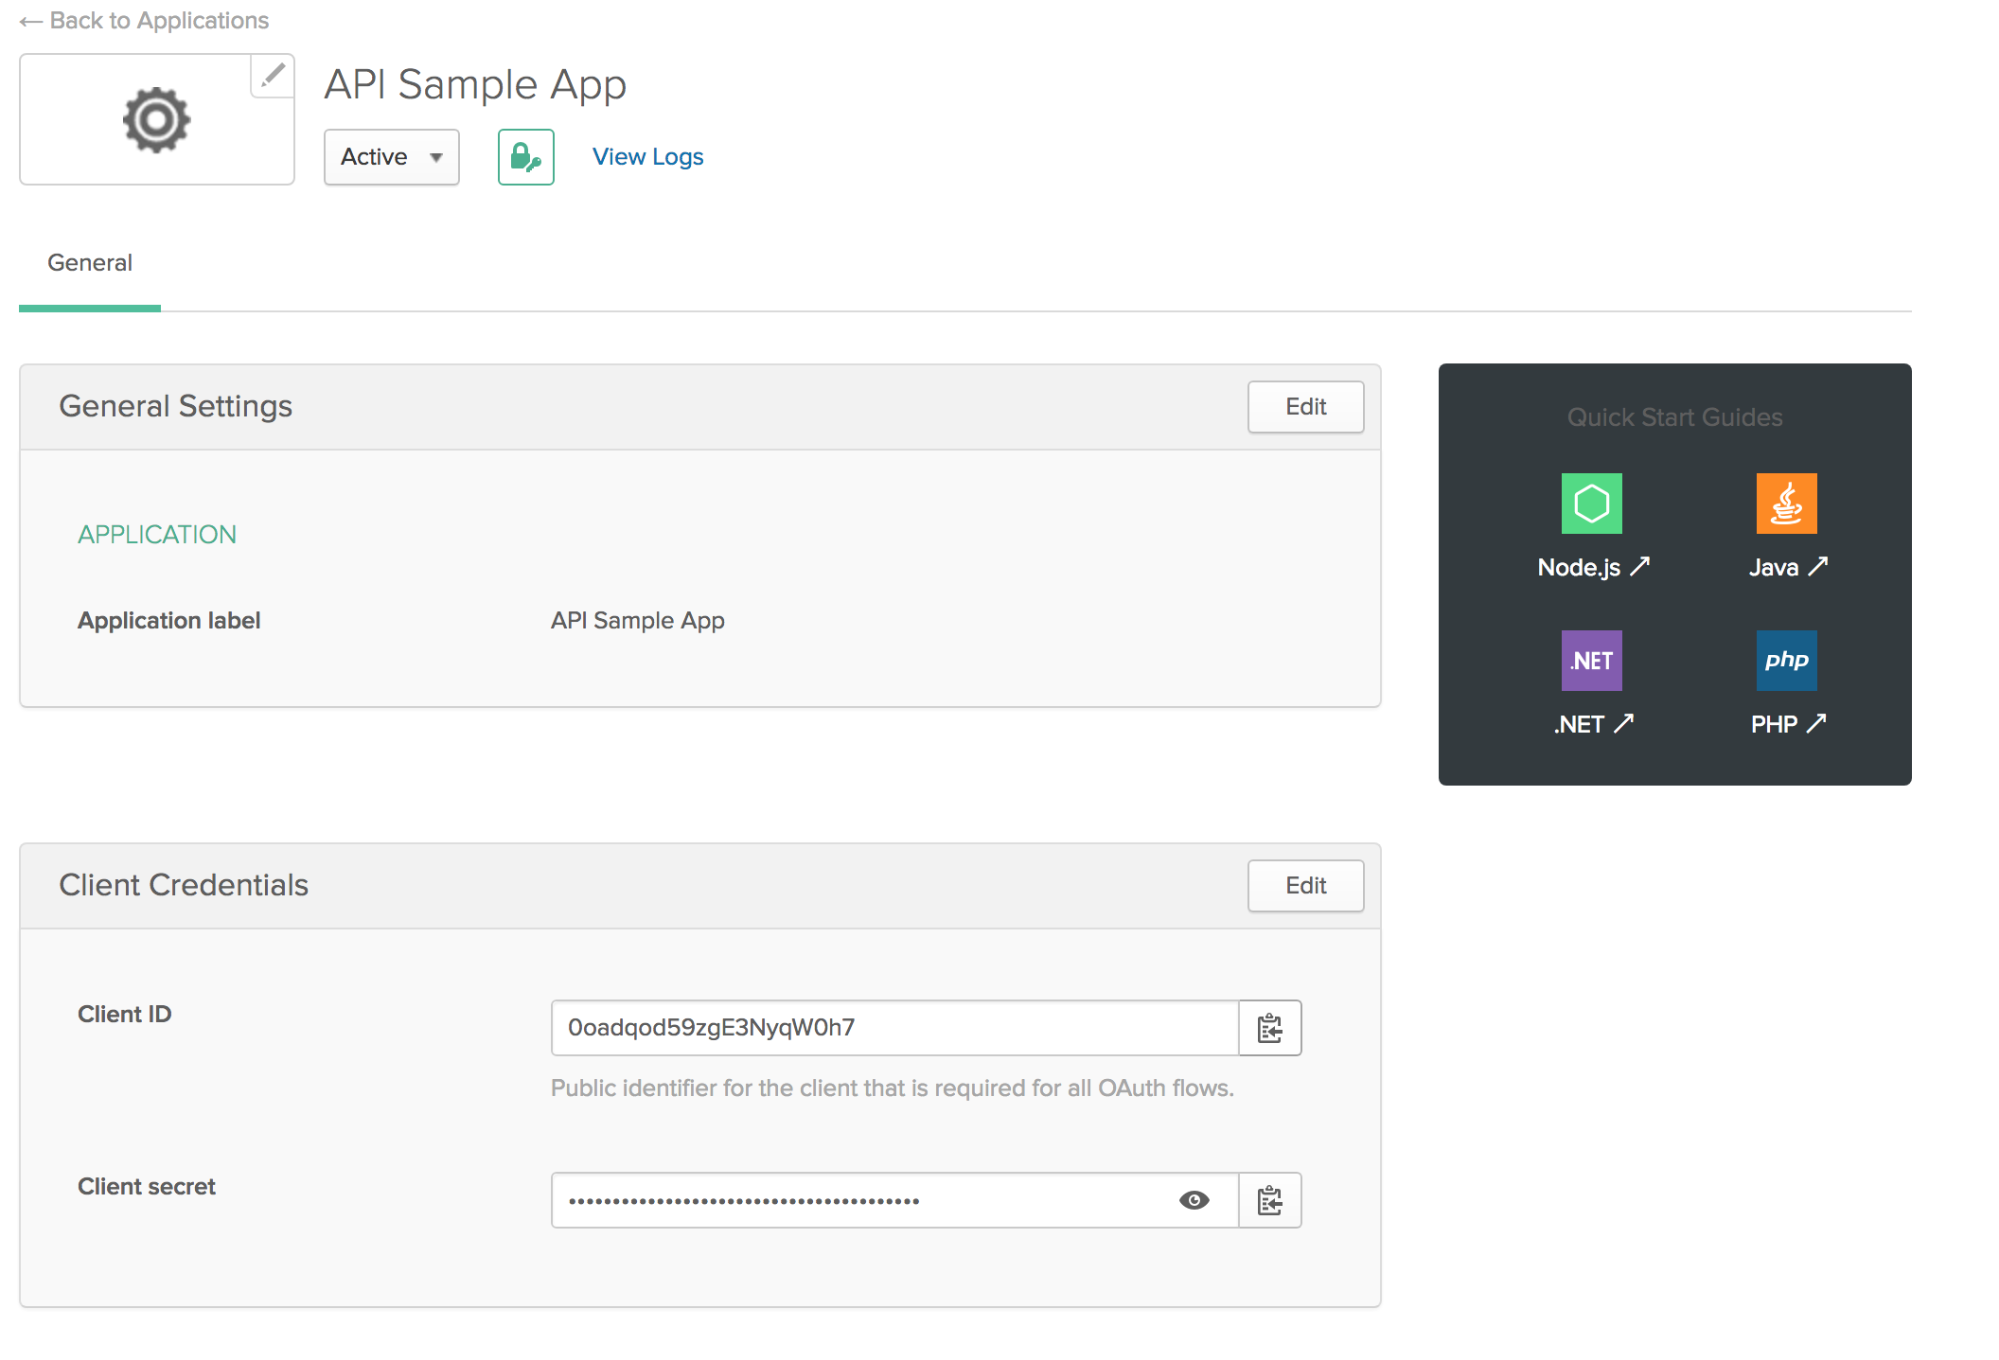
Name the application “API Sample App” and click Done.
On the API Sample App’s general settings, you will see the Client Credentials box with the client ID and client secret in it. You will use these to authenticate a client wishing to call your API.
For each client that you want to have access to the API, you’ll need to create an Okta application for it and give it the Client ID and Client Secret. If you are interested in learning more about using ASP.NET Core with client credentials in Okta, check out this post on the Okta developer blog.
This is for use cases where Okta is the authorization server for your resource server. For example, an application or API that you have created (i.e. you want Okta to act as the user store for your application, but Okta is invisible to your users). This kind of authorization server is called a “Custom Authorization Server”, and your full URL looks like this:
https://{yourOktaDomain}/oauth2/${authServerId}/v1/authorize
If you have a free Okta developer account, you can use the default authorization server that was created along with your account, in which case the full URL looks like this:
https://{yourOktaDomain}/oauth2/default/v1/authorize
Lastly, you will need to add a custom scope for the client credential flow. To do this, go to your default Authentication server and add a scope called api_scope. Your client will use this scope type when they call Okta’s token endpoint in a later step.
Configure your Azure Function to Use Okta Client Credentials
Go to your function and select Integrate underneath it. Uncheck the POST checkbox, change the Authorization Level to Annonymous and click Save.
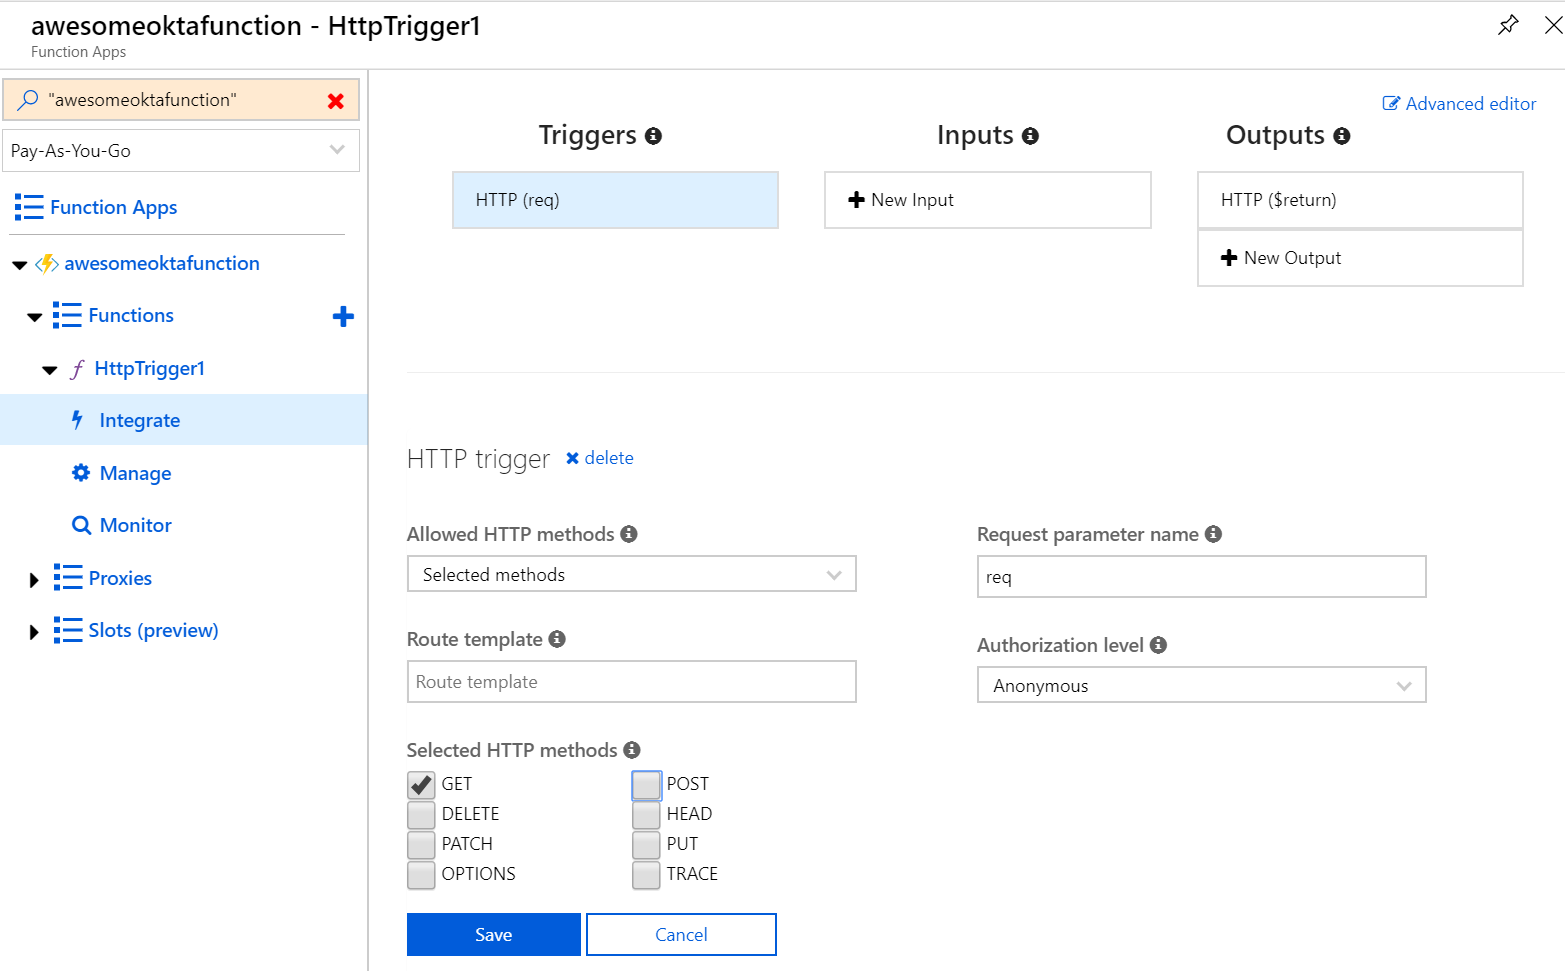
You will notice that users will not be prompted to log in because we set the access level to anonymous. Since you will be getting users from a 3rd party identity provider, you will handle the Okta token validation call from within your Azure function code. There are several ways to validate the access token generated by Okta. In this post, you will use the Introspection API endpoint.
Click on the name of your HTTP trigger and copy and paste the following code, replacing {yourOktaDomain} with the actual domain assigned on your Okta account.
#r "Newtonsoft.Json"

using System.Net;
using Microsoft.AspNetCore.Mvc;

public static async Task<IActionResult> Run(HttpRequest req, ILogger log)
{
   log.LogInformation("C# HTTP trigger function processed a request.");

   //Pull out the header values passed into the request
   var headers = req.Headers;
   if(!headers.TryGetValue("token", out var token))
   {
       return new BadRequestResult();
   }
   if(!headers.TryGetValue("client_id", out var client_id))
   {
       return new BadRequestResult();
   }
   if(!headers.TryGetValue("client_secret", out var client_secret))
   {
       return new BadRequestResult();
   }
   var accessToken = token.First();
   var clientId = client_id.First();
   var clientSecret = client_secret.First();

   //Call the Okta introspection API to validate the token.
   var baseUrl = "https://dev-414346.okta.com/oauth2/default/v1/introspect";

   var content = new FormUrlEncodedContent(new[]
   {
       new KeyValuePair<string, string>("token", accessToken),
       new KeyValuePair<string, string>("token_type_hint", "access_token"),
       new KeyValuePair<string, string>("client_id", clientId),
       new KeyValuePair<string, string>("client_secret", clientSecret)
   });
   var _httpClient = new HttpClient();
   var response = await _httpClient.PostAsync(baseUrl, content);
   var result = await response.Content.ReadAsStringAsync();

   log.LogInformation("C# HTTP trigger function processed an external API call to Okta.");

   //Based on the token validation from Okta, return a response
   if(response.IsSuccessStatusCode)
   {
       return new OkObjectResult("Hello, you have access to this API");
   }
   else
   {
       return new UnauthorizedResult();
   }
}
Save it and make sure there are no errors!
How a Client Would Consume your Secured Serverless API
Now it’s time to test out what you’ve created from the perspective of someone who would be consuming your Azure Function as a REST API!
After you give the client their client ID and client secret, they would use a testing tool like Postman to call Okta’s token endpoint to request an access token to use for calling your API. Okta’s documentation guides the client on how to make that call and quickly retrieve a usable token. Here is an example of a call to get that token using Postman.
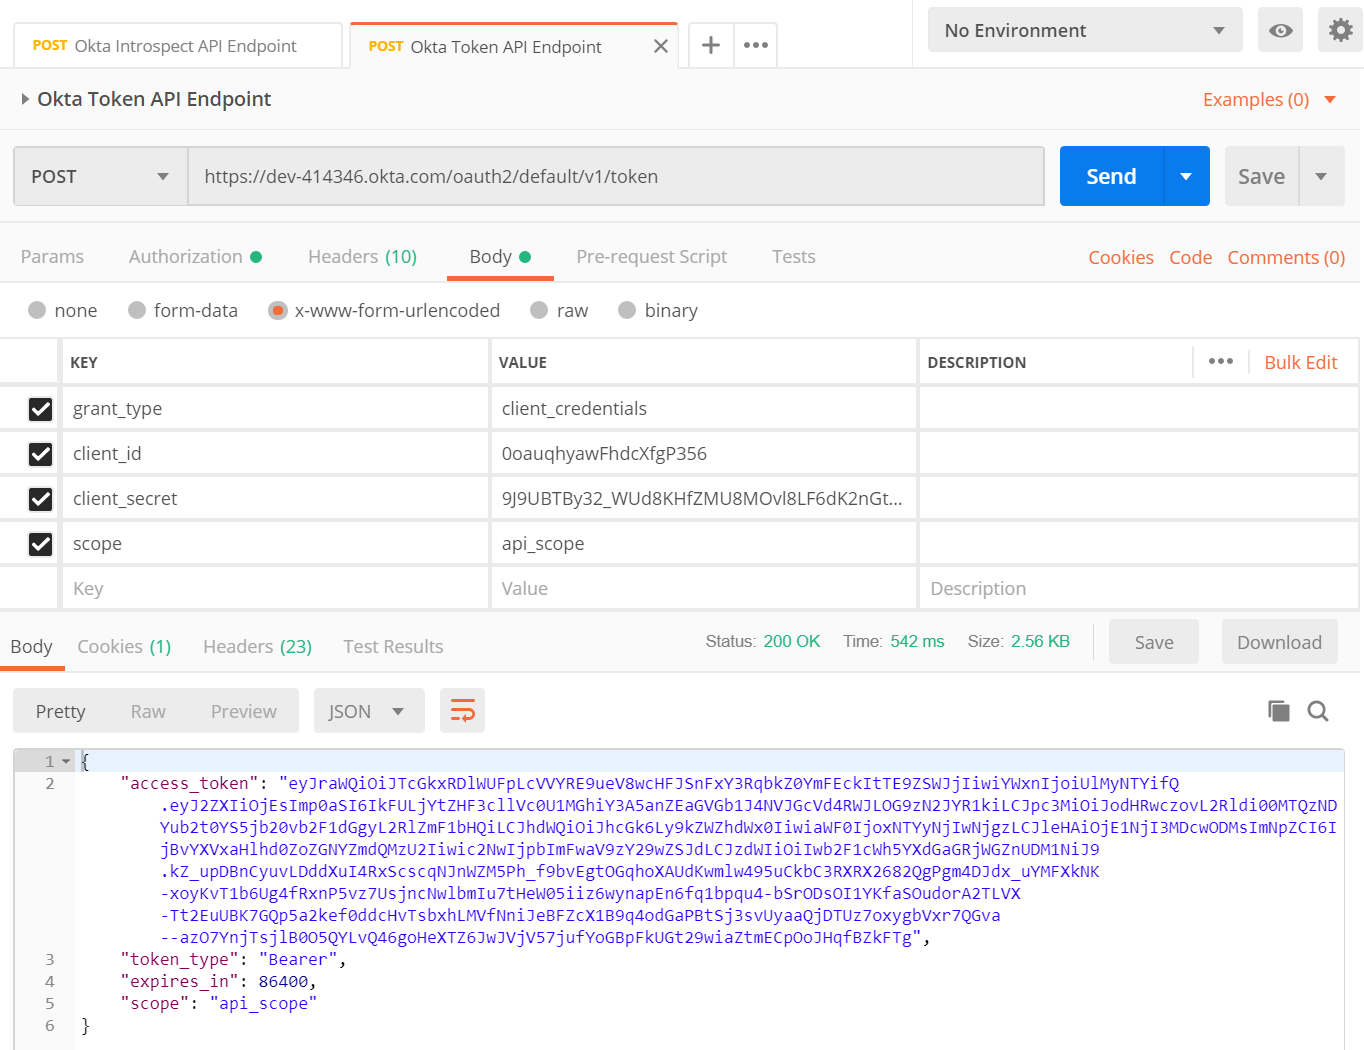
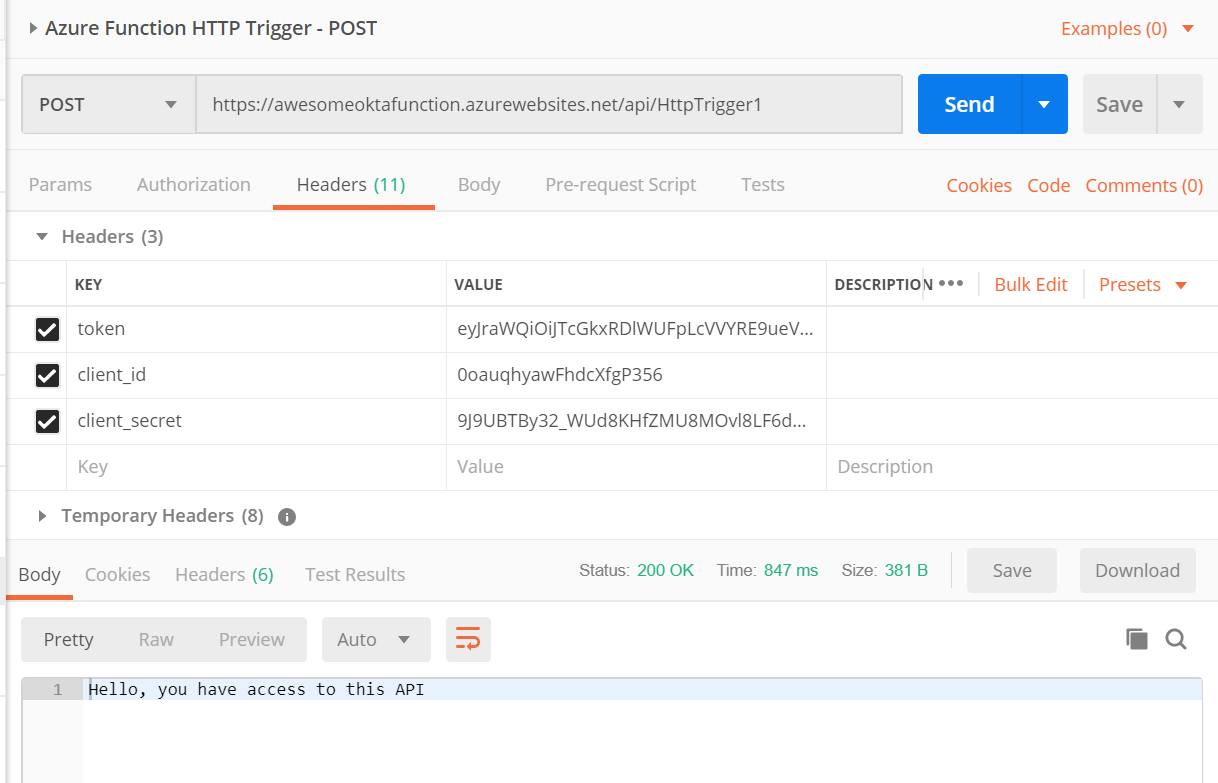
Then, the client uses that info when calling your endpoint. The client_id, client_secret and token all need to be passed as header values when calling your Azure Function HTTP Trigger. You should see a 200 OK success message.
That’s it! Pretty fast, and no IDE required.
Learn more about Serverless, .NET, and Authentication
This post only scratches the surface of the awesome things you can do with serverless in .NET! Check out these other fantastic posts.
- How to Secure Your .NET Web API with Token Authentication
- Build a CRUD App with ASP.NET Framework 4.x Web API and Angular
- Secure Your ASP.NET Web Forms Application with OpenID Connect and Okta
- Use OpenID Connect for Authorization in Your ASP.NET MVC Framework 4.x App
You can find the complete project source code on GitHub.
Okta Developer Blog Comment Policy
We welcome relevant and respectful comments. Off-topic comments may be removed.