How to Secure Your .NET Web API with Token Authentication

API security can be complex. In many cases, just because you’ve built an API that you want to make public, it doesn’t mean that you want just anybody accessing it. In most cases, you want fine-grained control over who can access the API, but setting up that kind of user management can be a daunting task: you’d have to create your own authorization service that can create API credentials for your users and have the ability to exchange those API credentials for an access token using OAuth 2.0. I’ve got good news! With just a few lines of code, Okta can handle all the complicated and time-consuming security elements and let you concentrate on creating a stellar API. =)
Table of Contents
- Understand the Basic Flow
- Install .NET Core 2.0
- Create the API
- Set Up the App in Okta
- Set Up Your App To Use Okta Client Credentials
- Create The Token Service
- Register the Token Service
- Create an API Service
- Add the API Call to the MVC Application
- Get the API to Validate the Access Token
- Learn More
Note: In May 2025, the Okta Integrator Free Plan replaced Okta Developer Edition Accounts, and the Okta CLI was deprecated.
We preserved this post for reference, but the instructions no longer work exactly as written. Replace the Okta CLI commands by manually configuring Okta following the instructions in our Developer Documentation.
Understand the Basic Flow
When handling authentication for a server-to-server API, you really only have two options: HTTP basic auth or OAuth 2.0 client credentials.
Because OAuth 2.0 is the most popular way to secure API services like the one we’ll be building today (and the only one that uses token authentication), we’ll be using that.
With OAuth 2.0 client credentials, authenticating a client app is two-step process: first, the client sends its API credentials (a client ID and secret) to an authorization server that returns an access token. Second, the client sends a request to the API with that access token and the API verifies it and either authorizes the call or rejects it with a 401 Unauthorized response. In this tutorial, you’ll use Okta to manage your OAuth 2.0 server and rely on Okta’s default authorization server to create access tokens using API credentials (aka: client credentials) also created by Okta.
Install .NET Core 2.0
For this tutorial, you’ll be using version 2.0 of the .NET Core framework to create a .NET Core MVC application that will be the client, and a .NET core Web API that the client will call. To make sure you have .NET Core 2.0 installed, you can open a command window and run:
dotnet --version
Ensure that you see 2.0.0 in the output. If you don’t, you can install it from here.
I will be running everything from Visual Studio Code, but it can easily be done from Visual Studio if you have access to that.
Create the API
In the folder where you want to keep source code, create a folder called webapi-okta-example and change into that directory.
mkdir webapi-okta-example
cd webapi-okta-example
Create a directory to hold the API project called api.
mkdir api
cd api
dotnet new webapi
Create a directory in the webapi-okta-example folder to house the MVC app called app.
mkdir app
cd app
dotnet new mvc
For development on the same machine, you’ll also need to tell the MVC app to run on another port, because the API will be running on port 5000. To do this, go to the Program.cs file in the MVC application and add the UseUrls() method, so that your BuildWebHost method looks like this:
 public static IWebHost BuildWebHost(string[] args) =>
            WebHost.CreateDefaultBuilder(args)
                .UseStartup<Startup>()
                .UseUrls("http://localhost:5050")
                .Build();
Now, you should be able to fire them both up (with dotnet run from the command prompt, or just F5 in Visual Studio or Visual Studio Code) and see them both run independently.
Set Up the App in Okta
Before you begin, you’ll need a free Okta developer account. Install the Okta CLI and run okta register to sign up for a new account. If you already have an account, run okta login.
Then, run okta apps create service. Select the default app name, or change it as you see fit.
What does the Okta CLI do?
The Okta CLI will create an OAuth 2.0 Service App in your Okta Org. You will see output like the following when it’s finished:
Okta application configuration has been written to: /path/to/app/.okta.env
Run cat .okta.env (or type .okta.env on Windows) to see the issuer and credentials for your app.
export OKTA_OAUTH2_ISSUER="https://dev-133337.okta.com/oauth2/default"
export OKTA_OAUTH2_CLIENT_ID="0oab8eb55Kb9jdMIr5d6"
export OKTA_OAUTH2_CLIENT_SECRET="NEVER-SHOW-SECRETS"
Your Okta domain is the first part of your issuer, before /oauth2/default.
NOTE: You can also use the Okta Admin Console to create your app. See Create a Service App for more information.
For each client that you’ll want to have access to the API, you’ll need to create an Okta application for it, and give it the Client ID and Client Secret.
Add a Custom Scope
Scopes define and limit what access is granted by a token. You must define custom scopes in your authorization server to use a client credentials grant type.
- Run
okta loginand open the resulting URL in your browser. - Sign in to the Okta Admin Console, go to Security > API > Authorization Servers.
- Select the
defaultserver from the list of servers. - Click on the Scopes tab, then the Add Scope button.
- Enter
access_tokenas the name, and add a description, then click Create.
Set Up Your App To Use Okta Client Credentials
In this case, the client of the API is the ASP.NET MVC application. Open the app folder in your IDE. Open the appsettings.Development.json file and add your Okta client information like so:
{
  "Logging": {
    "IncludeScopes": false,
    "LogLevel": {
      "Default": "Debug",
      "System": "Information",
      "Microsoft": "Information"
    }
  },
  "Okta": {
    "TokenUrl": "https://{yourOktaDomain}/oauth2/default/v1/token",
    "ClientId": "{clientId}",
    "ClientSecret": "{clientSecret}"
  }
}
Replace the {...} placeholders with the values from the Okta service app you just created.
In the “Models” folder of the application add a new class file called OktaSettings.cs. The contents of the class are:
namespace app.Models
{
    public class OktaSettings
    {
        public string TokenUrl { get; set; }
        public string ClientId { get; set; }
        public string ClientSecret { get; set; }
    }
}
This will allow you to read those configuration values into a C# object, making it easier to use in your application. To make it even easier, add this new object to the services that can be injected by adding it to the ConfigureServices() method in the Startup.cs file.
public void ConfigureServices(IServiceCollection services)
{
    services.Configure<OktaSettings>(Configuration.GetSection("Okta"));
    services.AddMvc();
}
This will add the settings object as injectable IOptions into the constructor of any class that needs them. In this case, it will be an Okta-specific token service.
Create The Token Service
What you need here is a service that can live with the application lifecycle and either get a new access token, or return one that it already has. To do this, create an ITokenService interface and an OktaTokenService implementation class inside a new folder at the root of your MVC app called “Services”.
The ITokenService only needs one method: a method that returns an access token, call it GetToken().
using System.Threading.Tasks;

namespace app.Services
{
    public interface ITokenService
    {
         Task<string> GetToken();
    }
}
The implementation will decide whether or not to get a new access token, or return one that it has previously received.
public class OktaTokenService : ITokenService
{
    private OktaToken token = new OktaToken();
    private readonly IOptions<OktaSettings> oktaSettings;

    public OktaTokenService(IOptions<OktaSettings> oktaSettings)
    {
        this.oktaSettings = oktaSettings;
    }

    public async Task<string> GetToken()
    {
      if (!this.token.IsValidAndNotExpiring)
      {
        this.token = await this.GetNewAccessToken();
      }
      return token.AccessToken;
    }
}
This first pass at the Okta token service starts by getting the oktaSettings injected from the application services. It also has a class-level variable that will hold the OktaToken object (which you’ll create in a moment). The GetToken() method merely checks to see if the token is valid and not expired (or expiring soon) and either gets a new access token, or just returns the current one.
Next, you’ll need to implement the OktaToken object. You can just nest it inside this class, since it will be the only consumer of this object. This will serve as a container for the response from the Authorization Service.
private class OktaToken
{
  [JsonProperty(PropertyName = "access_token")]
  public string AccessToken { get; set; }

  [JsonProperty(PropertyName = "expires_in")]
  public int ExpiresIn { get; set; }

  public DateTime ExpiresAt { get; set; }

  public string Scope { get; set; }

  [JsonProperty(PropertyName = "token_type")]
  public string TokenType { get; set; }

  public bool IsValidAndNotExpiring
  {
    get
    {
      return !String.IsNullOrEmpty(this.AccessToken) &&
this.ExpiresAt > DateTime.UtcNow.AddSeconds(30);
    }
  }
}
You’ll notice the JsonProperty attributes on several of the properties here. This is because, by default the JSON deserialize will match properties from camel-case (camelCase) to pascal-cased (PascalCase), but the properties returned in the token response are snake-cased (snake_case), so this tell the serializer what’s going on. Also, there is a IsValidAndNotExpiring, read-only property that ensures there is a value for the access token and that it is not expired, or expiring in the next 30 seconds. You can vary this value base on your use case.
You could just always make the API called and if it comes back with a
401 Unauthorizedresponse, go and get a new access token then. The approach of checking to see if it’s expiring soon is simple and cuts down on failed calls in the logs.
Finally, the OktaTokenService class needs the GetNewAccessToken() method, in case it either doesn’t currently have an access token, or it is expired or expiring soon. This method will call your Authorization Server’s token endpoint to get a new access token.
private async Task<OktaToken> GetNewAccessToken()
{
  var token = new OktaToken();
  var client = new HttpClient();
  var client_id = this.oktaSettings.Value.ClientId;
  var client_secret = this.oktaSettings.Value.ClientSecret;
  var clientCreds = System.Text.Encoding.UTF8.GetBytes($"{client_id}:{client_secret}");
  client.DefaultRequestHeaders.Authorization =
  	new AuthenticationHeaderValue("Basic", System.Convert.ToBase64String(clientCreds));

  var postMessage = new Dictionary<string, string>();
  postMessage.Add("grant_type", "client_credentials");
  postMessage.Add("scope", "access_token");
  var request = new HttpRequestMessage(HttpMethod.Post, this.oktaSettings.Value.TokenUrl)
  {
    Content = new FormUrlEncodedContent(postMessage)
  };

  var response = await client.SendAsync(request);
  if(response.IsSuccessStatusCode)
  {
    var json = await response.Content.ReadAsStringAsync();
    this.token = JsonConvert.DeserializeObject<OktaToken>(json);
    this.token.ExpiresAt = DateTime.UtcNow.AddSeconds(this.token.ExpiresIn);
  }
  else
  {
    throw new ApplicationException("Unable to retrieve access token from Okta");
  }
  return token;
}
A lot of this method is setting up the HttpClient to make the call to the Authorization Service. The interesting parts are the clientCreds value that gets the bytes of a string that has the client ID and secret concatenated with a colon between them as
There are also two key-value pairs sent as FormUrlEncodedContent: the grant_type which has a value of “client_credentials”, and the scope which has a value of “access_token”. This simply tells the Authorization Server that you are sending client credentials and you want to get an access token in exchange.
The entire contents of the OktaTokenService (with using directives) should look like this:
using System;
using System.Collections.Generic;
using System.Net.Http;
using System.Net.Http.Headers;
using System.Threading.Tasks;
using app.Models;
using Microsoft.Extensions.Options;
using Newtonsoft.Json;

namespace app.Services
{
  public class OktaTokenService : ITokenService
  {
    private OktaToken token = new OktaToken();
    private readonly IOptions<OktaSettings> oktaSettings;

    public OktaTokenService(IOptions<OktaSettings> oktaSettings)
    {
        this.oktaSettings = oktaSettings;
    }

    public async Task<string> GetToken()
    {
      if (!this.token.IsValidAndNotExpiring)
      {
        this.token = await this.GetNewAccessToken();
      }
      return token.AccessToken;
    }

    private async Task<OktaToken> GetNewAccessToken()
    {
      var token = new OktaToken();
      var client = new HttpClient();
      var client_id = this.oktaSettings.Value.ClientId;
      var client_secret = this.oktaSettings.Value.ClientSecret;
      var clientCreds = System.Text.Encoding.UTF8.GetBytes($"{client_id}:{client_secret}");
      client.DefaultRequestHeaders.Authorization =
      	new AuthenticationHeaderValue("Basic", System.Convert.ToBase64String(clientCreds));

      var postMessage = new Dictionary<string, string>();
      postMessage.Add("grant_type", "client_credentials");
      postMessage.Add("scope", "access_token");
      var request = new HttpRequestMessage(HttpMethod.Post, this.oktaSettings.Value.TokenUrl)
      {
        Content = new FormUrlEncodedContent(postMessage)
      };

      var response = await client.SendAsync(request);
      if(response.IsSuccessStatusCode)
      {
        var json = await response.Content.ReadAsStringAsync();
        token = JsonConvert.DeserializeObject<OktaToken>(json);
        token.ExpiresAt = DateTime.UtcNow.AddSeconds(this.token.ExpiresIn);
      }
      else
      {
        throw new ApplicationException("Unable to retrieve access token from Okta");
      }

      return token;
    }

    private class OktaToken
    {
      [JsonProperty(PropertyName = "access_token")]
      public string AccessToken { get; set; }

      [JsonProperty(PropertyName = "expires_in")]
      public int ExpiresIn { get; set; }

      public DateTime ExpiresAt { get; set; }

      public string Scope { get; set; }

      [JsonProperty(PropertyName = "token_type")]
      public string TokenType { get; set; }

      public bool IsValidAndNotExpiring
      {
        get
        {
          return !String.IsNullOrEmpty(this.AccessToken) && this.ExpiresAt > DateTime.UtcNow.AddSeconds(30);
        }
      }
    }
  }
}
Install Json.NET using the following command:
dotnet add package Newtonsoft.Json --version 13.0.1
Register the Token Service
To make the token service available to classes that need it, add another line to your ConfigureServices() method in Startup.cs so that it now looks like this.
public void ConfigureServices(IServiceCollection services)
{
    services.Configure<OktaSettings>(Configuration.GetSection("Okta"));
    services.AddSingleton<ITokenService, OktaTokenService>();
    services.AddMvc();
}
Create an API Service
The token service will help you get an access token from the Authorization Server, but then you need to call the API with your newly minted token. Follow the same pattern as the token service by creating an IApiService interface and a SimpleApiService implementation class for it. The complete interface looks like:
using System.Collections.Generic;
using System.Threading.Tasks;

namespace app.Services
{
    public interface IApiService
    {
         Task<IList<string>> GetValues();
    }
}
This API service simply has a GetValues() method that will call the API and return a list of strings from the /api/values endpoint. The implementation class contains:
using System;
using System.Collections.Generic;
using System.Net.Http;
using System.Net.Http.Headers;
using System.Threading.Tasks;
using app.Models;
using Newtonsoft.Json;

namespace app.Services
{
  public class SimpleApiService : IApiService
  {
    private HttpClient client = new HttpClient();
    private readonly ITokenService tokenService;
    public SimpleApiService(ITokenService tokenService)
    {
      this.tokenService = tokenService;
    }

    public async Task<IList<string>> GetValues()
    {
      List<string> values = new List<string>();
      var token = tokenService.GetToken();
      client.DefaultRequestHeaders.Authorization = new AuthenticationHeaderValue("Bearer", token);
      var res = await client.GetAsync("http://localhost:5000/api/values");
      if(res.IsSuccessStatusCode)
      {
        var json = res.Content.ReadAsStringAsync().Result;
        values = JsonConvert.DeserializeObject<List<string>>(json);
      }
      else
      {
        values = new List<string>{res.StatusCode.ToString(), res.ReasonPhrase};
      }
      return values;
    }
  }
}
Again, much of this is setting up an HttpClient to make the API call (looks ripe for a refactor, but we’re okay for this demo). The real things of interest here are the AuthenticationHeaderValue with “Bearer” at the beginning and the access token. Also, the values returned from the API are deserialized into a list of strings to be returned.
As with the other services, add this to the ConfigureServices() method in Startup.cs, so that the final version of this method looks like:
public void ConfigureServices(IServiceCollection services)
{
    services.Configure<OktaSettings>(Configuration.GetSection("Okta"));
    services.AddSingleton<ITokenService, OktaTokenService>();
    services.AddTransient<IApiService, SimpleApiService>();
    services.AddMvc();
}
Add the API Call to the MVC Application
Lastly for the client application, you’ll need to use the newly created services, in this case it will be in the HomeController.cs. Add the API service to the constructor, then just change the Index() action to return a Task<IActionResult> and call the API service to get the values.
private readonly IApiService apiService;
public HomeController(IApiService apiService)
{
  this.apiService = apiService;
}

public async Task<IActionResult> Index()
{
  var values = await apiService.GetValues();
  return View(values);
}
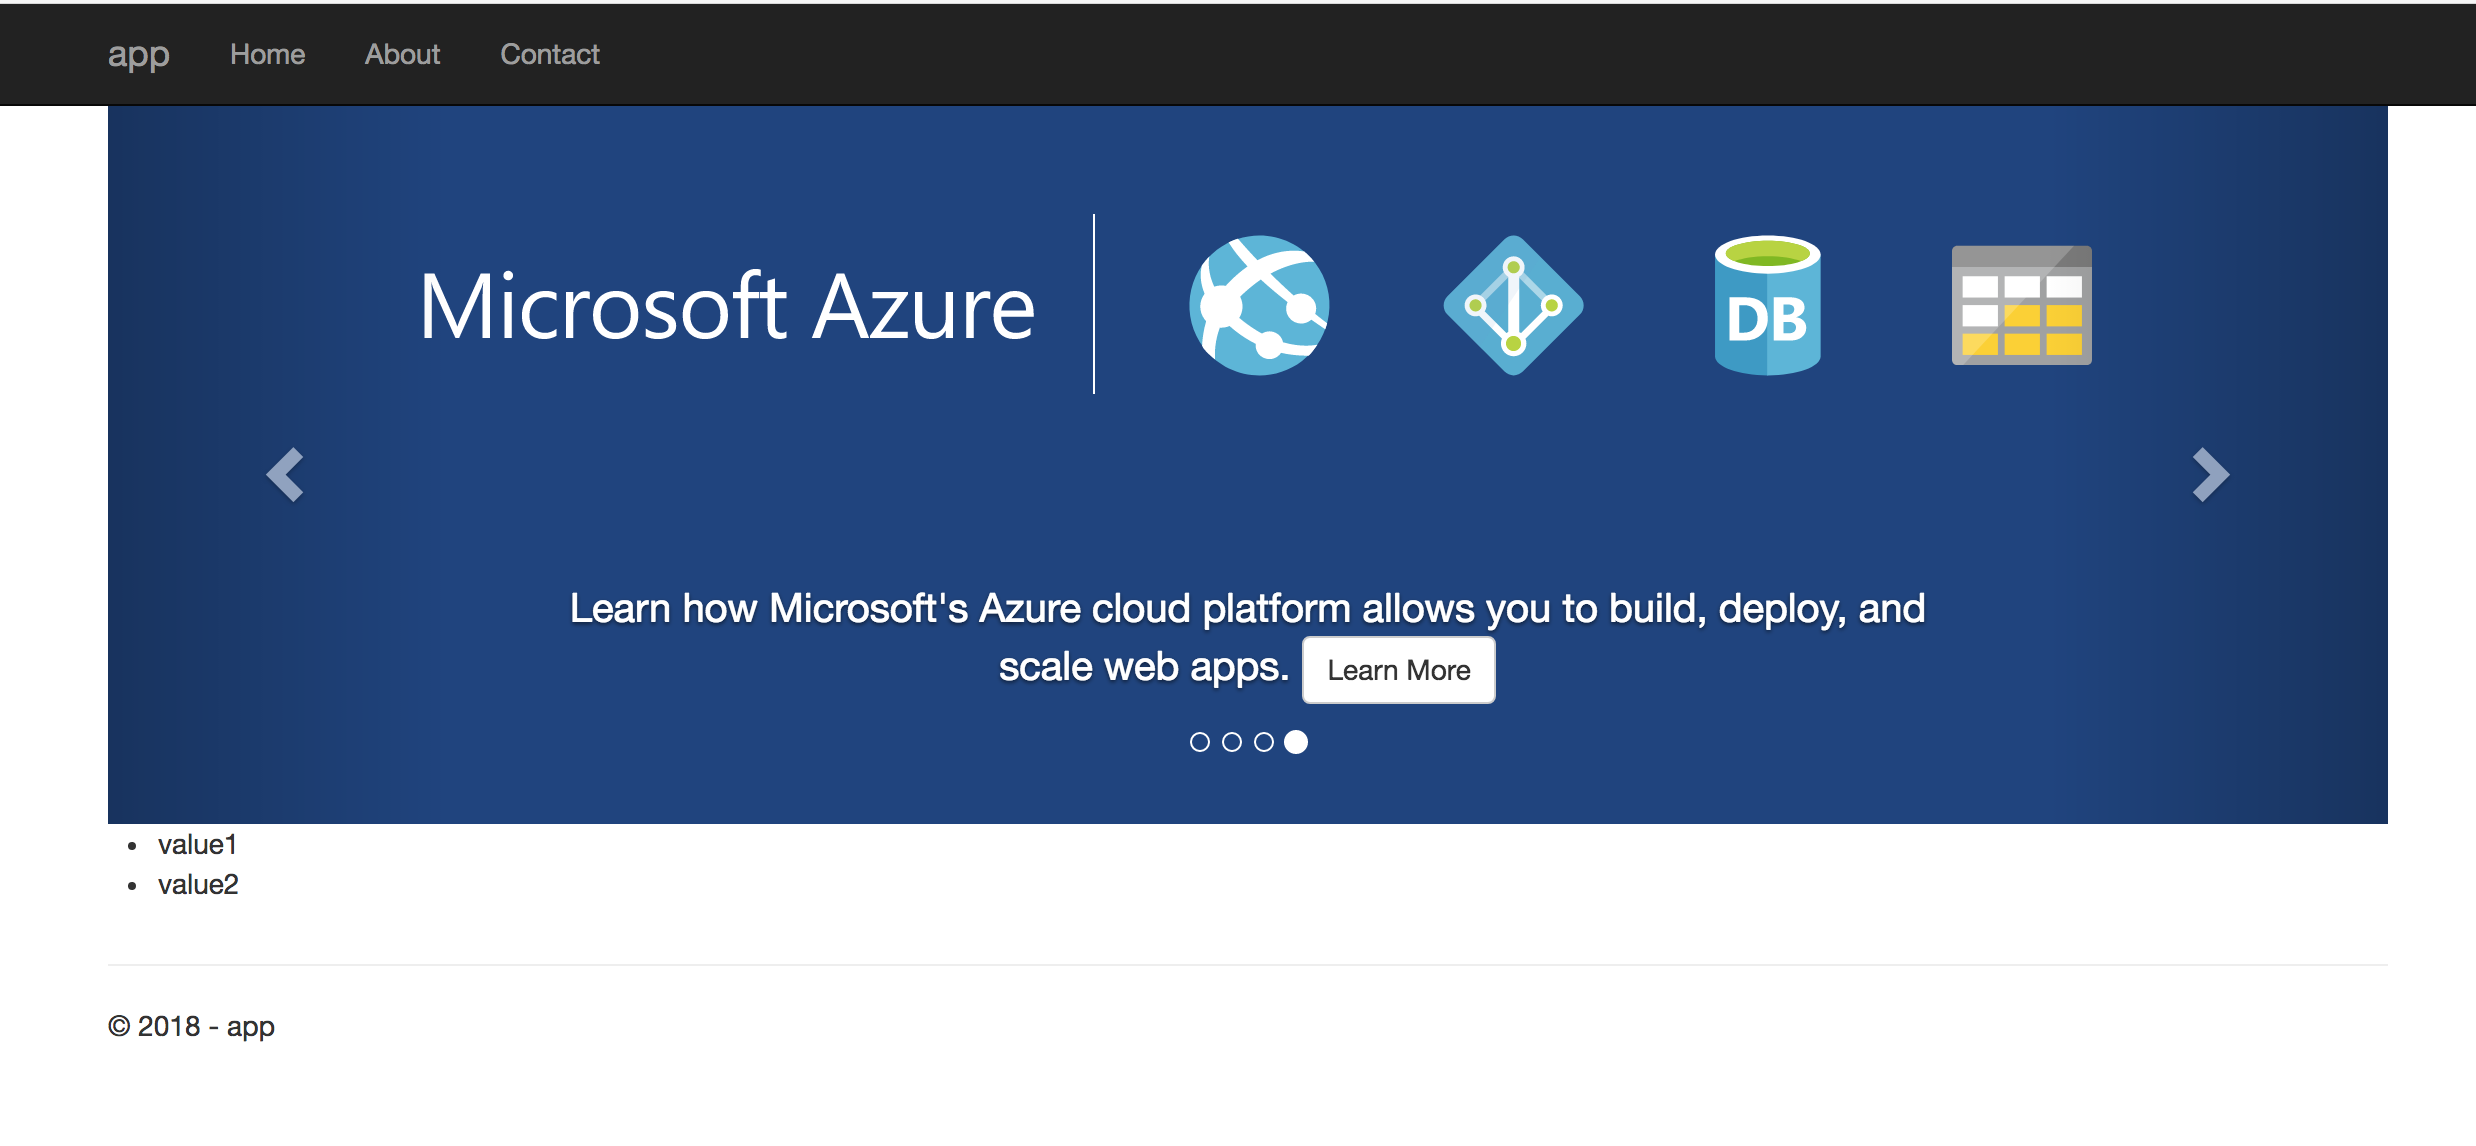
Then you just need to display those values in the view. Remove everything from the Index.cshtml view except the carousel and add the values to the page right below the carousel.
<div class="row">
    <ul>
        @foreach(var value in Model)
        {
            <li>@value</li>
        }
    </ul>
</div>
Now you have the ASP.NET MVC application calling the API with a good access token every time.
The API is not receiving or doing anything to validate the access token yet, so your API is still “open”. All that is left to do is get the API to receive and validate the token!
Get the API to Validate the Access Token
There are two main ways to validate the access token: call the Okta API’s introspect endpoint, or validate the token locally. ASP.NET already has some JWT validation stuff built in. Calling the Okta API has the advantage of being very specific, and most secure way. It does have the disadvantage that you’ll need to make another API call. Using the local JWT validation built in to .NET means you don’t have to call the API, but is less secure. For the purposes of the demo, it’s secure enough, so you that here. In the ConfigureServices() method of the API project add the following before the services.AddMvc(); line.
services.AddAuthentication(options =>
{
	options.DefaultScheme = JwtBearerDefaults.AuthenticationScheme;
})
.AddJwtBearer(options =>
{
	options.Authority = "https://{yourOktaDomain}/oauth2/default";
	options.Audience = "api://default";
	options.RequireHttpsMetadata = false;
});
The second service tells the app that you want to use JWT-based authentication and the options for the JwtBearer middleware gives the authentication scheme some information it can use to validate the token is authentic. The audience comes from the Authorization Server page in Okta.
Also, don’t forget to tell the application to use your new authentication set up. In the Configure() function add the line below just before the `app.UseMvc() line.
app.UseAuthentication();
Finally, add the Authorize attribute to any controller or action you want to protect.
[Authorize]
[Route("api/[controller]")]
public class ValuesController : Controller
{
	...
}
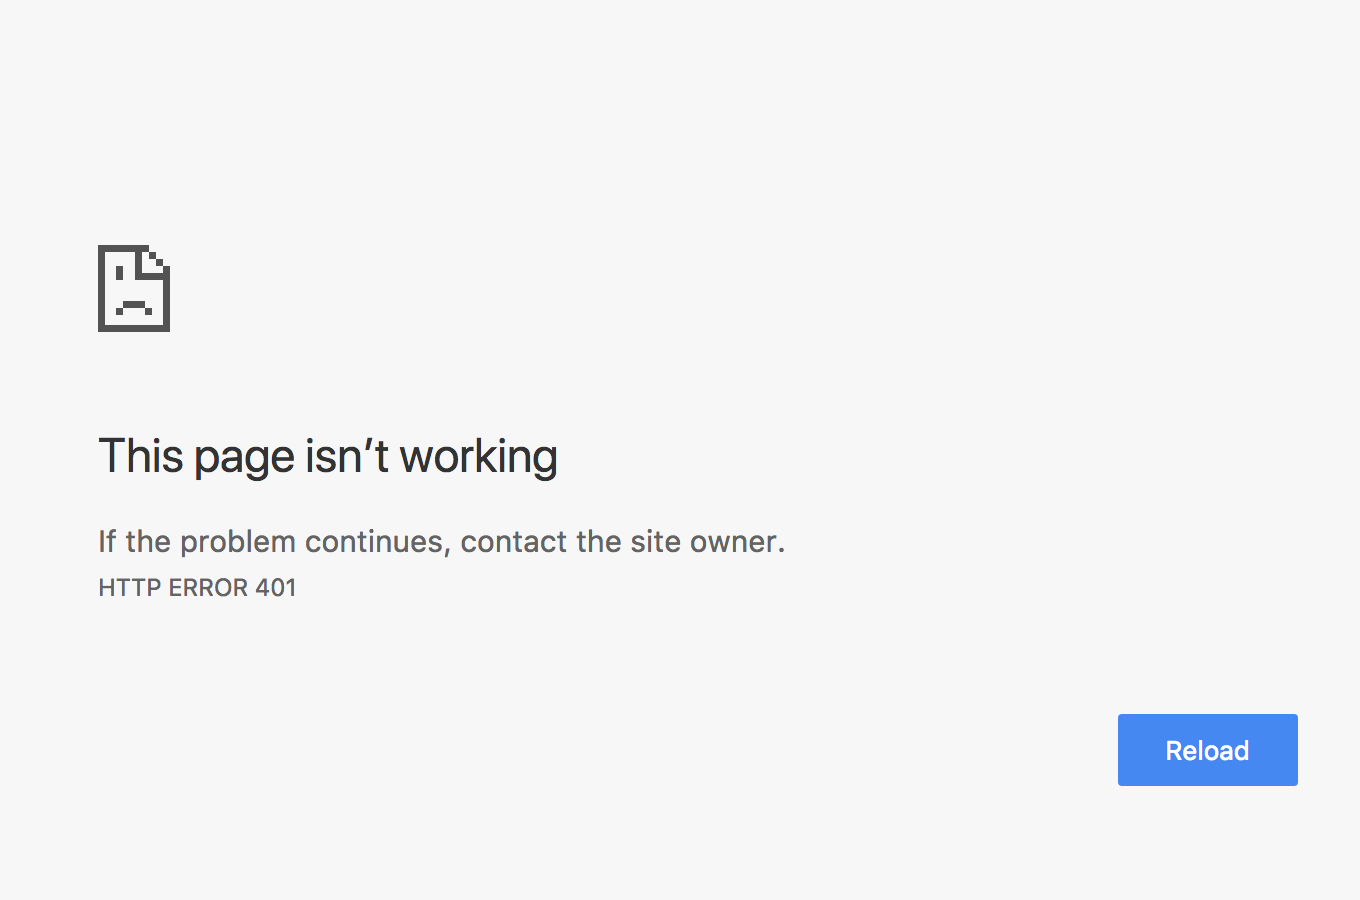
You can now run the API and try to hit it with a browser. You’ll see a screen that says the page isn’t working with an HTTP error of 401.
That’s it! If you run your app you will see the application displaying the values as before. You now have an API that is protected with access tokens provided by Okta, and only the worthy shall pass.
Learn More
Interested in learning more about API access management or building secure applications with Okta? Check out our Product Documentation or any of these great resources:
- Discover how the .NET Authentication middleware has changed from Core 1.0 to Core 2.0
- Learn about the .NET JwtBearer Namespace
- Read about Angular Authentication with OIDC
- And how to Build a React Application With Authentication
Changelog:
- Apr 6, 2021: Updated post to use the Okta CLI for setup. See changes in okta-blog#678.
Okta Developer Blog Comment Policy
We welcome relevant and respectful comments. Off-topic comments may be removed.