Use OpenID Connect for Authorization in Your ASP.NET MVC Framework 4.x App
A common practice in web applications is to have a restricted area for registered users, and perhaps another for administrators. Whether this restricted access area is premium content, or simply the order history for your e-commerce site’s users, it’s important that it be properly secured. OpenID Connect (OIDC) makes it easy, but it can be tricky to set up in ASP.NET MVC framework. In this post, I’ll show you how to create groups and use the authorization framework that comes with ASP.NET.
Note: In May 2025, the Okta Integrator Free Plan replaced Okta Developer Edition Accounts, and the Okta CLI was deprecated.
We preserved this post for reference, but the instructions no longer work exactly as written. Replace the Okta CLI commands by manually configuring Okta following the instructions in our Developer Documentation.
Set Up the Base ASP.NET MVC 4.x Application
For the base application, start by downloading our ASP.NET MVC example from GitHub. You’ll also need to set up your application in Okta. Start by creating a forever-free developer account, or logging in if you already have one. Once you’re at the dashboard in the Okta developer console, create an application with the following settings:
- Application type: Web
- Allowed grant types: Authorization Code, Implicit (Hybrid) - Allow ID Token
- Login redirect URI:
http://localhost:8080/authorization-code/callback - Logout redirect URI:
http://localhost:8080/Account/PostLogout
Then open the Web.config file and add these keys to the <appSettings> section:
<!-- 1. Replace these values with your Okta configuration -->
<add key="okta:ClientId" value="{clientId}" />
<add key="okta:ClientSecret" value="{clientSecret}" />
<add key="okta:OrgUri" value="https://{yourOktaDomain}/oauth2/default" />

<!-- 2. Update the Okta application with these values -->
<add key="okta:RedirectUri" value="http://localhost:8080/authorization-code/callback" />
<add key="okta:PostLogoutRedirectUri" value="http://localhost:8080/Account/PostLogout" />
Add Groups to the ID Token
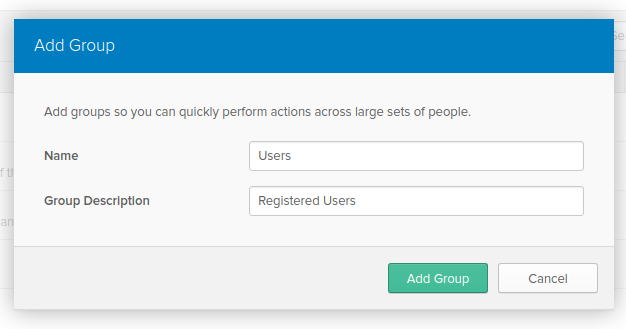
First, add two groups to your new application: Users and Admins. From the dashboard, hover over the Users menu item and from the drop-down menu choose Groups. On the groups screen, click Add Group.
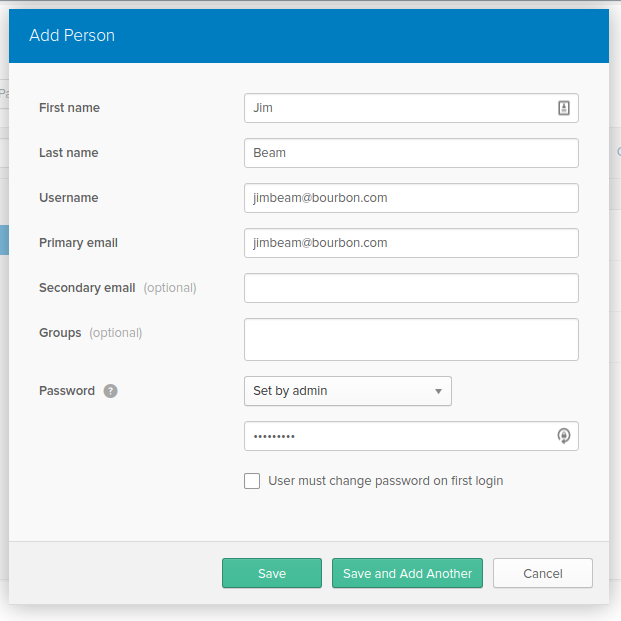
To add users, click on the Users menu item. Click on Add User and create two new users. The only required information is first name, last name, and email address. The interface will automatically set the username to the primary email.
Then make sure to select Set by Admin in the Password drop-down, set the password to something simple and then uncheck the User must change password on the first login checkbox. Finally, click the Save and Add Another, and add another user called Jack Daniels with the same settings.
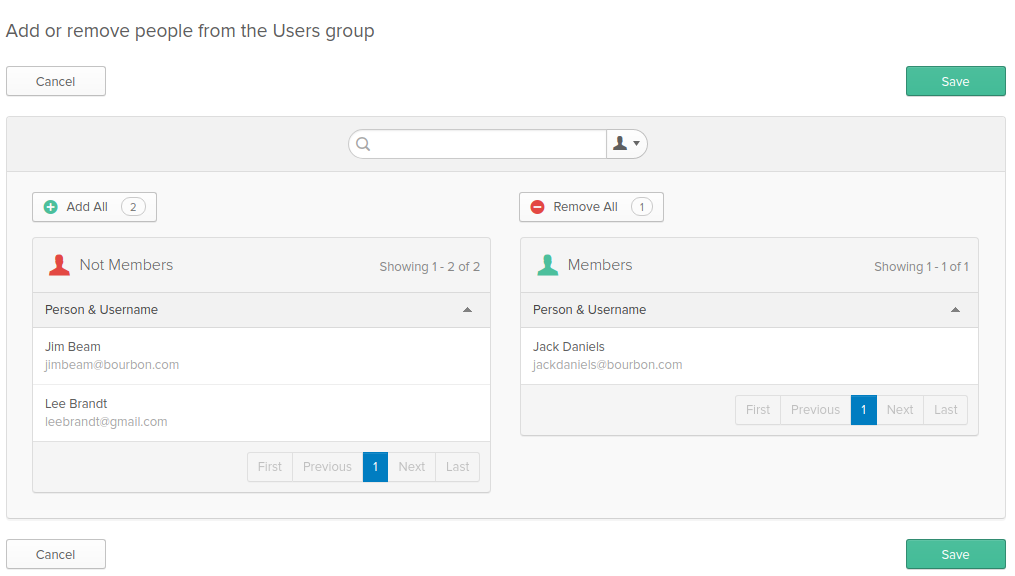
Add Jim Beam to the Users group and add Jack Daniels to the Admin group. To do this, go back to the Groups page and select the group you want to add people to. Then, click Manage People. When you hover over each person in the listing of users that are not members on the left, there will be a green plus sign button. Click this button to add that person to the selected group.
Now you just need to add these groups to the token.
- Hover over the API menu item and select Authorization Servers.
- Select the default authorization server (it was created for you when you created your Okta account).
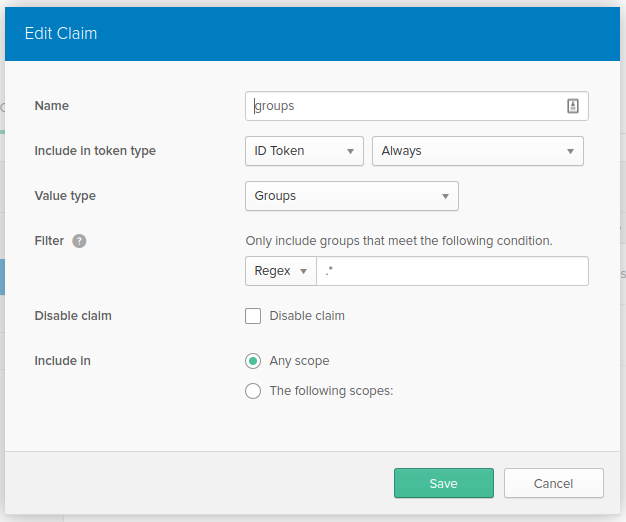
- Choose the Claims tab, and click Add Claim.
- The name of the claim will be “groups”, Select ID Token and Always from the Include in token type setting.
- Choose Groups from the Value Type setting, and Regex from the Filter setting.
- In the text box type
.*. - Finally, make sure the Disable claim checkbox is unchecked and that the Any scope radio button is selected in the Include in setting.
Map the OpenID Connect Groups to Roles
Once you’ve got groups in the token, you’ll need to map those to roles, since the authorization attributes in ASP.NET MVC uses roles to restrict access. To do this, open the Startup.cs file, and add in the Configuration() method, there’s a section of the code that sets up the OpenID Connect authentication called UseOpenIdConnectAuthentication that takes an argument of type OpenIdConnectAuthenticationOptions. Inside the Notification property, there is a function for AuthorizationCodeReceived. Before the return statement, add a loop to go through each of the groups in the token and a RoleType claim to the identity object.
foreach(var group in userInfoResponse.Claims.Where(x => x.Type == "groups"))
{
    n.AuthenticationTicket.Identity.AddClaim(new Claim(ClaimTypes.Role, group.Value));
}
Now you can use those roles in the authorize attribute.
Add Restricted MVC Routes
To the AccountController, add some new restricted routes: one for each group.
// previous controller actions removed for brevity
[Authorize(Roles = "Enthusiasts")]
public ActionResult Enthusiast() => View();

[Authorize(Roles = "Admin")]
public ActionResult Admin() => View();
Now the authorization should work, but there is one problem. If a user is logged in but does not belong to the correct group, the default AuthorizeAttribute will attempt to redirect the user to the login screen for authentication. The login screen will determine that the user is already authenticated and will redirect back to the redirectUri with the token. The redirectUri will rebuild the ClaimsPrincipal and try to redirect the user back to the URL they originally requested. The AuthorizeAttribute will run again and begin the cycle all over again.
Create a Custom ASP.NET MVC Attribute
To avoid this problem, you’ll need to rewire the default behavior of the default AuthorizeAttribute by creating a new attribute, and overriding the default behavior when the user is unauthorized. In the main project folder (where the controller folder is), create a new folder called Helpers. Inside that folder create a new C# class called OktaAuthorize. Change the class so that it inherits from AuthorizeAttribute and override the HandleUnauthorizedRequest method like below.
protected override void HandleUnauthorizedRequest(AuthorizationContext filterContext)
{
    if (!filterContext.HttpContext.User.Identity.IsAuthenticated)
    {
        base.HandleUnauthorizedRequest(filterContext);
    }
    else
    {
        filterContext.Result = new RedirectToRouteResult(
            new RouteValueDictionary(
                new
                {
                    controller = "Error",
                    action = "AccessDenied"
                }
            )
        );
    }
}
The above code simply checks if the user is logged in. If they are aren’t, the HandleUnauthorizedRequest() can handle the request just fine. If they are logged in, it redirects to the error controller’s AccessDenied action.
Next, you’ll need to create that AccessDenied action in the ErrorController so the complete controller looks like below.
public class ErrorController : Controller
{
    // GET: Error
    public ActionResult Index()
    {
        return View();
    }

    public ActionResult AccessDenied()
    {
        return View();
    }
}
Lastly, just create a simple AccessDenied view for the controller.
@{
    ViewBag.Title = "AccessDenied";
}

<h2>AccessDenied</h2>
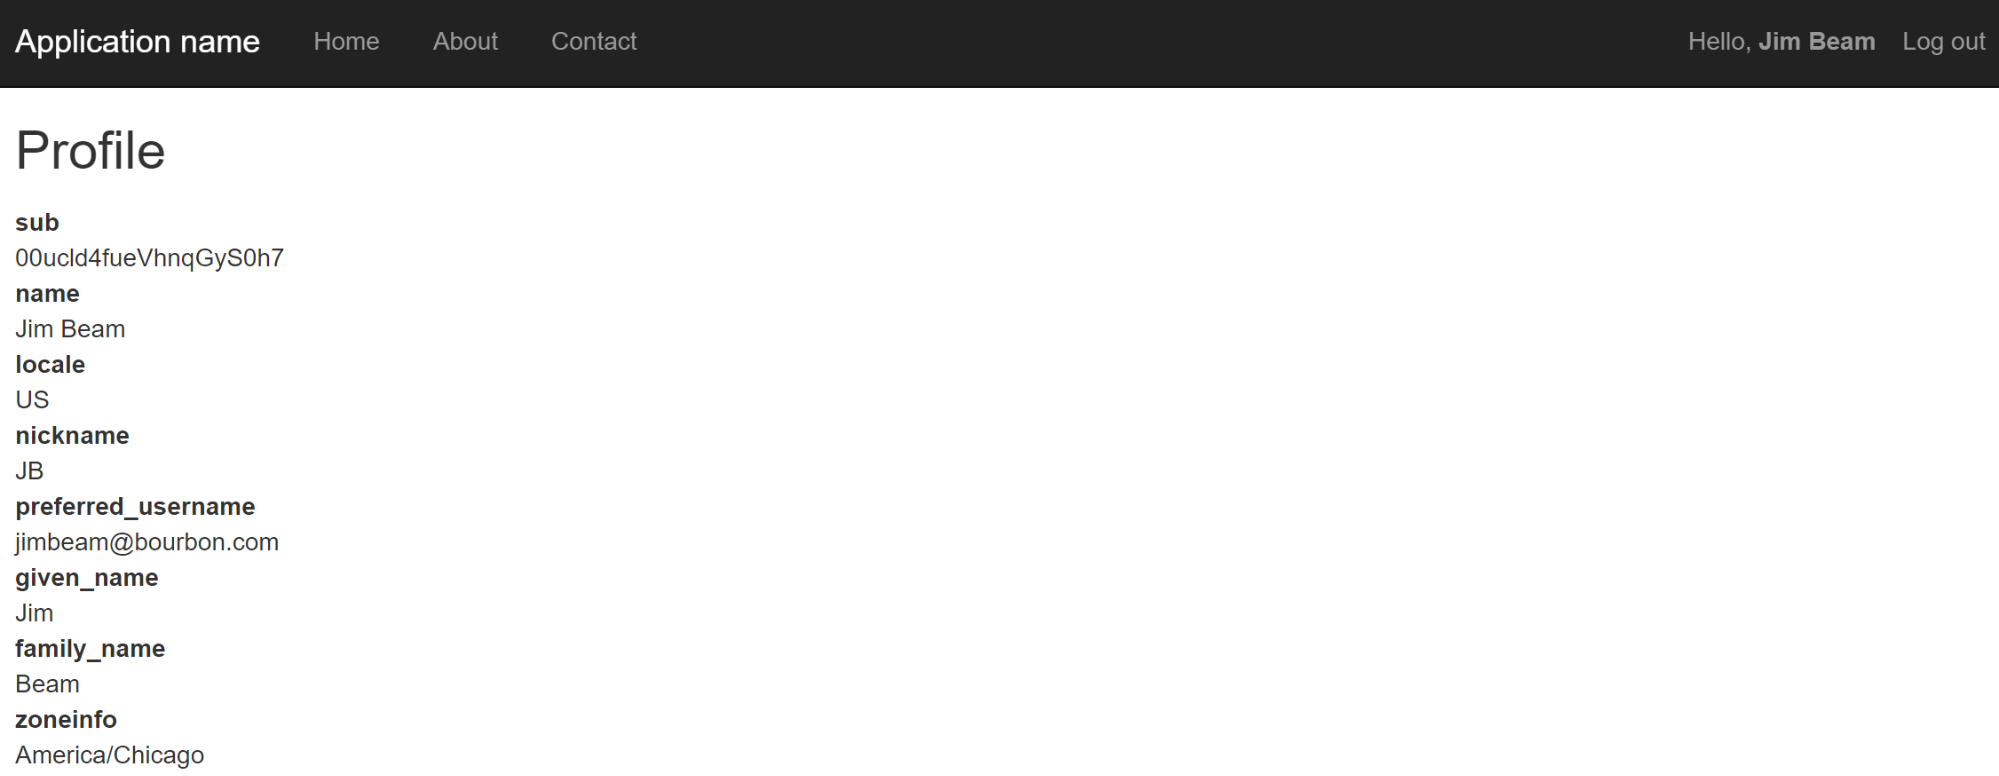
You should now be able to run the application and see that if you’re logged in with the Jim Beam user, when you try to navigate to the account/admin action, you get redirected to the AccessDenied page instead of the “unauthorized loop” that you’d get with the default AuthorizeAttribute.
Learn More About ASP.NET and Okta
If you’d like to learn more about how Okta can ease identity management for your applications, check out Okta’s product documentation. Interested in learning more about ASP.NET? Check out these resources from our blog::
- How to Secure Your .NET Web API with Token Authentication
- Build a Secure To-Do App with Vue, ASP.NET Core, and Okta
- Build an App for iOS and Android with Xamarin
And as always, we’d love to hear from you. Hit us up in the comments, or on Twitter @oktadev.
Okta Developer Blog Comment Policy
We welcome relevant and respectful comments. Off-topic comments may be removed.