Build a GraphQL API with ASP.NET Core

“There is no Frigate like a Book To take us Lands away…” – Emily Dickinson
These days, people read more on social media than they do in books. Maybe the remedy is to make reading more social. To that end, we’ll create an API for books. This will be an ASP.NET Core 2.2 Web API using GraphQL, which will allow developers to create applications that consume the API securely. ASP.NET Core 2.2 provides the ability to host the API on any platform and GraphQL makes it easy for consumers of the API to query the API and receive the data the way they want it.
All you need for this tutorial is version 2.2 of the .NET Core SDK.
This demo will use VS Code, but feel free to use your preferred editor or IDE.
Let’s dig in!
You will create an API that will be in charge of validating the tokens with the help of Okta services. Our test client will be simple console application that will access the API.
Inside of your root project folder create two folders: Api and Client.
Note: In May 2025, the Okta Integrator Free Plan replaced Okta Developer Edition Accounts, and the Okta CLI was deprecated.
We preserved this post for reference, but the instructions no longer work exactly as written. Replace the Okta CLI commands by manually configuring Okta following the instructions in our Developer Documentation.
Create Your ASP.NET Core API for Your GraphQL Architecture
Inside of your api folder run the following:
dotnet new webapi
Since you will only be using your application locally, you can disable HTTPS redirection. Open your Startup.cs file and locate the Configure method. Update the content of this method to look like this:
public void Configure(IApplicationBuilder app, IHostingEnvironment env)
{
  if (env.IsDevelopment())
  {
    app.UseDeveloperExceptionPage();
  }
  app.UseMvc();
}
Create Your ASP.NET Core API Models
Inside your Api project let’s create a new folder called Database. Inside of that folder make a class Book.cs:
namespace Api.Database
{
  public class Book
  {
    public string Id { get; set; }

    public string Name { get; set; }

    public bool Published { get; set; }

    public string Genre { get; set; }

    public string AuthorId { get; set; }

    public Author Author { get; set; }
  }
}
Inside of Database folder create another class Author.cs with following content:
using System.Collections.Generic;

namespace Api.Database
{
  public class Author
  {
    public int Id { get; set; }
    public string Name { get; set; }
    public List<Book> Books { get; set; }
  }
}
Set Up Your Database
Now you’ll need to set up your connection with the database. For this tutorial, you’ll use the InMemory database with Entity Framework Core.
Inside your Database folder create a new file ApplicationDbContext.cs that contains the following:
using Microsoft.EntityFrameworkCore;

namespace Api.Database {

public class ApplicationDbContext : DbContext
{
  public ApplicationDbContext(DbContextOptions<ApplicationDbContext> options)
        : base(options)
      { }

    public DbSet<Book> Books { get; set; }
    public DbSet<Author> Authors { get; set; }
  }
}
Time to add DbContext to your application. Inside of theStartup class, locate the ConfigureServices method add the following to the beginning:
services.AddDbContext<ApplicationDbContext>(context =>
{
    context.UseInMemoryDatabase("OktaGraphQL");
});
Make sure you add the necessary using directive at the top of the Startup.cs file:
using Microsoft.EntityFrameworkCore;
using Api.Database;
The piece of code above tells the Entity Framework to use an in-memory database named OktaGraphQL. This type of database is usually used for the tests, and you shouldn’t use it in production. However, this should be more than enough to cover the needs of this tutorial.
Seed the database
Since you’re using the In-Memory database, the data will be lost on every new start of the app. Therefore, you can seed the database when our application starts. Update the contents of Program.cs file with the following code:
using Api.Database;

using Microsoft.AspNetCore;
using Microsoft.AspNetCore.Hosting;
using Microsoft.Extensions.DependencyInjection;

namespace Api
{
  public class Program
  {
    public static void Main(string[] args)
    {
      IWebHost host = CreateWebHostBuilder(args).Build();
      using (IServiceScope scope = host.Services.CreateScope())
      {
        ApplicationDbContext context = scope.ServiceProvider.GetRequiredService<ApplicationDbContext>();

        var authorDbEntry = context.Authors.Add(
          new Author
          {
            Name = "First Author",
          }
        );

        context.SaveChanges();

        context.Books.AddRange(
          new Book
          {
            Name = "First Book",
            Published = true,
            AuthorId = authorDbEntry.Entity.Id,
            Genre = "Mystery"
          },
          new Book
          {
            Name = "Second Book",
            Published = true,
            AuthorId = authorDbEntry.Entity.Id,
            Genre = "Crime"
          }
        );
      }
      host.Run();
  }

  public static IWebHostBuilder CreateWebHostBuilder(string[] args) =>
      WebHost.CreateDefaultBuilder(args)
          .UseStartup<Startup>();
  }
}
Set Up GraphQL in Your ASP.NET Core API
You can now start adding GraphQL related code. You will first set up some middleware that will make testing your GraphQL endpoint a lot easier.
GraphQL Middleware
GraphiQL an in-browser IDE for exploring GraphQL. GraphiQL features include: Syntax highlighting Intelligent type ahead of fields, arguments, types, and more. Real-time error highlighting and reporting. Automatic query completion. Run and inspect query results.
GraphiQL.NET saves you from needing any additional dependencies by allowing you to include the GraphiQL in-browser editor directly into your ASP.NET Core application via middleware, allowing you to explore and test your GraphQL endpoint with ease.
Make sure you are in your Api folder and run the following command:
dotnet add package GraphQL --version 2.4.0
dotnet add package graphiql --version 1.2.0
Once that is done you can add GraphiQL.NET to your ASP.NET Core application by adding the app.UseGraphiQl() middleware to the Configure method within your Startup.cs file.
Add the using directive for GraphiQL.NET:
using GraphiQl;
Then before the app.UseMvc(); add the following line:
app.UseGraphiQl("/graphql");
This piece of code will make sure that GraphiQL.NET interface runs on the /graphql endpoint.
GraphQL Queries
Since you want to get the data about books and authors, you need to query the Book and Author classes. However, you can’t directly use a GraphQL query against these classes. To make the Book class GraphQL queryable, you should create a new type and extend it from the generic type ObjectGraphType<T>, and you will pass the Book type as its generic argument.
Inside of your Api folder create a new folder named GraphQL. You can now create a new class BookType.cs inside of the GraphQL folder. Paste the following content inside of that file:
using Api.Database;
using GraphQL.Types;

namespace Api.GraphQL
{
  public class BookType : ObjectGraphType<Book>
  {
    public BookType()
    {
      Name = "Book";

      Field(x => x.Id, type: typeof(IdGraphType)).Description("The ID of the Book.");
      Field(x => x.Name).Description("The name of the Book");
      Field(x => x.Genre).Description("Book genre");
      Field(x => x.Published).Description("If the book is published or not");
    }
  }
}
Inside of the same folder create another class AuthorType, and paste the following content inside:
using Api.Database;
using GraphQL.Types;

namespace Api.GraphQL
{
  public class AuthorType : ObjectGraphType<Author>
  {
    public AuthorType()
    {
      Name = "Author";

      Field(x => x.Id, type: typeof(IdGraphType)).Description("Author's ID.");
      Field(x => x.Name).Description("The name of the Author");
      Field(x => x.Books, type: typeof(ListGraphType<BookType>)).Description("Author's books");
    }
  }
}
You can now write the GraphQL query that will handle fetching an author and list of authors. Create a new file called AuthorQuery.cs, and paste the following:
using System.Linq;
using Api.Database;
using GraphQL.Types;
using Microsoft.EntityFrameworkCore;

namespace Api.GraphQL
{
  public class AuthorQuery : ObjectGraphType
  {
    public AuthorQuery(ApplicationDbContext db)
    {
      Field<AuthorType>(
        "Author",
        arguments: new QueryArguments(
          new QueryArgument<IdGraphType> { Name = "id", Description = "The ID of the Author." }),
        resolve: context =>
        {
          var id = context.GetArgument<int>("id");
          var author = db
            .Authors
            .Include(a => a.Books)
            .FirstOrDefault(i => i.Id == id);
          return author;
        });

      Field<ListGraphType<AuthorType>>(
        "Authors",
        resolve: context =>
        {
          var authors = db.Authors.Include(a => a.Books);
          return authors;
        });
    }
  }
}
The client will always be sending the POST request which will contain the query name, operation name, and the variables. You can create a new class that will serve as a model for all queries from the client. Create a new file named GraphQLQuery.cs in the GraphQL folder and paste the following code:
using Newtonsoft.Json.Linq;

namespace Api.GraphQL
{
  public class GraphQLQuery
  {
    public string OperationName { get; set; }
    public string NamedQuery { get; set; }
    public string Query { get; set; }
    public JObject Variables { get; set; }
  }
}
GraphQL Controller
You can now create a GraphQL controller that will be in charge of all GraphQL queries from your clients. In the same GraphQL folder, create a new file named GraphQLController.cs. You can now past the following code inside of the new controller:
using System.Threading.Tasks;
using Api.Database;
using GraphQL;
using GraphQL.Types;
using Microsoft.AspNetCore.Mvc;

namespace Api.GraphQL
{
  [Route("graphql")]
  [ApiController]
  public class GraphQLController : Controller
  {
    private readonly ApplicationDbContext _db;

    public GraphQLController(ApplicationDbContext db) => _db = db;

    public async Task<IActionResult> Post([FromBody] GraphQLQuery query)
    {
      var inputs = query.Variables.ToInputs();

      var schema = new Schema
      {
        Query = new AuthorQuery(_db)
      };

      var result = await new DocumentExecuter().ExecuteAsync(_ =>
      {
        _.Schema = schema;
        _.Query = query.Query;
        _.OperationName = query.OperationName;
        _.Inputs = inputs;
      });

      if(result.Errors?.Count > 0)
      {
        return BadRequest();
      }

      return Ok(result);
      }
  }
}
Secure Your ASP.NET Core GraphQL Application
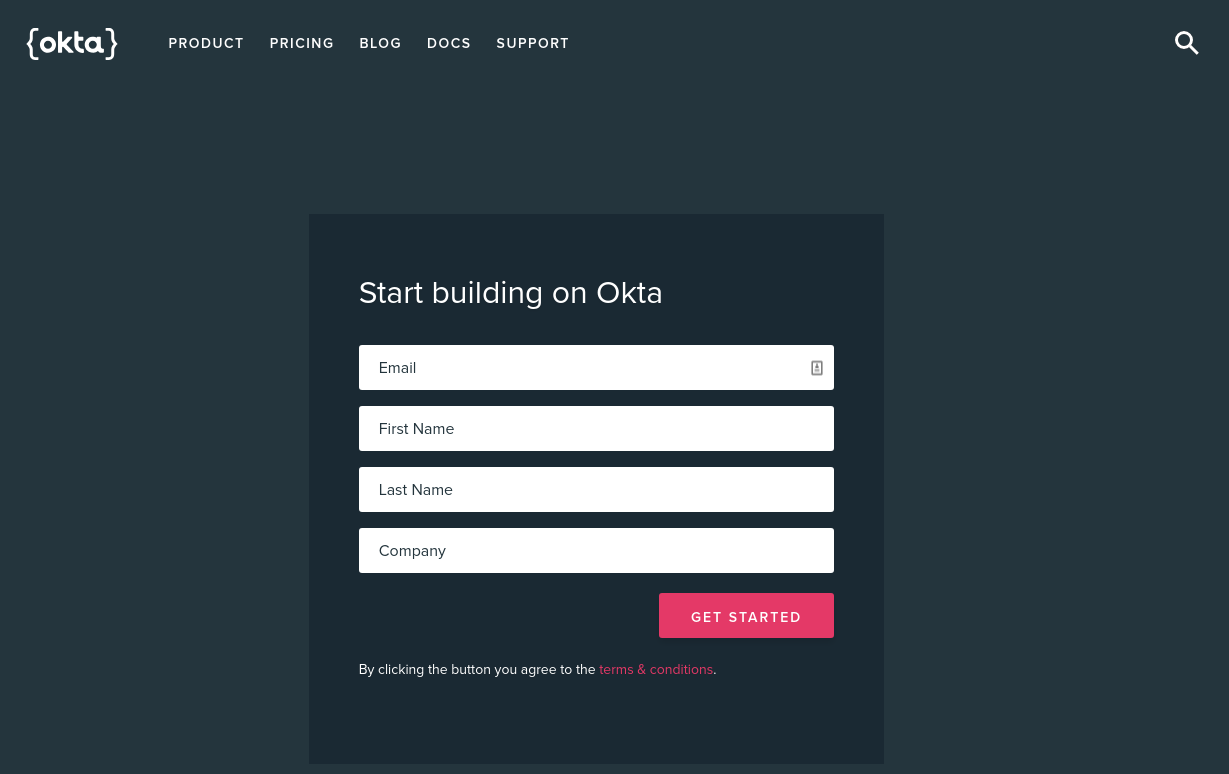
Sign up for a forever-free developer account (or log in if you already have one).
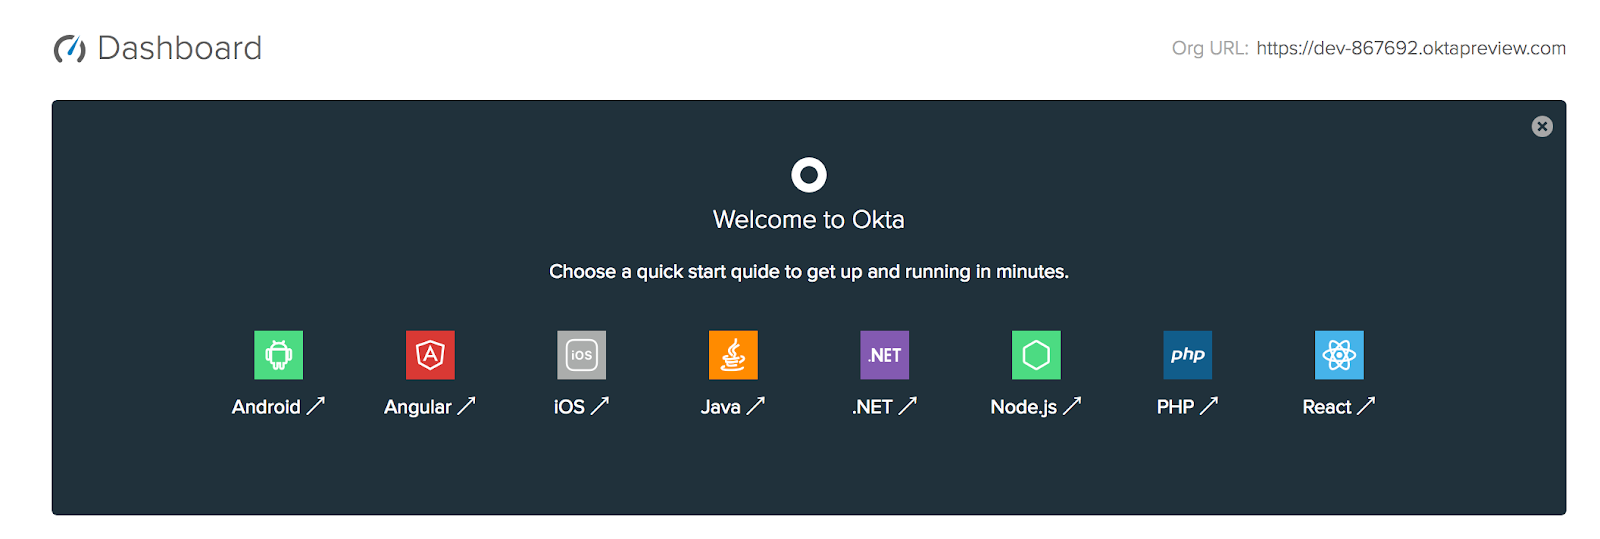
After you have completed your login (and registration), you should see the Dashboard, and in the upper right corner, there should be your unique Org URL. Save it for later.
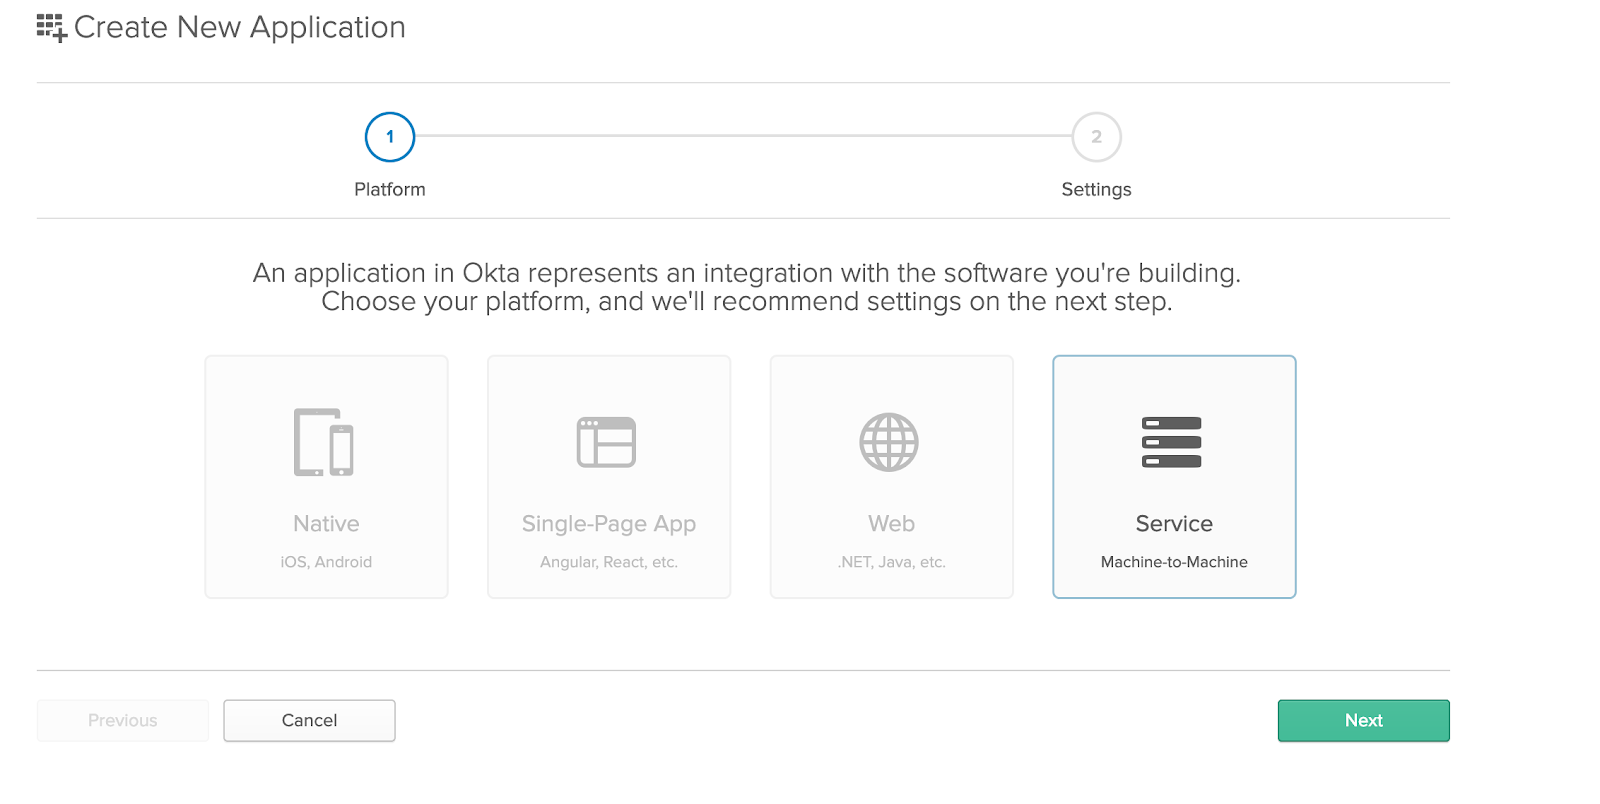
Now you need to create a new application by browsing to the Applications tab. Click Add Application, and from the first page of the wizard choose Service.
On the settings page, enter the name of your application:
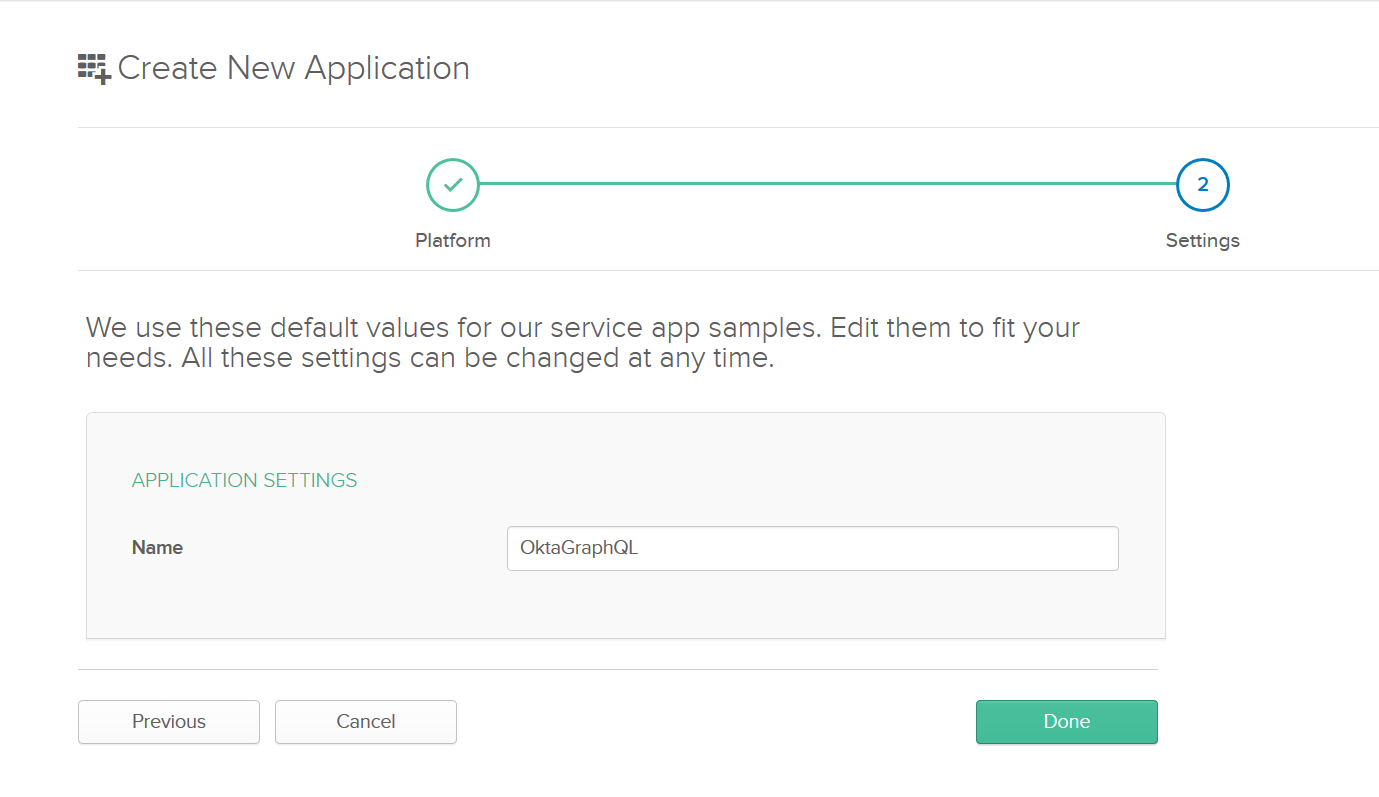
You can now click Done
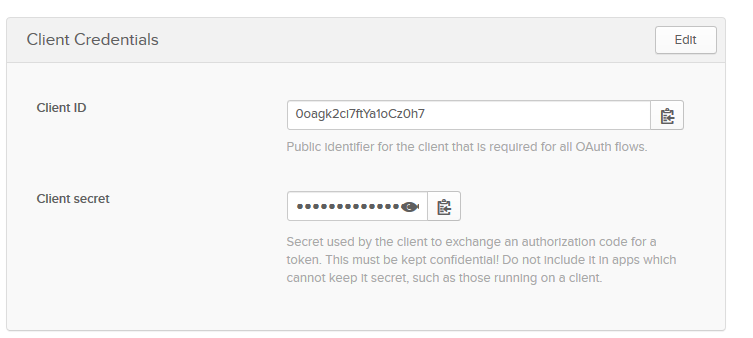
Now that your application has been created copy down the Client ID and Client secret values on the following page, you’ll need them soon (of course, yours will be different).
Validate Your Access Tokens
Since ASP.NET Core comes with enough JWT helpers to help us validate JWT tokens, it will be quite easy to finish this step.
Inside of your Startup class add the following to the ConfigureServices() method:
services.AddAuthentication(options =>
{
  options.DefaultScheme = JwtBearerDefaults.AuthenticationScheme;
})
.AddJwtBearer(options =>
{
  options.Authority = "https://{yourOktaDomain}/oauth2/default";
  options.Audience = "api://default";
  options.RequireHttpsMetadata = false;
});
Make sure to add the using directive for the JwtBearer namespace to your Startup class as well.
using Microsoft.AspNetCore.Authentication.JwtBearer;
You will also need a call to ASP.NET Core’s authentication middleware. This middleware should be called before we call the MVC middleware. Place the following above app.UseGraphiQl("/graphql"); line:
app.UseAuthentication();
The last thing in the API is to protect the API endpoint. Add the Authorize attribute to the GraphQLController class.
[Authorize]
public async Task<IActionResult> Post([FromBody] GraphQLQuery query)
{
//... the rest of the class is omitted for brevity
Test Your ASP.NET Core GraphQL API
Inside of your Client folder run the following:
dotnet new console
You can now add the required NuGet packages for your console application:
dotnet add package Newtonsoft.Json --version 12.0.1
First, you will need to get your sensitive details, that will be used to get a token that grants you access to protected endpoint on your API. You will need the following details: Client ID, Client secret, and your Okta Domain.
You can now create a new class that will store these details. In your Client folder, create a class named OktaConfig.cs and paste the following code:
namespace Client
{
  public class OktaConfig
  {
    public string TokenUrl { get; set; }
    public string ClientId { get; set; }
    public string ClientSecret { get; set; }
  }
}
The TokenUrl property is the URL to your default Authorization Server. You can find this in Okta by going to the dashboard and hovering over the API menu item in the menu bar, then choosing Authorization Servers from the drop down menu and using the Issuer URI for the “default” server. The ClientId and ClientSecret properties are from the General Settings tab of your API application in Okta.
The TokenService will fetch a new access token when needed and reuse the existing one when possible.
You will need an OktaToken class to store the token result from Okta services. Create a file called TokenService.cs in the Client folder. Paste the code below in the class:
using System;
using Newtonsoft.Json;

internal class OktaToken
 {
     [JsonProperty(PropertyName = "access_token")]
     public string AccessToken { get; set; }

     [JsonProperty(PropertyName = "expires_in")]
     public int ExpiresIn { get; set; }

     public DateTime ExpiresAt { get; set; }

     public string Scope { get; set; }

     [JsonProperty(PropertyName = "token_type")]
     public string TokenType { get; set; }

     public bool IsValidAndNotExpiring
     {
         get
         {
             return !String.IsNullOrEmpty(this.AccessToken) &&
       this.ExpiresAt > DateTime.UtcNow.AddSeconds(30);
         }
     }
 }
These are all the properties that the token will provide. The only extra thing is the IsValidAndNotExpiring property. This just checks the AccessToken is there and isn’t expiring in the next thirty seconds. This way the app can get a new token if it is expiring soon. Now you’ll need a service to use this OktaToken.
Create a new file called ITokenService.cs and place this interface code inside of the file:
using System.Threading.Tasks;

public interface ITokenService
{
  Task<string> GetToken();
}
The implementation will decide whether or not to get a new access token or return the one that it has previously received. For the implementation of the interface create the following code in a TokenService.cs file in your Client folder:
using System;
using System.Collections.Generic;
using System.Net.Http;
using System.Net.Http.Headers;
using System.Text;
using System.Threading.Tasks;
using Newtonsoft.Json;

namespace Client
{
  public class TokenService : ITokenService
  {
    private OktaToken _token = new OktaToken();
    private readonly OktaConfig _oktaSettings;

    public TokenService(OktaConfig oktaSettings) => _oktaSettings = oktaSettings;

    public async Task<string> GetToken()
    {
      if (_token.IsValidAndNotExpiring)
      {
        return _token.AccessToken;
      }

      _token = await GetNewAccessToken();

      return _token.AccessToken;
    }

    private async Task<OktaToken> GetNewAccessToken()
    {
      var client = new HttpClient();
      var clientId = _oktaSettings.ClientId;
      var clientSecret = _oktaSettings.ClientSecret;
      var clientCreds = Encoding.UTF8.GetBytes($"{clientId}:{clientSecret}");

      client.DefaultRequestHeaders.Authorization = new AuthenticationHeaderValue("Basic", Convert.ToBase64String(clientCreds));

      var postMessage = new Dictionary<string, string>
            {
                {"grant_type", "client_credentials"},
                {"scope", "access_token"}
            };

      var request = new HttpRequestMessage(HttpMethod.Post, _oktaSettings.TokenUrl)
      {
        Content = new FormUrlEncodedContent(postMessage)
      };

      var response = await client.SendAsync(request);
      if (response.IsSuccessStatusCode)
      {
        var json = await response.Content.ReadAsStringAsync();
        var newToken = JsonConvert.DeserializeObject<OktaToken>(json);
        newToken.ExpiresAt = DateTime.UtcNow.AddSeconds(_token.ExpiresIn);

        return newToken;
      }

      throw new ApplicationException("Unable to retrieve access token from Okta");
    }
  }
}
This token service starts by getting the OktaConfig that is provided by whoever needs the service. The GetToken() method then checks that IsValidAndNotExpiring property and either gets new access token or returns the current one.
The GetNewAccessToken() method sets up the HttpClient to make the call to the Authorization Server. The clientCreds value gets the bytes of a string that has the client ID and secret concatenated with a colon between them. That value is then base64 encoded when it’s added to the Authorization header with “Basic “ in front of it.
There are also two key-value pairs sent as FormUrlEncodedContent:
grant_type: client_credentialsscope: access_token
This tells the Authorization Server that you are sending client credentials and you want to get an access token in exchange.
Test the Secure ASP.NET Core GraphQL API
Inside of your Program.cs file clean up the Main method and make sure it’s empty. At the start of Main method add the following piece of code:
var oktaConfig = new OktaConfig
{
  ClientId = "{OktaClientId}",
  ClientSecret = "{OktaClientSecret}",
  TokenUrl = "https://{yourOktaDomain}/oauth2/default/v1/token"
};
This variable will hold all the details Okta needs to authenticate you as a valid user.
With this piece of data, you can now get a token from your TokenService. Paste the following code at the end of your Main method:
var tokenService = new TokenService(oktaConfig);
var token = await tokenService.GetToken();
Since you are using await keyword you need to make the method async. Change the signature of your Main method to look like this:
static async Task Main(string[] args)
You’ll also need to add the using directive for the Task.
using System.Threading.Tasks;
With the token available you can now create a new instance of HttpClient and attach the token to the request headers. Paste the following code at the end of the Main method:
var httpClient = new HttpClient();
httpClient.DefaultRequestHeaders.Authorization = new AuthenticationHeaderValue("Bearer", token);
You can now create the GraphQL query. Append the following piece of code at the end of your Main method:
var query = @"
{
  author(id: 1) {
    name
  }
}";

var postData = new  { Query = query };
var stringContent = new StringContent(JsonConvert.SerializeObject(postData), Encoding.UTF8, "application/json");
This code will create a new StringContent, with our GraphQL query being part of dynamic object { Query = query}.
After that is in place, you can issue a request to the API. Add the following code at the end of the Main method:
var res = await httpClient.PostAsync(postUri, stringContent);
if (res.IsSuccessStatusCode)
{
  var content = await res.Content.ReadAsStringAsync();

  Console.WriteLine(content);
}
else
{
  Console.WriteLine($"Error occurred... Status code:{res.StatusCode}");
}
Run Your ASP.NET Core GraphQL Application
Open two terminals: one inside of your Client and one in your Api folders. Inside of the Api folder enter the following bash command:
dotnet run
This will start the API application and make sure our application is listening for any incoming requests.
It’s time to test your console application. Inside of your Client folder run the same command:
dotnet run
If everything worked as expected, you should get the following output inside of your terminal:
{"data":{"author":{"name":"First Author"}}}
To test the security, just comment out the line:
httpClient.DefaultRequestHeaders.Authorization = new AuthenticationHeaderValue("Bearer", token);
This will stop sending the bearer token in the headers and you should get an Unauthorized error.
Now you have an API that is secure and lets you control who has access to it!
Learn More About ASP.NET Core, GraphQL, and Secure User Management
Here are some other great resources to check:
- Token Authentication in ASP.NET Core 2.0 - A Complete Guide
- Build a Simple CRUD App with ASP.NET Core and Vue
- Build a Secure CRUD App with ASP.NET Core and React
- Build a Simple API Service with Express and GraphQL
- Build a Secure API with Spring Boot and GraphQL
And as always, we’d love to hear from you. Hit us up with questions or feedback in the comments, or on Twitter @oktadev.
Okta Developer Blog Comment Policy
We welcome relevant and respectful comments. Off-topic comments may be removed.