Build a Secure SPA with React Routing

When building an SPA (single page application) with React, routing is one of the fundamental processes a developer must handle. React routing is the process of building routes, determining the content at the route, and securing it under authentication and authorization. There are many tools available to manage and secure your routes in React. The most commonly used one is react-router. However, many developers are not in a situation where they can use the react-router library. Because of this, they may need to use Reach Router, Wouter, or maybe even no router at all.
This tutorial will show you how to quickly build a secure SPA using React, Okta, and Wouter. Okta easily enables you to manage access to your SPAs (or any application for that matter). By using the @okta/okta-react library you can quickly build secure applications with React. At the time of writing this article, reach-router does not support React version 17+.
Prerequisites:
Table of Contents
- Create an Okta OIDC application
- Create a React application with routing
- Run your React application
- Learn more about React
Note: In May 2025, the Okta Integrator Free Plan replaced Okta Developer Edition Accounts, and the Okta CLI was deprecated.
We preserved this post for reference, but the instructions no longer work exactly as written. Replace the Okta CLI commands by manually configuring Okta following the instructions in our Developer Documentation.
Create an Okta OIDC application
Before you begin, you’ll need a free Okta developer account. Install the Okta CLI and run okta register to sign up for a new account. If you already have an account, run okta login.
Then, run okta apps create. Select the default app name, or change it as you see fit.
Choose Single-Page App and press Enter.
Use http://localhost:3000/callback for the Redirect URI and set the Logout Redirect URI to http://localhost:3000.
What does the Okta CLI do?
The Okta CLI will create an OIDC Single-Page App in your Okta Org. It will add the redirect URIs you specified and grant access to the Everyone group. It will also add a trusted origin for http://localhost:3000. You will see output like the following when it’s finished:
Okta application configuration:
Issuer:    https://dev-133337.okta.com/oauth2/default
Client ID: 0oab8eb55Kb9jdMIr5d6
NOTE: You can also use the Okta Admin Console to create your app. See Create a React App for more information.
Once Okta is done processing your request it will return an Issuer and a Client ID. Make sure you note these, as you will need them in your application.
Create a React application with routing
Next, open your favorite IDE (I use Visual Studio Code) and use the task runner npx create-react-app react-routing-demo to scaffold your React project. You’ll be prompted to install create-react-app. Type y to approve.
This process takes a minute, so grab a cup of coffee or tea if you prefer. The task runner does a great job of getting your application started quickly, but you will need to add and edit a few of the files.
Before you begin, you will need to install some packages.
First, of course, wouter.
cd react-routing-demo
npm i wouter@2.7.5
You will use Bootstrap along with the react-bootstrap library to style your app.
npm i bootstrap@5.1.3
npm i react-bootstrap@1.6.4
Next, you will get dotenv as a way of storing your sensitive Okta information.
npm i dotenv@10.0.0
Finally, you will add the Okta React SDK to your project.
npm i @okta/okta-react@6.2.0 @okta/okta-auth-js@5.6.0
With these dependencies installed, you can begin to create your app. First, add a new file called .env to the root of your project, and add the following items. Note here that the REACT_APP_OKTA_ISSUER should match the issuer from the Okta CLI.
REACT_APP_OKTA_CLIENTID={yourClientId}
REACT_APP_OKTA_APP_BASE_URL=http://localhost:3000
REACT_APP_OKTA_ISSUER=https://{yourOktaDomain}/oauth2/default
Next, add a folder for Components and one for Pages.
mkdir src/Components
mkdir src/Pages
In Components add a new file for Header.jsx and add the following code.
import React from "react";
import { Navbar, Nav, Form, Button } from "react-bootstrap";

const Header = ({ authState, oktaAuth }) => {
  if (authState?.isPending) {
    return <div>Loading...</div>;
  }

  const button = authState?.isAuthenticated ? (
    <Button
      variant="secondary"
      onClick={() => {
        oktaAuth.signOut("/");
      }}
    >
      Logout
    </Button>
  ) : (
    <Button
      variant="secondary"
      onClick={() => {
        oktaAuth.signInWithRedirect();
      }}
    >
      Login
    </Button>
  );

  return (
    <Navbar bg="light" expand="lg">
      <Navbar.Brand href="/">React Routing</Navbar.Brand>
      <Navbar.Toggle aria-controls="basic-navbar-nav" />
      <Navbar.Collapse id="basic-navbar-nav">
        <Nav className="mr-auto"></Nav>
        <Form inline>{button}</Form>
      </Navbar.Collapse>
    </Navbar>
  );
};
export default Header;
This component displays a login button for your users. This button turns into a logout button once the user authenticates. The component also provides a place to access the Profile page you will create.
Add Profile.jsx to the Pages folder. The code for this file is as follows.
import React, { useEffect } from "react";
import { Container } from "react-bootstrap";

import { useOktaAuth } from "@okta/okta-react";

import Header from "../Components/Header";

const Profile = () => {
  const { authState, oktaAuth } = useOktaAuth();

  useEffect(() => {
    async function authenticate() {
      if (!authState) return;

      if (!authState.isAuthenticated) {
        await oktaAuth.signInWithRedirect();
      }
    }

    authenticate();
  }, [authState, oktaAuth]);

  if (!authState?.isAuthenticated) {
    return (
      <Container>
        <p>Please wait while we sign you in</p>
      </Container>
    );
  } else {
    return (
      <Container>
        <Header authState={authState} oktaAuth={oktaAuth}></Header>
        <h4>Your profile page</h4>

        <p>Welcome to your profile page </p>
      </Container>
    );
  }
};

export default Profile;
This page leverages the useOktaAuth hook to determine if the user is logged in. If the user is not logged in, then you will prompt them to log in with Okta. Otherwise, you will display a brief profile page.
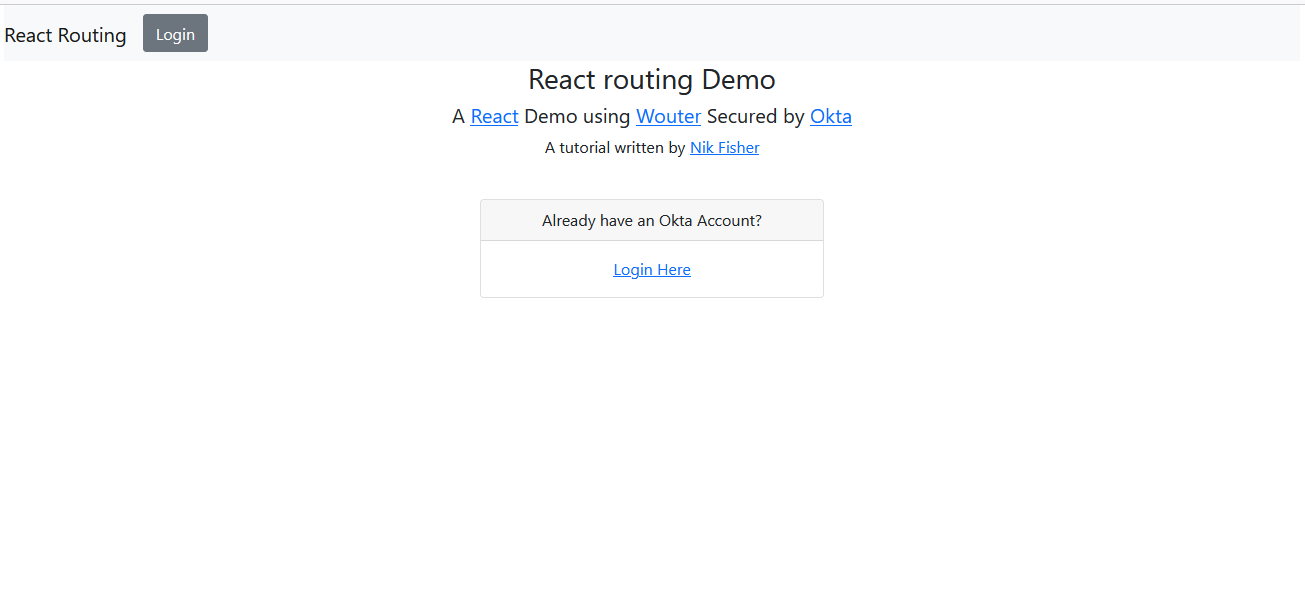
Finally, add Home.jsx to the Pages folder with the following code.
import React from "react";
import { Link, Redirect } from "wouter";

import Header from "../Components/Header";

import { Container, Row, Col, Card } from "react-bootstrap";
import { useOktaAuth } from "@okta/okta-react";

const Home = () => {
  const { authState, oktaAuth } = useOktaAuth();

  return authState?.isAuthenticated ? (
    <Redirect to="/Profile" />
  ) : (
    <Container>
      <Header authState={authState} oktaAuth={oktaAuth}></Header>

      <Row>
        <Col sm={12} className="text-center">
          <h3>React routing Demo</h3>

          <h5>
            A <a href="https://reactjs.org/">React</a> Demo using{" "}
            <a href="https://github.com/molefrog/wouter">Wouter</a> Secured by{" "}
            <a href="https://www.okta.com/">Okta</a>
          </h5>

          <p>
            A tutorial written by{" "}
            <a href="https://profile.fishbowlllc.com">Nik Fisher</a>
          </p>
        </Col>
      </Row>

      <br></br>

      <Row>
        <Col sm={12} className="text-center">
          <Card style={{ width: "21.5em", margin: "0 auto" }}>
            <Card.Header>Already have an Okta Account?</Card.Header>
            <Card.Body>
              <Link to="Profile">Login Here</Link>
            </Card.Body>
          </Card>
        </Col>
      </Row>
    </Container>
  );
};

export default Home;
This page uses the Redirect component from wouter combined with the useOktaAuth hook to redirect authenticated users to the profile page. The page also serves as a landing page with some additional information about your application.
Finally, you will need to update your App.js file with the following code.
import React from "react";
import "./App.css";

import { Router, Route } from "wouter";

import { Security, LoginCallback } from "@okta/okta-react";
import { OktaAuth, toRelativeUrl } from "@okta/okta-auth-js";

import Home from "./Pages/Home";
import Profile from "./Pages/Profile";

import "bootstrap/dist/css/bootstrap.min.css";

const issuer = process.env.REACT_APP_OKTA_ISSUER;
const clientId = process.env.REACT_APP_OKTA_CLIENTID;
const redirect = process.env.REACT_APP_OKTA_APP_BASE_URL + "/callback";

class App extends React.Component {
  constructor(props) {
    super(props);

    this.oktaAuth = new OktaAuth({
      issuer: issuer,
      clientId: clientId,
      redirectUri: redirect,
    });

    this.restoreOriginalUri = async (_oktaAuth, originalUri) => {
      window.location.replace(
        toRelativeUrl(originalUri || "/", window.location.origin)
      );
    };
  }

  render() {
    return (
      <Router>
        <Security
          oktaAuth={this.oktaAuth}
          restoreOriginalUri={this.restoreOriginalUri}
        >
          <Route path="/" component={Home} />
          <Route path="/callback" component={LoginCallback} />
          <Route path="/Profile" component={Profile} />
        </Security>
      </Router>
    );
  }
}

export default App;
Version 6.0 of the @okta/okta-react library includes a few changes to be aware of, depending on which version of the package you most recently used.
First, you must provide the restoreOriginalUri property in the <Security> component. If you were previously using version 4.x, you will notice that you need to inject the OktaAuth object into the Security component rather than the issuer, client ID, and other information. You can read more about these changes on Okta’s React GitHub page.
Here you are also importing the bootstrap CSS.
Finally, you are setting up the routing by wrapping the wouter Router in Okta’s Security component. This will give your routes access to the Okta API.
Run your React application
Your application is now complete. You can run it using npm start and navigate to http://localhost:3000. From there you click the Login button, which will display the Okta login screen. Once you’ve logged in successfully you are redirected to the Profile page.
Learn more about React
With Okta React v6.0+, you no longer need access to the react-router package to set up routing in your React application. This version should make it easier and cleaner to set up Reach Router, Wouter, or to bypass using a router altogether.
You can find the example code from this tutorial in the oktadev/okta-react-router-example project on GitHub.
If you liked this tutorial, you might like these others:
- Build a Simple React Application Using Hooks
- Quickly Consume a GraphQL API from React
- Build Reusable React Components
Make sure you follow us on Twitter and subscribe to our YouTube channel. If you have any questions, or you want to share what tutorial you’d like to see next, please comment below.
Okta Developer Blog Comment Policy
We welcome relevant and respectful comments. Off-topic comments may be removed.