Easy Authentication for Ruby On Rails Login
A couple of things have changed in the Rails world since we published our last blog post on Rails. For one, Rails 6.0 was released on August 16, 2019 (Yay progress!), and, for another, Omniauth had a CRSF vulnerability reported (not so great). Does this make you a bit anxious? Don’t worry! Today we will be going over how to create a Rails app from scratch with the new Rails release and go over how to protect ourselves from the CRSF vulnerability. We are also going to throw in some CRUD action, as well. Last but not least, we will use Okta to take care of authentication and user management in our Rails App.
To get rocking and rolling with this tutorial you will need:
- A basic knowledge of Ruby on Rails
- A text Editor (I am using VS Code in my examples)
- Rails 6
- An Okta Developer Account (free forever, to handle your OAuth needs)
Note: In May 2025, the Okta Integrator Free Plan replaced Okta Developer Edition Accounts, and the Okta CLI was deprecated.
We preserved this post for reference, but the instructions no longer work exactly as written. Replace the Okta CLI commands by manually configuring Okta following the instructions in our Developer Documentation.
Create a Rails Application for Login
Open up the terminal and create a brand new rails application:
rails new okta_crud
cd okta_crud/
Open your code editor and navigate to your Gemfile. It should look something like this:

We are going to add some sweet gems to our gemfile, including:
- Devise for scaffolding and user Model Generation
- omniauth-oktaoauth - our OAuth strategy gem for Okta
- activerecord-session_store to handle our session
- figaro for managing our application YAML files to hold our environment variables and finally
- omniauth-rails_csrf_protection to protect us from that CRSF vulnerability mentioned prior
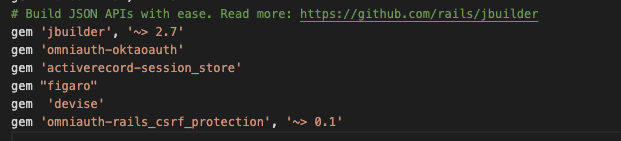
Copy and paste this into your Gemfile:
gem 'omniauth-oktaoauth'
gem 'activerecord-session_store'
gem 'figaro'
gem  'devise'
gem 'omniauth-rails_csrf_protection', '~> 0.1'
It should look like this now:
Now, hit save in your editor.
Next, go to your terminal and do some Rails magic to install all your new gems, create a database for active record, install devise into your Rails app, and create a user model:
bundle install
rake db:create
rails g devise:install
rails g devise User
Nice! We have Devise setup. Now let’s do the session and omniauth pieces:
rails generate active_record:session_migration
rails g migration AddOmniauthToUsers provider:index uid:index
Let’s also create pages for home and account and a session controller:
rails g controller pages home account
rails g controller Sessions new create destroy
Now, let’s run the migrations in our db:
rake db:migrate
Next, let’s create the Omniauth Controller:
cd app/controllers
mkdir users
touch users/omniauth_callbacks_controller.rb
That’s enough terminal commands for now. Time to add some code!
Add the Omniauth callback in the file controllers/users/omniauth_callbacks_controller.rb:
class Users::OmniauthCallbacksController < Devise::OmniauthCallbacksController
  def oktaoauth
     @user = User.from_omniauth(request.env["omniauth.auth"])
      session[:oktastate] = request.env["omniauth.auth"]["uid"]
     redirect_to root_path
  end
end
Next, go to the session controller, in controllers/sessions_controller.rb, and replace with this code for a logout method:
class SessionsController < ApplicationController
  def new
  end

  def create
  end

  def destroy
    session[:oktastate] = nil
    @current_user = session[:oktastate]
    @session = session[:oktastate]
    redirect_to root_path
  end
end
Let’s edit our page controller. Go to controllers/pages_controller.rb and copy and paste this code:
class PagesController < ApplicationController
  before_action :user_is_logged_in?, except: :home

  def home
    puts(session[:oktastate])
    @current_user = User.find_by(uid: session[:oktastate])
  end

  def account
    @current_user = User.find_by(uid: session[:oktastate])
    puts(session[:oktastate])
  end
end
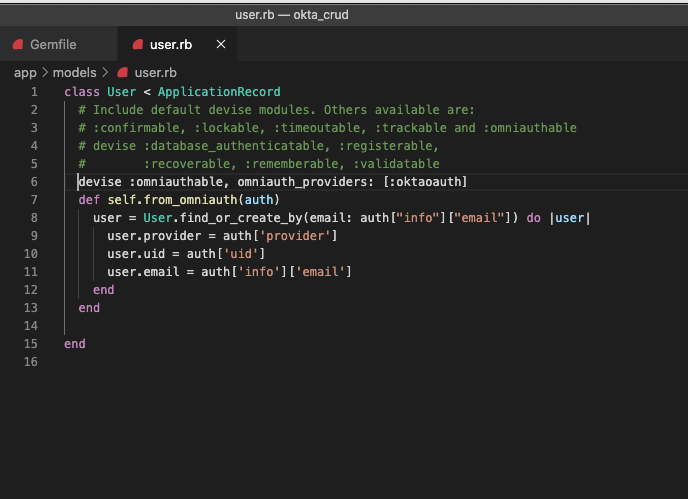
Go to the models/users.rb file and add a method:
devise :omniauthable, omniauth_providers: [:oktaoauth]
  def self.from_omniauth(auth)
    user = User.find_or_create_by(email: auth['info']['email']) do |user|
      user.provider = auth['provider']
      user.uid = auth['uid']
      user.email = auth['info']['email']
    end
  end
It should look something like this:
In routes.rb to replace your routes, we have to make some adjustments as below:
Rails.application.routes.draw do
  get 'sessions/new'
  get 'sessions/create'
  get 'sessions/destroy'
  root 'pages#home'
  get 'pages/account'
  devise_for :users, :controllers => { :omniauth_callbacks => "users/omniauth_callbacks" }
  # For details on the DSL available within this file, see https://guides.rubyonrails.org/routing.html
end
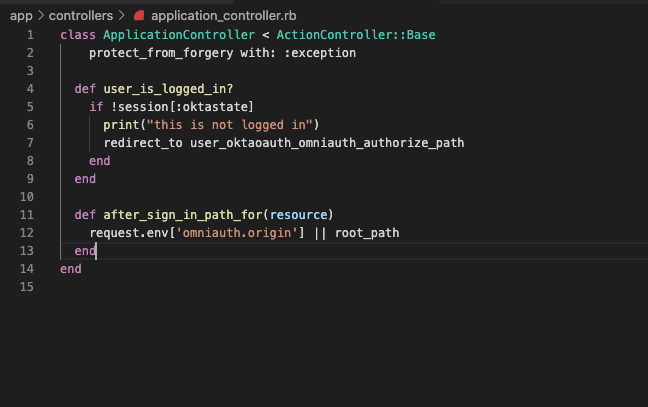
Next, our Application Controller :
class ApplicationController < ActionController::Base
protect_from_forgery with: :exception

  def user_is_logged_in?
    if !session[:oktastate]
      print("user is not logged in")
      redirect_to user_oktaoauth_omniauth_authorize_path
    end
  end

  def after_sign_in_path_for(resource)
    request.env['omniauth.origin'] || root_path
  end

end
It should now look like this:
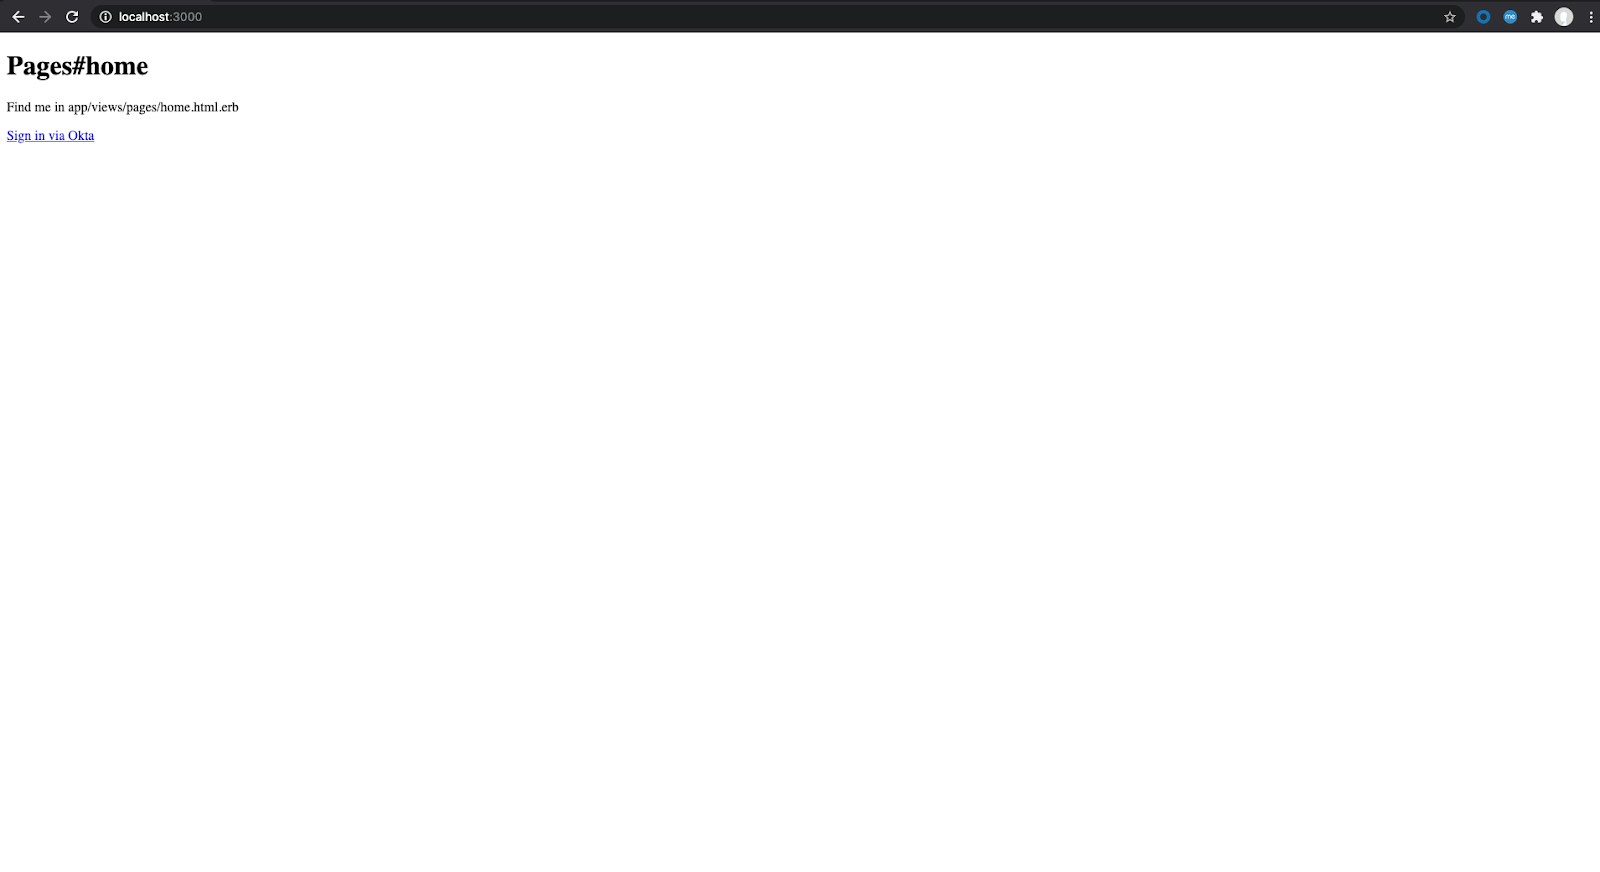
Next, let’s edit some of our views. Go to pages views/pages/home.html.erb and add this code:
<h1>Pages#home</h1>
<p>Find me in app/views/pages/home.html.erb</p>
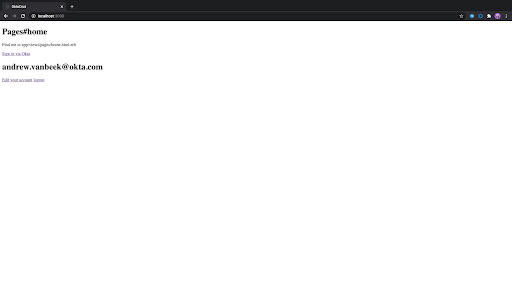
<% if @current_user %>
<h1><%=@current_user.email %></h1>
<%= link_to "Edit your account", "/pages/account", class: "item" %>
<%= link_to "logout", ENV['OKTA_URL'] + "/login/signout?fromURI=http://localhost:3000/sessions/destroy", class: "item" %>
<% else %>
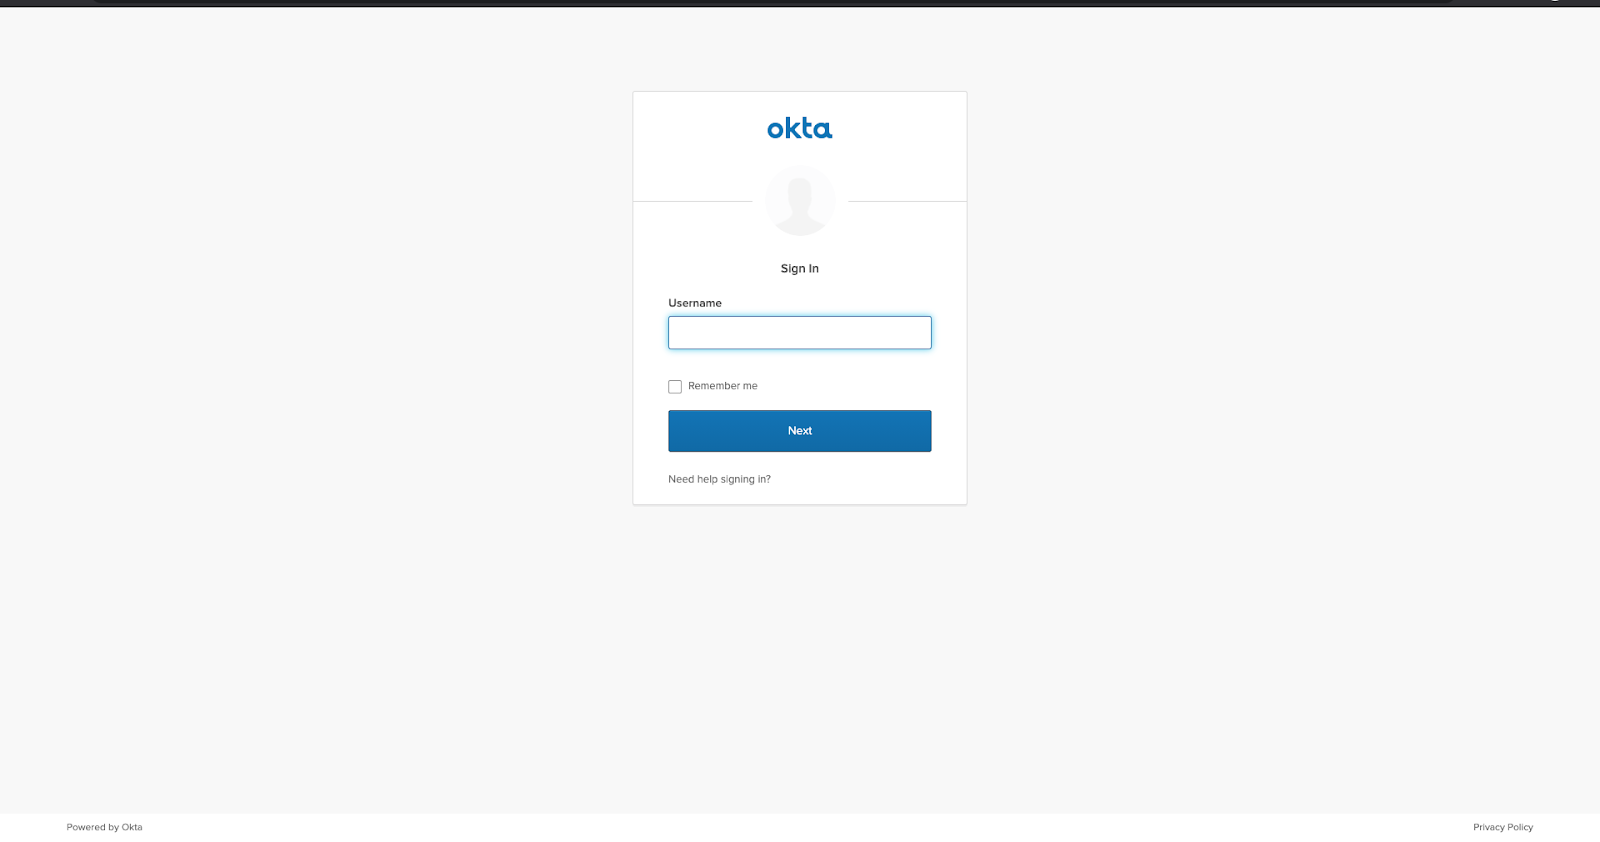
<%= link_to 'Sign in via Okta', user_oktaoauth_omniauth_authorize_path, method: :post %>
<% end %>
Nice!
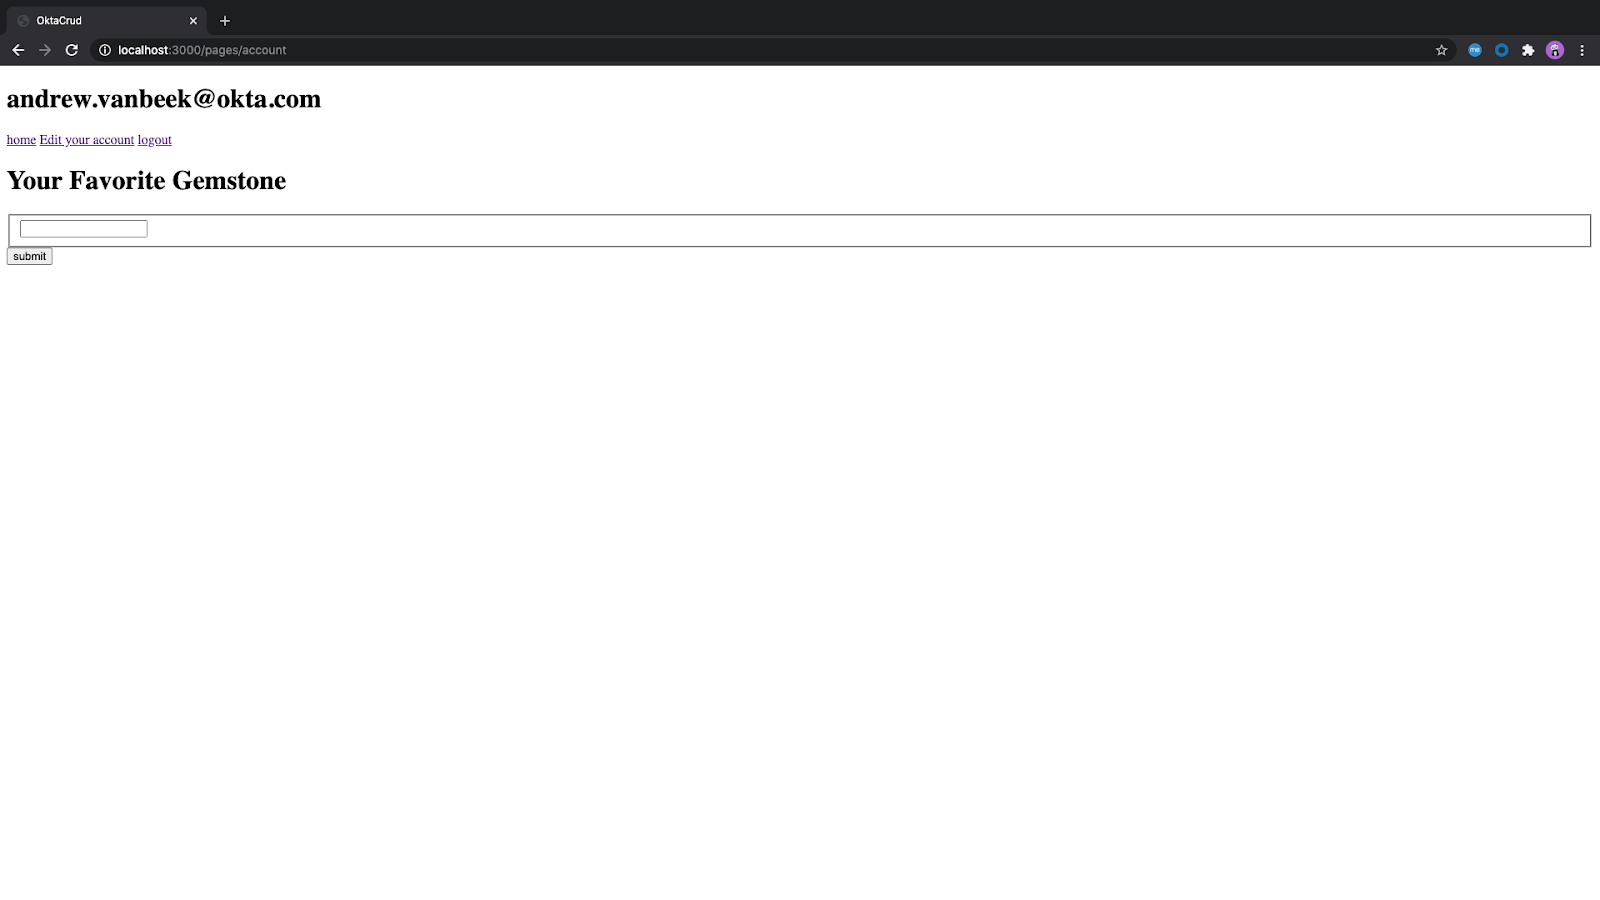
Add CRUD and Auth to Your Ruby on Rails App
It’s time to add the page that allows us to do CRUD operations. In this case, we are going to add a form where a user can edit their profile information, specifically their favorite gemstone. In views/pages/account.html.erb, copy and paste this code:
<%= javascript_pack_tag 'account_js' %>
<% if @current_user %>
<h1><%=@current_user.email %></h1>
<%= link_to "home", :root, class: "item" %>
<%= link_to "Edit your account", "/pages/account", class: "item" %>
<%= link_to "logout", ENV['OKTA_URL'] + "/login/signout?fromURI=http://localhost:3000/sessions/destroy", class: "item" %>
<% else %>
<%= link_to 'Sign in via Okta', user_oktaoauth_omniauth_authorize_path, method: :post %>
<% end %>

<form id="accountForm">
     <h1>Your Favorite Gemstone </h1>

    <fieldset>
        <input type="text" id="gemname" name="gemname" />
    </fieldset>
    <input type="submit" value="submit"></input>
</form>
It looks like there’s a form, but where do we get data from? More importantly, where do we submit data from our form back into Okta’s backend? The answer is a js file!
Go to javascript/packs and create a new file called account_js.js. Make sure it is named properly because we reference it in our account.html.erb. In that file copy and paste this code:
document.addEventListener("DOMContentLoaded", async function () {
    var response = await fetch(`${process.env.OKTA_URL}/api/v1/users/me`, {
      credentials: "include",
      method: "get",
      headers: { "Content-Type": "application/json" }
    });

    var userdata = await response.json();
    console.log(userdata.profile);
    document.getElementById("gemname").value = userdata.profile.gemstone
    var wordInput = document.getElementById("gemname");
    var form_el = document.getElementById("accountForm");
    form_el.addEventListener("submit", function (evt) {
      evt.preventDefault();
      submitData();
    });

    function submitData() {
      console.log("do something with " + wordInput.value);
      var body = {
        profile: {
          gemstone: wordInput.value,
        },
      };
      fetch(`${process.env.OKTA_URL}/api/v1/users/me`, {
        credentials: "include",
        method: "post",
        headers: { "Content-Type": "application/json" },
        body: JSON.stringify(body),
      }).then((response) => {
        console.log(response);
        if(response.status == 200) {
          window.location.reload()
        }
      });
    }
  });
Last but not least, we need to add initializers in config/initializers/devise.rb:
require 'omniauth-oktaoauth'
  config.omniauth(:oktaoauth,
                ENV['OKTA_CLIENT_ID'],
                ENV['OKTA_CLIENT_SECRET'],
                :scope => 'openid profile email',
                :fields => ['profile', 'email'],
                :client_options => {site: ENV['OKTA_ISSUER'], authorize_url: ENV['OKTA_ISSUER'] + "/v1/authorize", token_url: ENV['OKTA_ISSUER'] + "/v1/token"},
                :redirect_uri => ENV["OKTA_REDIRECT_URI"],
                :auth_server_id => ENV['OKTA_AUTH_SERVER_ID'],
                :issuer => ENV['OKTA_ISSUER'],
                :strategy_class => OmniAuth::Strategies::Oktaoauth)
Okay it is time to generate our application YAML:
bundle exec figaro install
In the recently added config/application.yml, add this configuration of environment variables. We are going to come back to it later.
OKTA_CLIENT_ID: "okta client id"

OKTA_CLIENT_SECRET: "okta client secret"

OKTA_ORG: "your org"
OKTA_DOMAIN: "okta"

OKTA_URL: "your okta url"

OKTA_ISSUER: "your okta oauth server issuer"

OKTA_AUTH_SERVER_ID: "default"

OKTA_REDIRECT_URI: "http://localhost:3000/users/auth/oktaoauth/callback"
Setup Okta as your Rails App External Auth Provider
Next, let’s go into Okta to get our information.
Dealing with user authentication in web apps is a huge pain for every developer. This is where Okta shines: it helps you secure your web applications with minimal effort.
Before you begin, you’ll need a free Okta developer account. Install the Okta CLI and run okta register to sign up for a new account. If you already have an account, run okta login.
Then, run okta apps create. Select the default app name, or change it as you see fit.
Choose Web and press Enter.
Select Other.
Then, change the Redirect URI to http://localhost:3000/users/auth/oktaoauth/callback and use http://localhost:3000 for the Logout Redirect URI.
What does the Okta CLI do?
The Okta CLI will create an OIDC Web App in your Okta Org. It will add the redirect URIs you specified and grant access to the Everyone group. You will see output like the following when it’s finished:
Okta application configuration has been written to: /path/to/app/.okta.env
Run cat .okta.env (or type .okta.env on Windows) to see the issuer and credentials for your app.
export OKTA_OAUTH2_ISSUER="https://dev-133337.okta.com/oauth2/default"
export OKTA_OAUTH2_CLIENT_ID="0oab8eb55Kb9jdMIr5d6"
export OKTA_OAUTH2_CLIENT_SECRET="NEVER-SHOW-SECRETS"
Your Okta domain is the first part of your issuer, before /oauth2/default.
NOTE: You can also use the Okta Admin Console to create your app. See Create a Web App for more information.
Finally, our application user’s profile actually needs a custom value. Since Okta is an extensible Identity provider let’s extend it to add the custom attribute of “gemstone”. Run okta login and open the resulting URL in your browser. Log in to the Okta Admin Console and go to Directory > Profile Editor.
Find the Default User Schema and click the Profile button.
Click Add Attribute and enter gemstone for the display name and variable name. Click Save.
Next, find your custom attribute and click the pencil button next to it.
We need to make sure our users can edit it, so select Read-Write for the User permission.
All set! This is looking good. It’s time to try out your application and have fun! Go to the console and run:
rails s
Final Result
Your result should look something like the images below.
You can get the full source code of the project from GitHub.
Happy coding!
Learn More About Ruby on Rails and OAuth
For more Entity Framework Core and Okta articles check out these posts:
- Simple Authentication with Rails and OmniAuth
- An Illustrated Guide to OAuth and OpenID Connect
- Is the OAuth 2.0 Implicit Flow Dead?
Make sure to follow us on Twitter, subscribe to our YouTube Channel and check out our Twitch channel so that you never miss any awesome content!
Okta Developer Blog Comment Policy
We welcome relevant and respectful comments. Off-topic comments may be removed.