Build a Basic CRUD Application with Grails and Okta
Grails and Groovy can be a great alternative to Spring Boot, in some specific use cases. In this post, we’ll start with that basic Grails app that already has secure authentication via Okta, and add some additional features. In this tutorial you will:
- Define a simple data model
- Create domain classes for the models
- Create the necessary controllers and views
- Configure logging
- Configure the database so that the data is persisted between sessions
- Add some user and role-based authorizations for the classes
Before we dive in, let’s talk a little about why authentication and user management with Okta makes sense for any application
Note: In May 2025, the Okta Integrator Free Plan replaced Okta Developer Edition Accounts, and the Okta CLI was deprecated.
We preserved this post for reference, but the instructions no longer work exactly as written. Replace the Okta CLI commands by manually configuring Okta following the instructions in our Developer Documentation.
User Management with Okta
If you’ve built a web or mobile app before, you know that all the user management pieces are a royal pain. With Okta, you can have all that user management “stuff” out-of-the-box so you can get on with what you really care about – your app! By the time you’re done with this tutorial (less than 30 minutes, I promise), you’ll have a fully-functional Grails app with user management via Okta.
Okta is an API service that allows developers to create, edit, and securely store user accounts and user account data, and connect them with one or multiple applications. Our API enables you to:
- Authenticate and authorize your users
- Store data about your users
- Perform password-based and social login
- Secure your application with multi-factor authentication
- And much more! Check out our product documentation
In short: we make user account management a lot easier, more secure, and more scalable than what you’re probably used to.
This blog post focuses on developing a Grails app, with authentication via Okta, OpenID Connect, and OAuth 2.0. If you aren’t familiar with Grails, check out our post about building a simple app to learn the basics. This post is a continuation of that one.
If you didn’t want follow along with the first post, you can skip ahead and clone the GithHub repo: oktadeveloper/okta-grails-example. You can even skip to the completed application by using the part2 branch.
$ git clone https://github.com/oktadeveloper/okta-grails-example
Ready to get started? Register for a free developer account!
Before we dive into the meat of this tutorial and get started adding classes, I’d like to comment a little on the Object Oriented paradigm used by Grails, and after that, introduce GORM.
Object-Oriented vs Functional
Groovy and Grails is an object-oriented framework. If you’re coming from a functional background, perhaps excited about the new developments in Haskel or Elm, you might think that “object-oriented programming” sounds stodgy or old-fashioned - the purview of old men with long gray beards and recumbent bikes. However, having straddled both worlds, I can tell you that there’s a lot to be said for object oriented design. And recumbent bikes. (Not to mention compile-time errors and powerful IDEs that a structured language allows) Regardless, we won’t be writing a single interface or abstract class, I promise.
The main thing you need to know is that we’re going to create classes that represent the data we want to store. In this app, which will be a simple app to help track camera equipment, we’re going to create two model classes: one to represent our cameras, and another to represent accessories used by those cameras.
And since Grails is an MVC (model-view-controller) framework, we’ll also need to create some view and controller classes to specify how the user can interact with this data.
Grails/Groovy Object Relational Mapping
Grails/Groovy Object Relational Mapping, or GORM is a set of tools that maps Groovy classes to an underlying database. Don’t confuse it with GORM (the Golang ORM, which is the same thing, except for Golang).
GORM is what allows us to use Groovy classes to represent our data and have it seamlessly mapped to our chosen database persistence layer.
Grails GORM has connectors for both SQL and NoSQL databases
- SQL / Hibernate
- Neo4j
- MongoDB
- Cassandra
- GraphQL
- in-memory concurrent hash map
GORM (along with the GSP templating engine) are the two main reasons to use Grails over other, potentially simpler solutions. If you’re not using GORM or GSPs, you might want to consider why you’re using Grails. Perhaps you just love Groovy? I do!
Generate the Model Classes in Grails
In Grails, the “domain” classes are the “M” in MVC. We need two domain classes: Camera and Accessory.
We can use the grails create-domain-class <class name> command. Make sure you’re in the base directory of the app.
$ grails create-domain-class com.oktacamerakit.Camera
| Created grails-app/domain/com.oktacamerakit/Camera.groovy
| Created src/test/groovy/com.oktacamerakit/CameraSpec.groovy

$ grails create-domain-class com.oktacamerakit.Accessory
| Created grails-app/domain/com.oktacamerakit/Accessory.groovy
| Created src/test/groovy/com.oktacamerakit/AccessorySpec.groovy
This generates four files: two domain classes and two test classes (the “spec” files). The domain files will be found in the following directory <project root>/grails-app/domain and the test/spec files will be found at <project root>/src/test/groovy
As you can see, there isn’t much going on in the generated classes.
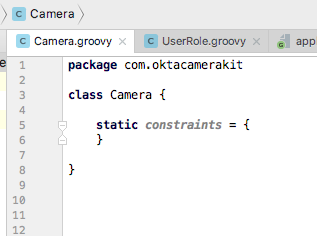
The static constraints field is a Grails-ism that allows you to specify validation for class fields using a domain-specific language. See this page in the docs.
Add an Annotation to Skip Tests
This hurts to write, as skipping tests is NOT GOOD, generally speaking, and is the source of most of the evil on the internet, but to save time, we’re not going to write tests.
This doesn’t matter if you use grails run-app but if you want to gradle build directly it will fail the tests.
Open your generated “spec” files, found in the <project root>/src/test subdirectory, and add an @Ignore to the autogenerated test methods. Make sure you import the spock.lang.Ignore annotation, and not the JUnit one.
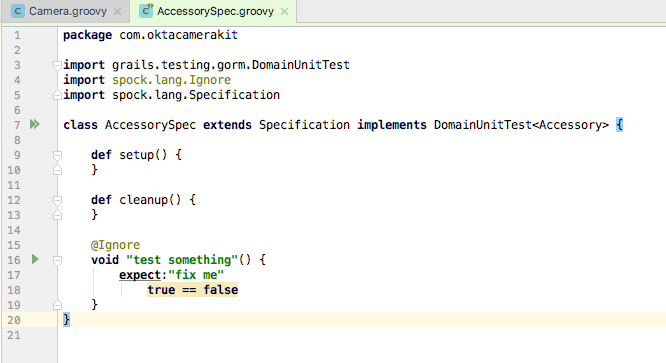
Alternatively, you could just delete the “spec” classes or delete the test methods, but I prefer adding the @Ignore on the symbolic hope that they’ll get written eventually.
Add Fields to the Domain Classes in Groovy
Our domain classes won’t do us any good without some fields. Go ahead and edit your Camera and Accessory domain classes so that they match the following.
class Camera {

    static constraints = {}

    User owner        // user that is the owner
    String name       // name of the camera, ie. Nikon D850
    String serial     // serial number
    Date purchaseDate // when the camera was purchased

    // grails will use a human-friendly name instead of an id
    // in the scaffolding autogenerated pages
    String toString() {
        return name
    }
}
class Accessory {

    static constraints = {}

    User owner               // user that is the owner
    String name              // name of the accessory, ie EN-EL14A Battery
    String category          // such as "power" or "tripods"
    Integer numberAvailable  // how many are there?

    // grails will use a human-friendly name instead of an id
    // in the scaffolding autogenerated pages
    String toString() {
        return name
    }
}
Let’s explain a few things. You’ll notice the toString() method. It’s there so that Grails will use the name instead of the ID in its forms. The static constraints field is where you can define validation settings using a Grails-specific domain-specific language (DSL). The other four fields in each class are the data fields we’re defining.
Define the One-to-Many Relationship
We also want to define a one-to-many relationship between cameras and accessories. There are a few different ways we could imagine and define the relationship between these model classes, but for the purposes of this tutorial, we’re going to define a belongsTo relationship from Accessory to Camera. This defines a one-to-many relationship between Camera and Accessory, but puts the domain field that makes this link in the Accessory class (and respectively the foreign key in the associated accessory table).
To do this, add the static belongsTo line shown below to your Accessory class. This static property is how we tell the GORM processor that we want to define a relationship with another domain class.
class Accessory {

    static constraints = {}

    User owner
    String name
    String category
    Integer numberAvailable

    static belongsTo = [camera: Camera]  // <-- Add this line
}
Arguably it might have made more sense to use a hasMany relationship defined in the Camera class. However, due to some charming quirks in the autogenerated scaffolding, and in the interests of saving time, the belongsTo relationship was simpler.
Use Grails Scaffolding to Generate CRUD Controllers and Views
CRUD, for those of you that don’t know, is Create, Read, Update, and Delete.
Right now we’ve defined some models, but the user has no way to interact with these models. There are no views and no controllers. Grails has a nice feature that allows you to quickly generate some “scaffolding” files for basic CRUD features on domain classes.
Generally speaking, these autogenerated files are useful mostly as starting points or for quick prototyping. Still, it’s a nice feature that allows you to get moving quickly - and it’s perfect for this tutorial.
Let’s run the following commands:
grails generate-all Camera
grails generate-all Accessory
You should see some output like this for each of the commands:
| Rendered template Controller.groovy to destination grails-app/controllers/com/oktacamerakit/AccessoryController.groovy
| Rendered template Service.groovy to destination grails-app/services/com/oktacamerakit/AccessoryService.groovy
| Rendered template Spec.groovy to destination src/test/groovy/com/oktacamerakit/AccessoryControllerSpec.groovy
| Rendered template ServiceSpec.groovy to destination src/integration-test/groovy/com/oktacamerakit/AccessoryServiceSpec.groovy
| Scaffolding completed for grails-app/domain/com/oktacamerakit/Accessory.groovy
| Rendered template create.gsp to destination grails-app/views/accessory/create.gsp
| Rendered template edit.gsp to destination grails-app/views/accessory/edit.gsp
| Rendered template index.gsp to destination grails-app/views/accessory/index.gsp
| Rendered template show.gsp to destination grails-app/views/accessory/show.gsp
| Views generated for grails-app/domain/com/oktacamerakit/Accessory.groovy
This generated the following:
- a controller
- a service
- a controller spec/test
- a service spec/test
- four gsp template views for the CRUD operations
- create.gsp
- edit.gsp
- index.gsp
- show.gsp
You can actually use the scaffolding without generating these files simply by creating a controller and adding a static scaffold = <domain class name>, but generating the files makes it more clear what’s happening, rather than it “auto-magically” happening.
The differentiation between a controller and a service is interesting here, especially if you’re not already familiar with Spring & Grails terminology.
From the Grails docs on “The Service Layer”:
Grails defines the notion of a service layer. The Grails team discourages the embedding of core application logic inside controllers, as it does not promote reuse and a clean separation of concerns.
Services in Grails are the place to put the majority of the logic in your application, leaving controllers responsible for handling request flow with redirects and so on.
One benefit of services in the Spring context (and Grails, because it’s built on Spring) is that services are single-instance objects that can be magically inserted into any class we like.
This, however, can lead to problems and is not without drawbacks. Check out this article by Ted Vinke: Grails Anti-Pattern: Everything is a Service. It’s a pretty good discussion on the pros and cons.
Add the Authentication Annotation to Your Grails Controllers
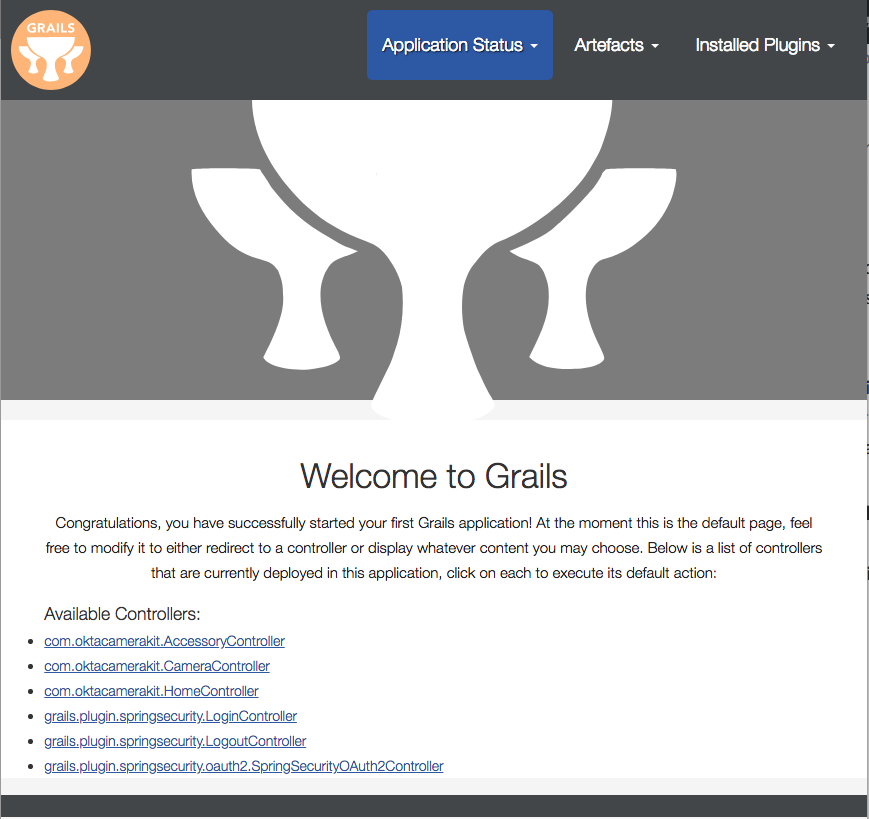
If you run grails run-app now you’ll discover a couple new controllers listed on the home page.
However, if you attempt to navigate to them, you’ll discover you’re not authorized.
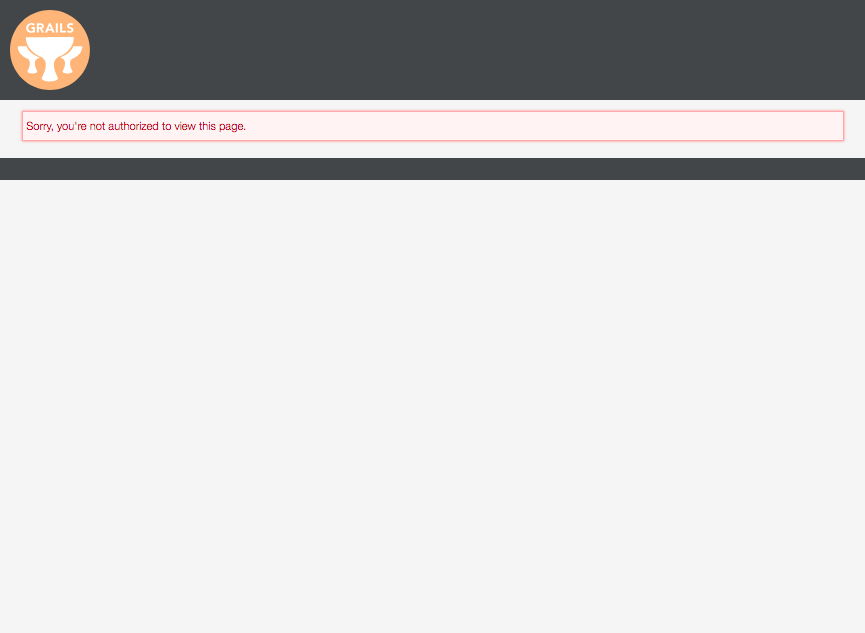
We need to tell Grails how to handle authentication and authorization for these controllers. Currently Grails is set to default to unauthorized unless a rule is explicitly defined for a route.
Let’s add the @Secured('ROLE_USER') annotation to the class definition for the CameraController class and the AccessoryController class. (Note that I’m adding them to the controller classes, not the domain/model classes)
You might want to also go ahead and take a peek at the auto-generated controller classes as they have some interesting scaffolding code in them to handle the standard CRUD logic.

What this does is tell Grails that anyone with the user role (USER_ROLE) is authorized for those controller endpoints. These annotations pertain to all of the methods in the entire class because we’re adding them to the class definition. They can also be added at the method level for finer control.
The UserRole domain class was generated for you in the first part when you ran the script:
grails s2-quickstart com.oktacamerakit User Role
This class defines the user role that all users belong to, and can be used to restrict authorization based on if the person is logged in as a user. If we created an admin role, as we almost certainly would in a real application, the user role and admin role could then be used to differentiate between users and admins, and because it’s role-based authorization, we could have multiple users and multiple admins to which we could assign permissions (instead of assigning them directly to people, which gets unwieldy as people come and go and you have to keep re-assigning permissions).
Now if you grails run-app and open the click on the CameraController link under “Available Controllers”, you should see this (since there are not any cameras yet, this “list” page isn’t very exciting):
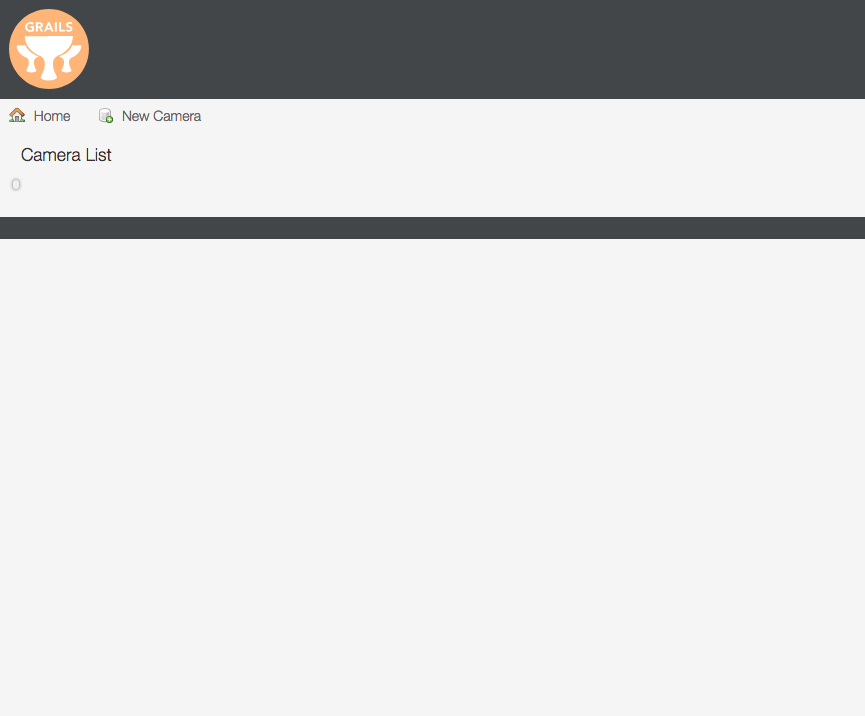
Persist Your Database Between Sessions in Grails
I don’t know about you all, but I’m getting tired of this screen:
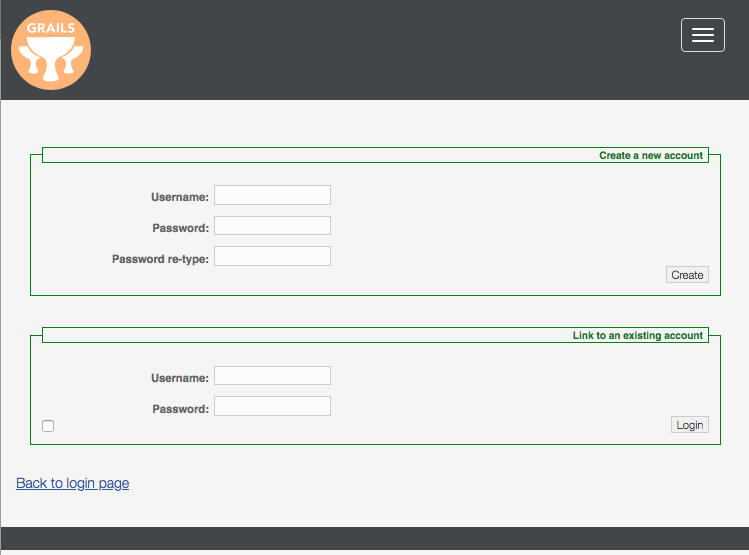
We’re seeing this because when Grails connects with Okta OAuth, it needs a way to connect the remote OAuth account with a local user account. Thus you either need to connect it to an existing account or create a new account. Normally you’d only have to do this once. However, because the default development database is set to be wiped between sessions, you’re having to do this every time you run the app and log in.
Let’s fix it.
In the application.yml file, Change the development database settings to the following:
environments:
  development:
    dataSource:
      dbCreate: update
      url: jdbc:h2:./devDb;MVCC=TRUE;LOCK_TIMEOUT=10000;DB_CLOSE_ON_EXIT=FALSE
This tells Grails to persist the database to a file between sessions and to update the database schema if the domain classes change. Now, once you’re logged in, and have associated your Okta OAuth account with a local user, you won’t have to keep logging into the app.
It’s worth understanding what the dbCreate property does. From the Grails docs:
More on dbCreate
Hibernate can automatically create the database tables required for your domain model. You have some control over when and how it does this through the
dbCreateproperty, which can take these values:
create - Drops the existing schema and creates the schema on startup, dropping existing tables, indexes, etc. first.
create-drop - Same as create, but also drops the tables when the application shuts down cleanly.
update - Creates missing tables and indexes, and updates the current schema without dropping any tables or data. Note that this can’t properly handle many schema changes like column renames (you’re left with the old column containing the existing data).
validate - Makes no changes to your database. Compares the configuration with the existing database schema and reports warnings.
any other value - does nothing
Setting the
dbCreatesetting to “none” is recommended once your schema is relatively stable and definitely when your application and database are deployed in production.
Use Scaffolding Views in Grails to Create a Camera
Now everything is set up and we can use the autogenerated views to add a Camera to our app. Make sure you’ve run the app using grails run-app and navigate to the home page at http://localhost:8080.
Click on the com.oktacamerakit.CameraController link under the “Available Controllers” header at the bottom of the page.
You should see this:
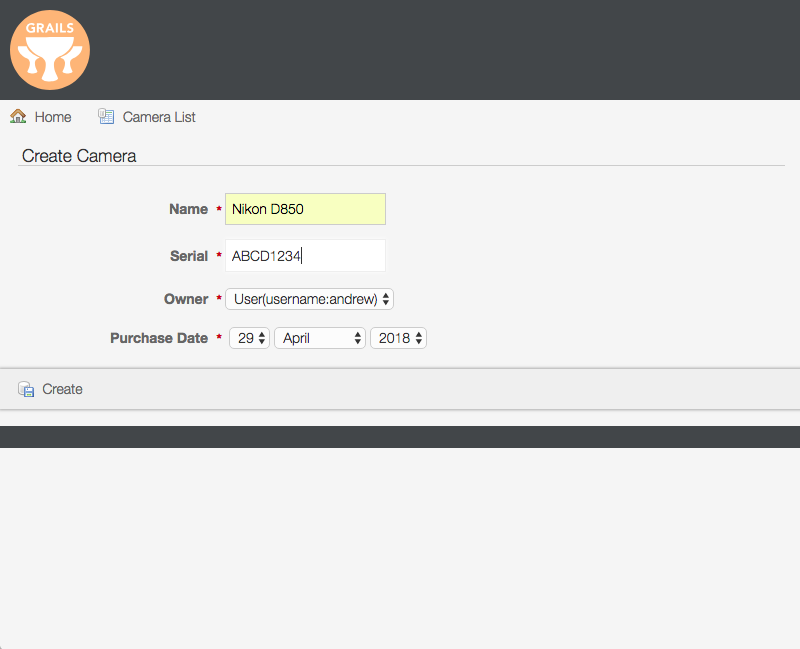
Click on the “New Camera” button at the top of the page. It will take you to the page where you can create a new camera object. Fill in the new camera form. Click the “create” button at the bottom of the page.
You should see the success page.
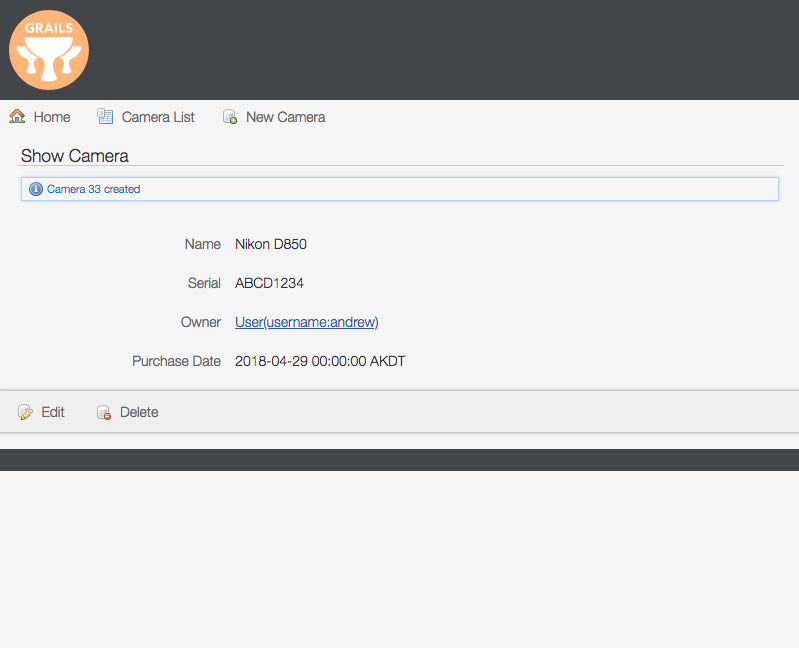
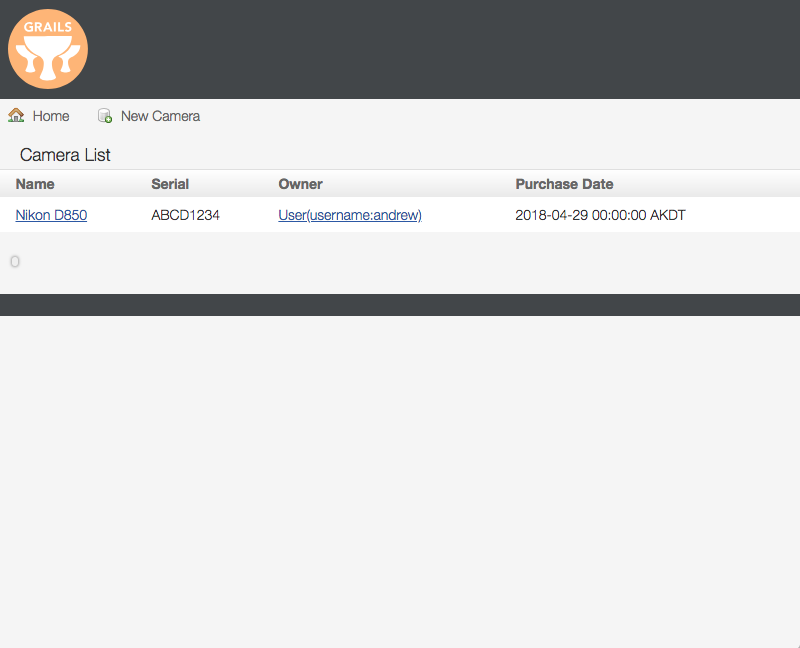
And if you go to the “Camera List” page you should see the new camera listed.
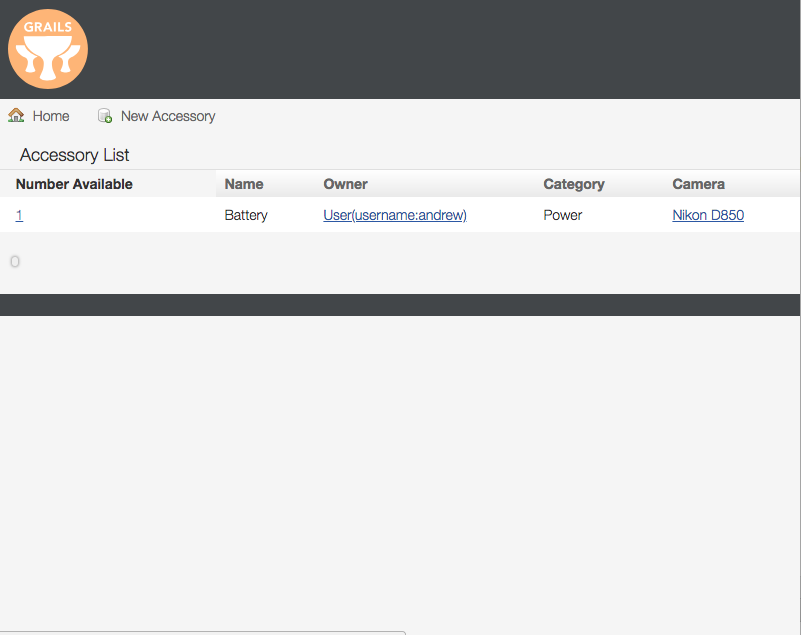
Use Scaffolding Views in Grails to Create an Accessory
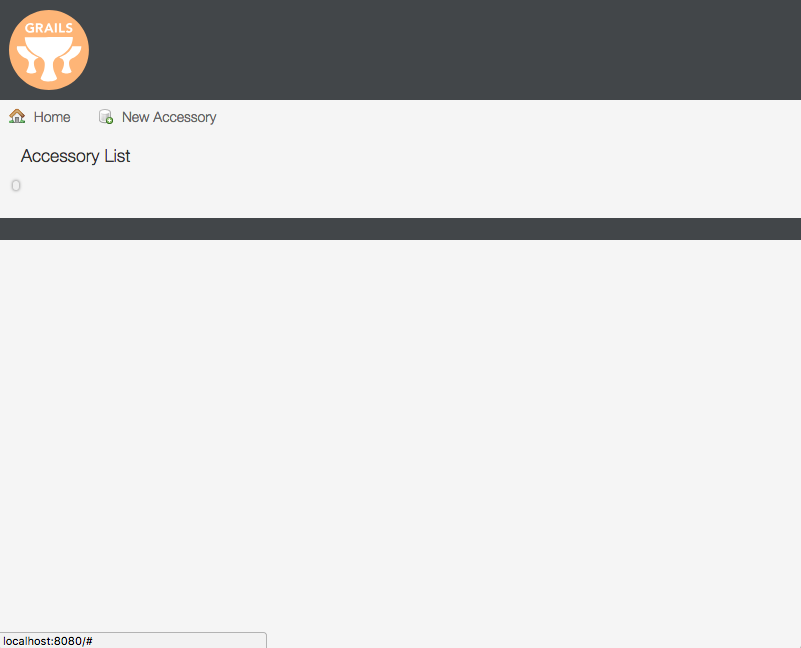
Now that we have a camera, lets add an accessory. Just like before, from the home page navigate to the accessory controller link at the bottom of the page. From there, click on the “New Accessory” button at the top of the page.
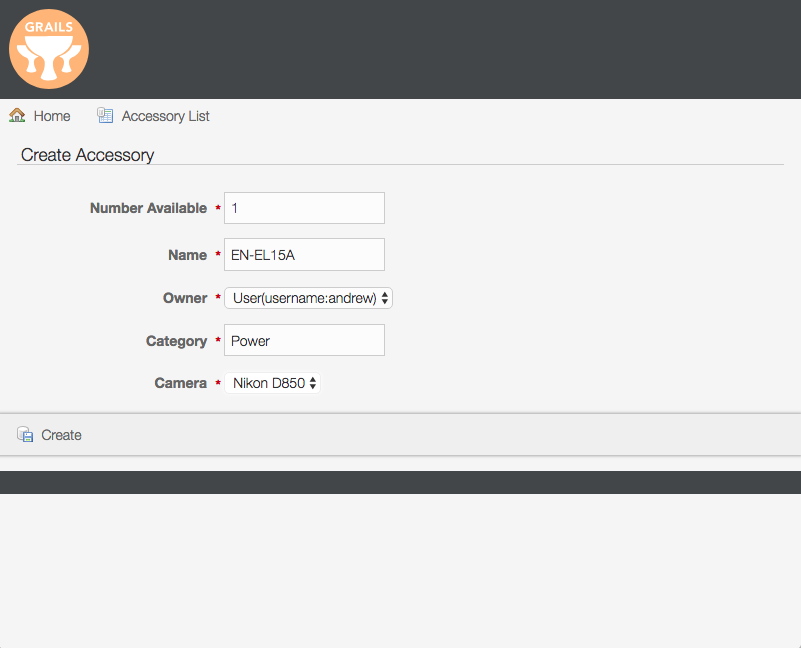
Fill in some data for the new accessory.
You should see the success screen:
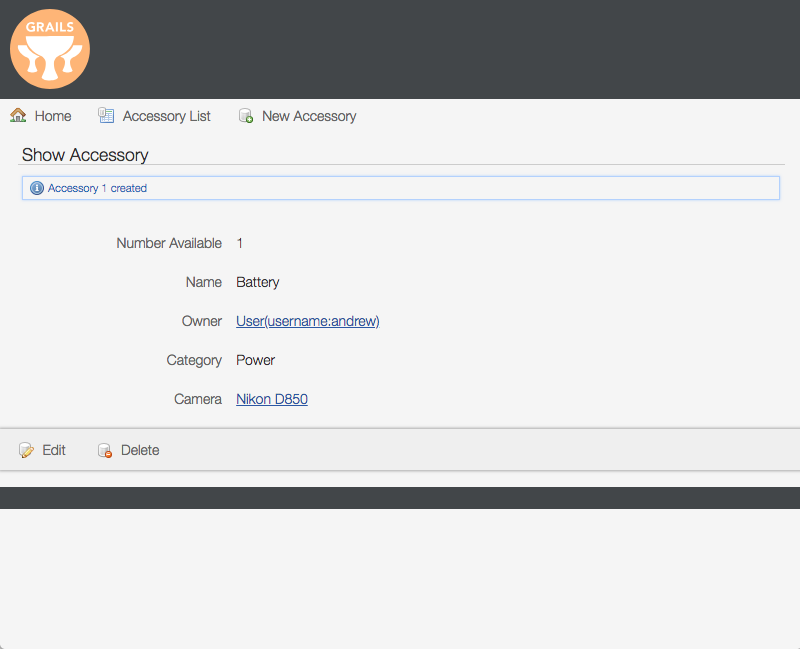
And if you go to the list view, it will show the new accessory, with the associated camera in the appropriate field.
Logging in Java and Groovy
The main logging config file is located at grails-app/conf/logback.groovy.
Logback is a Java/Groovy logging framework that was created as an alternative to Log4j, and implements a whole host of stability and performance improvements. It also uses a Groovy file for configuration instead of an XML file.
To write log statements in the classes you can use the auto-injected log property, such as log.info "hello world.
I’ll simply point out that the root logger in the logback config file is set to only show error messages. If you want to change that, change the following line (changing ERROR to INFO or whatever):
root(ERROR, ['STDOUT'])
Authenticate the Current User
Looking at this code and thinking about where it would need to go to be improved, you’re probably asking yourself, “Self. That code is brilliant. But it’s limited. I def need to know how to get the current user so I can improve the authorization.”
And that would be a great question.
How do we get the current authenticated user in Grails? The magic of Spring and Grails makes it super easy–so long as you know the magic phrase.
Take a look at the following code.
@Secured('ROLE_USER')
class CameraController {

    CameraService cameraService
    SpringSecurityService springSecurityService  // <-- automagically injected

    def index(Integer max) {

        def currentUser = springSecurityService.currentUser
        log.error currentUser.username

        ...
    }
}
We’re defining the springSecurityService property, that’s automatically injected with the correct service via Spring dependency injection. This will only work with controllers and Grails-specific class defined under the grails-app directory; it won’t work automatically on classes defined in src/main/groovy.
Once we have the springSecurityService, which is a singleton instance that exposes a whole host of security-related methods, it’s super easy to get the current user, as we did in the code above.
def currentUser = springSecurityService.currentUser
So now in this application we can:
- Authenticate a user using Okta OAuth 2.0
- Perform simple role-based authorization
- Create domain objects
- Make simple associations between objects
- Generate simple controllers and views for our domain objects
Congratulations!
Learn More About Authentication with Okta
So, you loved working with OAuth 2.0 and OpenID Connect in Grails, and you’re ready to see what else you can do with Okta, right? Well that’s great news as we have a ton of resources ready and waiting for you:
- Build Server Side Authentication in Grails with OAuth 2.0 and Okta
- WebAuthn: A Developer’s Guide to What’s on the Horizon
- Secure Server-to-Server Communication with Spring Boot and OAuth 2.0
- Secure a Spring Microservices Architecture with Spring Security and OAuth 2.0
- The Hitchhiker’s Guide to Testing Spring Boot APIs and Angular Components with Wiremock, Jest, Protractor, and Travis CI
And as always, we’d love to know how this tutorial worked for you! Hit us up in the comments below, or on Twitter @oktadev.
Okta Developer Blog Comment Policy
We welcome relevant and respectful comments. Off-topic comments may be removed.