On this page
Embedded Okta Sign-In Widget fundamentals
Note: This document is only for Identity Engine. If you’re using Classic Engine, see Embedded Okta Sign-In Widget fundamentals. See Identify your Okta solution (opens new window) to determine your Okta version.
This guide explains authentication fundamentals using JavaScript and the embedded Okta Sign-In Widget. The guide also provides a simple one-page SPA app to demonstrate a sign-in use case.
Learning outcomes
- Understand how to implement basic sign-in using JavaScript and the embedded Okta Sign-In Widget.
- Understand basic installation and code configurations using JavaScript.
- Implement a simple SPA use case and sign a user in to the app.
What you need
- Okta Integrator Free Plan org (opens new window)
- Basic knowledge of building front-end JavaScript applications
Sample code
Sample code is provided in the following section: Sign in and display the user's email
About the embedded Okta Sign-In Widget
The Sign-In Widget is a JavaScript library that gives you a fully featured and customizable sign-in experience. You can use the Sign-In Widget to authenticate users on any website.
Okta uses the Sign-In Widget as part of its normal sign-in page. If you would like to fully customize the Sign-In Widget, then you need to host it yourself. This guide discusses the installation process for the Sign-In Widget and a few common use cases for the Sign-In Widget and how to implement them. The full Sign-In Widget reference can be found in the Okta Sign-In Widget (opens new window) repository.
A code example is also included to demonstrate a common sign-in use case. See Sign in and display the user's email.
Installation
The first step is to install the Sign-In Widget. You have two options: linking out to the Okta CDN, or installing locally through npm.
Install with CDN
To use the CDN, include this in your HTML, using the latest version (opens new window) of the Sign-In Widget: 7.47.2
<!-- Latest CDN production JavaScript and CSS -->
<script src="https://global.oktacdn.com/okta-signin-widget/7.47.2/js/okta-sign-in.min.js" type="text/javascript"></script>
<link href="https://global.oktacdn.com/okta-signin-widget/7.47.2/css/okta-sign-in.min.css" type="text/css" rel="stylesheet"/>
See also Using the Okta CDN (opens new window).
Install with npm
To install the latest version of the Okta Sign-In Widget (opens new window) locally through npm, run the following command in your project root folder:
npm install @okta/okta-signin-widget@latest
See also Using the npm module (opens new window). The latest version of the Sign-In Widget is 7.47.2.
Bundle the Sign-In Widget
If you're bundling your assets, import them from @okta/okta-signin-widget. For example, using webpack (opens new window):
import OktaSignIn from '@okta/okta-signin-widget';
import '@okta/okta-signin-widget/dist/css/okta-sign-in.min.css';
Loading CSS requires the css-loader plugin. See css-loader GitHub repository (opens new window).
Enable cross-origin access
Because the Sign-In Widget makes cross-origin requests, enable Cross-Origin Resource Sharing (CORS). Add your app's URL to your Okta org's Trusted Origins (Security > API > Trusted Origins). See Enable CORS.
Add code to reference the Sign-In Widget
The following sections display basic code snippets that you use when embedding and accessing the Sign-In Widget.
Initialize the Sign-In Widget
The code that initializes the Sign-In Widget appears as follows:
<script>
  const signIn = new OktaSignIn({baseUrl: 'https://{yourOktaDomain}'});

  signIn.showSignInToGetTokens({
    scopes: ['openid', 'profile'] // optional
  }).then(function(tokens) {
    // Store tokens
  }).catch(function(error) {
    // This function is invoked with errors the widget cannot recover from:
    // Known errors: CONFIG_ERROR, UNSUPPORTED_BROWSER_ERROR
  });
</script>
To reference the Sign-In Widget on your desired sign-in page, include the following <div> tag:
<div id="widget-container"></div>
Note:
https://${yourOktaDomain}is different from your admin URL. Don’t include-adminin the value. When you copy your Okta domain from the Admin Console, you can find the correct value in the upper-right corner of the dashboard.
Mobile Consideration
To ensure that the Sign-In Widget renders properly on a mobile device, include the viewport metatag in your head:
<head>
  <meta name="viewport" content="width=device-width, initial-scale=1.0" />
</head>
Sign-In Widget use cases
The Sign-In Widget handles various authentication scenarios. See the following sections for common apps. For a full-walk through of a simple JavaScript sample, follow the Sign In and Display User's Email use case.
Sign in and display the user's email
In this case, you use the Sign-In Widget to sign in to a simple web page and display the user's email. Ensure that you have an Integrator Free Plan org account. Then, use the following page of code to create a Single-Page App (SPA).
To create and run this sample use case:
- Create an app integration on your Okta org.
- Create a simple SPA locally.
- Run the sample app.
Create an app integration
Create an app integration in the Okta org that represents the app you want to add authentication to:
- Go to Applications > Applications in the Admin Console.
- Click Create App Integration.
- Select OIDC - OpenID Connect as the Sign-in method.
- Select Single-Page Application for the Application Type, and then click Next.
Configure the app integration
On the New Single-Page App Integration page:
Enter an app name.
Select the Refresh Token checkbox.
Click Advanced in the Grant type section, and then select the Interaction Code checkbox.
Note: If the Interaction Code checkbox doesn’t appear, the Interaction Code grant type isn’t enabled for your org. To enable it, go to Settings > Account > Embedded widget sign-in support. See Verify that the Interaction Code grant type is enabled.
Set both the Sign-in redirect URIs and the Sign-out redirect URIs to
http://localhost:3000/.
In the Assignments section, select Allow everyone in your organization to access, and then click Save.
Configure email and user authentication
In the General Settings section on the General tab, click Edit.
Save the generated Client ID for use later.
Under EMAIL VERIFICATION EXPERIENCE, set the Callback URI to
http://localhost:3000, and then click Save.Select the Sign On tab and scroll down to the User authentication section. New apps are automatically assigned the shared default app sign-in policy (opens new window). This policy has a catch-all rule that allows a user access to the app using either one or two factors, depending on your org setup.
For this use case, Okta wants to use only the password factor. Click Edit and select the Password only preset policy (opens new window) to assign it to your app.
Click Save.
Note: You must also update the policy rule for the password authenticator to not require any additional verification.
Configure the authorization server
Go to Security > API > Authorization Servers.
Select the default server, click Access Policies, and edit the Default Policy Rule.
Click Advanced in the IF Grant type is section to verify that the custom authorization server has Interaction Code selected.
Note: If the Interaction Code checkbox doesn’t appear, the Interaction Code grant type isn’t enabled for your org. To enable it, go to Settings > Account > Embedded widget sign-in support. See Verify that the Interaction Code grant type is enabled.
Select the Trusted Origins tab and ensure that there’s an entry for your sign-in redirect URI. See Enable CORS.
Create a simple SPA
- On your local machine, create a directory for your sample app. For example:
simple-spa. - In the editor of your choice, add the following HTML and JavaScript into an
index.htmlfile in your sample app folder:
<!doctype html>
<html lang="en">
  <head>
    <meta charset="utf-8">
    <meta name="viewport" content="width=device-width, initial-scale=1.0, shrink-to-fit=no">
    <link rel="stylesheet" href="https://stackpath.bootstrapcdn.com/bootstrap/4.5.0/css/bootstrap.min.css" integrity="sha384-9aIt2nRpC12Uk9gS9baDl411NQApFmC26EwAOH8WgZl5MYYxFfc+NcPb1dKGj7Sk" crossorigin="anonymous">
    <title>Simple Web Page</title>
    <style>
      h1 {
        margin: 2em 0;
      }
    </style>
    <!-- widget stuff here -->
    <script src="https://global.oktacdn.com/okta-signin-widget/{widgetVersion}/js/okta-sign-in.min.js" type="text/javascript"></script>
    <link href="https://global.oktacdn.com/okta-signin-widget/{widgetVersion}/css/okta-sign-in.min.css" type="text/css" rel="stylesheet"/>
  </head>
  <body>
    <div class="container">
      <h1 class="text-center">Simple Web Page</h1>
      <div id="messageBox" class="jumbotron">
        You are not logged in.
      </div>
      <!-- where the sign-in form appears -->
      <div id="okta-login-container"></div>
      <button id="logout" class="button" onclick="logout()" style="display: none">Logout</button>
    </div>
    <script type="text/javascript">
      var oktaConfig = {
        issuer: "https://{yourOktaDomain}/oauth2/default",
        redirectUri: '{https://{yourAppRedirectUri} configured in your Okta OIDC app integration}',
        clientId: "{yourClientId}"
      }
      // Search for URL Parameters to see if a user is being routed to the application to recover password
      var searchParams = new URL(window.location.href).searchParams;
      oktaConfig.otp = searchParams.get('otp');
      oktaConfig.state = searchParams.get('state');

     const oktaSignIn = new OktaSignIn(oktaConfig);

      oktaSignIn.authClient.token.getUserInfo().then(function(user) {
        document.getElementById("messageBox").innerHTML = "Hello, " + user.email + "! You are *still* logged in! :)";
        document.getElementById("logout").style.display = 'block';
      }, function(error) {
        oktaSignIn.showSignInToGetTokens({
          el: '#okta-login-container'
        }).then(function(tokens) {
          oktaSignIn.authClient.tokenManager.setTokens(tokens);
          oktaSignIn.remove();

          const idToken = tokens.idToken;
          document.getElementById("messageBox").innerHTML = "Hello, " + idToken.claims.email + "! You just logged in! :)";
          document.getElementById("logout").style.display = 'block';

        }).catch(function(err) {
          console.error(err);
        });
      });

      function logout() {
        oktaSignIn.authClient.signOut();
        location.reload();
      }
    </script>
  </body>
</html>
Important: In Okta Sign-In Widget version 7+, Identity Engine is enabled by default. If you’re using an earlier version than 7, you must explicitly enable Identity Engine features by setting
useInteractionCodeFlow: truein theoktaConfigsettings. If you’re using version 7+ and you want to use Classic Engine rather than Identity Engine, specifyuseClassicEngine: trueinoktaConfig.
Configure the code in
index.htmlwith values for your Okta org app integration:issuer:
"https://{yourOktaDomain}/oauth2/default". For example,"https://example.okta.com/oauth2/default"Note: If you don't have API Access Management (API AM) enabled, replace
"https://{yourOktaDomain}/oauth2/default"with"https://{yourOktaDomain}". You may see a permission error if you use"https://{yourOktaDomain}/oauth2/default"and API (AM) isn't enabled. See Check that API Access Management is enabled.redirectUri:
"https://{yourAppRedirectUri}". For example,"http://localhost:3000"clientId:
"{yourClientId}". For example,0oa2am3kk1CraJ8xO1d7
(Optional) Update the version of the
okta-auth-jsdependency to use other authentication features. See Related SDKs (opens new window). The basic authentication feature doesn't require this update.npm install @okta/okta-auth-js
Run the sample app
In your sample
simple-spadirectory, you can run a static site web server using the following command:npx http-server . -p 3000Note: If not installed previously, you’re prompted to install the
npxpackage.Go to
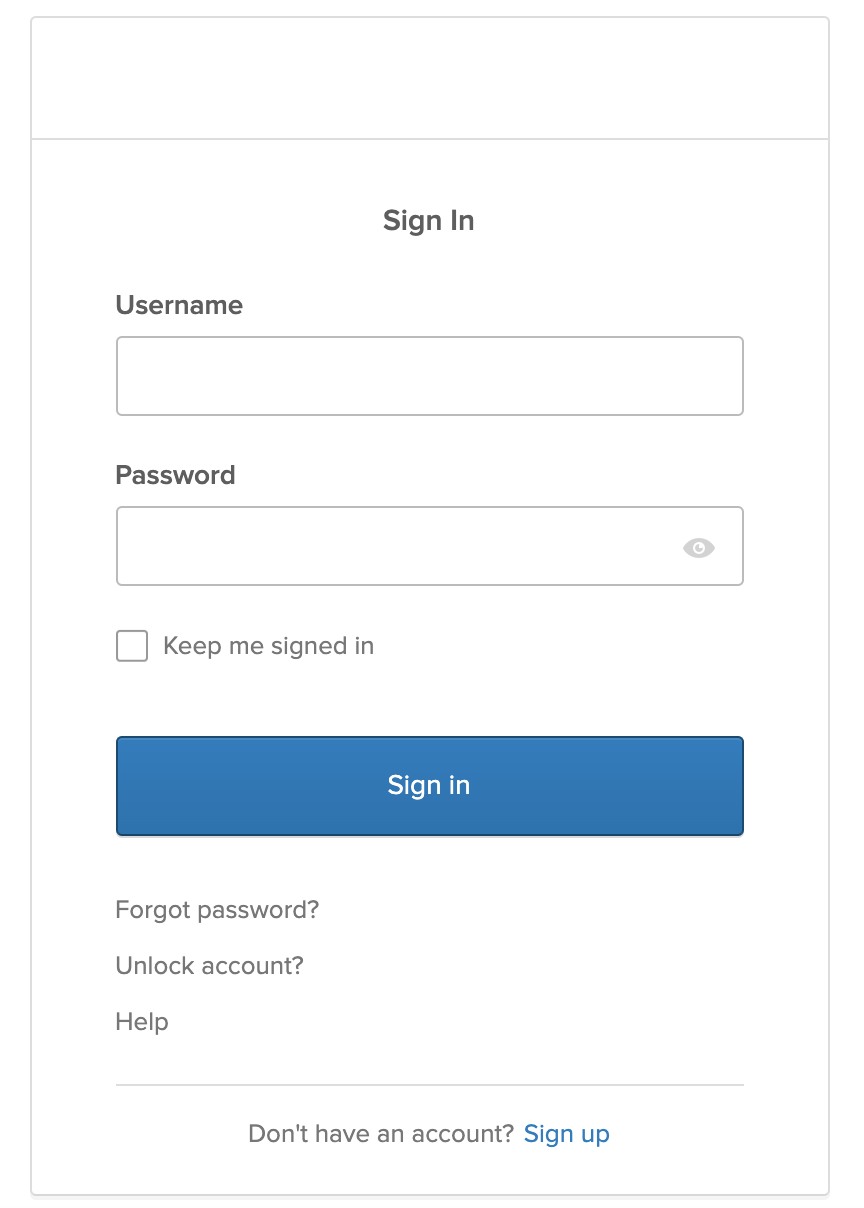
http://localhost:3000. The simple web page appears with a message that you're not signed in and displays the Sign-In Widget.Sign in with a user from your org assigned to the app integration. The simple web page appears with the signed-in user's email address.
SPA or Native Application with PKCE
var searchParams = new URL(window.location).searchParams;
var otp = searchParams.get('otp');
var state = searchParams.get('state');

const signIn = new OktaSignIn({
  baseUrl: 'https://{yourOktaDomain}',
  el: '#widget-container',
  clientId: '{clientId}',
  // must be in the list of redirect URIs enabled for the OIDC app
  redirectUri: '{redirectUri}',
  authParams: {
    issuer: 'https://{yourOktaDomain}/oauth2/default'
  }
});

// Search for URL Parameters to see if a user is being routed to the application to recover password
var searchParams = new URL(window.location.href).searchParams;
signIn.otp = searchParams.get('otp');
signIn.state = searchParams.get('state');

// SPA and Native apps using PKCE can receive tokens directly without any redirect
signIn.showSignInToGetTokens().then(function(tokens) {
  // store/use tokens
});
Here’s an example of some front-end code that could use this token:
function callMessagesApi() {
  const accessToken = signIn.authClient.getAccessToken();

  if (!accessToken) {
    // This means that the user isn't logged in
    return;
  }

  // Make a request using jQuery
  $.ajax({
    // Your API or resource server:
    url: 'http://localhost:8080/api/messages',
    headers: {
      Authorization: 'Bearer ' + accessToken.accessToken
    },
    success: function(response) {
      // Received messages!
      console.log('Messages', response);
    },
    error: function(response) {
      console.error(response);
    }
  });
}
Handle errors
The Sign-In Widget render function either results in a success or an error. The error function is called when the Sign-In Widget is initialized with invalid configuration options, or entered a state it can't recover from.
The Sign-In Widget is designed to internally handle any user and API errors. This means that the custom error handler should primarily be used for debugging any configuration errors.
There are three kinds of errors that the Sign-In Widget doesn't handle, and that you can handle by custom code:
- ConfigError
- UnsupportedBrowserError
- OAuthError
Here’s an example of an error handler that adds an error message to the top of the page:
function error(err) {
  const errorEl = document.createElement('div');
  errorEl.textContent = 'Error! ' + err.message;
  document.body.insertBefore(
    errorEl,
    document.body.firstChild
  );
}
Use with Okta SDKs
Okta provides several SDKs that you might want to use the Sign-In Widget with, including Angular, React, and Vue.
Angular
The Okta Sign-In Widget and Angular guide shows the code that you need to embed the Sign-In Widget in an Angular app.
See the Okta Angular + Custom Login Example (opens new window) for a functional example using the okta-angular (opens new window) SDK.
React
The Okta Sign-In Widget and React guide shows the code that you need to embed the Sign-In Widget in a React app.
See the Okta React + Custom Login Example (opens new window) for a functional example using the okta-react (opens new window) SDK.
Vue
The Okta Sign-In Widget and Vue guide shows the code that you need to embed the Sign-In Widget in a Vue app.
See the Okta Vue + Custom Login Example (opens new window) for a functional example using the okta-vue (opens new window) SDK.
Mobile SDKs
Okta also has mobile SDKs for Android, React Native, iOS, and Xamarin.
For mobile apps, embedding the Sign-In Widget isn't currently supported. To work around this, you can redirect to Okta for authentication and customize the hosted Sign-In Widget. Support is provided for building your own UI in mobile apps.
See the following:
- Android:
- Sign users in to your Android mobile app using the redirect model
- Browser sign-in (opens new window)
- Okta Mobile SDK for Kotlin (opens new window)
- Sign users in to your iOS mobile app using the redirect model
- Browser sign-in (opens new window)
- Okta Mobile SDK for Swift (opens new window)
You can also develop your mobile app with frameworks like Ionic and Flutter. Okta currently doesn't have native SDKs for either, but they should work with an AppAuth library. Okta recommends Ionic AppAuth (opens new window) and the Flutter AppAuth Plugin (opens new window).
Customizations
The Okta Sign-In Widget is fully customizable through CSS and JavaScript. See Style the Sign-In Widget for more information and multiple examples of customization options.