On this page
Embedded Okta Sign-In Widget fundamentals
Note: This document is only for Classic Engine. If you’re using Okta Identity Engine, see Embedded Okta Sign-In Widget fundamentals. See Identify your Okta solution (opens new window) to determine your Okta version.
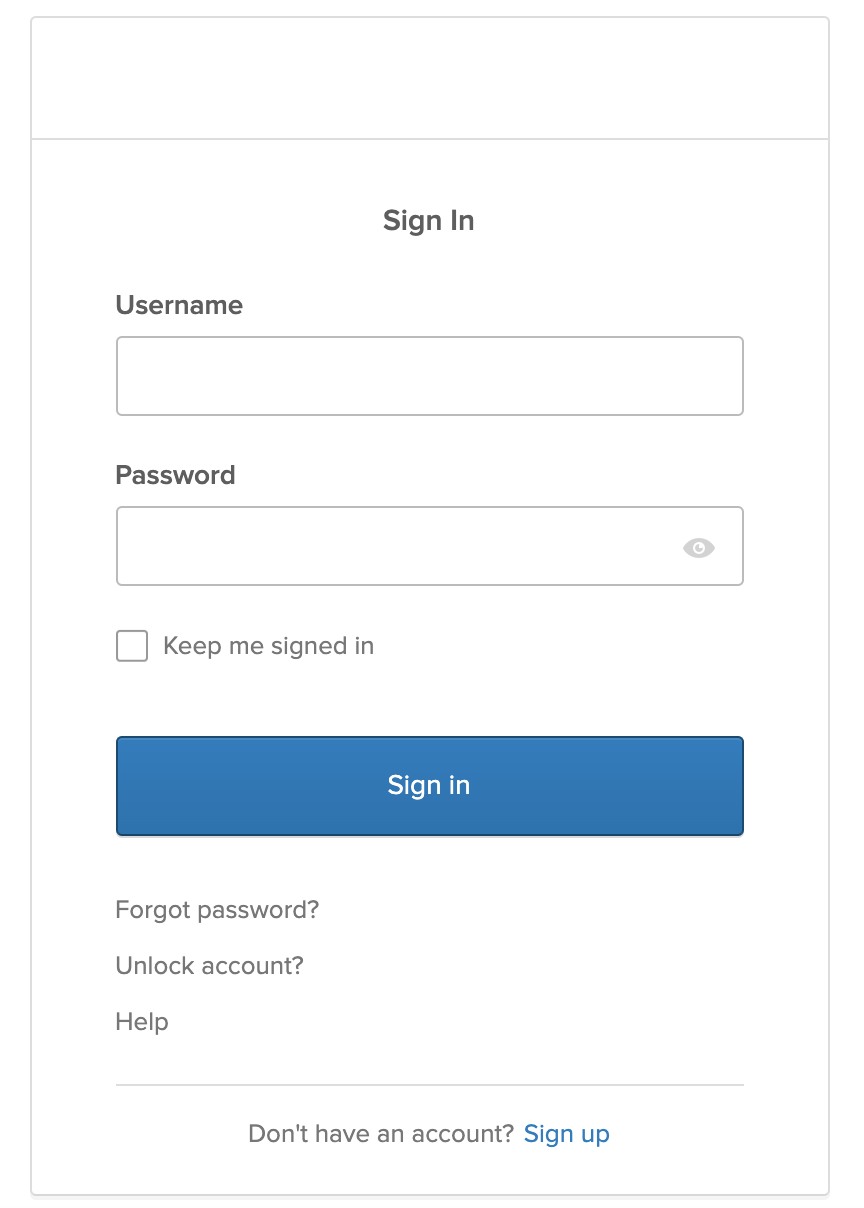
The Okta Sign-In Widget is a JavaScript library that gives you a fully featured and customizable sign-in experience. It can be used to authenticate users on any website.
Okta uses the Widget as part of its normal sign-in page. If you would like to customize the Widget, then you need to host it yourself. This guide walks you through the installation process for the Widget, a few common use cases for the Widget, and how to implement them. The full Widget reference can be found on GitHub (opens new window).
Installation
The first step is to install the Widget. For this, you have two options: linking out to the Okta CDN, or local installation through npm instead.
Install with CDN
To use the CDN, include this in your HTML, using the latest version (opens new window) of the Sign-In Widget: 7.47.2
<!-- Latest CDN production JavaScript and CSS -->
<script src="https://global.oktacdn.com/okta-signin-widget/7.47.2/js/okta-sign-in.min.js" type="text/javascript"></script>
<link href="https://global.oktacdn.com/okta-signin-widget/7.47.2/css/okta-sign-in.min.css" type="text/css" rel="stylesheet"/>
See also Using the Okta CDN (opens new window).
Install with npm
To install the latest version of the Okta Sign-In Widget (opens new window) locally through npm, run the following command in your project root folder:
npm install @okta/okta-signin-widget@latest
See also Using the npm module (opens new window). The latest version of the Widget is 7.47.2.
Bundle the Widget
If you’re bundling your assets, import them from @okta/okta-signin-widget. For example, using webpack (opens new window):
import OktaSignIn from '@okta/okta-signin-widget';
import '@okta/okta-signin-widget/dist/css/okta-sign-in.min.css';
Note: Loading CSS requires the CSS-loader plugin (opens new window).
Enable cross-origin access
The Sign-In Widget makes cross-origin requests, so you must enable Cross-Origin Resource Sharing (CORS) in your org. To do this, add your app's URL to your Okta org's Trusted Origins (in API > Trusted Origins). See Enable CORS.
Usage
Once you've installed the Widget and enabled CORS, you can start using it.
Initialize the Widget
The code that initializes the Sign-In Widget looks like this:
<div id="widget-container"></div>

<script>
  const signIn = new OktaSignIn({baseUrl: 'https://{yourOktaDomain}'});
  signIn.renderEl({
    el: '#widget-container'
  }, function success(res) {
    if (res.status === 'SUCCESS') {
      console.log('Do something with this sessionToken', res.session.token);
    } else {
    // The user can be in another authentication state that requires further action.
    // For more information about these states, see:
    //   https://github.com/okta/okta-signin-widget#rendereloptions-success-error
    }
  });
</script>
Note: In Okta Sign-In Widget version 7+, Okta Identity Engine is enabled by default. If you're using version 7+ and want to use Classic Engine rather than Identity Engine, you need to specify
useClassicEngine: truein the configuration options (opens new window) passed into thenew OktaSignIn()call.
Note:
https://${yourOktaDomain}is different from your admin URL. Don’t include-adminin the value. When you copy your Okta domain from the Admin Console, you can find the correct value in the upper-right corner of the dashboard.
Mobile Consideration
To ensure that the Sign-In Widget renders properly on mobile, include the viewport metatag in your head:
<head>
  <meta name="viewport" content="width=device-width, initial-scale=1.0" />
</head>
Use Cases
The Sign-in Widget can handle several different authentication scenarios. Here are a few common ones:
Sign In and Display User's Email
In this case, you would like to use the Widget to sign in to a simple web page and display the user's email. This requires an Okta Integrator Free Plan org, and you have to create a Single-Page App (SPA) for it to work.
- Sign in to your Admin Console. Go to Applications > Applications.
- Click Create App Integration.
- Select OIDC - OpenID Connect as the Sign-in method.
- Select Single-Page Application as the Application Type. Click Next.
- Add
http://localhost:8080to Sign-in redirect URIs and click Save. - Copy the Client ID from the General tab of the subsequent settings page. Use it in the subsequent code.
<!doctype html>
<html lang="en">
  <head>
    <meta charset="utf-8">
    <meta name="viewport" content="width=device-width, initial-scale=1.0, shrink-to-fit=no">
    <link rel="stylesheet" href="https://stackpath.bootstrapcdn.com/bootstrap/4.5.0/css/bootstrap.min.css" integrity="sha384-9aIt2nRpC12Uk9gS9baDl411NQApFmC26EwAOH8WgZl5MYYxFfc+NcPb1dKGj7Sk" crossorigin="anonymous">
    <title>Simple Web Page</title>
    <style>
      h1 {
        margin: 2em 0;
      }
    </style>
    <!-- widget stuff here -->
    <script src="https://global.oktacdn.com/okta-signin-widget/7.47.2/js/okta-sign-in.min.js" type="text/javascript"></script>
    <link href="https://global.oktacdn.com/okta-signin-widget/7.47.2/css/okta-sign-in.min.css" type="text/css" rel="stylesheet"/>
  </head>
  <body>
    <div class="container">
      <h1 class="text-center">Simple Web Page</h1>
      <div id="messageBox" class="jumbotron">
        You are not logged in. Get outta here! Shoo! >:S
      </div>
      <!-- where the sign-in form will be displayed -->
      <div id="okta-login-container"></div>
      <button id="logout" class="button" onclick="logout()" style="display: none">Logout</button>
    </div>
    <script type="text/javascript">
      const oktaSignIn = new OktaSignIn({
        baseUrl: "https://{yourOktaDomain}",
        redirectUri: '{{https://{yourAppRedirectUri} configured in your OIDC app}}',
        clientId: "{clientId}",
        authParams: {
          issuer: "https://{yourOktaDomain}/oauth2/default"
        }
      });

      oktaSignIn.authClient.token.getUserInfo().then(function(user) {
        document.getElementById("messageBox").innerHTML = "Hello, " + user.email + "! You are *still* logged in! :)";
        document.getElementById("logout").style.display = 'block';
      }, function(error) {
        oktaSignIn.showSignInToGetTokens({
          el: '#okta-login-container'
        }).then(function(tokens) {
          oktaSignIn.authClient.tokenManager.setTokens(tokens);
          oktaSignIn.remove();

          const idToken = tokens.idToken;
          document.getElementById("messageBox").innerHTML = "Hello, " + idToken.claims.email + "! You just logged in! :)";
          document.getElementById("logout").style.display = 'block';

        }).catch(function(err) {
          console.error(err);
        });
      });

      function logout() {
        oktaSignIn.authClient.signOut();
        location.reload();
      }
    </script>
  </body>
</html>
Copy the code into an index.html file on your hard drive.
For this example to work, host it on a web server that runs locally on port 8080. The simplest way to do this is to use Python. If you have Python 2 installed, use the command python -m SimpleHTTPServer 8080, otherwise, if you're using Python 3 you can run the command python -m http.server 8080 from the same directory as your index.html file.
Note: You can check the version of Python on your system by running the command
python -V. If you don't have thepythoncommand available, you might need to runpython3 -m http.server 8080. On some systems Python is namedpython3instead ofpython-- confusing, right?
Once you get Python running an HTTP server, access your page at http://localhost:8080.
Sign In to Okta with the Default Dashboard
In this case, use the Sign-In Widget to sign in to the default Okta dashboard. Use the Sign-In Widget initialization code, and modify the success behavior so that it redirects to your org's dashboard.
function success(res) {
  if (res.status === 'SUCCESS') {
    res.session.setCookieAndRedirect('https://{yourOktaDomain}/app/UserHome');
  }
}
Sign In to Okta and SSO Directly to an App
To sign the user directly in to an app within Okta, redirect to the specific URL for that app. To find that URL, go to that app's page in your Okta org and find the embed link (opens new window).
Sign In to Okta with a Custom Dashboard
To avoid using the Okta dashboard, change the redirect URL to point to your custom portal.
function success(res) {
  if (res.status === 'SUCCESS') {
    res.session.setCookieAndRedirect('https://example.com/dashboard');
  }
}
Sign in to your app
If you'd like to use the Widget to sign in to your own app instead of Okta, set up a custom authorization server.
Server-side web app using the authorization code flow
const signIn = new OktaSignIn({
  baseUrl: 'https://{yourOktaDomain}',
  el: '#widget-container',
  clientId: '{clientId}',
  // must be in the list of redirect URIs enabled for the OIDC app
  redirectUri: '{redirectUri}',
  authParams: {
    issuer: 'https://{yourOktaDomain}/oauth2/default',
    pkce: false,
    responseType: ['code']
  }
});

// A query parameter named `code` will be passed to the login redirect URI
// This should be handled by server-side code. The code can be exchanged for tokens
signIn.showSignInAndRedirect();
SPA or Native app using PKCE
const signIn = new OktaSignIn({
  baseUrl: 'https://{yourOktaDomain}',
  el: '#widget-container',
  clientId: '{clientId}',
  // must be in the list of redirect URIs enabled for the OIDC app
  redirectUri: '{redirectUri}',
  authParams: {
    issuer: 'https://{yourOktaDomain}/oauth2/default'
  }
});

// SPA and Native apps using PKCE can receive tokens directly without any redirect
signIn.showSignInToGetTokens().then(function(tokens) {
  // store/use tokens
});
Here's an example of some front-end code that could use this token:
function callMessagesApi() {
  const accessToken = signIn.authClient.getAccessToken();

  if (!accessToken) {
    // This means that the user is not logged in
    return;
  }

  // Make a request using jQuery
  $.ajax({
    // Your API or resource server:
    url: 'http://localhost:8080/api/messages',
    headers: {
      Authorization: 'Bearer ' + accessToken.accessToken
    },
    success: function(response) {
      // Received messages!
      console.log('Messages', response);
    },
    error: function(response) {
      console.error(response);
    }
  });
}
Handle Errors
The Sign-In Widget render function either results in a success or error. The error function is called when the Widget has been initialized with invalid config options, or has entered a state it can't recover from.
The Sign-In Widget is designed to handle any user and API errors internally. This means that the custom error handler should primarily be used for debugging any configuration errors.
The Sign-in Widget doesn't handle three kinds of errors. Handle them with your own code:
- ConfigError
- UnsupportedBrowserError
- OAuthError
Here's an example of an error handler that adds an error message to the top of the page:
function error(err) {
  const errorEl = document.createElement('div');
  errorEl.textContent = 'Error! ' + err.message;
  document.body.insertBefore(
    errorEl,
    document.body.firstChild
  );
}
Use with Okta SDKs
Okta provides some SDKs that you might want to use the Sign-In Widget with, including Angular, React, and Vue.
Using the Sign-In Widget with our SDKs that target the web is fairly straightforward.
Angular
The Okta Sign-In Widget and Angular guide shows the code that you need to embed the Sign-In Widget in an Angular app. (This code doesn't use the okta-angular (opens new window) SDK)
See the Okta Angular + Custom Login Example (opens new window) for an example using the okta-angular (opens new window) SDK.
React
The Okta Sign-In Widget and React guide shows the code that you need to embed the Sign-In Widget in a React app.
See the Okta React + Custom Login Example (opens new window) for an example using the okta-react (opens new window) SDK.
Vue
The Okta Sign-In Widget and Vue guide shows the code that you need to embed the Sign-In Widget in a Vue app.
See the Okta Vue + Custom Login Example (opens new window) for an example using the okta-vue (opens new window) SDK.
Mobile SDKs
Okta also has mobile SDKs for Android and iOS.
For mobile apps, embedding the Sign-In Widget isn't currently supported. A possible workaround is to redirect to Okta for authentication and to customize the hosted Sign-In Widget. Support is provided for building your own UI in mobile apps.
See the following examples:
- Android:
- iOS:
You can also develop your mobile app with frameworks like Ionic and Flutter. Okta doesn't have native SDKs for either, but they should work with an AppAuth library. For example, Ionic AppAuth (opens new window) and the Flutter AppAuth Plugin (opens new window).
Customizations
The Okta Sign-In Widget is fully customizable through CSS and JavaScript.