Build Secure Ionic Apps with Angular and JHipster

Ionic is a framework for building mobile apps with web technologies that look and act like native apps. Because they’re built with web technologies (HTML, JavaScript, and CSS), you can also deploy your Ionic apps as single-page applications. Or, even better, as progressive web apps (PWAs) that work offline.
Ionic supports the big three web frameworks: Angular, React, and Vue. Once you’ve written your app, you can deploy it to a simulator or device with Capacitor. Capacitor (pictured as the blue layer) provides the runtime for your app to communicate with the native operating system and vice versa.

Ionic’s main competitors are native apps built with Swift or Objective-C (for iOS) and Java or Kotlin (for Android). Ionic also competes with React Native, which uses web technologies and translates them to native components.
The Ionic blog has a recent post that does a performance comparison between Ionic and React Native. TL;DR: Both options will give you a high-performance app with a truly native look and feel.
Prerequisites:
- What the heck is JHipster?
- ✨ Introducing the JHipster Ionic blueprint!
- Build a mobile app with Ionic and Angular
- How to integrate Ionic and Spring Boot
- Run your Ionic app on iOS using Capacitor
- Run your Ionic app on Android
- Why use OpenID Connect for mobile apps?
- Learn more about Ionic, Spring Boot, and JHipster
What the heck is JHipster?
This tutorial will show you how to use Ionic, Angular, and Capacitor to build a mobile app that talks to a Spring Boot backend. It won’t take but a few minutes, thanks to JHipster!
JHipster is an application generator that creates an Angular frontend and a Spring Boot backend based on the options you choose. It has the ability for you, as a developer, to customize what it generates with blueprints. The blueprints feature has resulted in many additional options for an app: Kotlin, Spring Native, Micronaut, Quarkus, .NET Core, NestJS, and Svelte.
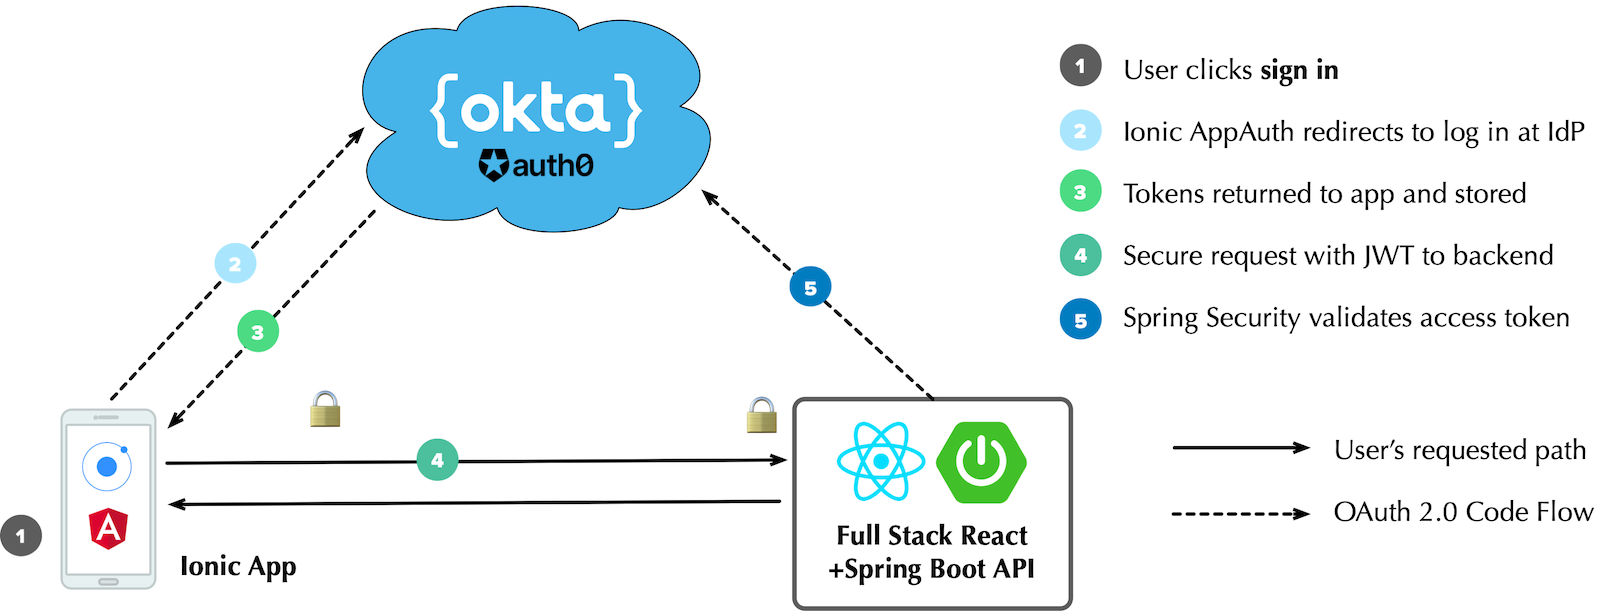
Below is a diagram of the app you’ll create in this tutorial and its authentication flow.
✨ Introducing the JHipster Ionic blueprint!
The JHipster project has supported generating an Ionic app using a generator-jhipster-ionic module for the past several years.
As the primary maintainer of this module, I’m proud to announce that it has been re-written as a blueprint, and it’s much easier to understand now.
The previous module relied on the Ionic CLI, the base Angular starter, the Ionic JHipster starter, and custom code to glue it all together.
Now, the source code is all contained in one project.
Marcelo Shima volunteered to do the conversion, and after a couple of months, I’m proud to say the JHipster Ionic blueprint is now available!
There was a 'Moved Permanently' error fetching URL: 'https://twitter.com/dummyuser/status/1523893356744609792'
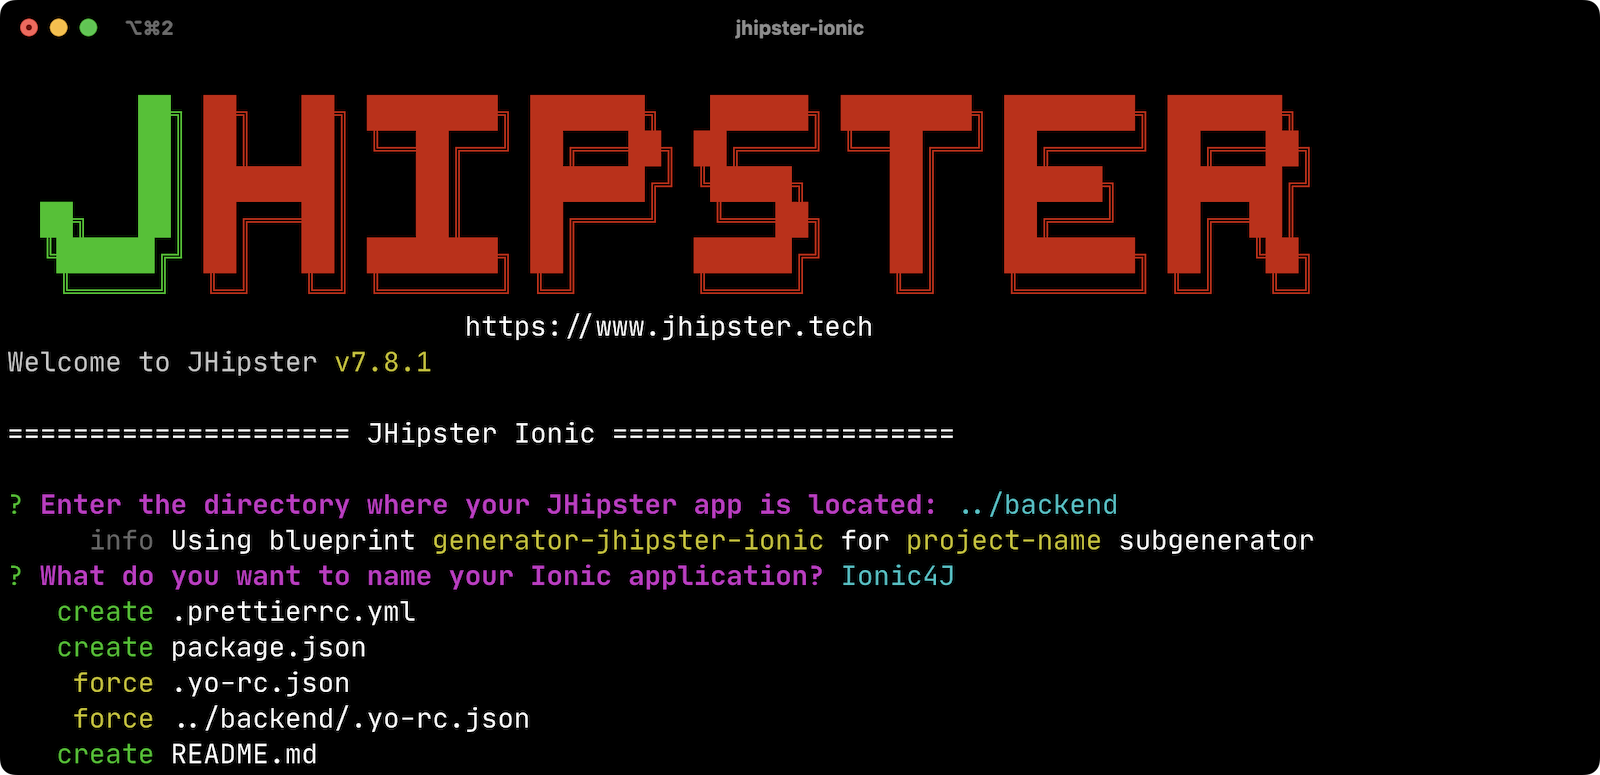
Here’s how to use it:
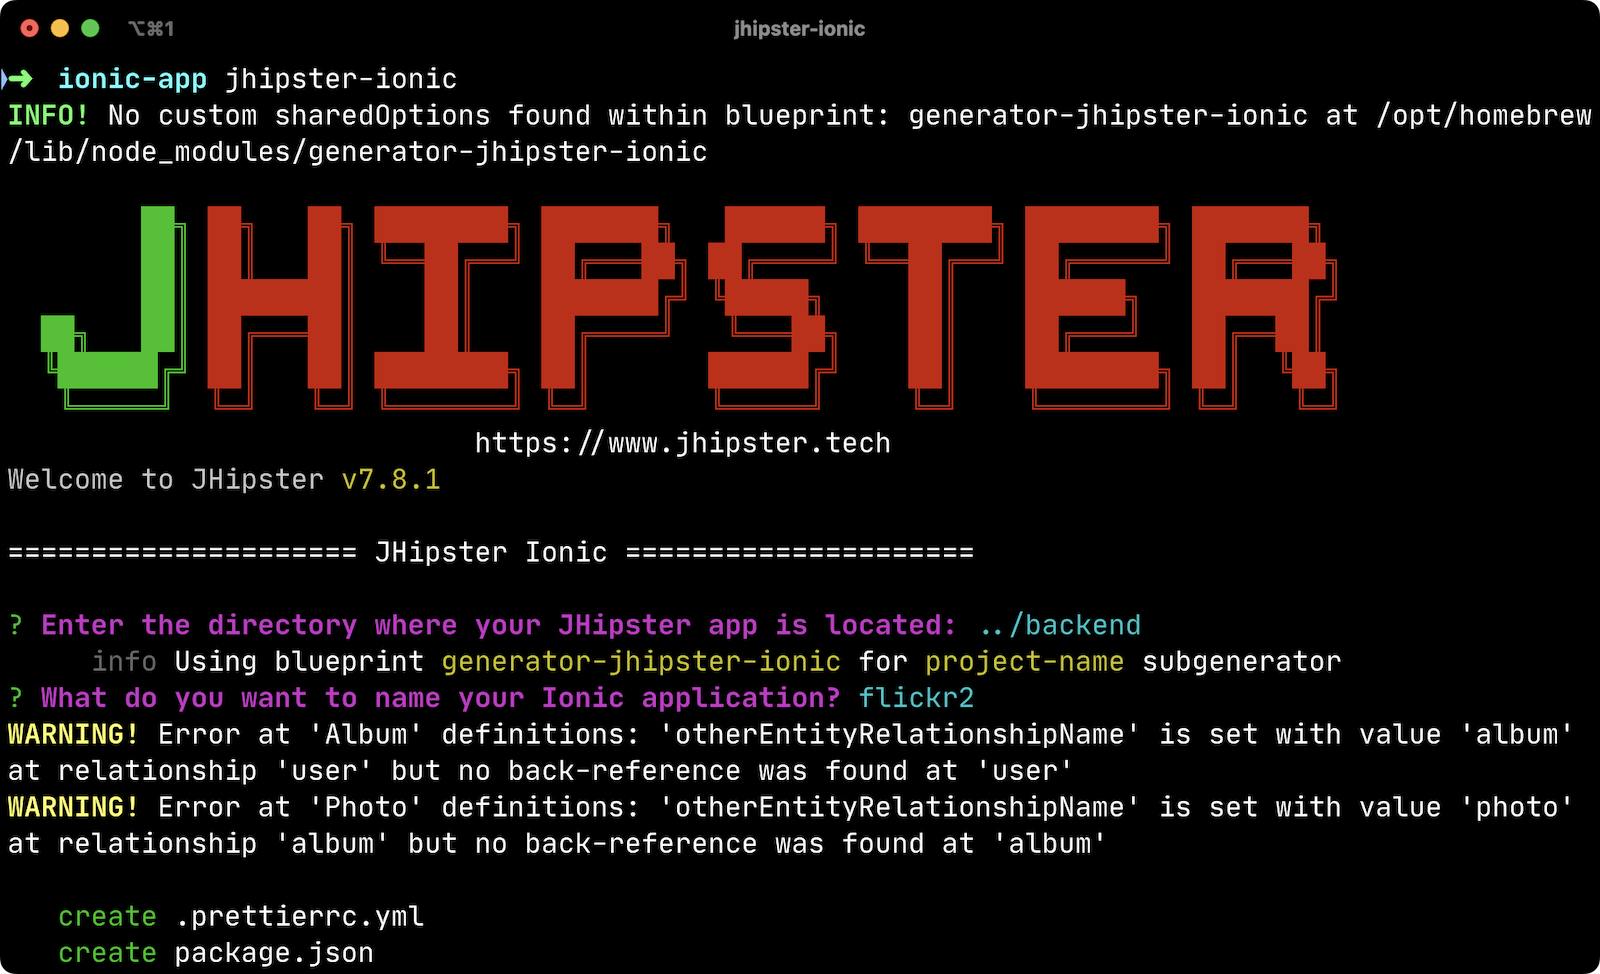
Create an ionic-app directory alongside your JHipster app.
- backend
- ionic-app
Navigate into ionic-app using your terminal.
Install Ionic for JHipster and create a new app using jhipster-ionic.
npm install -g generator-jhipster-ionic
jhipster-ionic
You’ll be prompted for the location of your JHipster app, a name for your Ionic app, and then you’ll be off to the races!
You can also create a JHipster app and an Ionic app simultaneously by using the bundled JHipster.
mkdir bug-tracker && cd bug-tracker
jhipster-ionic jdl bug-tracker.jh
cd ../ionic4j
This process will follow the same convention where the generated backend and frontend apps are side-by-side on your hard drive.
Then you can run both apps from your Ionic app using easy-to-remember commands.
npm run backend:start
# open a new terminal window
npm start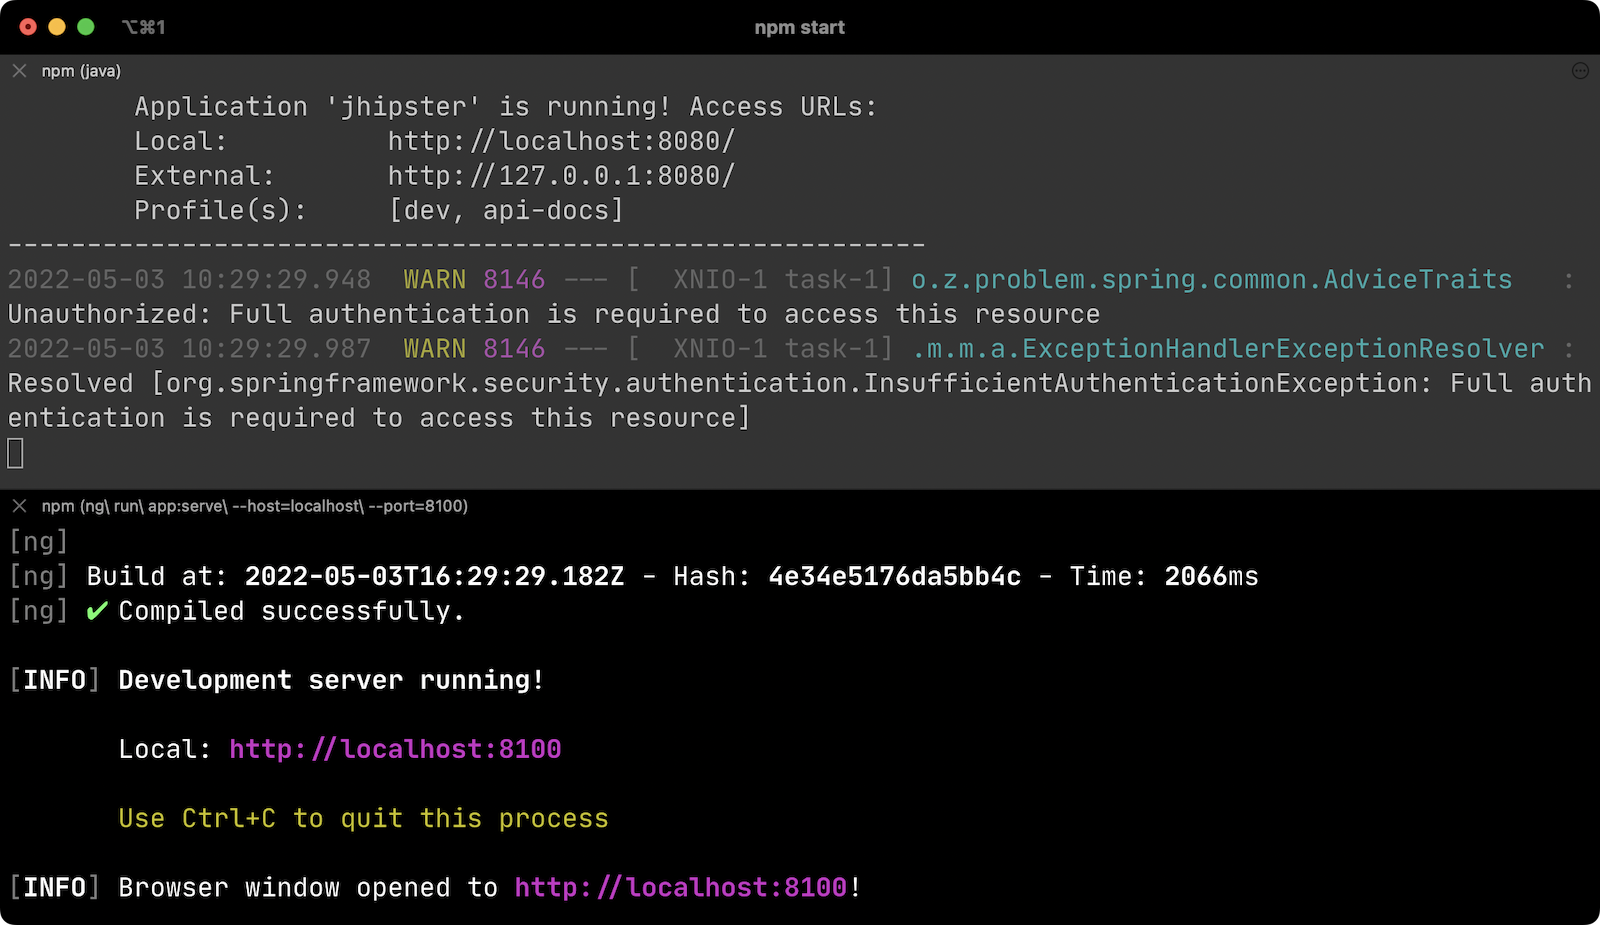
| The JHipster Ionic blueprint currently only supports Angular. Now that it’s a blueprint, it will be much easier to add support for Vue and React. If you’re interested in helping out, please let me know! Okta is a platinum sponsor of the JHipster project and enjoys assigning bug bounties for feature development. |
Build a mobile app with Ionic and Angular
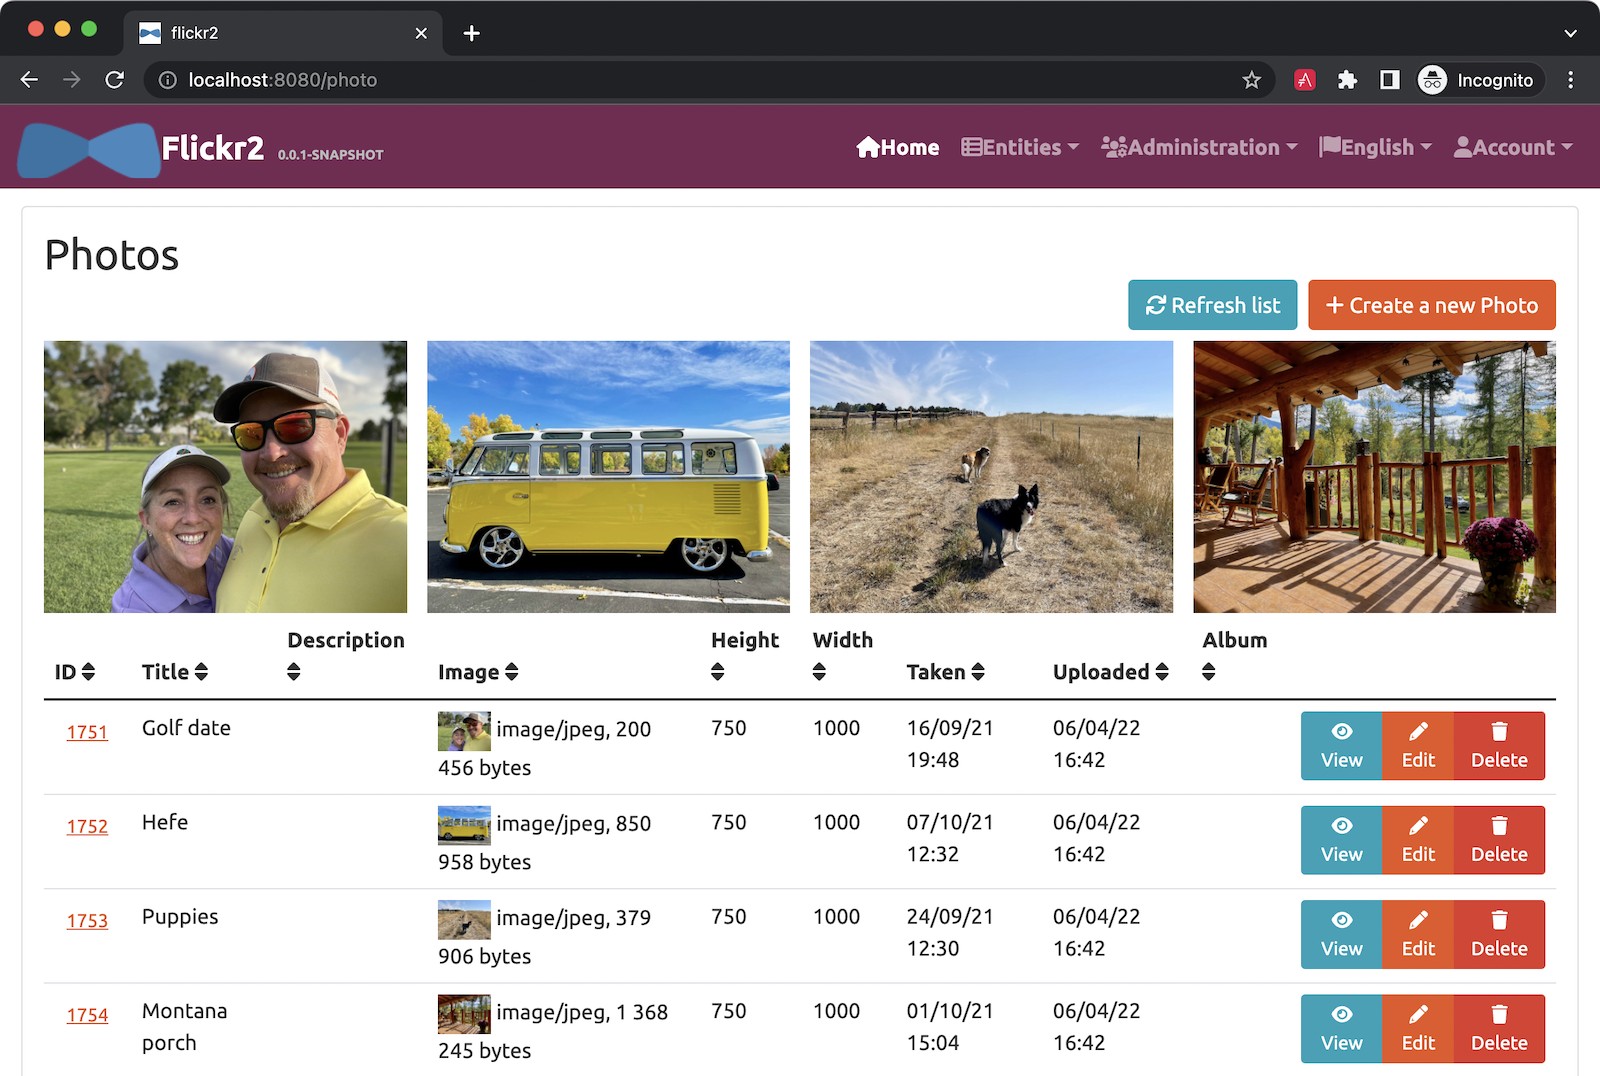
To see Ionic + JHipster in action, let’s start with a Full Stack Java + React app I created for the Auth0 blog. I updated the app to the latest version of JHipster (v7.8.1) and created an Ionic app with JHipster Ionic, so everything is guaranteed to work. This Flickr clone allows you to upload photos, tag them, and organize them into albums. First, clone the example:
git clone https://github.com/oktadev/okta-jhipster-ionic-example.git \
  jhipster-ionic --depth 1
cd jhipster-ionic/backend
Start the app:
npm run ci:e2e:prepare # starts Keycloak and PostgreSQL in Docker
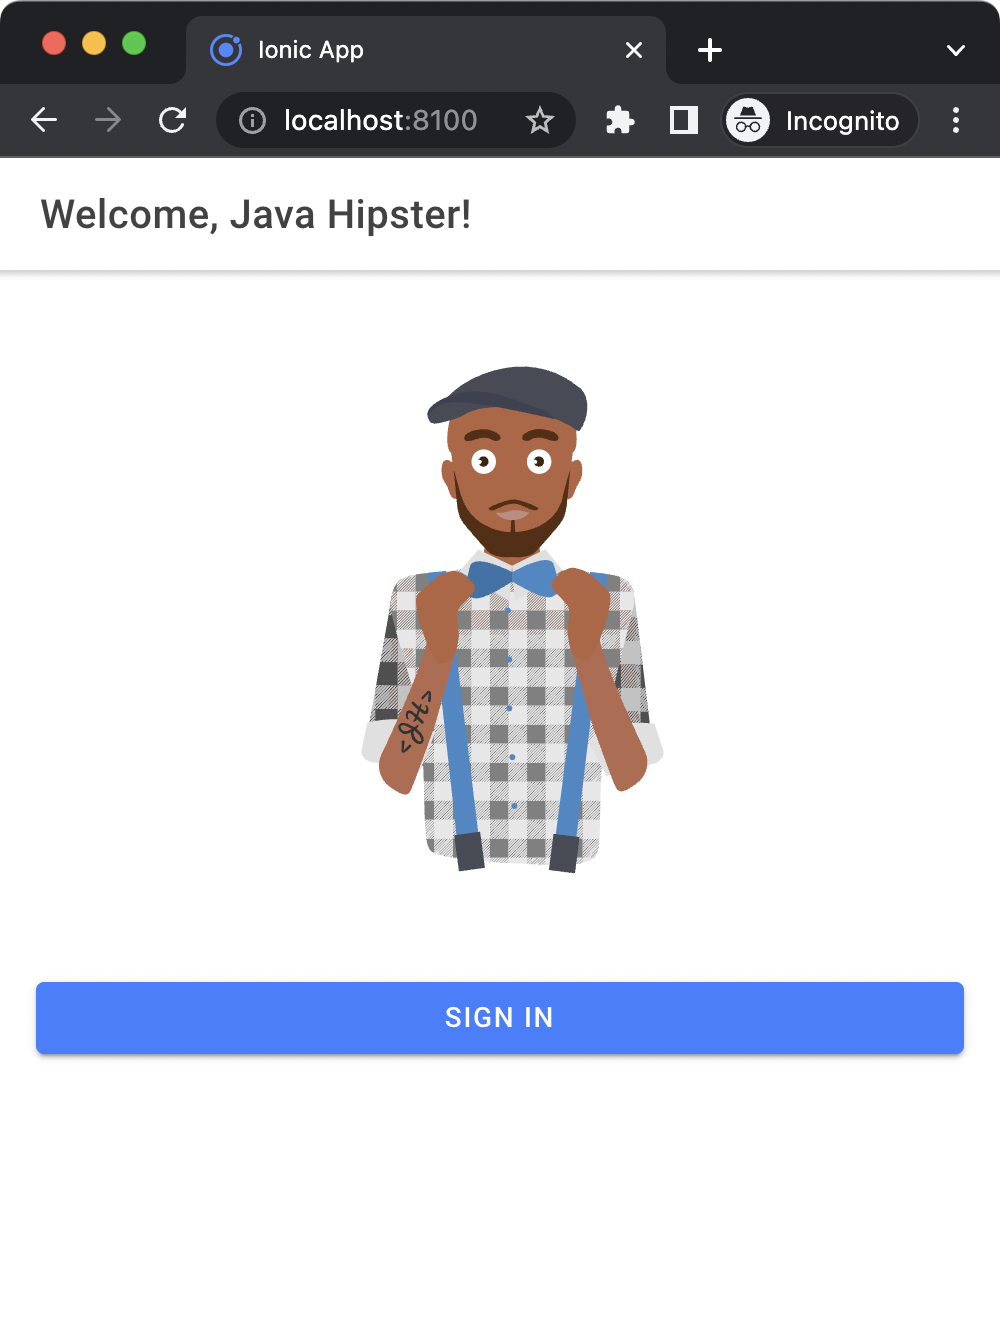
./mvnwThen, navigate to http://localhost:8080 in your favorite browser.
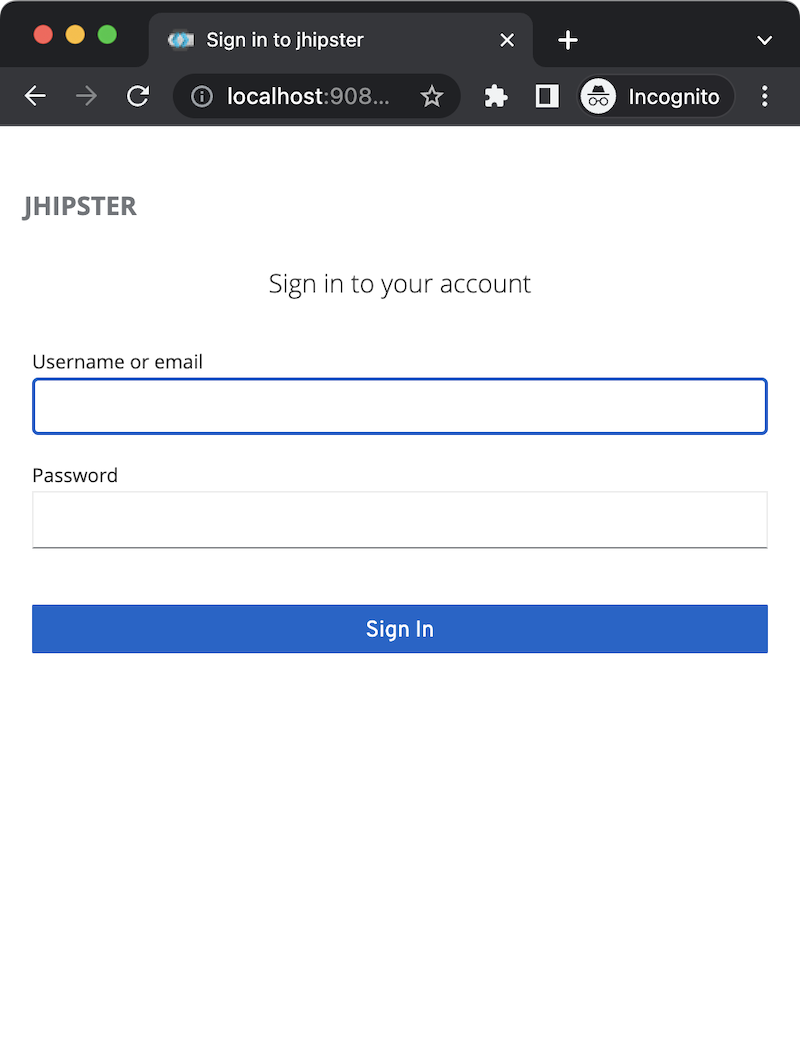
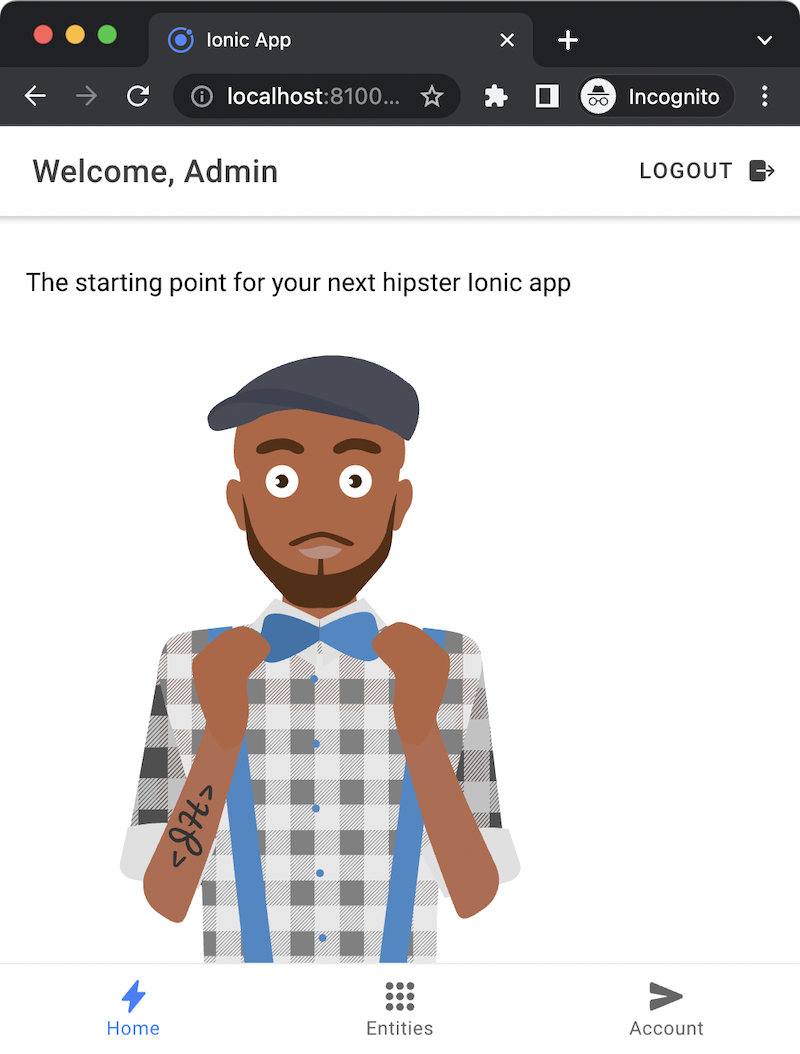
Sign in with admin/admin credentials and rejoice when it all works.
Open a new terminal window and enter the jhipster-ionic/ionic-app directory.
Install its dependencies and run npm start to test the Ionic client.
npm install
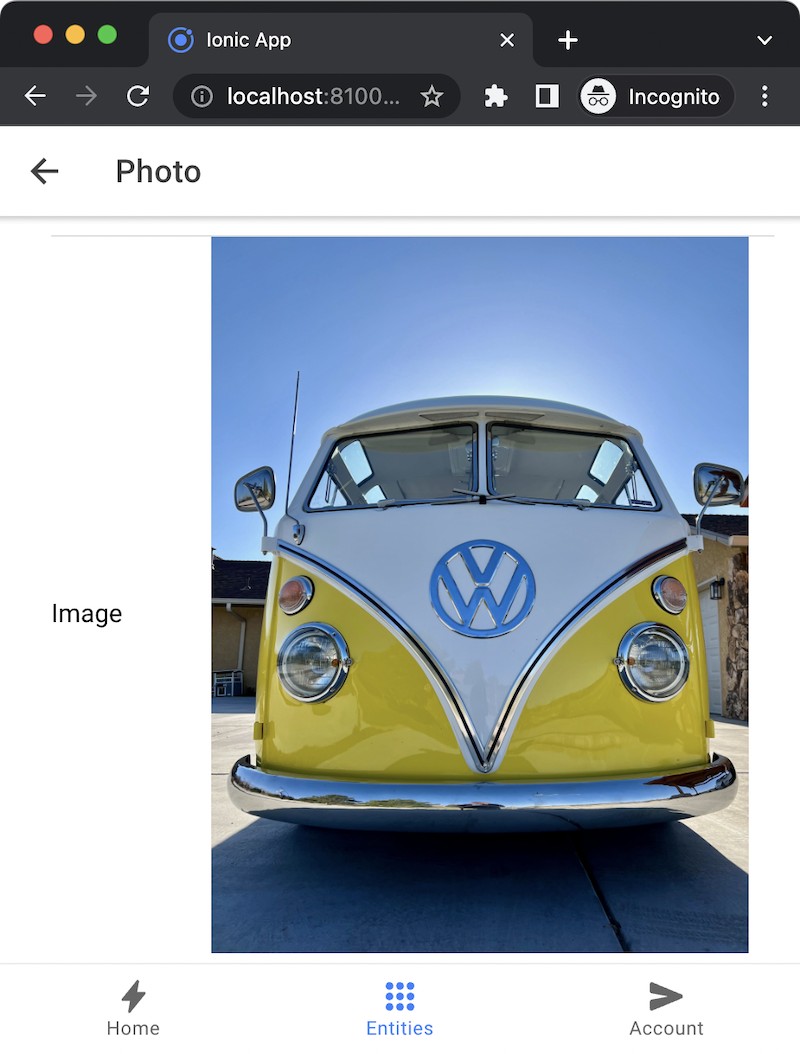
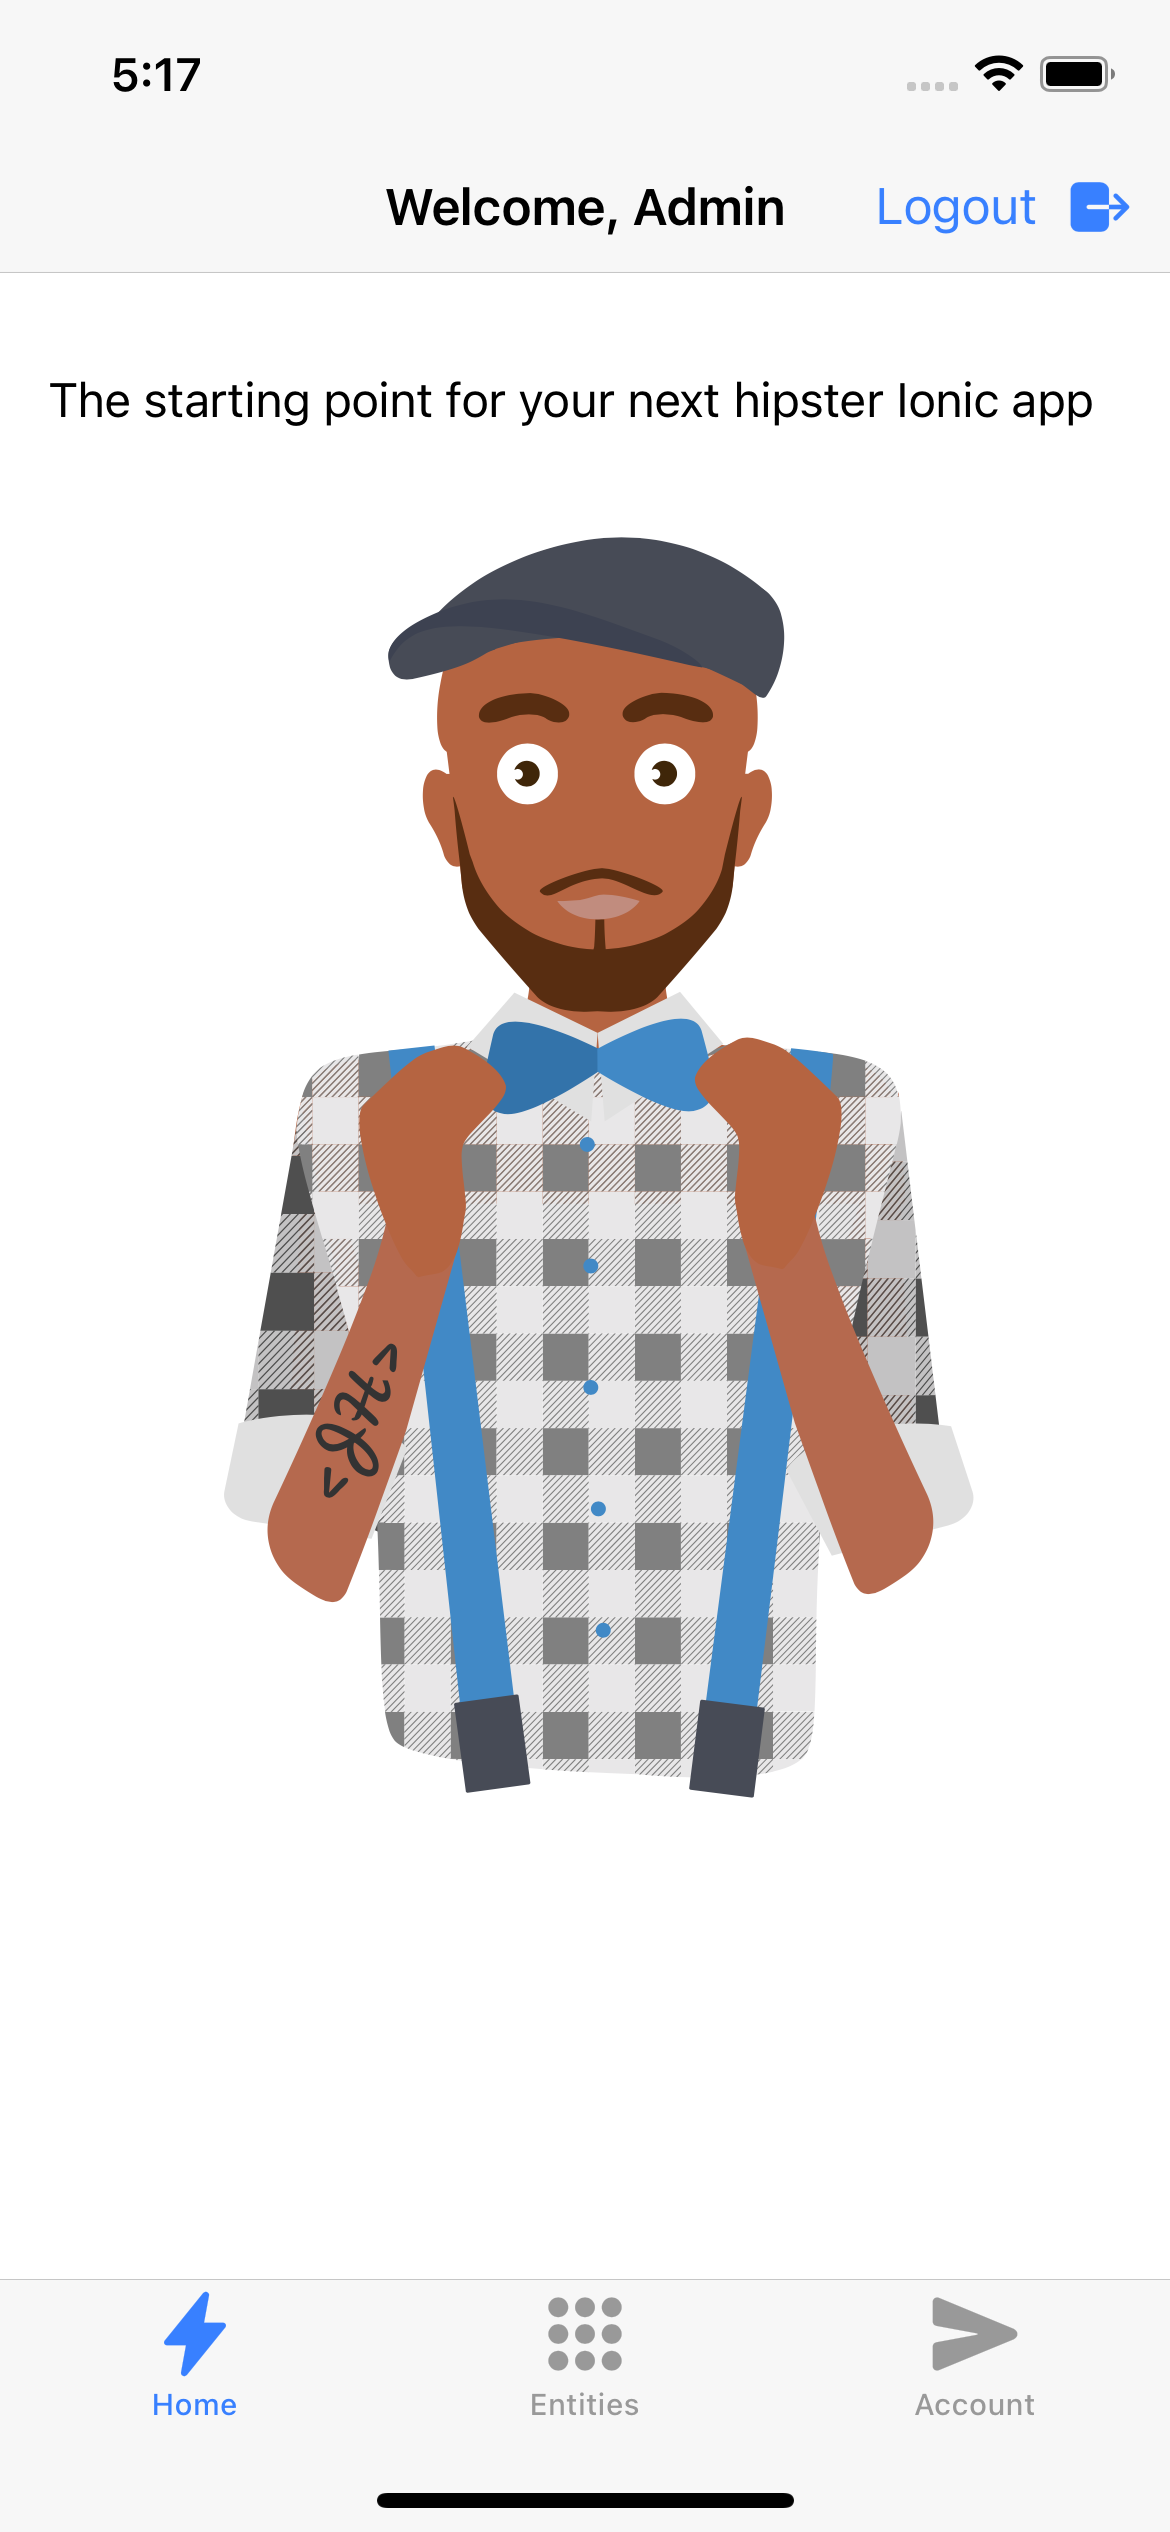
npm startYou should be able to sign in and add a new photo.
 |
 |
 |
 |
Please keep reading to learn how JHipster made all of this possible. Or, skip ahead to run your Ionic app on iOS using Capacitor.
How to integrate Ionic and Spring Boot
JHipster makes it easy to create a Spring Boot API that Spring Security protects.
The JHipster Ionic blueprint generates an Ionic client that talks to your Spring Boot API and understands its auth mechanism.
I created the jhipster-ionic project using the following steps:
Install the JHipster Ionic blueprint:
npm i -g generator-jhipster-ionic@8.0.0Create a parent directory to hold everything:
# take is a shortcut for mdkir && cd
take jhipster-ionic
Clone an existing JHipster Flickr example:
git clone https://github.com/oktadev/auth0-full-stack-java-example.git backend --depth 1Create a new directory to hold your Ionic project, then run jhipster-ionic in it:
take ionic-app
jhipster-ionic
Provide the path to your backend JHipster app and name your app flickr2.
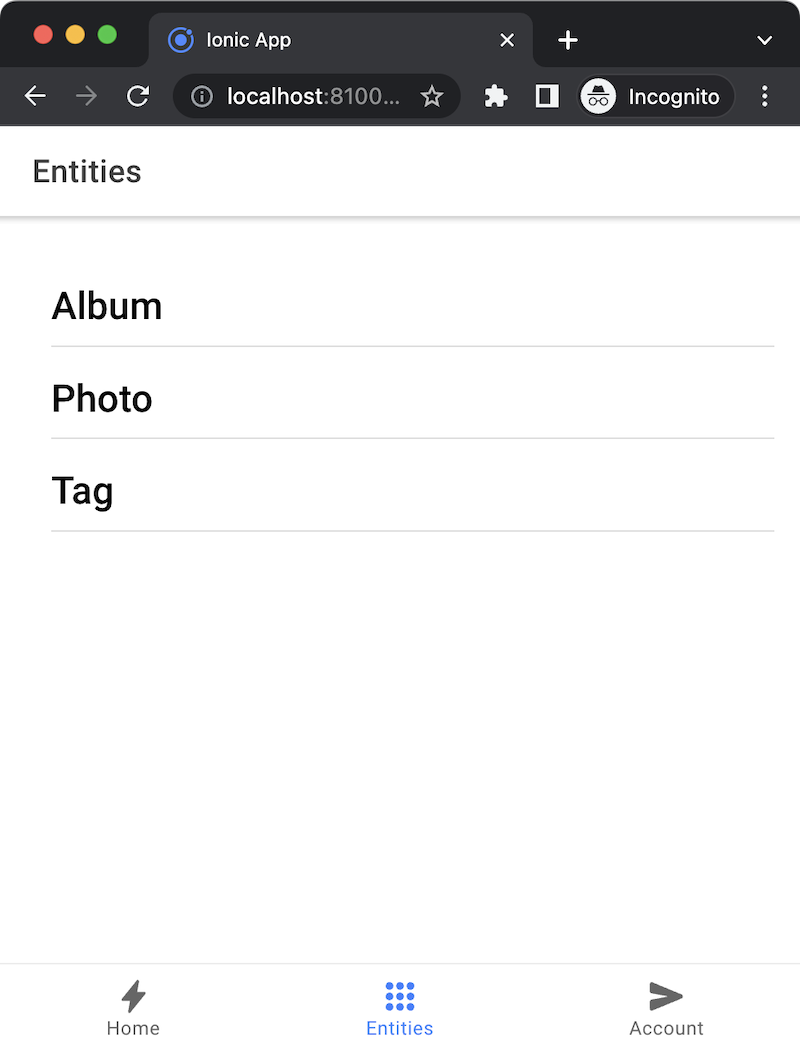
That’s it! The blueprint will generate an Ionic client, complete with screens for editing entities, unit tests, and end-to-end tests with Cypress.
Pretty slick, don’t you think?! 😎
Run your Spring Boot API
You’ll need to start your backend first, so your Ionic app can talk to its API. First, start Keycloak and PostgreSQL in Docker containers:
cd backend
npm run ci:e2e:prepare # starts Keycloak and PostgreSQL in Docker
Next, update backend/src/main/resources/config/application-prod.yml to allow CORS from http://localhost:8100.
jhipster:
  ...
  cors:
    allowed-origins: 'http://localhost:8100'
    allowed-methods: '*'
    allowed-headers: '*'
    exposed-headers: 'Authorization,Link,X-Total-Count,X-${jhipster.clientApp.name}-alert,X-${jhipster.clientApp.name}-error,X-${jhipster.clientApp.name}-params'
    allow-credentials: true
    max-age: 1800
Then, start the backend app using ./mvnw -Pprod.
You should be able to log in at http://localhost:8080 (with admin/admin) and add new photos using Entities > Photos.
Add a few photos so you have some data to work with.
Run your Ionic app
Open another terminal and navigate to the ionic-app folder.
Launch your Ionic client using npm start.
In your default browser, the app will be opened at http://localhost:8100.
You should be able to log in with Keycloak and see all the listed entities in your app.
In the JHipster app’s tutorial, there’s a section where you’re instructed to remove photo fields that can be calculated. Specifically, height, width, date taken, and date uploaded. These values are calculated when the photos are uploaded, so there’s no reason to display them when adding a photo.
To add this same functionality to your Ionic app, modify src/app/pages/entities/photo/photo-update.html and wrap these fields with <div *ngIf="!isNew">.
<div *ngIf="!isNew">
  <ion-item>
    <ion-label position="floating">Height</ion-label>
    <ion-input type="number" name="height" formControlName="height"></ion-input>
  </ion-item>
  ...
  <ion-item>
    <ion-label>Uploaded</ion-label>
    <ion-datetime displayFormat="MM/DD/YYYY HH:mm" formControlName="uploaded" id="field_uploaded"></ion-datetime>
  </ion-item>
</div>
The Ionic CLI will auto-compile and reload the app in your browser when you save this file. You can prove everything works as expected by stopping your app (with Ctrl+C) and running all the end-to-end tests with Cypress.
npm run e2eRun your Ionic app on iOS using Capacitor
Generate a native iOS project with the following commands:
npx ionic build
npx ionic capacitor add ios
Add your custom scheme (dev.localhost.ionic) to ios/App/App/Info.plist.
This scheme is configured in src/environments/environment.ts; you can easily change it to something else if you like.
<key>CFBundleURLTypes</key>
<array>
  <dict>
    <key>CFBundleURLName</key>
    <string>com.getcapacitor.capacitor</string>
    <key>CFBundleURLSchemes</key>
    <array>
      <string>capacitor</string>
      <string>dev.localhost.ionic</string>
    </array>
  </dict>
</array>
Modify the JHipster app’s CORS settings (in backend/src/main/resources/config/application-prod.yml) to allow capacitor://localhost as an origin.
jhipster:
  ...
  cors:
    allowed-origins: 'http://localhost:8100,capacitor://localhost'
Restart your backend app. Deploy your Ionic app to iOS Simulator and run it.
npx cap run iosConfirm you can log in and rejoice in your success!
Run your Ionic app on Android
Generate an Android project with Capacitor.
npx ionic capacitor add androidEnable clear text traffic and add dev.localhost.ionic as a scheme in android/app/src/main/AndroidManifest.xml:
<activity ... android:usesCleartextTraffic="true">
  <!-- You'll need to add this intent filter so redirects work -->
  <intent-filter>
    <action android:name="android.intent.action.VIEW" />
    <category android:name="android.intent.category.DEFAULT" />
    <category android:name="android.intent.category.BROWSABLE" />
    <data android:scheme="dev.localhost.ionic" />
    <!--data android:scheme="com.okta.dev-133337" /-->
  </intent-filter>

  <intent-filter>
    <action android:name="android.intent.action.MAIN" />
    <category android:name="android.intent.category.LAUNCHER" />
  </intent-filter>
</activity>
Modify the JHipster app’s CORS settings to allow http://localhost as an origin.
jhipster:
  ...
  cors:
    allowed-origins: 'http://localhost:8100,capacitor://localhost,http://localhost'
Restart your backend app and run your Ionic app on Android using the Capacitor CLI:
npx cap run android| If you get an error when running this command, make sure to use Java 11. |
You’ll need to run a couple of commands to allow the emulator to communicate with JHipster and Keycloak.
adb reverse tcp:8080 tcp:8080
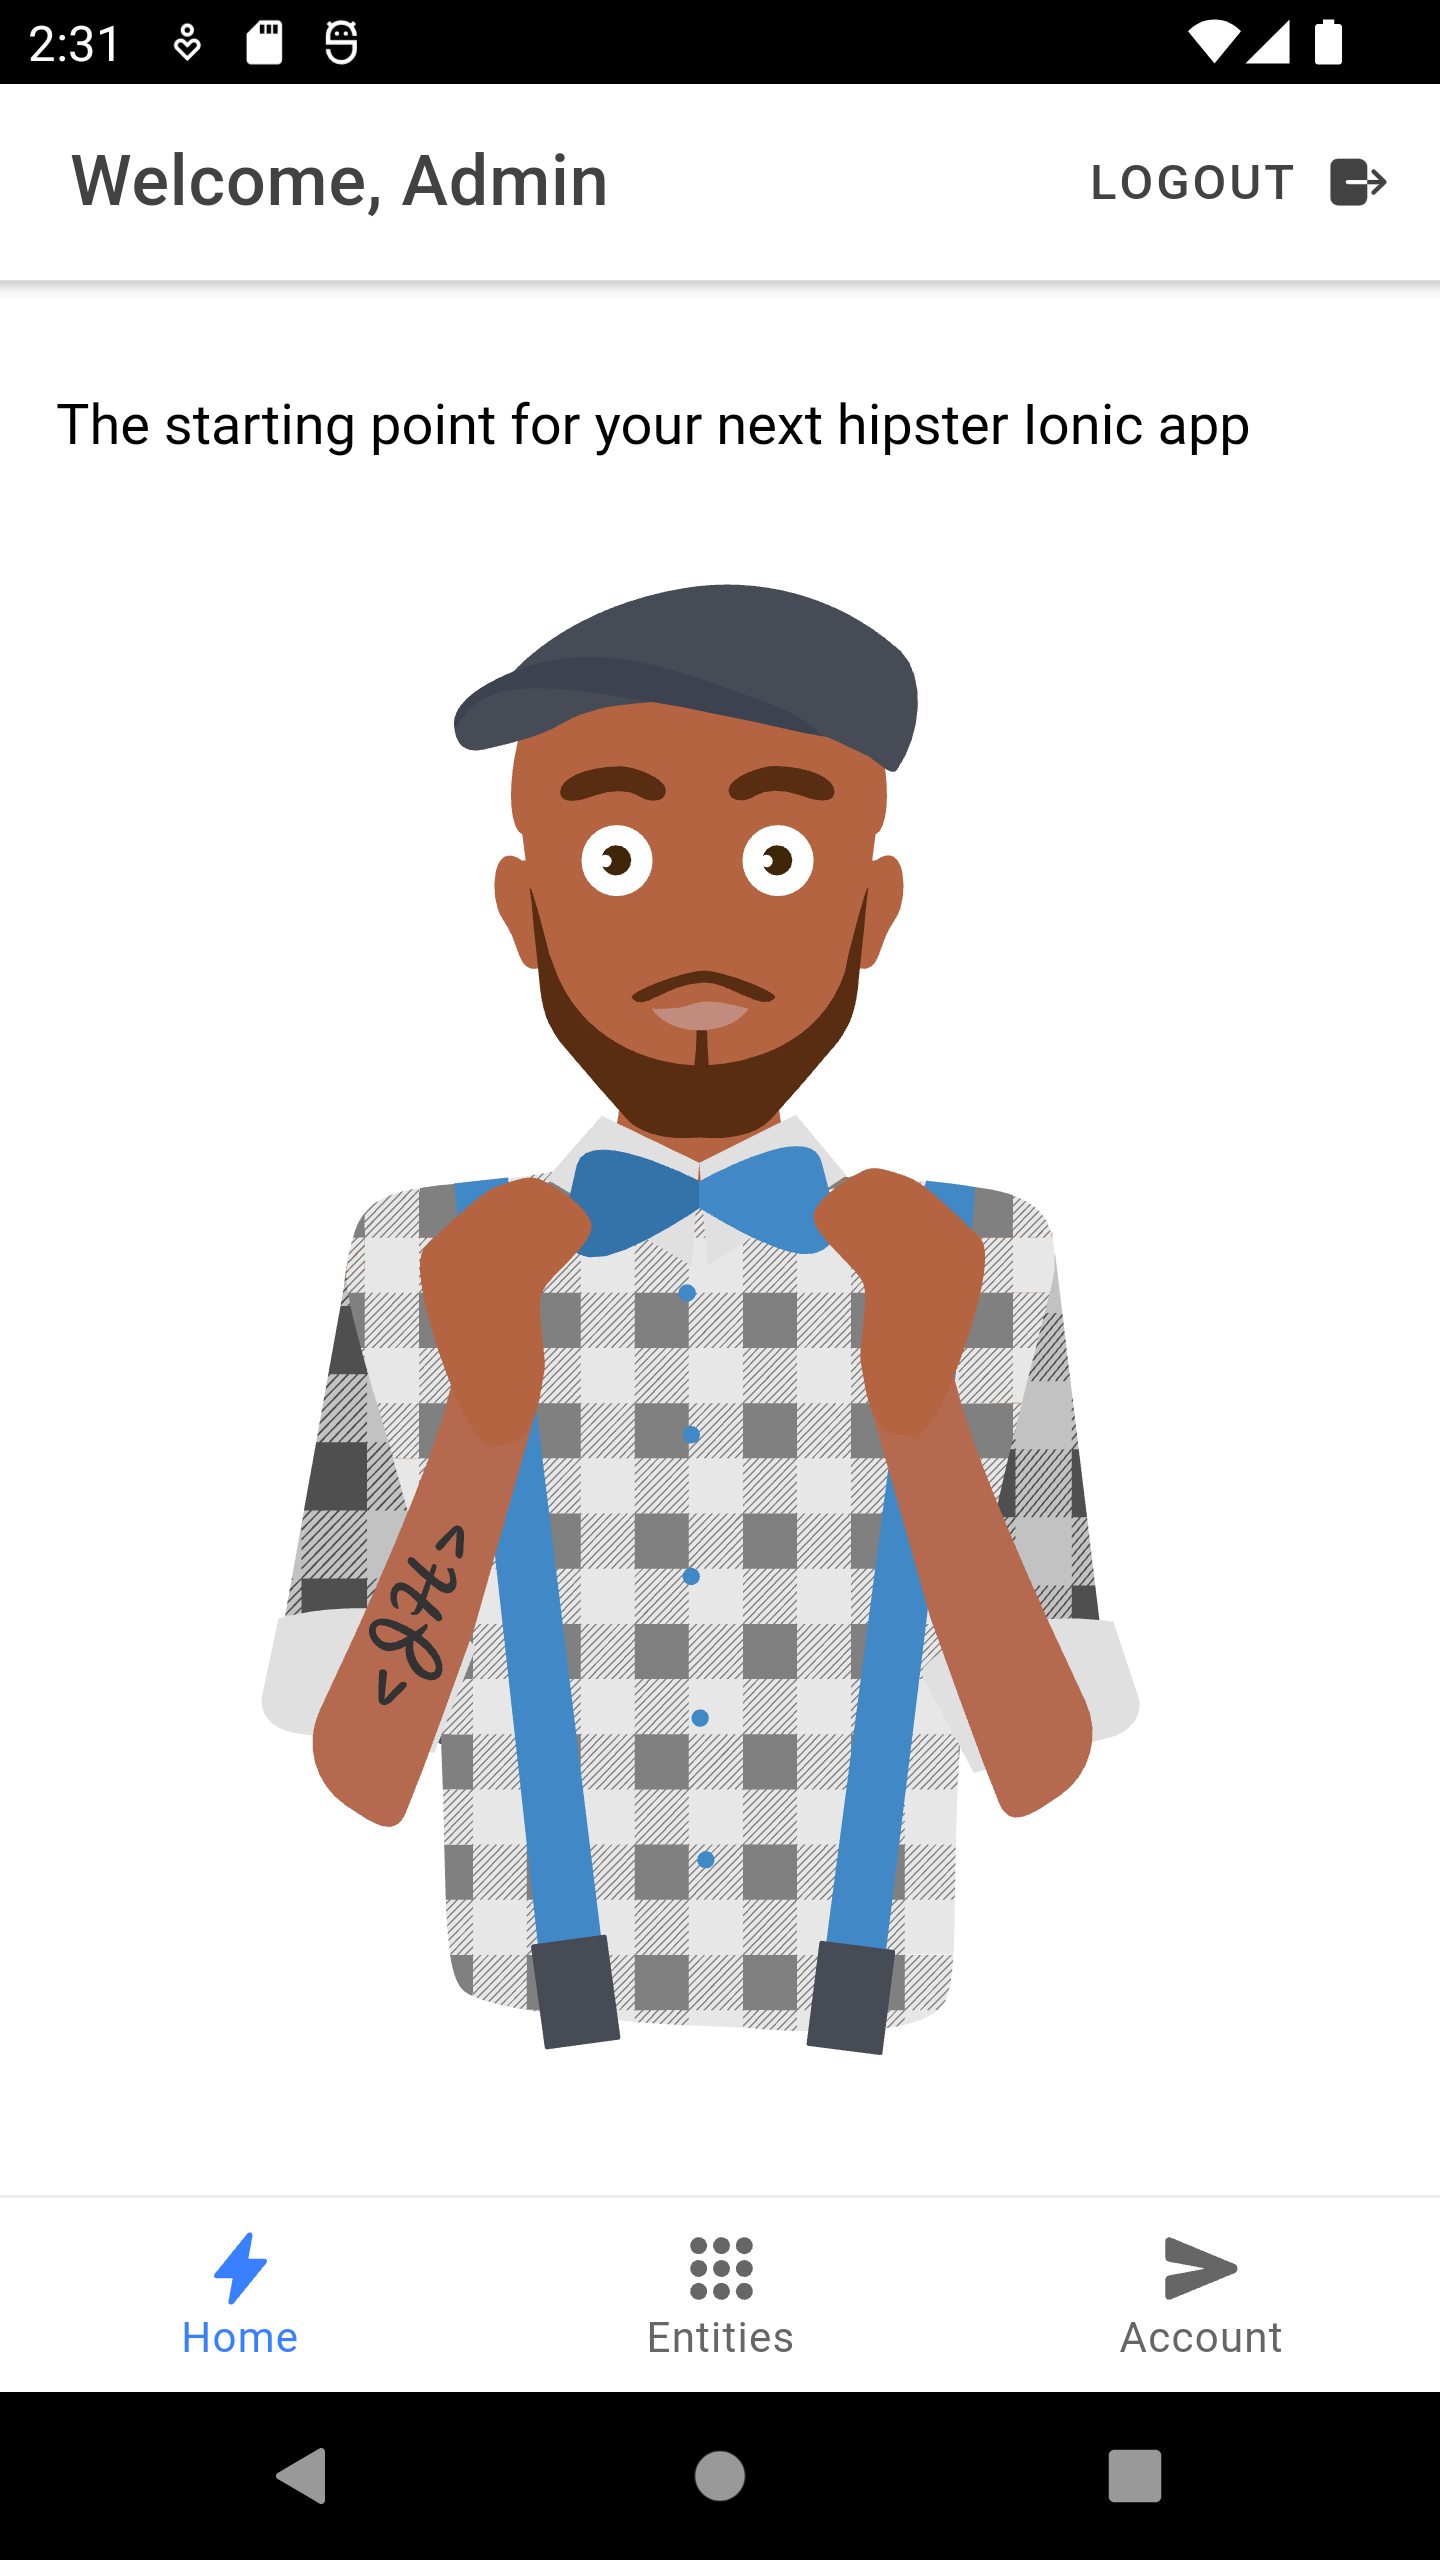
adb reverse tcp:9080 tcp:9080You should be able to log in and edit entities, just like you can in a browser and on iOS!
Why use OpenID Connect for mobile apps?
Storing API keys and secrets in mobile apps is not safe. OAuth 2.0 solves this problem by not shipping any secrets in mobile apps and instead involving the user in the process of getting an access token into the app. These access tokens are unique per user, and they’re updated every time the user logs in. The PKCE extension provides a solution for securely doing the OAuth flow on a mobile app even when there is no pre-provisioned secret.
If you need to access an API from a mobile app, hopefully, it supports OAuth and PKCE! Thankfully most of the hard work of PKCE is handled by SDKs like AppAuth, so you don’t have to write all that code yourself. If you’re working with an API like Okta, then Okta’s SDKs do PKCE automatically, so you don’t have to worry about it. The JHipster Ionic blueprint uses Ionic AppAuth.
The previous sections showed you how to use Keycloak as your identity provider. If you’re deploying to production, you might not want to manage your users and authentication system. That’s where Okta and Auth0 can help!
Switch your identity provider to Okta
If you don’t have an Okta developer account, you can sign up for one or run okta register after installing the Okta CLI.
If you want to change your JHipster app to use Okta, the Okta CLI makes this as easy as okta apps create jhipster.
This command creates a .okta.env file you can source to override the default Keycloak settings.
source .okta.env
./mvnw -Pprod
With Keycloak, you don’t need a separate OIDC app for Ionic. With Okta, you do. See JHipster’s documentation to learn how to create a native app for Ionic on Okta.
After you’ve changed the client ID in your Ionic app, run it using npm start.
You’ll be prompted to log in using your Okta credentials at http://localhost:8100.
Switch your identity provider to Auth0
To switch your identity provider to Auth0, you first need an Auth0 account.
Then, create a .auth0.env file and see JHipster’s Auth0 docs for how to populate it.
Next, configure a native app for Ionic on Auth0. Once you’re finished updating your Ionic app with a new client ID and audience, you should be able to run your backend and new frontend client using the following commands:
source .auth0.env
npm run backend:start
# open a new terminal
npm start
To see it in action on your mobile emulators, use the following commands:
npm run build

# iOS
npx cap run ios

# Android
npx cap run android
Learn more about Ionic, Spring Boot, and JHipster
I hope you’ve enjoyed learning about Ionic and the new Ionic blueprint for JHipster. In my opinion, it’s pretty neat that you can rapidly prototype a mobile client for your JHipster. It’s even better that you can use a leading-edge mobile application framework to do it.
You can find the source code for this example on GitHub, in the @oktadev/okta-jhipster-ionic-example repository.
If you liked this post, you might like these others too.
If you have any questions, please leave a comment below. You can follow @oktadev on Twitter and subscribe to our YouTube channel for more leading-edge content. We’re also on LinkedIn and Facebook.
Matt Raible is a well-known figure in the Java community and has been building web applications for most of his adult life. For over 20 years, he has helped developers learn and adopt open source frameworks and use them effectively. He's a web developer, Java Champion, and Developer Advocate at Okta. Matt has been a speaker at many conferences worldwide, including Devnexus, Devoxx Belgium, Devoxx France, Jfokus, and JavaOne. He is the author of The Angular Mini-Book, The JHipster Mini-Book, Spring Live, and contributed to Pro JSP. He is a frequent contributor to open source and a member of the JHipster development team. You can find him online @mraible and raibledesigns.com.
Okta Developer Blog Comment Policy
We welcome relevant and respectful comments. Off-topic comments may be removed.