Simplify Building Vue Applications with NuxtJS

Nuxt calls itself the intuitive Vue framework. It aims to make a developer-friendly experience while not sacrificing performance or degrading the integrity of your architecture. It has been exciting to see the community and tooling around VueJS grow and evolve — there’s no better time to get started in this ecosystem than now.
In this tutorial, you will build a small web application that retrieves some posts from an API and displays them for authenticated users. For authentication, you will integrate Okta into your Nuxt application. Okta’s simple authentication system and the power of Nuxt means you can configure and set up your authentication in just a few moments.
What you’ll need
- Your favorite IDE (I will be using Visual Studio Code)
- Node.js
- An Okta Developer Account
- The Okta CLI tool
Note: In May 2025, the Okta Integrator Free Plan replaced Okta Developer Edition Accounts, and the Okta CLI was deprecated.
We preserved this post for reference, but the instructions no longer work exactly as written. Replace the Okta CLI commands by manually configuring Okta following the instructions in our Developer Documentation.
Set up your Okta application
Install the Okta CLI and run okta login.
Then, run okta apps create. Select the default app name, or change it as you see fit.
Choose Single-Page App and press Enter.
Use http://localhost:3000/login for the Redirect URI and set the Logout Redirect URI to http://localhost:3000/.
What does the Okta CLI do?
The Okta CLI will create an OIDC Single-Page App in your Okta Org. It will add the redirect URIs you specified and grant access to the Everyone group. It will also add a trusted origin for http://localhost:3000/. You will see output like the following when it’s finished:
Okta application configuration:
Issuer:    https://dev-133337.okta.com/oauth2/default
Client ID: 0oab8eb55Kb9jdMIr5d6
NOTE: You can also use the Okta Admin Console to create your app. See Create a Vue App for more information.
Build your web application with Nuxt
If you wish to follow along using the completed project you can check out the GitHub repository here.
Nuxt provides a scaffolding tool called create-nuxt-app to make scaffolding your application easy. You can run the following command to create the application:
npx create-nuxt-app okta-vue-nuxt-example
Usually, task runners have several options. There are some important options you should take a look at while using this task runner.
- Programming language: JavaScript
- Package manager: Npm
- UI framework: Bootstrap Vue
- Nuxt modules: Axios - Promise based HTTP client
We will use Axios to fetch data in our application. Next, you can select the linting tool of your choice and a testing framework.
- Rendering mode: Universal (SSR / SSG)
- Deployment target: Server (Node.js hosting)
You can use the following commands to enter the project directory and run the application.
cd okta-vue-nuxt-example
npm run dev
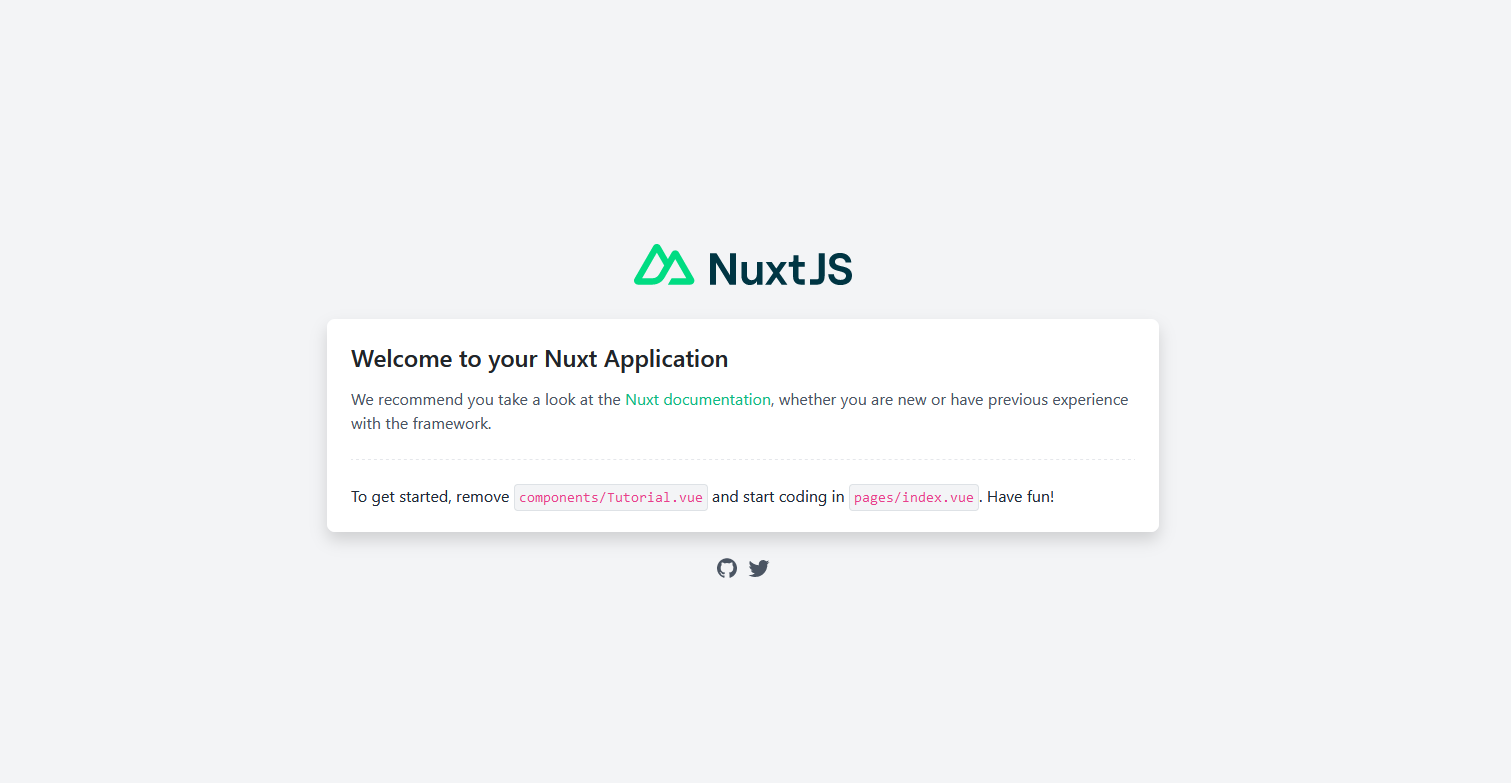
If you open http://localhost:3000/ in your browser, you will see the default Nuxt page.
The Nuxt project layout is pretty straightforward. First you have a .nuxt folder where your compiled server code will end up. Next there is a components folder. You won’t use the folder in this tutorial, but breaking pages into components is common practice in larger projects. These components are then reusable in a number of pages. Next you will find a pages folder where your pages will go. Your routes will be inferred by Nuxt from these views. The static folder is where you can house css, images, or other static content to display. The store directory contains your Vuex store files.
You will also add a layouts folder later. As you might have guessed, this folder will contain layouts. There are several other directories that are configured out of the box for Nuxt, including middleware, modules, plugins, and dist. These are out of scope for this article but it is important to know they exist.
Finally, you will need two packages from npm. The first is @nuxtjs/dotenv which is a nuxt-friendly implementation of dotenv. You will use this to store sensitive information that you don’t want to end up in your source control.
Finally you will need @nuxt/auth-next to control your authentication.
npm i @nuxtjs/dotenv@1.4.1
npm i @nuxtjs/auth-next@5.0.0-1637333559.35dbd53
With your dependencies installed it’s time to start building your application. First, add a new file to your root directory and name it .env, then add the following code to it.
OKTA_DOMAIN=https://{yourOktaDomain}
OKTA_CLIENT_ID={yourClientId}
Be sure to replace the placeholder variables with your actual Okta information.
Now open your nuxt.config.js file located in the root directory and replace its contents with the following code.
export default {
  // Global page headers: https://go.nuxtjs.dev/config-head
  head: {
    title: "todolist-article",
    htmlAttrs: {
      lang: "en",
    },
    meta: [
      { charset: "utf-8" },
      { name: "viewport", content: "width=device-width, initial-scale=1" },
      { hid: "description", name: "description", content: "" },
      { name: "format-detection", content: "telephone=no" },
    ],
    link: [{ rel: "icon", type: "image/x-icon", href: "/favicon.ico" }],
  },

  // Global CSS: https://go.nuxtjs.dev/config-css
  css: [],

  // Plugins to run before rendering page: https://go.nuxtjs.dev/config-plugins
  plugins: [],

  // Auto import components: https://go.nuxtjs.dev/config-components
  components: true,

  // Modules for dev and build (recommended): https://go.nuxtjs.dev/config-modules
  buildModules: [],

  // Modules: https://go.nuxtjs.dev/config-modules
  modules: [
    // https://go.nuxtjs.dev/bootstrap
    "bootstrap-vue/nuxt",
    // Doc: https://axios.nuxtjs.org/usage
    "@nuxtjs/axios",
    "@nuxtjs/dotenv",
    "@nuxtjs/auth-next",
  ],

  /*
   ** Axios module configuration
   ** See https://axios.nuxtjs.org/options
   */
  axios: {},

  auth: {
    strategies: {
      okta: {
        scheme: "openIDConnect",
        endpoints: {
          configuration:  `${process.env.OKTA_DOMAIN}/oauth2/default/.well-known/oauth-authorization-server`,
          logout: undefined,
        },
        clientId: process.env.OKTA_CLIENT_ID,
        grantType: "authorization_code",
        responseType: "code",
      },
    },
  },
  // Build Configuration: https://go.nuxtjs.dev/config-build
  build: {},
};
The first thing this file does is make use of dotenv. It registers the modules you added earlier through the task runner and via npm. Finally, it sets up the options for your OAuth configuration. Here is where you use the environment variables that you set up in your .env file.
You should note the line of code that reads logout: undefined. It is critical for logging the user out correctly, because Okta requires the idToken to be passed as a query parameter. However, nuxt-auth won’t include that parameter under the hood. The solution is to override the logout URL obtained from the configuration endpoint with undefined and manually log the user out in your page file. You will implement this shortly.
To use the OAuth configuration properly, Nuxt requires you to add a file to the store folder called index.vue. You can leave this file empty, but it must exist for Nuxt to use it. If you do not have a store folder, create one now and add a blank index.vue file to it.
Add your Nuxt pages
Now, you can start adding pages to your application. Nuxt builds your routes by looking in the pages folder. You can read more about Nuxt’s custom routing in their documentation.
Before working on your pages you should set up your layout. Add a new folder called layouts to the project directory and add a file called default.vue.
This file, and all of the views in this project, will use the Vue template syntax. Vue templating is very similar to most other template syntaxes. It relies heavily on the v-bind HTML attribute to handle events or bind attribute values. You can handle events with the v-on syntax, which can be short handed to @, such as @click="doSomething". The b-* components are from the Bootstrap Vue library that should have been installed via the npx task runner.
The layout page will display the headers and footers and incorporate some branching logic to determine if a user should see a login or logout button. It also contains some common CSS and JavaScript that will be needed on each page that uses the layout. The <nuxt /> element on this page will act as a placeholder for the code on your page. Nuxt will render your page code in this section.
<template>
<div>
<b-container>
<b-navbar toggleable="lg" type="dark" variant="info">
<b-navbar-brand href="#">Posts</b-navbar-brand>
<b-navbar-nav>
<b-nav-item href="/dashboard"> Dashboard </b-nav-item>
</b-navbar-nav>
<b-navbar-nav v-if="loggedIn" class="ml-auto">
<b-button @click="logout" size="sm" class="my-2 my-sm-0" type="submit"
>Logout
</b-button>
</b-navbar-nav>
<b-navbar-nav v-else class="ml-auto">
<b-button @click="login" size="sm" class="my-2 my-sm-0" type="submit"
>Login
</b-button>
</b-navbar-nav>
</b-navbar>
<nuxt />
<footer id="sticky-footer" class="py-4 bg-dark text-white-50">
<div class="fluid-container footer">
<small>Copyright ©{{ year }} </small>
<br />
A small app built with
<a href="https://nuxtjs.org/" target="blank">Nuxt</a>, Protected by
<a href="https://www.okta.com/" target="blank">Okta</a>, Written by
<a href="https://profile.fishbowlllc.com" target="blank">Nik Fisher</a
>.
</div>
</footer>
</b-container>
</div>
</template>
<script>
export default {
data() {
return {
loggedIn: this.$auth.$state.loggedIn,
year: new Date().getFullYear(),
}
},
methods: {
logout() {
this.$auth.logout();
},
login() {
this.$auth.loginWith('okta').then(result => window.location = "/Dashboard");
}
},
}
</script>
<style scoped>
.fluid-container.footer > *:last-child {
margin-bottom: 0px;
color: #fff;
}
</style>
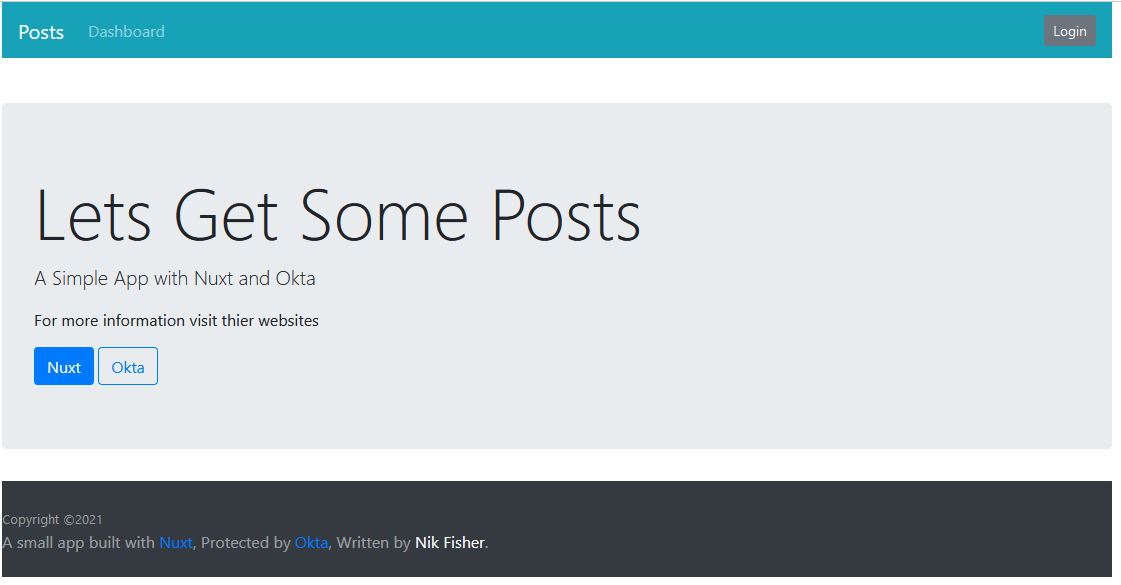
You will also need a basic landing page that isn’t under authentication. Your landing page will give some information about the application. It will also contain a redirect for authenticated users to route them to the Dashboard page.
Open the index.vue page in the pages directory and replace the code with the following.
<template>
  <div id="page-content">
    <b-jumbotron
      style="margin-top: 5vh"
      header="Lets Get Some Posts"
      lead="A Simple App with Nuxt and Okta"
    >
      <p>For more information visit their websites</p>
      <b-button variant="primary" href="https://nuxtjs.org/" target="blank"
        >Nuxt</b-button
      >
      <b-button
        variant="outline-primary"
        href="https://www.okta.com/"
        target="blank"
        >Okta</b-button
      >
    </b-jumbotron>
  </div>
</template>

<script>
export default {
  beforeMount() {
    if (this.$auth.$state.loggedIn) window.location = '/Dashboard'
  },
}
</script>
Next, you can add the Dashboard page. This page makes use of the data() webhook to get some data from a server using Axios, which it then displays in a table. The Dashboard page also makes use of the auth middleware to enforce authentication on this page. When a user attempts to hit this page, they will be rerouted to your login page if they are not authenticated.
Add a new file to the pages folder and name it dashboard.vue. Copy the following code into your dashboard.vue file.
<template>
  <div>
    <b-table :items="posts" :fields="fields"> </b-table>
  </div>
</template>

<script>
import Vue from 'vue'
export default Vue.extend({
  middleware: ['auth'],
  data() {
    return {
      fields: ['userId', 'title', 'body'],
      posts: [],
    }
  },
  async beforeMount() {
    this.$axios
      .$get('https://jsonplaceholder.typicode.com/posts')
      .then((res) => {
        this.posts = res
      })
      .catch((err) => {
        console.log(err)
      })
  },
})
</script>
Finally you will need to add the login page where Nuxt will route unauthenticated users. Add a new page to the pages folder named login.vue. Add the following code to it.
<template>
  <div id="page-content" class="p-4">
    <a class="btn btn-primary" @click="$auth.loginWith('okta')">Login with Okta </a>
  </div>
</template>


<script>
export default {
  middleware: ['auth'],
  data() {
    return {}
  },
  beforeMount() {
    if (this.$auth.$state.loggedIn) window.location = '/Dashboard'
  }
}
</script>
Testing your Nuxt application
Now that your application is complete you can run npm run dev from your terminal and the application will build. You should see the home page first.
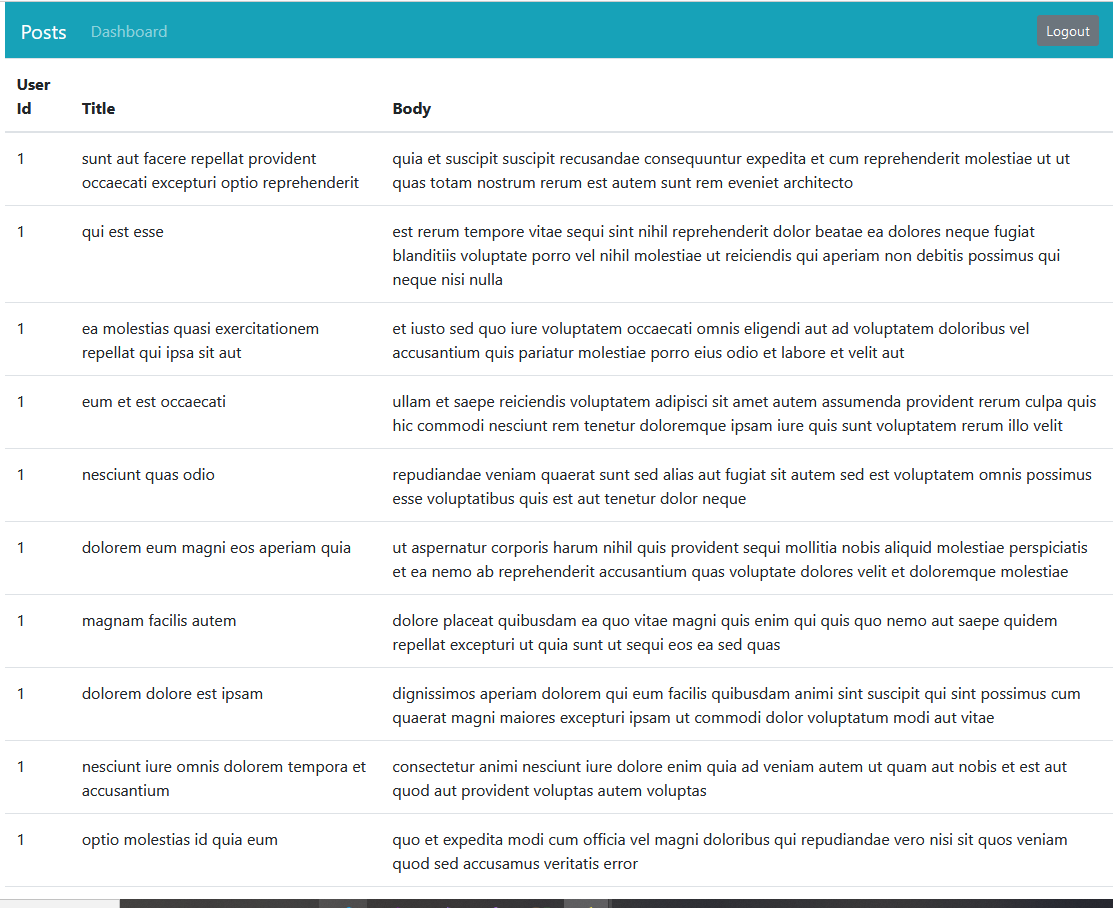
Click on Dashboard or Login and this should route you to the Okta login form. You can enter your Okta credentials here and you will be routed to the Dashboard page where you can view the posts.
Do more with Nuxt and Vue
With a little bit of code, you can combine Nuxt and Okta to make secure Vue SPAs or universal applications. You can find the source code for the example created in this tutorial on GitHub.
In this post, you learned how to use the @nuxt/auth-next package to secure your Nuxt application using Okta. You also learned how to create the application in Okta and configure the Vue app to use it. Finally, you learned how to use the @nuxtjs/axios package to pull data from a sample API.
If you’d like to learn more about building web apps with Vue, you might want to check out these other great posts:
- Use Schematics with Vue and Add Authentication in 5 Minutes
- Learn How to Build a Single-Page App with Vue and Spring Boot
- Vue Login and Access Control the Easy Way
Make sure you follow us on Twitter and subscribe to our YouTube channel. If you have any questions, or you want to share what tutorial you’d like to see next, please comment below.
Okta Developer Blog Comment Policy
We welcome relevant and respectful comments. Off-topic comments may be removed.