Vue Login and Access Control the Easy Way

Vue lets you create complex and high-performance web applications. As a front-end JavaScript framework, it’s becoming more popular than ever. Vue Router is the official router for Vue. It facilitates routing in single-page applications, and provides a way to process user authentications and restrict page access. Combined with Okta, implementing secure login in a Vue app can be accomplished in a matter of minutes.
User management is an important aspect of nearly all web applications, but implementing your own authentication and user management is complicated and can lead to security loopholes. Okta to the rescue! Okta allows you to organize users in groups and restrict access to parts of the application based on these groups. A user can belong to multiple groups and this can be used to create role-based access restrictions.
In this tutorial, I will show you how to create a simple content management system using Vue. You will also learn how to create user groups in Okta and how to assign users to those groups. Finally, I will show you how to restrict user access to specific pages based on the user’s roles.
Table of Contents
- Create a Vue Application
- Implement a Simple Content Management System (CMS) with Vue
- Register Your Vue App and Create User Groups
- Add Login to Your Vue Application
- Learn More About Vue and Authentication
Note: In May 2025, the Okta Integrator Free Plan replaced Okta Developer Edition Accounts, and the Okta CLI was deprecated.
We preserved this post for reference, but the instructions no longer work exactly as written. Replace the Okta CLI commands by manually configuring Okta following the instructions in our Developer Documentation.
Create a Vue Application
For this section, you’ll need an up-to-date version of node and npm already installed on your system. Start by opening a terminal and installing the Vue command-line tool (a.k.a., Vue CLI) using the following command.
npm install -g @vue/cli@4.3.1
Now, navigate to a folder of your choice and enter the following command to create a new Vue project.
vue create vue-cms-groups -d -m npm
This will create a new project in a folder vue-cms-groups and initialize it with some default Vue code. Next, navigate into the new project folder and install some additional packages.
cd vue-cms-groups
npm install -E lodash@4.17.15 marked@1.0.0 vue-material@1.0.0-beta-13 vue-router@3.1.6
The general utility library lodash is quite useful in many applications; you’ll use its debounce() function. The marked library allows you to easily render markdown from user-supplied content. A design framework like vue-material is a good starting point for creating beautiful applications. Finally, vue-router allows navigation between components within a single page application.
In order to use the router and Vue Material, both libraries have to be registered with the global Vue object. Open src/main.js and replace its contents with the following code.
import Vue from 'vue'
import App from './App.vue'
import router from './router'
import VueMaterial from 'vue-material'
import 'vue-material/dist/vue-material.min.css'
import 'vue-material/dist/theme/default-dark.css'

Vue.use(VueMaterial);
Vue.config.productionTip = false;

new Vue({
  router,
  render: h => h(App),
}).$mount('#app');
Vue Material uses an icon font that you have to manually include in the main HTML file. Open public/index.html and paste the following line inside the <header> tag.
<link href="https://fonts.googleapis.com/icon?family=Ubuntu|Material+Icons" rel="stylesheet">
Next, open the src/App.vue file. Each .vue file has three parts, a template definition, the script that drives the dynamic content in the template, and the CSS styles. Start with the template definition. Paste the following in place of the existing <template> code.
<template>
  <div id="app">
    <md-toolbar color="primary" class="expanded-toolbar">
      <span class="branding">
        <md-button><router-link to="home">{{title}}</router-link></md-button>
        <md-button><router-link to="home"><md-icon>home</md-icon></router-link></md-button>
      </span>
      <md-button v-if='authenticated' v-on:click='logout' id='logout-button'>Logout</md-button>
      <md-button v-else v-on:click='login' id='login-button'>Login</md-button>
      <md-menu md-direction="bottom-start">
        <md-button md-menu-trigger>
          <md-icon>menu</md-icon>
        </md-button>
        <md-menu-content>
          <md-menu-item @click="$router.safeNavigate($route, 'home')">Home</md-menu-item>
          <md-menu-item @click="$router.safeNavigate($route, 'read')">Read</md-menu-item>
        </md-menu-content>
      </md-menu>
    </md-toolbar>
    <div class="router">
      <router-view/>
    </div>
  </div>
</template>
This template uses Material Design elements to create a toolbar containing some buttons and menu items. You can also see two buttons letting the user log in or out of the application. For now, these buttons will not do anything. They will be properly linked up after the next section. The <router-view> is the outlet in which the router renders the page content.
Now replace the code inside the <script> tag with the JavaScript below.
export default {
  name: 'App',
  data: () => ({
    title: "Vue Groups",
    authenticated: true
  }),
  methods: {
    login () {},
    async logout () {
    }
  },
}
As you can see, the login() and logout() callbacks have been left empty and the authenticated flag is set to true. The missing pieces will be filled in after you have configured authentication. Now, add some styling by replacing the contents of the <style> tags with the following CSS.
#app {
  font-family: 'Ubuntu', sans-serif;
}

.branding {
  flex: 1;
  text-align: left;
}

h1, h2 {
  text-align: center;
}

.router {
  display: flex;
  flex-direction: row;
  justify-content: center;
}

.content {
  padding-top: 16px;
  padding-bottom: 16px;
  width: 1024px;
}
Next, rename the file src/components/HelloWorld.vue to src/components/Home.vue. This file will contain the home page of your application. Replace the contents of the file with the following code.
<template>
  <div class="home">
    <h1>Vue User Groups</h1>
    <h2>A simple application demonstrating login and user groups</h2>
  </div>
</template>

<script>
export default {}
</script>

<style scoped>
h3 {
  margin: 40px 0 0;
}
ul {
  list-style-type: none;
  padding: 0;
}
li {
  display: inline-block;
  margin: 0 10px;
}
a {
  color: #42b983;
}
</style>
Implement a Simple Content Management System (CMS) with Vue
You’re now ready to start implementing the content management system. To keep this example simple, the system will contain only a single page and the data will be stored in the browser’s local storage. Create a new file src/content.js and fill it with the code below.
export function getContent() {
  return window.localStorage.getItem('vue-cms-content') || '# Welcome\nThis is some default content';
}

export function setContent(content) {
  window.localStorage.setItem('vue-cms-content', content);
}
Of course, in a real CMS, you would create a back-end to persist the data and call this back-end through some API of your choice. With this basic infrastructure in place, you can create the component that shows the content to the user. Create a new file src/components/Read.vue and paste the following content into it.
<template>
  <div class="content">
    <md-button class="md-raised" v-if="isEditor"><router-link to="edit">Edit</router-link></md-button>
    <div v-html="compiledMarkdown"></div>
  </div>
</template>

<script>
import marked from 'marked';
import { getContent } from '../content';

export default {
  name: 'Read',
  data: () => ({
    isEditor: true
  }),
  computed: {
    compiledMarkdown: function() {
      const content = getContent();
      return marked(content, { sanitize: true });
    },
  }
}
</script>
The Markdown content is rendered as HTML by the marked library. You can see an Edit button in the template, this button is toggled by the isEditor flag. For now, this is set to true by default so that you can try out the editor. Later on, when you have implemented authentication together with user groups, the button will be disabled for unauthorized users.
Next, create the component to let the user edit the page content. Create a new file src/components/Edit.vue and paste the following template code into it.
<template>
  <div class="content">
    <h2>Edit Page</h2>
    <textarea class="page-input" :value="input" @input="update"></textarea>
    <div class="buttons">
      <md-button class="md-raised" v-on:click="saveContent">Save</md-button>
      <md-button class="md-raised"><router-link to="read">View Page</router-link></md-button>
    </div>
    <div v-html="compiledMarkdown"></div>
  </div>
</template>
This template contains a <textarea> that allows the user to edit the content. Just like in the Read component, the rendered markdown is placed in a separate div using the v-html attribute. Now add the script below into the file.
<script>
import _ from 'lodash'
import marked from 'marked';
import { getContent, setContent } from '../content';

export default {
  name: 'Edit',
  data: () => ({
    input: getContent()
  }),
  computed: {
    compiledMarkdown: function() {
      return marked(this.input, { sanitize: true });
    }
  },
  methods: {
    update: _.debounce(function(e) {
      this.input = e.target.value;
    }, 300),
    saveContent: function() {
      setContent(this.input);
      alert('Content updated!');
    }
  }
}
</script>
Whenever the value of the text area changes, the update method is triggered which changes the value of the input attribute. Using debounce() from Lodash the value assignment is throttled to limit the number of screen updates. Finally, give it some style by adding the following CSS to src/components/Edit.vue.
<style>
.page-input {
  width: 100%;
  min-height: 128px;
}

.buttons {
  display: flex;
  justify-content: space-between;
}
</style>
You have now created all three components of this simple web application. To enable the router to display the components, you still need to create the router configuration. Create a new file src/router.js and paste the code below into it.
import Vue from 'vue'
import Router from 'vue-router'
import Home from './components/Home.vue'
import Edit from './components/Edit.vue'
import Read from './components/Read.vue'

Vue.use(Router);

const router = new Router({
  mode: 'history',
  base: process.env.BASE_URL,
  routes: [
    {
      path: '/',
      name: 'home',
      component: Home
    },
    {
      path: '/read',
      name: 'read',
      component: Read,
    },
    {
      path: '/edit',
      name: 'edit',
      component: Edit,
    },
    {
      path: '*',
      beforeEnter: (to, from, next) => {
        next('/');
      }
    }
  ]
});

router.safeNavigate = function(route, dest) {
  if (route.name != dest) this.push({ name: dest });
}

export default router;
The three components that you have created above are now linked to different routes in your application. This completes the first part of the application. Congrats on making it this far!
You can test drive the CMS by opening the terminal in the application’s base directory and running the following command.
npm run serve
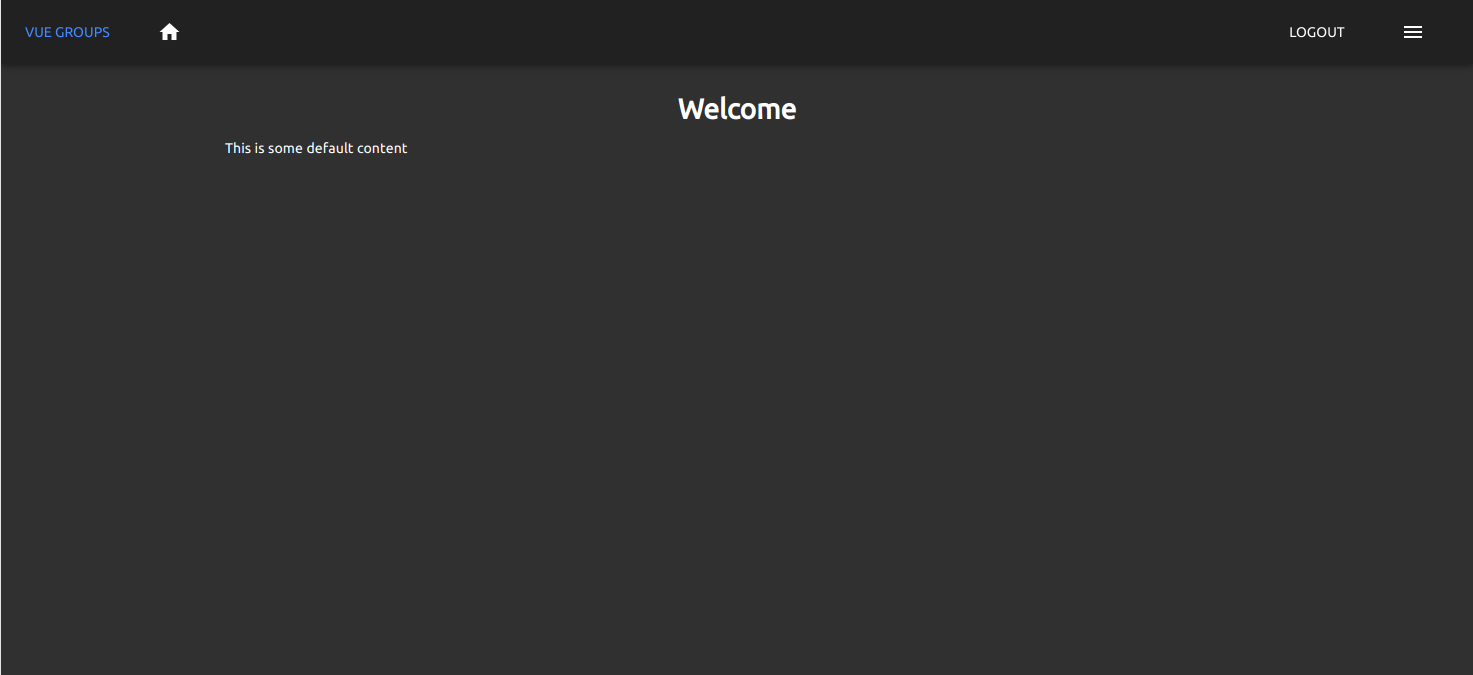
Open your browser to http://localhost:8080, navigate to the Read page using the menu in the top right to see the page below.
Register Your Vue App and Create User Groups
In this section, I will show you how to register your application with the Okta service and how to create users and user groups. This will enable your application to query the groups that a user belongs to and create access restrictions based on those groups.
Before you begin, you’ll need a free Okta developer account. Install the Okta CLI and run okta register to sign up for a new account. If you already have an account, run okta login.
Then, run okta apps create. Select the default app name, or change it as you see fit.
Choose Single-Page App and press Enter.
Use http://localhost:8080/callback for the Redirect URI and accept the default Logout Redirect URI of http://localhost:8080.
What does the Okta CLI do?
The Okta CLI will create an OIDC Single-Page App in your Okta Org. It will add the redirect URIs you specified and grant access to the Everyone group. It will also add a trusted origin for http://localhost:8080. You will see output like the following when it’s finished:
Okta application configuration:
Issuer:    https://dev-133337.okta.com/oauth2/default
Client ID: 0oab8eb55Kb9jdMIr5d6
NOTE: You can also use the Okta Admin Console to create your app. See Create a Vue App for more information.
Run okta login and open the resulting URL in your favorite browser. Sign in and start by creating some dummy users for your application. In your dashboard, navigate to Directory > People > Add Person. You will see a form you can fill with some dummy data.
Make sure that you select Set by Admin for the password and set the password for the user. Also, untick the box User must change password on first login to make it easier to try out the dummy accounts later. Once you are done, select Save and Add Another and create a second dummy user. Once you are done creating users, you can create some groups and assign the users to those groups.
From the Directory menu, select Groups and click on Add Group. Create a group called editor.
Repeat the process to create a second group called user. Next, add users to the groups. Select the editor group and click on Manage People. Here, add one of your dummy users to the editor group by selecting them on the left side of the screen - this user will have editor permissions. Save the changes and do the same for the user group, but this time add both users.
Navigate to the Applications section, and select the app you just created. In the Assignments tab, remove the Everyone group, and add both the editor and user groups you created earlier.
There is one final step left. In order to make sure the information about the user’s groups is passed back to the application, you need to change the settings of the default authorization server.
Navigate to Authorization Servers under the Security > API menu item. Edit the default server and select the Claims tab. If you can see a groups claim, you will need to edit it. If not, select Add Claim to create a new claim.
Name it groups, include it in the ID token, set the value type to Groups, and select a regex filter with a value of .*.
Add Login to Your Vue Application
You are ready to add authentication and authorization to your application. Open your terminal in the application’s base folder and install the Okta Vue SDK.
npm install @okta/okta-vue@2.0.0
Next, open your editor again and create a file called src/user.js. Paste the code below into the file.
import Vue from 'vue'

export async function isInGroup(group) {
  const user = await Vue.prototype.$auth.getUser();
  return !!user && user.groups.includes(group);
}
This file contains the core of the group-based authorization. The getUser() method on the $auth object returns an object containing information about the currently logged-in user. The groups member in this user information is an array containing the names of all groups that the user belongs to.
Next, open src/router.js and add the following code to the top of the file.
import Auth from '@okta/okta-vue'
import { isInGroup } from './user'

Vue.use(Router);
Vue.use(Auth, {
  issuer: 'https://{YourOktaDomain}/oauth2/default',
  client_id: '{ClientId}',
  redirect_uri: window.location.origin + '/callback',
  scopes: ['openid','profile'],
  pkce: true
});
At the end of the file, before export default router;, add the following line to run the authorization check before entering any route.
router.beforeEach(Vue.prototype.$auth.authRedirectGuard());
You need to define a route that handles the callback from the Okta sign-in page. To do this, add the following route definition to the routes array.
{
  path: '/callback',
  component: Auth.handleCallback()
}
In order to protect routes against unauthorized access, you can add the requiresAuth meta value. In the same file, in the definition of the read and edit routes, add the following property.
meta: { requiresAuth: true }
This prevents users that are not logged in from accessing the read and edit components. Now, you want to restrict access to the edit route to only users that belong to the editor group. In the edit route, add the following property.
beforeEnter: async (to, from, next) => {
  next(await isInGroup('editor'));
}
Your router definition should now look like this.
const router = new Router({
  mode: 'history',
  base: process.env.BASE_URL,
  routes: [
    {
      path: '/',
      name: 'home',
      component: Home
    },
    {
      path: '/read',
      name: 'read',
      component: Read,
      meta: { requiresAuth: true },
    },
    {
      path: '/edit',
      name: 'edit',
      component: Edit,
      meta: { requiresAuth: true },
      beforeEnter: async (to, from, next) => {
        next(await isInGroup('editor'));
      }
    },
    {
      path: '/callback',
      component: Auth.handleCallback()
    },
    {
      path: '*',
      beforeEnter: (to, from, next) => {
        next('/');
      }
    }
  ]
});
Open src/App.vue and update the code inside the <script> tag to match the following.
export default {
  name: 'App',
  data: () => ({
    title: "Vue Groups",
    authenticated: false
  }),
  watch: {
    '$route': 'isAuthenticated'
  },
  methods: {
    async isAuthenticated () {
      this.authenticated = await this.$auth.isAuthenticated()
    },
    login () {
      this.$auth.loginRedirect('/')
    },
    async logout () {
      await this.$auth.logout();
      await this.isAuthenticated();
      if (this.$route.path !== '/') this.$router.push({ path: '/' })
    }
  },
  created() {
    this.isAuthenticated();
  }
}
This will process login and logout events and automatically set the authenticated flag when the authentication state changes.
Finally, open src/Read.vue and add the following import at the top of the <script> section.
import { isInGroup } from '../user'
Next, update the initialization of the isEditor property to false.
isEditor: false
Then add the following function to the default export.
created() {
  isInGroup('editor').then(response => this.isEditor = response);
}
Congratulations, you are now ready to test drive your application!
Open your terminal in the project folder, run the npm run serve command and then open your browser to http://localhost:8080. When you click the Login link in the top right, you will be redirected to the Okta login page. Here, log in as one of the users that you created earlier in the Okta dashboard. After logging in, you will be redirected back to your application.
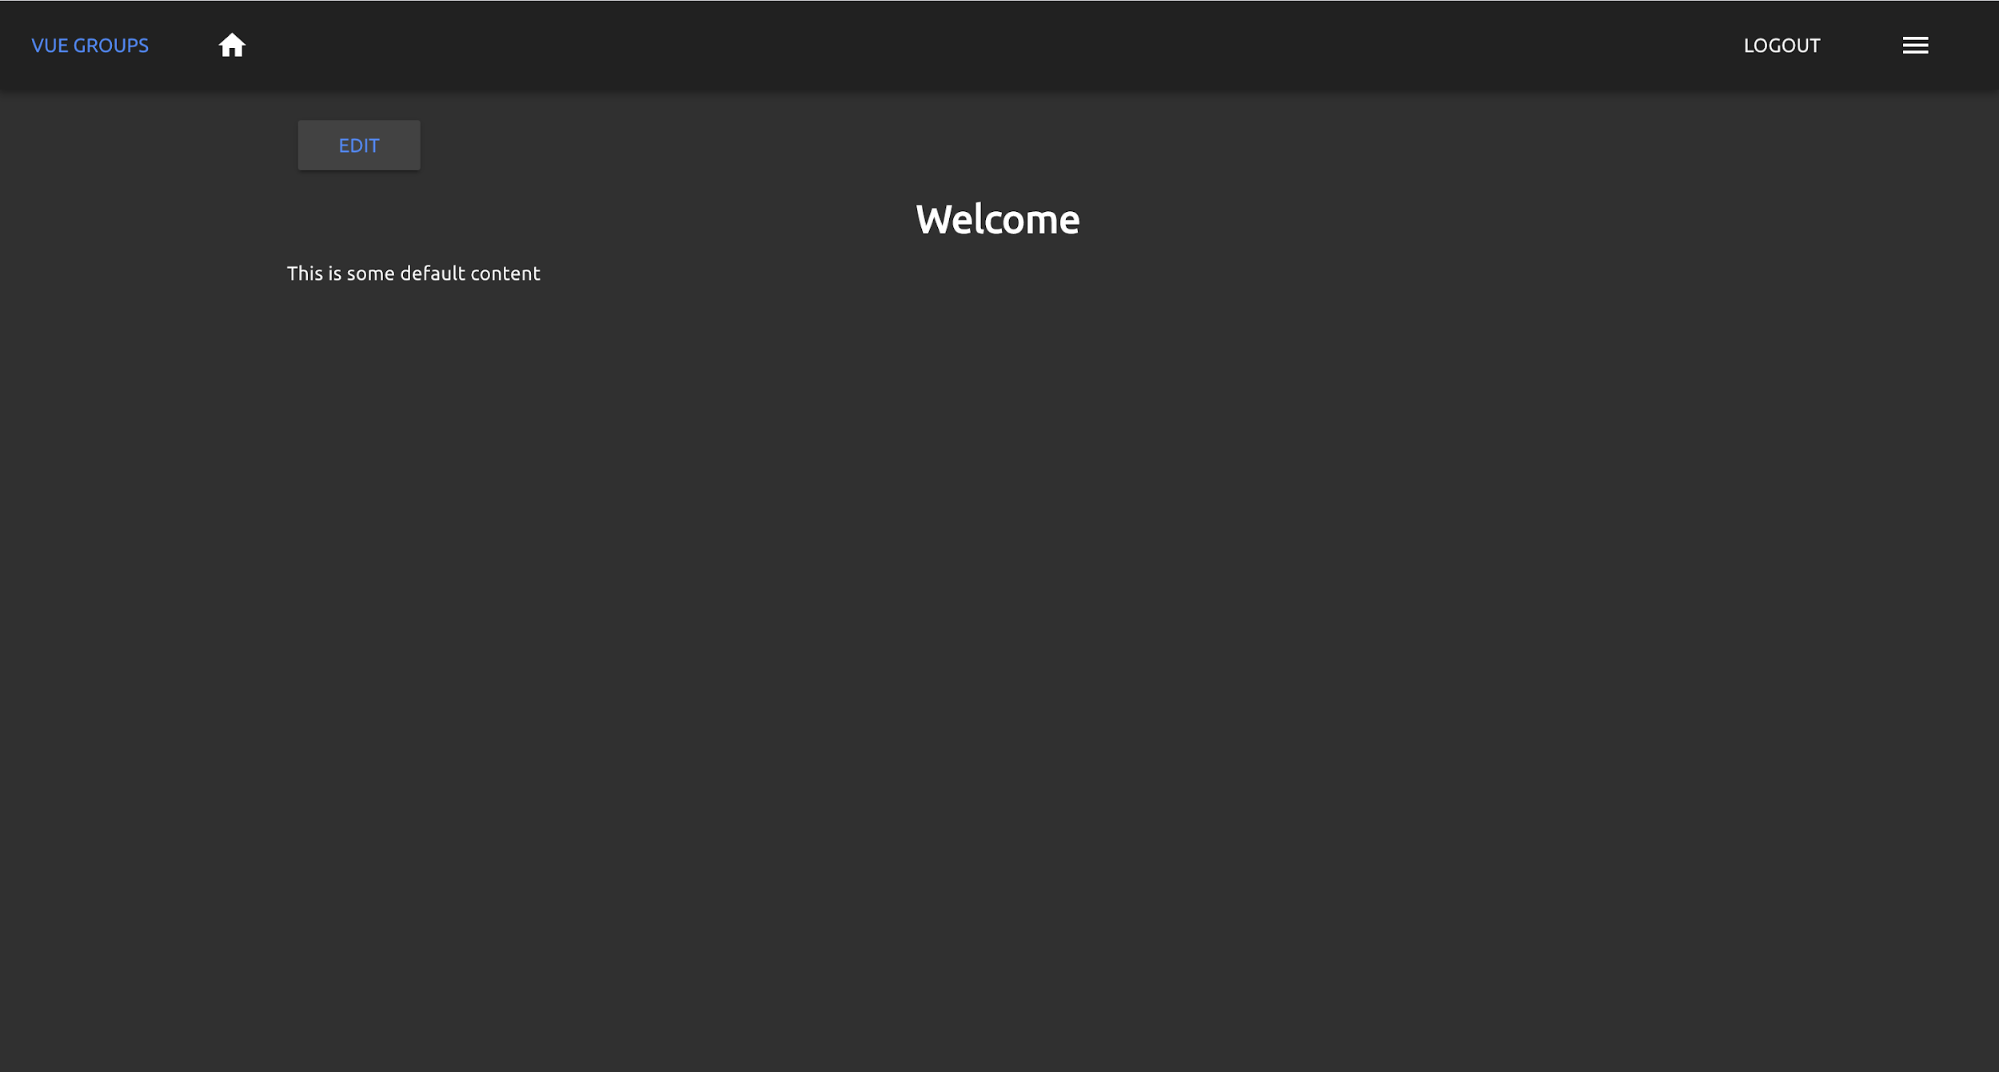
Navigate to the Read page where you will see an Edit button if you are logged in as the user in the editor group.
However, if you are logged on as a user not in the editor group, the Edit button will be hidden. If you try to manually navigate to the edit route, you will automatically be redirected to the home screen of the application.
Learn More About Vue and Authentication
In this tutorial, you learned how to create a Vue application and add authentication to it. You also created users and groups in the Okta dashboard and learned how to assign those users to different groups to restrict access based on roles
You can find the source code for this example on GitHub at oktadeveloper/okta-vue-login-example.
If you want to learn more about creating Vue applications and adding authentication and group-based access restrictions, check out the links below.
- Okta CLI + Vue in 3 Minutes
- Use Vue and GraphQL to Build a Secure App
- Use Vue.js Data Binding Options for Reactive Applications
- Add Role-Based Access Control to Your App with Spring Security and Thymeleaf
- Deploy Your Secure Vue.js App to AWS
Please leave a comment below if you have any questions! If you liked this tutorial, follow @oktadev on Twitter to be notified when we publish new ones. We also have a YouTube channel you might like.
Okta Developer Blog Comment Policy
We welcome relevant and respectful comments. Off-topic comments may be removed.