The Rails Guide to Securing an API
In this tutorial we are going down a different track then our last Ruby Post (bad pun intended). Instead diving into building a very simple API that, of course, we will secure with access tokens minted by our very own Okta OAuth server. We’ll make requests to this API via Postman to keep things nice and simple. Now let’s get chugging along. (OK, that’s the last pun for a bit.)
Prerequisites for this blog post include:
- Postman or PostmanCanary
- A text editor (I am using VS Code in my examples)
- Rails 6
- An Okta Developer Account (free forever, to handle your OAuth needs)
Now let’s get started!
Note: In May 2025, the Okta Integrator Free Plan replaced Okta Developer Edition Accounts, and the Okta CLI was deprecated.
We preserved this post for reference, but the instructions no longer work exactly as written. Replace the Okta CLI commands by manually configuring Okta following the instructions in our Developer Documentation.
Build the API
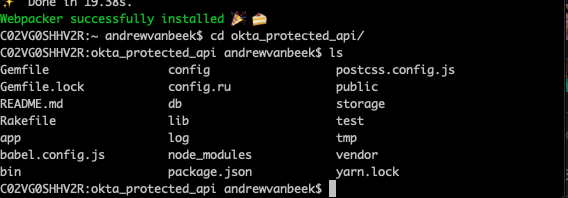
Open up the terminal and create a brand new Rails application:
rails new okta_protected_api
cd okta_okta_protected_api
Now let’s install the JWT gem. Open your gemfile and add this one line:
gem 'jwt'
Like so:

Now let’s run bundle install in the terminal:
bundle install
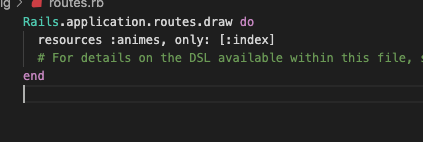
Now let’s create a route. For this post, I’ll have an API that returns anime I am watching or I am excited about, so I will call it animes. Add this line to the config/routes.rb.
resources :animes, only: [:index]
And now let’s create a controller.
cd app/controllers
touch anime_controller.rb
Now provide the code for the controller.
class AnimesController < ApplicationController
    def index
      animes = ["Haikyu", "The Great Pretender", "Jujutsu kaisen", "Dr. Stone", "Attack on Titan"]
      render json: { animes: animes }.to_json, status: :ok
    end
  end
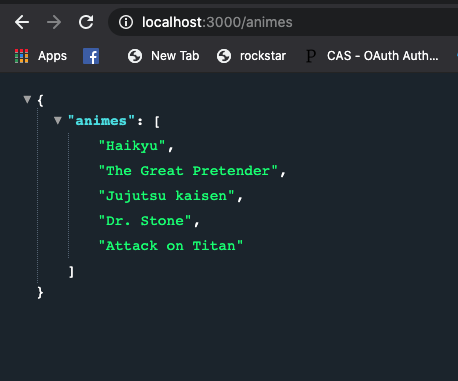
Now let’s do an arbitrary test to make sure our API works. Run the Rails app and navigate to http://localhost:3000/animes
rails s
You should see:
Add Security methods
This looks nice! A great list of stuff to watch. Anime aside, let’s secure this API. To do this, we will add some security methods to our application controller. We are going to add a private method that will use the JWT library.
  private
    def valid_token(token)
      unless token
        return false
      end

      token.gsub!('Bearer ','')
      begin
            keys = []

        JWT.decode(token, nil, true, { algorithms: ['RS256'], jwks: { keys: keys } })
        return true
      rescue JWT::DecodeError
        render json: { errors: ['Not Authenticated'] }, status: :unauthorized
      end
      false
    end
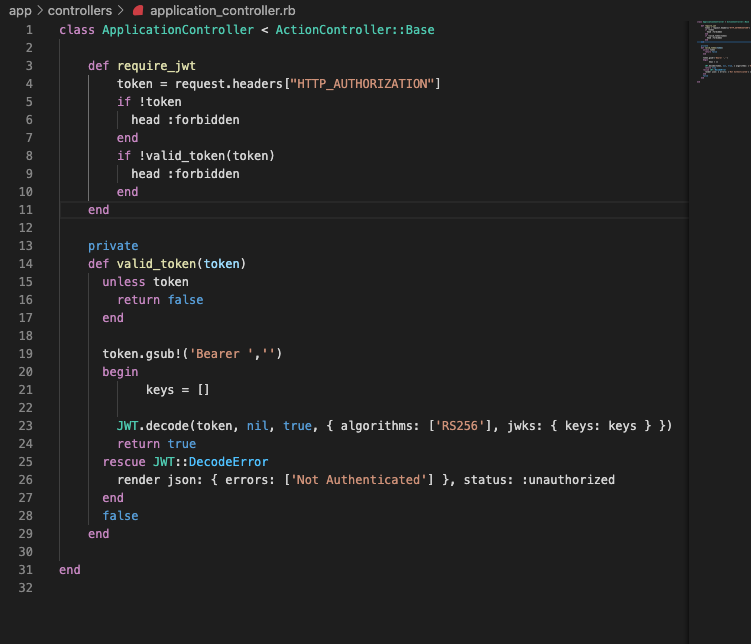
Note: The above is a function that will expect an OAuth token from an Okta OAuth server. Our code should look something like this in the application controller:

But wait a second. We are still missing a couple of pieces of key logic! For one, when do we call this valid token method? So let us fix that first. We are going to create a public method that will check HTTP headers for a valid JWT. It should look like so:
    def require_jwt
      token = request.headers["HTTP_AUTHORIZATION"]
      if !token
        head :forbidden
      end
      if !valid_token(token)
        head :forbidden
      end
    end
Now let’s add that code to our application controller. It should now look like this:
Now let’s add a before_action to our controller with our new method. Add this code right under ApplicationController:
before_action :require_jwt
Now the finished result of the application controller should look like this as pure code:
class ApplicationController < ActionController::Base
    before_action :require_jwt

    def require_jwt
        token = request.headers["HTTP_AUTHORIZATION"]
        if !token
          head :forbidden
        end
        if !valid_token(token)
          head :forbidden
        end
    end

    private
    def valid_token(token)
      unless token
        return false
      end

      token.gsub!('Bearer ','')
      begin
            keys = []

        JWT.decode(token, nil, true, { algorithms: ['RS256'], jwks: { keys: keys } })
        return true
      rescue JWT::DecodeError
        render json: { errors: ['Not Authenticated'] }, status: :unauthorized
      end
      false
    end
end
Find and Add Your Keys Endpoint
However, one thing is still missing. The keys value is an empty array when it should reflect our public keys from an Okta OAuth server. We can find our JWKS endpoint if we go https://{yourdomain}.okta.com/oauth2/default/v1/keys.
When you go there you should see something like this:
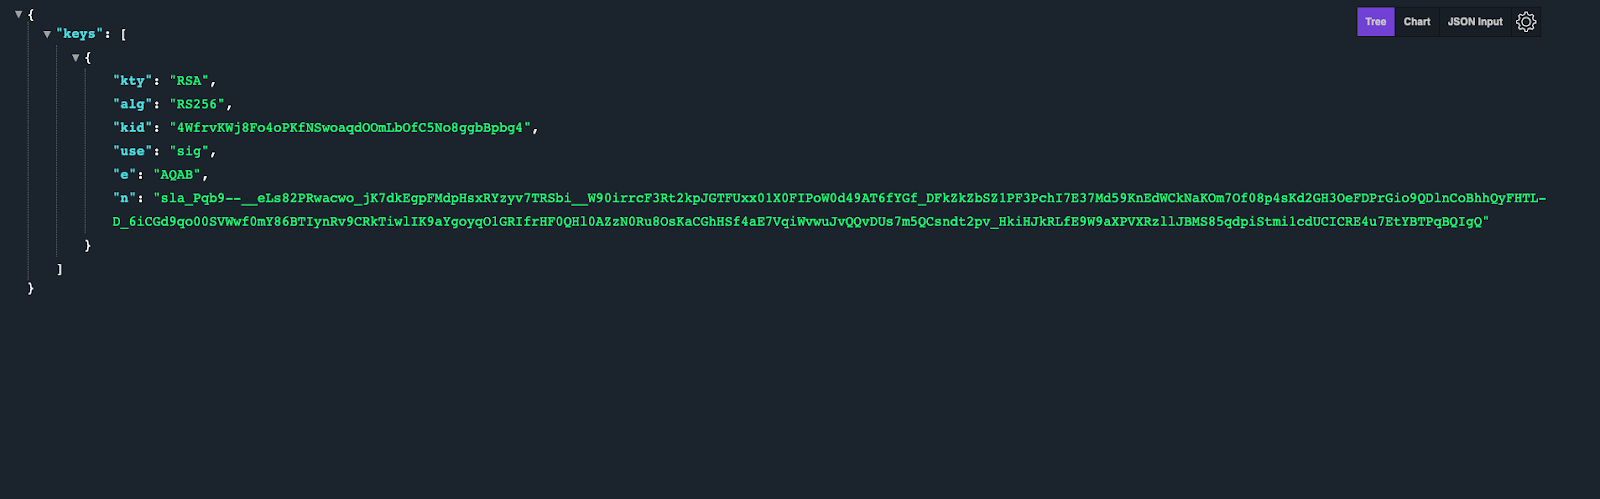
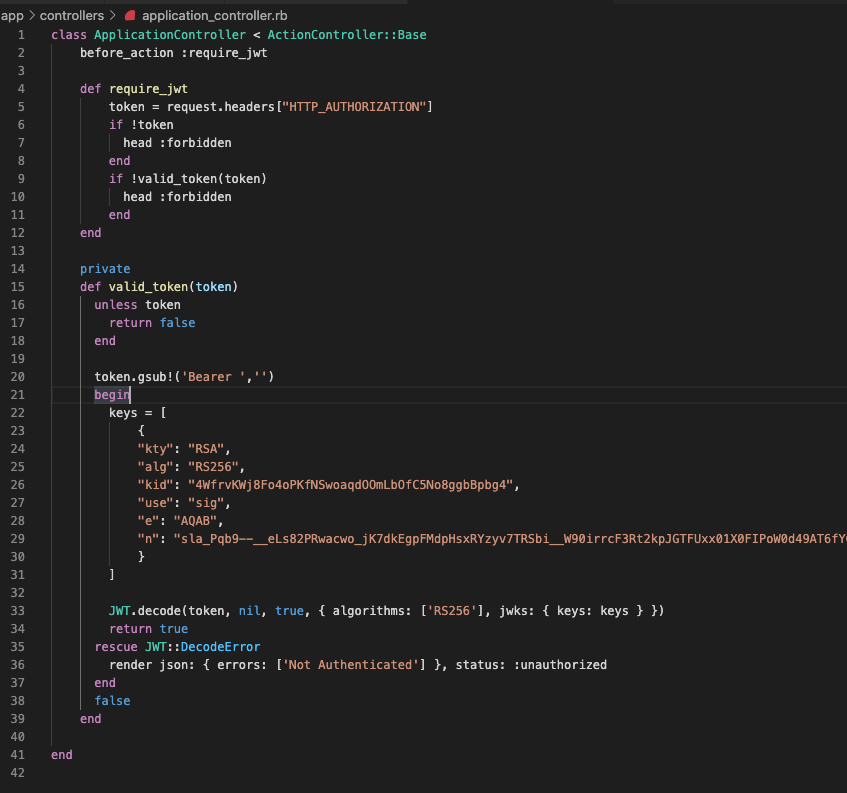
Copy the JSON key-value for “keys” and paste it into the keys array variable in your code.
Note: In a production application, you would want to fetch the keys from the URL in your code and cache them in your application. The copy and paste method here is only for demonstration purposes and to avoid needing to create a caching solution in this sample app.
For example, my end result looks like this:
Test your API
Now it is time to test if your API is protected. Start up the server.
rails s
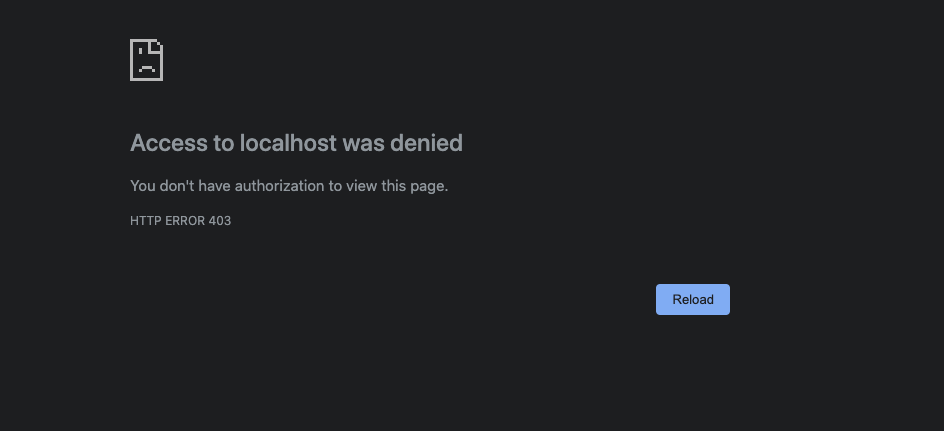
Now let’s open http://localhost:3000/animes.
You should now see:
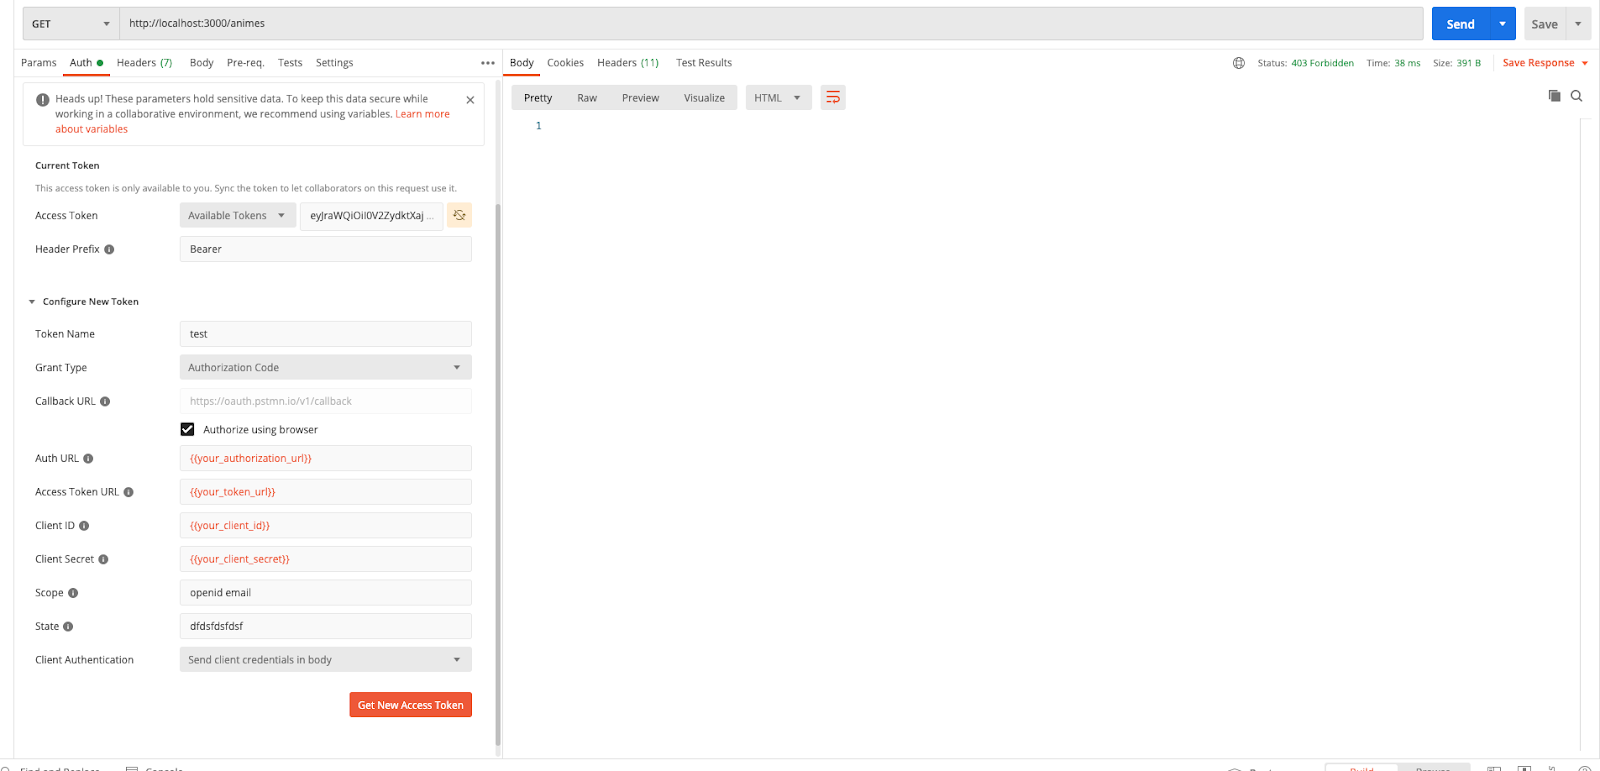
Sweet! We have secured our API, but to be sure let’s test with Postman! We are going to create a new request for our anime API:
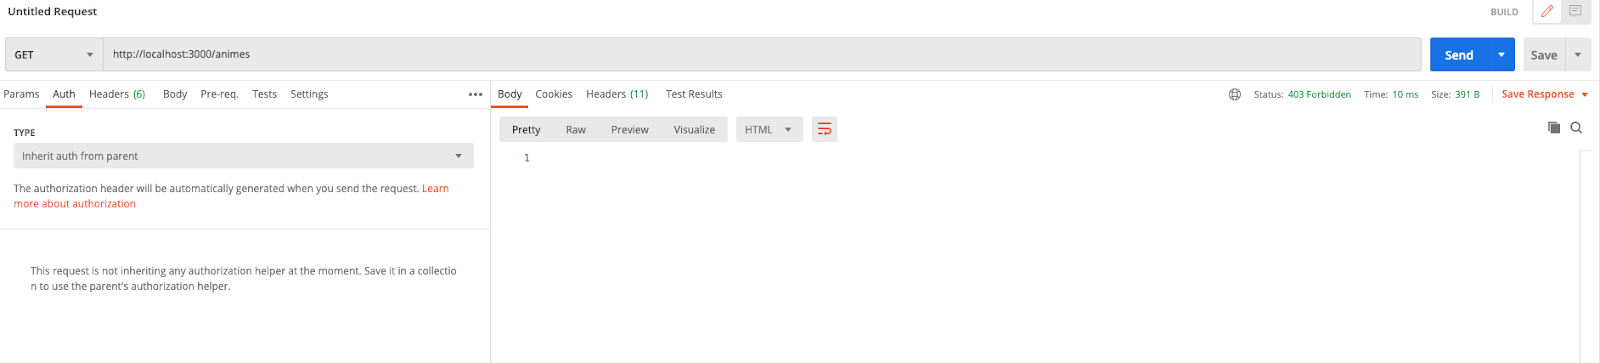
Click on Send. You should still get the unauthorized access denied screen.
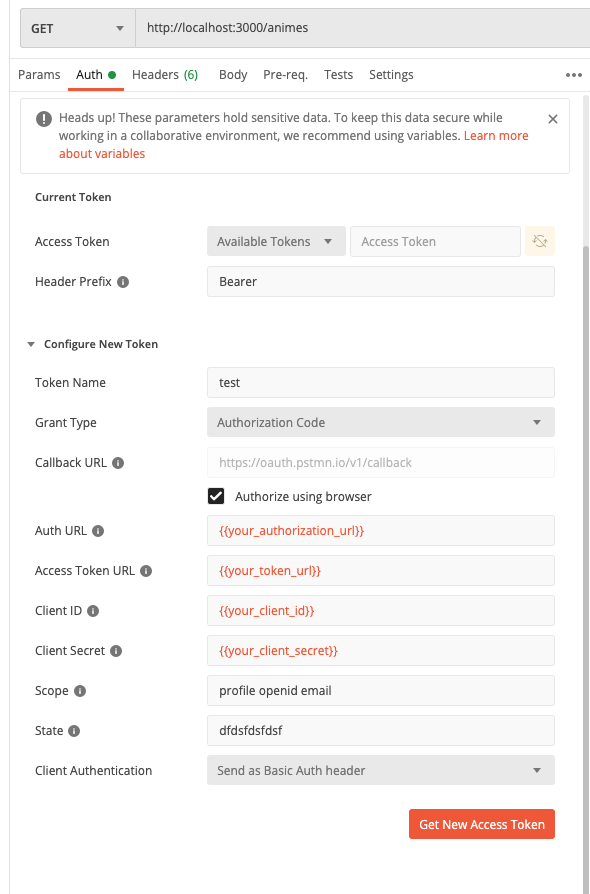
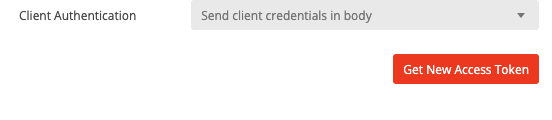
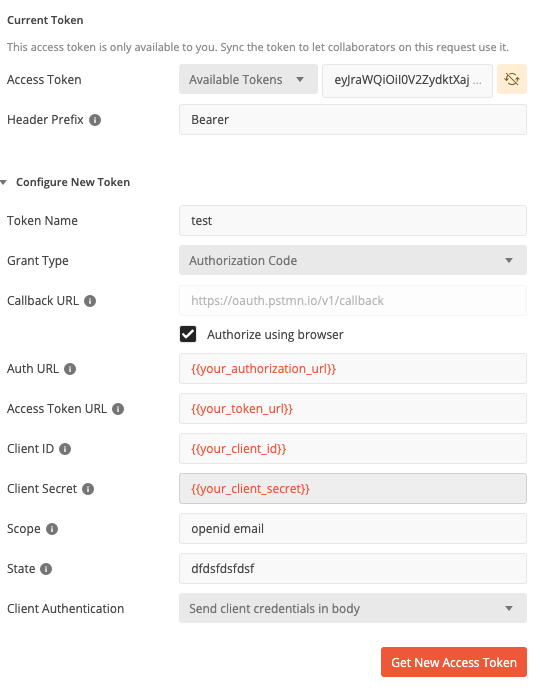
To fix this, we will need to get an access token from Okta and send it to our API. Create a new request and point at http://localhost:3000/animes as a GET request. Then select Auth, and select Authorization code from the dropdown for Grant Type, and select Send client credentials in the body for Client Authentication. For the header prefix, write Bearer. Replace the authorization URL with the authorization URL and token URL from your Okta Developer Account.
The format of the URLs should be something like below:
- Authorization URL:
https://{{yourdomain}}.okta.com/oauth2/default/v1/authorize - Token URL:
https://{{yourdomain}}.okta.com/oauth2/default/v1/token
In Postman, it should all look like the following. (If yours looks different, try to make it look like below with your own values.)
Now let’s get our Client ID and Secret from Okta. Go to Okta Applications and create a new web app. Feel free to name it whatever you want. Make sure you add the Postman URL to the Base URI and the redirect URI. The Base URL should be https://oauth.pstmn.io and the redirect URI should be https://oauth.pstmn.io/v1/callback. It should look something like this:
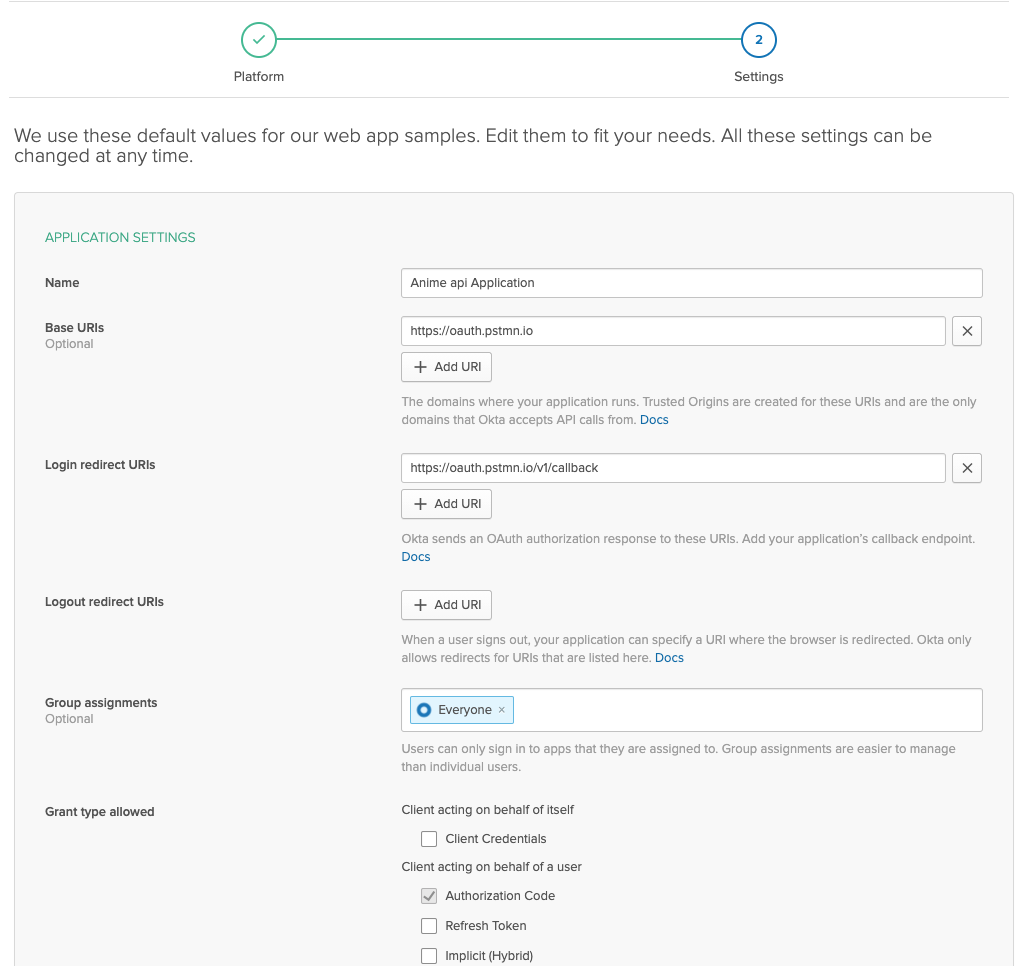
Click Done.
On the next page, you should see the Client information like so:

Now take your Client ID and Client secret and copy it into Postman. In Postman, click Get New Access Token:
It should redirect you to an Okta login page:
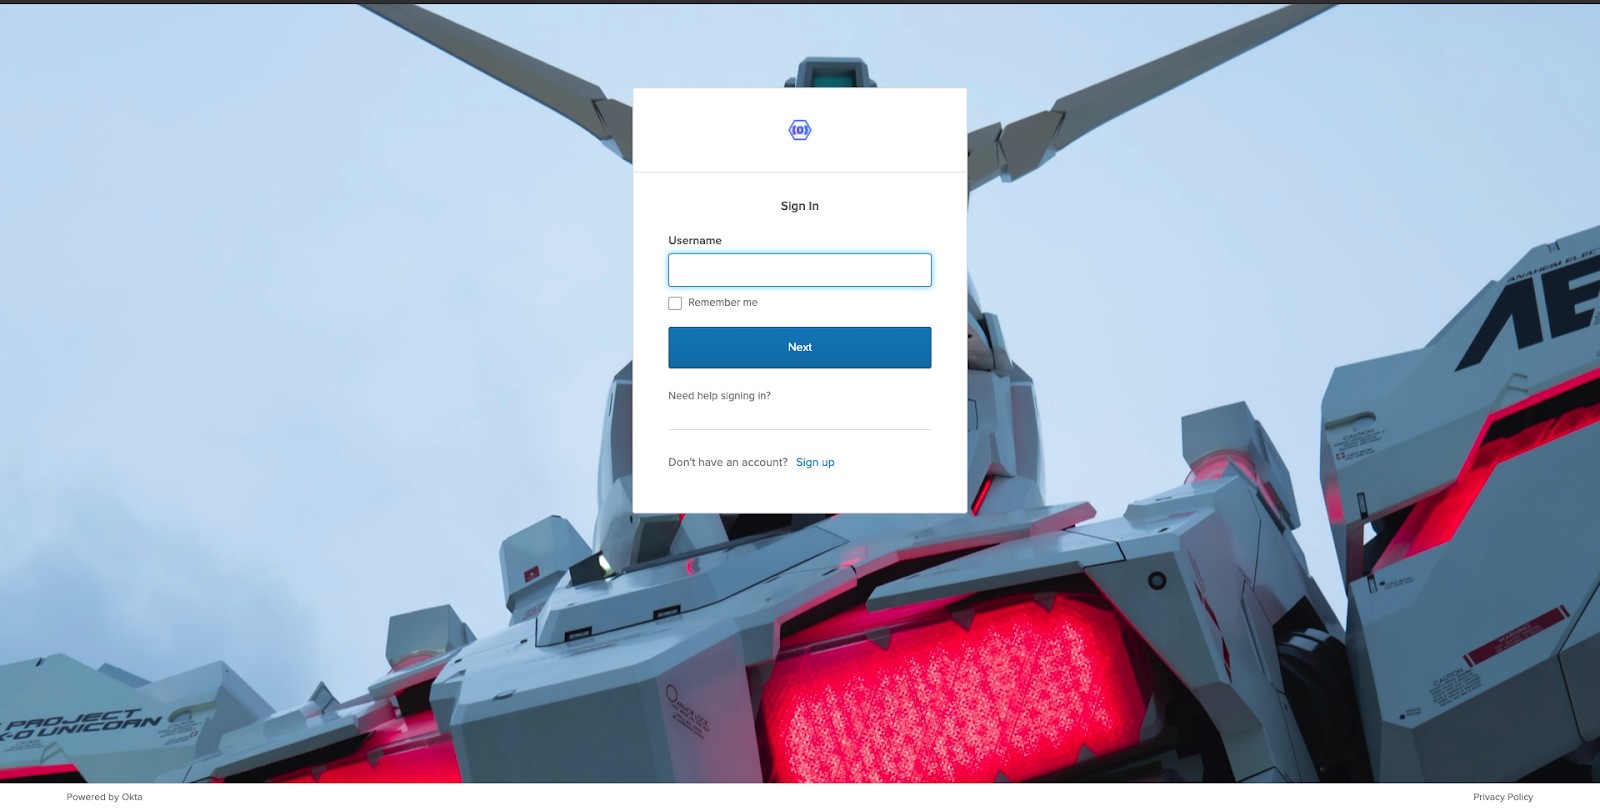
Just sign in as a user and you should see something like this:
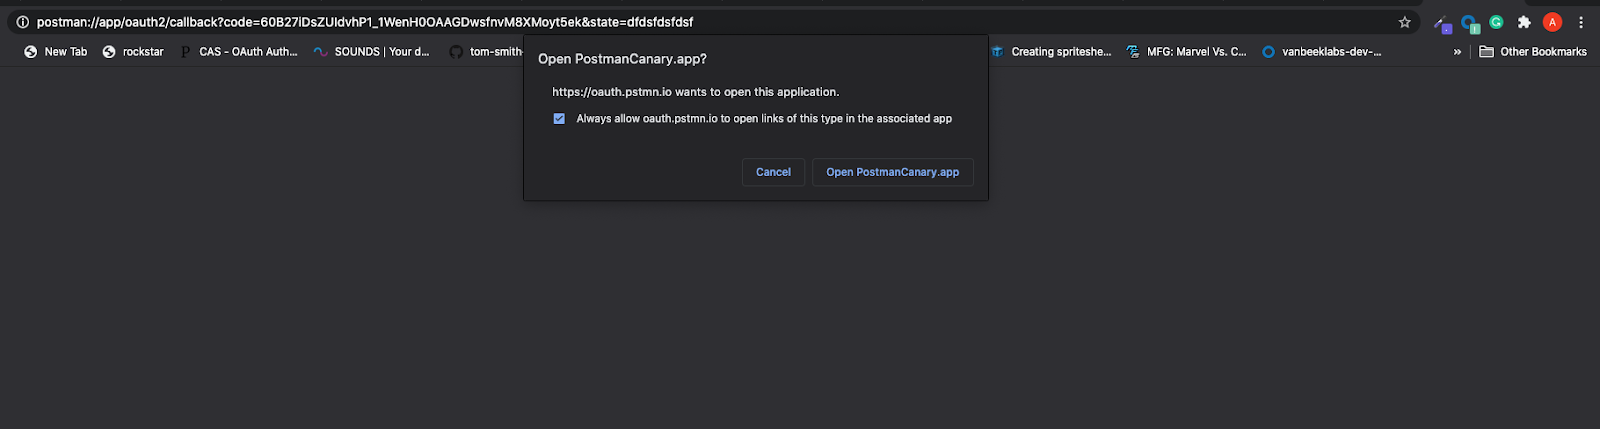
Note: Make sure you allow popups from Postman. Otherwise, you might get stuck on a loading screen in Postman.
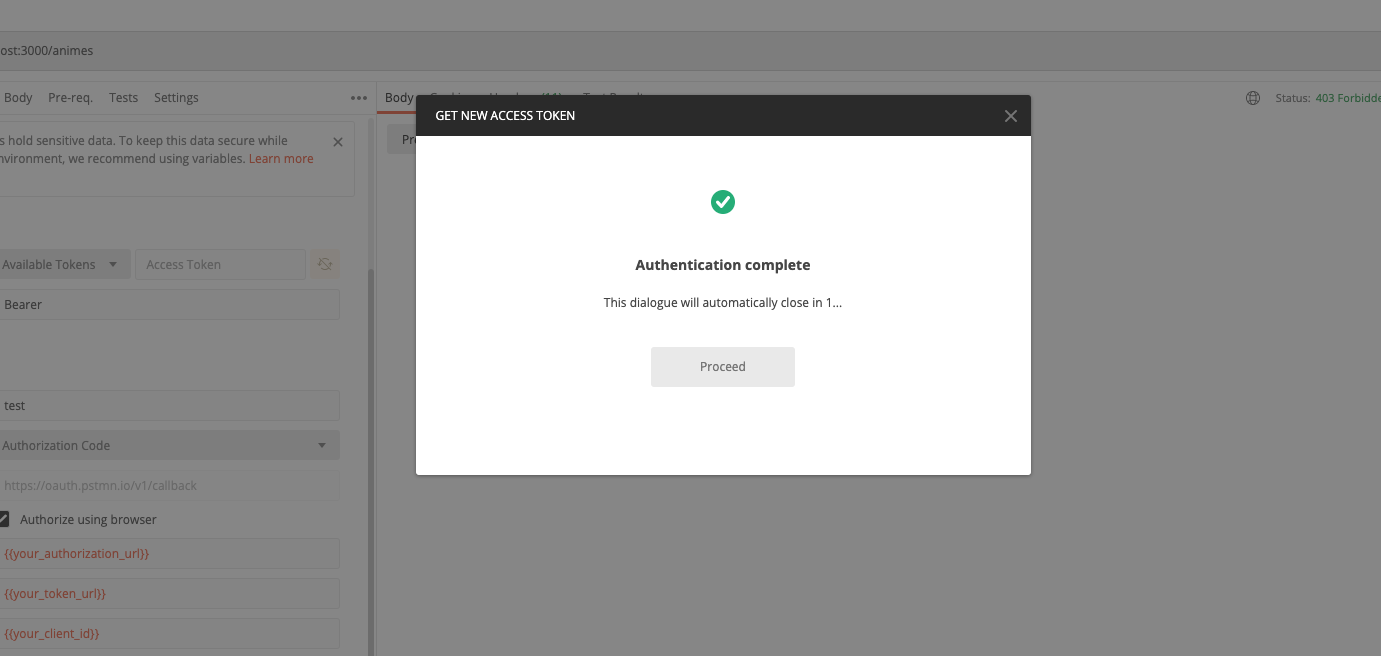
If everything works according to plan, you should see this dialog:
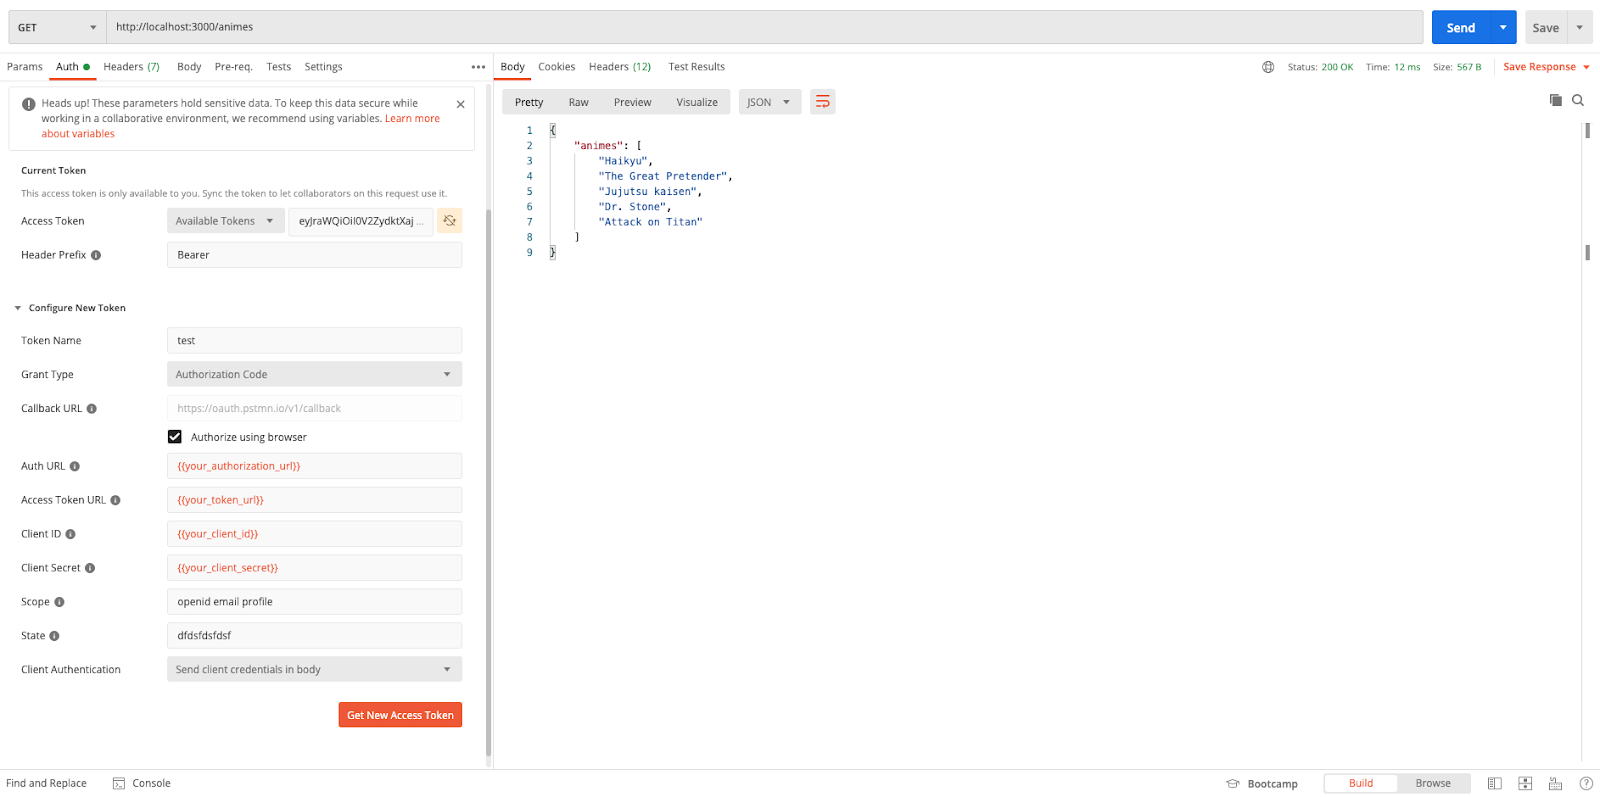
All that’s left is to send our token to our API:

Try clicking Send, and you should see our data come back:

Oh yeah, it’s working! Now, what if we want to add some extra validation, like only tokens with a certain scope can hit our API? Let’s modify our code on the application controller. We are going to replace some code with this snippet that checks for the profile scope in the token and returns a boolean if it is present in the token or not.
 token_payload = JWT.decode(token, nil, true, { algorithms: ['RS256'], jwks: { keys: keys } })
        scopes = token_payload[0]["scp"]
        return scopes.include? 'profile'
The application controller will now look like this:
class ApplicationController < ActionController::Base
    before_action :require_jwt

    def require_jwt
        token = request.headers["HTTP_AUTHORIZATION"]
        if !token
          head :forbidden
        end
        if !valid_token(token)
          head :forbidden
        end
    end

    private
    def valid_token(token)
      unless token
        return false
      end

      token.gsub!('Bearer ','')
      begin
        keys = [{{your keys}}]

        token_payload = JWT.decode(token, nil, true, { algorithms: ['RS256'], jwks: { keys: keys } })
        scopes = token_payload[0]["scp"]
        return scopes.include? 'profile'
      rescue JWT::DecodeError
        render json: { errors: ['Not Authenticated'] }, status: :unauthorized
      end
      false
    end

end
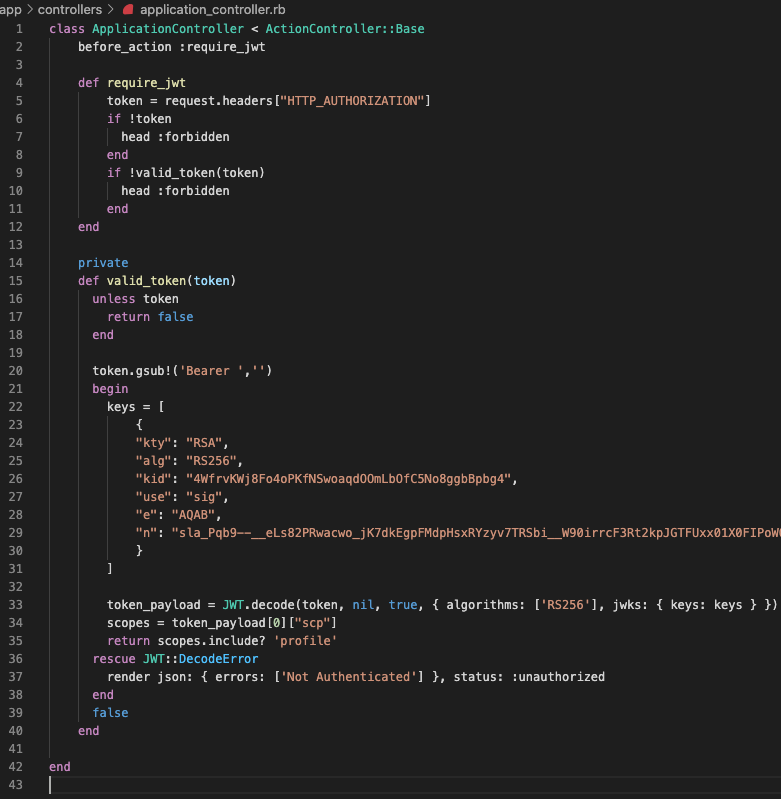
For reference here is also a screenshot of my code:
Now restart your server.
Get a new token with just OpenID and email. Postman reference request below:
You should now get an unauthorized message when you hit Send again:
Now let’s get a new access token with the profile scope again:
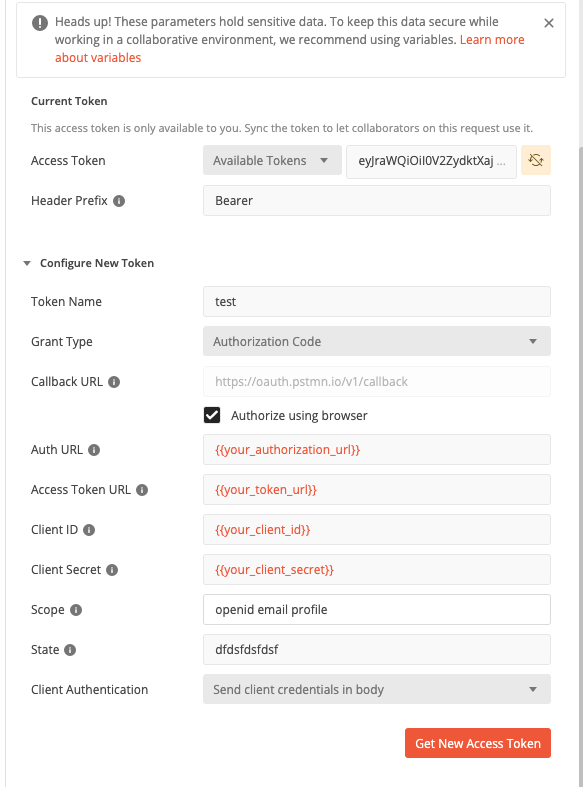
Your request should now be successful:
If you just want want to clone and try it, just use the GitHub repo.
Happy coding!
Learn More About Ruby on Rails and OAuth
For more Ruby on Rails and Okta articles, check out these posts:
- Easy Authentication for Ruby On Rails Login
- An Illustrated Guide to OAuth and OpenID Connect
- Simple Authentication with Rails and OmniAuth
- Is the OAuth 2.0 Implicit Flow Dead?
Make sure to follow us on Twitter, subscribe to our YouTube Channel and check out our Twitch channel so that you never miss any awesome content!
Okta Developer Blog Comment Policy
We welcome relevant and respectful comments. Off-topic comments may be removed.