A Quick Guide to React Login Options

Almost any web app needs some sort of access control, usually implemented by user login. Choosing how user authentication is implemented depends on the type of application and its audience. In this post, I want to show you a few different ways of creating a login feature in a single-page React application using Okta.
I will start with a login redirect. This is the easiest option to implement and is a good choice for some use cases. On the other hand, hosting the login form inside the application can provide a more seamless user experience. The Okta Sign-In Widget can be used as a simple out-of-the-box login form. To have more control over the appearance of the user login, you can also implement your own form and use Okta’s authentication service to verify the user’s credentials.
For this tutorial, I will assume that you are familiar with JavaScript and have some knowledge of React. You should have Node and npm installed on your system.
Prerequisites:
Table of Contents
- Create a React Application for Login
- Register an OpenID Connect App for Authentication
- Add React Login with Redirection
- Use the Okta Sign-In Widget for Login
- Create Your Own Login Form
- Learn More About React and Authentication
Note: In May 2025, the Okta Integrator Free Plan replaced Okta Developer Edition Accounts, and the Okta CLI was deprecated.
We preserved this post for reference, but the instructions no longer work exactly as written. Replace the Okta CLI commands by manually configuring Okta following the instructions in our Developer Documentation.
Create a React Application for Login
Now you are ready to create the React application. Open a terminal in a folder of your choice and run npx, the Node.js Package Runner included with npm.
npx create-react-app react-login
This will create a new React project in the folder react-login and set up all the necessary build infrastructure. Now, navigate into the new directory and install the React router.
cd react-login
npm install -E react-router-dom@5.2.0
The router manages the browser routes and maps them to React components. You will be creating two routes for now. The first route is the homepage of the application. The second route represents a restricted area that should only be available to users that are logged in.
Open an editor of your choice in the project and create a file src/Home.js. Paste the code below into the new file.
import React from 'react';
import { Link } from 'react-router-dom';

function Home() {
  return (
    <div className="page">
      <h1>Login with React</h1>
      <Link to="/private">
        <button type="button">
          Visit Restricted Page
        </button>
      </Link>
    </div>
  );
}

export default Home;
This is a simple page containing a button that links to a restricted page. The Link component is part of the router and allows you to declare links to different parts of the application. Similarly, create a file src/Private.js and paste the following contents into it.
import React from 'react';
function Private() {
return (
<div className="page">
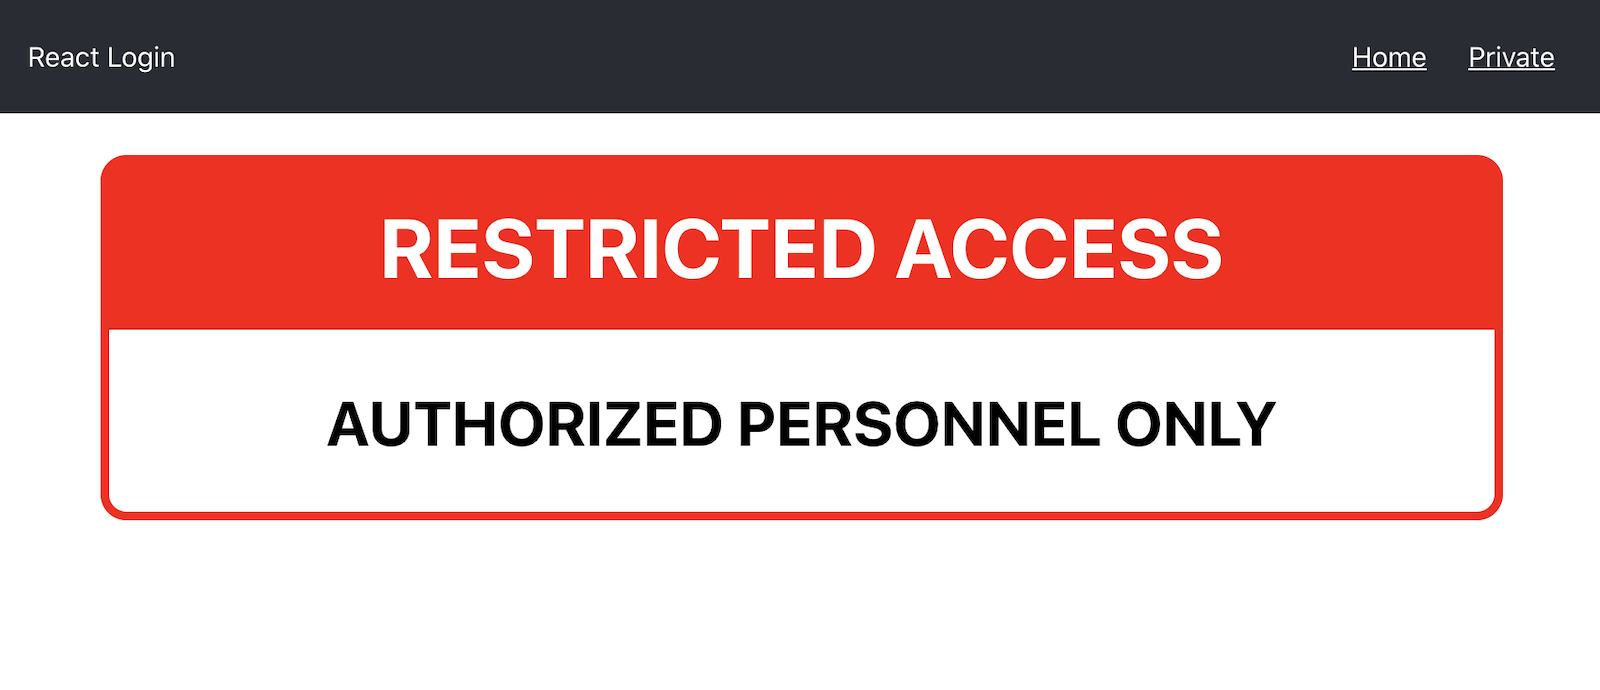
<div className="warning">
<h1>Restricted Access</h1>
<h2>Authorized Personnel Only</h2>
</div>
</div>
);
}
export default Private;
Every good application needs a header bar. Create another file src/Header.js. Add the code below into the file.
import React from 'react';
import { Link } from 'react-router-dom';

function Header() {
  return (
    <header>
      <div>React Login</div>
      <ul className="menu">
        <li><Link to="/">Home</Link></li>
        <li><Link to="/private">Private</Link></li>
      </ul>
    </header>
  );
}

export default Header;
Next, open the existing src/App.js. This is the main component of the application. Edit the contents to match the following code.
import React from 'react';
import './App.css';
import Header from './Header';
import Home from './Home';
import Private from './Private';
import { BrowserRouter, Route } from 'react-router-dom';

function App() {
  return (
    <div className="App">
      <div className="page">
        <div className="content">
          <BrowserRouter>
             <Header/>
             <Route path='/' exact={true} component={Home}/>
             <Route path='/private' exact={true} component={Private}/>
          </BrowserRouter>
        </div>
      </div>
    </div>
  );
}

export default App;
You can see the BrowserRouter component containing the routes for the home page and the private page. It also contains the Header component. This component is not a separate route, but it must be contained within the BrowserRouter in order for the router links within the header to work. The application still needs some styling. Open src/App.css and replace its contents with the CSS code below.
.App header {
  background-color: #282c34;
  display: flex;
  flex-direction: row;
  align-items: center;
  justify-content: space-between;
  color: white;
  padding: 0.5rem 1rem;
}

ul.menu {
  list-style: none;
}

ul.menu li {
  display: inline;
  padding: 12px;
}

ul.menu a {
  color: #ffffff;
}

.page {
  text-align: center;
}

button {
  background-color: #6200ee;
  color: #ffffff;
  border: none;
  padding: 12px 16px;
  text-transform: uppercase;
  font-weight: bold;
  cursor: pointer;
}

button:hover {
  background-color: #3700b3;
}

.warning {
  width: 800px;
  margin: 24px auto;
  border: 5px solid #ff0000;
  border-radius: 15px;
}

.warning h1 {
  margin-top: 0;
  color: white;
  font-size: 48px;
  line-height: 96px;
  background-color: #ff0000;
  text-transform: uppercase;
}

.warning h2 {
  font-size: 36px;
  text-transform: uppercase;
}
This completes the basic application. You can test it by running the following command.
npm start
This should build the JavaScript code and then automatically open your browser at http://localhost:3000. You will see the home page and when you click the Visit Restricted Page button, you will be taken to the restricted page. At this point, anybody could see the restricted page. No user authentication has been added so far.
Register an OpenID Connect App for Authentication
Before you begin, you’ll need a free Okta developer account. Install the Okta CLI and run okta register to sign up for a new account. If you already have an account, run okta login.
Then, run okta apps create. Select the default app name, or change it as you see fit.
Choose Single-Page App and press Enter.
Use http://localhost:3000/callback for the Redirect URI and accept the default Logout Redirect URI of http://localhost:3000.
What does the Okta CLI do?
The Okta CLI will create an OIDC Single-Page App in your Okta Org. It will add the redirect URIs you specified and grant access to the Everyone group. It will also add a trusted origin for http://localhost:3000. You will see output like the following when it’s finished:
Okta application configuration:
Issuer:    https://dev-133337.okta.com/oauth2/default
Client ID: 0oab8eb55Kb9jdMIr5d6
NOTE: You can also use the Okta Admin Console to create your app. See Create a React App for more information.
Note the Client ID for later when you set up your React application.
Add React Login with Redirection
The simplest way to add authentication to the app is to use Okta’s hosted login page. When users need to sign in, they are directed away from the site to a login form on the Okta servers. On success, the user is redirected back to the application. The authentication token is passed to the application, and the validity is checked. This allows the application to open up restricted content that is hidden from unauthenticated users.
This sort of authentication flow is ideally suited for single sign-on situations. For example, within a corporate network, a user logs in once through the central authentication provider. After that, the user has access to all applications within the corporate environment.
To add authentication to the application, install the Okta libraries for React by running the command below.
npm install -E @okta/okta-react@5.0.0 @okta/okta-auth-js@4.8.0
The Okta React SDK has a peer dependency on Okta Auth JS, which provides most of the heavy lifting. In previous versions of the Okta React SDK, this was included as a transitive dependency. Now you have to install both packages.
Open src/App.js and import the components you’ll need from okta-react, okta-auth-js, and react-router-dom at the top of the file.
import { LoginCallback, SecureRoute, Security } from '@okta/okta-react';
import { OktaAuth, toRelativeUrl } from '@okta/okta-auth-js';
import { useHistory } from 'react-router-dom';
Create an OktaAuth instance with your settings.
const oktaAuth = new OktaAuth({
  issuer: 'https://{YourOktaDomain}/oauth2/default',
  clientId: '{ClientId}',
  redirectUri: window.location.origin + '/callback'
});
Here, {YourOktaDomain} is the Okta developer domain that you can find on your Okta dashboard. {ClientId} is the ID that was generated earlier when you registered the application with the Okta service.
Replace the function App() { line with:
const App = () => {
  const history = useHistory();
  const restoreOriginalUri = async (_oktaAuth, originalUri) => {
    history.replace(toRelativeUrl(originalUri, window.location.origin));
  };
Replace the <BrowserRouter> element and replace it with the code below. Make sure to remove its import too!
<Security oktaAuth={oktaAuth} restoreOriginalUri={restoreOriginalUri}>
  <Header/>
  <Route path='/' exact={true} component={Home}/>
  <SecureRoute path='/private' exact={true} component={Private}/>
  <Route path='/callback' component={LoginCallback}/>
</Security>
You can see that the routes are now all contained within the Security component. This component makes the authentication service available to all its children. The SecureRoute component replaces Route for components that require authentication. You will also notice a new route on the /callback path. The LoginCallback component attached to this route handles the callback from the Okta servers once the user has logged on successfully.
Open src/index.js and wrap <App /> with a <Router> component. The useHistory() function is only available in components that are contained within the BrowserRouter component.
import { BrowserRouter as Router } from 'react-router-dom';

ReactDOM.render(
  <React.StrictMode>
    <Router><App /></Router>
  </React.StrictMode>,
  document.getElementById('root')
);
This is already enough to require authentication whenever the user wants to see the restricted page. To see how the authentication service can be used to create context-dependent content, open src/Header.js. Add the following import to the top of the file.
import { useOktaAuth } from '@okta/okta-react';
Next, add code to create a sign-in or logout button depending on the current status. The Header() function should be modified to match the following.
function Header() {
  const { oktaAuth, authState } = useOktaAuth();

  const login = async () => { await oktaAuth.signInWithRedirect(); }
  const logout = async () => { await oktaAuth.signOut(); }

  const userText = authState.isAuthenticated
    ? <button onClick={ logout }>Logout</button>
    : <button onClick={ login }>Sign In</button>;

  return (
    <header>
      <div>React Login</div>
      <ul className="menu">
        <li><Link to="/">Home</Link></li>
        <li><Link to="/private">Private</Link></li>
      </ul>
      {userText}
    </header>
  );
}
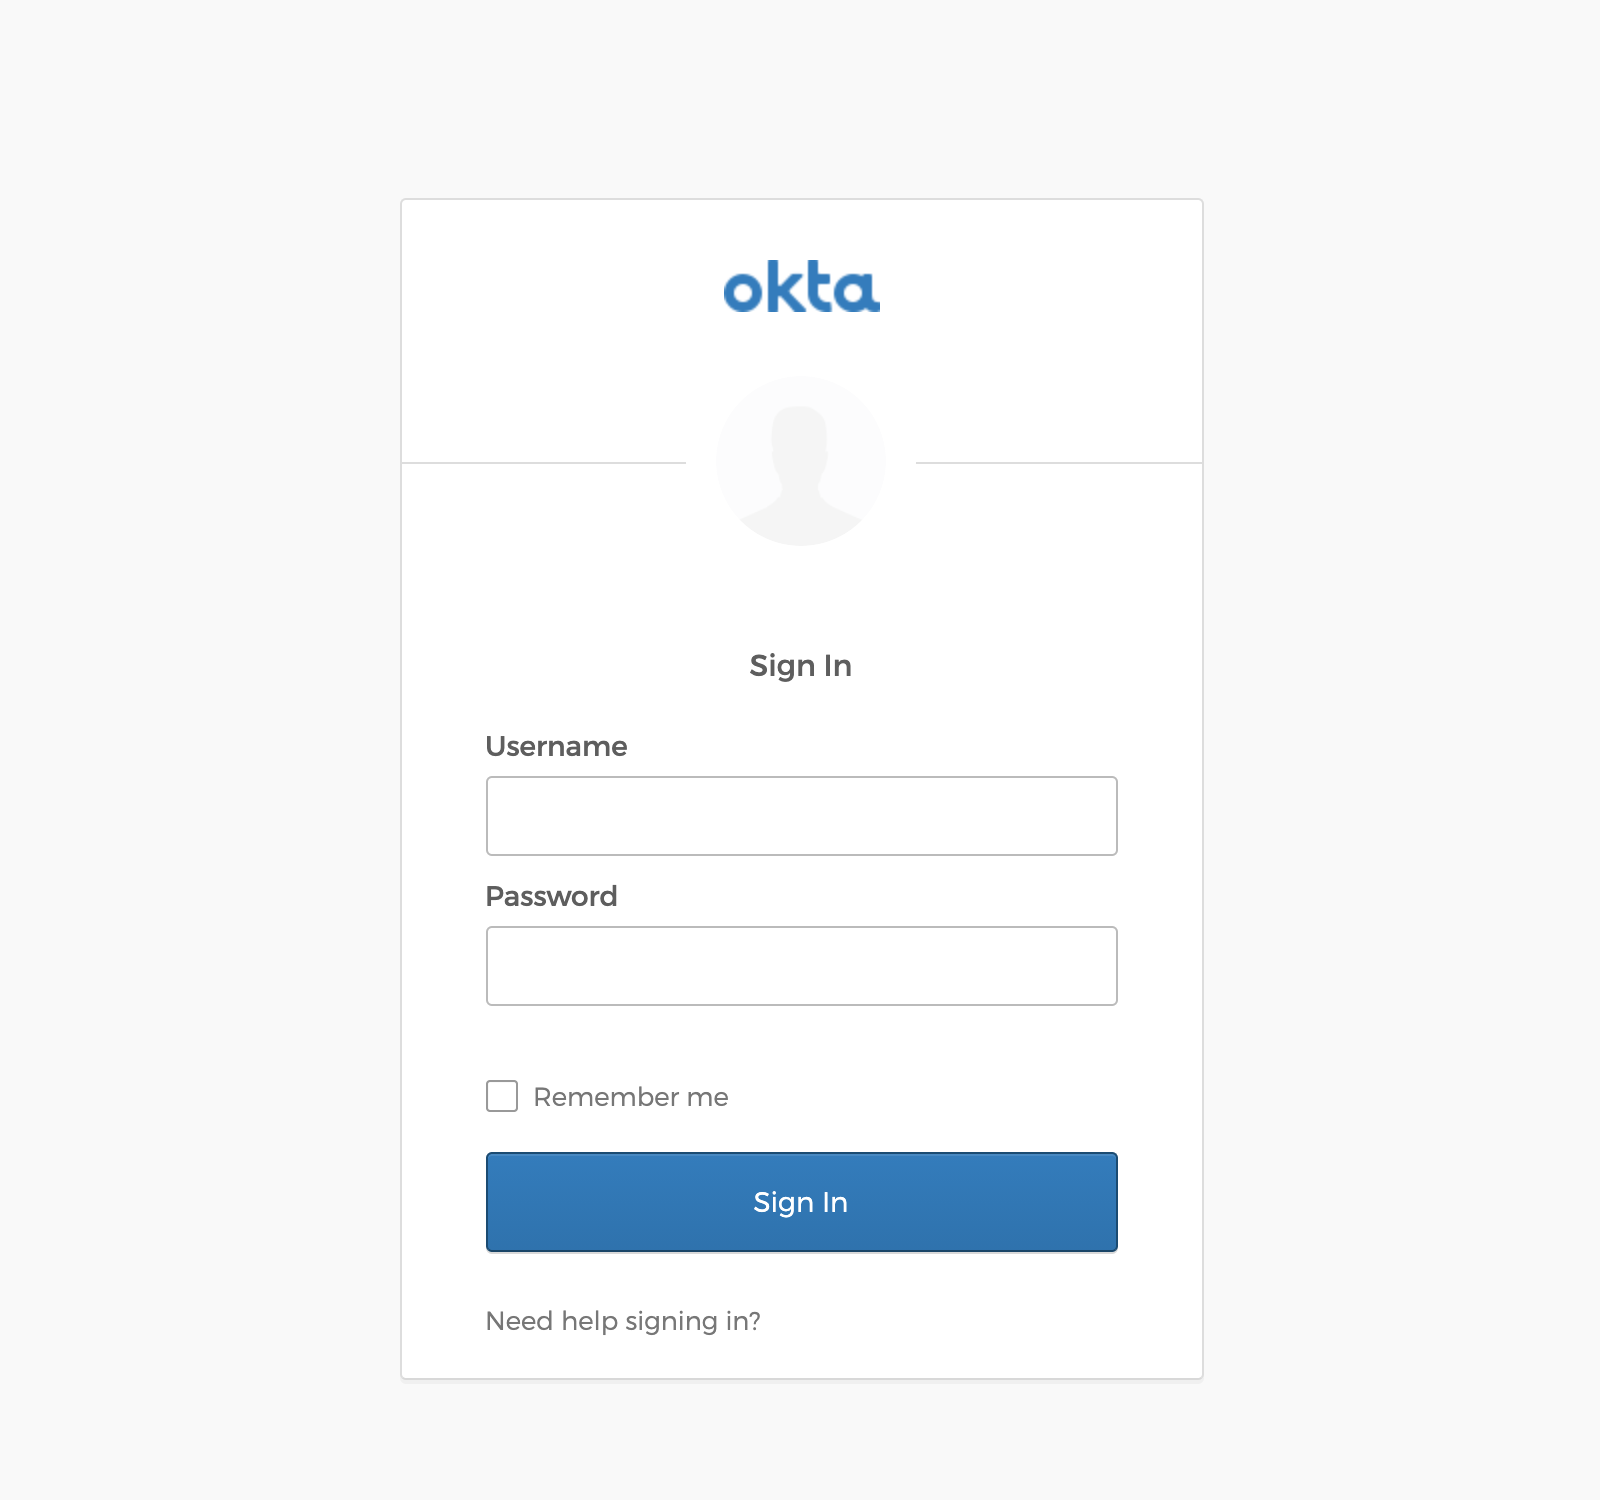
Run npm start again to test your application. Now, when you click on VISIT RESTRICTED PAGE, you will be first taken to the sign-in page on your Okta domain. If you don’t see a login form like the one below, it’s likely because you’re already logged in. Once you have signed in, you will be redirected to the protected page.
Use the Okta Sign-In Widget for Login
Redirecting the user to an Okta-hosted login page is appropriate in many situations. But sometimes you want to keep the user on your site without redirecting them to a server that they might not recognize. This is probably true for most public-facing web applications where you want to reach as many users as possible and reducing perceived barriers is important. The Okta Sign-In Widget allows you to embed the same user experience of the external login page into your website. To start, install the widget library using the following command.
npm install -E @okta/okta-signin-widget@5.5.0
The Sign-In Widget does not come packaged as a React component. Instead, it comes as a JavaScript class that can be attached to a plain DOM element. To be able to use the widget, you need to wrap it inside a React component. Create a new file src/OktaSignInWidget.js and paste the following code into it.
import React, { Component } from 'react';
import OktaSignIn from '@okta/okta-signin-widget';
import '@okta/okta-signin-widget/dist/css/okta-sign-in.min.css';

export default class OktaSignInWidget extends Component {
  constructor(props) {
    super(props);
    this.wrapper = React.createRef();
  }
  componentDidMount() {
    this.widget = new OktaSignIn({
      baseUrl: this.props.baseUrl
    });
    this.widget.renderEl({el: this.wrapper.current}, this.props.onSuccess, this.props.onError);
  }

  componentWillUnmount() {
    this.widget.remove();
  }

  render() {
    return <div ref={this.wrapper} />;
  }
};
I am using a class component here because it makes it easier to perform actions during the component’s lifecycle. The wrapper property is a React reference to the wrapper div for the widget. When the component is displayed, the OktaSignIn object is created and attached to the wrapper. The component expects three properties onSuccess, onError, and baseUrl. onSuccess() and onError() are callbacks that will be called when the login has been successful or when an error occurred. The property baseUrl is the URL of your application.
The OktaSignInWidget component can be used on a login page. Create a new file src/Login.js. Paste the code below into the file. Make sure you change {YourOktaDomain} to match your Okta domain.
import React from 'react';
import { Redirect } from 'react-router-dom';
import { useOktaAuth } from '@okta/okta-react';
import OktaSignInWidget from './OktaSignInWidget';

function Login() {
  const { oktaAuth, authState } = useOktaAuth();

  const onSuccess = function(res) {
    if (res.status === 'SUCCESS') {
      return oktaAuth.signInWithRedirect({
        sessionToken: res.session.token
      });
    }
  }

  const onError = function(err) {
    console.log('error logging in', err);
  }

  return authState.isAuthenticated ?
    <Redirect to={{ pathname: '/' }}/> :
    <OktaSignInWidget
      baseUrl='https://{YourOktaDomain}'
      onSuccess={onSuccess}
      onError={onError}/>;
}

export default Login;
The Login component obtains the authentication state and the oktaAuth instance through a call to useOktaAuth(). It then defines the onSuccess and onError callbacks. onSuccess checks the result of the sign-in and sets the session token on the authentication service. By calling the signInWithRedirect() method, the page is redirected to whatever page the user wanted to navigate before the login page showed.
The component returned by the Login function depends on the authentication state. If the user is authenticated, the component will redirect the user back to the home page. Otherwise, the OktaSignInWidget is shown. Update App.js to add an onAuthRequired property to its <Security> component.
Because you want to redirect the user to a custom route whenever authentication is required, you need to pass a function to the onAuthRequired property of the Security component. This function simply pushes the /login route into the router’s history. Update your App.js to import Login, add onAuthRequired, and add a /login route.
import React from 'react';
import './App.css';
import Header from './Header';
import Home from './Home';
import Login from './Login';
import Private from './Private';
import { Route } from 'react-router-dom';
import { LoginCallback, SecureRoute, Security } from '@okta/okta-react';
import { OktaAuth, toRelativeUrl } from '@okta/okta-auth-js';
import { useHistory } from 'react-router-dom';

const oktaAuth = new OktaAuth({
  issuer: 'https://{YourOktaDomain}/oauth2/default',
  clientId: '{ClientId}',
  redirectUri: window.location.origin + '/callback'
});

const App = () => {
  const history = useHistory();
  const restoreOriginalUri = async (_oktaAuth, originalUri) => {
    history.replace(toRelativeUrl(originalUri, window.location.origin));
  };
  const onAuthRequired = function() {
    history.push('/login')
  }

  return (
    <div className="App">
      <div className="page">
        <div className="content">
          <Security oktaAuth={oktaAuth}
                    restoreOriginalUri={restoreOriginalUri}
                    onAuthRequired={onAuthRequired}>
            <Header/>
            <Route path='/' exact={true} component={Home}/>
            <Route path='/login' exact={true} component={Login}/>
            <SecureRoute path='/private' exact={true} component={Private}/>
            <Route path='/callback' component={LoginCallback}/>
          </Security>
        </div>
      </div>
    </div>
  );
}

export default App;
Now run the application again with the following command.
npm start
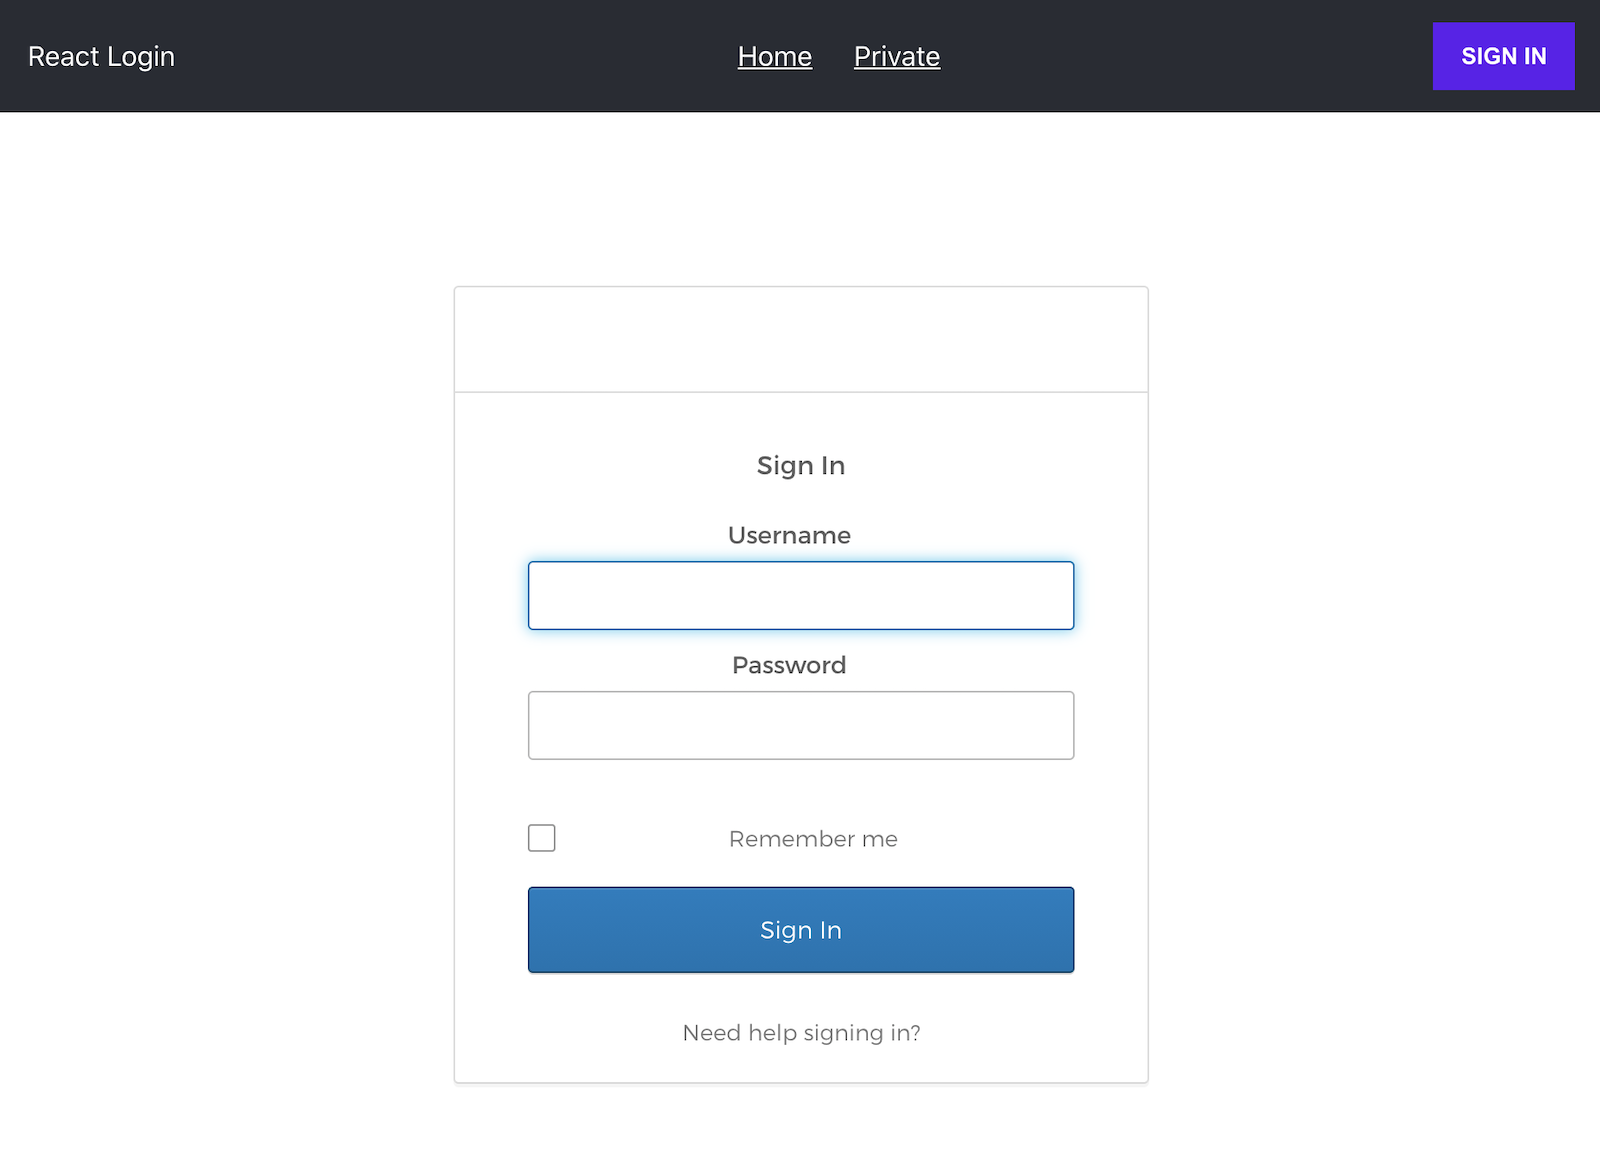
Now, when you try to navigate to the Private page you will be presented with a sign-in form that is rendered within your React application. The form has the same look and feel as the sign-in form on the Okta servers. If you don’t see the login form, open http://localhost:3000 in an incognito window.
Create Your Own Login Form
Sometimes it is useful to implement a sign-in form that seamlessly integrates with your website’s design and style. The widget provided by OktaSignIn can be styled using CSS but in some circumstances, this might not be enough. With only a little extra code, you can create your own login form. All you need to do is change the OktaSignInWidget to render its own form and handle the sign-in.
Open src/OktaSignInWidget.js and replace the contents with the code below. Make sure to replace the {ClientId} placeholder.
import React, { Component } from 'react';
import { withOktaAuth } from '@okta/okta-react';
import { OktaAuth } from '@okta/okta-auth-js';

class OktaSignInWidget extends Component {
  constructor(props) {
    super(props);

    this.state = {
      sessionToken: null,
      email: '',
      password: ''
    };

    this.oktaAuth = new OktaAuth({
      issuer: props.baseUrl,
      clientId: '{ClientId}',
      pkce: true
    });

    this.handleEmailChange = this.handleEmailChange.bind(this);
    this.handlePasswordChange = this.handlePasswordChange.bind(this);
    this.signIn = this.signIn.bind(this);
  }

  handleEmailChange(event) {
    this.setState({email: event.target.value});
  }

  handlePasswordChange(event) {
    this.setState({password: event.target.value});
  }

  async signIn(event) {
    event.preventDefault();
    const transaction = await this.oktaAuth.signIn({
      username: this.state.email,
      password: this.state.password
    });

    if (transaction.status === 'SUCCESS') {
      this.props.oktaAuth.signInWithRedirect({sessionToken: transaction.sessionToken})
    } else {
      throw new Error('Could not sign in: ' + transaction.status);
    }
  }

  render() {
    return (
      <form onSubmit={this.signIn} className="login-form">
        <h2>Log In</h2>
        <p>Please login to continue</p>
        <label className="full-width-input">
          Email
          <input type="text" placeholder="Email" value={this.state.email} onChange={this.handleEmailChange} required />
        </label>
        <label className="full-width-input">
          Password
          <input type="password" placeholder="Password" value={this.state.password} onChange={this.handlePasswordChange} required autoComplete="off" />
        </label>
        <button className="button">Login</button>
      </form>
    );
  }
};

export default withOktaAuth(OktaSignInWidget);
You will notice a number of differences compared to the implementation in the previous section. First, the render() function now returns its own form with Email and Password input elements. The functions handleEmailChange() and handlePasswordChange() update the components state, always reflecting the value in the input fields.
In the constructor, you will see that an OktaAuth object is created and assigned to the oktaAuth property. This object is used inside the signIn() function, which is called when the form is submitted. OktaAuth is responsible for connecting to the Okta servers, sending the user credentials, and in return, receiving a session token.
The last thing you will notice is the fact that the OktaSignInWidget class is wrapped in the withOktaAuth() function before being exported. This adds the authService to the properties of the object. Remember, this widget is rendered within the Security widget. Inside the signIn() function the authService is used to set the application’s session token and redirect the user to the protected page they wanted to visit before the sign-in was triggered.
To round things out, add a bit of styling for the login form. Open src/App.css and paste the following code at the end of the file.
.login-form {
  display: inline-block;
  width: 20em;
}

.full-width-input {
  display: block;
  text-align: right;
}

.full-width-input input {
  width: 12em;
  padding: 4px 8px;
  margin: 4px 8px;
  border: 1px solid #aaaaaa;
  border-radius: 0;
}
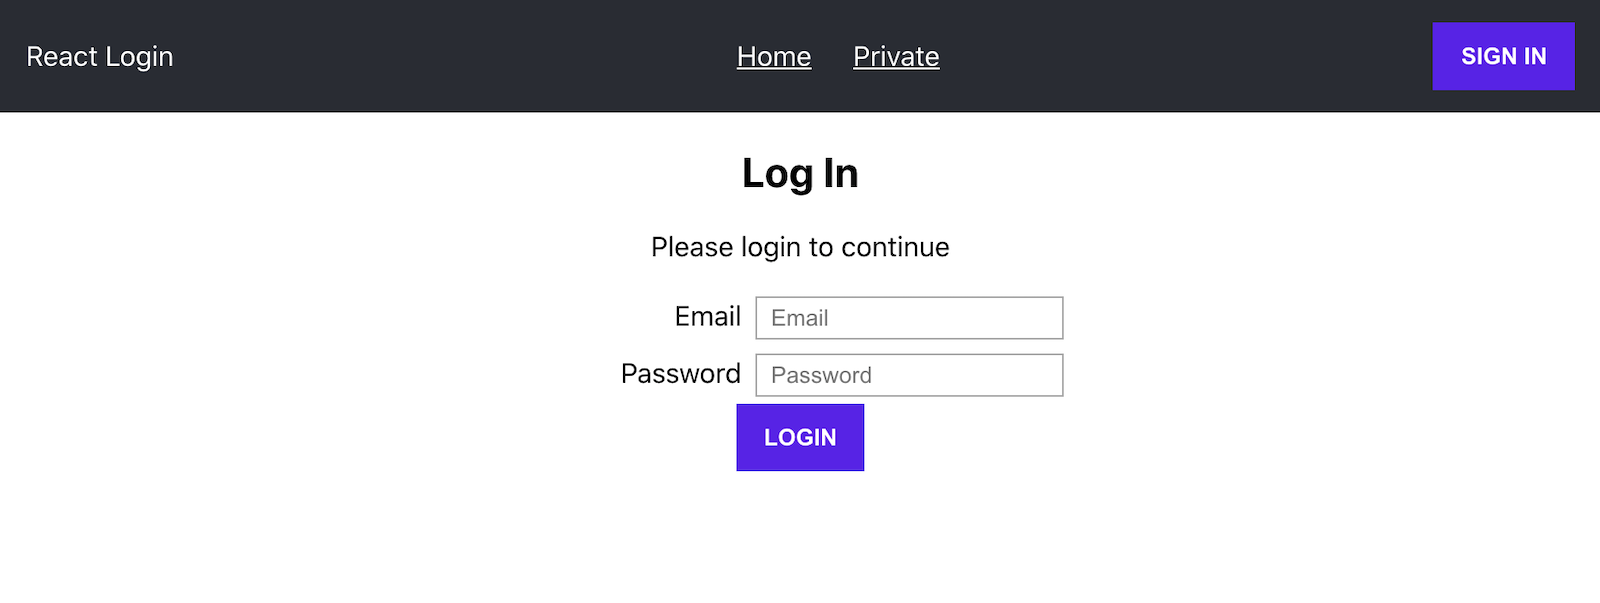
Start the application again by running npm start. Now, try to navigate to the protected page and you should see a login form that looks like the image below.
Congratulations! If you have made it this far, you now have the knowledge to implement the right sign-in solution for your React application.
Learn More About React and Authentication
In this tutorial, I have shown you three ways to implement authentication in your React application. The easiest of these three options redirects the user to a hosted sign-in page on the Okta servers. While this is a perfectly good solution in many situations, you sometimes want to host the login form on your own servers. The Okta sign-in widget lets you embed the trusted login form on your own site. If you want a sign-in form with your layout and design, you can use the OktaAuth class to send the username and password directly to the Okta servers for validation.
You can find the source code for this example in the oktadeveloper/okta-react-login-example repository on GitHub.
If you want to find out more about Okta authentication, dive into JSON Web Tokens or learn about access control in single-page JavaScript apps, check out the following links.
- JWTs in React for Secure Authentication
- Vue Login and Access Control the Easy Way
- Node.js Login with Express and OIDC
- Build Reusable React Components
Please leave a comment below if you have any questions. If you liked this tutorial, follow @oktadev on Twitter to be notified when we publish new ones. We also have a YouTube channel and a Twitch stream you might like.
Changelog:
- Mar 31, 2021: Updated to use Okta React SDK 5.0.0, Auth JS 4.8.0, and Okta Sign-In Widget 5.5.0. You can see the changes in the example app on GitHub. Changes to this article can be viewed in oktadeveloper/okta-blog#619.
Okta Developer Blog Comment Policy
We welcome relevant and respectful comments. Off-topic comments may be removed.