How to Deploy Your .NET Core App to Google Cloud, AWS or Azure

There has been a cut-throat competition between cloud hosts in the past few years - each attempting to earn the sympathy of developers and dev-ops by rolling out shiny new tools, plugins, and integrations. There are a gazillion how-to tutorials and guides in the community on using these tools. Sometimes when looking for a solution, it is hard to find the newest and simplest way. I never know if an article written last year is still valid using today’s tools. In this article, I’m going to walk you through the deployment of a .NET Core 3.1 application to the major cloud hosts (Microsoft Azure App Service, AWS Beanstalk, Google Cloud App Engine) in the simplest possible way. After deployment, I’ll take a few steps forward and configure Okta Authentication in the example application to show how to add a login flow at once.
Note: In May 2025, the Okta Integrator Free Plan replaced Okta Developer Edition Accounts, and the Okta CLI was deprecated.
We preserved this post for reference, but the instructions no longer work exactly as written. Replace the Okta CLI commands by manually configuring Okta following the instructions in our Developer Documentation.
How to Secure Your .NET App for Major Cloud Hosts
Okta is a cloud service that allows developers to create, edit, and securely store user accounts and user account data, and connect them with one or multiple applications. Using Okta you don’t have to worry about implementing sign up, login, or logout flows manually.
Prerequisites
Any preferred code editor, I’ll be using VS Code for Mac 😱.
Azure deployment:
AWS deployment:
Google Cloud deployment:
Preparing the .NET Core App for Cloud Host deployment
I have prepared an example application to play around with and see how the deployments work.
Start by cloning the repo to your local machine:
git clone https://github.com/oktadeveloper/okta-netcore3-deploy-to-cloud-hosts-example
Since there is Okta Authentication in the example application, you first need to update the related configs.
Log in to your Okta Developer account
Navigate to Applications, then select Add Application.
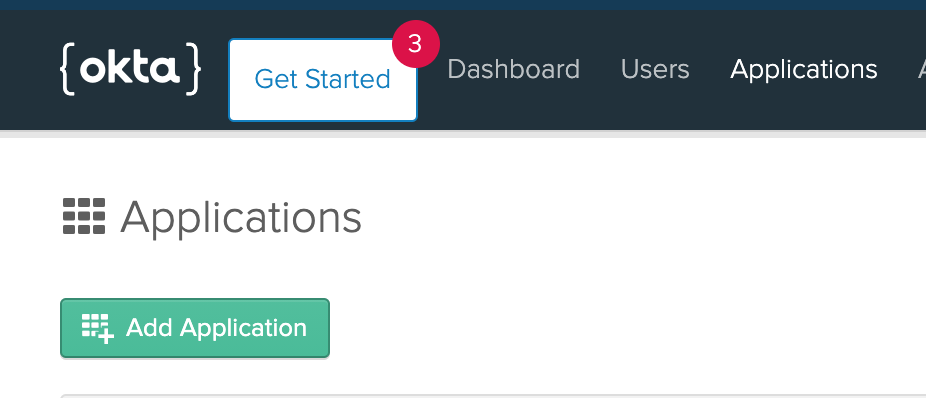
Select Web as a platform:
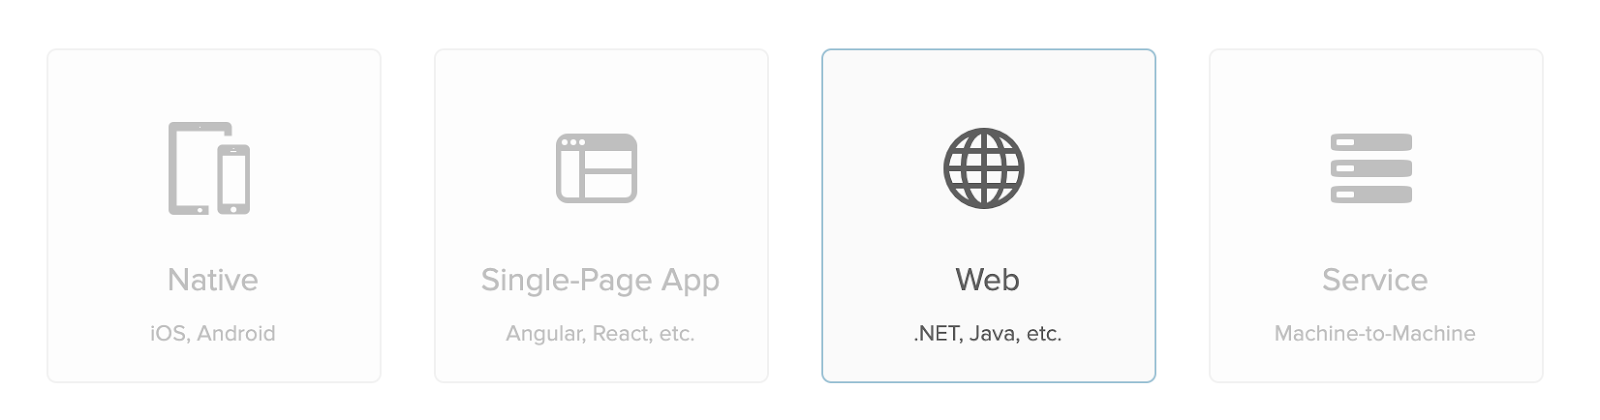
On the next screen leave everything as is and select Done.
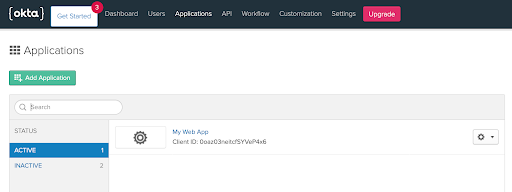
Scroll down and note your Okta Client Credentials:
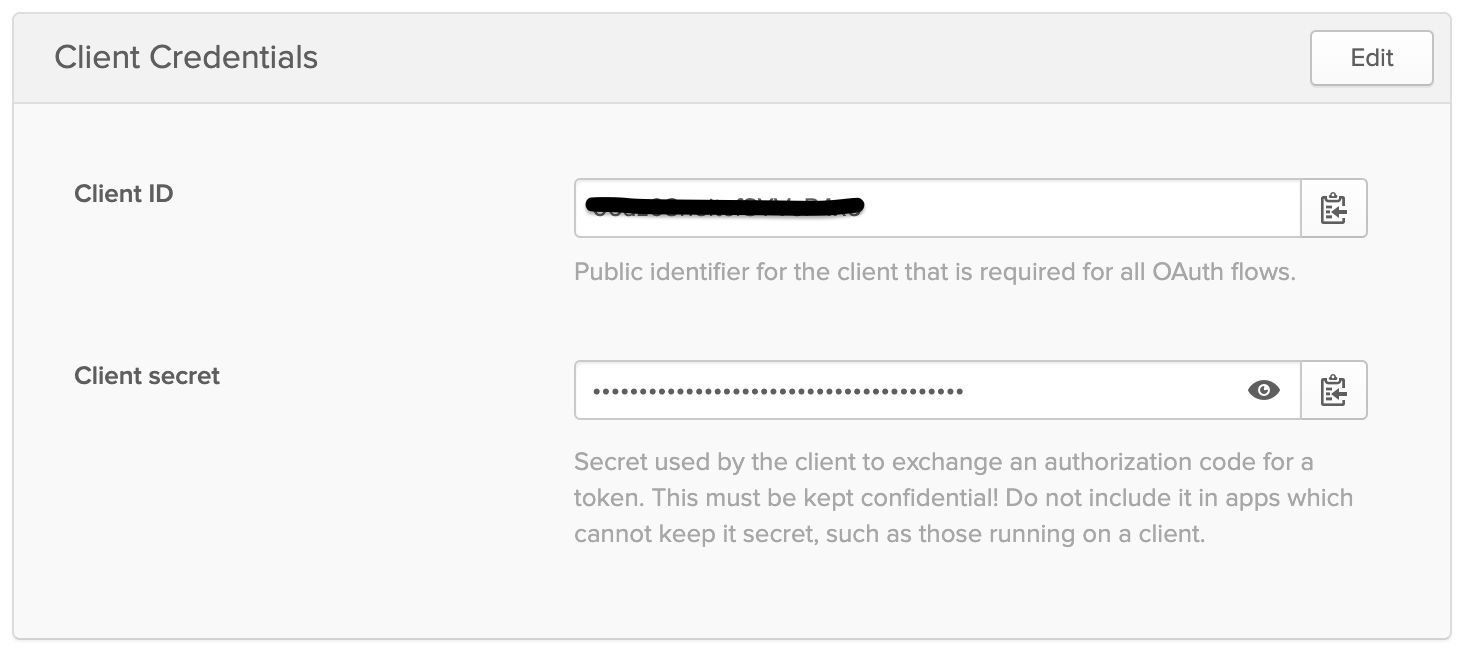
Open appsettings.json in your favorite code editor and add your credentials.
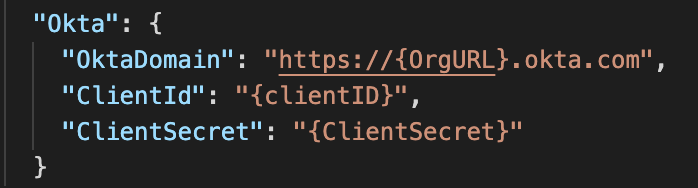
You can find your Org URL in the top right corner of the Dashboard:

Now your app should be ready for deployment and to run locally. Let’s make sure there are no build or runtime errors. Open a terminal or command prompt, go to the project folder and run:
dotnet run
Open your browser at https://localhost:5001 to see the app running.
The Login part of the app doesn’t work just now. We will set it up after the deployments.
Deploying a .NET Core 3.1 App to Azure App Service
Let’s begin by deploying our app to Azure!
Creating an Azure App Service using Command Line
Open a terminal or command prompt and login to Azure.
az login
A browser window will open asking for your Microsoft Account credentials.
First, we’ll have to add a Resource Group:
az group create --name myResourceGroup --location westus
Run the following command to set the default resource group and location for all subsequent commands. So we won’t have to worry about adding them at each command.
az configure --defaults group=myResourceGroup location=westus
Let’s create an App Service plan:
az appservice plan create --name myPlan --sku F1
Finally, create the App Service itself:
Replace
az webapp create --name <your_app_name> --plan myPlan --runtime "DOTNETCORE|3.1"
Open a browser window at http://<your_app_name>.azurewebsites.net and make sure the App Service is running:
Deploying the App to Azure App Service using Command Line
It’s time to set your deployment credentials. Replace username and password with your azure credentials.
az webapp deployment user set --user-name <username> --password <password>
Run the following command to retrieve the Git endpoint to which we want to push the app code:
az webapp deployment source config-local-git --name <your_app_name>
Your output should look like this:
{
  "url": "https://gergely.sinka@mydomain.com@<your_app_name>.scm.azurewebsites.net/<your_app_name>.git"
}
Now set the output URL without credentials as a remote for the local git repository:
git remote add azure https://<your_app_name>.scm.azurewebsites.net/<your_app_name>.git
Finally, push the code to the new remote repository:
git push azure master
Open a browser window at http://<your_app_name>.azurewebsites.net to make sure the app is running.
Configuring Okta for the Azure Hosted App
We need to add our application’s URL to Okta to be recognized as a redirect URL.
Going back to the Okta Dashboard Applications page, select the App you created in the first section.

In the General tab, click Edit next to the General Settings section:

Set the following URLs:
Login redirect URIs: https://<your_app_name>.azurewebsites.net/authorization-code/callback
Logout redirect URIs: https://<your_app_name>.azurewebsites.net/signout/callback
Now you should be able to log in and log out in your web application using your Okta credentials.
Deploying a .NET Core 3.1 App to AWS Beanstalk
Next, we will go through the deployment process for AWS.
Creating the deployment package
Open a terminal or command prompt, go to the project folder and run:
dotnet publish -o my-app
Compress the newly created my-app folder to a zip archive. This will be our deployment package
Deploying the package
Visit the AWS Elastic Beanstalk Console.
Go ahead and Create Application:
Give it a Name and carefully select the Platform as follows:

We’ll upload the deployment package by hand. So, set Application Code to Upload your code. Now press Choose file and upload the previously created .zip file.
Once the upload has finished, hit Create Application. You might have to wait a few minutes for the deployment to complete.
Configuring Okta for the AWS Hosted App
We need to add our application’s URL to Okta to be recognized as a redirect URL.
Going back to the Okta Dashboard Applications page. Select the App you created in the first part.
On the General tab hit Edit by the General Settings section:

Set the following URLs:
Login redirect URIs: http://<your_app_url>/authorization-code/callback
e.g.: http://oktaexample-env.eba-evyiprzp.us-east-1.elasticbeanstalk.com/authorization-code/callback
Logout redirect URIs: http://<your_app_url>/signout/callback
e.g.: http://oktaexample-env.eba-evyiprzp.us-east-1.elasticbeanstalk.com/signout/callback
Now you should be able to log in and log out in your web application using your Okta credentials.
Troubleshooting
If you run into a Correlation Error after logging in, you’ll need to manually set the SameSite cookie attribute to None, and enable SSL (HTTPS) on your server. I have a detailed article and a guide coming soon on how to set up a Linux server to support Okta login in .NET Core 3.1 applications - be on the lookout for that! To get an idea of the basics, check out my post on how to Install .NET Core Apps on Linux in 5 Minutes.
Deploying a .NET Core 3.1 App to Google App Engine
Preparing Google Cloud App Engine
Open the Google Cloud Platform Console and create a new Project:
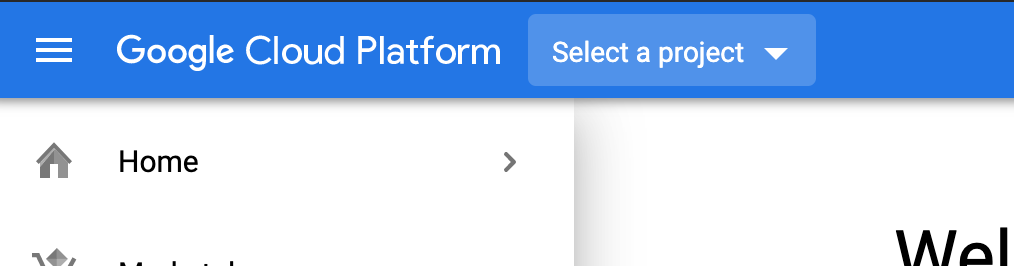
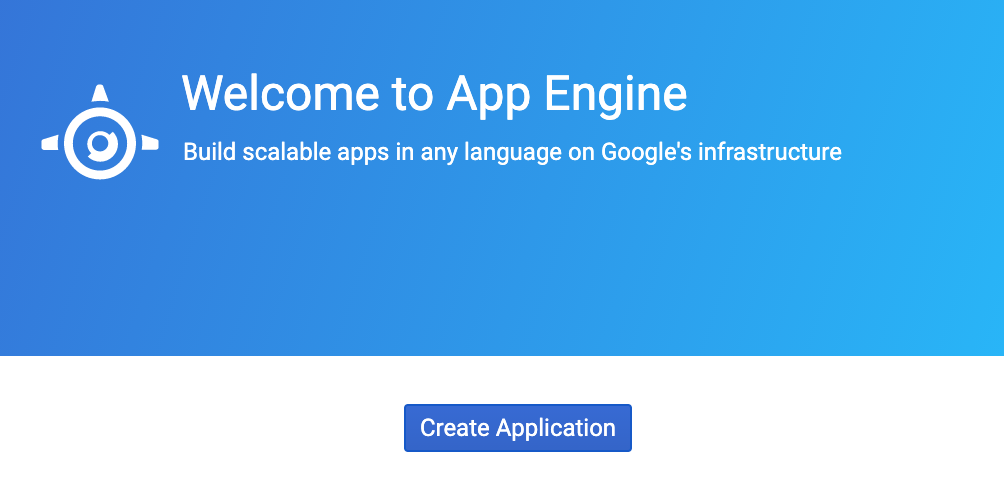
On the welcome screen select Create Application.
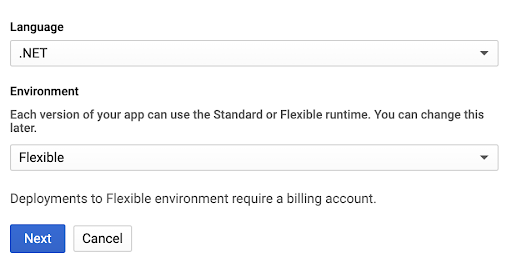
Choose any Region. Then add .NET as Language and Flexible as Environment.
Open a terminal or command prompt, go to the project folder and run:
dotnet publish -o my-app
Then go to the newly created folder:
cd my-app
Log in with the Cloud SDK:
gcloud init
Deploying the App to Google Cloud Engine
To deploy the application enter:
gcloud app deploy
You might be asked a few questions while the deployment is running.
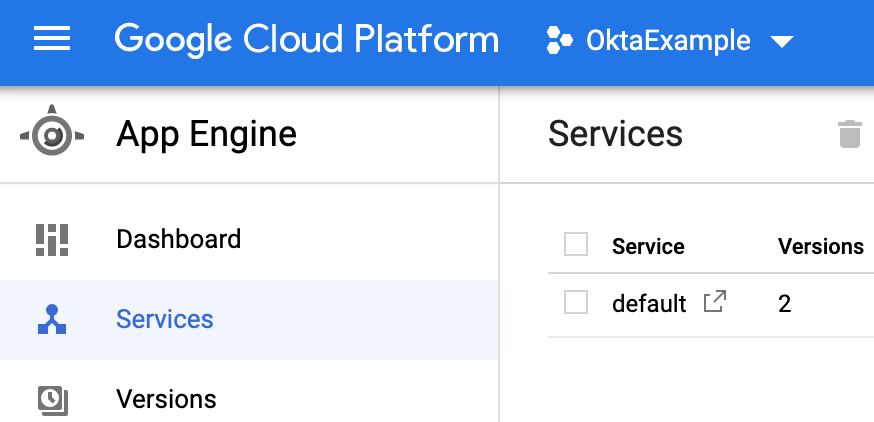
Once the deployment is finished you can go back to the Cloud Platform Console and click the service to see if the application is running:
Configuring Okta for the Google Cloud Hosted App
We need to add our application’s URL to Okta to be recognized as a redirect URL.
Going back to the Okta Dashboard Applications page, select the App you created in the first part.

On the General tab hit Edit by the General Settings section:

Set the following URLs:
Login redirect URIs: http://<your_app_url>/authorization-code/callback
e.g.: http://oktaexample-289720.ew.r.appspot.com/authorization-code/callback
Logout redirect URIs: http://<your_app_url>/signout/callback
e.g.: http://oktaexample-289720.ew.r.appspot.com/signout/callback
Now you should be able to log in and log out in your web application using your Okta credentials.
Takeaways
There are quite a few ways to deploy .NET Core applications to major cloud hosts. I have introduced the simplest techniques using basic tools provided. This should be perfect for proof of concept apps and home projects. For simplicity these deployment techniques sometimes need manual steps. If you don’t want to repeat them with every deployment, I recommend automating these steps in your CI/CD pipelines. Hopefully I’ll have an article coming out in that topic soon!
Learn More About .NET Core Deployments
If you like this topic, be sure to follow us on Twitter, subscribe to our YouTube Channel, and follow us on Twitch.
Okta Developer Blog Comment Policy
We welcome relevant and respectful comments. Off-topic comments may be removed.