Better, Faster, Lighter Java with Java 12 and JHipster 6

There’s a lot going on in the Java ecosystem lately. Now that major Java versions are released every six months, it can be difficult to keep up. Personally, I develop the majority of my Java applications using Spring Boot. Because of this, I was stuck on Java 8 until Spring Boot 2.1 was released last October.
Spring Boot 2.1 added Java 11 support, along with performance improvements, a new metrics implementation, new actuator endpoints, and Spring Security’s first-class OIDC support.
I was a web developer years before I became a Java developer. I’ve been developing Java for 20 years, so that’s saying a lot! If you’re a Java developer, chances are you’re baffled by the pace of change in the JavaScript world. If you think Java is hard to keep up with, try keeping up with JavaScript and its ecosystem! The good news is there’s an excellent way to keep up with both: just use JHipster.
JHipster 6 uses Spring Boot 2.1 for its backend API, which means you can use Java 11+ to develop your JHipster apps!
If you’d rather watch a video, I created a screencast of this blog post.
Note: In May 2025, the Okta Integrator Free Plan replaced Okta Developer Edition Accounts, and the Okta CLI was deprecated.
We preserved this post for reference, but the instructions no longer work exactly as written. Replace the Okta CLI commands by manually configuring Okta following the instructions in our Developer Documentation.
How Does JHipster Make Java and JavaScript Development Easier?
JHipster is one of my favorite open source projects on the planet. It’s a development platform to generate, develop, and deploy Spring Boot + Angular applications. In addition, it supports React, Vue, and creating microservice architectures with Netflix OSS, the Elastic Stack, and Docker.
Java developers tend to dislike JavaScript, but many are OK with TypeScript. Guess what? JHipster uses TypeScript for all its UI framework implementations!
JHipster makes Java and JavaScript development easier by configuring everything for you and using the latest versions of its underlying frameworks. Want to upgrade your app to use the latest versions? Simply run jhipster upgrade.
Install Java 11 or Java 12
Before you worry about installing JHipster, install Java 11. I recommend using SDKMAN! for this task. If you don’t have it installed, it’s just a command away:
curl -s "https://get.sdkman.io" | bashOnce you have it installed, you can see all the Java 11 versions available using sdk list java.
Install the OpenJDK version:
sdk install java 11.0.2-openIf you’d rather use Amazon’s Corretto, simply use 11.0.2-amzn for the name. If you want to be as hipster as possible, you can even use Java 12!
sdk install java 12.0.0-open
Azul’s Zulu is also available if you use 12.0.0-zulu for the name.
|
Install JHipster 6
JHipster 6 was released on May 3, 2019. You can install it using the command below.
npm install -g generator-jhipster@6.0.0
The npm command is part of Node.js. You’ll need to have Node 10.x to install JHipster and run useful commands.
|
Create a Spring Boot + Angular App that runs on Java 11+
The most basic way to get started with JHipster is to create a new directory, cd into it, and run jhipster. You’ll be prompted to answer a number of questions about the app you’d like to create. Question range from the name of your app, to the authentication type you’d like to use, to SQL vs. NoSQL.
JHipster also has a domain language (called JDL for JHipster Domain Language) that you can use to define your app.
application {
  config {}
}
If you used the above code to create your app, it’ll use the default values:
-
baseName:
jhipster -
applicationType:
monolith -
databaseType:
sql -
etc.
| You can see all the default values in JHipster’s JDL documentation. |
To generate an OAuth 2.0-enabled app with JHipster, create an app.jh file in a new project directory (e.g., ~/hipapp):
application {
  config {
    baseName hipapp
    authenticationType oauth2
  }
}
Open a terminal window and navigate to the same directory as this file. Run the following command to generate a Spring Boot API with an Angular UI.
Make sure you’re not in your home directory! Your project will be generated in the same directory as app.jh.
|
jhipster import-jdl app.jhThis will create a multitude of files and install dependencies using npm install. Your terminal should look similar to the following when you run this command:
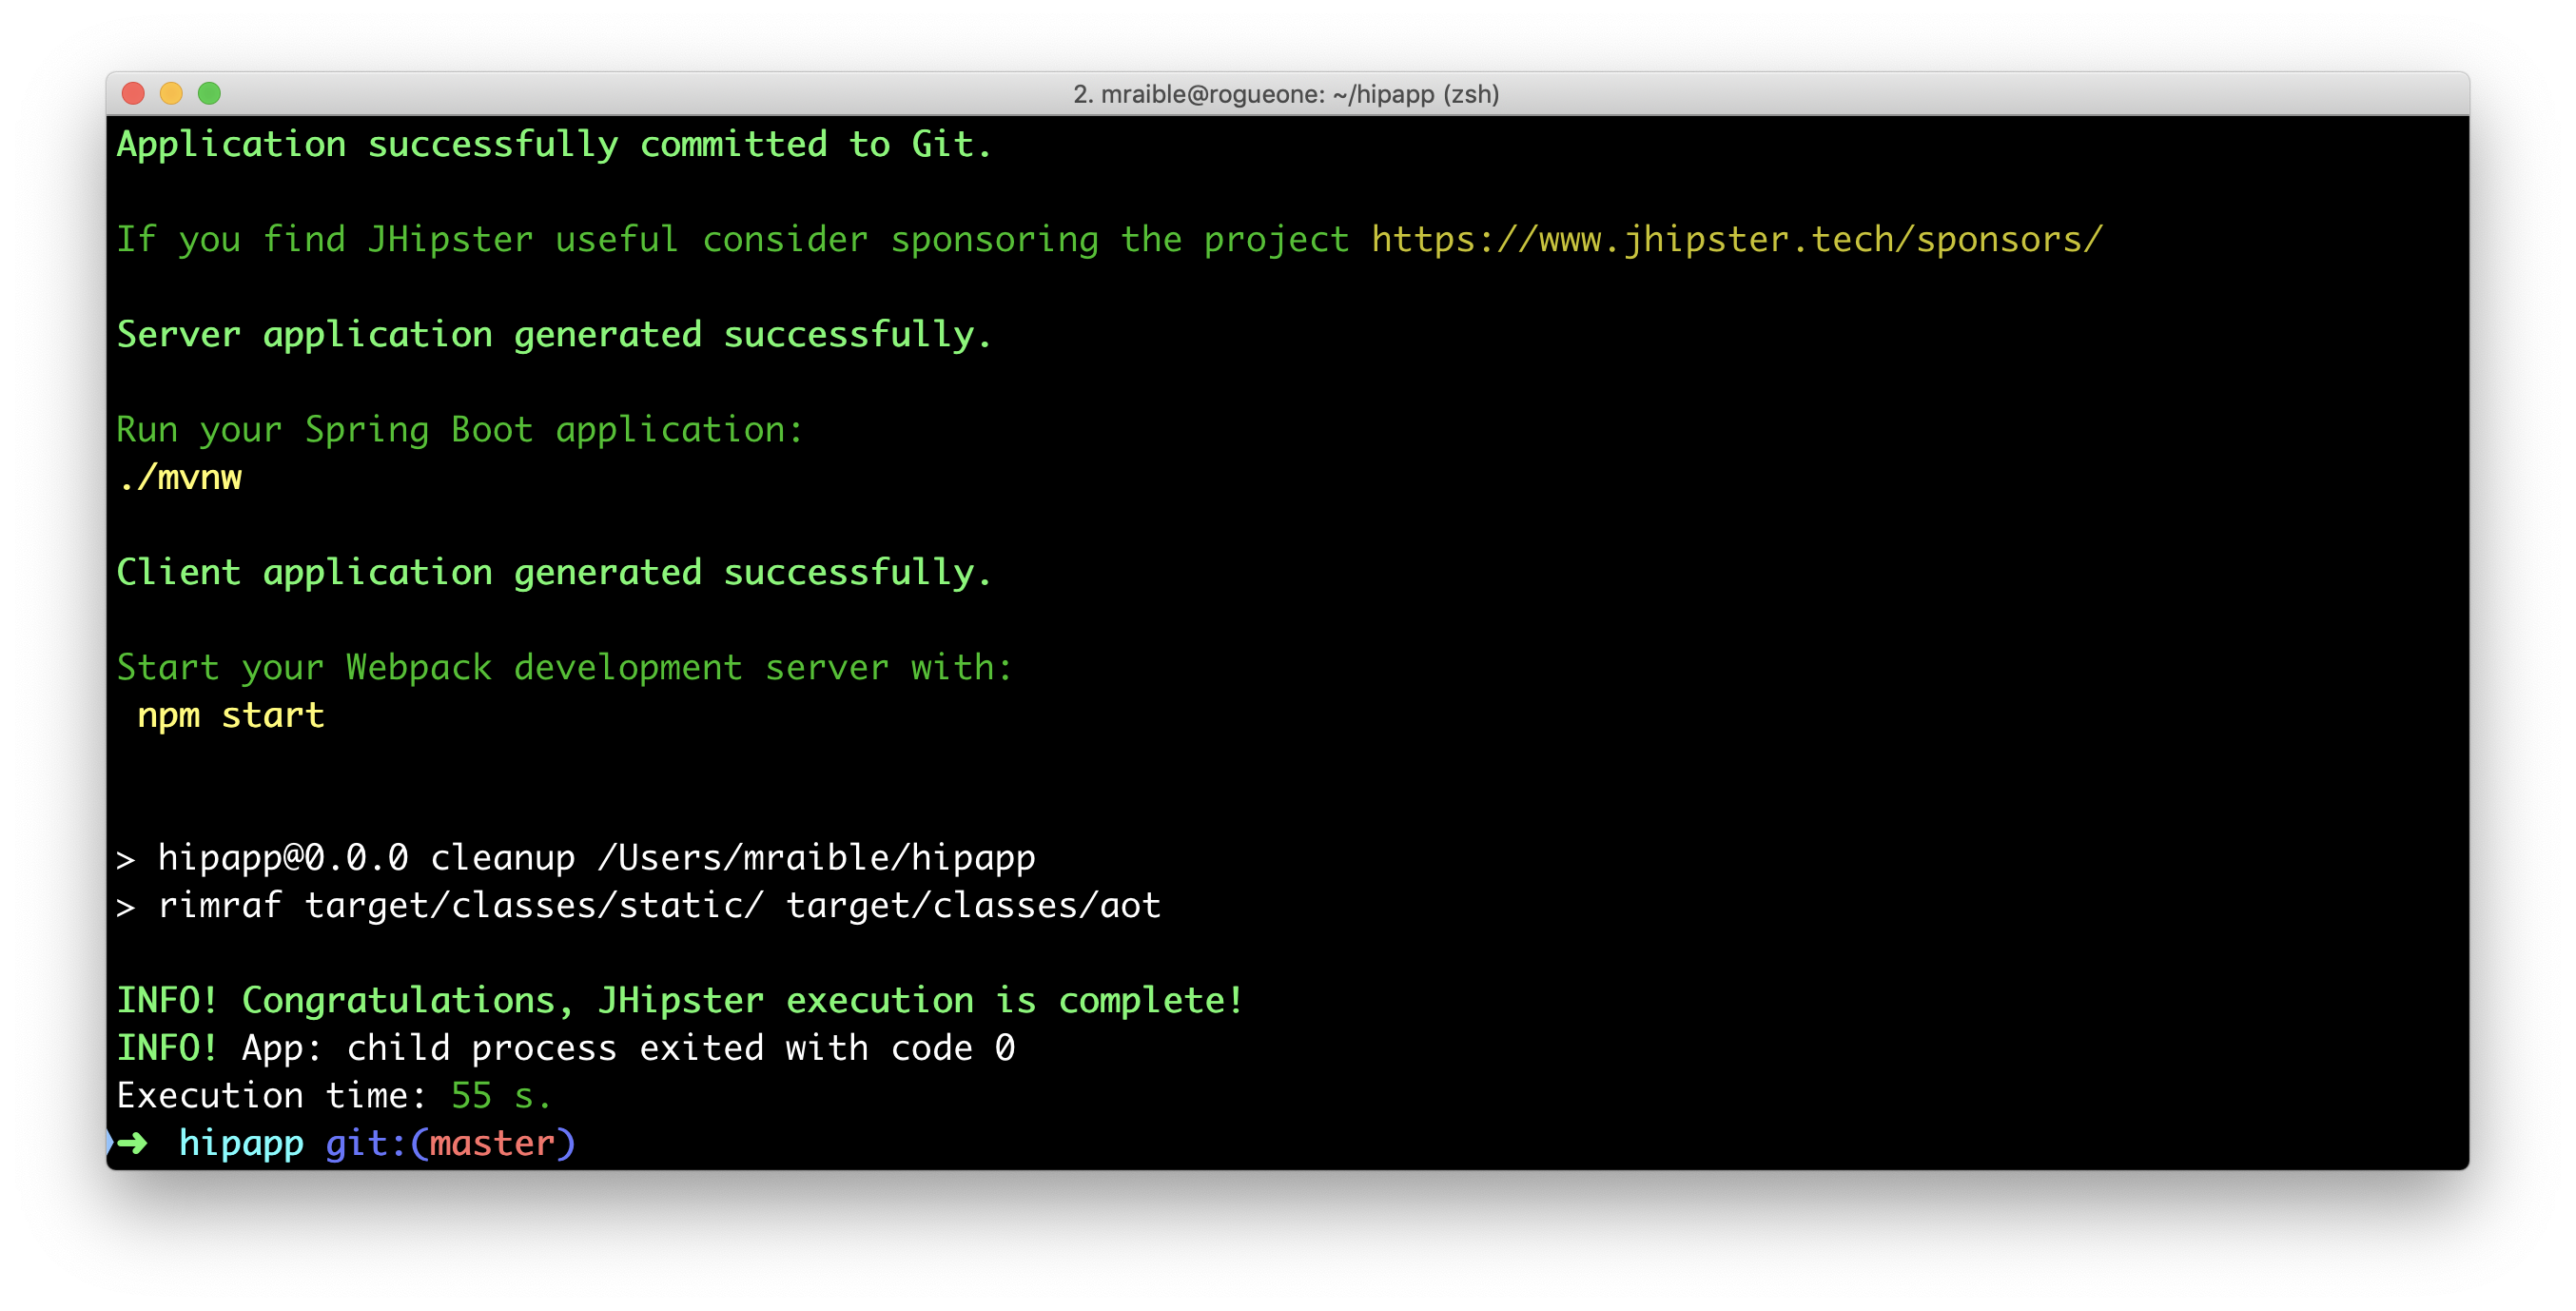
If you’d prefer to see what this command looks line in-action, you can watch the recording below.
Since you specified oauth2 as the authentication type, a Docker Compose configuration will be installed for Keycloak.
Keycloak is an Apache-licensed open source identity and access management solution. In addition to creating a src/main/docker/keycloak.yml file for Docker Compose, JHipster generates a src/main/docker/config/realm-config directory with files in it that configure Keycloak to work with JHipster out-of-the-box.
Run Your JHipster App and Log In with Keycloak
Keycloak must be running for your JHipster app to start successfully. This is because Spring Security 5.1’s first-class OIDC support is leveraged in JHipster 6.
This OIDC support includes discovery, which means that Spring Security talks to a /.well-known/openid-configuration endpoint to configure itself. I completed the migration myself and deleted more code than I added!
Start Keycloak using Docker Compose:
docker-compose -f src/main/docker/keycloak.yml up -d| If you don’t have Docker Compose installed, see these instructions for how to install it. |
Then start your application using Maven:
./mvnwWhen your app is up and running, open http://localhost:8080 in your favorite browser and click sign in. You’ll be redirected to Keycloak, where you can enter admin/admin to log in.
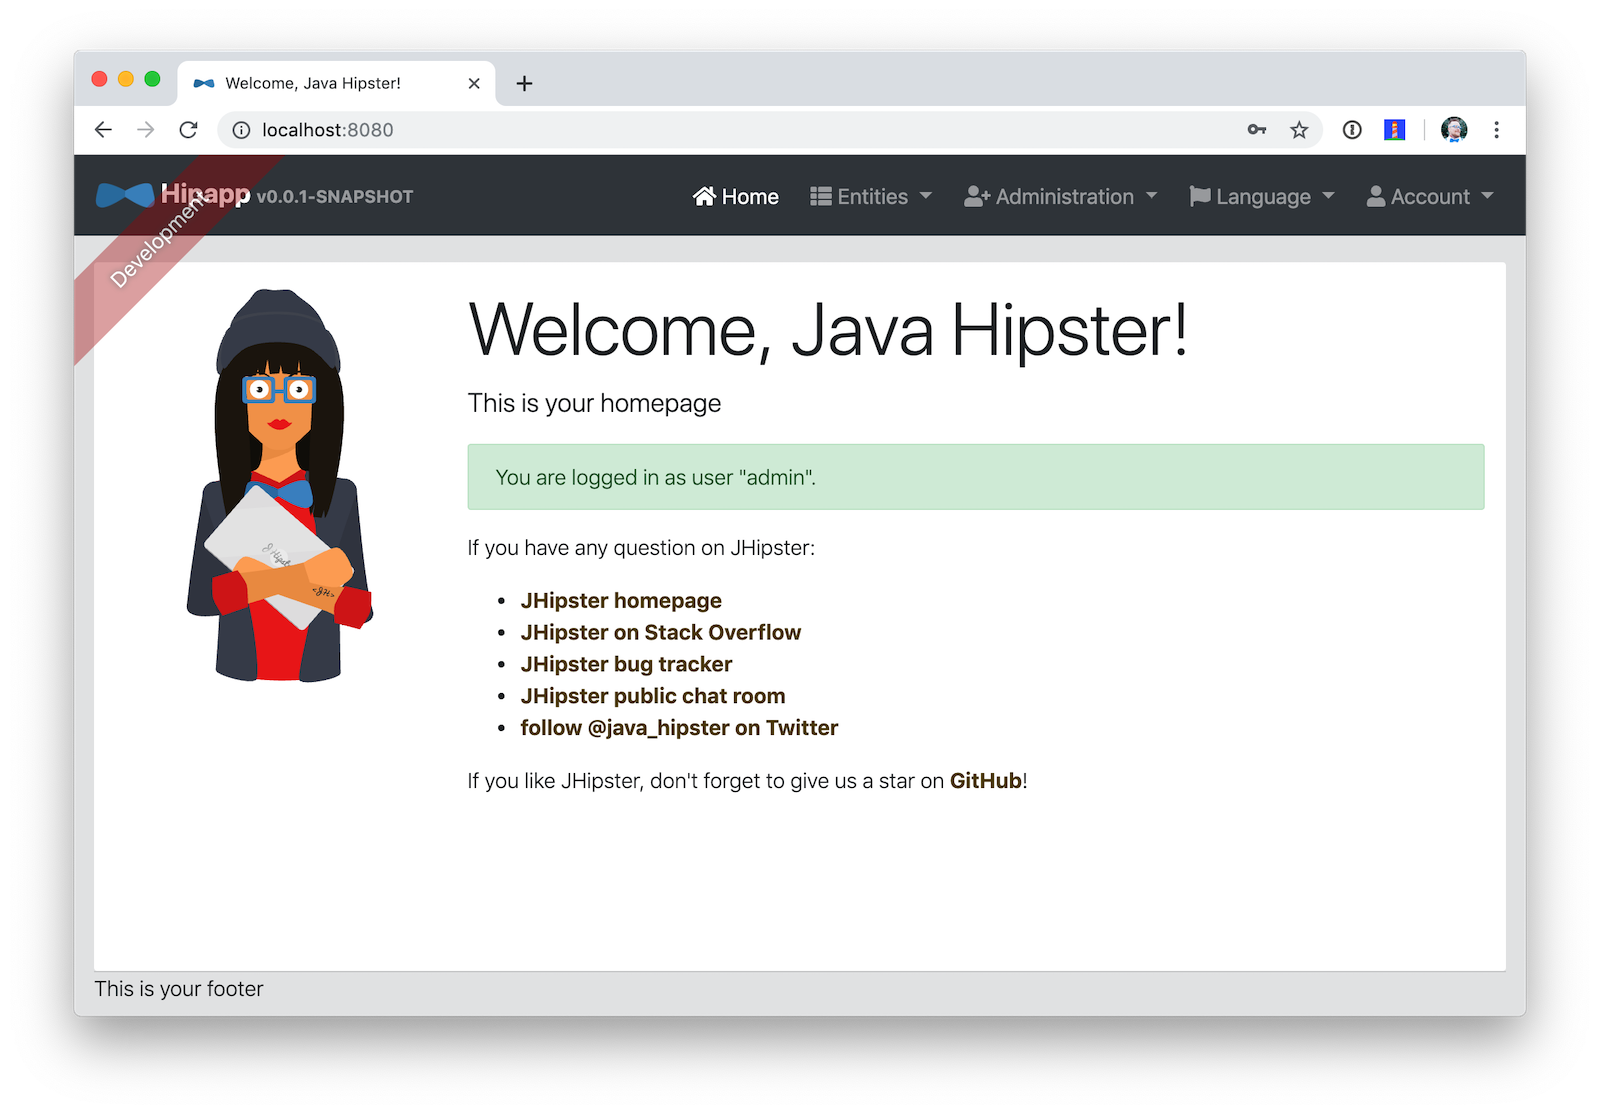
Pretty slick, eh? You just created a modern single page application (SPA) that uses the latest released version of Angular! Not only that, but it uses the most secure form of OAuth 2.0 - authorization code flow.
| If you’re confused by how OAuth 2.0 and OpenID Connect (OIDC) work together, please see What the Heck is OAuth? In short, OIDC is a thin layer on top of OAuth 2.0 that adds identity. |
Use Okta: We’re Always On!
Keycloak is an excellent project that works great for development and testing. However, if you use it in production, you’ll be responsible for maintaining it, updating it to the latest releases, and making sure it’s up 24/7. For these reasons, I recommend using Okta in production. After all, we’re always on! 😃
Create an OpenID Connect Web Application
Before you begin, you’ll need a free Okta developer account. Install the Okta CLI and run okta register to sign up for a new account. If you already have an account, run okta login.
Then, run okta apps create jhipster. Select the default app name, or change it as you see fit.
Accept the default Redirect URI values provided for you.
What does the Okta CLI do?
The Okta CLI streamlines configuring a JHipster app and does several things for you:
- Creates an OIDC app with the correct redirect URIs:
- login:
http://localhost:8080/login/oauth2/code/oidcandhttp://localhost:8761/login/oauth2/code/oidc - logout:
http://localhost:8080andhttp://localhost:8761
- login:
- Creates
ROLE_ADMINandROLE_USERgroups that JHipster expects - Adds your current user to the
ROLE_ADMINandROLE_USERgroups - Creates a
groupsclaim in your default authorization server and adds the user’s groups to it
NOTE: The http://localhost:8761* redirect URIs are for the JHipster Registry, which is often used when creating microservices with JHipster. The Okta CLI adds these by default.
You will see output like the following when it’s finished:
Okta application configuration has been written to: /path/to/app/.okta.env
Run cat .okta.env (or type .okta.env on Windows) to see the issuer and credentials for your app. It will look like this (except the placeholder values will be populated):
export SPRING_SECURITY_OAUTH2_CLIENT_PROVIDER_OIDC_ISSUER_URI="https://{yourOktaDomain}/oauth2/default"
export SPRING_SECURITY_OAUTH2_CLIENT_REGISTRATION_OIDC_CLIENT_ID="{clientId}"
export SPRING_SECURITY_OAUTH2_CLIENT_REGISTRATION_OIDC_CLIENT_SECRET="{clientSecret}"
NOTE: You can also use the Okta Admin Console to create your app. See Create a JHipster App on Okta for more information.
Add *.env to your .gitignore file so this file won’t end up in your source control system.
|
Start your application with the following commands:
source .okta.env
./mvnw
Navigate to http://localhost:8080 and log in with your Okta credentials.
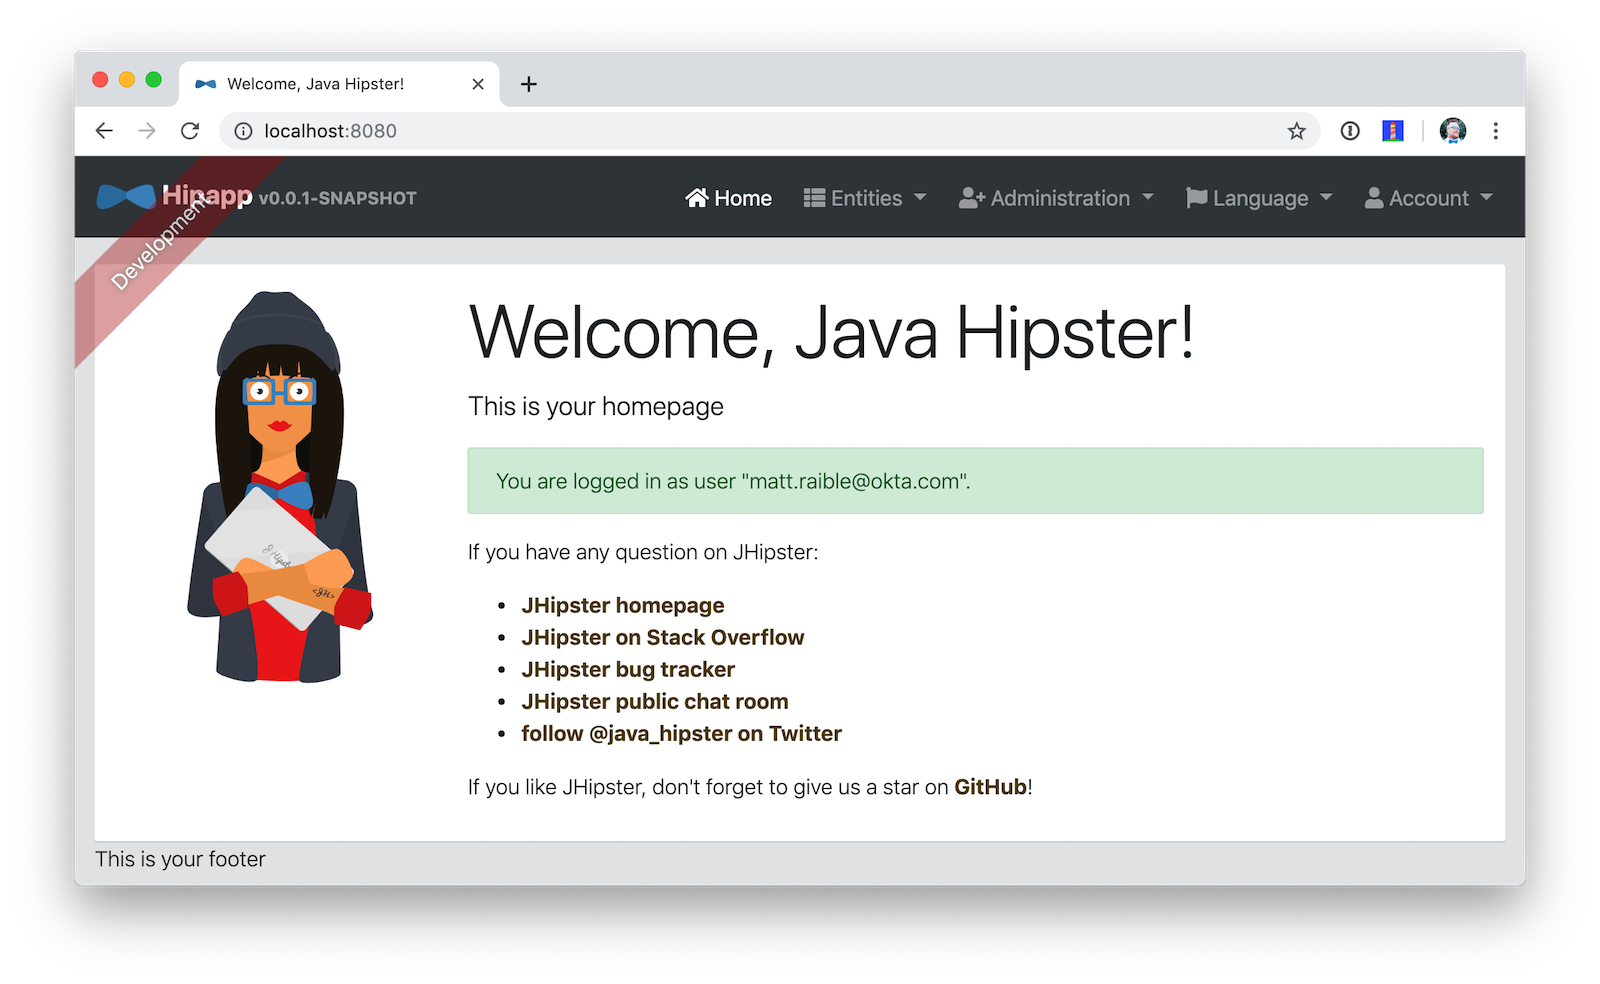
Isn’t it cool how Spring Boot and Spring Security make it easy to switch OIDC providers?!
CRUD with JHipster
I’ve barely scratched the service of what JHipster is capable of in this post. For example, you can create CRUD functionality for entities (with tests!) using JDL. For example, create a blog.jh file with the code below.
entity Blog {
  name String required minlength(3),
  handle String required minlength(2)
}

entity BlogEntry {
  title String required,
  content TextBlob required,
  date Instant required
}

entity Tag {
  name String required minlength(2)
}

relationship ManyToOne {
  Blog{user(login)} to User,
  BlogEntry{blog(name)} to Blog
}

relationship ManyToMany {
  BlogEntry{tag(name)} to Tag{entry}
}

paginate BlogEntry, Tag with infinite-scroll
Then run jhipster import-jdl blog.jh in your project. The jdl-samples GitHub repository has many more examples.
Do More with JHipster
I’d like to thank Joe Grandja and Rob Winch from the Spring Security team. Without their help, JHipster’s migration to use Spring Security 5.1 would not have been possible. You guys rock!!
I did not create a GitHub repository for this post because all of the code was generated. You can find the source code for JHipster on GitHub.
If you’re interested in how I upgraded JHipster’s tests to Spring Security 5.1, see Upgrading Spring Security OAuth and JUnit Tests through the 👀 of a Java Hipster. If you’d like to learn about developing microservices with JHipster, see Java Microservices with Spring Cloud Config and JHipster.
Thanks JHipster and all its fabulous contributors. You all do a tremendous amount of work in your free time and it’s greatly appreciated.
Not quite ready to make the leap to JHipster 6 and Java 11+? I’ve written a few tutorials that use JHipster 5 and Java 8.
I also wrote a free mini-book on JHipster for InfoQ.
If you’d like to learn more about Spring Security 5.1 and its OIDC support, we’ve got some of those too:
Follow us on @oktadev to stay up-to-date with Java and the leading JavaScript frameworks.
Changelog:
- May 10, 2019: Updated to use JHipster 6.0 GA release and embed screencast. Changes to this post can be viewed in okta.github.io#2869.
Matt Raible is a well-known figure in the Java community and has been building web applications for most of his adult life. For over 20 years, he has helped developers learn and adopt open source frameworks and use them effectively. He's a web developer, Java Champion, and Developer Advocate at Okta. Matt has been a speaker at many conferences worldwide, including Devnexus, Devoxx Belgium, Devoxx France, Jfokus, and JavaOne. He is the author of The Angular Mini-Book, The JHipster Mini-Book, Spring Live, and contributed to Pro JSP. He is a frequent contributor to open source and a member of the JHipster development team. You can find him online @mraible and raibledesigns.com.
Okta Developer Blog Comment Policy
We welcome relevant and respectful comments. Off-topic comments may be removed.