Develop a Microservices Architecture with OAuth 2.0 and JHipster
Heads up... this blog post is old!
For an updated version of this blog post, see Java Microservices with Spring Cloud Config and JHipster.
JHipster is a development platform to generate, develop, and deploy Spring Boot + Angular web applications and Spring microservices. It supports using many types of authentication: JWT, session-based, and OAuth 2.0. In its 5.0 release, it added React as a UI option.

In addition to having two popular UI frameworks, JHipster also has modules that support generating mobile applications. If you like Ionic, which currently leverages Angular, you can use Ionic for JHipster. If you’re a React aficionado, you can use Ignite JHipster.
JHipster is 🔥, and so are microservices! Follow the instructions in this tutorial to create an API gateway, a blog microservice, and a companion store microservice.
Note: In May 2025, the Okta Integrator Free Plan replaced Okta Developer Edition Accounts, and the Okta CLI was deprecated.
We preserved this post for reference, but the instructions no longer work exactly as written. Replace the Okta CLI commands by manually configuring Okta following the instructions in our Developer Documentation.
Install JHipster
There are six different ways to install JHipster. The first way, JHipster Online, doesn’t even require you to install anything. It’ll generate the application and push it to a GitHub repository for you. While this works nicely, I like to have my example apps in a single repository for easier discoverability.
A local installation with Yarn or npm are other options, as is using a package manager (Homebrew on Mac, Chocalatey on Windows), using a Vagrant-based developer box, or using a Docker container. Since I’m on a Mac, I like to use Homebrew because it allows me to use JHipster with multiple Node versions without installing JHipster again. You can install JHipster on a Mac using the following command:
brew install jhipster
On Windows, it’s as simple as:
choco install jhipster
Or you can use the standard npm installation:
npm install -g generator-jhipster
Generate an API Gateway
One of the new features added in JHipster 5.3.x is the ability to generate a full microservices stack using the import-jdl command. Open a terminal window, create a directory (e.g., jhipster-microservices-example) and create an apps.jh file in it. Copy the JDL below into this file.
application {
  config {
    baseName gateway,
    packageName com.okta.developer.gateway,
    applicationType gateway,
    authenticationType oauth2,
    prodDatabaseType postgresql,
    searchEngine elasticsearch,
    serviceDiscoveryType eureka,
    testFrameworks [protractor]
  }
  entities Blog, Post, Tag, Product
}

application {
  config {
    baseName blog,
    packageName com.okta.developer.blog,
    applicationType microservice,
    authenticationType oauth2,
    prodDatabaseType postgresql,
    searchEngine elasticsearch,
    serverPort 8081,
    serviceDiscoveryType eureka
  }
  entities Blog, Post, Tag
}

application {
  config {
    baseName store,
    packageName com.okta.developer.store,
    applicationType microservice,
    authenticationType oauth2,
    databaseType mongodb,
    devDatabaseType mongodb,
    prodDatabaseType mongodb,
    enableHibernateCache false,
    searchEngine elasticsearch,
    serverPort 8082,
    serviceDiscoveryType eureka
  }
  entities Product
}

entity Blog {
  name String required minlength(3),
  handle String required minlength(2)
}

entity Post {
  title String required,
  content TextBlob required,
  date Instant required
}

entity Tag {
  name String required minlength(2)
}

entity Product {
  title String required,
  price BigDecimal required min(0),
  image ImageBlob
}

relationship ManyToOne {
  Blog{user(login)} to User,
  Post{blog(name)} to Blog
}

relationship ManyToMany {
  Post{tag(name)} to Tag{post}
}

paginate Post, Tag with infinite-scroll
paginate Product with pagination

microservice Product with store
microservice Blog, Post, Tag with blog
Run JHipster’s import-jdl command to import this microservices architecture definition.
jhipster import-jdl apps.jh
The project generation process will take a minute or two, depending on your internet connection speed and hardware.
While you’re waiting, you can get started with setting up OAuth with Okta.
What is OAuth 2.0?
The OAuth implementation in JHipster leverages Spring Boot and its OAuth 2.0 support (an @EnableOAuthSso annotation). If you’re not sure what OAuth and OpenID Connect (OIDC) are, please see What the Heck is OAuth?. It provides single sign-on (SSO) to JHipster applications. Secure a Spring Microservices Architecture with Spring Security and OAuth 2.0 shows a bare-bones Spring microservices architecture using OAuth. JHipster uses the same setup internally.
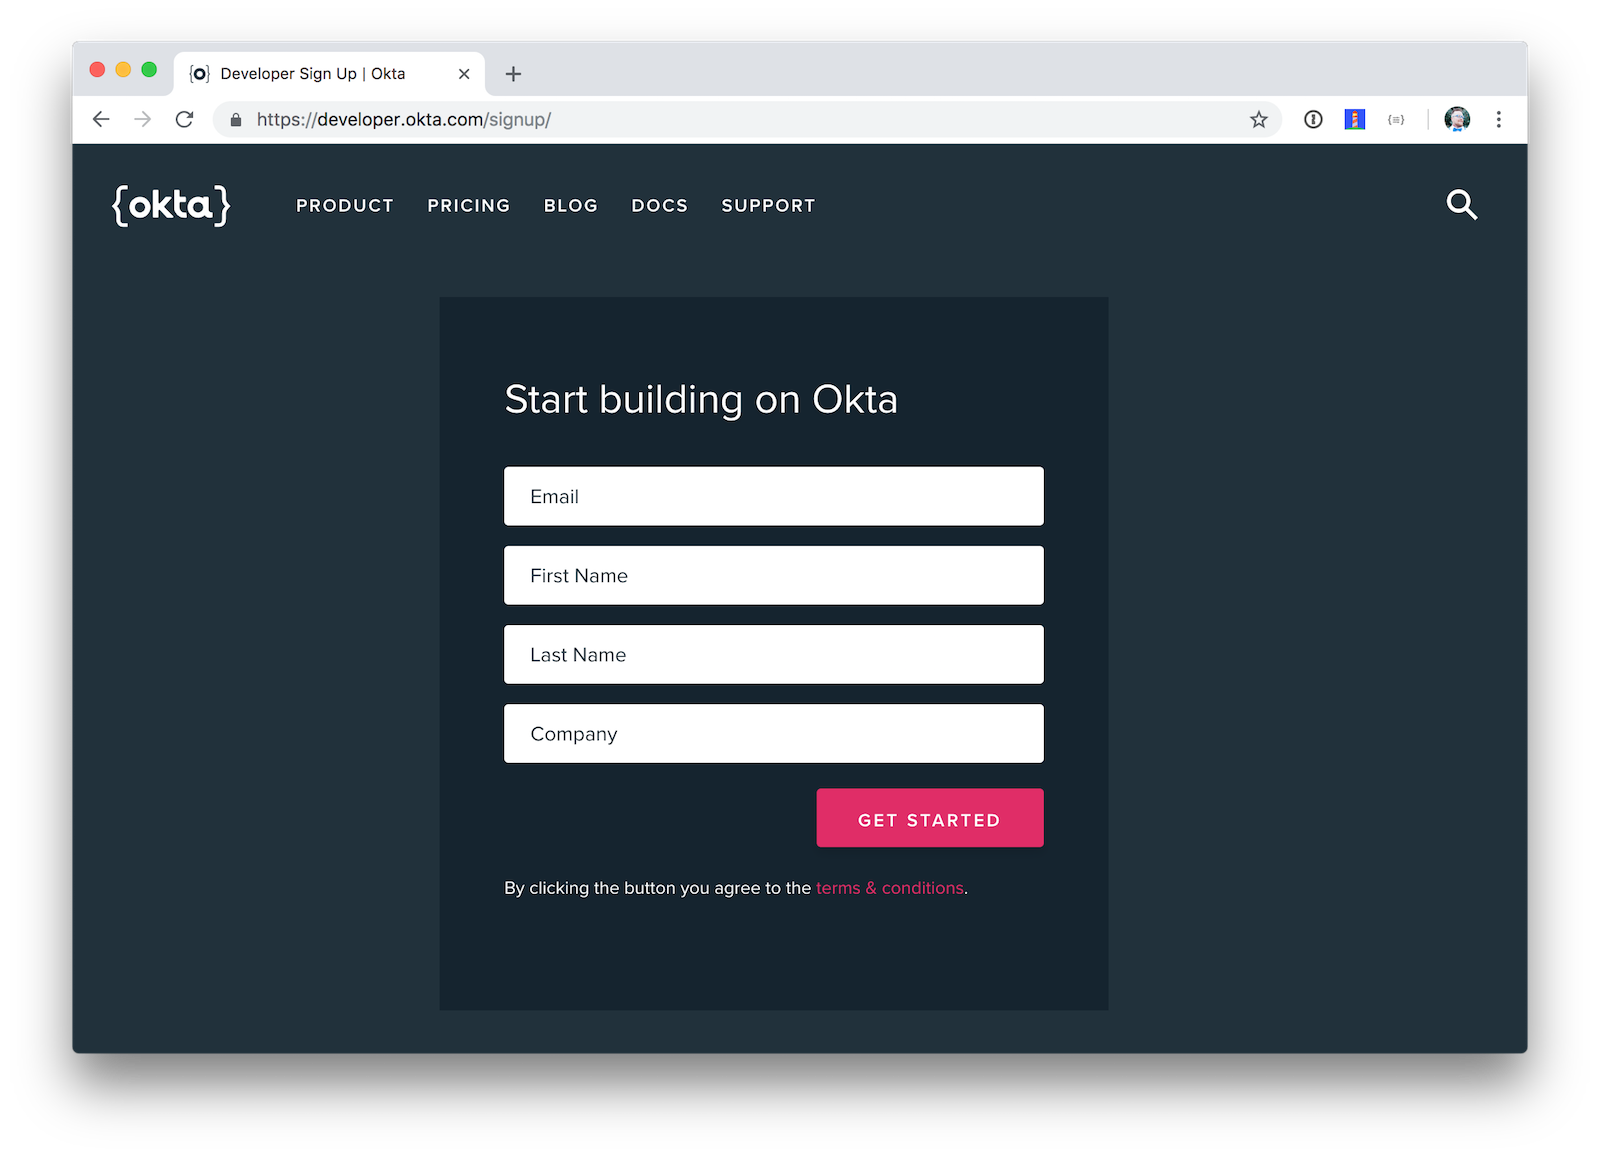
JHipster ships with Keycloak configured for OAuth by default. To configure your apps to work with Okta, you’ll first need to create a free developer account. After doing so, you’ll get your own Okta domain, which looks like https://{yourOktaDomain}.
Create an OpenID Connect Application on Okta
Create an OpenID Connect (OIDC) app in Okta to get a client ID and secret. This basically means you’re “registering” your application with Okta. Log in to your Okta Developer account and navigate to Applications > Add Application. Click Web and click the Next . Give the app a name you’ll remember (e.g., JHipster Microservices), and specify http://localhost:8080 as a Base URI and http://localhost:8080/login as a Login Redirect URI. Click Done and make a note of your client ID and client secret values.
For the roles coming from Okta to match the default roles in JHipster, you’ll need to create them. Create a ROLE_ADMIN and ROLE_USER group (Users > Groups > Add Group) and add users to them. You can use the account you signed up with, or create a new user (Users > Add Person). Navigate to API > Authorization Servers, click the Authorization Servers tab and edit the default one. Click the Claims tab and Add Claim. Name it roles, and include it in the ID Token. Set the value type to Groups and set the filter to be a Regex of .*.
Modify gateway/src/main/resources/config/application.yml to have the following values:
security:
    oauth2:
        client:
            access-token-uri: https://{yourOktaDomain}/oauth2/default/v1/token
            user-authorization-uri: https://{yourOktaDomain}/oauth2/default/v1/authorize
            client-id: {clientId}
            client-secret: {clientSecret}
            scope: openid profile email
        resource:
            user-info-uri: https://{yourOktaDomain}/oauth2/default/v1/userinfo
You can also use environment variables to override the default values. Using this technique is recommend because 1) you don’t need to modify the values in each microservice application and 2) it prevents you from leaking your client secret in a source code repository. Create ~/.okta.env and copy the export commands below into it. With that file in place, you can run source ~/.okta.env to override the default Spring Security settings.
export SECURITY_OAUTH2_CLIENT_ACCESS_TOKEN_URI="https://{yourOktaDomain}/oauth2/default/v1/token"
export SECURITY_OAUTH2_CLIENT_USER_AUTHORIZATION_URI="https://{yourOktaDomain}/oauth2/default/v1/authorize"
export SECURITY_OAUTH2_RESOURCE_USER_INFO_URI="https://{yourOktaDomain}/oauth2/default/v1/userinfo"
export SECURITY_OAUTH2_CLIENT_CLIENT_ID="{clientId}"
export SECURITY_OAUTH2_CLIENT_CLIENT_SECRET="{clientSecret}"
If you want to make Okta settings the default, you can add source ~/.okta.env to ~/.bashrc (or ~/.zshrc).
If you’re hard-coding your Okta settings in application.yml, make sure you update your settings in the blog and store apps too. If you’re using environment variable, you don’t need to make any changes.
TIP: If you’re using Protractor and want to run your tests against Okta, you’ll need to add a user to the ROLE_ADMIN group on Okta and change the credentials to match that user in src/test/javascript/e2e/account/account.spec.ts and src/test/javascript/e2e/admin/administration.spec.ts.
Start JHipster Registry and MongoDB
You’ll need a service discovery server installed before you can start the gateway. You’ll also need MongoDB for your store microservices. The blog application depends on Elasticsearch and PostgreSQL, but only when running in production mode. Luckily, JHipster creates Docker Compose files for all of the services your apps depend on. You can run the following commands from your project’s root directory to start Docker containers for JHipster Registry and and MongoDB.
docker-compose -f gateway/src/main/docker/jhipster-registry.yml up -d
docker-compose -f store/src/main/docker/mongodb.yml up -d
The aforementioned command will start the JHipster Registry with Keycloak for authentication. To use Okta, you’ll need to modify gateway/src/main/docker/jhipster-registry.yml and change the default Keycloak settings to use your Okta settings, or environment variables (recommended).
- SECURITY_OAUTH2_CLIENT_ACCESS_TOKEN_URI=${SECURITY_OAUTH2_CLIENT_ACCESS_TOKEN_URI}
- SECURITY_OAUTH2_CLIENT_USER_AUTHORIZATION_URI=${SECURITY_OAUTH2_CLIENT_USER_AUTHORIZATION_URI}
- SECURITY_OAUTH2_CLIENT_CLIENT_ID=${SECURITY_OAUTH2_CLIENT_CLIENT_ID}
- SECURITY_OAUTH2_CLIENT_CLIENT_SECRET=${SECURITY_OAUTH2_CLIENT_CLIENT_SECRET}
- SECURITY_OAUTH2_RESOURCE_USER_INFO_URI=${SECURITY_OAUTH2_RESOURCE_USER_INFO_URI}
TIP: You can also put these variables in a file and specify an env_file setting. See Environment variables in Compose to learn more.
Then you’ll need to stop your JHipster Registry (if it’s already running), and start it again.
docker-compose -f gateway/src/main/docker/jhipster-registry.yml down
docker-compose -f gateway/src/main/docker/jhipster-registry.yml up -d
To login, you’ll need to add http://localhost:8761/login as a Login redirect URI in your Okta app.
Run Your Microservices Architecture
Open three terminal windows and navigate to each app (gateway, blog, and store). In each window, run Maven to start each app:
./mvnw
TIP: If you already have Maven installed, you can just use mvn.
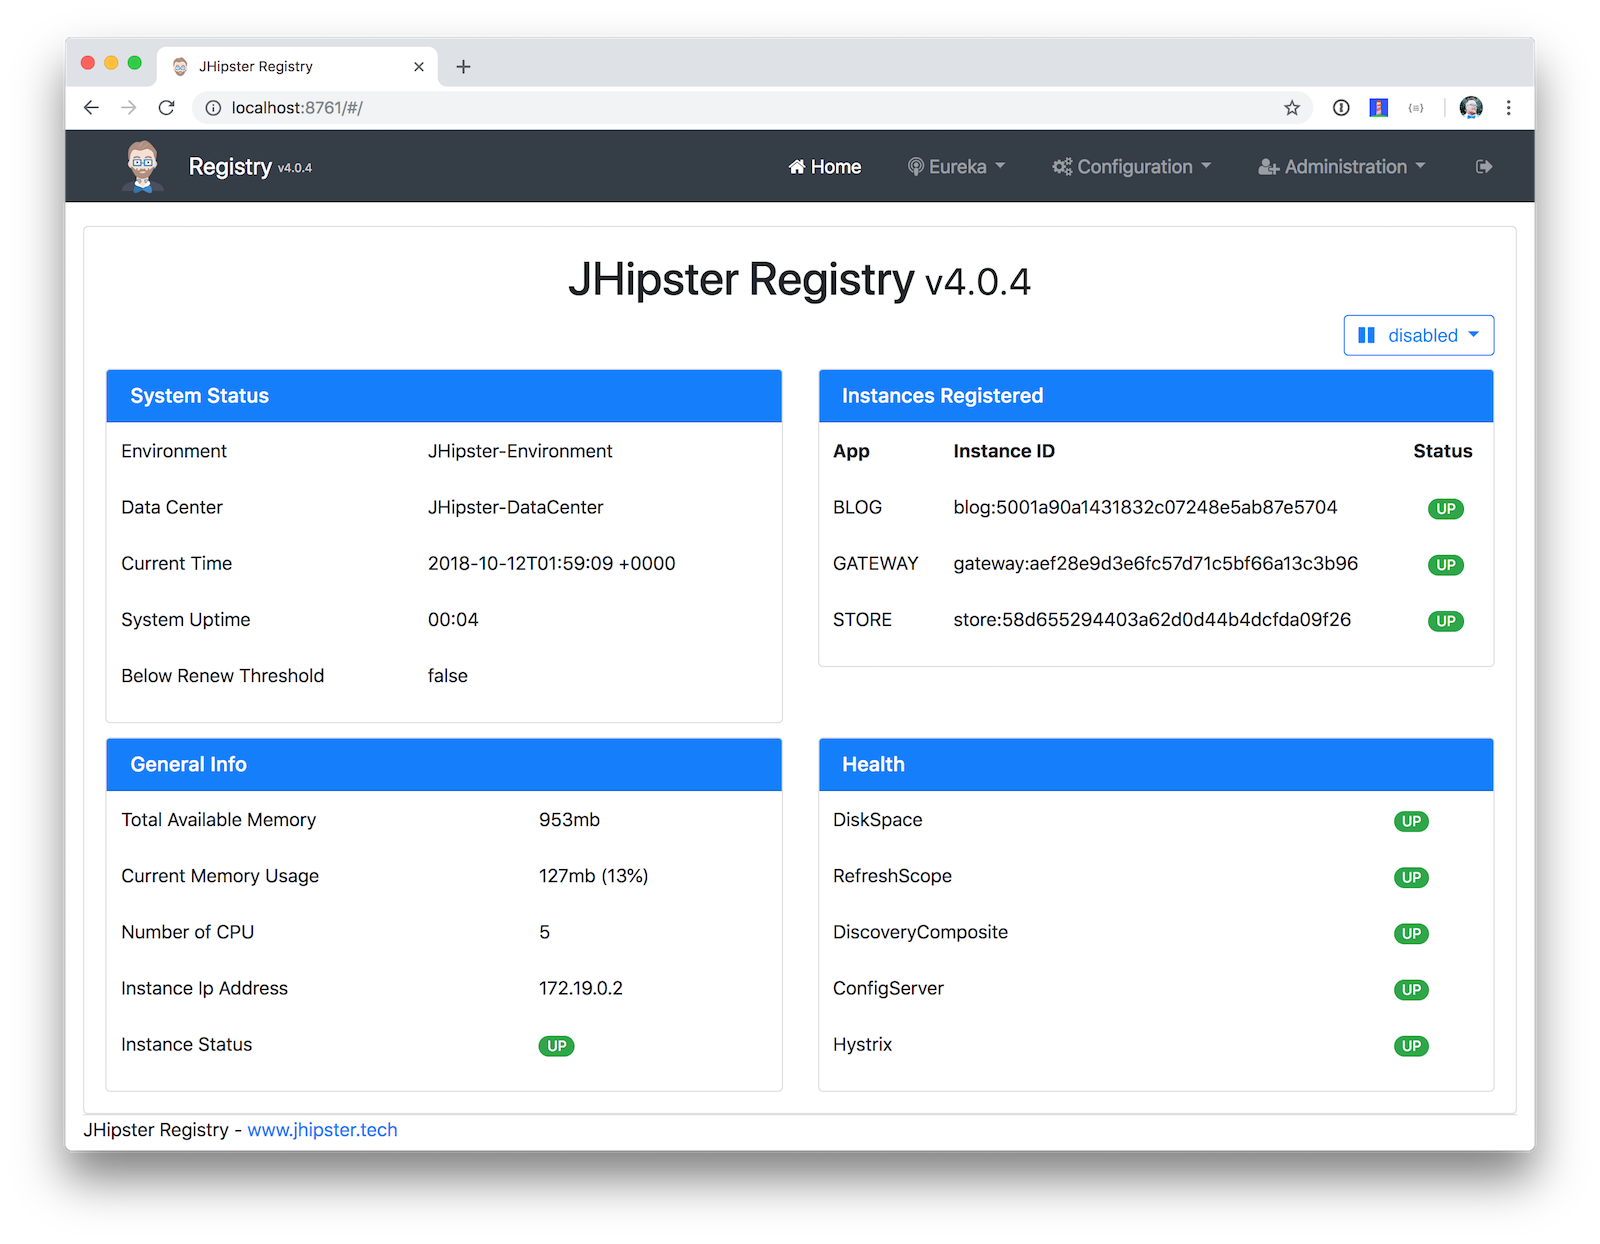
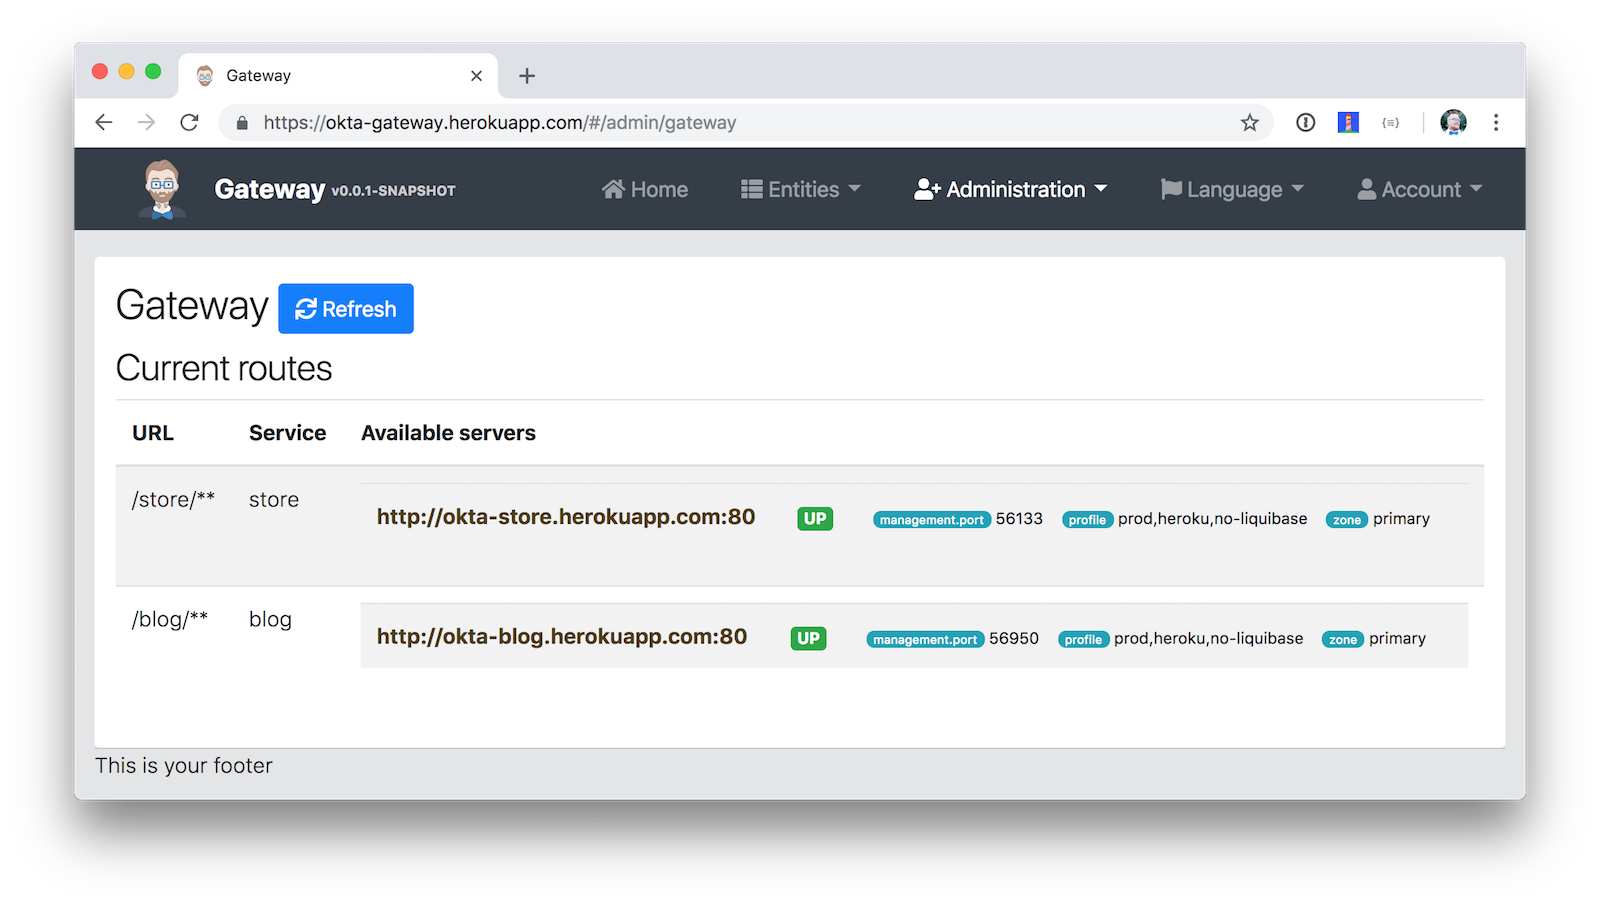
Open your browser and go to http://localhost:8761. Log in, and you should see a welcome page that shows that the gateway, and both apps have been registered.
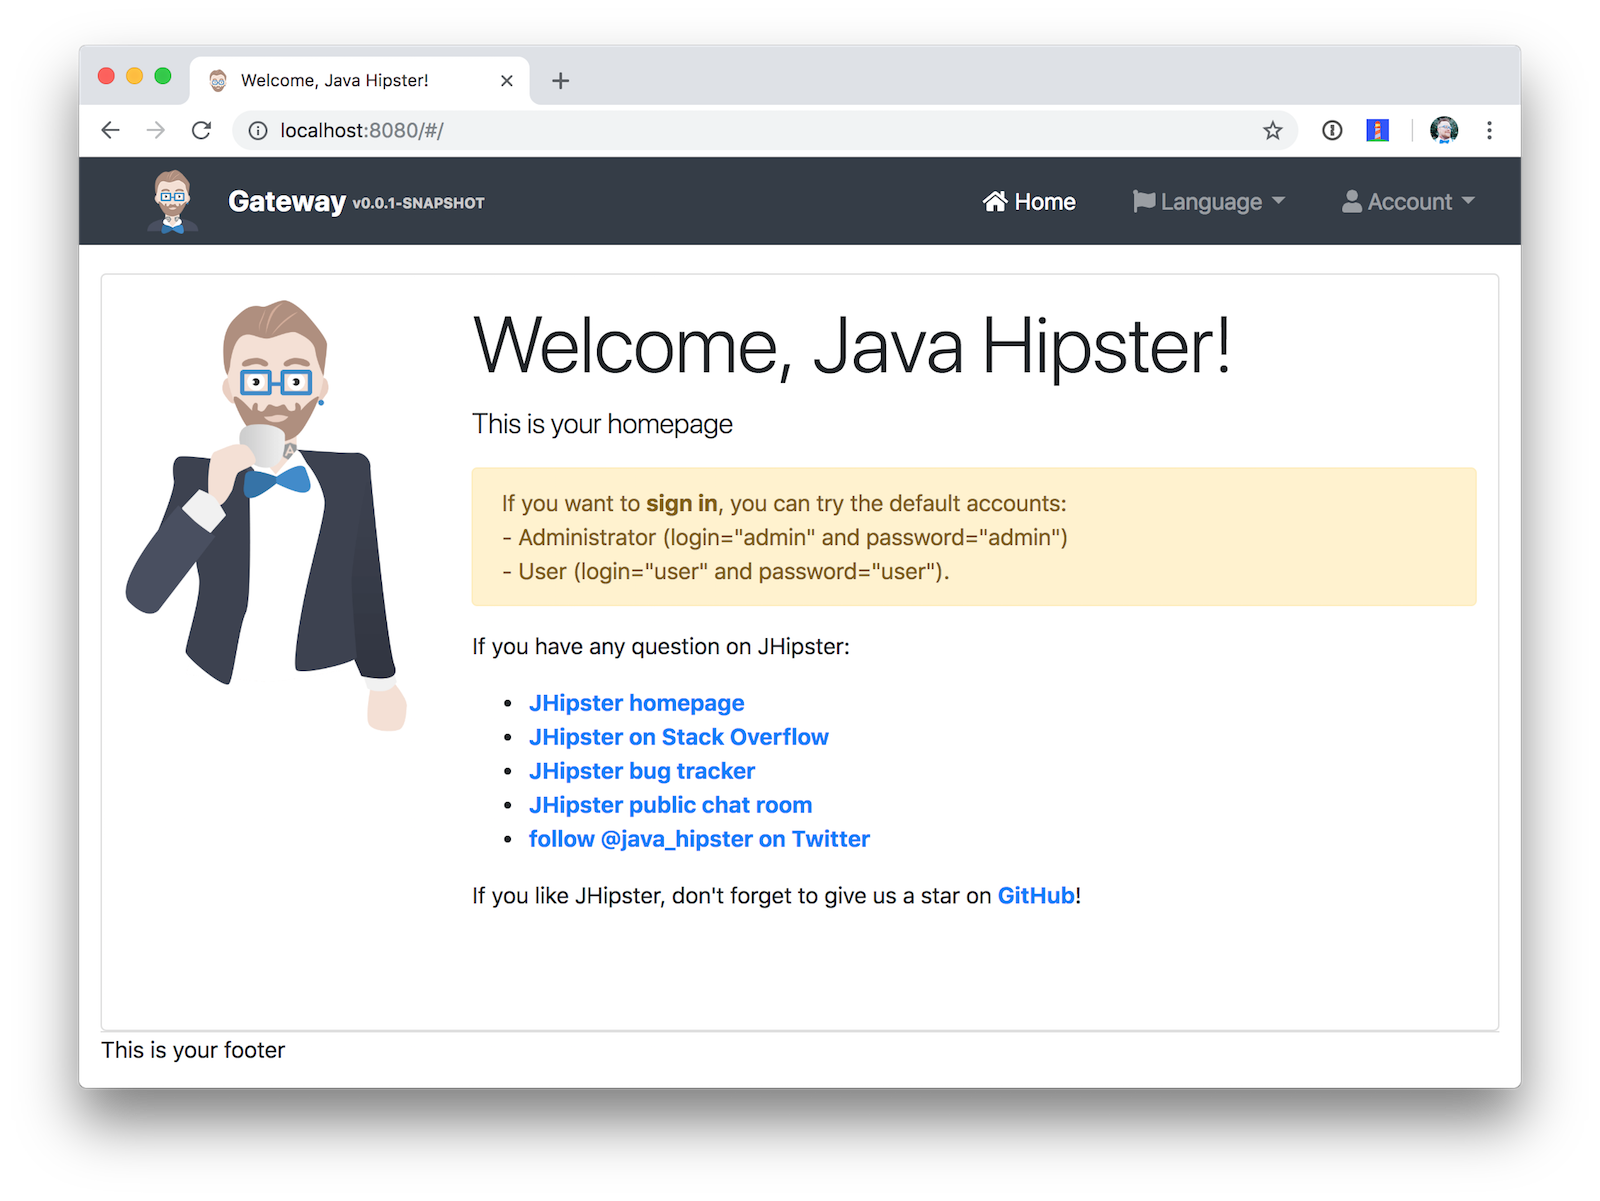
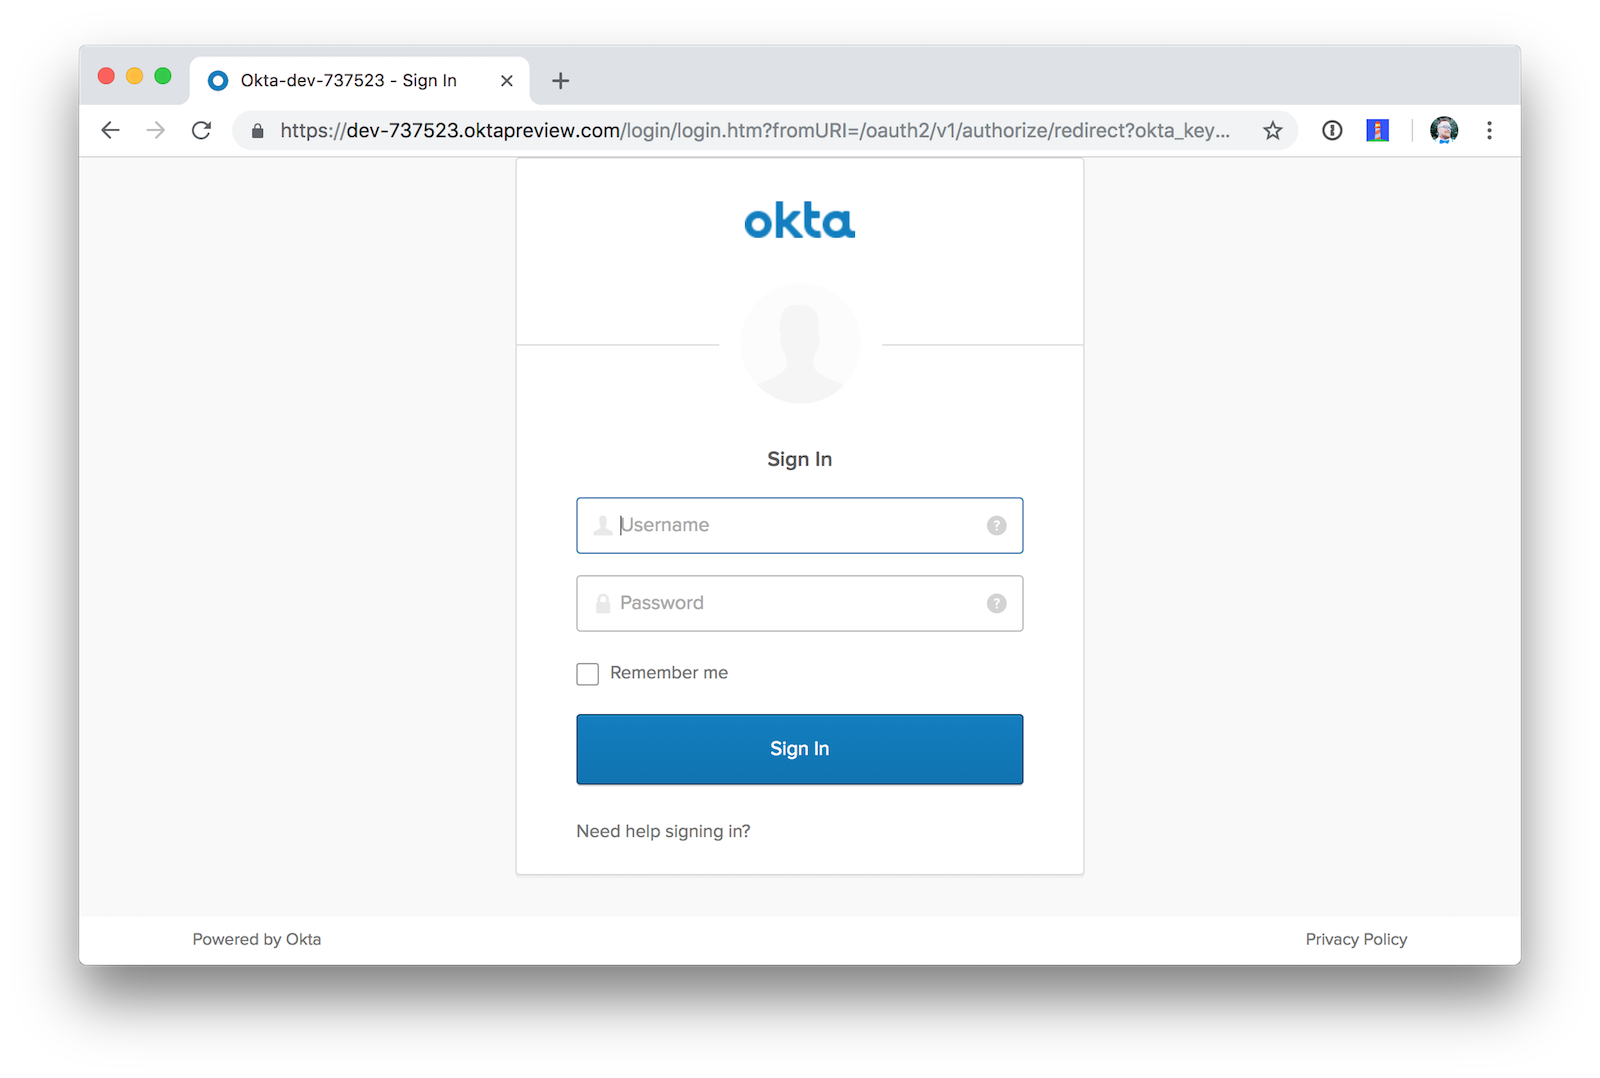
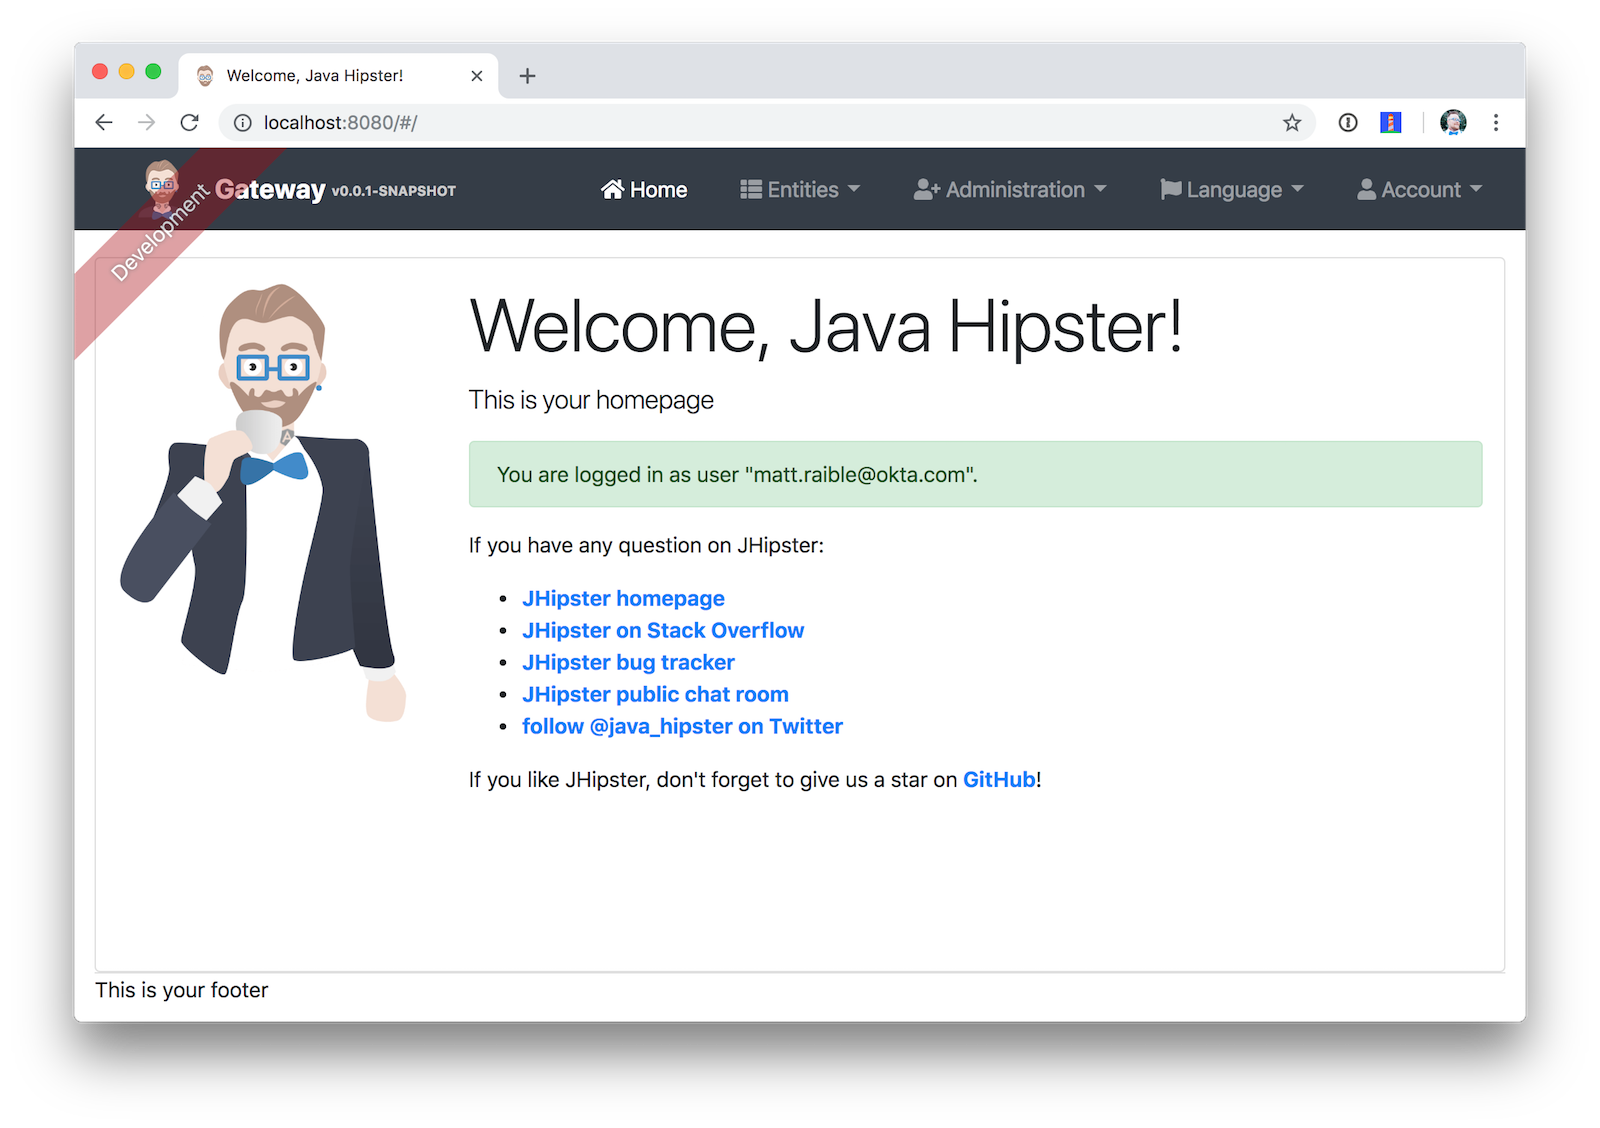
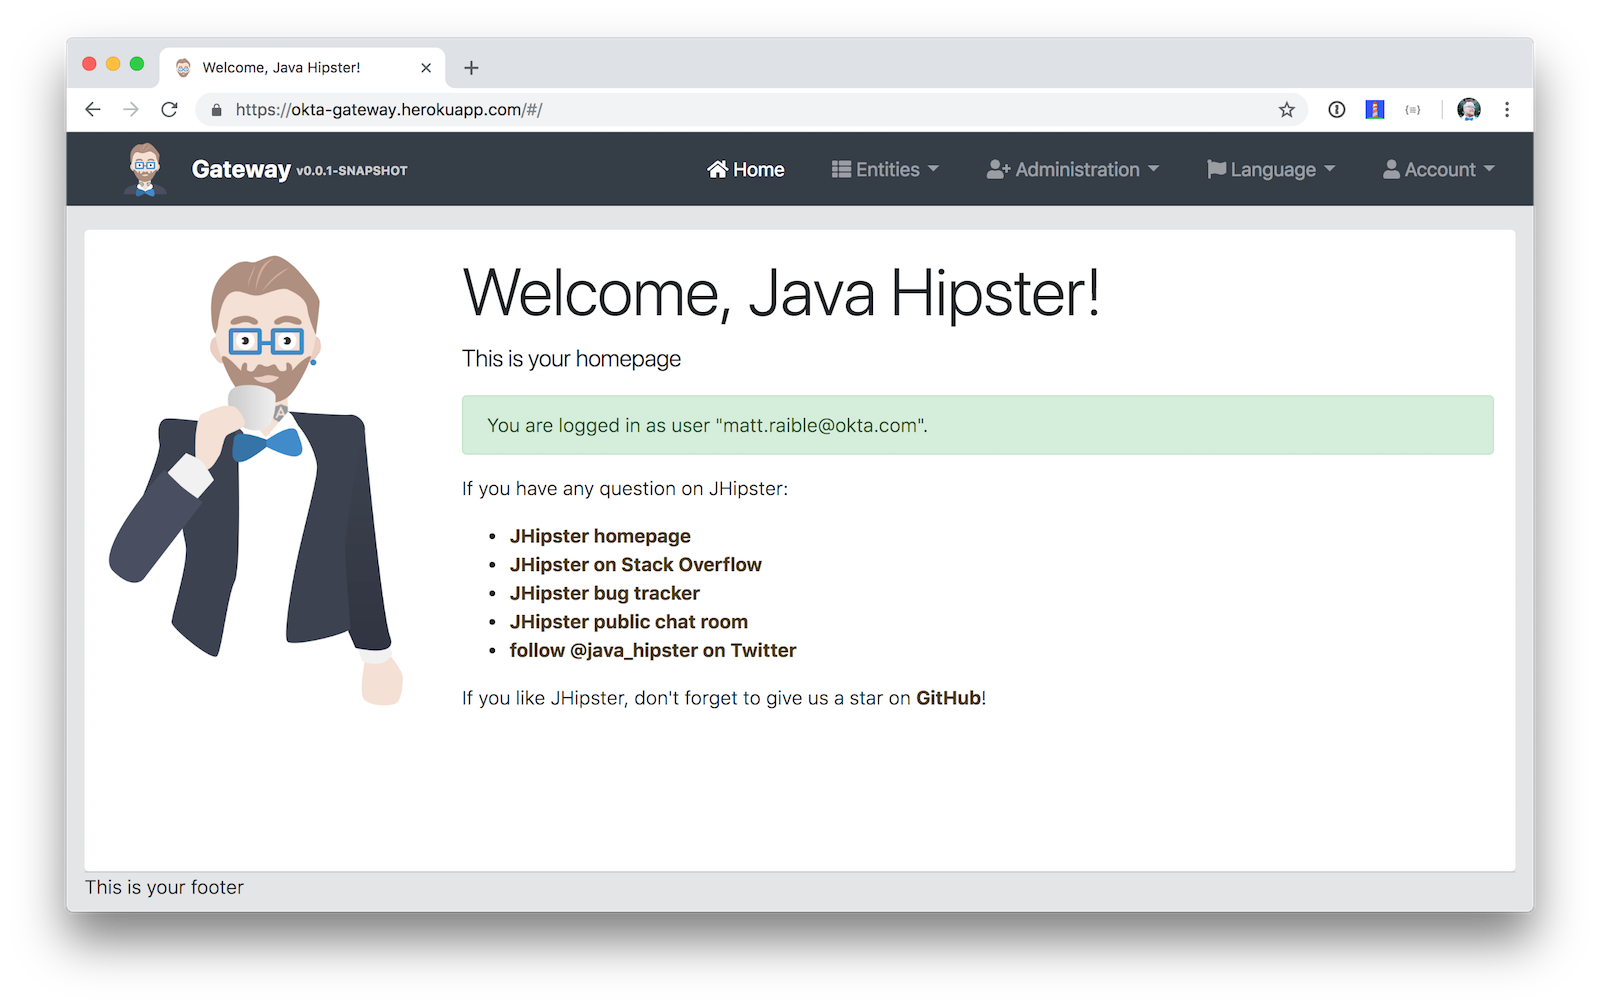
Once everything finishes starting, open a browser to http://localhost:8080 and click sign in. You should be redirected to your Okta org to sign-in, then back to the gateway once you’ve entered valid credentials.
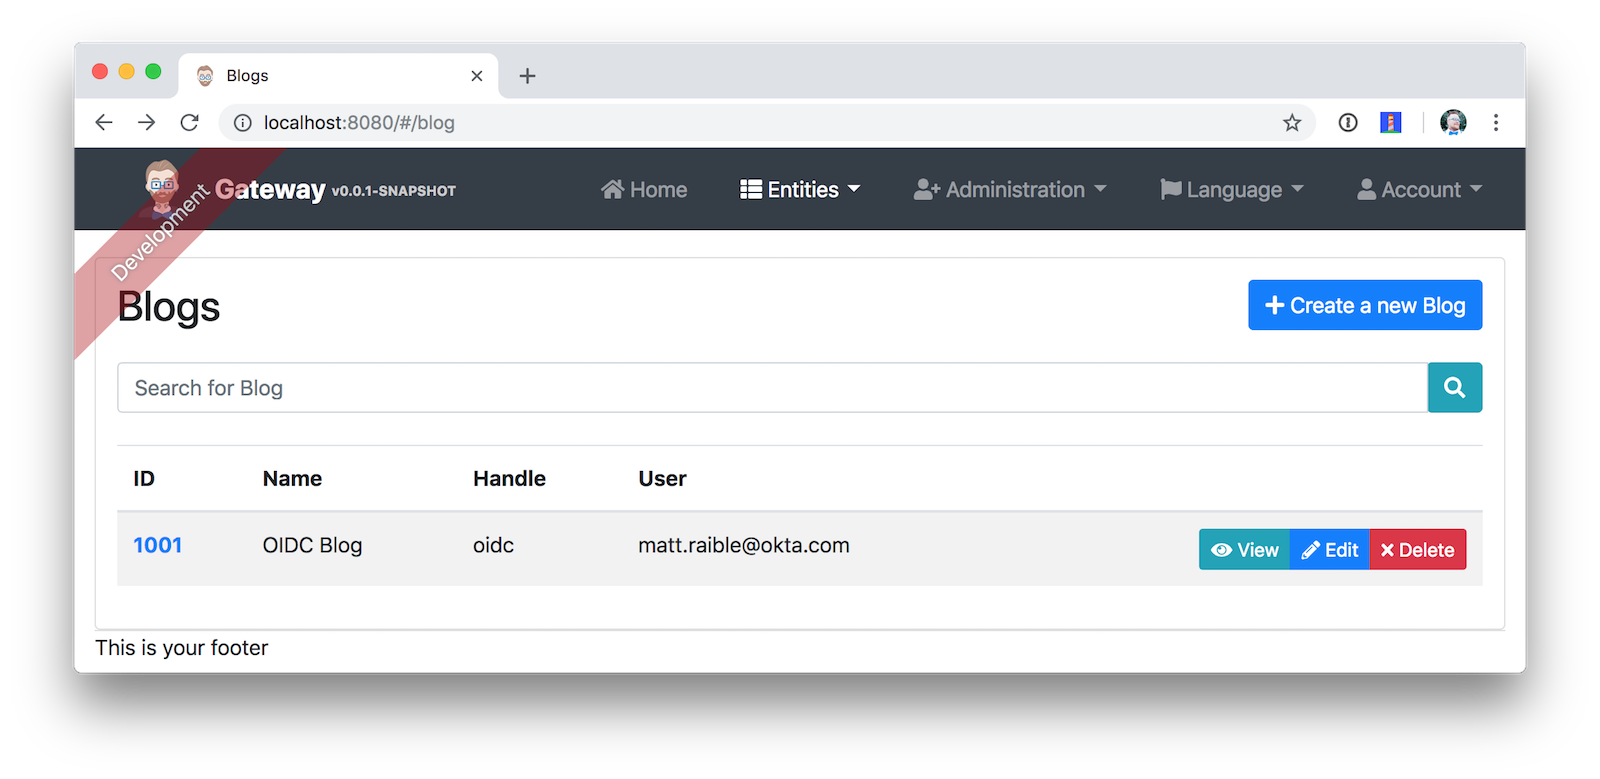
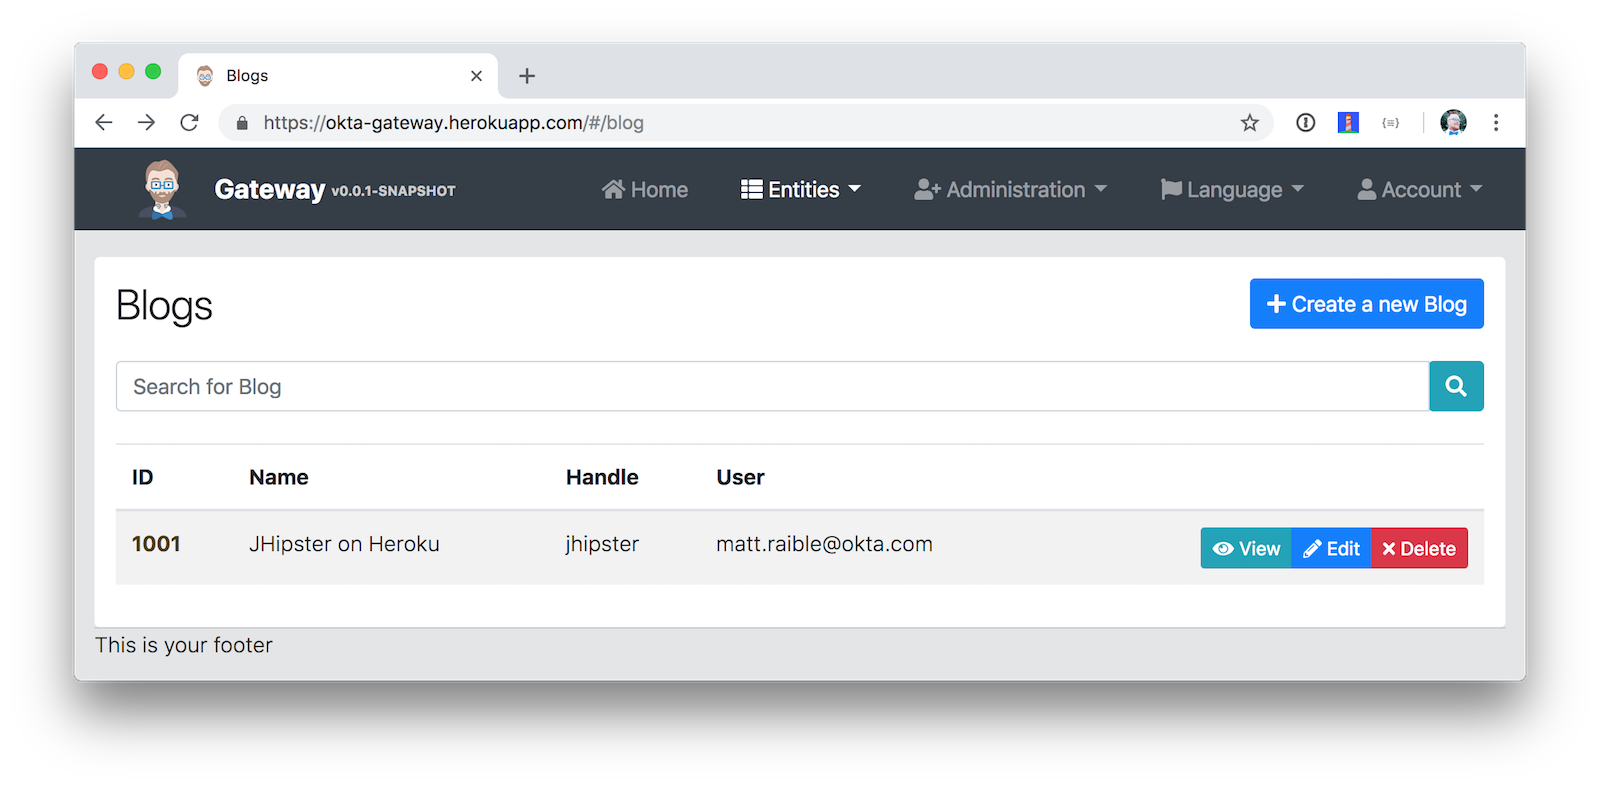
You should be able to navigate to Entities > Blog and add a new blog record to your blog microservice.
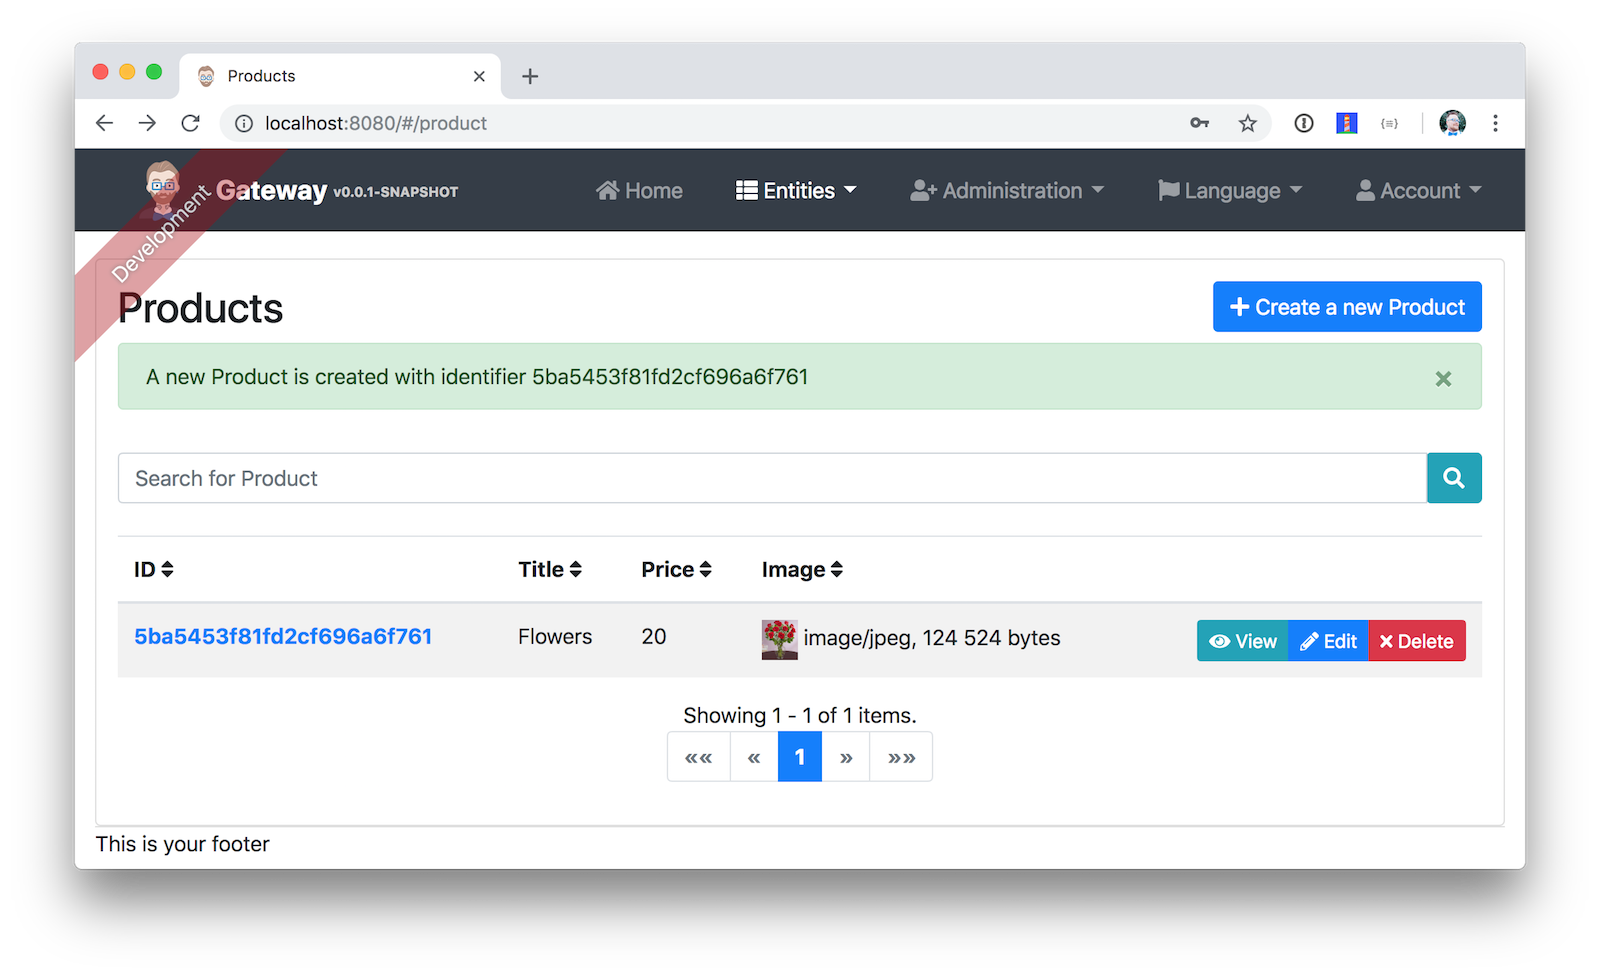
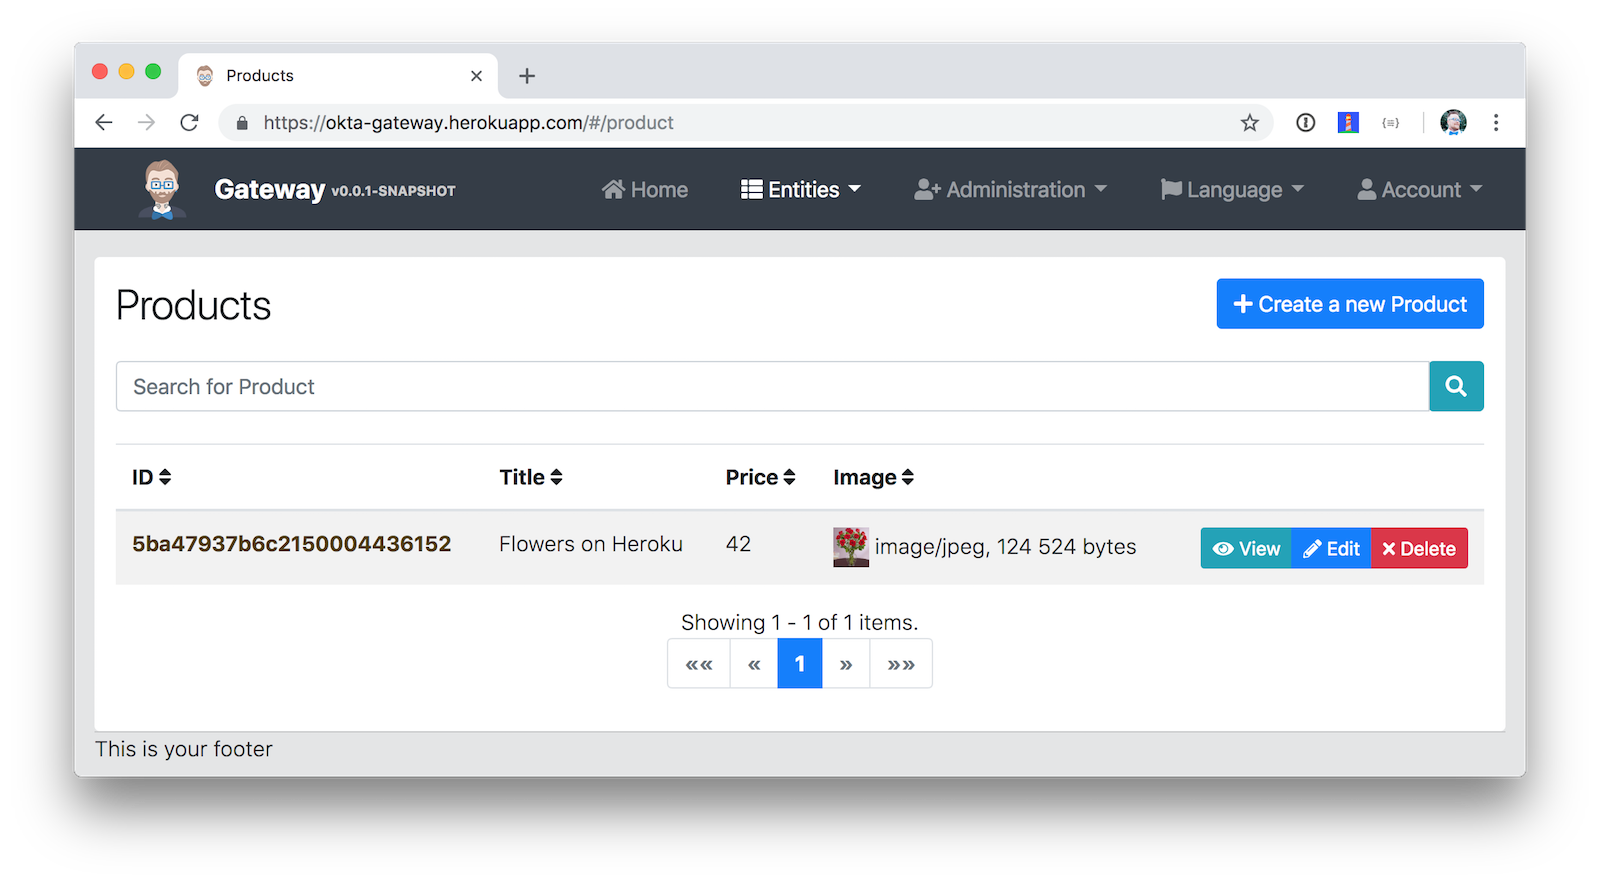
Navigate to Entities > Product to prove your product microservice is working. Since you added an image as a property, you’ll be prompted to upload one when creating a new record.
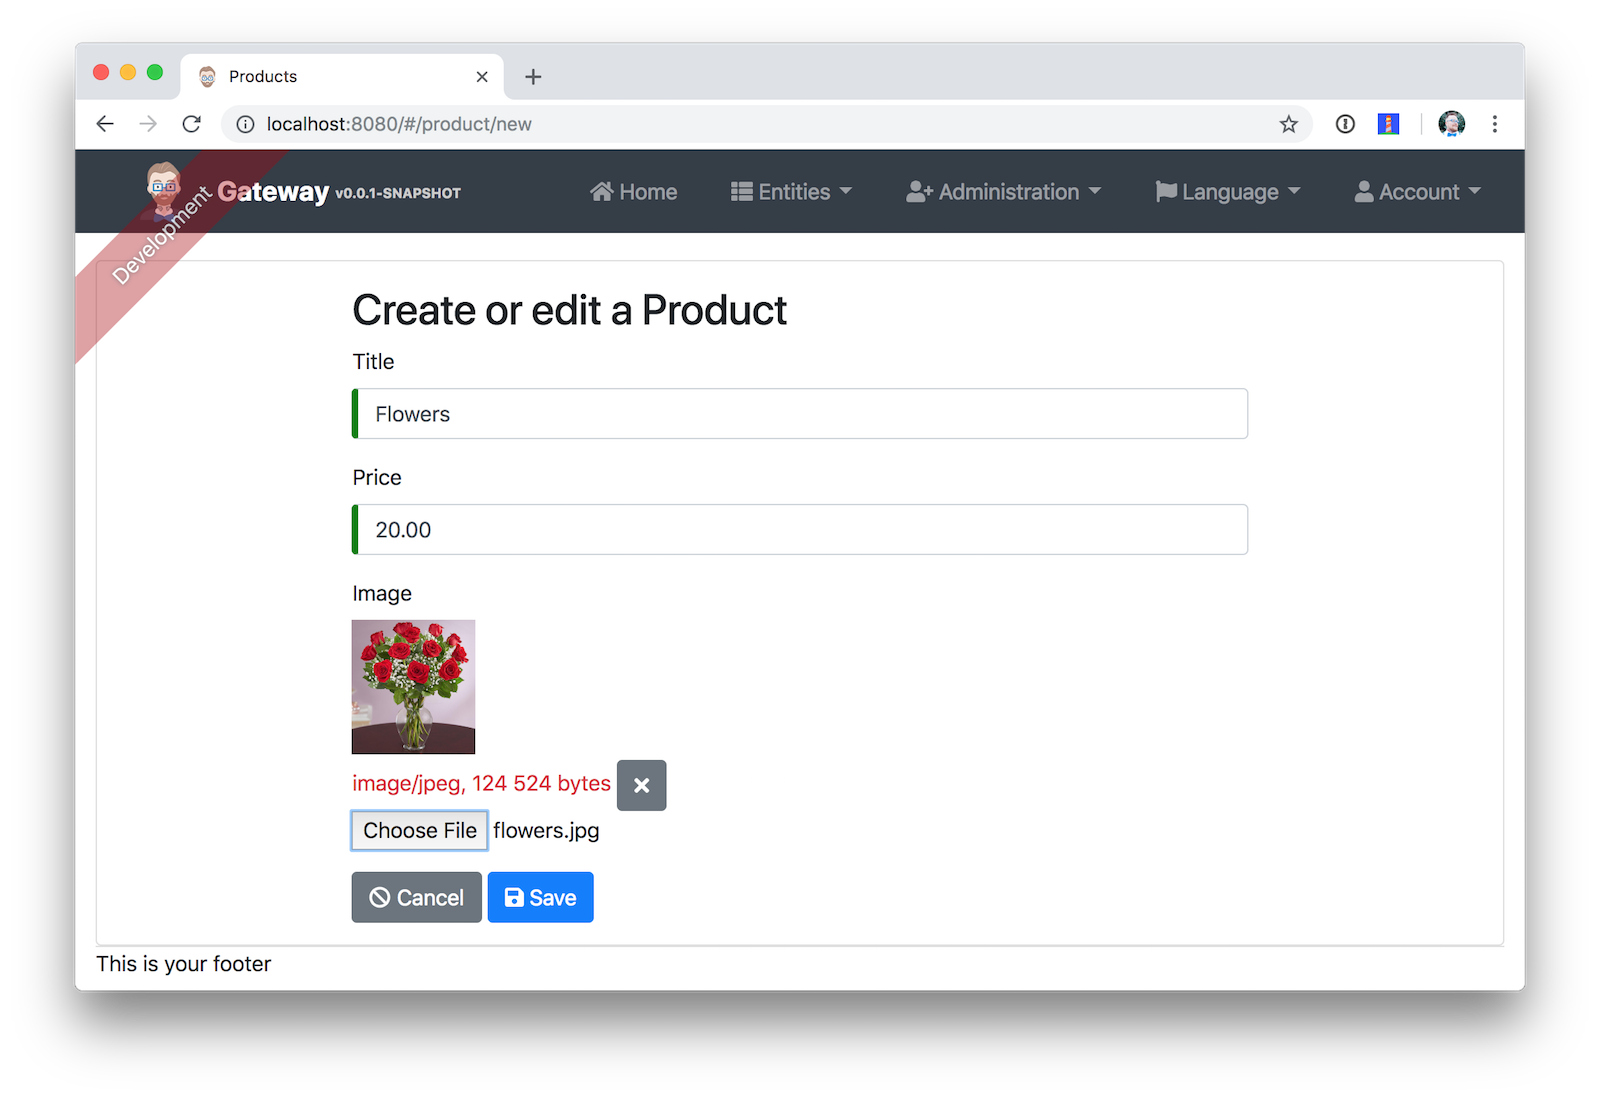
Click Save and you’ll know it’s correctly using MongoDB based on the generated ID.
Use Docker Compose to Run Everything
Rather than starting all your services individually, you can also start them all using Docker Compose.
If you’d like to learn more about Docker Compose, see A Developer’s Guide To Docker - Docker Compose.
Create a docker-compose directory in the parent directory of your applications and run JHipster’s Docker Compose sub-generator.
mkdir docker-compose
cd docker-compose
jhipster docker-compose
Answer as follows when prompted:
| Question | Answer |
|---|---|
| Type of application? | Microservice application |
| Type of gateway? | JHipster gateway |
| Directory location? | ../ |
| Applications to include? | <select all> |
| Applications with clustered databases? | <blank> |
| Setup monitoring? | Yes, with JHipster Console |
| Additional technologies? | Zipkin |
| Admin password | <choose your own> |
You’ll get a warning saying you need to generate Docker images by running the following command in the blog, gateway, and store directories. Stop all your running processes and build your Docker images before proceeding.
./mvnw package -Pprod jib:dockerBuild
While you’re waiting for things to build, edit docker-compose/docker-compose.yml and change the Spring Security settings from being hard-coded to being environment variables. Make this change for all applications.
services:
    blog-app:
        image: blog
        environment:
            - SECURITY_OAUTH2_CLIENT_CLIENT_ID=${SECURITY_OAUTH2_CLIENT_CLIENT_ID}
            - SECURITY_OAUTH2_CLIENT_CLIENT_SECRET=${SECURITY_OAUTH2_CLIENT_CLIENT_SECRET}
            - SECURITY_OAUTH2_RESOURCE_USER_INFO_URI=${SECURITY_OAUTH2_RESOURCE_USER_INFO_URI}
    ...
    gateway-app:
        image: gateway
        environment:
            - SECURITY_OAUTH2_CLIENT_ACCESS_TOKEN_URI=${SECURITY_OAUTH2_CLIENT_ACCESS_TOKEN_URI}
            - SECURITY_OAUTH2_CLIENT_USER_AUTHORIZATION_URI=${SECURITY_OAUTH2_CLIENT_USER_AUTHORIZATION_URI}
            - SECURITY_OAUTH2_CLIENT_CLIENT_ID=${SECURITY_OAUTH2_CLIENT_CLIENT_ID}
            - SECURITY_OAUTH2_CLIENT_CLIENT_SECRET=${SECURITY_OAUTH2_CLIENT_CLIENT_SECRET}
            - SECURITY_OAUTH2_CLIENT_SCOPE=openid profile email
            - SECURITY_OAUTH2_RESOURCE_USER_INFO_URI=${SECURITY_OAUTH2_RESOURCE_USER_INFO_URI}
    ....
    store-app:
        image: store
        environment:
            - SECURITY_OAUTH2_CLIENT_CLIENT_ID=${SECURITY_OAUTH2_CLIENT_CLIENT_ID}
            - SECURITY_OAUTH2_CLIENT_CLIENT_SECRET=${SECURITY_OAUTH2_CLIENT_CLIENT_SECRET}
            - SECURITY_OAUTH2_RESOURCE_USER_INFO_URI=${SECURITY_OAUTH2_RESOURCE_USER_INFO_URI}
You can remove Keycloak from docker-compose/docker-compose.yml since it won’t be used with this configuration.
keycloak:
    extends:
        file: keycloak.yml
        service: keycloak
You’ll need to edit docker-compose/jhipster-registry.yml as well.
services:
    jhipster-registry:
        ...
        environment:
            - SECURITY_OAUTH2_CLIENT_ACCESS_TOKEN_URI=${SECURITY_OAUTH2_CLIENT_ACCESS_TOKEN_URI}
            - SECURITY_OAUTH2_CLIENT_USER_AUTHORIZATION_URI=${SECURITY_OAUTH2_CLIENT_USER_AUTHORIZATION_URI}
            - SECURITY_OAUTH2_CLIENT_CLIENT_ID=${SECURITY_OAUTH2_CLIENT_CLIENT_ID}
            - SECURITY_OAUTH2_CLIENT_CLIENT_SECRET=${SECURITY_OAUTH2_CLIENT_CLIENT_SECRET}
            - SECURITY_OAUTH2_RESOURCE_USER_INFO_URI=${SECURITY_OAUTH2_RESOURCE_USER_INFO_URI}
TIP: You can run docker-compose config to verify the environment variables are correctly substituted.
When everything has finished building, run docker-compose up -d from the docker-compose directory. It can take a while to start all 14 containers, so now might be a good time to take a break, or go on a run. You can use Docker’s Kitematic to watch the status of your images as they start.
TIP: Before you start everything, make sure you’ve provided adequate CPUs and memory to Docker. It defaults to one CPU and 2 GB of memory. Not quite enough for 14 containers!
After you’ve verified everything works, you can stop all your Docker containers using the following command:
docker stop $(docker ps -a -q)
If you’d like to remove the images too, you can run:
docker rm $(docker ps -a -q)
Deploy to Heroku
The founder of JHipster, Julien Dubois, wrote a blog post on the Heroku blog titled Bootstrapping Your Microservices Architecture with JHipster and Spring. Here’s an abbreviated set of steps to deploy all your apps to Heroku.
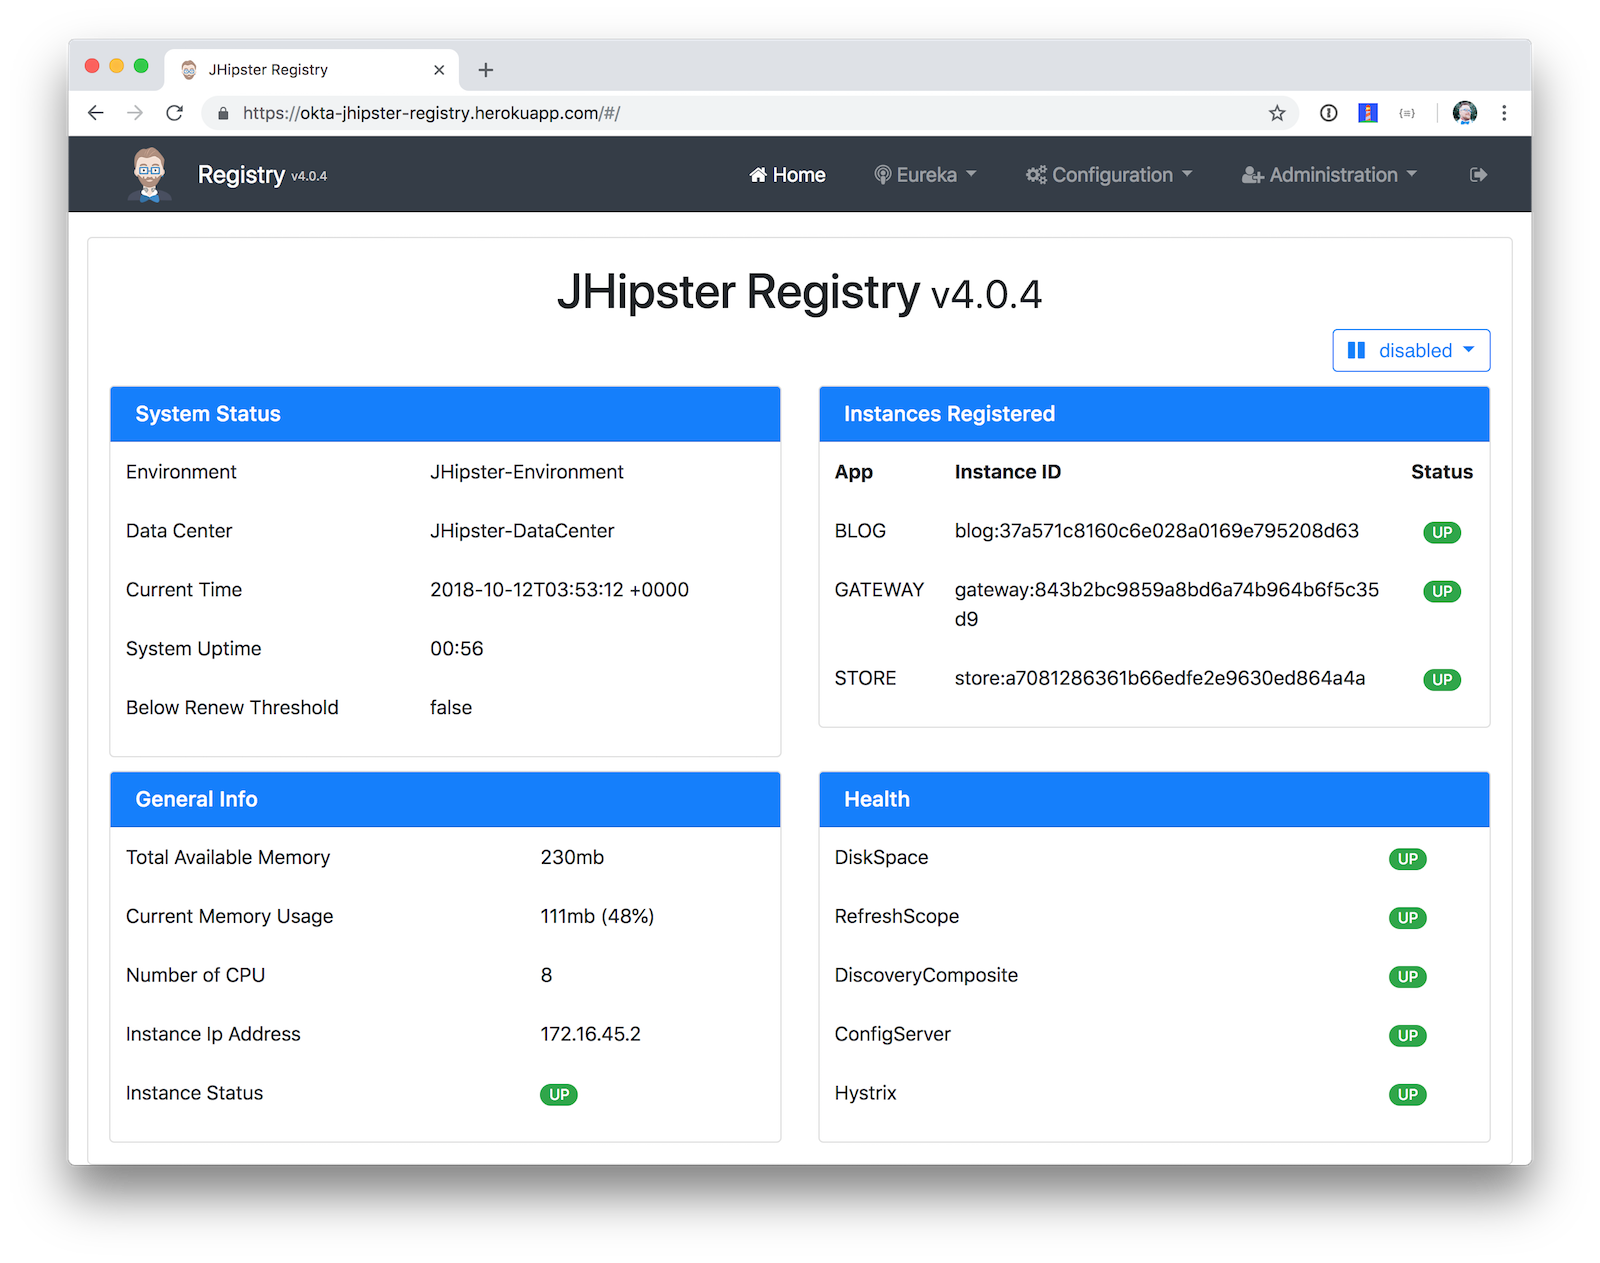
Deploy the JHipster Registry
Heroku and JHipster have configured a JHipster Registry for you, so you just need to click on the button below to start your own JHipster Registry:

Enter an app name (I used okta-jhipster-registry), add a JHIPSTER_PASSWORD, and click Deploy app.
Deploy Your Gateway and Apps to Heroku
In each project, run jhipster heroku and answer the questions as follows:
| Question | Answer |
|---|---|
| Name to deploy as? | <unique-prefix>-<app-name> (e.g., okta-gateway, okta-blog, etc.) |
| Which region? | us |
| Type of deployment? | Git |
| Name of Registry app? | <unique-prefix>-jhipster-registry |
| JHipster Registry username | admin |
| JHipster Registry password | <JHIPSTER_PASSWORD from Registry> |
When prompted to overwrite files, type a.
After each app has finished deploying, you’ll want to run the following so they use Okta for authentication.
heroku config:set \
  SECURITY_OAUTH2_CLIENT_ACCESS_TOKEN_URI="$SECURITY_OAUTH2_CLIENT_ACCESS_TOKEN_URI" \
  SECURITY_OAUTH2_CLIENT_USER_AUTHORIZATION_URI="$SECURITY_OAUTH2_CLIENT_USER_AUTHORIZATION_URI" \
  SECURITY_OAUTH2_RESOURCE_USER_INFO_URI="$SECURITY_OAUTH2_RESOURCE_USER_INFO_URI" \
  SECURITY_OAUTH2_CLIENT_CLIENT_ID="$SECURITY_OAUTH2_CLIENT_CLIENT_ID" \
  SECURITY_OAUTH2_CLIENT_CLIENT_SECRET="$SECURITY_OAUTH2_CLIENT_CLIENT_SECRET"
Then update your Okta app to have a Login redirect URI that matches your Heroku app (e.g., https://okta-gateway.herokuapp.com/). To do this, log in to your Okta account, go to Applications > JHipster Microservices > General > Edit.
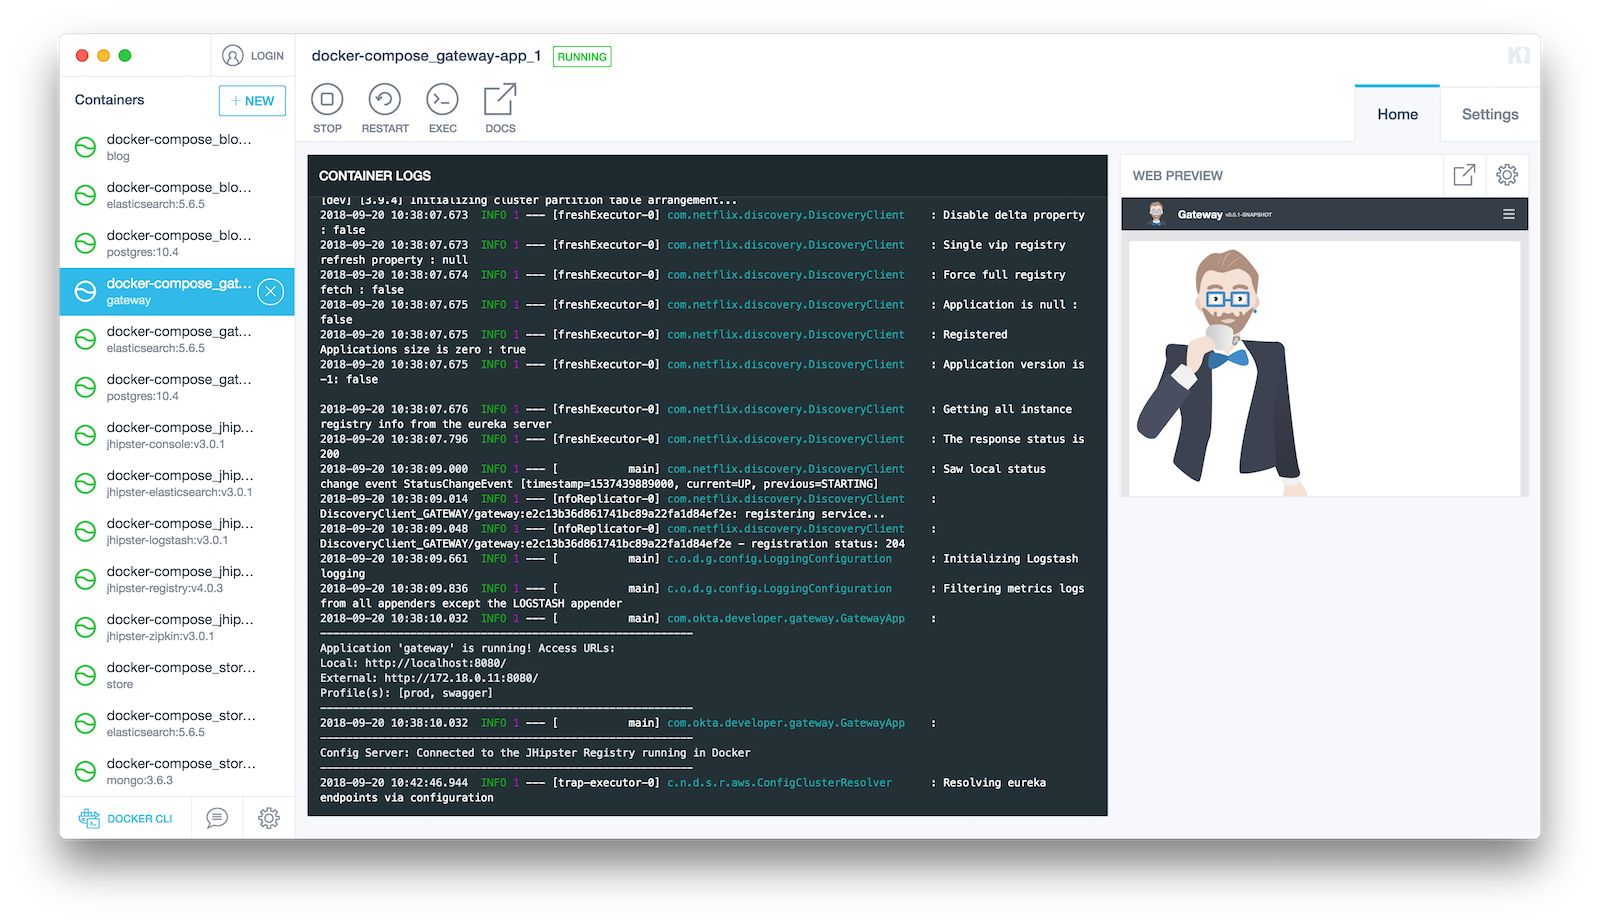
To see if your apps have started correctly, you can run heroku logs --tail in each app’s directory. You may see a timeout error, but your app should succeed in starting on its next attempt.
If it crashes and doesn’t start, trying running heroku restart. If that doesn’t solve the problem, go to https://help.heroku.com and click Create a ticket at the top. Click Running Applications > Java, scroll to the bottom, and click Create a ticket. Enter something like the following for the subject and description, select one of your apps, then submit it.
Subject: JHipster App Startup Timeout

Description: Hello, I have a JHipster (Spring Boot) app that has the following error on startup:

Error R10 (Boot timeout) -> Web process failed to bind to $PORT within 90 seconds of launch

The URLs is:

* https://<your-app>.herokuapp.com/

Can you please increase the timeout on this app?

Thanks!
Below are screenshots to prove everything worked after I deployed to Heroku. 😊
You can find the source code for this example at https://github.com/oktadeveloper/okta-jhipster-microservices-oauth-example.
Learn More about Microservices, OAuth 2.0, and JHipster
I hope you’ve enjoyed this whirlwind tour of how to create a microservices architecture with JHipster. Just because JHipster makes microservices easy doesn’t mean you should use them. In the wise words of Martin Fowler (March 2014):
“You shouldn’t start with a microservices architecture. Instead begin with a monolith, keep it modular, and split it into microservices once the monolith becomes a problem.”
Using a microservices architecture is a great way to scale development teams. However, if you don’t have a large team, a Majestic Monolith might work better.
To learn more about microservices, authentication, and JHipster, see the following resources.
- Build a Microservices Architecture for Microbrews with Spring Boot
- Secure a Spring Microservices Architecture with Spring Security, JWTs, Juiser, and Okta
- Secure a Spring Microservices Architecture with Spring Security and OAuth 2.0
- Use OpenID Connect Support with JHipster
- JHipster Security Documentation
Update: To see how to develop a microservices architecture with JHipster 6, please see Java Microservices with Spring Cloud Config and JHipster.
If you have any feedback, I’d love to hear it! Please leave a comment below, hit me up on Twitter @mraible, or post a question in our Developer Forums.
Changelog:
- Jan 8, 2019: Fixed Docker build command as reported by @nukesz. See the example app changes in okta-jhipster-oauth-example#5; changes to this post can be viewed in okta.github.io#2632.
- Oct 11, 2018: Updated for JHipster 5.4.2 and re-generated everything + tested. See the example app changes in okta-jhipster-microservices-oauth-example#4; changes to this post can be viewed in okta.github.io#2392.
- Sep 21, 2018:
Updated to use JHipster 5.3.4 and its
import-jdlfeature. Added Elasticsearch back in since it now works on Heroku. See the example app changes in okta-jhipster-microservices-oauth-example#3; changes to this post can be viewed in okta.github.io#2336. - Aug 14, 2018: Updated to use JHipster 5.1.0 and Spring Boot 2.0.3. Removed Elasticsearch from blog and store apps since it doesn’t work on Heroku. See the example app changes in okta-jhipster-microservices-oauth-example#2; changes to this post can be viewed in okta.github.io#2254.
Matt Raible is a well-known figure in the Java community and has been building web applications for most of his adult life. For over 20 years, he has helped developers learn and adopt open source frameworks and use them effectively. He's a web developer, Java Champion, and Developer Advocate at Okta. Matt has been a speaker at many conferences worldwide, including Devnexus, Devoxx Belgium, Devoxx France, Jfokus, and JavaOne. He is the author of The Angular Mini-Book, The JHipster Mini-Book, Spring Live, and contributed to Pro JSP. He is a frequent contributor to open source and a member of the JHipster development team. You can find him online @mraible and raibledesigns.com.
Okta Developer Blog Comment Policy
We welcome relevant and respectful comments. Off-topic comments may be removed.