A Developer's Guide To Docker - Docker Compose
Good developers care as much about efficiency as they do about writing clean code. Containerization can add efficiency to both your workflow and your application, and has thus become all the rage among modern dev. And, as a good developer, you know that manually creating containers from images using docker run ... or even using the Dockerfile to create containers is less than ideal. How would you like to have one command that tells Docker to build the containers for the UI, the API, the database, and the cache server? Let me show you how that works with Docker Compose!
In this tutorial, you’ll take the base application from GitHub and complete the docker-compose.yml file in it. This application uses Node, NPM and MongoDB. Don’t worry about installing all those things, you only need Docker installed!
Just like the Dockerfile, the docker-compose.yml file tells Docker how to build what you need for your containers. Unlike the Dockerfile, it is written using the YAML file spec, and it does a lot more than just building one image.
Choose Your Docker Compose Version
The first line of any docker-compose.yml file is the version setting. In this case, you’ll use version 3.3, so just tell Docker Compose that.
version: '3.3'
You can see the documentation for docker-compose version 3 at https://docs.docker.com/compose/compose-file/ and you can see what the differences are between versions.
Define Node and Mongo Services
Services are how Docker refers to each container you want to build in the docker-compose file. In this case, you’ll create two services: one for the NodeJS application, and one for the MongoDB database.
services:
  app:
  db:
Remember that indention is how the YAML file format groups information, so indention is important. Here, you’ve indented the app and db services under the services tag. These can be named whatever you want. In this case app and ‘db` are just easiest to refer to. Now, you’ll put some meat on these two services.
First, tell Docker what image you want to build the app service from by specifying that you’ll be building from the sample:1.0 image. So you’ll specify that indented under the app tag.
app:
  image: sample:1.0
Of course that image doesn’t exist, so you’ll need to let Docker know where to find the Dockerfile to build it by setting a build context. If you don’t, Docker will try to pull the image from Docker Hub and when that fails it will fail the docker-compose command altogether.
app:
  image: sample:1.0
  build: .
Here, you’ve specified that the build context is the current directory, so when Docker can’t find the sample:1.0 image locally, it will build it using the Dockerfile in the current directory.
Next, you’ll tell Docker what the container name should be once it’s built the image to create the container from.
 app:
  image: sample:1.0
  container_name: sample_app
  build: .
Now, when Docker builds the image, it will immediately create a container named sample_app from that image.
By default, NodeJS apps run on port 3000, so you’ll need to map that port to 80, since this is the “production” docker-compose file. You do that using the ports tag in YAML.
app:
  image: sample:1.0
  container_name: sample_app
  build: .
  ports:
    - 80:3000
Here, you’ve mapped port 80 on the host operating system, to port 3000 from the container. That way, when you’ve moved this container to a production host, users of the application can go to the host machine’s port 80 and have those requests answered from the container on port 3000.
Your application will be getting data from a MongoDB database and to do that the application will need a connection string that it will get from an environment variable called “MONGO_URI”. To set environment variables in the container once it’s built, use the environment tag in the YAML file.
app:
  image: sample:1.0
  container_name: sample_app
  build: .
  ports:
    - 80:3000
  environment:
    - MONGO_URI=mongodb://sampledb/sample
Create a Docker Network
For the application service to actually be able to reach the sample database, it will need to be on the same network. To put both of these services on the same network, create one in the docker-compose file by using the networks tag at the top level (the same level of indention as the services tag.
version: '3.3'

services:
  app:...
  db:...
networks:
  samplenet:
    driver: bridge
This creates a network called “samplenet” using a bridge type network. This will allow the two containers to communicate over a virtual network between them.
Back in the app section of the file, join the app service to the “samplenet” network:
app:
  image: sample:1.0
  container_name: sample_app
  build: .
  ports:
    - 80:3000
  environment:
    - MONGO_URI=mongodb://sampledb/sample
  networks:
    - samplenet
Create the MongoDB Service
Now the app service is ready, but it won’t be much good without the db service. So add the same kinds of things in the next section for the db service.
 db:
  image: mongo:3.0.15
  container_name: sample_db
  networks:
    samplenet:
      aliases:
        - "sampledb"
This service builds from the official MongoDB 3.0.15 image and creates a container named “sample_db”. It also joins the “samplenet” network with an alias of “sampledb”. This is like a DNS name on a physical network, it allows other services on the “samplenet” network to refer to it by its alias. This is important because without it, the app service would have a much harder time talking to it. (I don’t know that it couldn’t, it would just probably have to use the container’s full hash!)
Use Docker Volumes
You’ll also want to create a volume mount in the database service. Volumes allow you to mount folders on the host machine to folders in the container. Meaning, when something inside the container refers to a folder, it will actually be accessing a folder on the host machine. This is especially helpful for database containers because containers are meant to be disposable. With a mount to the physical folder on the host machine, you’ll be able to destroy a container and rebuild it and the data files for the container will still be there on the host machine. So add a volume tag in the db section mounting the /data/db folder in the container (where Mongo stores its data) to the db folder in your application’s root folder so that the final db section looks like the following.
db:
  image: mongo:3.0.15
  container_name: sample_db
  volumes:
    - ./db:/data/db
  networks:
    samplenet:
      aliases:
        - "sampledb"
Review Your Docker Compose File
With all that done, your final docker-compose.yml file should look like:
version: '3.3'

services:
  app:
    image: sample:1.0
    container_name: sample_app
    build: .
    ports:
      - 80:3000
    environment:
      - MONGO_URI=mongodb://sampledb/sample
    depends_on:
      - db
    networks:
      - samplenet
  db:
    image: mongo:3.0.15
    container_name: sample_db
    volumes:
      - ./db:/data/db
    networks:
      samplenet:
        aliases:
          - "sampledb"
networks:
  samplenet:
    driver: bridge
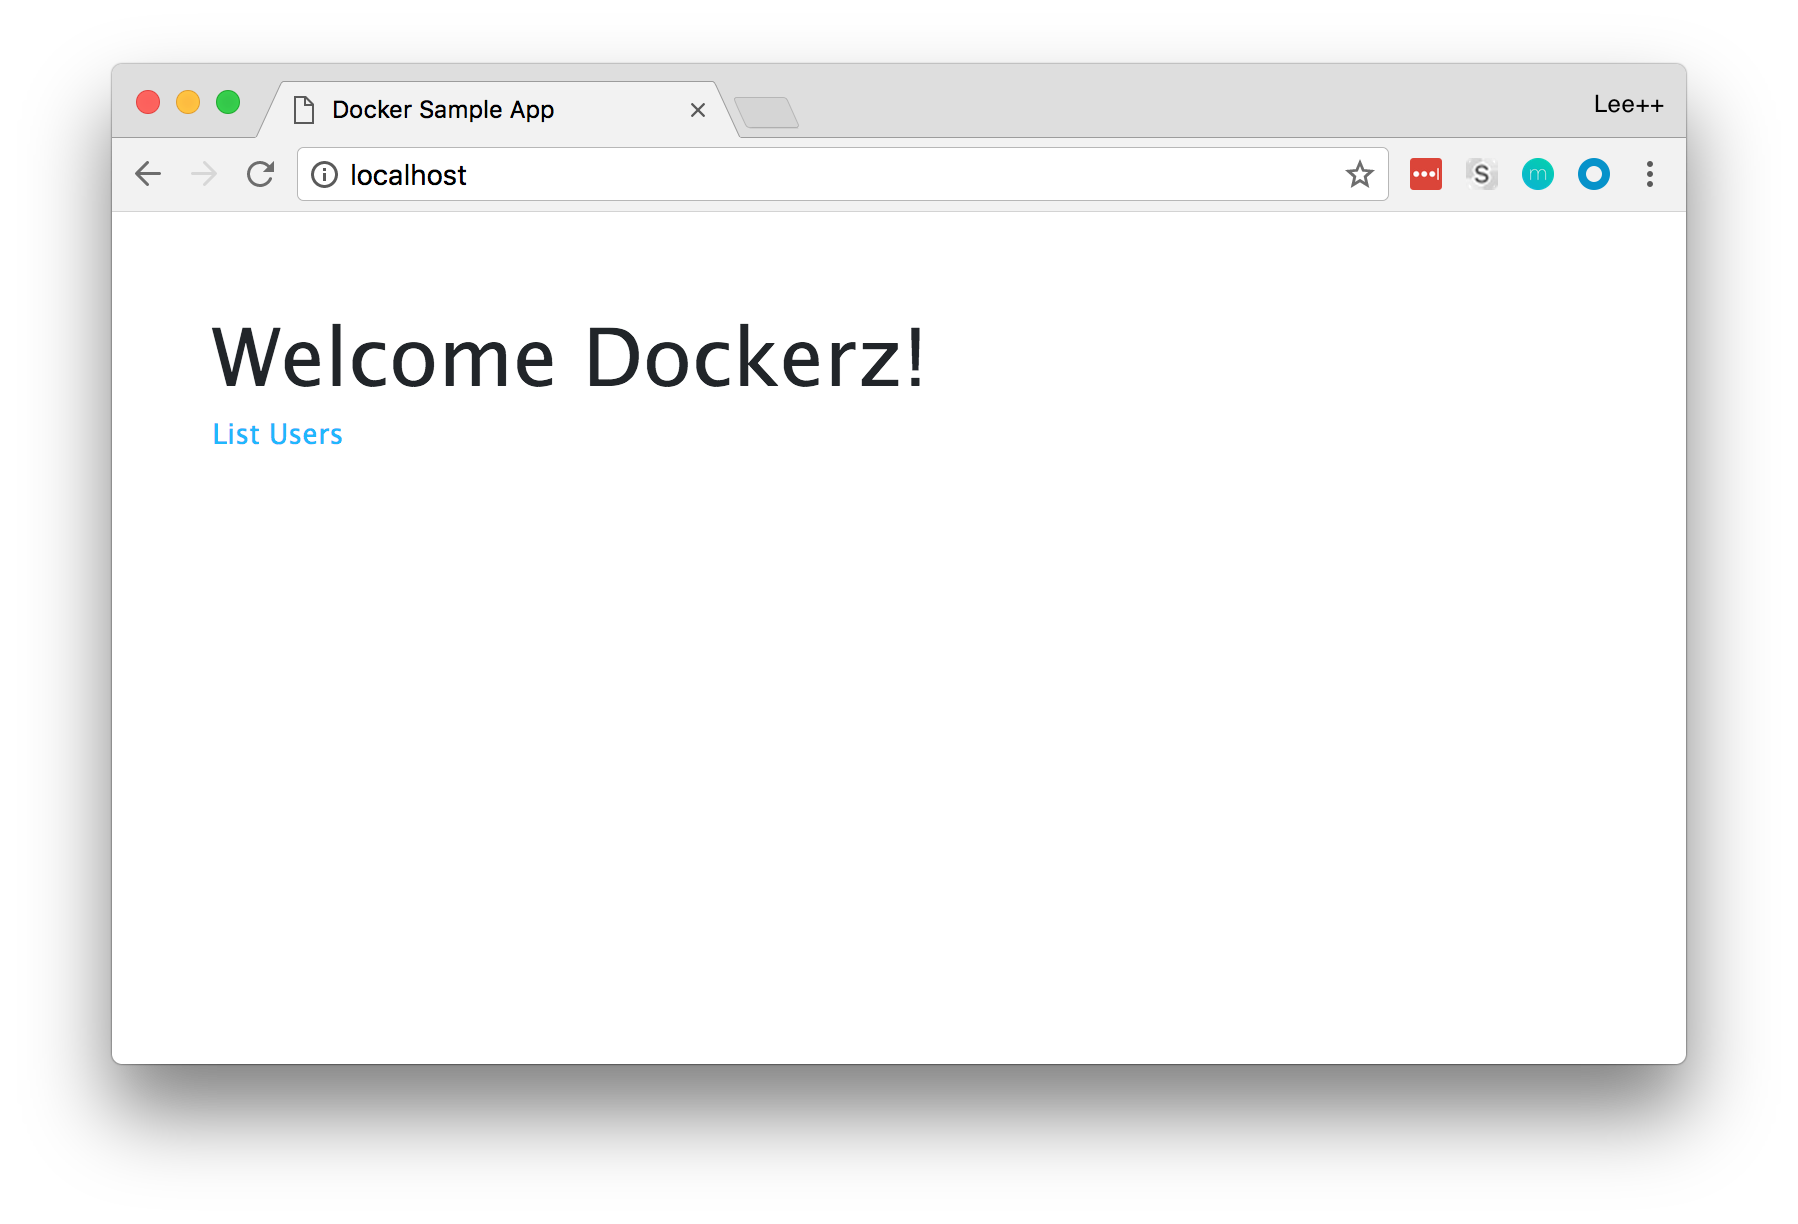
With that all done, you should be able to save the file and run docker-compose up -d in the folder where you docker-compose.yml file is and watch Docker build and start your environment for you.
If everything completes successfully, you can then go to http://localhost/users and see something like the image below.
Congratulations! You have a complete environment that is defined in your source code. It can be versioned and checked in to source control. This is what people refer to as “Infrastructure as Code”. It also means that recreating this environment on the test, staging and production environments is as easy as running docker-compose up -d on the corresponding machine! I told you good developers are lazy!
Learn More
You can learn more about Docker Compose and Docker in general from their respective documentation. If you want to learn more about the Dockerfile used in this project, check out part two of this series on the Dockerfile.
As always, if you have any questions or comments about this, or any, of my articles, feel free to hit me up on Twitter or GitHub.
Okta Developer Blog Comment Policy
We welcome relevant and respectful comments. Off-topic comments may be removed.