Build an iOS App with React Native and Publish it to the App Store

Apple’s App Store is the holy grail for mobile developers. With React Native you can develop native apps for Android and iOS using a single code-base but getting things ready for publishing can be tricky, especially if you are starting with an originally Android-only application.
Here you’ll be starting with the code from a previous monster Okta blog post designing and publishing a calculator-like app on the Android Play store, which includes authentication via Okta.
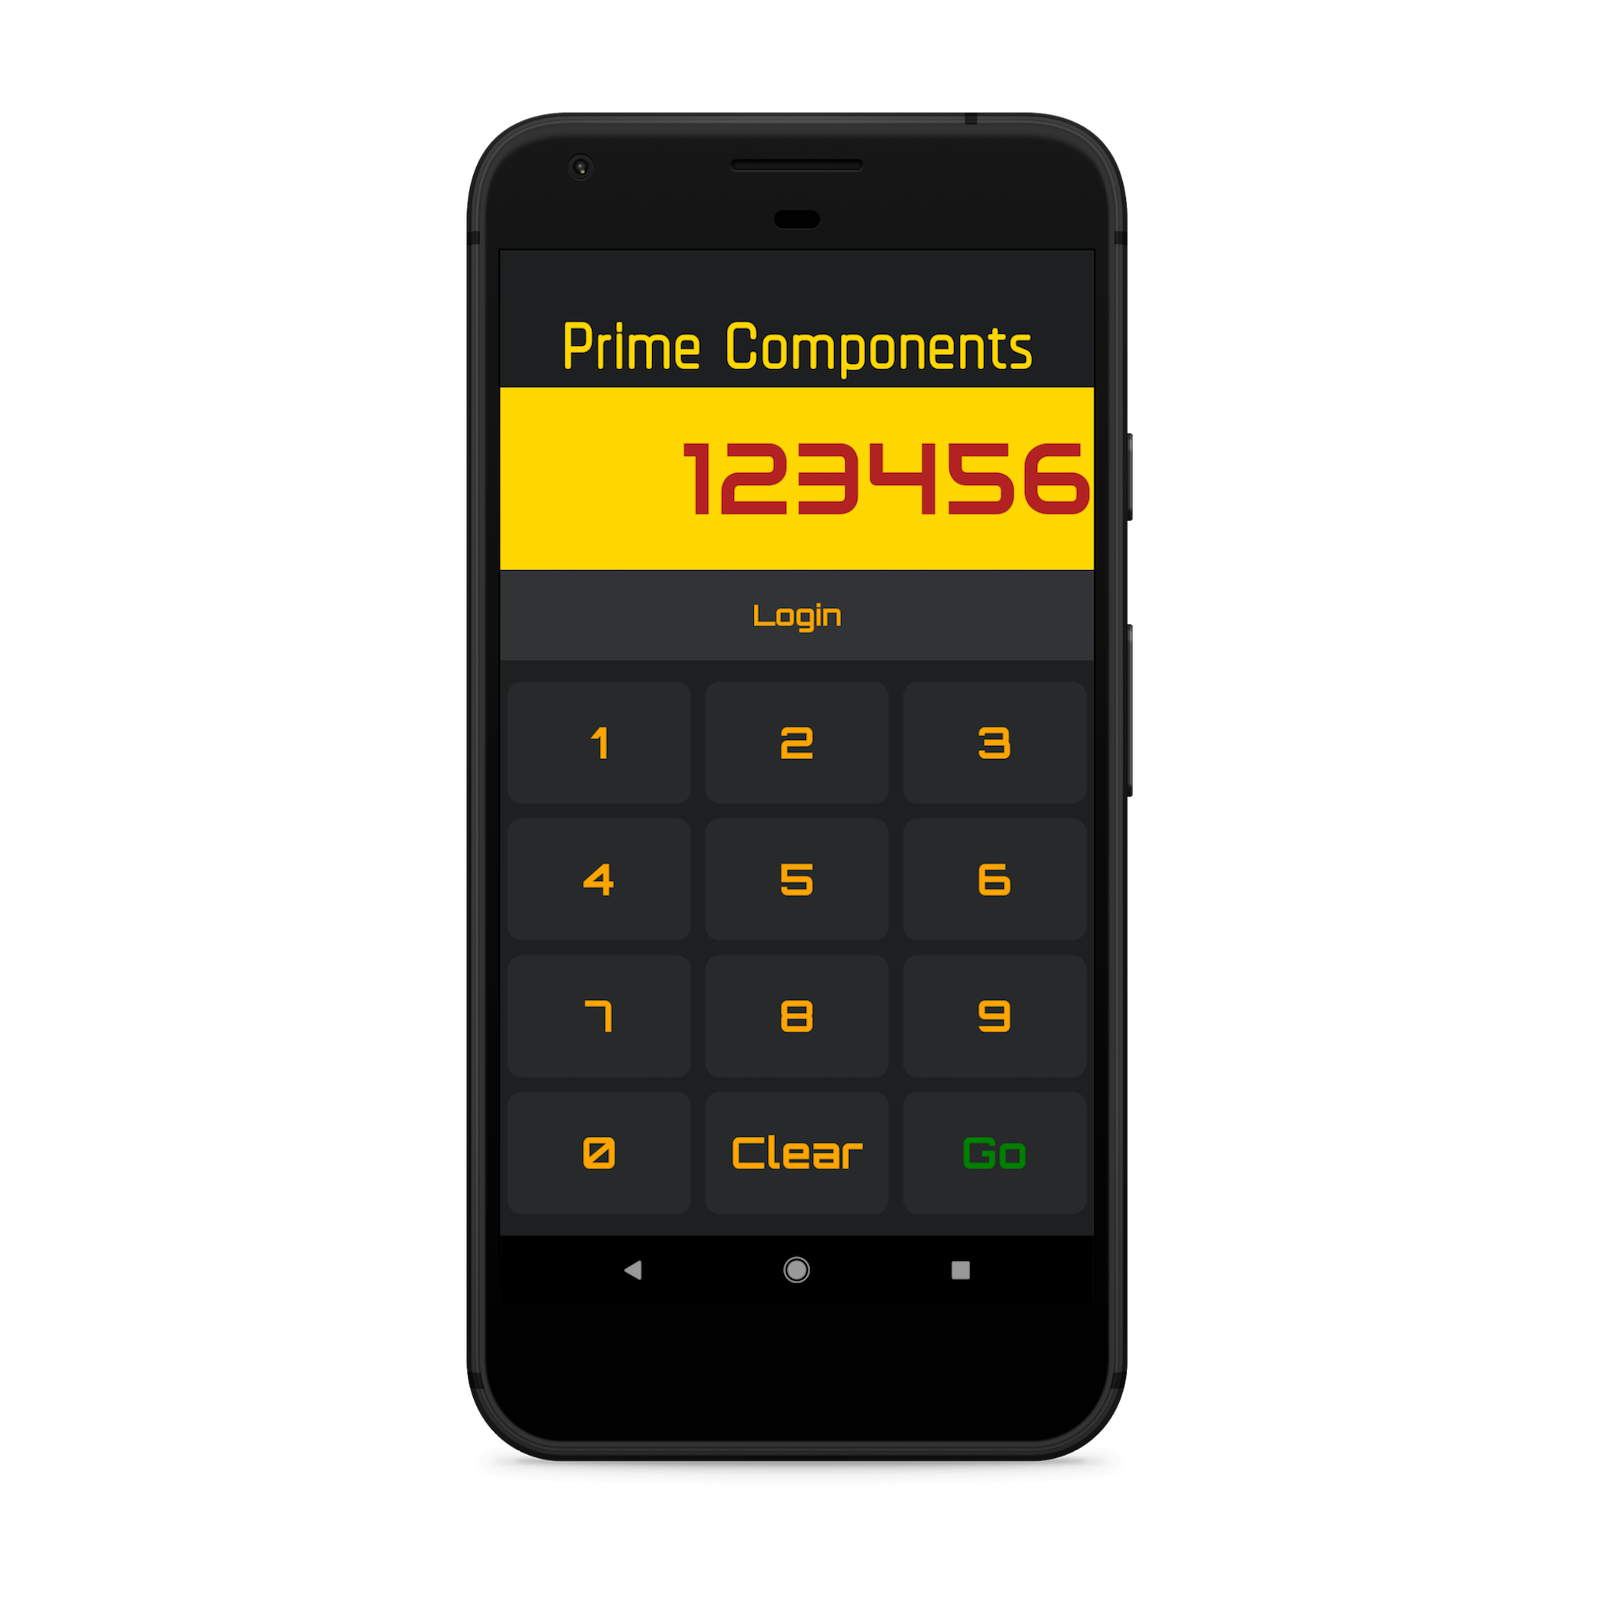
For this post, you’ll first get the Android app to work well on iOS, as well as adding a splash screen and app icon. Then you’ll go through the signing process and publishing onto the App Store.
Table of Contents
- Configure Authentication for Your React Native iOS App
- Running Your React Native App on iOS Simulator
- Adjust Styling in Your React Native iOS App
- Set the Icon and Display Name and Run on a Device
- Create a Splash Screen for Your React Native iOS App
- Submit Your React Native App to the iOS Store
- Learn More About React Native and Secure Authentication
Start by cloning the repo and installing all the required libraries.
git clone https://github.com/oktadeveloper/okta-react-native-prime-components-example
cd okta-react-native-prime-components-example
npm install
From here you should be able to say react-native run-android to deploy to an emulator or attached Android phone. Everything should work fine.
Note: In May 2025, the Okta Integrator Free Plan replaced Okta Developer Edition Accounts, and the Okta CLI was deprecated.
We preserved this post for reference, but the instructions no longer work exactly as written. Replace the Okta CLI commands by manually configuring Okta following the instructions in our Developer Documentation.
Configure Authentication for Your React Native iOS App
Right now when you click Login you will be taken to an Okta login page. This is connected to an Okta account I used for development. You need to create your own account and configure this app to use it.
Before you begin, you’ll need a free Okta developer account. Install the Okta CLI and run okta register to sign up for a new account. If you already have an account, run okta login.
Then, run okta apps create. Select the default app name, or change it as you see fit.
Choose Native and press Enter.
Use com.okta.dev-133337:/callback for the Redirect URI and the Logout Redirect URI
(where dev-133337.okta.com is your Okta domain name). Your domain name is reversed to provide a unique scheme to open your app on a device.
What does the Okta CLI do?
The Okta CLI will create an OIDC Native App in your Okta Org. It will add the redirect URIs you specified and grant access to the Everyone group. You will see output like the following when it’s finished:
Okta application configuration:
Issuer:    https://dev-133337.okta.com/oauth2/default
Client ID: 0oab8eb55Kb9jdMIr5d6
NOTE: You can also use the Okta Admin Console to create your app. See Create a Native App for more information.
Now in your App.js find where the config variable is defined (near the top) and change the pertinent values to that of your Okta app:
const config = {
  issuer: 'https://{yourOktaDomain}/oauth2/default',
  clientId: '{clientId}',
  redirectUrl: '{redirectUrl}',
  additionalParameters: {},
  scopes: ['openid', 'profile', 'email', 'offline_access']
};
Running Your React Native App on iOS Simulator
Start by running react-native run-ios from a Mac computer. An iOS simulator should appear and in the console, your project will compile.
NOTE: If you get an error Print: Entry, ":CFBundleIdentifier", Does Not Exist there are several issues on GitHub tracking this with various suggestions on fixing it. The simplest might just to open up ios/prime_components.xcodeproj in Xcode and build the project from there.
You should see an error 'AppAuth/AppAuth.h' file not found. You need to link the AppAuth library to iOS. The easiest is with Cocoapods. Put the following into ios/Podfile:
platform :ios, '11.0'

target 'prime_components' do
  pod 'AppAuth', '>= 0.94'
end
After having installed Cocoapods change into ios/ and run pod install. This will take a while. Now close Xcode and open ios/prime_components.xcworkspace (note: the workspace, not the project!) in Xcode. The pods should appear as a separate project. Select a device and the project should build and run just fine (just click the play button). You may have to change the bundle identifier if the one used in this tutorial is already taken.
At this point, the factorization should work but if you click Login it will crash because your AppDelegate class needs to conform to RNAppAuthAuthorizationFlowManager. Open AppDelegate.h and change it to the following:
#import <UIKit/UIKit.h>
#import "RNAppAuthAuthorizationFlowManager.h"

@interface AppDelegate : UIResponder <UIApplicationDelegate, RNAppAuthAuthorizationFlowManager>

@property (nonatomic, weak) id<RNAppAuthAuthorizationFlowManagerDelegate>authorizationFlowManagerDelegate;
@property (nonatomic, strong) UIWindow *window;

@end
Now the login button should take you through the authorization process.
Adjust Styling in Your React Native iOS App
When I ran the app, the font was a bit large and the banner looked like it was showing the background behind the app. To fix these:
- In
components/Button.jschange the font size to 25 - In
components/Header.jschange the font size to 65 - In
components/Input.jschange the flex to 1.5 and the font size to 60
The transparency issue in the header is from the iOS status bar showing. To hide this import StatusBar from react-native in App.js and add <StatusBar hidden /> at the top of the container:
return (
  <Container>
    <StatusBar hidden />
The app should look correct now.
Set the Icon and Display Name and Run on a Device
As in the previous post, you can use an app like Iconic to create an icon (though that one is for Android). Once you have an icon you can use an online service like MacAppIcon to get all the sizes you need. Then in Xcode open the prime_components project and click on Images.xcassets. You will see all the icons you need to fill it - simply drag them the correct sizes from Finder.
You will also want to change the display name of your project to fix the app name on your device. This is in the Identity section of the project settings.
Make sure you have set up the signing team and also that the Build Active Architectures Only is set to Yes for both debug and release, for both projects - This can fix a lot of integration problems with the AppAuth library.
Once done, you should be able to deploy to a device and see a proper icon and name for your app.
![]()
Create a Splash Screen for Your React Native iOS App
iOS apps have splash screens while they load. React Native creates a basic LaunchScreen.dib image which is just a white screen with the app’s name.
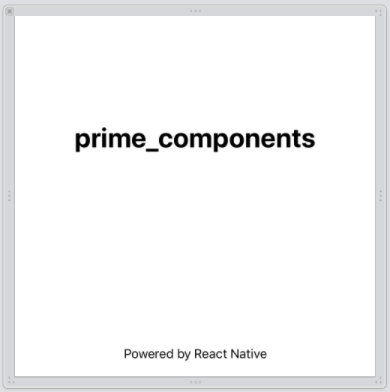
The easiest way to change this is by using the React Native Toolbox.
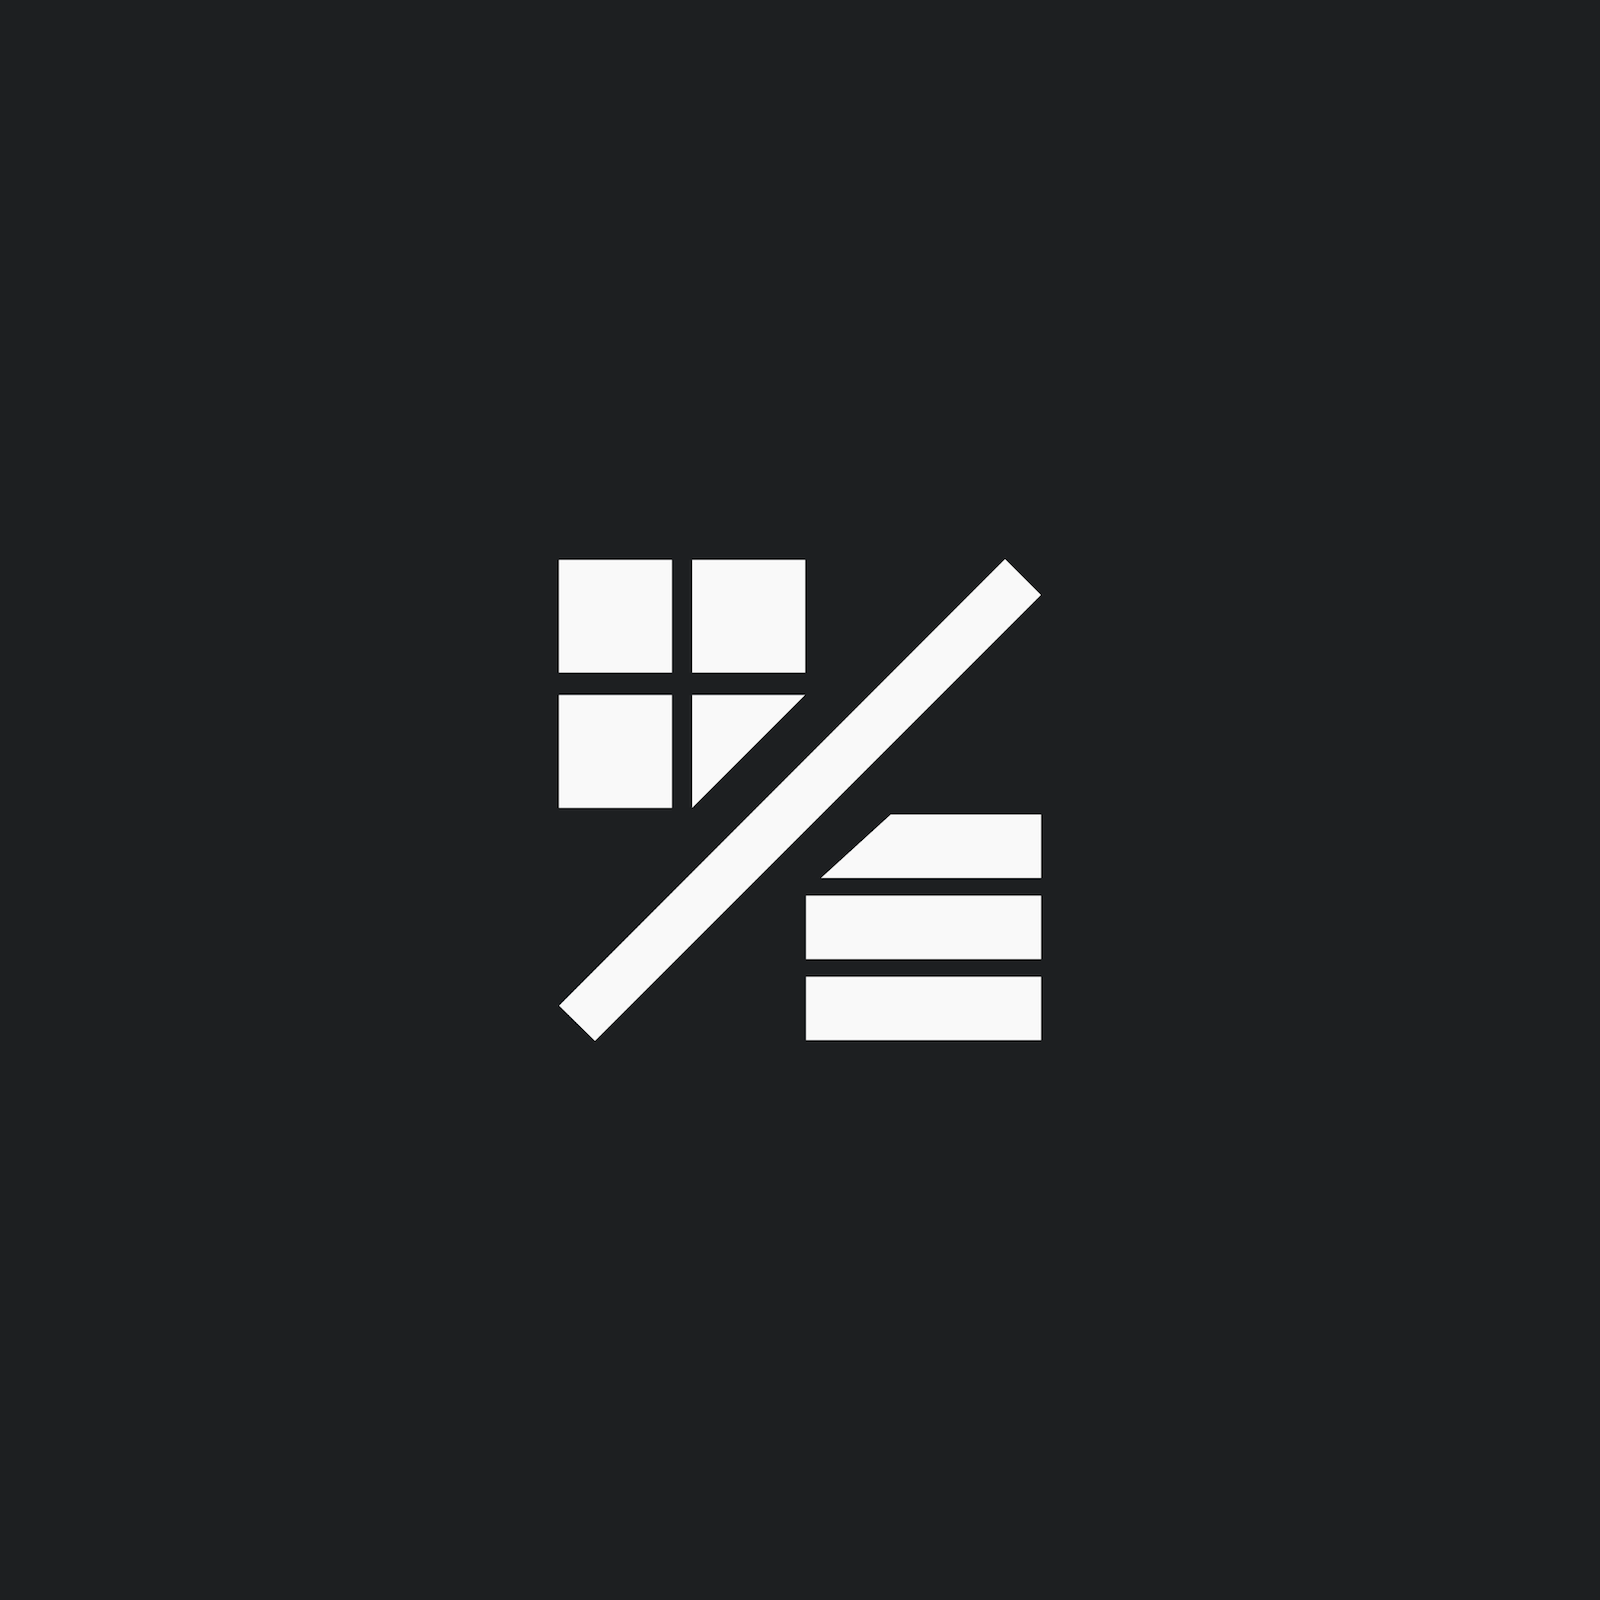
- Create a square image of at least 2208x2208 pixels
- Make sure to have plenty of margin around your symbol
For example:
A good image manipulation program to use is GIMP.
Next, install the toolbox as well as ImageMagick:
npm install -g yo@2.0.5 generator-rn-toolbox@3.8.0
brew install imagemagick
Now place your image inside of your project, close the workspace inside of XCode and run the following command:
yo rn-toolbox:assets --splash image.png --ios
Make sure to specify the correct project name! (In this case it is prime_components and not prime-components). The images should be generated and your project updated. Uninstall your app from the simulator/device and re-deploy from Xcode and you should see the new splash when loading the app.
Submit Your React Native App to the iOS Store
What follows are instructions on submitting your app to the App Store but since the Prime Components app already exists this is for those who have another app they’d like to submit. In that case, follow the instructions from the previous blog post (linked above) on how to design and build your own app before continuing here.
Review Guidelines
Before you begin it’s worth reading through Apple’s App Store Review Guidelines. In plain English, it explains what you need to make sure your app is ready (and why the app might be rejected during review). Things like safety and performance are covered, as well as business practices like advertising. A lot of it is very sensible.
App Store Connect
To get started login to App Store Connect and accept the terms and conditions. Then click on the My Apps icon.
Click on the plus sign and select New App. Fill in the required values. Here the Bundle ID is the bundle identifier you set in your project settings. It’s important this is a unique value - good practice is to start with a website you own like com.myblog.my_app. You can’t change this once you’ve submitted a build.
Once everything is filled in you will get to the app management page with three tabs for the App Store section: App Information, Pricing and Availability, and the iOS submission page.
Fill out everything as best you can. Any missing information will come out when you try to submit your app for review. Set the pricing to free, and the availability to all territories. Select two categories for your app in App Information. This is for people who are browsing for new apps.
Because you are not charging for your app and there is no advertising a lot of this process will go smoothly.
Build an Archive
iOS apps are distributed with archives. To build the archive, make sure the RnAppAuth is added to the target dependencies in the Build Phases of the prime_components project. Then go to Product and select Archive. This will rebuild and archive everything into one file.
Once done, the Organizer window should pop-up (which you can find in the Window menu):
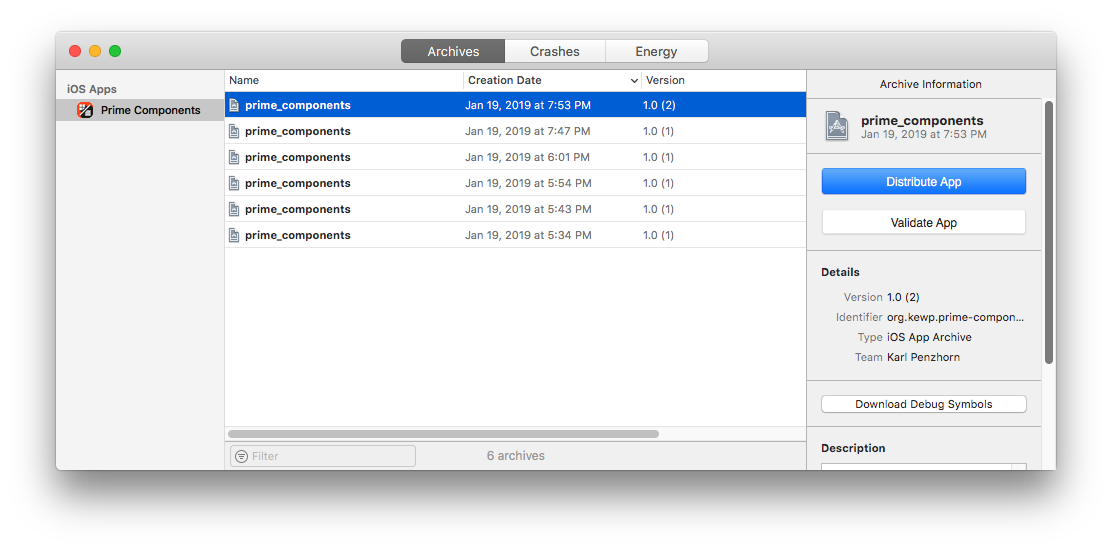
From here you can validate your app. Click on Distribute to upload it to App Store Connect. Once that is done you should see the build in the submission page.
Screenshots
You need to add a few screenshots for your app. To do this simply go to the simulator menu - there is a screenshot option there. You might like to use a service like MockUPhone to give your screenshots a phone border.
Then you need to resize them in an app like Gimp. Your screenshots need to be the right size.
Once you’re finished, under the Prepare for Submission page select iPhone 5.5” Display (this is the only one you need to fill out), upload the screenshots you have.
Privacy Policy
Since October 2018 all apps in the App Store need a privacy policy, specified as a URL. Basically, you need to explain what data you collect and what you do with it. In this case, no data collected at all but you need to specify that and host a write-up for it on a website. There are several examples of what a privacy policy in this situation might look like such as this one.
Submission
Once all looks ready, click on the Submit for Review button in the preparation page. Here you will be asked to give your app a rating (you’ll be asked several questions about the app’s content). Make sure you’ve filled out the information of where reviewers will be able to contact you.
Once through, you should hear back within two days.
Learn More About React Native and Secure Authentication
You have successfully converted an Android React Native app to iOS and published to the App Store! We hope the review process went smoothly.
You can find the source code for this tutorial at oktadeveloper/okta-react-native-prime-components-example/tree/app-store.
You can also download the iOS app from the App Store.
If you’re interested to know more about React Native, iOS or secure user management with Okta, check out the following resources:
- Build a React Native Application and Authenticate with OAuth 2.0
- Build an iOS App with Secure Authentication in 20 Minutes
- Add Identity Management to Your iOS App
- How to Publish Your App on Apple’s App Store in 2018
Like what you learned today? Follow us on Twitter, like us on Facebook, check us out on LinkedIn, and subscribe to our YouTube channel.
Okta Developer Blog Comment Policy
We welcome relevant and respectful comments. Off-topic comments may be removed.