Visual Studio 2019 Tips and Tricks

Microsoft recently released the preview of Visual Studio 2019 for Windows, and it’s got lots of improvements and features! After reading the release notes, I reached out to Allison Buchholtz-Au and Kendra Havens on the Visual Studio team at Microsoft to get an idea of what features should be configured immediately after downloading and installing this shiny new IDE. After they showed me a couple of quick tips, VS 2019 started to feel like the superhero that can make anyone more effective as an ASP.NET developer. Let’s dive into the good stuff!

Download Visual Studio 2019
First, download Visual Studio 2019 for your Windows operating system. If you don’t have it, you can download Visual Studio 2019 Preview for free.
Decompiled Resources
Visibility into how an external library or dependency resource is handling the data you are giving it can provide valuable insight. Visual Studio 2019 now provides this feature, but you do need to set it up. Follow the steps below to enable it.
Go to the top menu bar. Select Tools > Options. Type “decompile” into the search bar. The Advanced section of Text Editor for C# will appear. Click on Advanced.
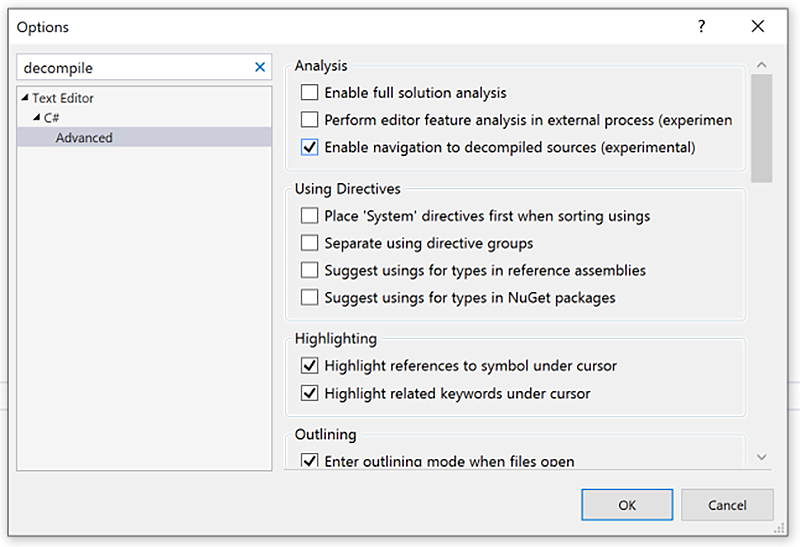
Check the box that says Enable navigation to decompiled sources (experimental). Now you can debug and step into the external packages you pull in from Nuget and elsewhere! I found this incredibly useful right away.
Code Cleanup
Similar to Format Document, this new feature allows you to configure a predefined set of several rules to clean up in your code all at once. To set this up, follow the steps below.
Click the little broom icon at the bottom of the window. Select Configure Code Cleanup.

You will be presented with a configuration menu. Notice that there are two profiles available to you to add or remove filters from. This is to allow a couple of different cleanups to be configured at the same time, and you can select whichever profile you need. You cannot add more profiles at this time. I found this to be helpful to set up different filters for a solution that has both front end and back end projects inside of it.
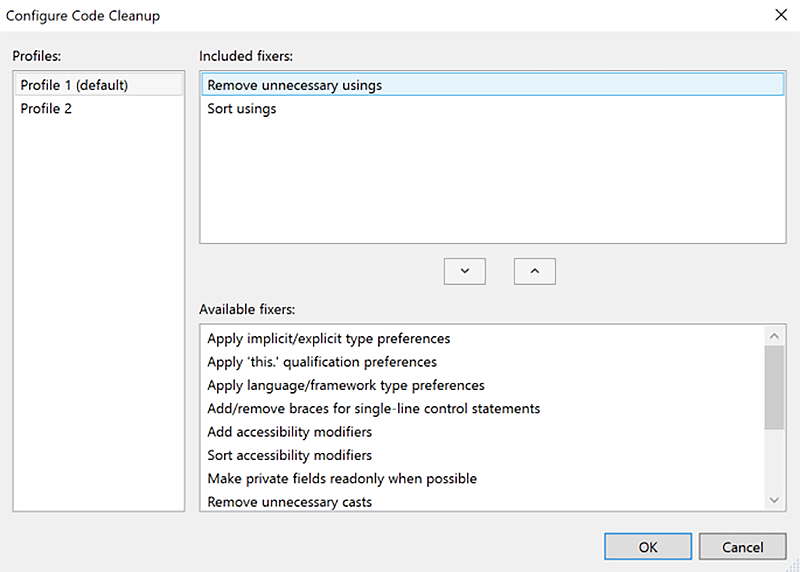
Select any filter you want and press the up arrow [ ^ ] to add it. Click OK.
Now you can run Code Cleanup for the profile you added your filter to. Click the broom icon again and select Run Code Cleanup (Profile 1).
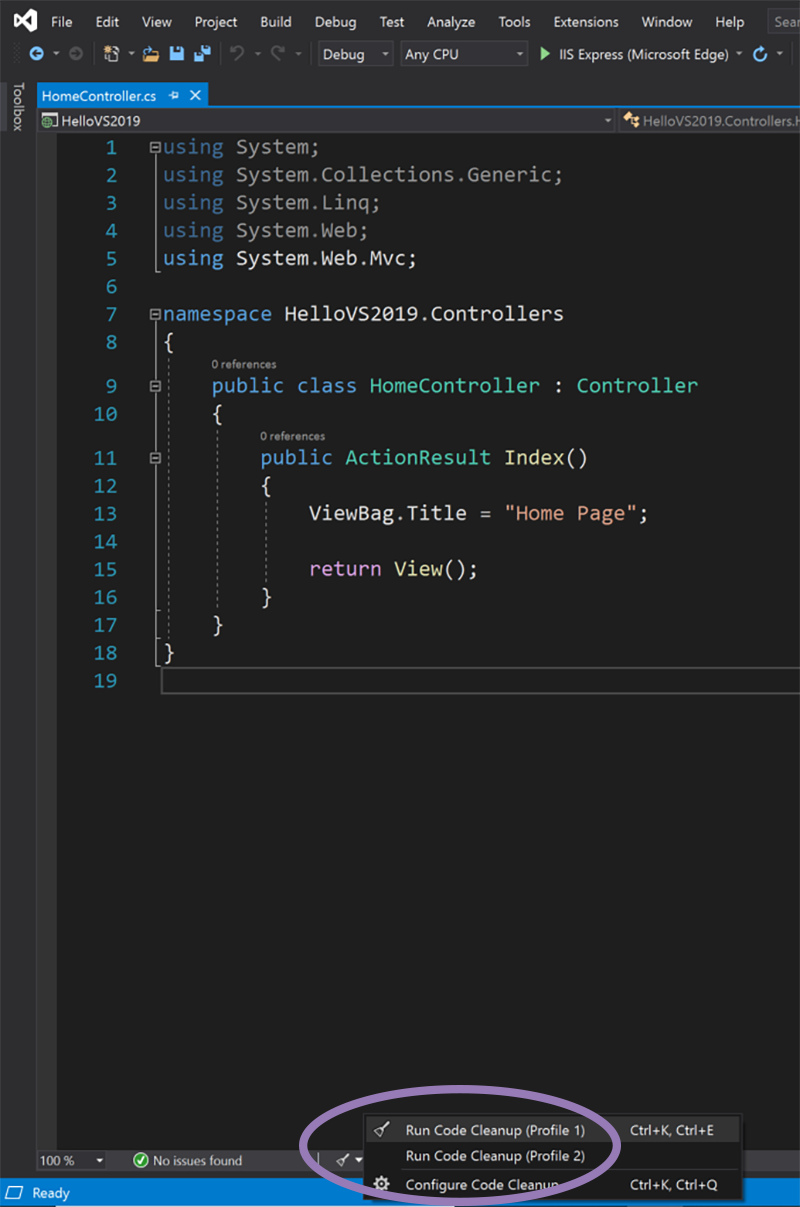
In this example, not only did it sort the usings at the top of the auto-generated file, but it also removed the unnecessary ones. I added tons of filters after this to all run at once! This is probably one of my favorite new features in Visual Studio 2019.
Editorconfig Export for your Team
Interested in sharing editor configuration with your team, or importing your team’s standard one? Sometimes the tabs vs spaces battle is due to what a developer has set up locally in their IDE. One solution is to export the agreed upon code styling standards and distribute it to everyone. This is a handy new feature in Visual Studio 2019. Follow below to set it up!
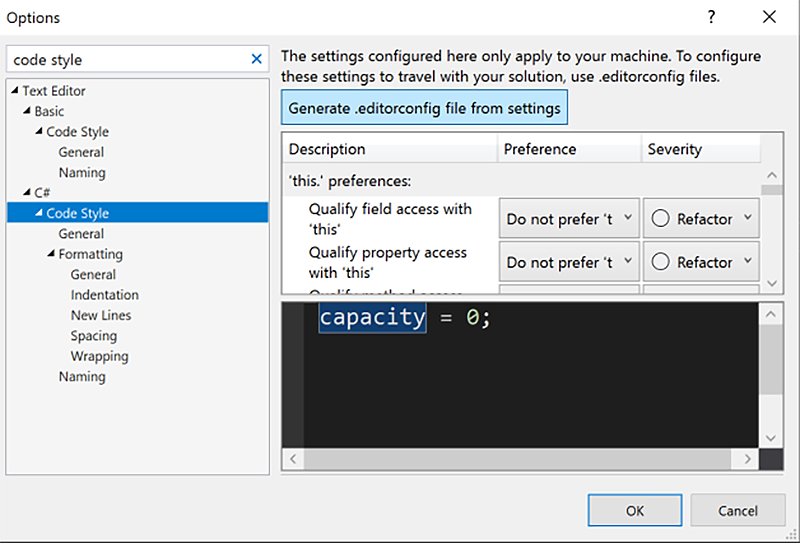
To export preferred code styles, go to the top menu bar. Select Tools > Options. Type “code style” into the search bar. The Text Editor for C# will appear. Click on Code Style. Notice the list under formatting that you can set up and configure. Once you have everything just as you like it, click on Generate .editorconfig file from settings.
It will prompt you to save the configuration file. For this example, name it test.editorconfig. I would suggest saving it somewhere within your team’s code repository for this solution or project. That ensures it comes along with the project when cloned.
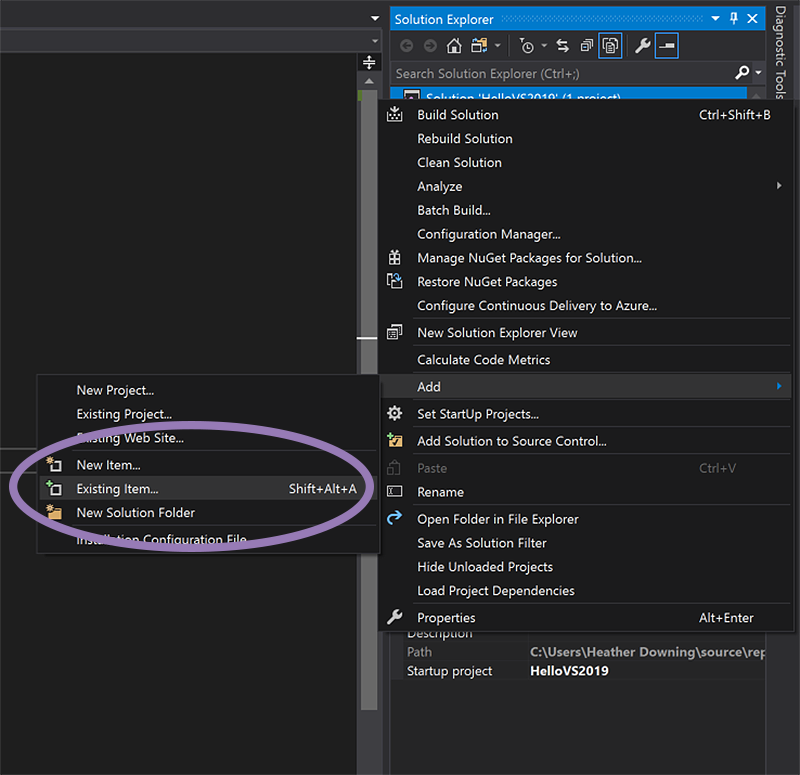
Now let’s import the code styles into your local Visual Studio 2019 environment. Right-click on the Solution, go to Add and select Existing Item.
Navigate to the saved location of your test.editorconfig file and click Add. Your environment will now use the imported configuration settings set up for your team.
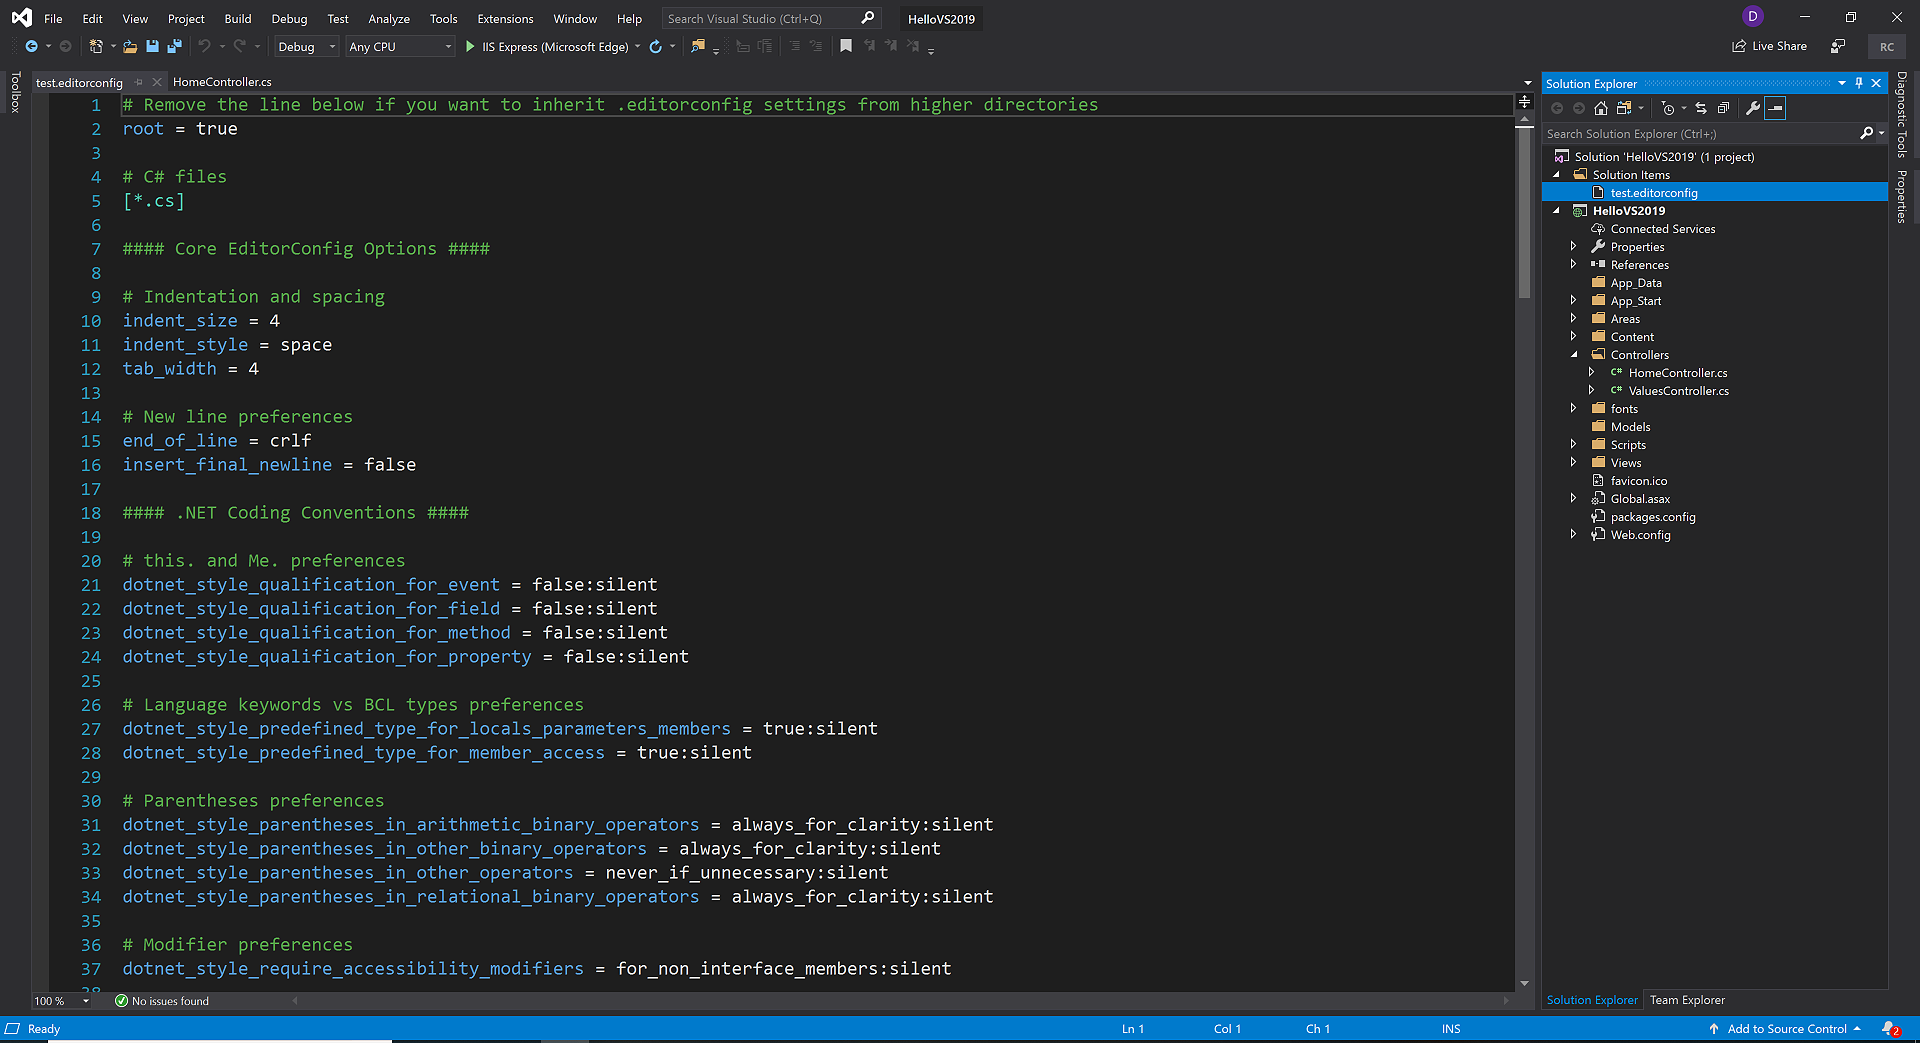
If you are interested in the script generated for that, click on test.editorconfig right underneath Solution Items name and take a look!
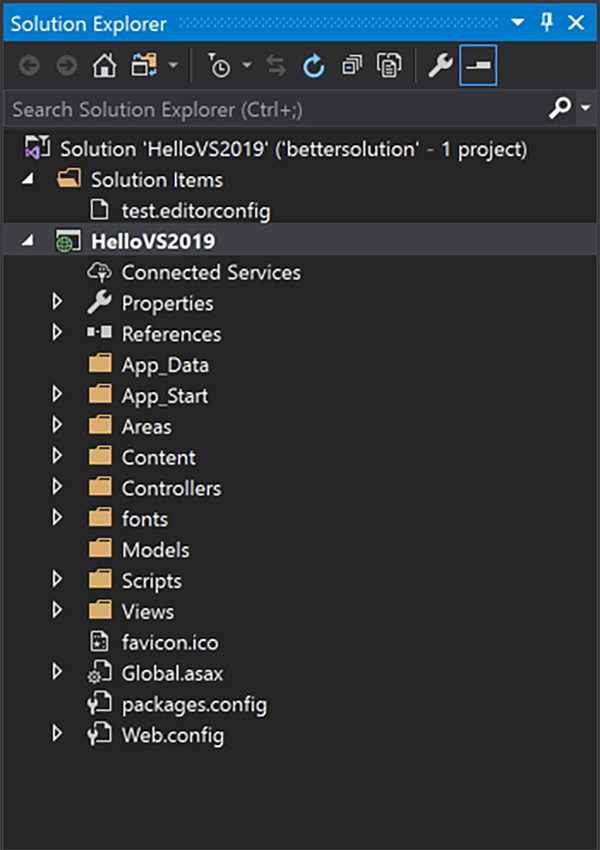
Solution Filter
Ever had a monolithic solution with way too many projects inside of it? Does it all take a while to load? Now you can save the state of your solution with only the desired projects loaded up. Follow along to set up a better solution when you are working on that huge team repository.
First, open up the whole solution with all of the projects in it. This may take a while to load.

Unload the projects you aren’t using by right-clicking on each project and select Unload Project.

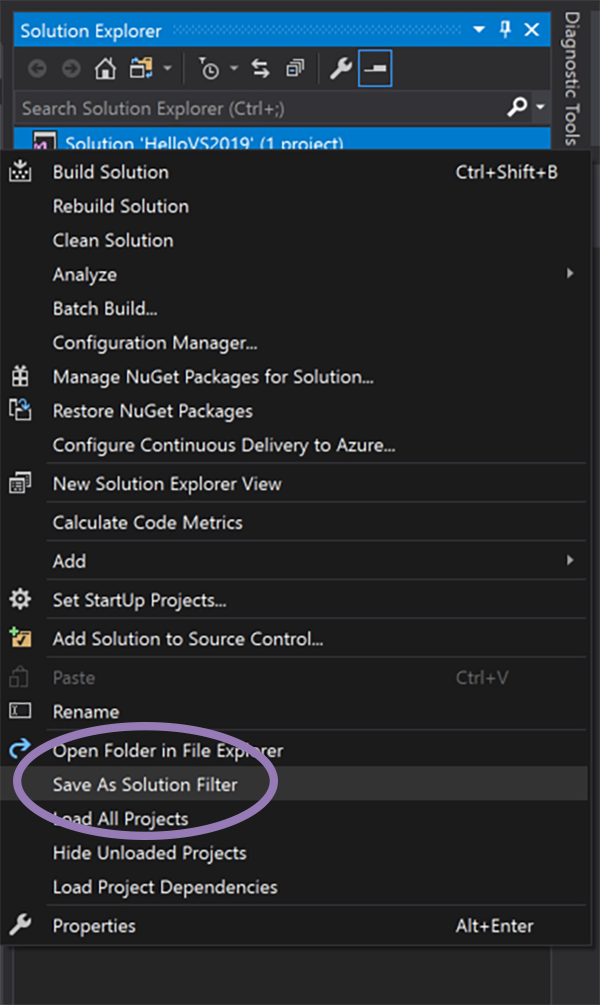
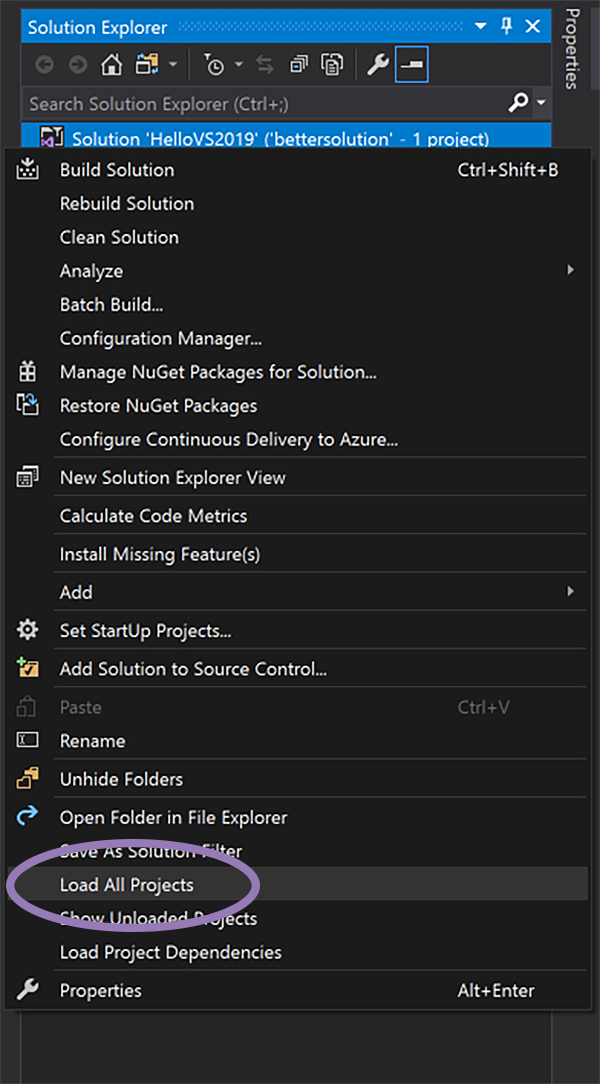
Now that you have only the desired projects loaded up, you can save the state of the solution by right-clicking on the Solution, and selecting Save as Solution Filter.
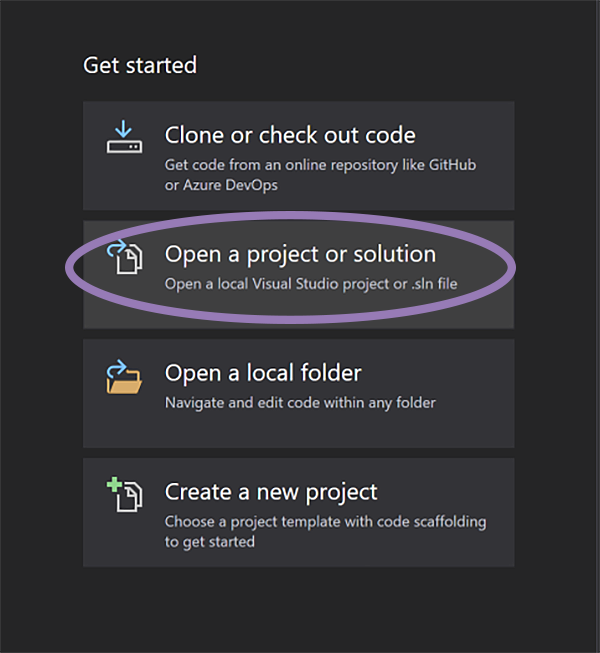
Save the file and name it bettersolution.snlf at the top of the repo. Close the solution. Now open the new solution you just saved.
It should load MUCH faster this time.
Notice that only your chosen projects are loaded, and all of the unloaded ones are left completely out now - leaving a clean and relevant solution file. However, in the event that you would like to add back all of the unloaded projects, the solution filter still retains that context for you. If you right-click on the Solution name and select Load All Projects, everything will be restored.
This was a pretty nice way to keep everything organized and loading fast when first opening up the solution in Visual Studio 2019. This can be really refreshing for any enterprise developer who deals with multiple projects.
But Wait, There’s More!
Interested in what else this new release has to offer? Get more information about the features that are enabled right out of the box with Visual Studio 2019 by checking out the Release Notes and FAQ on Microsoft’s preview site.
Learn More About ASP.NET
- Build a CRUD App with ASP.NET MVC and Entity Framework
- Build Your First Azure Function in Visual Studio Code
- 7 Essential .NET Developer Tools
- Build a REST API with ASP.NET Web API
- Use OpenID Connect for Authorization in Your ASP.NET MVC Framework 4.x App
Any questions, comments, or concerns about this post? Leave a comment below. For other great content from the Okta Dev Team, follow us on Twitter and Facebook!
Okta Developer Blog Comment Policy
We welcome relevant and respectful comments. Off-topic comments may be removed.