Add Login to Your ASP.NET Core MVC App

One of the improvements in the latest version of ASP.NET Core (MVC ) is a new and simplified authentication integration. However, managing authentication on your own is still a considerable burden. Not only do you need to handle signup and login, but you also have to set up the database, manage security aspects of registration and login, and take care of session management. Since the integration of external auth providers has never been more comfortable, let’s see an example of how to do this with an existing application by adding Okta.
Note: In May 2025, the Okta Integrator Free Plan replaced Okta Developer Edition Accounts, and the Okta CLI was deprecated.
We preserved this post for reference, but the instructions no longer work exactly as written. Replace the Okta CLI commands by manually configuring Okta following the instructions in our Developer Documentation.
Set Up Your ASP.NET Core MVC Project
First, make sure you have the .NET Core 2.1 SDK installed - Download link. This demo will use VS Code, but feel free to use your preferred editor.
You will create a new MVC project. Inside of a folder where you store your code run the following:
dotnet new mvc -n OktaMvcLogin
Set Up a Database with SQLite
Create a new folder called Data within the root folder of the project. Inside this folder you will create two files. First one is the database model Employee.cs:
namespace OktaMvcLogin.Data
{
  public class Employee
  {
    public string Id { get; set; }
    public string Name { get; set; }
    public int Age { get; set; }
  }
}
Inside of the Data folder create new file ApplicationDbContext.cs and past the following inside:
using Microsoft.EntityFrameworkCore;

namespace OktaMvcLogin.Data
{
  public class ApplicationDbContext : DbContext
  {
    public ApplicationDbContext(DbContextOptions<ApplicationDbContext> options)
      : base(options)
    { }

    public DbSet<Employee> Employees { get; set; }
  }
}
You will be using SQLite, therefore you will need to add an appropriate NuGet package:
dotnet add package Microsoft.EntityFrameworkCore.SQLite
After that, inside of Startup class add the following namespaces:
using Microsoft.EntityFrameworkCore;
using OktaMvcLogin.Data;
Also, inside of ConfigureServices method of Startup class add the following line:
services.AddDbContext<ApplicationDbContext>(options => options.UseSQLite("Data Source=okta.db"));
Inject the ApplicationDbContext in the Configure method by adding a new parameter:
public void Configure(IApplicationBuilder app, IHostingEnvironment env, ApplicationDbContext dbContext)
At the start of the method add the following line:
dbContext.Database.EnsureCreated();
Scaffold Your Controller and Views
For the scaffolding to work you will need to install code generator tools:
dotnet tool install --global dotnet-aspnet-codegenerator
dotnet add package Microsoft.VisualStudio.Web.CodeGeneration.Design
After that, you can use your existing model and DbContext class to generate controller and matching views:
dotnet aspnet-codegenerator controller -async -m Employee -dc ApplicationDbContext -name EmployeesController -outDir Controllers -udl
Update Your Layout
Navigate to Views\Shared\_Layout.cshtml file and locate the following section:
<ul class="nav navbar-nav">
  <li><a asp-area="" asp-controller="Home" asp-action="Index">Home</a></li>
  <li><a asp-area="" asp-controller="Home" asp-action="About">About</a></li>
  <li><a asp-area="" asp-controller="Home" asp-action="Contact">Contact</a></li>
</ul>
Replace that section with following code:
<ul class="nav navbar-nav">
  <li><a asp-area="" asp-controller="Home" asp-action="Index">Home</a></li>
  @if (User.Identity.IsAuthenticated)
  {
    <li><a asp-area="" asp-controller="Employees" asp-action="Index">Employees</a></li>
  }
</ul>
Set Up Authentication for Login in ASP.NET Core
Handling authentication is never an easy or comfortable task. If you want to quickly and easily take care of authentication for your application, then you should probably use a solution that works and preferably one that is actively maintained by someone else. That’s why people love and use Okta, and it takes a minimum amount of your time to get started with Okta and secure your existing application.
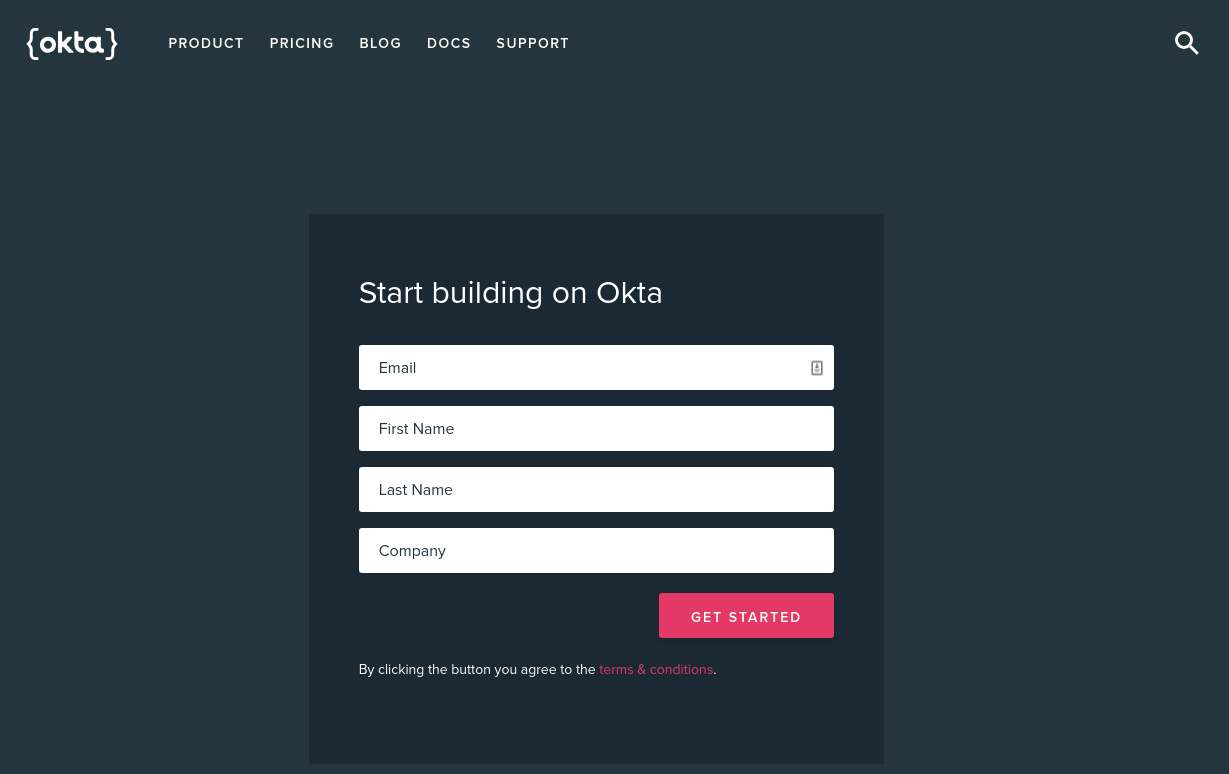
Sign up for a forever-free developer account (or log in if you already have one).
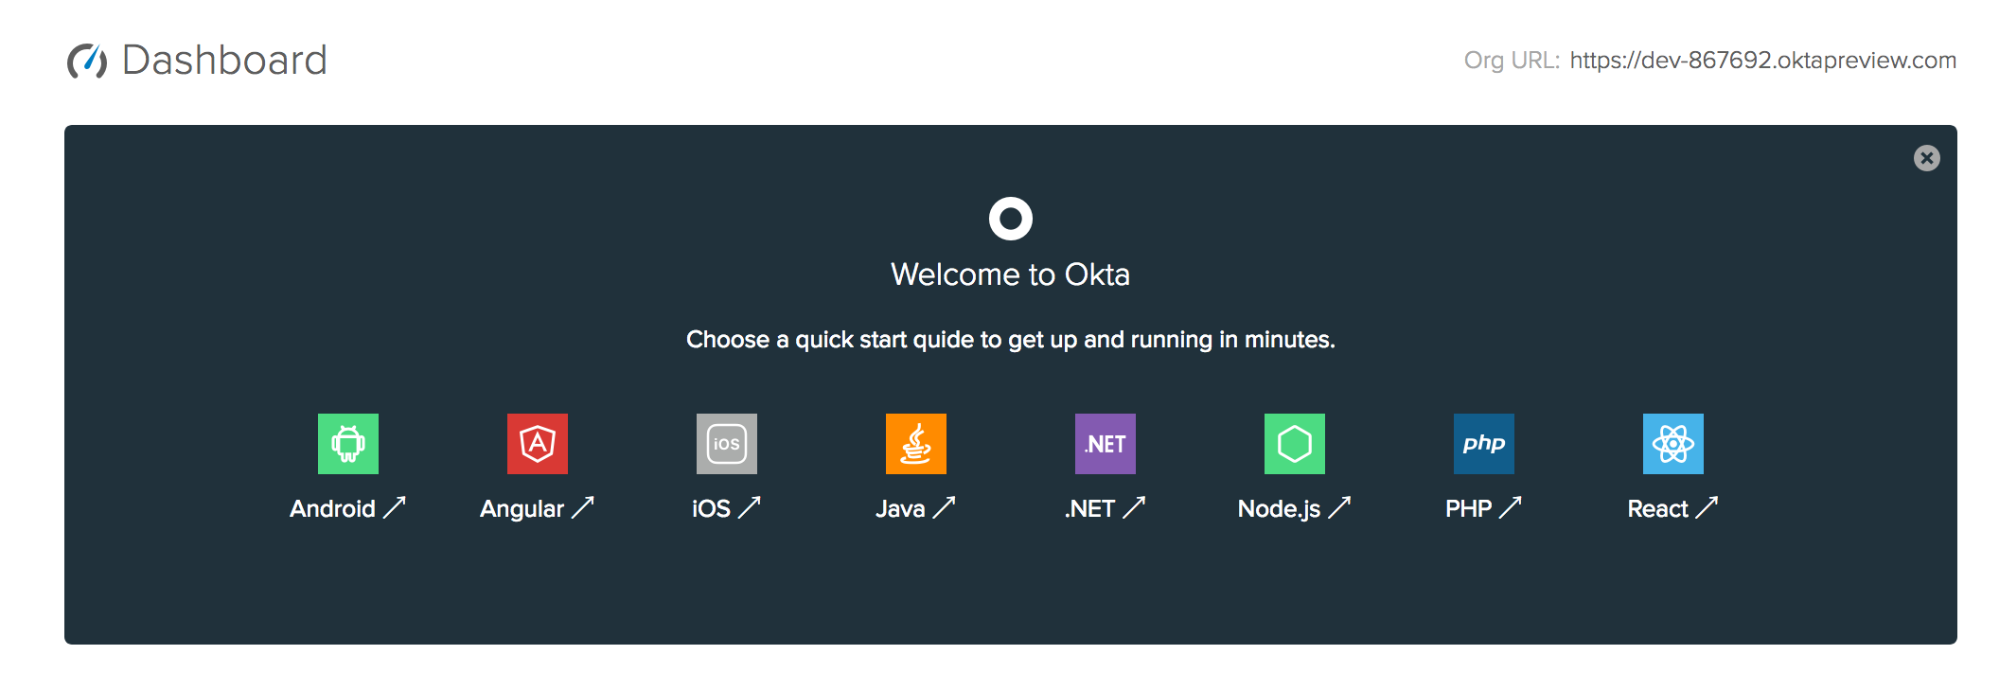
After you have completed your login (and registration), you should see the Dashboard, and in the upper right corner, there should be your unique Org URL. Save it for later.
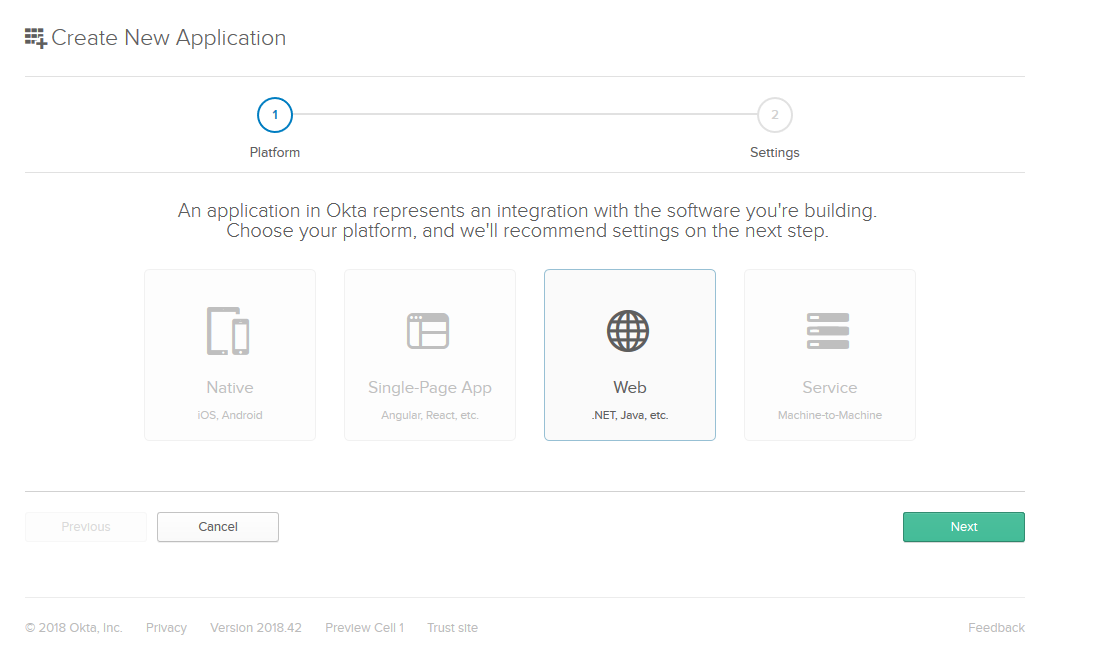
Now you need to create a new application by browsing to the Applications tab. Click Add Application, and from the first page of the wizard choose Web.
On the settings page, enter the following values:
- Name: OktaMvcLogin
- Base URIs: https://localhost:5001/
- Login redirect URIs: https://localhost:5001/authorization-code/callback
- Logout redirect URIs: https://localhost:5001/signout/callback
You can leave the other values unchanged, and click Done.
Now that your application has been created copy down the Client ID and Client secret values on the following page, you’ll need them soon (of course, yours will be different).

It has never been easier to add authorization to ASP.NET Core applications. Using Okta makes the whole process even more straightforward.
Install the official Okta NuGet package:
dotnet add package Okta.AspNetCore --version 1.1.1
First, add the Okta details to your appsettings.json file. At the top of the file, above the Logging section paste the following code:
"Okta": {
  "ClientId": "{OktaClientId}",
  "ClientSecret": "{OktaClientSecret}",
  "Domain": "https://{yourOktaDomain}"
},
Add the following namespace at the top of Startup.cs file:
using Microsoft.AspNetCore.Authentication.Cookies;
using Okta.AspNetCore;
After that, add the details about your identity provider to your application. Inside of ConfigureServices method add the following:
services.AddAuthentication(options =>
{
  options.DefaultAuthenticateScheme = CookieAuthenticationDefaults.AuthenticationScheme;
  options.DefaultSignInScheme = CookieAuthenticationDefaults.AuthenticationScheme;
  options.DefaultChallengeScheme = OktaDefaults.MvcAuthenticationScheme;
})
.AddCookie()
.AddOktaMvc(new OktaMvcOptions
{
  OktaDomain = Configuration["Okta:Domain"],
  ClientId = Configuration["Okta:ClientId"],
  ClientSecret = Configuration["Okta:ClientSecret"]
});

// ... the rest of ConfigureServices

services.AddMvc().SetCompatibilityVersion(CompatibilityVersion.Version_2_1);
The section above sets up the authentication schemes with ASP.NET Core AddAuthentication extension and also sets up the Okta details by using the extension method AddOktaMvc available with Okta NuGet package.
After that, add the following to the Configure method, above the app.UseMvc(); line:
app.UseAuthentication();
Finally, add the Authorize attribute to the EmployeesController class. Inside EmployeesController.cs file add the following using:
using Microsoft.AspNetCore.Authorization;
Above the EmployeesController class name add the authorization attribute:
[Authorize]
public class EmployeesController : Controller
This code ensures that all requests to this controller are allowed only for authorized users.
Add Login and Registration to Your ASP.NET Core MVC Application
Create a new file inside of Controllers folder: AccountController.cs. Paste the following inside of the file:
using Microsoft.AspNetCore.Authentication.Cookies;
using Microsoft.AspNetCore.Mvc;
using Okta.AspNetCore;

namespace OktaMvc.Controllers
{
  public class AccountController : Controller
  {
    public IActionResult Login()
    {
      if (!HttpContext.User.Identity.IsAuthenticated)
      {
        return Challenge(OktaDefaults.MvcAuthenticationScheme);
      }

      return RedirectToAction("Index", "Home");
    }

    [HttpPost]
    public IActionResult Logout()
    {
      return new SignOutResult(new[]
      {
        OktaDefaults.MvcAuthenticationScheme,
        CookieAuthenticationDefaults.AuthenticationScheme
      });
    }
  }
}
Inside of the Login method, make sure that if the user is not authenticated that the system challenges them with Okta’s MVC Auth scheme. Okta’s handlers will then make sure to check the user’s authentication status. If needed Okta’s code will automatically redirect the user to the login screen.
The Logout method makes sure users are signed out from both Cookie and Okta’s custom schemes.
Inside of Views\Shared folder create a new file _LoginPartial.cshtml and paste the following code:
@if (User.Identity.IsAuthenticated)
{
  <ul class="nav navbar-nav navbar-right">
    <li><p class="navbar-text">Hello, @User.Identity.Name</p></li>
    <li><a onclick="document.getElementById('logout_form').submit();" style="cursor: pointer;">Log out</a></li>
  </ul>
  <form asp-controller="Account" asp-action="Logout" method="post" id="logout_form"></form>
}
else
{
  <ul class="nav navbar-nav navbar-right">
    <li><a asp-controller="Account" asp-action="Login">Log in</a></li>
  </ul>
}
You should now modify your Views\Shared\_Layout.cshtml. Find the following code:
<ul class="nav navbar-nav">
  <li><a asp-area="" asp-controller="Home" asp-action="Index">Home</a></li>
  <li><a asp-area="" asp-controller="Employees" asp-action="Index">Employees</a></li>
  <li><a asp-area="" asp-controller="Home" asp-action="About">About</a></li>
  <li><a asp-area="" asp-controller="Home" asp-action="Contact">Contact</a></li>
</ul>
Immediately after add the following line:
<partial name="_LoginPartial" />
Test Your ASP.NET Core App with Login
Open your terminal and enter the following
dotnet run
This command restores all needed NuGet packages, compiles and starts your application. The application should be running at following address: https://localhost:5001.
If you open it in your browser it should look like this:
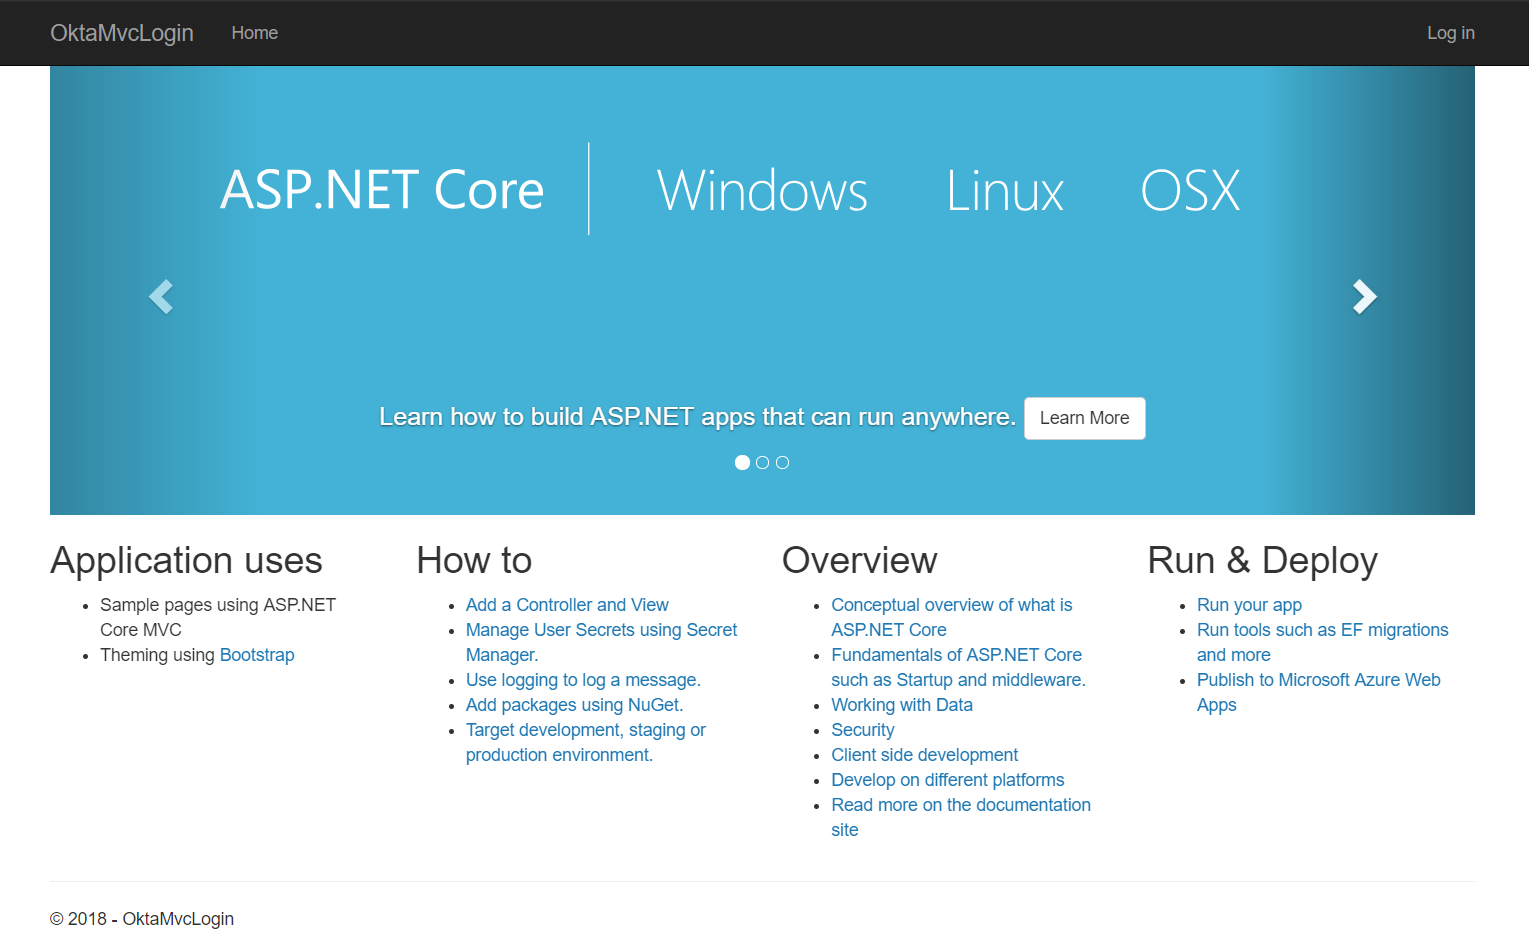
After clicking Login you should be redirected to Okta Login page and see a page like on the following picture:
After you have successfully logged in, you should be able to see Employees link in the main navbar. Clicking on it will take you to the following screen:
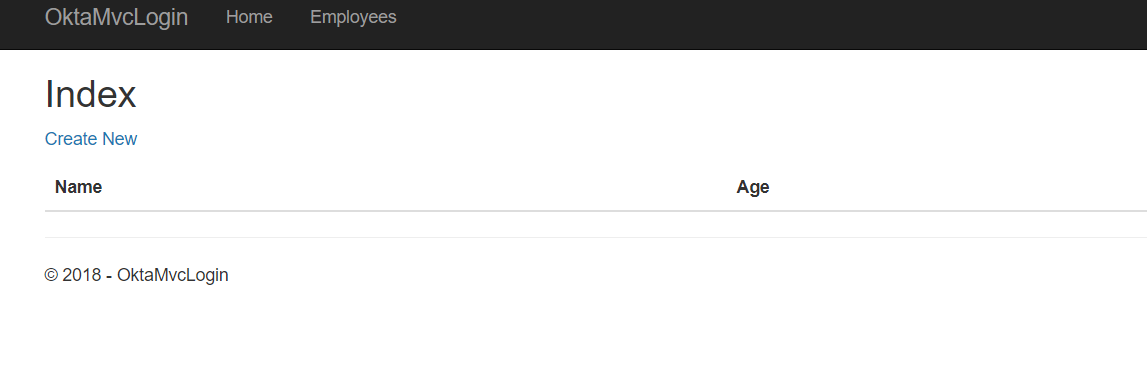
From here you can add new records, update and delete existing ones.
Learn More About ASP.NET Core and Login with Okta
If you are making web applications and you are not in need of SPA framework ASP.NET Core MVC is probably the best choice out there. Imagine all the cool features of Rails, Django or Node & Express:
- controllers
- powerful routing
- extensible and pluggable framework
- migrations
- filters
- powerful view engine,
- TDD friendly
- scaffolding - controllers, views
Add all this on top of one of the most robust and definitely the fastest major web framework – ASP.NET Core. The ASP.NET Core MVC framework combines all the goodness of ASP.NET Core (cross-platform, built-in DI, powerful configuration framework, fast, robust and easy to get started) and the features of old ASP.NET MVC.
I hope you saw how easy it is to get started with MVC with the help of .NET Core CLI and VS Code. It’s even easier to add Login to your application by using Okta.
Here are some other great resources to check:
- Token Authentication in ASP.NET Core 2.0 - A Complete Guide
- Build a Simple CRUD App with ASP.NET Core and Vue
- Build a Secure CRUD App with ASP.NET Core and React
As always, if you have questions feel free to post them in the comments below. Don’t forget to follow us on Twitter, Facebook, and LinkedIn. Also, check out our YouTube Channel.
Okta Developer Blog Comment Policy
We welcome relevant and respectful comments. Off-topic comments may be removed.