Add Single Sign-on to Your Dropwizard Server in 15 Minutes
Dropwizard is recognized as the pioneer in turn-key Java API frameworks, and rivals Spring Boot for ease of adoption. Whether you’re interested in trying it out for the first time, or already have a mature platform built on top of Dropwizard, you can add secure authentication to your site in a matter of minutes. By combining Dropwizard’s production-ready essential libraries and Okta’s identity platform, you can construct a fully secured internet-facing web service with little effort. Read on to see how!
This tutorial assumes familiarity with Java, Maven, and basic web service and web security concepts. The first section sets up a new Dropwizard server from scratch, so if you already have one up and running, feel free to skip ahead and integrate With Okta]. You can also find the completed code example on GitHub.
Dropwizard vs. Spring Boot
A number of excellent articles and blog posts (notably Takipi and Schibsted) provide thorough comparisons of the two frameworks on both a feature-set level and from an architectural perspective. While Spring Boot has been eclipsing Dropwizard lately in popularity, Dropwizard still provides a compelling out-of-the-box distribution.
Most of the differences boil down to what is included by default vs. offered as an add-on library. With no other setup needed, Dropwizard gives you exhaustive API metrics, logging, and a handful of useful libraries and tools such as Jackson, Liquibase, Hibernate, and a few page-templating frameworks. Spring Boot requires that you specify most of these extras, which adds a little more thought, planning, and effort to new server creation. The benefit, however, is greater flexibility and a wider variety of options (such as multiple HTTP server alternatives and less coupling to specific libraries).
Both frameworks provide a well-integrated, mature, production-ready insta-server, and the choice between the two usually falls according to preference of one system’s libraries over the other. If you need the Swiss Army knife, or prefer to leave more options open, Spring Boot may be the way to go. If you’re a fan of Jetty, Hibernate, Jersey, et al. and just want to start coding immediately, Dropwizard is hard to beat.
Generate a New Dropwizard Server
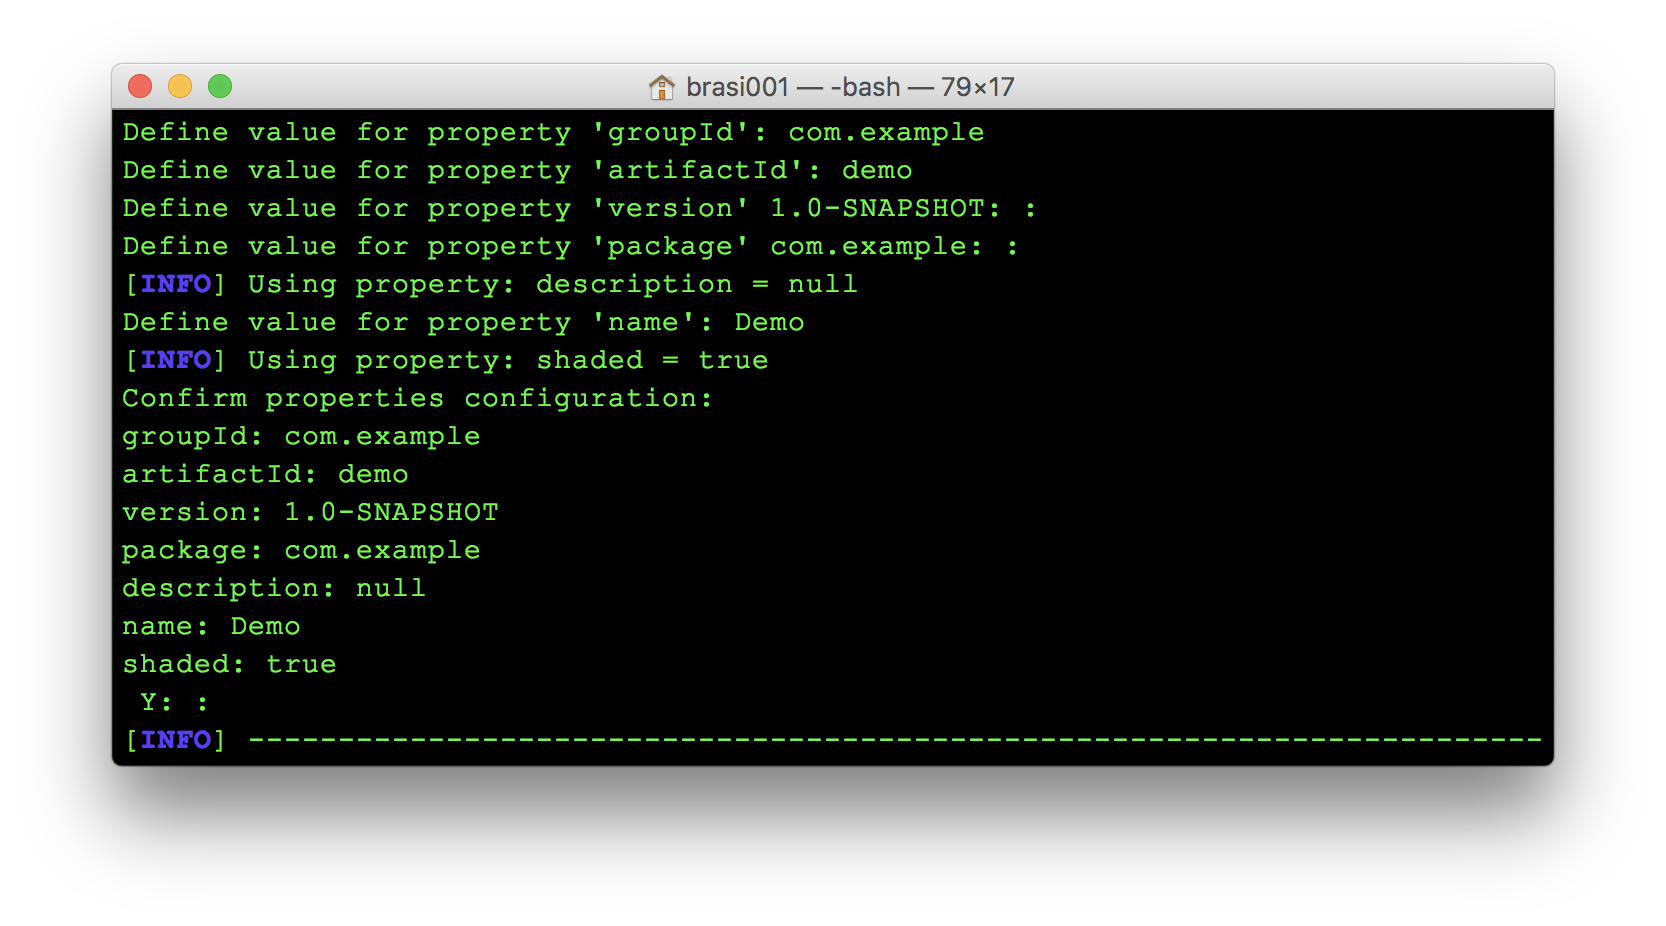
First things first, you’ll need a running server. The Dropwizard Maven archetype is a convenient way to create a new project. You can execute the following command to start in interactive mode:
mvn archetype:generate \
    -DarchetypeGroupId=io.dropwizard.archetypes \
    -DarchetypeArtifactId=java-simple
When prompted for various project names, this example used com.example for the groupId, demo for artifactId, and Demo for the name. The rest were given default values.
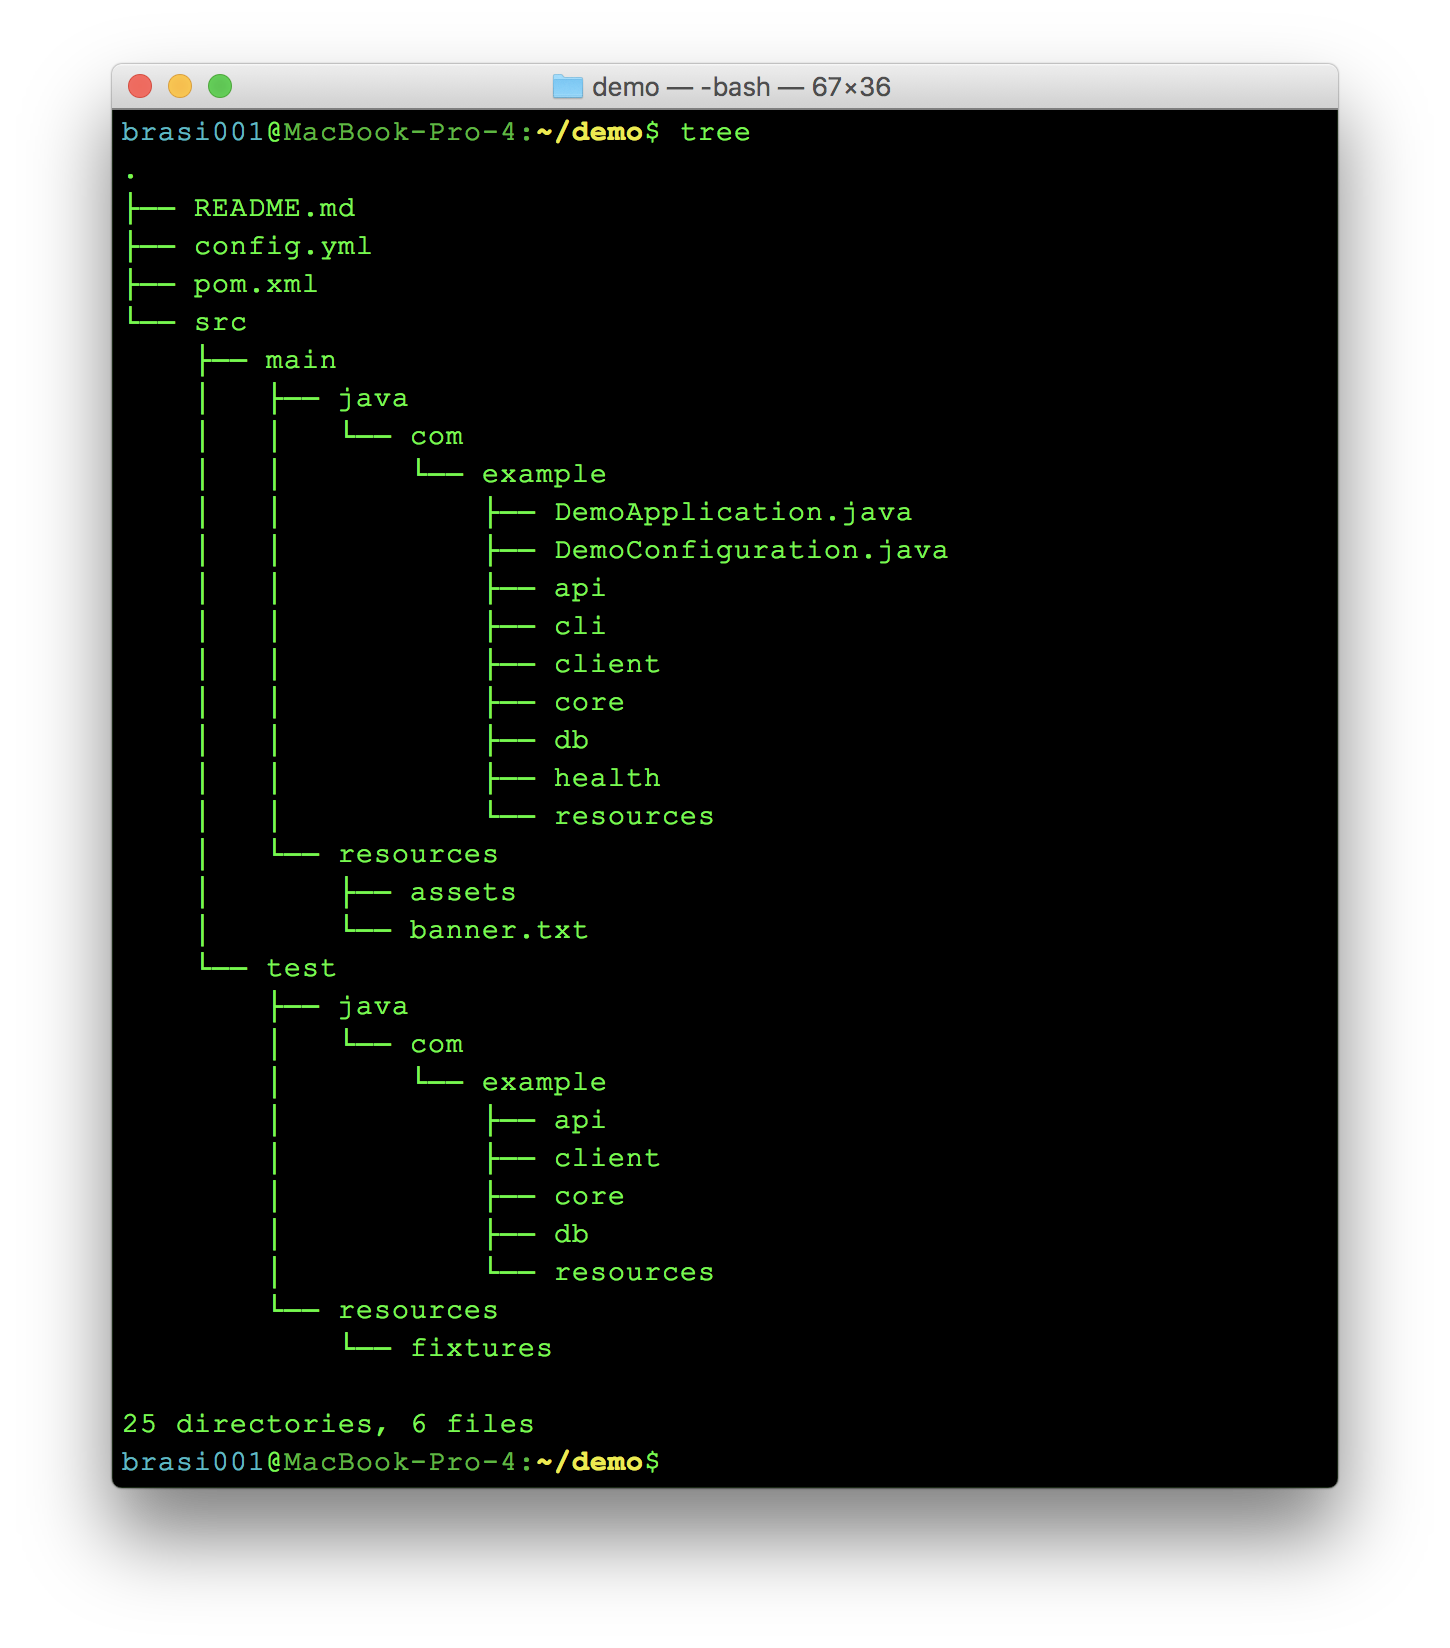
Almost like a TODO list, Dropwizard outlines the fundamental components of your server by creating a bunch of empty directories. Most of those can be left alone for now.
To start penciling in the new server, create a HomePageResource.java class in the com.example.resources package. This will serve as the “Hello world” entry point for testing, and can be enhanced later on with one of Dropwizard’s built-in HTML templating libraries. Two key annotations are needed: one @Path("/") annotation at the class level, indicating that this resource will handle requests to your server’s root URI, and one JAX-RS @GET annotation applied to a simple function that returns a test string.
@Path("/")
public class HomePageResource {
    @GET
    public String handleGetRequest(){
        return "Hello from Dropwizard!";
    }
}
Now back in com.example.DemoApplication, register this new resource with Jersey in the provided run() method:
@Override
public void run(final DemoConfiguration configuration,
                final Environment environment) {
    environment.jersey().register(new HomePageResource());
}
With that, it’s time to give the server a quick run and make sure all is working as expected. The following two commands will build and start the server on its default port of 8080:
mvn package
java -jar target/demo-1.0-SNAPSHOT.jar server
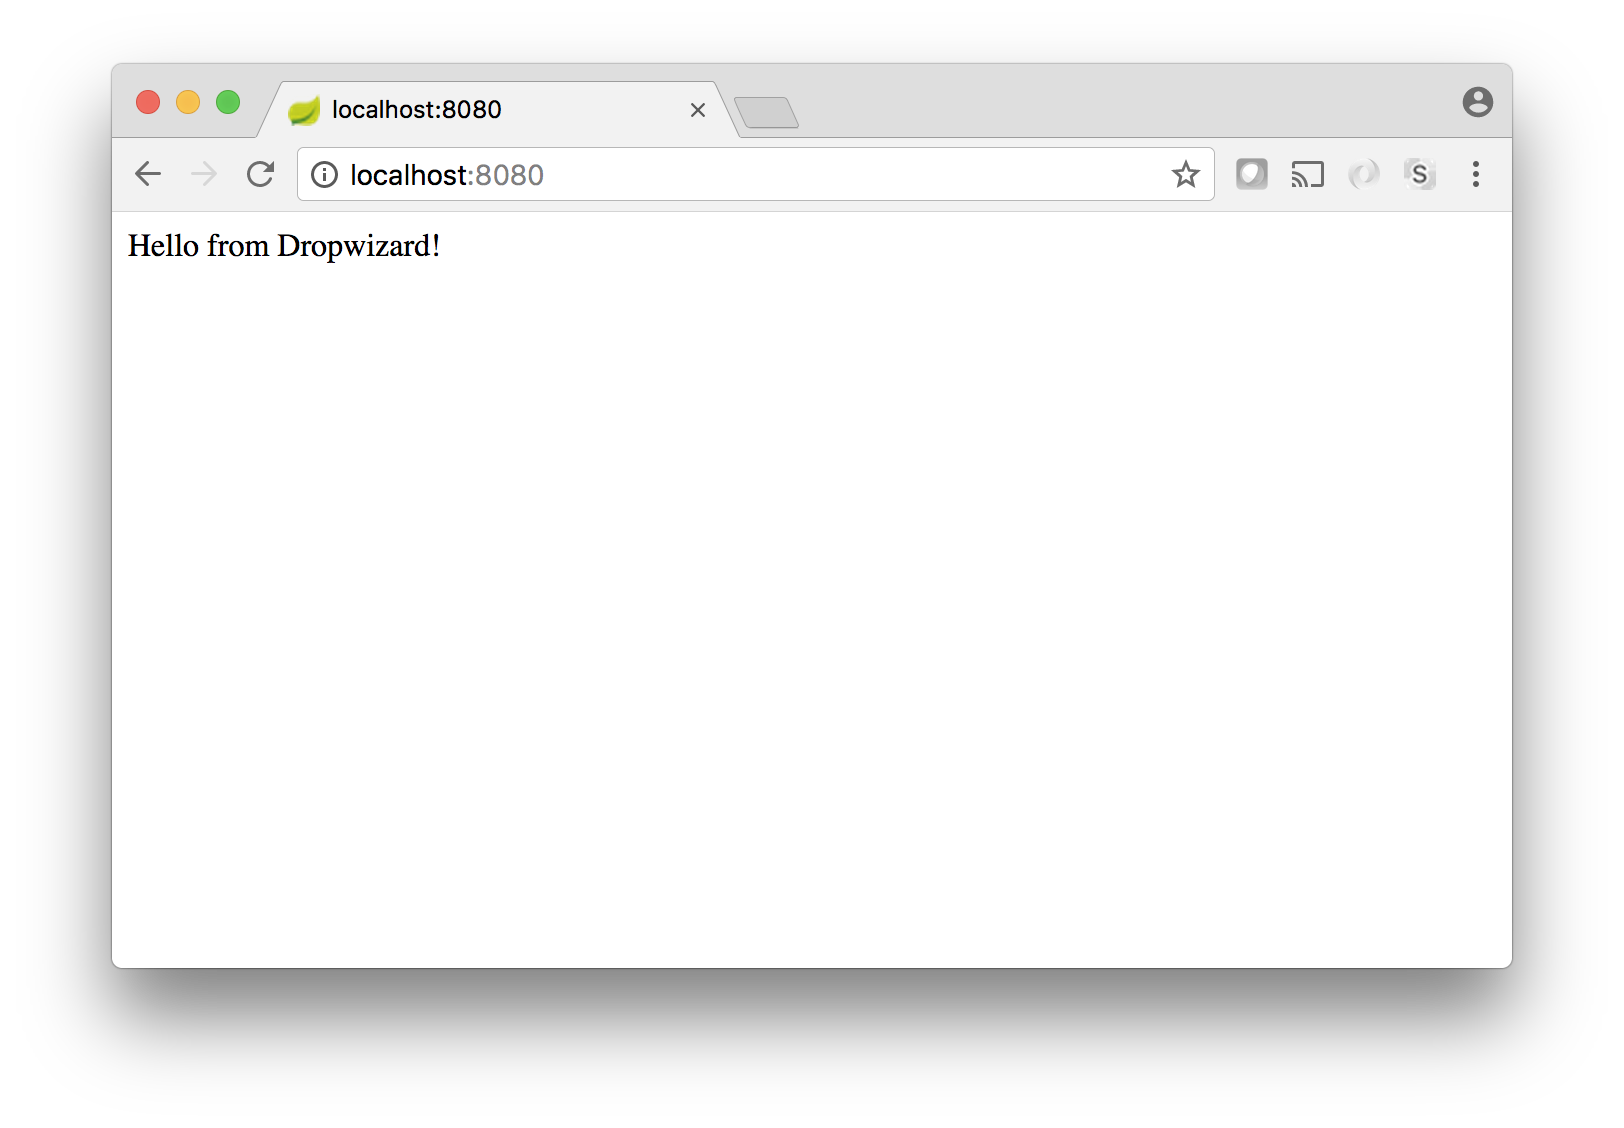
Once it’s running, visiting http://localhost:8080 in your browser should relay your Hello world message:
Before getting too fancy with the UI, now is a great opportunity to enable single sign-on for your server. The next section will walk you through the process!
Integrate With Okta for OAuth 2.0
Since one of Dropwizard’s goals is to make it easy to create RESTful applications, it provides support for creating OAuth 2.0 Resource Server. However, the actual implementation is just a stub and requires you to implement the actual handling of the access token. Okta has created an access token validation library (okta-jwt-verifier) to make it easy to plug this logic into any application.
Create an Okta Account and Gather Credentials
If you don’t already have a free Okta account, you can follow these instructions to create one and set up your first Okta application. There are four important values you will want to take note of:
- Client ID - e.g.:
{clientId} - Client secret - e.g.:
{clientSecret} - Issuer - e.g.:
https://{yourOktaDomain}/oauth2/default…be sure to include the /oauth2/default path! - Login redirect URI - this will be http://localhost:8080/login if you followed the instructions above.
Use Dropwizard Configuration to Store Your OAuth Settings
Dropwizard’s configuration mechanism is quite easy to work with. All that’s needed is a YAML file with some config values defined, and a matching POJO to access the values at runtime (in this case, that POJO is the DemoConfiguration class). You should already have a config.yml in the root of the example directory. Create a new oktaOAuth section and add your OAuth connection details as follows:
oktaOAuth:
  baseUrl: https://{yourOktaDomain}
  issuer: "https://{yourOktaDomain}/oauth2/default"
  clientId: "{clientId}"
  audience: "{yourAudience}"  # defaults to 'api://default'
To cut down on boilerplate, this example just adds these fields as publicly accessible members. You may prefer adding getters and setters, or even using Lombok to do that for you.
Create a new class com.example.models.OktaOAuthConfig:
public class OktaOAuthConfig {
    public String baseUrl;
    public String clientId;
    public String issuer;
    public String audience;
}
Now add our new model to the com.example.DemoConfiguration class.
public class DemoConfiguration extends Configuration {
    public OktaOAuthConfig oktaOAuth = new OktaOAuthConfig();
}
Now these config values can be easily retrieved in the DemoApplication class via its inherited configuration member.
Handle the OAuth 2.0 Access Token
As I mentioned above Dropwizard’s OAuth support still requires you to handle the access token yourself. No worries though, you can do that in a few lines of code with the Okta JWT Verifier.
First up, add the dropwizard-auth and okta-jwt-verifier dependencies to your pom.xml:
<dependency>
    <groupId>io.dropwizard</groupId>
    <artifactId>dropwizard-auth</artifactId>
</dependency>
<dependency>
    <groupId>com.okta.jwt</groupId>
    <artifactId>okta-jwt-verifier</artifactId>
    <version>0.3.0</version>
</dependency>
Create a Principal Implementation
Next up, I need to create a class to hold the user’s information. Dropwizard expects class to implement java.security.Principal. Create a new class com.example.auth.AccessTokenPrincipal:
public class AccessTokenPrincipal implements Principal {

    private final Jwt accessToken;

    AccessTokenPrincipal(Jwt accessToken) {
        this.accessToken = accessToken;
    }

    @Override
    public String getName() {
        // the 'sub' claim in the access token will be the email address
        return (String) accessToken.getClaims().get("sub");
    }
}
The above class basically just wraps an com.okta.jwt.Jwt and exposes it as a Principal and uses the email address in the sub claim for the name.
Dropwizard Authentication
So far so good, next, create a new class com.example.auth.OktaOAuthAuthenticator. This is where the magic happens! This class will implement io.dropwizard.auth.Authenticator and validate the access token:
public class OktaOAuthAuthenticator implements Authenticator<String, AccessTokenPrincipal> {

    private final JwtVerifier jwtVerifier;

    public OktaOAuthAuthenticator(JwtVerifier jwtVerifier) {
        this.jwtVerifier = jwtVerifier;
    }

    @Override
    public Optional<AccessTokenPrincipal> authenticate(String accessToken) throws AuthenticationException {

        try {
            Jwt jwt = jwtVerifier.decodeAccessToken(accessToken);
            // if we made it this far we have a valid jwt
            return Optional.of(new AccessTokenPrincipal(jwt));
        } catch (JoseException e) {
            throw new AuthenticationException(e);
        }
    }
}
That is it, basically two lines of code, one to validate the token another to return our custom principal type!
Wire it up!
The last step is to wire this all up in our application class, edit DemoApplication and create a new method configureOAuth():
private void configureOAuth(final DemoConfiguration configuration, final Environment environment) {
    try {
        OktaOAuthConfig widgetConfig = configuration.oktaOAuth;
        // Configure the JWT Validator, it will validate Okta's JWT access tokens
        JwtHelper helper = new JwtHelper()
                .setIssuerUrl(widgetConfig.issuer)
                .setClientId(widgetConfig.clientId);

        // set the audience only if set, otherwise the default is: api://default
        String audience = widgetConfig.audience;
        if (StringUtils.isNotEmpty(audience)) {
            helper.setAudience(audience);
        }

        // register the OktaOAuthAuthenticator
        environment.jersey().register(new AuthDynamicFeature(
            new OAuthCredentialAuthFilter.Builder<AccessTokenPrincipal>()
                .setAuthenticator(new OktaOAuthAuthenticator(helper.build()))
                .setPrefix("Bearer")
                .buildAuthFilter()));

        // Bind our custom principal to the @Auth annotation
        environment.jersey().register(new AuthValueFactoryProvider.Binder<>(AccessTokenPrincipal.class));
    } catch (Exception e) {
        throw new IllegalStateException("Failed to configure JwtVerifier", e);
    }
}
This method does a couple things: creates a JwtVerifier based on the properties in our configuration file, registers the new OktaOAuthAuthenticator class, and finally binds the @Auth annotation to our new AccessTokenPrincipal class.
Don’t forget to update the run() method with a call to our new configureOAuth() method.
@Override
public void run(final DemoConfiguration configuration,
                final Environment environment) {

    // configure OAuth
    configureOAuth(configuration, environment);

    // add resources
    environment.jersey().register(new HomePageResource());
}
Finally, update the HomePageResource to require authentication and add bit more personalization using the @Auth annotation.
@Path("/")
public class HomePageResource {

    @GET
    public String handleGetRequest(@Auth AccessTokenPrincipal tokenPrincipal) {
        return "Hello! We'll be contacting you at: " + tokenPrincipal.getName();
    }
}
You could restart the server and start handling requests! But… you of course need to get an access token from some place. If you were handling class from another OAuth capable application you could stop here. However, since this is an example I’m going to add simple login page using the Okta Sign-In Widget.
Add the Okta Sign-In Widget
Adding a login page to our RESTful application does mix concerns a little. I’m going to do this to simplify the example and at the same time show you a few more cool things with Dropwizard.
Expose the OAuth Configuration via REST
Since there is nothing secret in our OAuth configuration (access tokens to not require a client secret to be validated) we can expose our OktaOAuthConfig with a new JAX-RS resource. Create a new class com.example.resources.LoginWidgetConfigResource:
@Path("/signInConfig")
@Produces("application/json")
public class LoginWidgetConfigResource {

    private final OktaOAuthConfig config;

    public LoginWidgetConfigResource(OktaOAuthConfig config) {
        this.config = config;
    }

    @GET
    public OktaOAuthConfig getConfig() {
        return config;
    }
}
Pretty simple, it’s just a getter with a @GET annotation!
Back in our DemoApplication class you need to register the new resource in the run method:
environment.jersey().register(new LoginWidgetConfigResource(configuration.oktaOAuth));
Add a Login Page
Before creating a login page I need to configure Dropwizard to serve static assets using the concept of an AssetsBundle, this will require another dependency in your pom.xml:
<dependency>
    <groupId>io.dropwizard</groupId>
    <artifactId>dropwizard-assets</artifactId>
</dependency>
In your DemoApplicaiton class you can register this bundle in the initialize method:
@Override
public void initialize(final Bootstrap<DemoConfiguration> bootstrap) {
    bootstrap.addBundle(new AssetsBundle("/assets/", "/", "index.html"));
}
This configures the application to serve all of the files in src/main/resources/assets at the root (/) of your application. It also defines index.html as the default welcome file.
This creates a small issue. If you restart your application now it would throw an exception. Both our static assets and our resources are being service from the root context. The easy fix is to serve your API resources at /api/* with a single line in your application’s run method, the whole method should now look like:
@Override
public void run(final DemoConfiguration configuration,
                final Environment environment) {

    // base url for our resources
    environment.jersey().setUrlPattern("/api/*");

    // configure OAuth
    configureOAuth(configuration, environment);

    // add resources
    environment.jersey().register(new HomePageResource());
    environment.jersey().register(new LoginWidgetConfigResource(configuration.oktaOAuth));
}
The only thing left to do create a login page. I’m actually going to create a simple SPA app with a single index.html file. This page will load the widget configuration from /api/signInConfig, prompt the user to login, and then display the results from a call to /api/message. I’m not going to dig into the contents of the HTML, if you are interested you should be able to follow the comments.
<!doctype html>
<html lang="en">
<head>
    <meta charset="utf-8">
    <meta name="viewport" content="width=device-width, initial-scale=1, shrink-to-fit=no">
    <title>Dropwizard OAuth 2.0 Example</title>
    <base href="/">

    <script src="https://ok1static.oktacdn.com/assets/js/sdk/okta-signin-widget/2.6.0/js/okta-sign-in.min.js" type="text/javascript"></script>
    <link href="https://ok1static.oktacdn.com/assets/js/sdk/okta-signin-widget/2.6.0/css/okta-sign-in.min.css" type="text/css" rel="stylesheet">
    <link href="https://ok1static.oktacdn.com/assets/js/sdk/okta-signin-widget/2.6.0/css/okta-theme.css" type="text/css" rel="stylesheet">

    <link rel="stylesheet" href="https://maxcdn.bootstrapcdn.com/bootstrap/3.3.7/css/bootstrap.min.css">
    <script src="https://ajax.googleapis.com/ajax/libs/jquery/3.2.1/jquery.min.js" type="text/javascript"></script>
    <script src="https://maxcdn.bootstrapcdn.com/bootstrap/3.3.7/js/bootstrap.min.js" type="text/javascript"></script>
</head>

<body>
<!-- Render the login widget here -->
<div id="okta-login-container"></div>

<div class="container">
    <!-- Render the REST response here -->
    <div id="api-message"></div>

    <!-- And a logout button, hidden by default -->
    <button id="logout" type="button" class="btn btn-danger" style="display:none">Logout</button>
</div>
<script>
    $.ajax({
      url: "/api/signInConfig",
    }).then(function(data) {

      // we are priming our config object with data retrieved from the server in order to make this example easier to run
      // You could statically define your config like if you wanted too:
      /*
      let config = {
        baseUrl: 'https://{yourOktaDomain}',
        clientId: '00icu81200icu812w0h7',
        redirectUri: 'http://localhost:8080',
        authParams: {
          issuer: 'https://{yourOktaDomain}/oauth2/default',
          responseType: ['id_token', 'token']
        }
      }; */

      window.oktaSignIn = new OktaSignIn({
        baseUrl: data.baseUrl,
        clientId: data.clientId,
        redirectUri: window.location.href,
        authParams: {
          issuer: data.issuer,
          responseType: ['id_token', 'token'],
          scopes: ["openid", "profile", "email"]
        }
      });

      // handle the rest of the page
      doInit();
    });

  /**
   * Makes a request to a REST resource and displays a simple message to the page.
   * @param accessToken The access token used for the auth header
   */
  function renderApiMessage(accessToken) {
    // include the Bearer token in the request
    $.ajax({
      url: "/api/message",
      headers: {
        'Authorization': "Bearer " + accessToken
      },
    }).then(function(data) {
      // Render the message of the day
      let htmlToRender = `
            <h1>Message:
              <small>/api/message</small>
            </h1>
            <p>${data}</p>`;

      $('#api-message').append(htmlToRender);
    })
    .fail(function(data) {
      // handle any errors
      $('#api-message').append("ERROR, check your browsers console log!");
      console.log("ERROR!!");
      console.log(data.responseJSON);
    });

    // show the logout button
    $( "#logout" )[0].style.display = 'block';
  }

  function doInit() {

    $( "#logout" ).click(function() {
      oktaSignIn.signOut(() => {
        oktaSignIn.tokenManager.clear();
        location.reload();
      });
    });

    // Check if we already have an access token
    const token = oktaSignIn.tokenManager.get('my_access_token');

    // if we do great, just go with it!
    if (token) {
      renderApiMessage(token.accessToken)
    } else {

      // otherwise show the login widget
      oktaSignIn.renderEl(
        {el: '#okta-login-container'},
        function (response) {

          // check if success
          if (response.status === 'SUCCESS') {

            // for our example we have the id token and the access token
            // oktaSignIn.tokenManager.add('my_id_token', response[0]);
            oktaSignIn.tokenManager.add('my_access_token', response[0]);

            // hide the widget
            oktaSignIn.hide();

            // now for the fun part!
            renderApiMessage(response[1].accessToken);
          }
        },
        function (err) {
          // handle any errors
          console.log(err);
        }
      );
    }
  }
</script>
</body>
</html>
Whew! You’ve emerged from the jungle of hand-rolled OIDC clients, and now have authorization in your Dropwizard server! There were quite a few code examples above, so if you need to verify anything you built along the way, you can always access the complete source for this project on GitHub.
Ok… time to see it in action! You can once again build the project with:
mvn clean package
…but this time, you’ll also need to specify the location of the config.yml as a command line argument when starting the server. It needs to include the path relative to the current working directory:
java -jar target/demo-1.0-SNAPSHOT.jar server config.yml
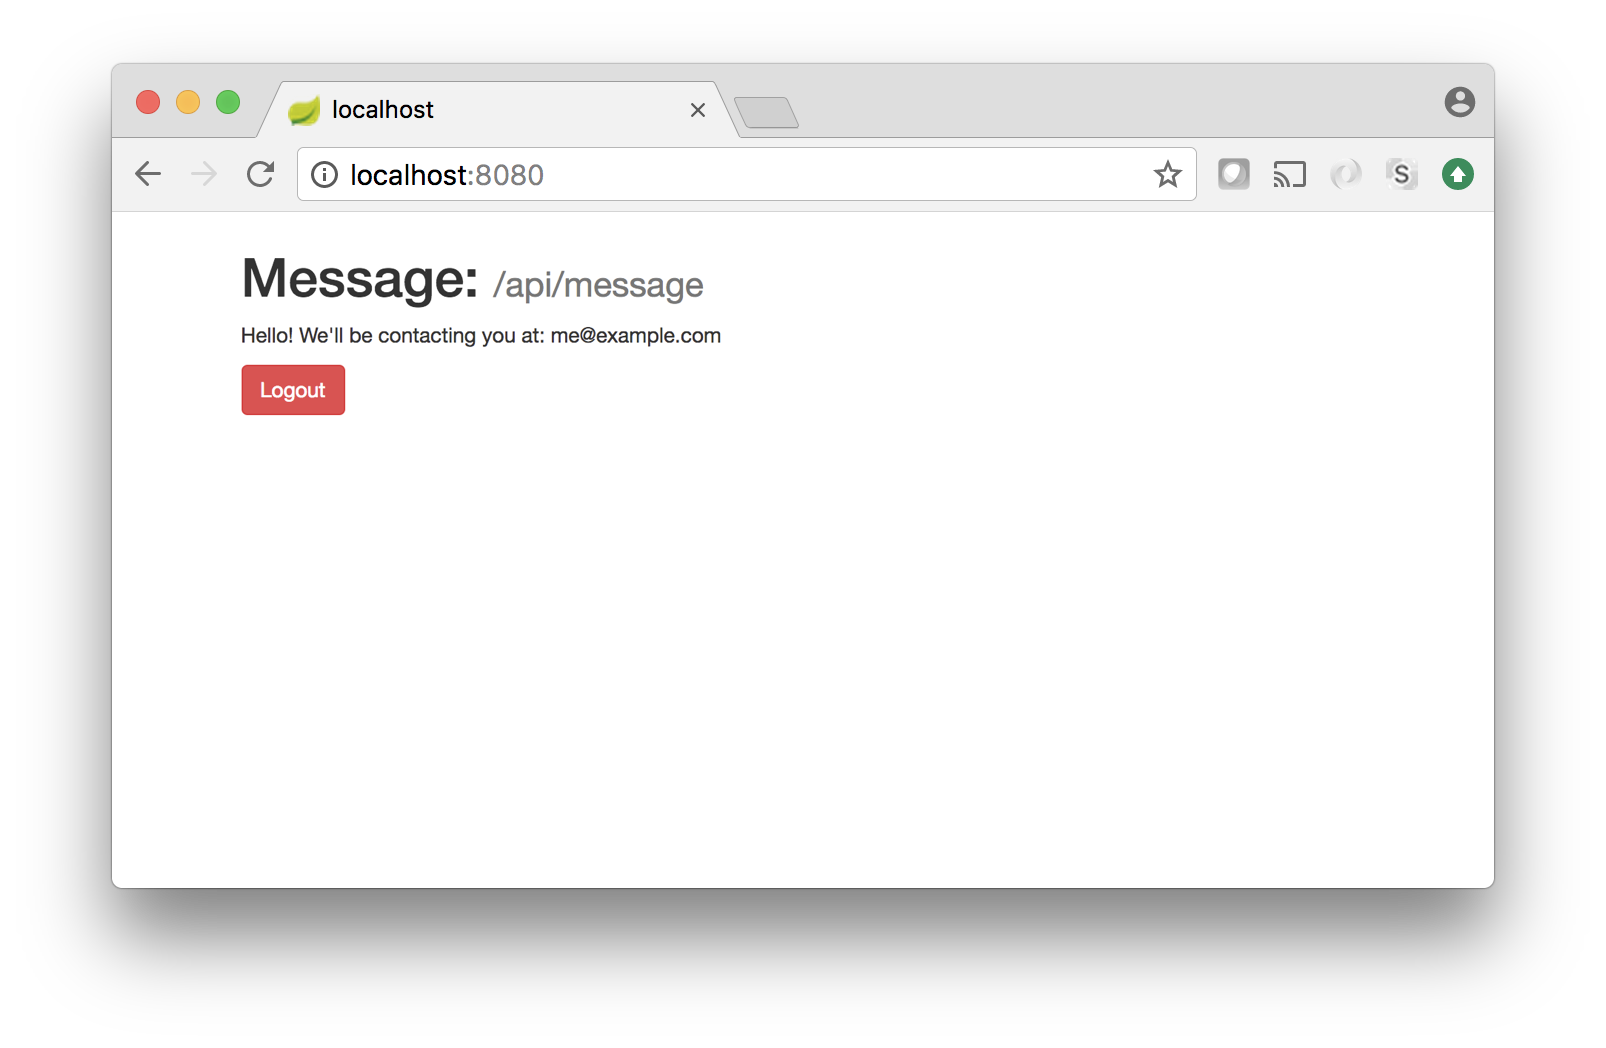
Visiting http:/localhost:8080 in your browser should now redirect you to sign in on Okta’s domain, and following that, should present a message with your email address. If so, congratulations! If you’ve had difficulty at any point along the way, try running the example as is.
Extra Credit: Health Checks
You probably have noticed the console warnings when starting your application:
!!!!!!!!!!!!!!!!!!!!!!!!!!!!!!!!!!!!!!!!!!!!!!!!!!!!!!!!!!!!!!!!!!!!!!!!!!!!!!!!
!!!!!!!!!!!!!!!!!!!!!!!!!!!!!!!!!!!!!!!!!!!!!!!!!!!!!!!!!!!!!!!!!!!!!!!!!!!!!!!!
!    THIS APPLICATION HAS NO HEALTHCHECKS. THIS MEANS YOU WILL NEVER KNOW      !
!     IF IT DIES IN PRODUCTION, WHICH MEANS YOU WILL NEVER KNOW IF YOU'RE      !
!    LETTING YOUR USERS DOWN. YOU SHOULD ADD A HEALTHCHECK FOR EACH OF YOUR    !
!         APPLICATION'S DEPENDENCIES WHICH FULLY (BUT LIGHTLY) TESTS IT.       !
!!!!!!!!!!!!!!!!!!!!!!!!!!!!!!!!!!!!!!!!!!!!!!!!!!!!!!!!!!!!!!!!!!!!!!!!!!!!!!!!
!!!!!!!!!!!!!!!!!!!!!!!!!!!!!!!!!!!!!!!!!!!!!!!!!!!!!!!!!!!!!!!!!!!!!!!!!!!!!!!!
Dropwizard makes it really easy to add existing health checks or create your own. I’ll leave that as an exercise for you!
Learn More
In this post I’ve created a self contained Dropwizard application with a couple JAX-RS resources and a simple HTML page. Take a look at Dropwizard’s getting started guide or these resources for more info.
We hope you’ve enjoyed this post, and are always eager to hear from you. Leave a comment below, or hit us up on Twitter @oktadev!
Okta Developer Blog Comment Policy
We welcome relevant and respectful comments. Off-topic comments may be removed.