Make Secure App-to-App Connections Using Cross App Access
Imagine you built a note-taking app. It’s so successful that LargeCorp, an aptly named large enterprise corporation, signed on as a customer. To make it a power tool for your enterprise customers, you need to allow your app to integrate with other productivity tools, such as turning a note into a task in a to-do app.
While common integration patterns work well for individual users, these patterns create security and compliance hurdles for large organizations.
Limitations of API keys and OAuth in enterprise app-to-app connectivity
Connecting independent apps usually involves one of two common strategies. Both have significant drawbacks when used in a corporate environment:
- API keys and service accounts These lack user context. They often lead to over-privileged access and create challenging rotation requirements.
- Standard OAuth 2.0 A much better, industry-standard best practice over API keys and service accounts, but this relies on individual user consent. IT admins cannot see or control which apps employees connect to, creating shadow IT risks and compliance and security concerns.
Cross App Access (XAA) extends OAuth flows to manage application access
Cross App Access is an OAuth extension based on the Identity Assertion Authorization Grant. It addresses these challenges by using the Enterprise Identity Provider (IdP) as a central broker and was proposed by a collaborative group of organizations and interested individuals.
With XAA, the Identity Provider (IdP) facilitates a secure token exchange. This provides three main benefits.
- IT Governance - Admins centrally manage and approve app-to-app connections
- Reduced friction - Users avoid repeated and confusing consent prompts
- Granular security - Access is limited to specific users and specific tasks.
You can read in depth about XAA in Integrate Your Enterprise AI Tools with Cross App Access to better understand how this works and to look at the token exchange flow
Manage user and non-human identities, including AI in the enterprise with Cross App Access
In this tutorial, we’ll add XAA to connect a note-taking app to a to-do app using xaa.dev as our testing ground.
Table of Contents
- Limitations of API keys and OAuth in enterprise app-to-app connectivity
- Cross App Access (XAA) extends OAuth flows to manage application access
- Make app-to-app requests using Cross App Access
- Bring your own requestor app to the xaa.dev testing site
- Get the NestJS project with OAuth and OpenID Connect (OIDC) started
- Exchanging an ID token for an access token for another app
- Inspecting the XAA token exchange
- Learn more about XAA and elevating identity security using OAuth
Make app-to-app requests using Cross App Access
We’re using NestJS in this project. The tech stack relies on TypeScript, and we’ll use an OpenID Connect (OIDC) client library to communicate with the IdP and the to-do app’s OAuth Authorization server. Using a well-maintained OIDC client library is a best practice when creating apps that use OAuth flows, as it helps ensure you don’t make subtle errors in OAuth handshakes that compromise security.
For this workshop, you need the following required tooling:
Required tools
- Node.js LTS version (v22 or higher at the time of this post)
- Command-line terminal application
- A code editor/Integrated development environment (IDE), such as Visual Studio Code (VS Code)
- Git
Note
This code project is best for developers with web development and TypeScript experience and familiarity with OAuth and OpenID Connect (OIDC) flows at a high level.
If you want to skip directly to the working project, you can find it in the GitHub repo.
Bring your own requestor app to the xaa.dev testing site
The xaa.dev testing site supports testing local client apps. It’s IdP-agnostic, meaning it’s focused on the spec and education, not on a specific company’s product line. In this scenario, we can verify whether our client app, the note-taking app, handles the token exchange with an IdP and the resource app’s authorization server. The best part about this testing site is that it’s self-contained and works out of the box. So you don’t need to create an account with an IdP, nor do you have a resource app with a conformant OAuth authorization server! We just have to bring our client code for testing! Yay for simplicity!
You can read more about the site here:
Explore Cross App Access end-to-end with xaa.dev, a free, open playground that lets you test the XAA protocol without any local setup or infrastructure.
Let’s register our note-taking app now.
In your browser, navigate to xaa.dev. The main site provides information about the players in this flow, and you can test the XAA flow step by step there. Please take a moment to step through the flow to get a better sense of the code we’ll build.
When you’re ready, navigate to Developer > Register Client. Add a totally made-up email for more fun when registering.
Select + Register New Client and fill out the required information:
- Application Name - I used “Notes App”
- Redirect URIs - Enter
http://localhost:3000/auth/callback - Post-Logout Redirect URIs - Enter
http://localhost:3000 - Resource Connections > Add Resource - Choose “Todo0 Resource App” and mark “todos.read” as your allowed scopes before clicking the Add Connection button.
Once all necessary fields have been filled select Register App.
You’ll see a modal with the Client ID and Client Secret. The xaa.dev testing site also provides credentials for the resource app’s authorization server - the Resource Client ID and Resource Client Secret. Copy all four values. We need to add these to our project.
Get the NestJS project with OAuth and OpenID Connect (OIDC) started
You’ll use a starter note-taking app project written in NestJS. Before you get too excited, remember this is a demo app. While the note-taking features are minimal, it does include built-in authentication.
Open a terminal window and run the following commands to get a local copy of the project in a directory named okta-xaa-project and install dependencies. Feel free to fork the repo to track your changes.
git clone -b starter https://github.com/oktadev/okta-js-xaa-requestor-example.git okta-xaa-project
cd okta-xaa-project
npm ci
Open the project in your IDE. Let’s go over the main components and framework choices so you don’t have to discover everything on your own:
- The NestJS project depends on Express as the base engine and uses TypeScript.
- Views for the landing page and the notes interface use Nunjucks as the templating engine.
- Relies on the openid-client to handle all OAuth handshakes. It’s an OIDC client library for JavaScript runtimes.
- There’s a basic interceptor implementation that logs HTTP requests and responses to the console. This way, we can see the token exchange flow.
The app requires a client ID, client secret, resource client ID, and resource client secret to run. Let’s add those to the project.
Rename the .env.example file to .env. It already has variables defined and values added to match the URI of the XAA testing site components. Replace the CLIENT_ID, CLIENT_SECRET, RESOURCE_CLIENT_ID, and RESOURCE_CLIENT_SECRET values with the values from the XAA testing site.
The app should now run, but it still won’t make a successful cross-app access request. Serve the app using the command shown:
npm start
Navigate to http://localhost:3000. You should see a landing page that looks like this:

Feel free to sign in. You’re redirected to the XAA testing site’s IdP for the user challenge. Enter the email address and any combination of numbers for the one-time password. You’ll redirect to the notes view and see something like this:
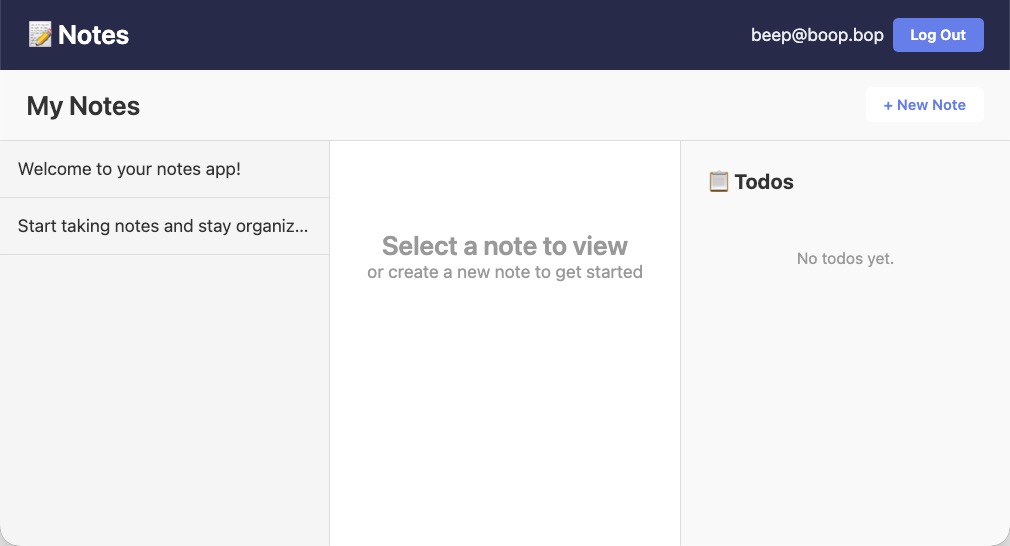
There are no todos yet, and in the IDE’s console we see logging and errors. Each request and response to the XAA testing site’s components has a corresponding log entry. We see the IdP’s redirect with the authorization code, the POST to get tokens along with the request params, and a request to the todo API, which returns a 401 Unauthorized HTTP status code. We need to add the code for the XAA token exchange. Stop serving the app by entering Ctrl+C in the terminal.
Exchanging an ID token for an access token for another app
When you sign in to the note-taking app, the IdP issues an ID token. From here, the XAA token flow is a two-step process:
- The note-taking app requests the IDP’s OAuth authorization server to exchange the ID token for a trustworthy intermediary token type, an Identity Assertion JSON Web Token (JWT) also known as ID-JAG, that the todo app recognizes and supports.
- The todo app’s OAuth authorization server exchanges the intermediary token and issues an access token.
With the access token in hand, the note-taking app can make resource requests to the todo app’s resource server.
First, we request the trustworthy intermediary token type, the ID-JAG token.
Exchange the ID token for an intermediary ID-JAG token type
In the IDE, open the src/auth/auth.service.ts file. This file contains code for authentication and the OAuth exchange, along with some utility functions. You already have the code to sign in and have the ID token. We’ll continue using the openid-client library for the XAA token exchanges. Find the private helper method exchangeIdTokenForIdJag(). The body of the method has a comment:
// add logic to return an ID-JAG token given the user's ID token
We need to replace the inner workings of this method to return the ID-JAG token instead of an empty promise. No empty promises for us! Our promises are as good as tokens. 👻
Replace the code within the method as shown, then I’ll walk through each code block.
/**
 * Exchange ID token for ID-JAG token (step 1 of ID-JAG flow)
 */
private async exchangeIdTokenForIdJag(
  config: openidClient.Configuration,
  idToken: string,
  authServerUrl: string,
  resourceUrl: string,
  scope: string[],
): Promise<string> {
  const tokenExchangeParams = {
    requested_token_type: 'urn:ietf:params:oauth:token-type:id-jag',
    audience: authServerUrl,
    resource: resourceUrl,
    subject_token: idToken,
    subject_token_type: 'urn:ietf:params:oauth:token-type:id_token',
    scope: scope.join(' '),
  };

  const tokenExchangeResponse = await openidClient.genericGrantRequest(
    config,
    'urn:ietf:params:oauth:grant-type:token-exchange',
    tokenExchangeParams,
  );

  return tokenExchangeResponse.access_token;
}
In this first exchange, we call the IdP. The IdP acts as the broker between the two apps as it’s the trusted source.
Let’s step through the key parts of the first code block where we set the token exchange parameters:
requested_token_type- we’re asking the IDP for the ID-JAG tokenaudienceandresource- the authorization server and the todo API we’re requesting resources fromsubject_token- the token we’re using for this exchangesubject_token_type- the type of the token we’re using for the exchangescopes- the requested scopes, such as reading todos
Once we have all these parameters set, we can call the IdP. The openid-client library has a function for making generic grant requests. We can use it to request the token exchange grant type. While the return value is not an access token, the grant request relies on existing OAuth models that defined the access_token response parameter.
Let’s call the method so we can test it out. Find the comment:
// Step 1: Exchange ID token for ID-JAG token
in the exchangeIdTokenForAccessToken() method.
Add the call to the method like this:
// Step 1: Exchange ID token for ID-JAG token
const idJagToken = await this.exchangeIdTokenForIdJag(
  idpConfig,
  idToken,
  authServerUrl,
  resourceUrl,
  scope,
);
We’re adding configuration information, including the IdP, client ID, and client secret. And we have some other required configuration values pulled from the .env file, such as the servers for the todo app and the scopes.
We’ll get the signed Identity Assertion JWT Authorization grant when the call succeeds. This is a signed token from the IdP, so whenever we exchange it in the next step, the recipient knows it’s trustworthy. Step one complete. ✅
Feel free to start the app and check the console log for your first exchange request. You should see the call to LOG [OAuth HTTP] → POST idp.xaa.dev/token in the console. Below that, you’ll see the token exchange parameters that look something like this:
DEBUG [OAuth HTTP]   body:
    requested_token_type=urn:ietf:params:oauth:token-type:id-jag
    audience=https://auth.resource.xaa.dev
    resource=https://api.resource.xaa.dev
    subject_token=eyJhbGc...IdoRppJyZmV9Q
    subject_token_type=urn:ietf:params:oauth:token-type:id_token
    scope=todos.read
    grant_type=urn:ietf:params:oauth:grant-type:token-exchange
The call to get todos will still fail, but you can see the first exchange request in action! 🚀
Use the ID-JAG token to request an access token for a separate app
With the ID-JAG token in hand, we can now move on to the second exchange, exchanging the ID-JAG intermediary token for an access token to the todo app. We make this exchange with the todo app’s OAuth authorization server. The IdP oversees both the note-taking app and the todo app, and trust domains between the two apps facilitate this flow. Remember, in our first exchange, we had to specify the audience for the ID-JAG token in our request - the todo app.
Back in src/auth/auth.service.ts, find the comment:
// add logic to return an access token given the ID-JAG token
This comment is in the placeholder code for the exchangeIdJagForAccessToken() method.
Replace the placeholder code to make the exchange. Your code will look like this:
/**
  * Exchange ID-JAG token for access token (step 2 of ID-JAG flow)
  */
private async exchangeIdJagForAccessToken(
  config: openidClient.Configuration,
  idJagToken: string,
  scope: string[],
): Promise<string> {
  const jwtBearerParams = {
    assertion: idJagToken,
    scope: scope.join(' '),
  };

  const resourceTokenResponse = await openidClient.genericGrantRequest(
    config,
    'urn:ietf:params:oauth:grant-type:jwt-bearer',
    jwtBearerParams,
  );

  return resourceTokenResponse.access_token;
}
We’re following a similar pattern to the first exchange, with a difference in the grant request. This time, the parameters include an assertion, the ID-JAG token. And we make the grant request to the todo app’s OAuth authorization server with the urn:ietf:params:oauth:grant-type:jwt-bearer grant type. This exchange relies upon a pre-existing spec where one can use a bearer JWT for as a grant type to request an access token. That’s what we’re doing in this step.
Next, we’ll call this method in exchangeIdTokenForAccessToken().
Find the comment:
// Step 2: Exchange ID-JAG token for access token
Because we’re calling a new authorization server, the todo app’s OAuth authorization server, we first need to read the well-known discovery docs. The discovery docs include information about the authorization server, such as the server’s capabilities and endpoints, including the token endpoint. Since we’re authenticating with the todo app’s authorization server, not the IdP, we use the resource app’s credentials here. The todo app’s authorization server recognizes RESOURCE_CLIENT_ID and RESOURCE_CLIENT_SECRET, not your notes app’s credentials. We’ve been using a custom fetch implementation to capture the logging you see, so we must include that implementation in openid-client too. Then make the call to the exchangeIdJagForAccessToken() helper method. Your code will look like this:
// Step 2: Exchange ID-JAG token for access token
const resourceAuthConfig = await openidClient.discovery(
  new URL(authServerUrl),
  resourceClientId,
  resourceClientSecret,
  openidClient.ClientSecretPost(resourceClientSecret ?? ''),
);
resourceAuthConfig[openidClient.customFetch] = loggedFetch;

return this.exchangeIdJagForAccessToken(
  resourceAuthConfig,
  idJagToken,
  scope,
);
Make sure to remove any placeholder implementation. Step two complete. ✅
The code to make a request to the todo API using the bearer token already exists in the project. Let’s try running the app now using npm start.
Inspecting the XAA token exchange
After you authenticate, you’ll see the notes and the todos! 🎉
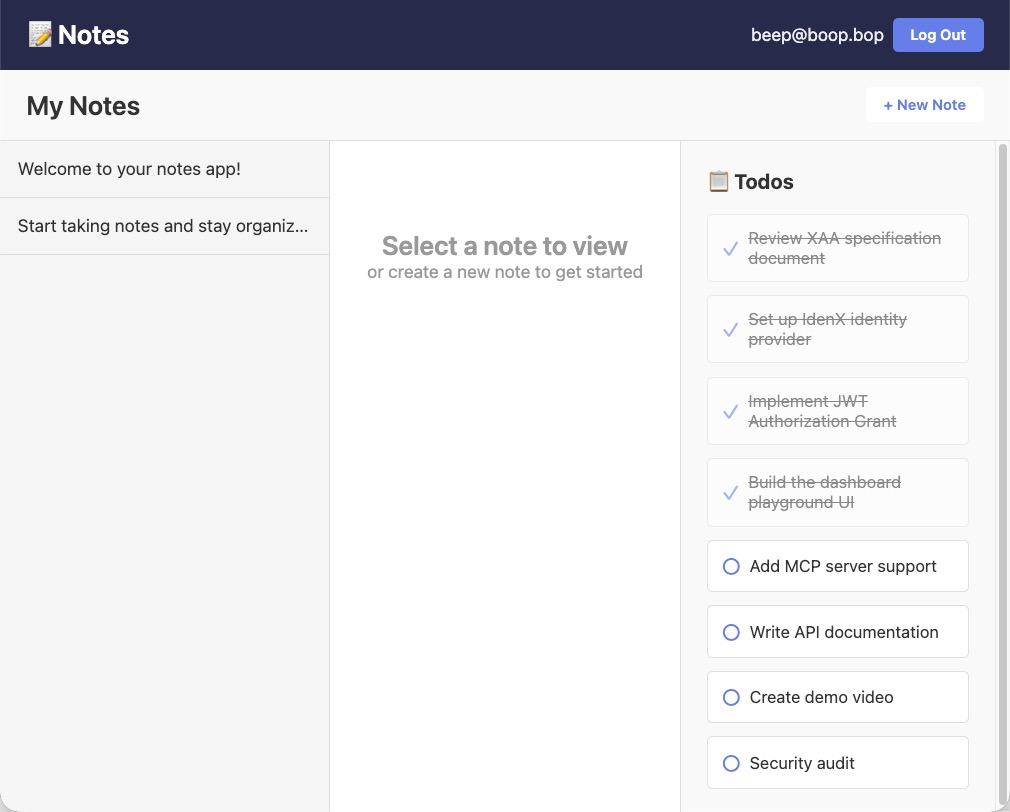
In the terminal console, you’ll see each step of the handshake and requests:
- Authentication in the notes app with the IdP returning the ID token
- Exchanging the ID token for an ID-JAG token with the IDP’s OAuth authorization server
- Exchanging the ID-JAG token for an access token with the todo app’s OAuth authorization server
- Call the todo app’s resource server (the API)
Feel free to inspect each step of this flow, the request parameters, and the responses.
These steps allow an app to make requests to a third-party app within enterprise systems securely. You can find the completed project in the GitHub repo with instructions to also test on GitHub Codespaces.
Learn more about XAA and elevating identity security using OAuth
I hope you enjoyed this post on making secure cross-app requests for enterprise use cases. If you found this post interesting, I encourage you to check out these links:
- Build Secure Agent-to-App Connections with Cross App Access (XAA)
- Identity Assertion JWT Authorization Grant
- How to Instantly Sign a User Out across All Your Apps
- How to Manage User Lifecycle with .NET and SCIM
- Why You Should Migrate to OAuth 2.0 From Static API Tokens
Remember to follow us on Twitter and subscribe to our YouTube channel for more exciting content. We also want to hear from you about the topics you’d like to see and any questions you may have. Leave us a comment below!
Changelog:
- Apr 23, 2026:
Updated GitHub repo to reflect v2 changes of xaa dev including
RESOURCE_CLIENT_ID, andRESOURCE_CLIENT_SECRET. You can see the changes in the example app on GitHub. Changes to this article can be viewed in oktadev/okta-blog#1638.
Alisa Duncan is a Senior Developer Advocate at Okta, a full-stack developer, and a community builder who loves the thrill of learning new things. She is a Google Developer Expert in Angular and organizes coding workshops and community events locally and internationally. Her background is primarily working on enterprise software platforms, and she is a fan of all things TypeScript and JavaScript.
Okta Developer Blog Comment Policy
We welcome relevant and respectful comments. Off-topic comments may be removed.