Use Redux to Manage Authenticated State in a React App
There are a myriad of state management options available for React. React provides the option of using the built-in Context for when you have a nested tree of components that share a state. There is also a built-in useState hook that will allow you to set local state for a component.
For more complex scenarios where you need a single source of truth that changes frequently and is shared across large sections of your application, consider using a more robust state management library.
This walkthrough will get you started with a basic setup using Okta’s redirect model to manage authenticated state and user profile information within a React app. It provides examples on when to use Redux versus local state using React’s useState hook versus React Context.
Prerequisites
As of the time of this publication, Create React App requires Node >= 14.0.0 and npm >= 5.6. You can check for the latest required versions at https://reactjs.org/docs/create-a-new-react-app.html.
NOTE: Redux also recommends you install the React Developer Tools Chrome extension.
Table of Contents
- Create the React app using TypeScript
- How Redux works
- Add authentication using OAuth2 and OpenID Connect (OIDC)
- TypeScript React application setup with Redux state management
- Add authentication and create routes
- Add initial state, create Redux slice, and create selector
- Show user profile information with state management
- Running the app
- Learn more about authentication, React, and Redux
Note: In May 2025, the Okta Integrator Free Plan replaced Okta Developer Edition Accounts, and the Okta CLI was deprecated.
We preserved this post for reference, but the instructions no longer work exactly as written. Replace the Okta CLI commands by manually configuring Okta following the instructions in our Developer Documentation.
Create the React app using TypeScript
We’ll get started with the built-in React template for Create React App that uses Redux and TypeScript. This includes the recommended Redux Toolkit and Redux’s integration with React components. You can also clone the GitHub repo and follow the instructions there to configure it instead of building the project.
- First, run:
npx create-react-app okta-react-redux --template redux-typescript
NOTE: Our demo repository uses React ^18.2.0 and React Scripts 5.0.1.
- Then we’ll add the Redux core by running:
npm add redux@4.2 - Redux provides its own types, but we’ll want to add our
react-reduxtypes since we’re using TypeScript:npm add -D @types/react-redux@7.1 - We’ll also need routing (and routing types) for our app:
npm install react-router-dom@5 npm add -D @types/react-router-dom@5.3 - To start your app, run:
npm start
How Redux works
To update state using Redux, an action is dispatched. Then the store uses the root reducer to calculate a new state as compared to the old state, which notifies the proper subscribers of the update, so that the UI can be updated properly.
A typical Redux workflow goes like this. First, the UI for your application is rendered using an initial global Redux store, created with the root reducer:
- An event occurs in the UI of your app, such as a user button interaction, which triggers an action.
- The action is then dispatched to the store and an event handler that handles the needed logic makes the changes to your global state.
- The store notifies subscribed parts in the UI that there has been an update.
- Those subscribed parts then check to see if a re-render is necessary to update the UI as needed.
NOTE: The built-in Redux template we used includes a great counter example of how Redux works. You can take a closer look at Redux’s explanation of the counter example.
Useful terms for working with Redux
An action is a JS object with a type and a payload. It describes an actionable interaction within your app, and typically is named something like createUser or addToDo.
Action creators can be used to dynamically create actions. Our demo does not use action creators, but you can read more about it at the link above.
When passed a new state, a reducer returns the proper current state by comparing it with the previous state, and making the applicable changes. Reducers work similarly to the Array.reduce method.
The current live state for your app lives in the Redux store.
A selector returns a piece of the live Redux state as stored in the live Redux store.
Dispatch is a method that triggers an action, which in turn updates the Redux store.
Add authentication using OAuth2 and OpenID Connect (OIDC)
For this demo app, we’ll be using Okta’s SPA redirect model to authenticate and fetch user info.
Before you begin, you’ll need a free Okta developer account. Install the Okta CLI and run okta register to sign up for a new account. If you already have an account, run okta login.
Then, run okta apps create. Select the default app name, or change it as you see fit.
Choose Single-Page App and press Enter.
Use http://localhost:3000/login/callback for the Redirect URI and accept the default Logout Redirect URI of http://localhost:3000/login.
What does the Okta CLI do?
The Okta CLI will create an OIDC Single-Page App in your Okta Org. It will add the redirect URIs you specified and grant access to the Everyone group. It will also add a trusted origin for http://localhost:3000/login. You will see output like the following when it’s finished:
Okta application configuration:
Issuer:    https://dev-133337.okta.com/oauth2/default
Client ID: 0oab8eb55Kb9jdMIr5d6
NOTE: You can also use the Okta Admin Console to create your app. See Create a React App for more information.
- Add the Okta SDKs to your project by running:
npm install @okta/okta-react@6.4 @okta/okta-auth-js@6.0
TypeScript React application setup with Redux state management
- Create a
.envfile to your root directory and add the following:REACT_APP_OKTA_ISSUER=https://{yourOktaDomain}/oauth2/default REACT_APP_OKTA_CLIENTID={yourOktaClientId} REACT_APP_OKTA_BASE_REDIRECT_URI=http://localhost:3000
NOTE: Remember to not include your .env file in any version control for security reasons.
Add authentication and create routes
Modify the existing App.tsx file:
import "./App.css";
import { OktaAuth, toRelativeUrl } from "@okta/okta-auth-js";
import { BrowserRouter as Router, Route } from "react-router-dom";
import { LoginCallback, Security } from "@okta/okta-react";
import Home from "./components/home";
import { useCallback } from "react";

const oktaAuth = new OktaAuth({
  issuer: process.env.REACT_APP_OKTA_ISSUER,
  clientId: process.env.REACT_APP_OKTA_CLIENTID,
  redirectUri: process.env.REACT_APP_OKTA_BASE_REDIRECT_URI + "/login/callback",
});

function App() {
  const restoreOriginalUri = useCallback(
    async (_oktaAuth: OktaAuth, originalUri: string) => {
      window.location.replace(
        toRelativeUrl(originalUri || "/", window.location.origin)
      );
    },
    []
  );

  return (
    <Router>
      <Security oktaAuth={oktaAuth} restoreOriginalUri={restoreOriginalUri}>
        <Route path="/" exact={true} component={Home} />
        <Route path="/login/callback" component={LoginCallback} />
      </Security>
    </Router>
  );
}

export default App;
Add initial state, create Redux slice, and create selector
- Create a
src/redux-statedirectory:mkdir src/redux-state - Add a
userProfileSlice.tsxfile in the createdredux-statedirectory with the following:
import { createSlice } from "@reduxjs/toolkit";
import { RootState } from "../app/store";

export interface IUserProfile {
  email: string;
  given_name: string;
  family_name: string;
}

const initialState: IUserProfile = {
  email: "",
  given_name: "",
  family_name: "",
};

export const userProfileSlice = createSlice({
  name: "userProfile",
  initialState,
  reducers: {
    setUserProfile: (state, action) => {
      return {
        email: action.payload.payload.email,
        given_name: action.payload.payload.given_name,
        family_name: action.payload.payload.family_name,
      };
    },
  },
});

export const selectUserProfile = (state: RootState): IUserProfile =>
  state.userProfile;

export const { setUserProfile } = userProfileSlice.actions;
export default userProfileSlice.reducer;
- In the
src/app/store.tsfile, add the created Redux slice to the Redux store:
import { configureStore, ThunkAction, Action } from "@reduxjs/toolkit";
import counterReducer from "../features/counter/counterSlice";
import userProfileReducer from "../redux-state/userProfileSlice";

export const store = configureStore({
  reducer: {
    counter: counterReducer,
    userProfile: userProfileReducer,
  },
});

export type AppDispatch = typeof store.dispatch;
export type RootState = ReturnType<typeof store.getState>;
export type AppThunk<ReturnType = void> = ThunkAction<
  ReturnType,
  RootState,
  unknown,
  Action<string>
>;
Show user profile information with state management
- Create a
src/componentsdirectory:mkdir src/components - In the
src/componentsdirectory, add the following files:home.tsx
import { useOktaAuth } from "@okta/okta-react";
import { createContext, useEffect, useState } from "react";
import { useDispatch } from "react-redux";
import { setUserProfile } from "../redux-state/userProfileSlice";
import "../App.css";
import Dashboard from "./dashboard";
import { UserClaims } from "@okta/okta-auth-js";

type UserProfileExtra = Pick<UserClaims, "locale" | "preferred_username">;

const emptyUserContext = {
  preferred_username: "",
  locale: "",
} as UserProfileExtra;

export const UserContext = createContext(emptyUserContext);

export default function Home() {
  const dispatch = useDispatch();
  const { oktaAuth, authState } = useOktaAuth();
  const [userProfileExtra, setUserProfileExtra] = useState<UserProfileExtra>();

  const login = async () => oktaAuth.signInWithRedirect();

  useEffect(() => {
    if (authState?.isAuthenticated) {
      oktaAuth
        .getUser()
        .then((userInfo: UserProfileExtra) => {

          dispatch(
            setUserProfile({
              type: "userProfile/userProfileSet",
              payload: userInfo,
            })
          );

          setUserProfileExtra({
            locale: userInfo.locale,
            preferred_username: userInfo.preferred_username,
          });
        })
        .catch((err) => {
          console.error(err);
        });
    }
  }, [authState?.isAuthenticated, dispatch, oktaAuth]);

  return (authState?.isAuthenticated && userProfileExtra) ? (
    <UserContext.Provider value={userProfileExtra}>
      <Dashboard />
    </UserContext.Provider>
  ) : (
    <div className="section-wrapper">
      <div className="title">Use Redux to Manage Authenticated State in a React App</div>
      <button className="button" onClick={login}>
        Login
      </button>
    </div>
  );
}
Here we use React’s useEffect hook to set the global user state we set up earlier with setUserProfile and the local user state we set up in this file with useState.
Once the user is authenticated, we rely on the getUser method that is built into oktaAuth to fetch the user profile information. If the user is not yet authenticated, we render the login page instead.
dashboard.tsx
import { useOktaAuth } from "@okta/okta-react";
import { useSelector } from "react-redux";
import { selectUserProfile } from "../redux-state/userProfileSlice";
import "../App.css";
import { useState } from "react";
import UserProfile from "./userProfile";
import UserProfileExtra from "./userProfileExtra";

export default function Dashboard() {
  const { oktaAuth } = useOktaAuth();
  const userProfile = useSelector(selectUserProfile);
  const [isExpanded, setIsExpanded] = useState(false);

  const logout = async () => oktaAuth.signOut();

  return (
    <div className="section-wrapper">
      <div className="title">Dashboard</div>
      <div className="profile-greeting">{`Hi ${userProfile.given_name}!`}</div>
      <div className="profile-more-wrapper">
        {isExpanded && (
          <>
            <UserProfile />
            <UserProfileExtra />
          </>
        )}
      </div>
      {
        <div
          className="profile-toggle"
          onClick={() => setIsExpanded(!isExpanded)}
        >
          {isExpanded ? "Show less" : "Show more"}
        </div>
      }
      <div>
        <button className="button" onClick={logout}>
          Logout
        </button>
      </div>
    </div>
  );
}
In this file, we use a Redux selector to get the current state for userProfile to then render those values in our component.
We also set an isExpandable property that toggles whether or not additional user profile information is hidden or shown. This is another example of how to use local state with the useState hook.
userProfile.tsx
import { useSelector } from "react-redux";
import { selectUserProfile } from "../redux-state/userProfileSlice";
import "../App.css";

export default function UserProfile() {
  const userProfile = useSelector(selectUserProfile);

  return (
    <>
      <div>
        <span>Email: </span>
        {userProfile.email}
      </div>
      <div>
        <span>Last name: </span>
        {userProfile.family_name}
      </div>
    </>
  );
}
In this file, we use the Redux selector created earlier to get the current state for the state slice. This includes the user profile information we set earlier.
userProfileExtra.tsx
import "../App.css";
import { useContext } from "react";
import { UserContext } from "./home";

export default function UserProfileExtra() {
  const userProfileExtra = useContext(UserContext);

  return (
    <>
      <div>
        <span>Username: </span>
        {userProfileExtra.preferred_username}
      </div>
      <div>
        <span>Locale: </span>
        {userProfileExtra.locale}
      </div>
    </>
  );
}
Here, we demonstrate another way to manage state. This time, React’s built-in useContext hook is used to get what we set earlier in the UserContext we created with React’s createContext method.
NOTE: The following custom styling has also been added to src/App.css in the demo repository.
.section-wrapper > div {
  padding: 24px;
  font-family: Roboto, sans-serif;
}

.section-wrapper {
  display: flex;
  flex-direction: column;
  justify-content: center;
  align-items: center;
  height: calc(100vh - 100vh * 0.33);
  margin-top: 56px;
}

.button {
  min-width: 64px;
  height: 36px;
  border-color: #6200ee;
  color: #6200ee;
  background-color: transparent;
  border-style: solid;
  padding: 0 15px 0 15px;
  border-width: 1px;
  font-size: 0.875rem;
  font-weight: 700;
  letter-spacing: 0.0892857143em;
  text-transform: uppercase;
  border-radius: 4px;
  border-style: solid;
  padding: 0 15px 0 15px;
  border-width: 1px;
}

.button:hover {
  cursor: pointer;
  background-color: rgb(112, 76, 182, 0.1);
}

.title {
  font-size: 48px;
  text-align: center;
}

.profile-greeting {
  font-size: 32px;
}

.profile-toggle {
  font-size: 16px;
  text-decoration: underline;
  color: #6200ee;
}

.profile-more-wrapper {
  height: 360px;
  display: flex;
  flex-direction: column;
  justify-content: center;
  align-items: center;
}

.profile-more-wrapper > div {
  padding: 16px;
}

.profile-more-wrapper span {
  font-size: 20px;
  font-weight: 500;
}
Our app is now complete! Next we’ll run it to log a user in and render our applicable states.
Running the app
To start the app, run npm start.
After your app starts and you’ve clicked login on the home screen, you’ll be redirected to the Okta-hosted sign-in page. Here, enter your user credentials. Once your user is authenticated, the dashboard component we created will render.
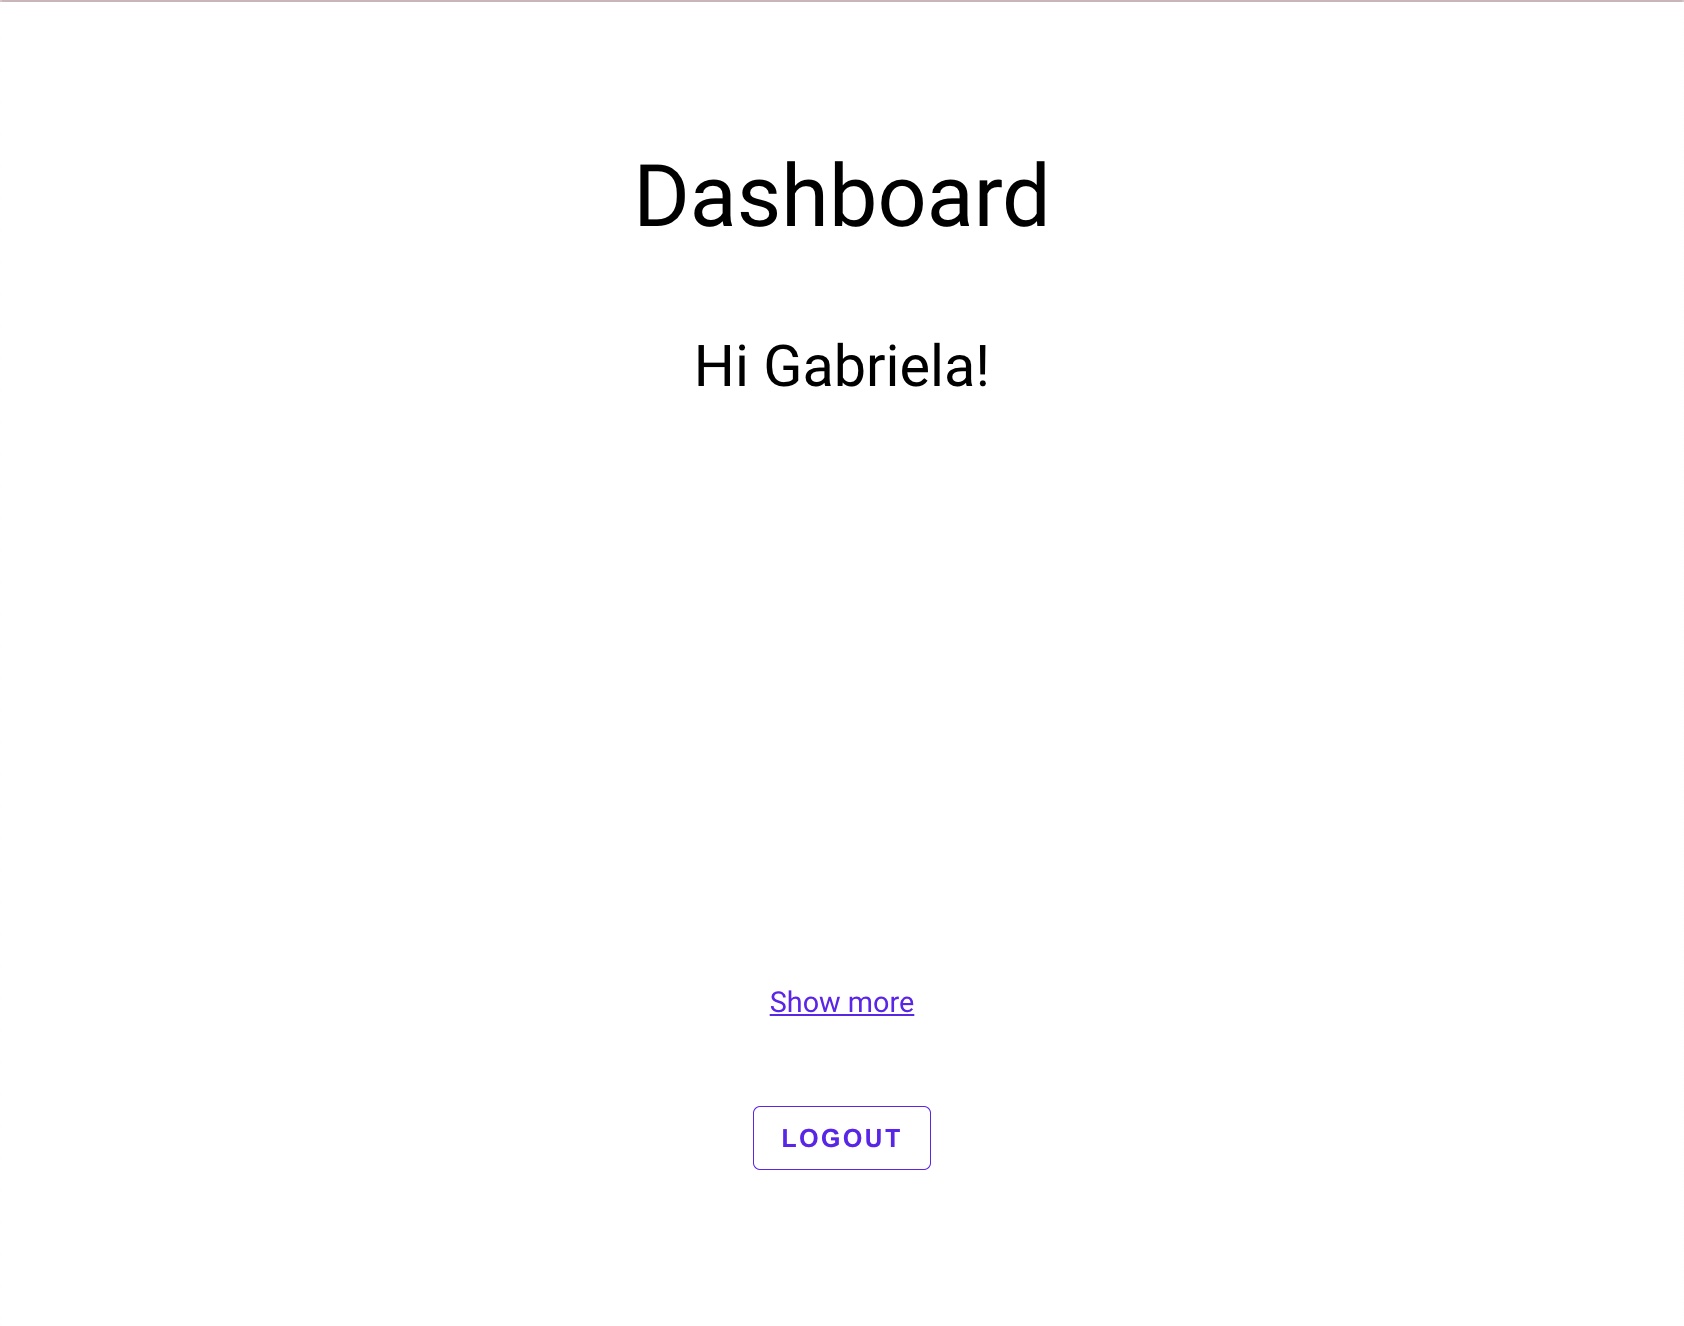
If you recall, the value for the user’s given_name is part of the Redux slice from our created selector selectUserProfile. Clicking Show more or Show less toggles our local state for isExpanded in the dashboard component. This allows us to show or hide additional user profile info, which is a mix of values from the userProfileSlice and additional values from the UserContext we created.
Learn more about authentication, React, and Redux
In this post, we used Okta’s redirect model to manage authenticated state and user profile information within a React app. We also looked at examples for when to use Redux, local state using React’s useState hook, or React context. As you scale your apps, you might find that a mix of all three solutions is the right choice.
You may also want to go further to handle more complex state management logic or add more customizations to your apps. The following links should help with potential next steps.
A Developer’s Guide to Session Management in React
Build a Secure React Application with JWTs and Redux
Build a React App with Styled Components
Use a custom URL for the Okta Sign-In Widget.
Set up Single Sign-On for your Okta integrated app.
Customize tokens returned from Okta
Add custom claims to your user access tokens to add custom information or attributes stored in a user profile.
Use async logic with Redux “thunk” middleware for handling things like login, data fetching, and handling loading state.
Additional resources to learn Redux.
Be sure you follow us on Twitter and subscribe to our YouTube channel. Please comment below if you have any questions or want to share what tutorial you’d like to see next.
Gabi spent her youth immersed in MS-DOS, server rooms, and Geocities fan page HTML. She transitioned to a development career in 2016 after life as a Systems Administrator and is active in her local tech community as a volunteer and as Mentor Director for a monthly coding session to help women break into the industry. Her other interests include ashtanga yoga, learning languages, and curating stellar playlists.
Okta Developer Blog Comment Policy
We welcome relevant and respectful comments. Off-topic comments may be removed.