A Quick Guide to Elasticsearch for .NET

Implementing search functionality in your .NET Core apps doesn’t have to be hard! Using Elasticsearch makes it easy to develop fast, searchable apps.
In this post, I’ll walk you through building a simple web application using Okta (for user authentication), Elastic Cloud (the official Elasticsearch hosting provider), and the fabulous Elasticsearch NEST SDK.
Note: In May 2025, the Okta Integrator Free Plan replaced Okta Developer Edition Accounts, and the Okta CLI was deprecated.
We preserved this post for reference, but the instructions no longer work exactly as written. Replace the Okta CLI commands by manually configuring Okta following the instructions in our Developer Documentation.
Why Use Elasticsearch?
Elasticsearch is an analytics and search engine based on the Apache Lucene library. It is developed in Java, following an open-core business model. Deep down within Elasticsearch lays a schema-free, JSON document-oriented database. This means that data is stored as documents, similar to rows in a relational database like MySQL. A document’s data is separated into fields, like columns in a relational database. Documents are essentially just JSON objects. Elasticsearch indexes these documents and searches them quickly. So, even if you have to search through millions of documents, searches are still going to be lightning fast.
Set Up a Sample Application with the Okta CLI
Okta is a secure and customizable solution to add authentication to your app. Okta supports any language on any stack and lets you define how you want your users to sign in. Each time a user tries to authenticate, Okta will verify their identity and send the required information back to your app.
There are now two options to get started with Okta. You can create an account and set up a sample .NET Core application with Okta authentication using the Okta Developer Console and by following the quick start guide. Or you can use the recently released Okta CLI, which provides turnkey application templates configured and ready to use after completing a few simple steps in the command line.
Install the Okta CLI by following the steps on the GitHub page.
Simply run the following command to start the CLI:
okta start
If you already have an Okta Developer account, you can run:
okta login
Select the ASP.NET Core MVC + Okta option when prompted.
A ready application should be created, with the Okta login flow already set up—this includes writing secrets to appsettings.json and adding the new client to your Applications on the Okta Developer Console.
You can test run the application by hitting F5 in Visual Studio or by entering dotnet run in your command line. A browser window will open and you should be able to log in using your Okta credentials.
I have uploaded my working application to GitHub in case you get stuck: Okta .NET Core 3 Elasticsearch Example.
Set Up an Elasticsearch Instance in the Cloud
Go to Elasticsearch Cloud and register for a new account. A free trial will be enough for us here. Elastic Cloud is an Elasticsearch hosting provider that will save you the trouble of learning how to set up, configure, and deploy Elasticsearch locally or in production.
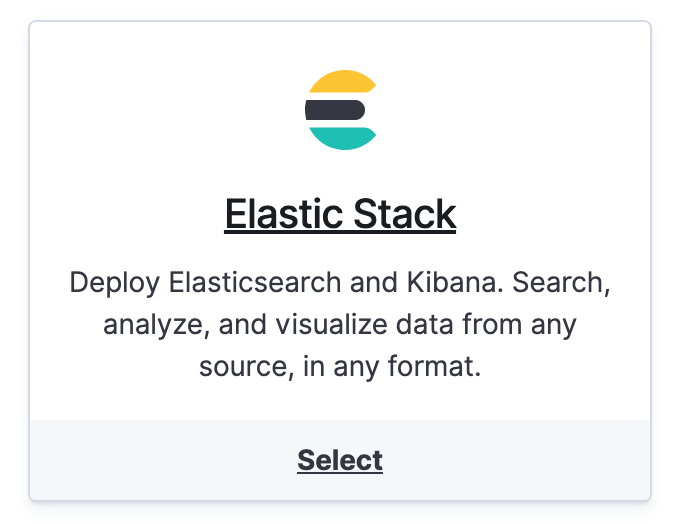
Select Elastic Stack and leave everything else on default.

Hit Create deployment.

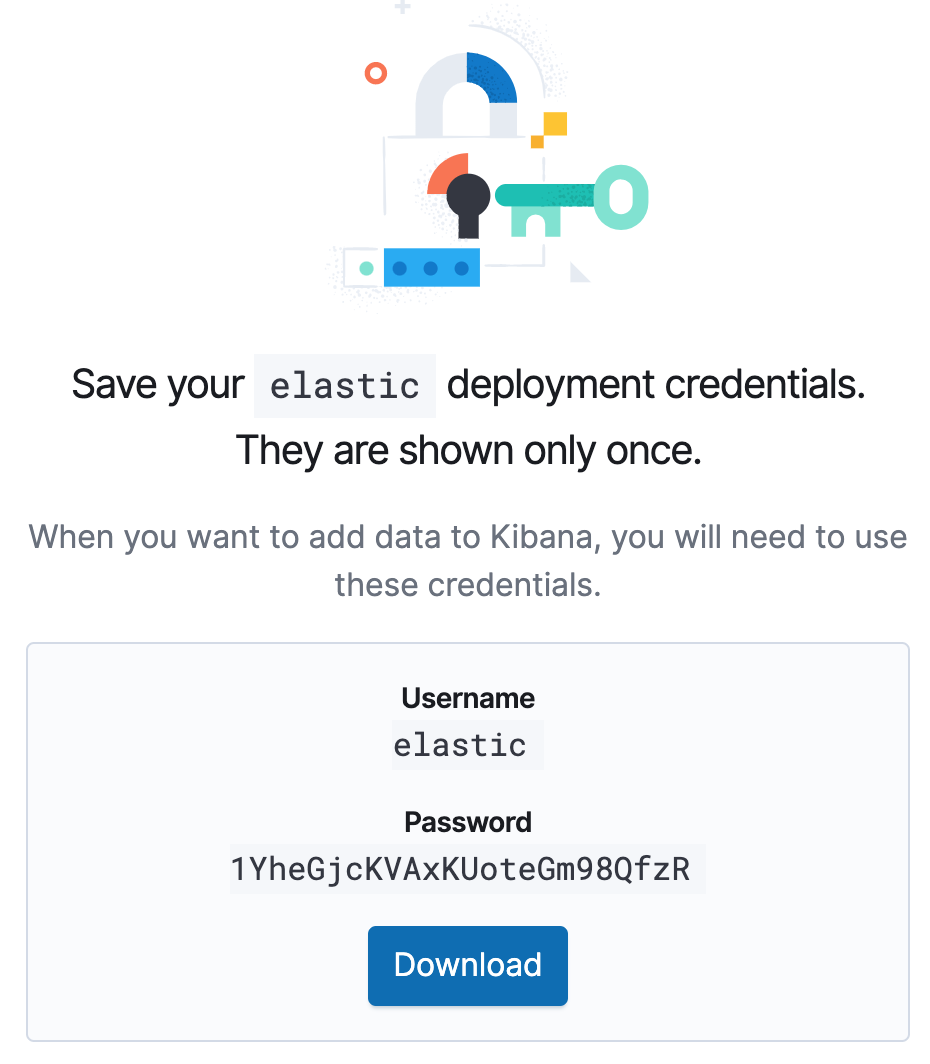
Make sure you save your deployment credentials for later.
Once the deployment is complete, click Open Kibana. You may have to log in with the credentials from above.

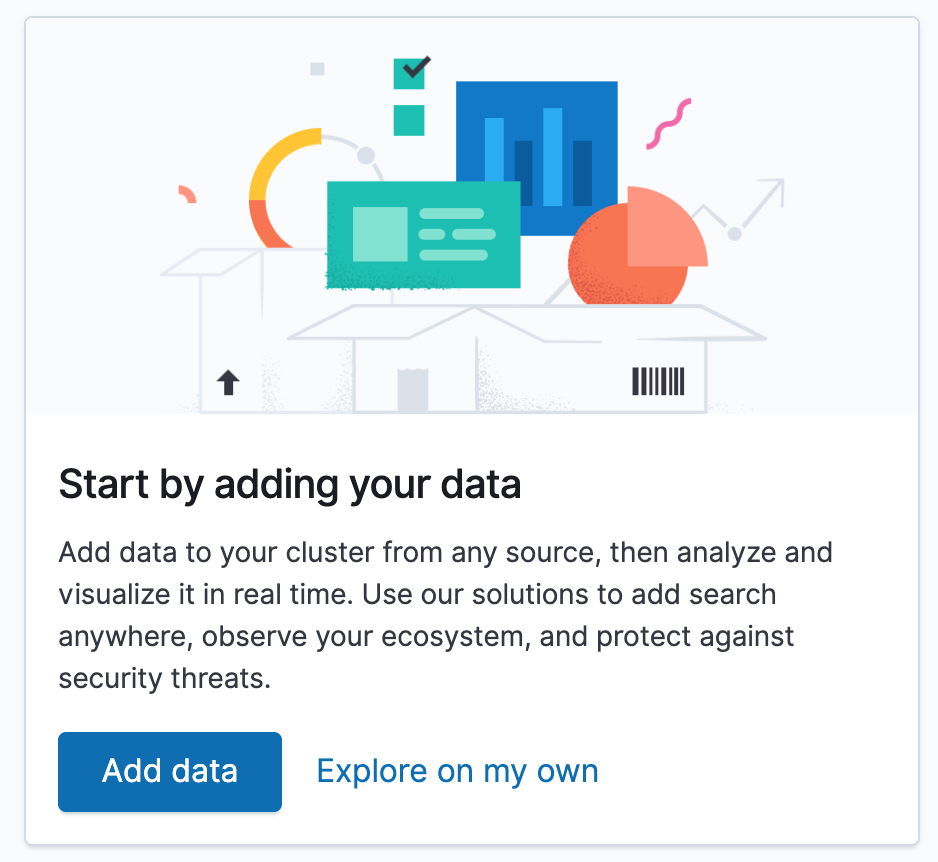
Click Add Data.
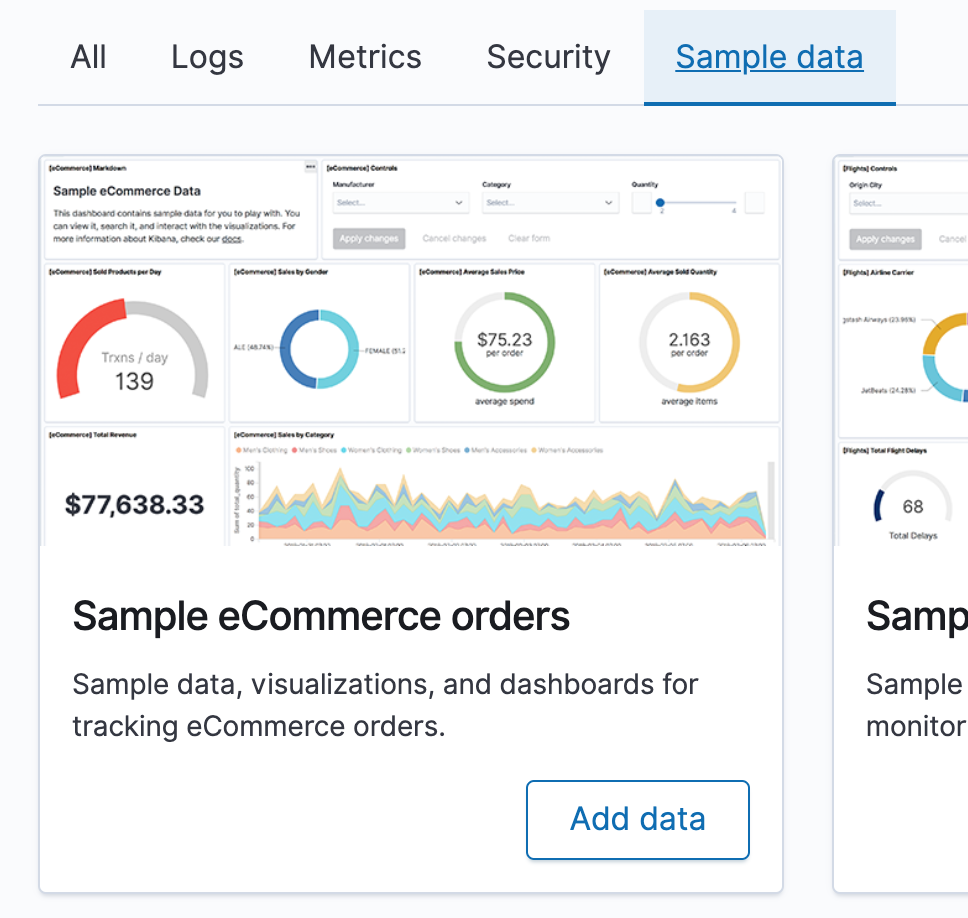
On the Sample Data tab, select the Sample eCommerce orders card.
After this, you have an Elasticsearch database set up and filled with sample data with eCommerce orders. Time to start searching.
Open the Elasticsearch Deployments page. Under the Applications header, click on Copy endpoint next to Elasticsearch. Paste this somewhere for later. Should be something like: https://c0fd6d13bb70485c9b062af5d1a24a82.us-central1.gcp.cloud.es.io:9243. You will need it to be able to connect from your sample application along with the credentials from earlier.
Add Elasticsearch to a .NET Core Application
The plan here is to add a search bar to the application and query the Elasticsearch database of sample orders. The search will result in a list of orders where the name of the customer matches our search condition.
Make sure the application that you created earlier works properly. Open the solution in a preferred code editor and run it.
Log in with your Okta credentials to see Okta is configured as expected. You will provide the search functionality for logged-in users only.
Install the Elasticsearch NEST Client
NEST is an official high-level client created by Elasticsearch that maps all requests and responses as types and provides an interface to execute queries.
Let’s add the NEST Client from NuGet via package manager or by running the following command from the directory where the .csproj file lives:
dotnet add package NEST
Configure the Elasticsearch NEST Client
Open appsettings.json and add your deployment endpoint and credentials.
  "ElasticCloud": {
    "Endpoint": "https://c0fd6d13bb70485c9b062af5d1a24a82.us-central1.gcp.cloud.es.io:9243",
    "BasicAuthUser": "elastic",
    "BasicAuthPassword": "YourPassword"
  }
Create a new file called SearchClient.cs in the folder where the .csproj file lives. Add the following code to add a ISearchClient interface.
using System;
using Microsoft.Extensions.Configuration;
using Nest;
using okta_aspnetcore_mvc_example.Models;

namespace okta_aspnetcore_mvc_example
{
    public interface ISearchClient
    {
        ISearchResponse<Order> SearchOrder(string searchText);
    }
}
Make a SearchClient implementation and initialize the ElasticClient in the constructor just above the ISearchClient declaration, so that your final SearchClient.cs file looks like this:
using System;
using Microsoft.Extensions.Configuration;
using Nest;
using okta_aspnetcore_mvc_example.Models;

namespace okta_aspnetcore_mvc_example
{
    public class SearchClient : ISearchClient
    {
        private readonly ElasticClient client;

        public SearchClient(IConfiguration configuration)
        {
            client = new ElasticClient(
                new ConnectionSettings(new Uri(configuration.GetValue<string>("ElasticCloud:Endpoint")))
                    .DefaultIndex("kibana_sample_data_ecommerce")
                    .BasicAuthentication(configuration.GetValue<string>("ElasticCloud:BasicAuthUser"),
                        configuration.GetValue<string>("ElasticCloud:BasicAuthPassword")));
        }

        public ISearchResponse<Order> SearchOrder(string searchText)
        {
            return client.Search<Order>(s => s
                .From(0)
                .Size(10)
                .Query(q => q
                    .Match(m => m
                        .Field(f => f.CustomerFullName)
                        .Query(searchText)
                    )
                ));
        }
    }

    public interface ISearchClient
    {
        ISearchResponse<Order> SearchOrder(string searchText);
    }
}
The SeachClient class takes IConfiguration to read the configuration values (Elastic endpoint URL, user name, password) from appsettings.json to access the Elastic instance.
The SearchOrder() function takes a searchTextparameter to search within the orders by the full name of the customer and list the first ten10 results. See the documentation on how to write more complex queries.
Using the Elasticsearch NEST Client
First, you need to add the SearchClient in Startup.cs as a Singleton object. Add the following line of code to the bottom of the ConfigureServices() method:
services.AddSingleton<ISearchClient, SearchClient>();
Now, it is ready to be initialized by the HomeController’s constructor.
public class HomeController : Controller
{
    private readonly ISearchClient searchClient;

    public HomeController(ISearchClient searchClient)
    {
        this.searchClient = searchClient;
    }
// ...
}
Then add the Model to represent the search text and the search result orders. Add a new file in the Models folder called SearchResultsModel.cs:
using System.Collections.Generic;

namespace okta_aspnetcore_mvc_example.Models
{
    public class SearchResultsModel
    {
        public string SearchText { get; set; }

        public List<Order> Results { get; set; }
    }
}
Also add an Order.cs:
using System;
using Nest;

namespace okta_aspnetcore_mvc_example.Models
{
    public class Order
    {
        public int Id { get; set; }

        [Text(Name = "customer_full_name")]
        public string CustomerFullName { get; set; }

        [Date(Name = "order_date", Format = "MMddyyyy")]
        public DateTime OrderDate { get; set; }

        [Number(Name = "taxful_total_price")]
        public decimal TotalPrice { get; set; }
    }
}
Add Search.cshtml with a search bar and some logic to display the result orders in a table.
@model SearchResultsModel
@{
    ViewData["Title"] = "Search Page";
}
<div class="text-center">
    <form class="form-inline" asp-action="Search" asp-controller="Search">
        <div class="form-group">
            <input class="form-control m-2" asp-for="SearchText" placeholder="Search"/>
        </div>
        <button type="submit" class="btn btn-primary m-2">Search</button>
    </form>
    @if (Model?.Results != null)
    {
        <div>
            <table class="table">
                <thead>
                <tr>
                    <th>Customer Name</th>
                    <th>Order Date</th>
                    <th>Total Price</th>
                </tr>
                </thead>
                <tbody>
                @foreach (var result in Model.Results)
                {
                    <tr>
                        <td>@result.CustomerFullName</td>
                        <td>@result.OrderDate</td>
                        <td>@result.TotalPrice</td>
                    </tr>
                }
                </tbody>
            </table>
        </div>
    }
</div>
Add a Search(string searchText) function to your HomeController to handle the search text and retrieve the results.
        [Authorize]
        [HttpPost]
        public IActionResult Search(string searchText)
        {
            var response = searchClient.SearchOrder(searchText);
            var model = new SearchResultsModel {Results = response.Documents.ToList()};
            return View(model);
        }
Adding the [Authorize] attribute is a good idea here to make sure this endpoint is only accessible to logged-in users. Okta will handle the rest.
Run and Test
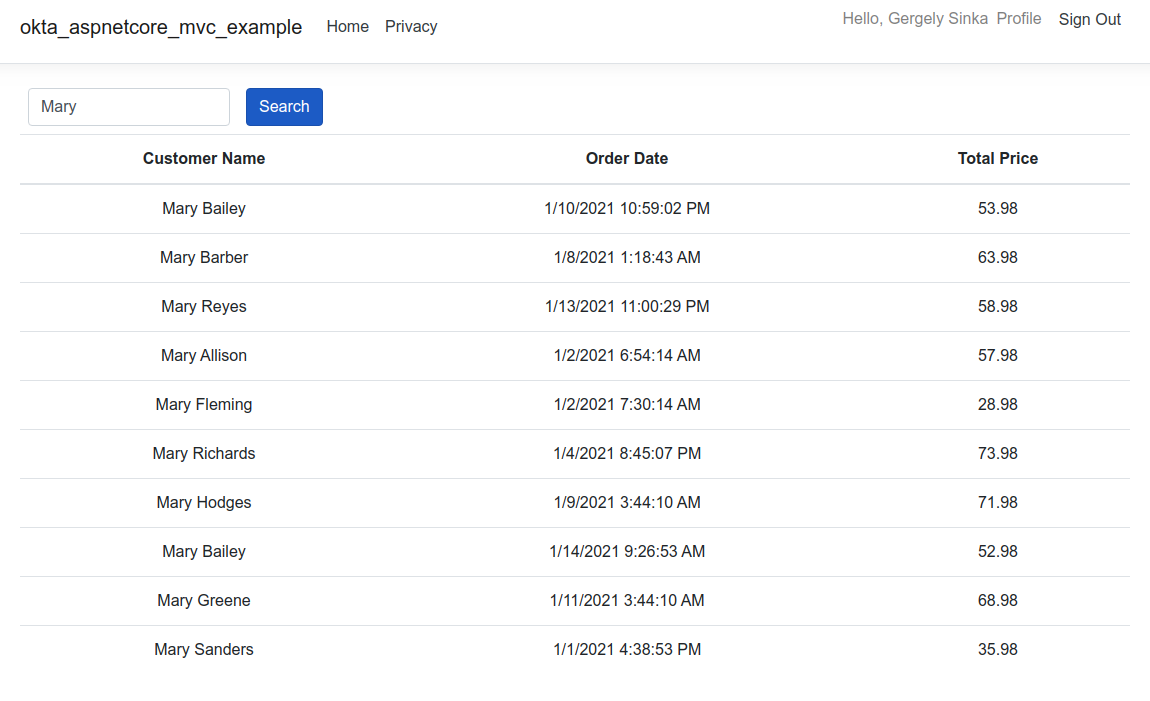
Let’s see what we have done. Run the application and search for Mary. You should see something like this:
Takeaways
Elasticsearch is great for numerous use cases, including searching for semi-structured or unstructured data. They provide NEST, a high-level easy-to-use client for .NET that maps all requests and responses as types. It takes advantage of specific .NET features to provide higher-level abstractions, such as auto-mapping. By combining Okta and Elasticsearch, you can build secure and efficient applications with minimal coding and debugging.
Learn More About Using Elasticsearch and Okta in .NET Core
- Elasticsearch open-core repository on GitHub
- How to tune Elasticsearch for faster search speeds
- Kibana, an awesome data visualization tool for Elasticsearch
- Okta CLI, the simplest way to create secure application templates
- Get Started with ASP.NET Core + Okta
If you have any questions about this post, please ask in the comments below. For more tutorials like this one,, follow @oktadev on Twitter, like us on Facebook, or subscribe to our YouTube channel.
Okta Developer Blog Comment Policy
We welcome relevant and respectful comments. Off-topic comments may be removed.