Use Okta and Oso to Secure a FastAPI + SQLAlchemy App

FastAPI is really fast and SQLAlchemy is really…SQL-y. But what good is a fast and SQL-y application if it isn’t secure?
In this post, we’re going to show you how to secure a fast and SQL-y app!
First we will need some authentication, which is how we identify who the user is. We’ll use Okta for this.
Next, we’ll want to perform authorization, which controls what the user can do in our application. We’ll be using Oso for that, which is a batteries-included library for authorization.
This post is intended for people who have some familiarity with both FastAPI and SQLAlchemy. By the end of the post, you will know how to make sure users have access to the things they need - and only the things they need.
The full example is available on GitHub. Clone the repo and follow along!
Table of Contents
- Bear Management Service Architecture
- Set Up Okta
- Start the React Front End
- Start the FastAPI Back End
- ABAC, As Easy as 1-2-3 🕺
- Final diff of securing the app with Oso
- Learn More About Oso, FastAPI, and Python
Note: In May 2025, the Okta Integrator Free Plan replaced Okta Developer Edition Accounts, and the Okta CLI was deprecated.
We preserved this post for reference, but the instructions no longer work exactly as written. Replace the Okta CLI commands by manually configuring Okta following the instructions in our Developer Documentation.
Bear Management Service Architecture
What, you expected TodoMVC?
Our app allows authenticated users to register their own bears and view the bear population at large. It consists of two separate services: (1) a front end through which users authenticate with Okta, and (2) a back end that exposes an extensive API for creating and retrieving bears.
Set Up Okta
Before you begin, you’ll need a free Okta developer account. Install the Okta CLI and run okta register to sign up for a new account. If you already have an account, run okta login.
Then, run okta apps create. Select the default app name, or change it as you see fit.
Choose Single-Page App and press Enter.
Use http://localhost:8080/login/callback for the Redirect URI and set the Logout Redirect URI to http://localhost:8080.
What does the Okta CLI do?
The Okta CLI will create an OIDC Single-Page App in your Okta Org. It will add the redirect URIs you specified and grant access to the Everyone group. It will also add a trusted origin for http://localhost:8080. You will see output like the following when it’s finished:
Okta application configuration:
Issuer:    https://dev-133337.okta.com/oauth2/default
Client ID: 0oab8eb55Kb9jdMIr5d6
NOTE: You can also use the Okta Admin Console to create your app. See Create a React App for more information.
Once your new Okta application is created, the Okta CLI will print out its Issuer and Client ID properties:
$ okta apps create

...

Okta application configuration:
Client Id:     <YOUR CLIENT ID>
Issuer:        https://<YOUR OKTA DOMAIN>/oauth2/default
Create a file named .env in the project’s root directory with the following contents:
CLIENT_ID=<YOUR CLIENT ID>
ISSUER=https://<YOUR OKTA DOMAIN>/oauth2/default
AUDIENCE=api://default
After creating the .env file in the project root, symlink it into the okta-hosted-login subdirectory so that both the front end and back end projects have access to the same configuration parameters:
$ ln -s ../.env okta-hosted-login/.env
Start the React Front End
In the okta-hosted-login directory, run npm install to install dependencies and then npm start to fire up the React front end.
Once the app is up and running, navigate to http://localhost:8080 in your browser. Click the Login button and enter your Okta credentials when prompted. Successfully signing in should redirect you back to your front end, where you’ll be greeted with your name (courtesy of Okta), a ‘Create a new bear’ form, and a list of bears:
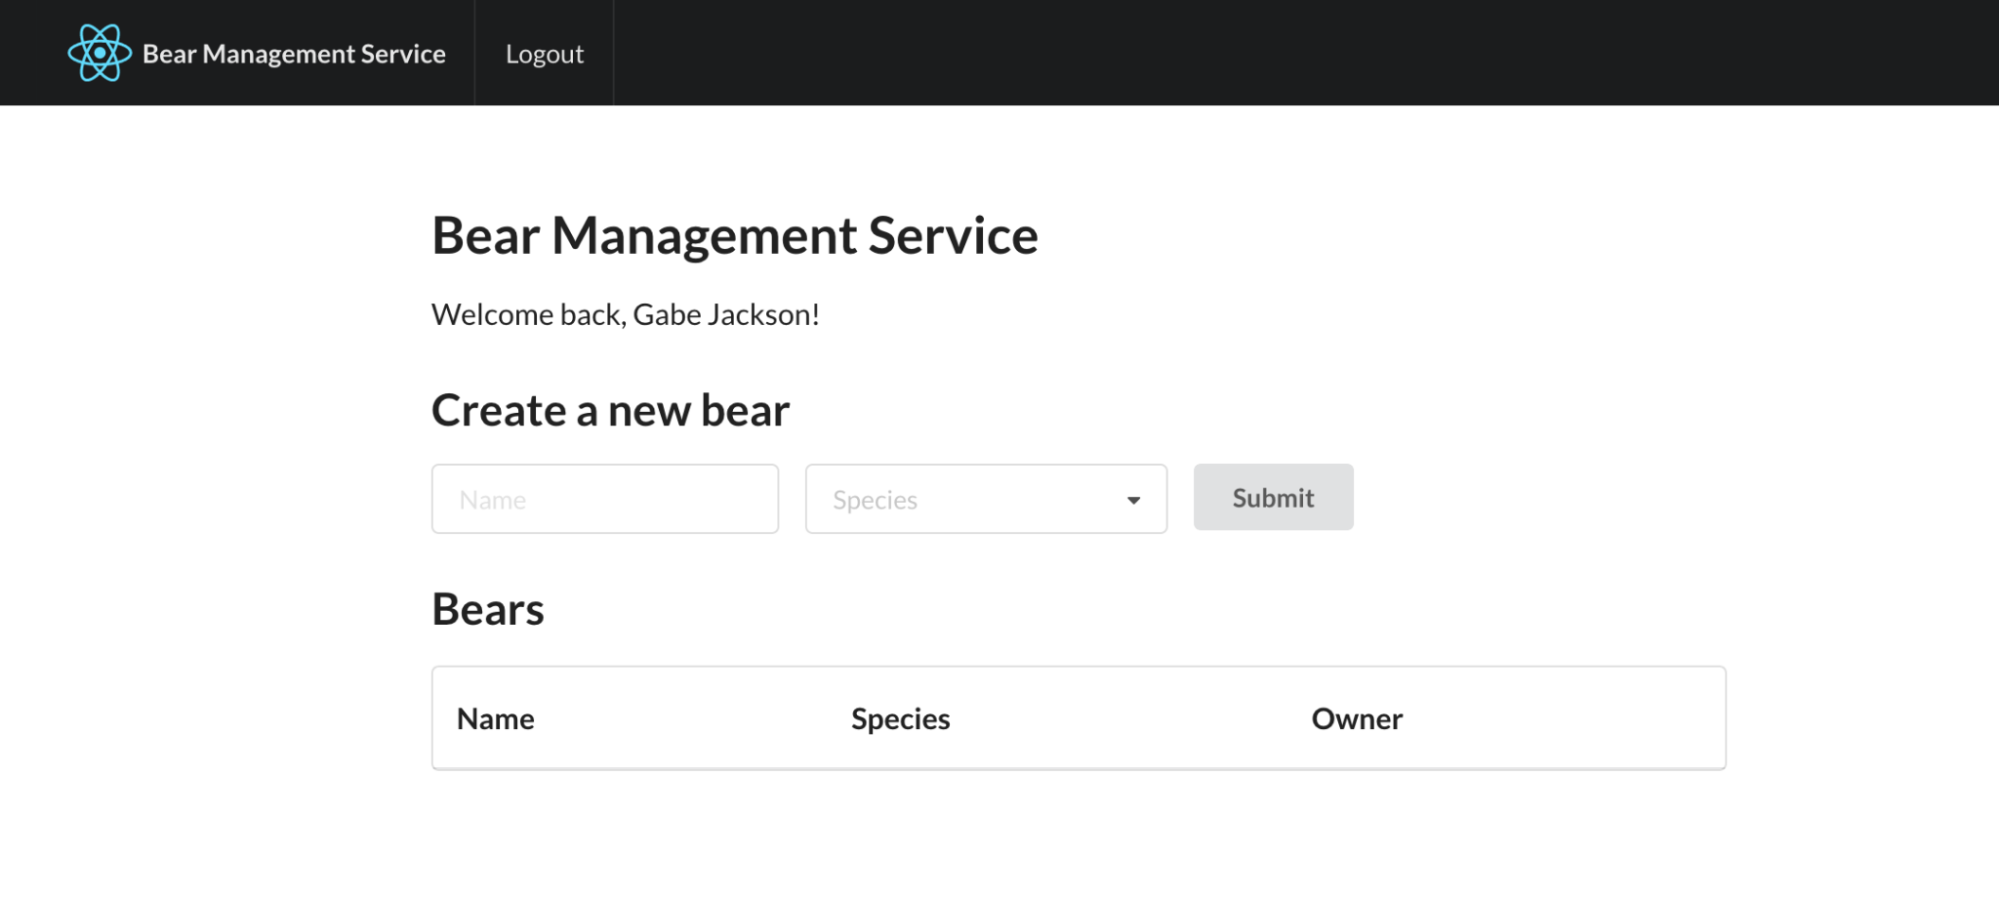
The list will be empty because our back end service isn’t running. Let’s change that now.
Start the FastAPI Back End
While the React app runs happily in the background, open a new terminal and cd to the project’s root directory. In the root, create and activate a new virtual environment, and then install dependencies:
python3 -m venv venv && source venv/bin/activate
pip3 install -r requirements.txt
Finally, start the FastAPI server:
uvicorn app.main:app --reload --reload-dir=app
If you reload http://localhost:8080, you should see the list of bears populated with a number of very good bears owned by various members of Example.com, Inc:
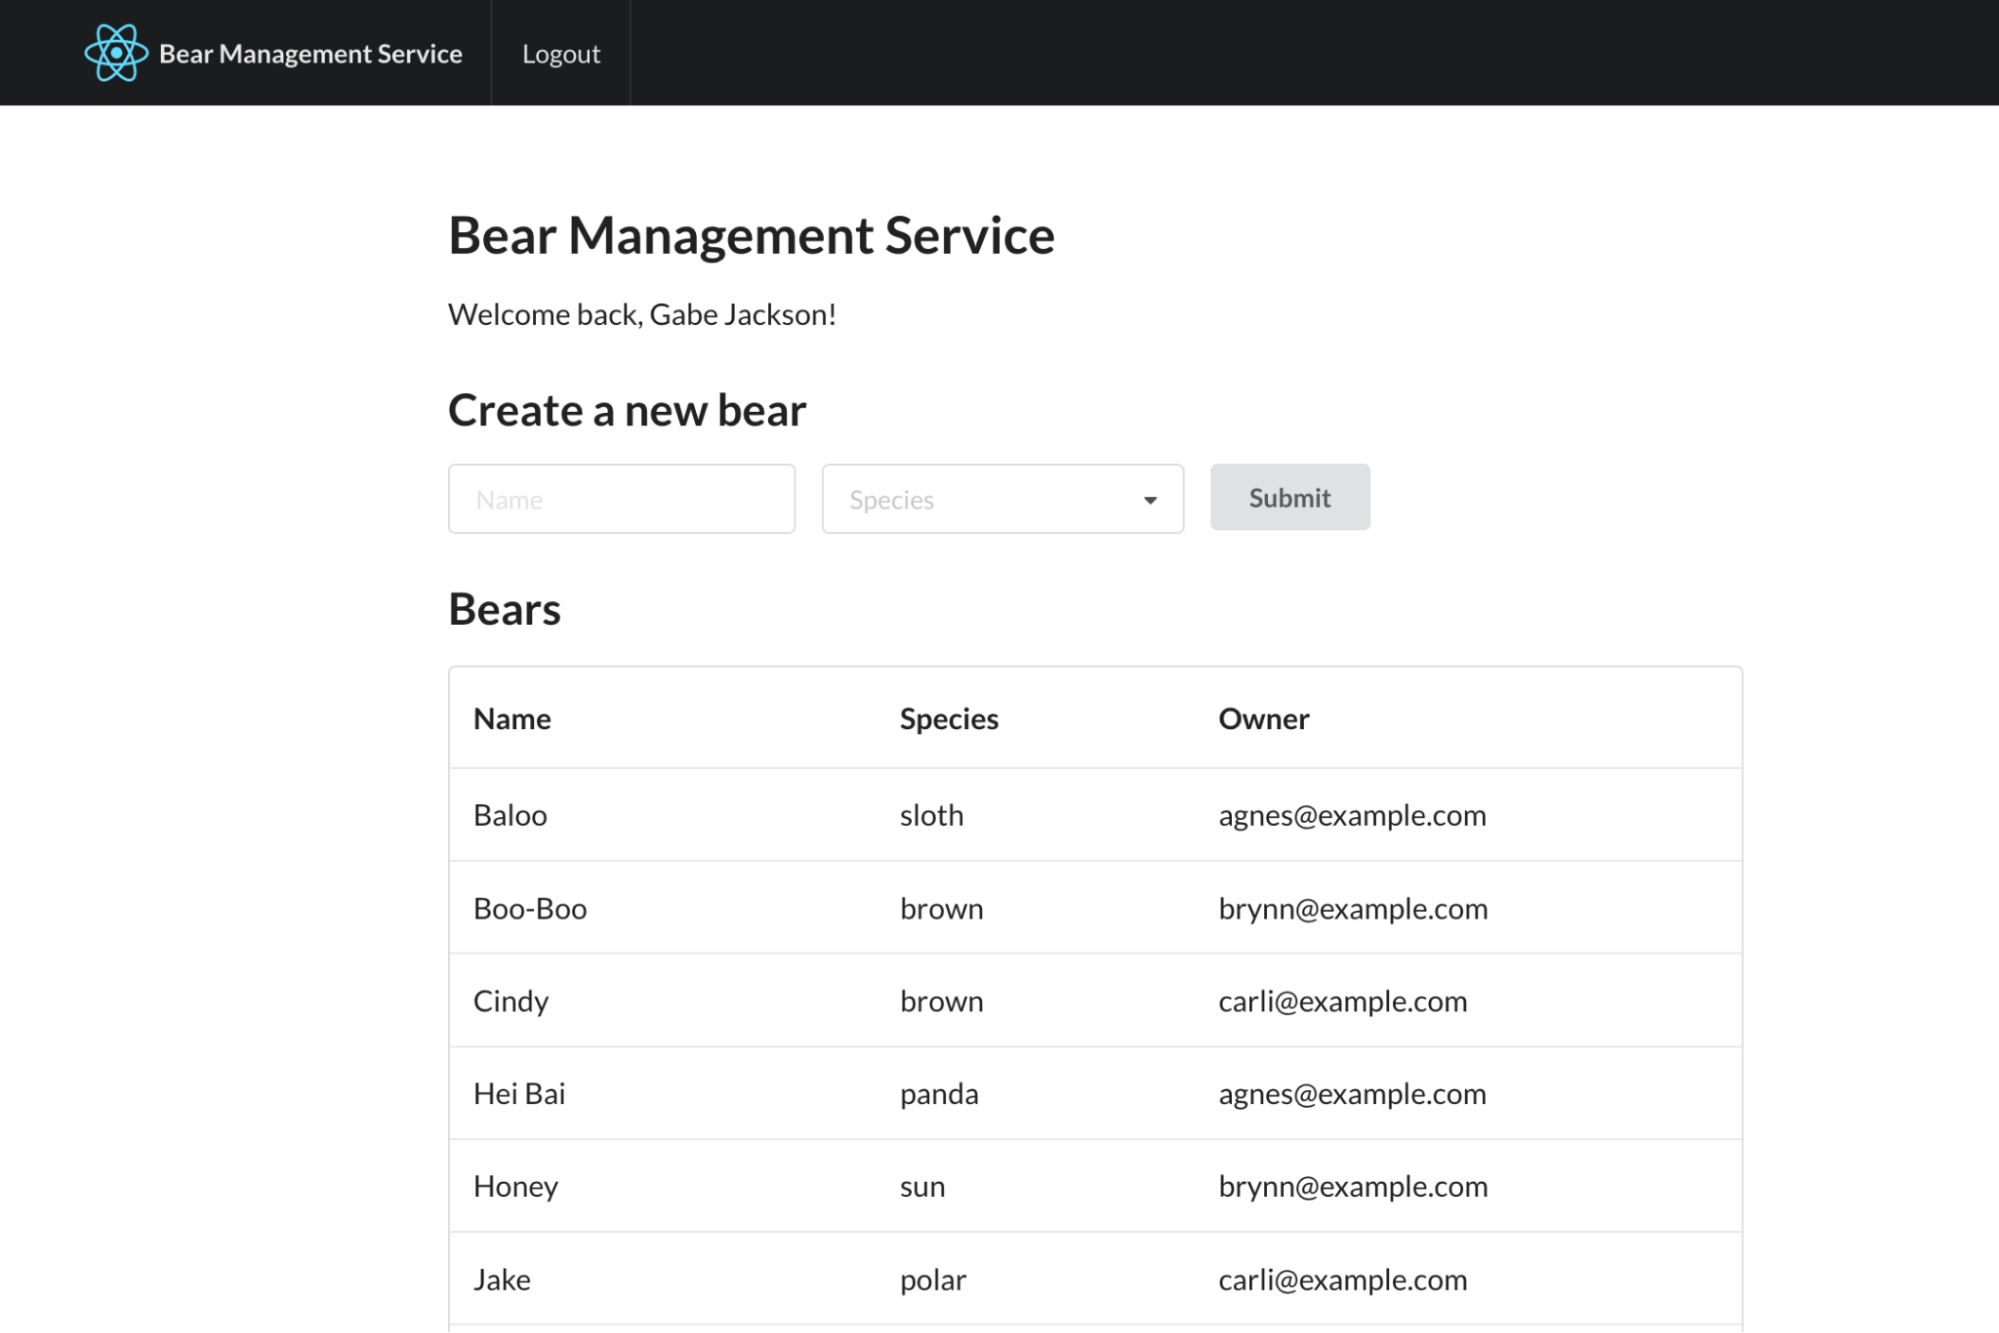
Go ahead and create a few new bears of your own.
Our app is now open for business. In fact, it’s too open. Every authenticated user can see everyone’s bears — even users who have been banned for trying to create koalas. It’s time to put a stop to this madness.
ABAC, As Easy as 1-2-3 🕺
Oso is an open source authorization system that we’ll use to secure our app. Oso is flexible enough to support any access control pattern your heart desires, but for this example we’ll focus on attribute-based access control (ABAC).
ABAC is all about representing fine-grained or dynamic permissions based on who the user is and their relation to the resource they want to access.
The Bear Necessities
First, after pressing Ctrl+C to exit FastAPI, we’re going to install the oso and sqlalchemy-oso packages:
pip3 install oso sqlalchemy-oso
Once pip finishes pipping, open up app/main.py using your favorite text editor and make the changes that you see below. The following is a Git diff of the change — if you’re following along, add the lines that start with a single + symbol to your local copy of app/main.py:
diff --git a/app/main.py b/app/main.py
index 397037e..7dd57d0 100644
--- a/app/main.py
+++ b/app/main.py
@@ -6,4 +6,5 @@ from okta_jwt.jwt import validate_token
 from sqlalchemy.orm import Session, sessionmaker
 from starlette.config import Config
+from oso import Oso

 from app.crud import create_bear, get_or_create_user_by_email, list_bears
@@ -17,4 +18,7 @@ conf = Config(".env")
 issuer, audience, client_id = conf("ISSUER"), conf("AUDIENCE"), conf("CLIENT_ID")

+# Initialize Oso.
+oso = Oso()
+

 def get_db():
Next, create an empty Oso policy file in the app directory:
touch app/policy.polar
This is where we are going to write all of our authorization logic using Oso’s declarative policy language called Polar.
Load the new policy file into our Oso instance in app/main.py:
diff --git a/app/main.py b/app/main.py
index 7dd57d0..a1e166f 100644
--- a/app/main.py
+++ b/app/main.py
@@ -20,4 +20,5 @@ issuer, audience, client_id = conf("ISSUER"), conf("AUDIENCE"), conf("CLIENT_ID"
 # Initialize Oso.
 oso = Oso()
+oso.load_file("app/policy.polar")
Before we start filling that policy file with authorization rules, we first need to register the application data types that we’re going to use in our authorization policy with Oso. Registering the application types allows us to reference them in our Polar policy as specializers.
We’re going to use the register_models() helper from the sqlalchemy-oso library to register our SQLAlchemy models with Oso in bulk. register_models()
registers all descendants of a SQLAlchemy base class with Oso; otherwise, we would have to call oso.register_class() for each individual class that we wanted to register:
diff --git a/app/main.py b/app/main.py
index a1e166f..796ab1e 100644
--- a/app/main.py
+++ b/app/main.py
@@ -7,7 +7,8 @@ from sqlalchemy.orm import Session, sessionmaker
 from starlette.config import Config
 from oso import Oso
+from sqlalchemy_oso import register_models

 from app.crud import create_bear, get_or_create_user_by_email, list_bears
-from app.db import engine, setup_db
+from app.db import engine, setup_db, Base
 from app.models import User
 from app.schemas import Bear, BearBase
@@ -20,4 +21,5 @@ issuer, audience, client_id = conf("ISSUER"), conf("AUDIENCE"), conf("CLIENT_ID"
 # Initialize Oso.
 oso = Oso()
+register_models(oso, Base)
 oso.load_file("app/policy.polar")
In addition, let’s register the BearBase Pydantic model that’s used in the create() handler. Again, registering the class allows us to refer to it in our Polar policy as a specializer:
diff --git a/app/main.py b/app/main.py
index adfc2c8..f2a17d0 100644
--- a/app/main.py
+++ b/app/main.py
@@ -23,2 +23,3 @@ oso = Oso()
 register_models(oso, Base)
+oso.register_class(BearBase)
 oso.load_file("app/policy.polar")
Finally, let’s enforce authorization in the create() handler so that those fanatics from down under stop trying to sully our ursine haven with koalas:
diff --git a/app/main.py b/app/main.py
index 796ab1e..adfc2c8 100644
--- a/app/main.py
+++ b/app/main.py
@@ -74,3 +74,5 @@ def index(db: Session = Depends(get_db)):
 @app.post("/bears", response_model=Bear)
 def create(request: Request, bear: BearBase, db: Session = Depends(get_db)):
+    if not oso.is_allowed(request.state.user, "create", bear):
+        raise HTTPException(403)
     return create_bear(db, bear, request.state.user)
If you save app/main.py and then try to create a new bear, the POST request will return a 403 Forbidden.

Oso is deny-by-default, and we currently have an empty policy file. In the next section, we’ll write our first authorization rule to allow real bear lovers to create real bears.
Add Your First allow() Rule
For our first foray into writing a policy, we’re going to use Polar to add a rule that prevents banned users from creating new bears.
Open up app/policy.polar and add the following rule:
allow(user: User, "create", _bear: BearBase) if
    not user.is_banned;
The rule works by matching the inputs provided by the application:
user- an instance of theUserclass.- The action is the string literal
"create". _bear- an instance of theBearBaseclass.
And then checking that the provided user’s is_banned field is false.
We don’t yet need to check anything further about the bear resource,
so we prefix it with an underscore to indicate that it won’t be referenced in the body of the rule.
NOTE: To learn more about Polar syntax, head on over to the Writing Policies guide in the Oso documentation.
Save the file, flip back to localhost:8080, and you should once again be able to create new bears (assuming you haven’t set your own user’s is_banned property to True). All law-abiding bear enthusiasts have had their access restored, and the koala lovers are left out in the cold. (Does it get cold in Australia? We’ll investigate in a future blog.)
Deal with List Endpoints
oso.is_allowed() worked perfectly for securing the create() endpoint, but it’s not the best tool for the job when it comes to securing index(). The difference is that create() operates over a single record, while index() operates over a potentially very large collection. If performance weren’t an issue, we could load the collection from the database and iterate over it,
calling oso.is_allowed() on every record to filter out unauthorized entries. However, we all know that Zoomers lose interest and click away from your website if it takes longer than a few Planck time units to load, so we need a better solution.
And now, presenting… a better solution. Data filtering! The cure to all of life’s performance issues.
The sqlalchemy-oso library is built on top of Oso’s data filtering feature. In a nutshell, the logic engine at the core of the Oso library can turn your authorization policy into a set of constraints similar to the WHERE clauses used to filter records when querying a relational database. The sqlalchemy-oso library then applies those constraints directly to your app’s SQLAlchemy queries. In this way, only authorized records are loaded from the database in an efficient operation instead of loading all records and then iterating over the collection to determine the authorized subset.
Without further ado, let’s wire up our app so that we can efficiently filter some bears.
First, we need to modify app/main.py to import authorized_sessionmaker() from the sqlalchemy-oso
library:
diff --git a/app/main.py b/app/main.py
index f2a17d0..1fa9573 100644
--- a/app/main.py
+++ b/app/main.py
@@ -9 +9 @@ from oso import Oso
-from sqlalchemy_oso import register_models
+from sqlalchemy_oso import register_models, authorized_sessionmaker
Next, we’ll create a new FastAPI dependable that mirrors our existing get_db() function but yields an Oso AuthorizedSession instead of a regular SQLAlchemy Session. To do this, add the following code below the get_db() function in app/main.py:
diff --git a/app/main.py b/app/main.py
index f2a17d0..1fa9573 100644
--- a/app/main.py
+++ b/app/main.py
@@ -54,0 +55,11 @@ def current_user(
+def get_authorized_db(request: Request):
+    get_oso = lambda: oso
+    get_user = lambda: request.state.user
+    get_action = lambda: request.scope["endpoint"].__name__
+    db = authorized_sessionmaker(get_oso, get_user, get_action, bind=engine)()
+    try:
+        yield db
+    finally:
+        db.close()
+
+
And finally, update the index() handler so that it depends on our new get_authorized_db() dependable:
diff --git a/app/main.py b/app/main.py
index f2a17d0..1fa9573 100644
--- a/app/main.py
+++ b/app/main.py
@@ -71 +82 @@ app.add_middleware(
-def index(db: Session = Depends(get_db)):
+def index(db: Session = Depends(get_authorized_db)):
Save the file, reload localhost:8080, and… no bears. They’re still happily growling away in the database, but we haven’t added any Oso rules permitting access. Let’s change that.
Flesh Out Your Authorization Policy
To start off, let’s add a rule to app/policy.polar that permits all users to list all bears:
allow(_: User, "index", _: Bear);
Save the file, reload localhost:8080, and you should see every bear again. But something else is missing. The Owner column is empty! When we serialize bear records in the back end, we include the email address for each bear’s owner — a piece of data that comes from our SQLAlchemy-backed User model. Access to User data is now protected by Oso because User is a subclass of the Base SQLAlchemy class we registered via sqlalchemy-oso’s register_models() method. Let’s add one more blanket allow() rule, this time permitting users to view user data at the index() endpoint:
allow(_: User, "index", _: User);
Do the save-and-reload dance, and the Owner column should once again be populated.
Next, let’s add some constraints to our "index" rule for bears so we can see Data Filtering in Action (coming soon from Manning, probably).
Perhaps users should only be allowed to see their own bears:
diff --git a/app/policy.polar b/app/policy.polar
index ff90780..0a1a77d 100644
--- a/app/policy.polar
+++ b/app/policy.polar
@@ -6 +6,2 @@ allow(_: User, "index", _: User);
-allow(_: User, "index", _: Bear);
+allow(user: User, "index", bear: Bear) if
+    bear.owner = user;
Save, reload, and confirm you can no longer see anyone else’s bears. If you want to see some bears, you’ll need to create them for yourself.
The index view is now private, but it feels wrong to prevent our fellow bear enthusiasts from viewing polar bears, the sweetest and most mild-mannered of all bears. To right that wrong, we can register the Species enum as a constant so that we can reference it in our policy:
diff --git a/app/main.py b/app/main.py
index 1fa9573..6abb06d 100644
--- a/app/main.py
+++ b/app/main.py
@@ -13 +13 @@ from app.db import engine, setup_db, Base
-from app.models import User
+from app.models import User, Species
@@ -24,0 +25 @@ oso.register_class(BearBase)
+oso.register_constant(Species, "Species")
Then, update said policy:
diff --git a/app/policy.polar b/app/policy.polar
index f5bc0a5..2883949 100644
--- a/app/policy.polar
+++ b/app/policy.polar
@@ -6,2 +6,3 @@ allow(_: User, "index", _: User);
 allow(user: User, "index", bear: Bear) if
-    bear.owner = user;
+    bear.owner = user or
+    bear.species = Species.polar;
While we’re at it, who doesn’t like pandas or bears named “Smokey”:
diff --git a/app/policy.polar b/app/policy.polar
index 2883949..b458ddc 100644
--- a/app/policy.polar
+++ b/app/policy.polar
@@ -6,3 +6,4 @@ allow(_: User, "index", _: User);
 allow(user: User, "index", bear: Bear) if
     bear.owner = user or
-    bear.species = Species.polar;
+    bear.species in [Species.panda, Species.polar] or
+    bear.name = "Smokey";
Well, that’s about all we can bear (sorry) for one blog. Let’s take stock and wrap up.
Final diff of securing the app with Oso
diff --git a/app/main.py b/app/main.py
index 397037e..6abb06d 100644
--- a/app/main.py
+++ b/app/main.py
@@ -7,13 +7,22 @@ from sqlalchemy.orm import Session, sessionmaker
 from starlette.config import Config
+from oso import Oso
+from sqlalchemy_oso import register_models, authorized_sessionmaker

 from app.crud import create_bear, get_or_create_user_by_email, list_bears
-from app.db import engine, setup_db
-from app.models import User
+from app.db import engine, setup_db, Base
+from app.models import User, Species
 from app.schemas import Bear, BearBase
 from app.seed import seed_db

 # Load environment variables.
 conf = Config(".env")
 issuer, audience, client_id = conf("ISSUER"), conf("AUDIENCE"), conf("CLIENT_ID")

+# Initialize Oso.
+oso = Oso()
+register_models(oso, Base)
+oso.register_class(BearBase)
+oso.register_constant(Species, "Species")
+oso.load_file("app/policy.polar")
+

@@ -46,2 +55,13 @@ def current_user(

+def get_authorized_db(request: Request):
+    get_oso = lambda: oso
+    get_user = lambda: request.state.user
+    get_action = lambda: request.scope["endpoint"].__name__
+    db = authorized_sessionmaker(get_oso, get_user, get_action, bind=engine)()
+    try:
+        yield db
+    finally:
+        db.close()
+
+
 # Reset and seed database.
@@ -62,8 +82,10 @@ app.add_middleware(
 @app.get("/bears", response_model=List[Bear])
-def index(db: Session = Depends(get_db)):
+def index(db: Session = Depends(get_authorized_db)):
     return list_bears(db)


 @app.post("/bears", response_model=Bear)
 def create(request: Request, bear: BearBase, db: Session = Depends(get_db)):
+    if not oso.is_allowed(request.state.user, "create", bear):
+        raise HTTPException(403)
     return create_bear(db, bear, request.state.user)
diff --git a/app/policy.polar b/app/policy.polar
new file mode 100644
index 0000000..b458ddc
--- /dev/null
+++ b/app/policy.polar
@@ -0,0 +1,9 @@
+allow(user: User, "create", _: BearBase) if
+    not user.is_banned;
+
+allow(_: User, "index", _: User);
+
+allow(user: User, "index", bear: Bear) if
+    bear.owner = user or
+    bear.species in [Species.panda, Species.polar] or
+    bear.name = "Smokey";
Learn More About Oso, FastAPI, and Python
In this post, we started out with a very fast and SQL-y application built on FastAPI and SQLAlchemy. We created and configured a new Okta application to handle identity management and authentication for our app. Then we used Oso to add efficient, fine-grained authorization to our back end API.
The full example is available on GitHub.
If you’re up for it, here are a couple exercises to try:
- Add roles to the app using
sqlalchemy-oso’s built-in roles feature. Perhaps every bear lives in a sanctuary, and a user can have a particular role in each sanctuary, e.g., “Visitor”, “Friend”, or “Shepherd”. - Add a “Delete” button next to every bear in the list, and wire up each button to send
a DELETE request to the back end. Secure your new
delete()handler with Oso, and add a rule to the policy that only allows users to delete their own bears. - Join our slack and let us know what your favorite bear is and why it’s the polar bear.
- Learn more about other use cases of Oso, other languages it supports, and more in the Oso documentation.
If you liked this post, chances are you’ll like these others:
- Build and Secure an API in Python with FastAPI
- The Definitive Guide to WSGI
- Build a Simple CRUD App with Python, Flask, and React
- Build a CRUD App with Python, Flask, and Angular
Don’t forget to follow @oktadev on Twitter and subscribe to their YouTube channel for more excellent tutorials. You can follow Oso on Twitter too.
Okta Developer Blog Comment Policy
We welcome relevant and respectful comments. Off-topic comments may be removed.