Build a Secure Micronaut and Angular App with JHipster

Micronaut is a new framework for developing JVM applications, including APIs and microservices. It uses ahead-of-time (AOT) compilation to compute the information that your application needs before runtime, removing the need for reflection. The result is a significant decrease in runtime overhead and startup time, and a substantial increase in application throughput. Micronaut is a direct competitor to Spring Boot from the folks that invented Grails. Its design and runtime efficiency make it ideal for deployment in modern, resource-constrained environments (like serverless).
JHipster is a full-stack development platform for generating, developing, and deploying modern web applications and microservice architectures. Its first version used AngularJS for the frontend; its latest version uses Angular 10. JHipster traditionally only had a Spring Boot backend implementation. However, other backend implementations have recently been added, including Micronaut!
JHipster has a concept called blueprints. Blueprints allow you to override default behavior in its application generator. Popular JHipster blueprints include Vue.js and Kotlin.
Today, I’d like to show you how to use the new and shiny Micronaut blueprint for JHipster. It supports Micronaut 2.0 and deploying to Heroku, plus adding Okta in one command. I figured it’d make for an excellent blog post!
| You can also watch this tutorial as a screencast. 🤓 |
Build a Micronaut app with JHipster
JHipster has its own domain language called JDL (JHipster Domain Language). JDL can be used to describe an app, entities, relationships between entities, and even deployments. In this tutorial, I’ll show you how to build a simple app that allows you to record space launches and add images to the event. It will look similar to NASA’s Launches and Landings.
Prerequisites:
Install JHipster and the Micronaut blueprint using npm:
npm i -g generator-jhipster@6.10.1 generator-jhipster-micronaut@0.3.8Design a Micronaut data model with JHipster’s JDL
JHipster has defaults for all of its options. You can create a new app using the jhipster command—hold down the enter key when prompted with choices, and your app will be created with the defaults. JDL allows you to create an application definition where you only override the defaults. For example, you could create an app with OAuth 2.0 and OpenID Connect (OIDC) for authentication using the following JDL:
application {
  config {
    baseName rockets
    authenticationType oauth2
  }
}
Create a new directory called spacefan. Add an app.jdl file to it and populate it with the following code.
application { (1)
  config {
    baseName space
    applicationType monolith
    authenticationType oauth2
    packageName org.jhipster.space
    prodDatabaseType postgresql
    testFrameworks [protractor]
  }
  entities *
}

(2)
entity SpaceEvent {
  name String required
  date LocalDate required
  description TextBlob required
  photo ImageBlob required
  type SpaceEventType required
}

entity Mission {
  name String required
  description String
}

enum SpaceEventType {
  LAUNCH,
  LANDING
}

(3)
relationship OneToOne {
  SpaceEvent{mission(name)} to Mission
}

(4)
paginate SpaceEvent with infinite-scroll
paginate Mission with pagination
-
The app definition overrides the name, authentication type, production database, and test frameworks.
-
Entity definitions with validation rules.
-
Relationships between entities.
-
Pagination rules can be defined for each entity.
| You can find additional JDL samples on GitHub in the jdl-samples repository. |
Generate a Micronaut app with Angular
Open a terminal and navigate to the spacefan directory you created. Run the following command to create an Angular app with a Micronaut backend.
mhipster import-jdl app.jdlThis process will create a plethora of files for your application and run npm install. When it’s finished, you’ll need to start Keycloak.
docker-compose -f src/main/docker/keycloak.yml up -d
If you’re an Oh My Zsh fan, you can install the Oh My Zsh JHipster plugin and just type jhkeycloakup.
|
Keycloak is the default OIDC engine that’s used by JHipster, and you can run it in a Docker container. In your project’s src/main/docker folder, there’s a Docker Compose file for Keycloak, as well as default users, realms, and applications. Keycloak imports these on startup.
What about React and Vue.js?
You might have noticed I didn’t specify a client framework. I didn’t need to because Angular is the default. If you want to use React instead, you simply need to add a clientFramework react line to the application definition in your JDL. For example:
application {
  config {
    baseName space
    applicationType monolith
    authenticationType oauth2
    clientFramework react
    packageName org.jhipster.space
    prodDatabaseType postgresql
    testFrameworks [protractor]
  }
  entities *
}
| You can see all the default options in JHipster’s documentation. |
If you want to use Vue.js instead of React, it’s a little more complicated. The Micronaut blueprint modifies Angular and React templates. These modifications will likely be needed for Vue as well. Since Vue will be integrated into JHipster in v7.0, it’s probably best to wait until it’s released before you try Micronaut and Vue.
If you really want to try Vue with Micronaut, you can. You might need to modify the Vue files to work with Micronaut after you generate your project.
First, you’ll need to install the Vue.js blueprint:
npm install -g generator-jhipster-vuejsThen you’ll need to import the JDL and specify both Micronaut and Vue.js as blueprints.
jhipster import-jdl app.jdl --blueprints micronaut,vuejsConfirm Authentication with Keycloak works
With Keycloak up and running, you should be able to log in. Start your app using Maven:
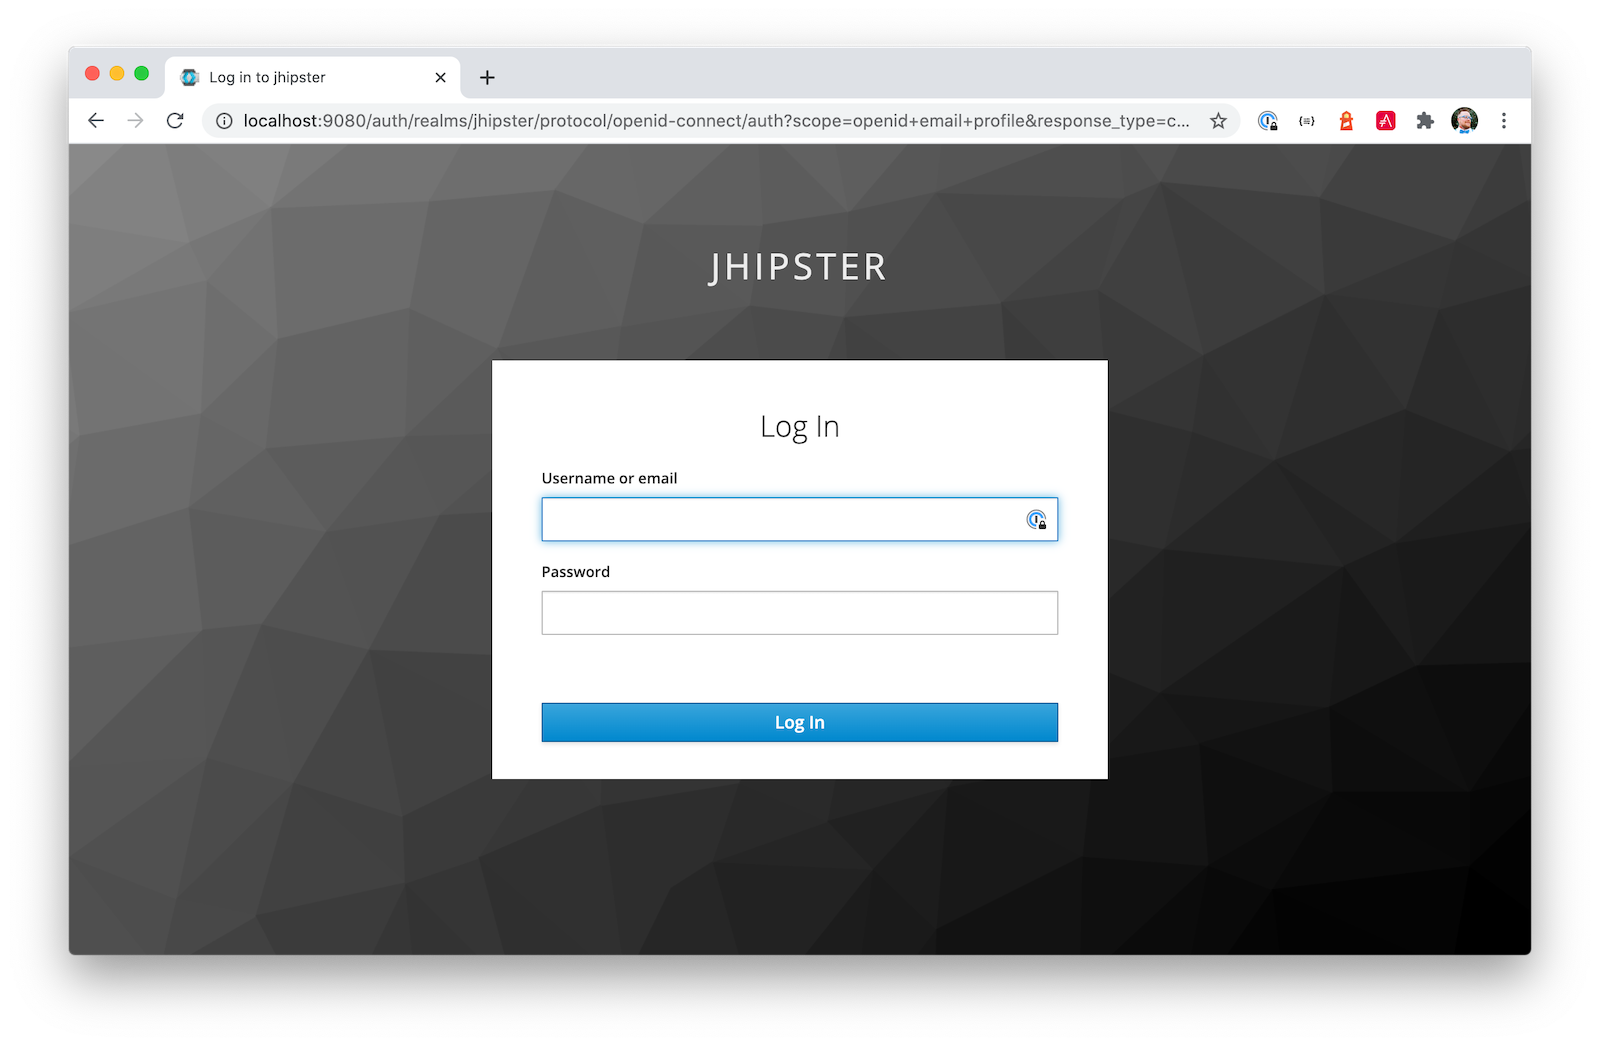
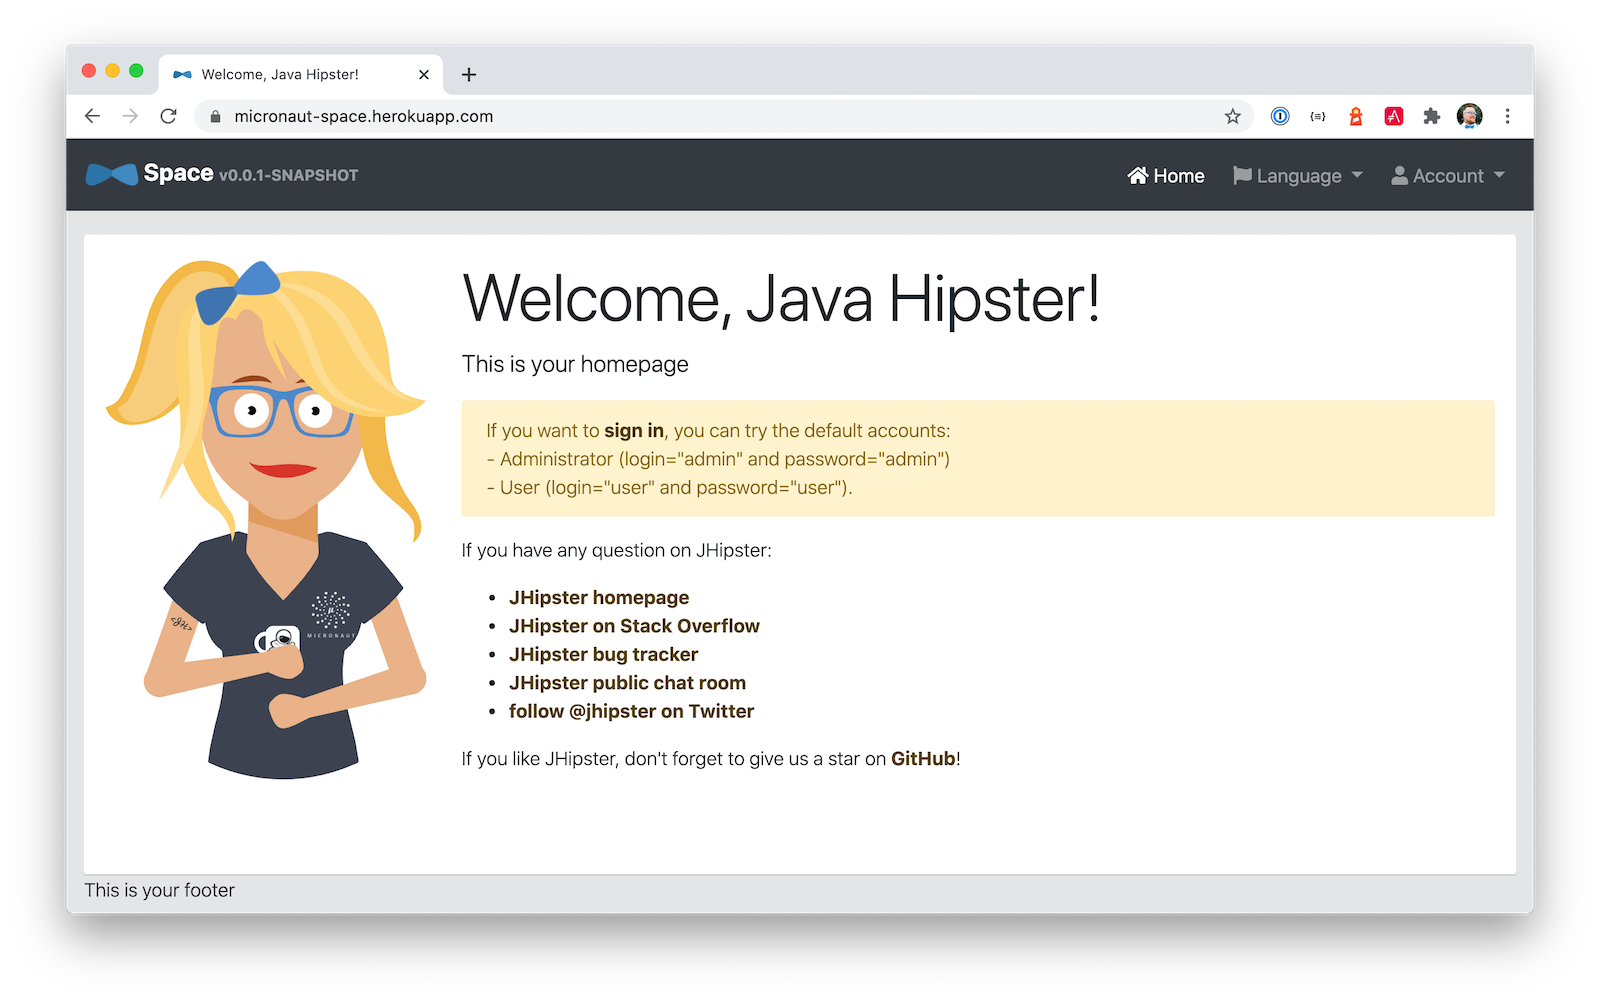
./mvnwWhen it finishes launching, go to http://localhost:8080 in your favorite browser and click the sign in link.
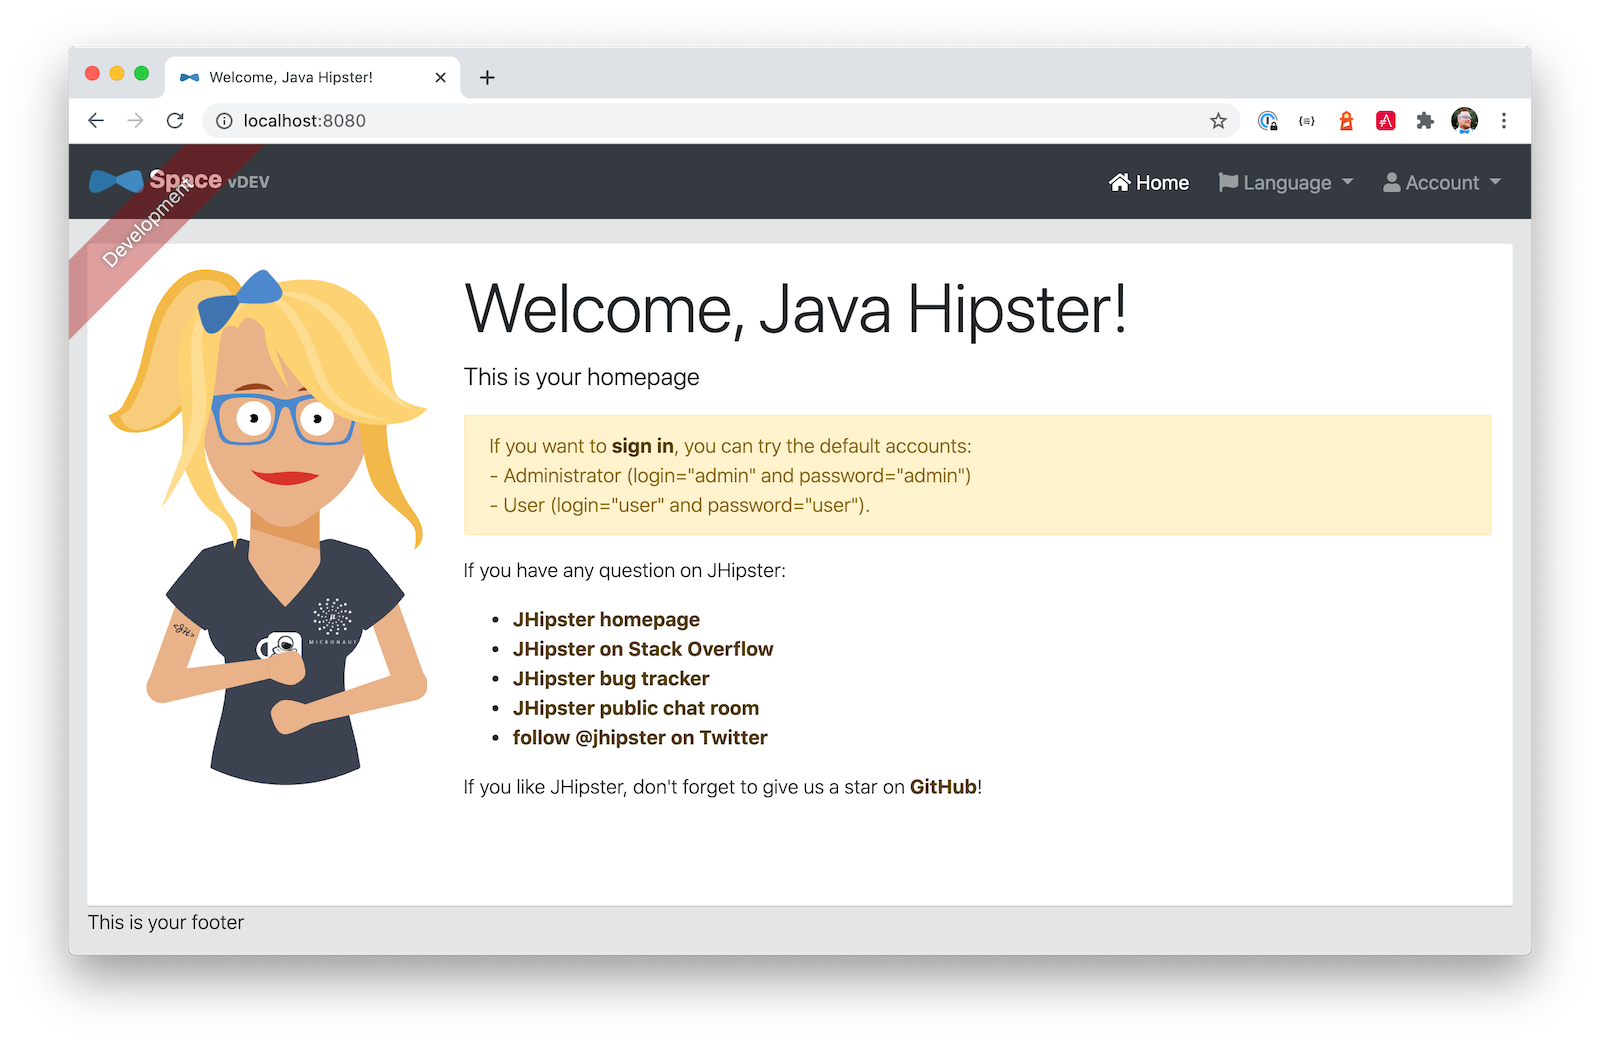
Your app will redirect you to Keycloak to log in. Use admin/admin to log in as an administrator.
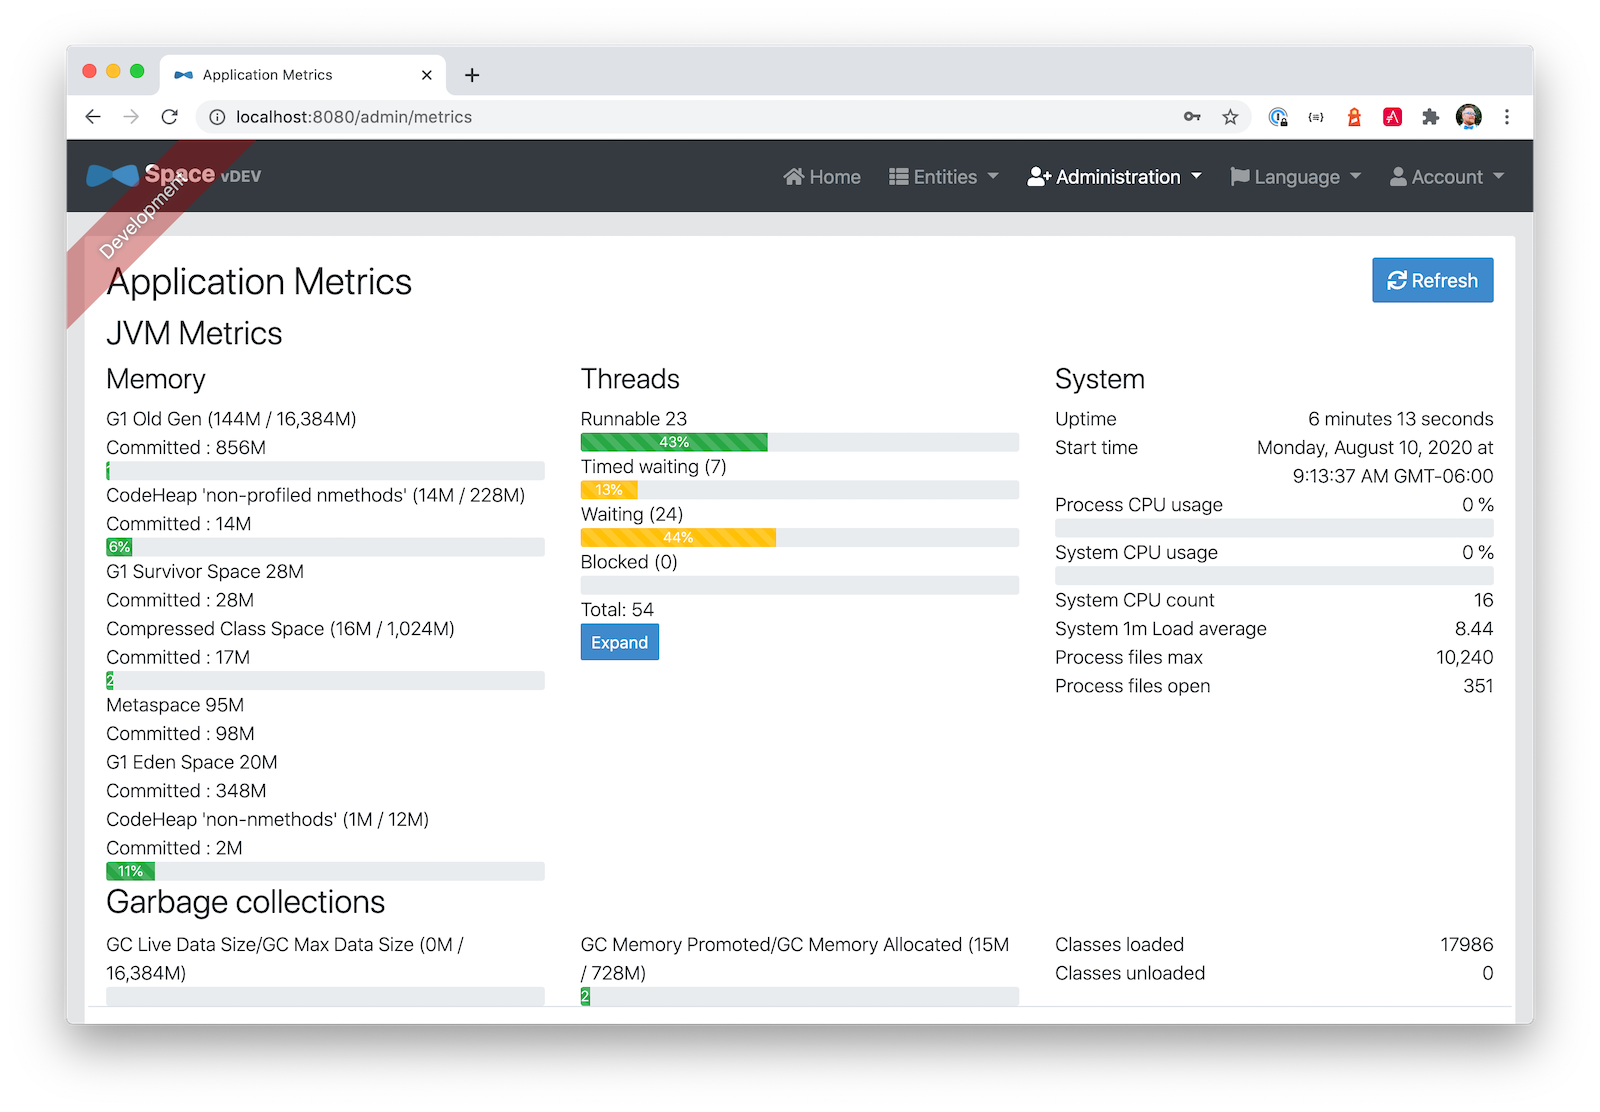
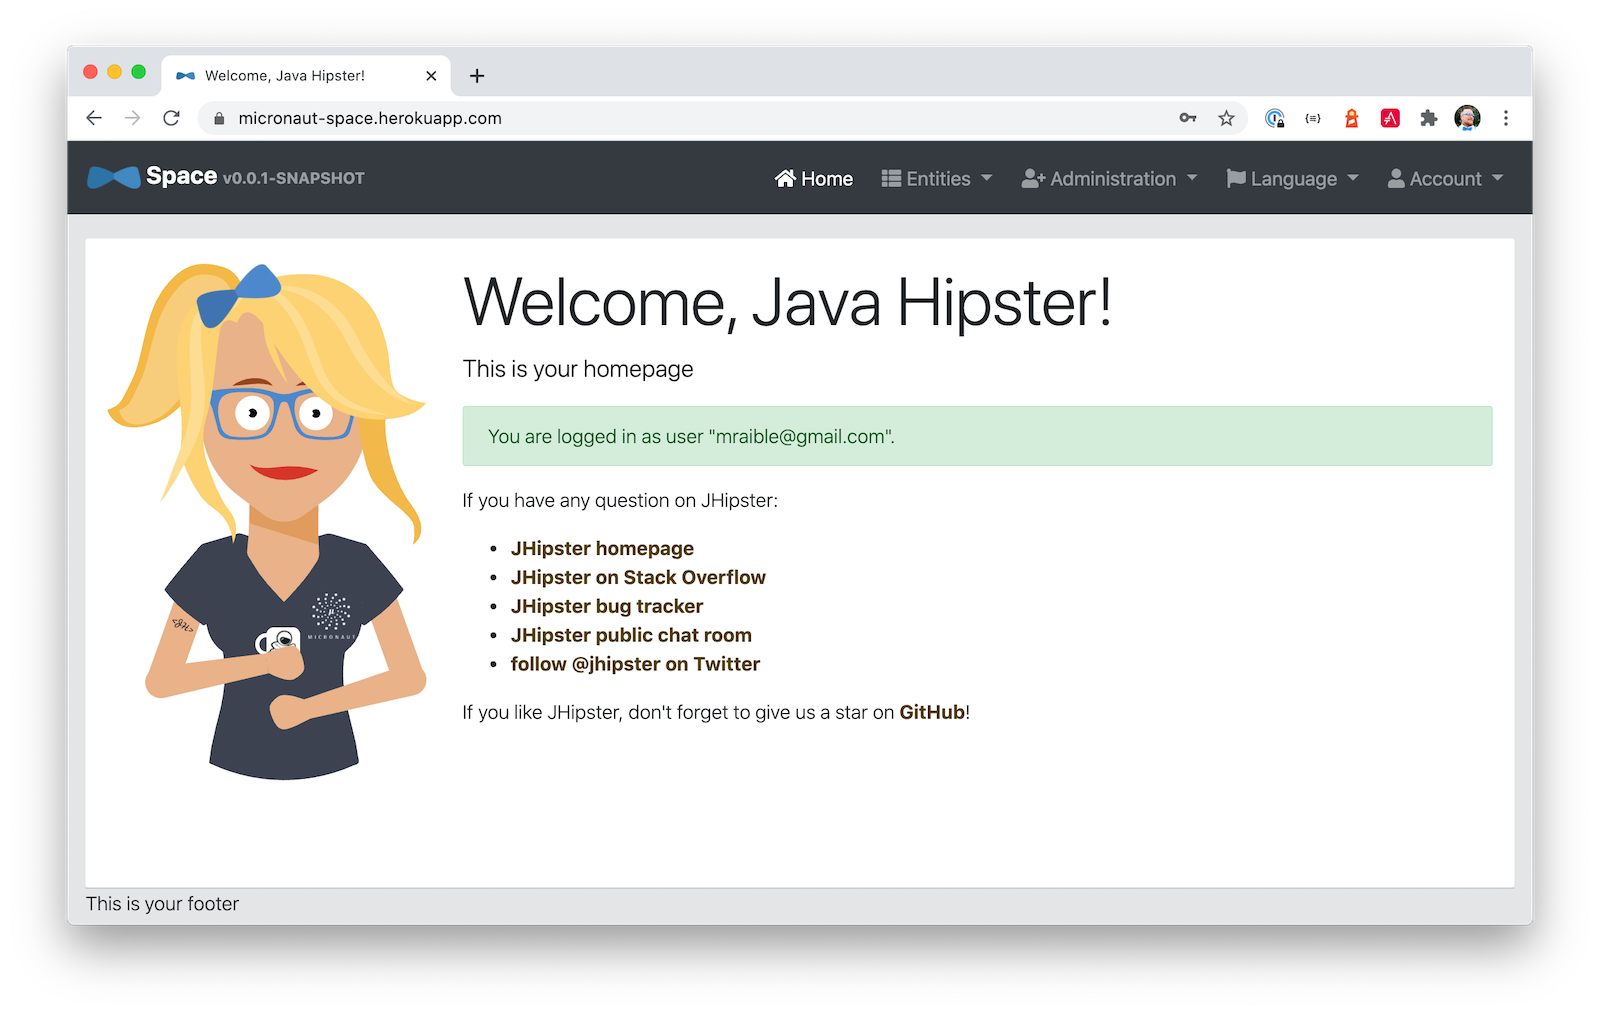
You can browse through the Administration section by clicking on the Administration menu.
Go to Entities > Space Events to add new events and missions.
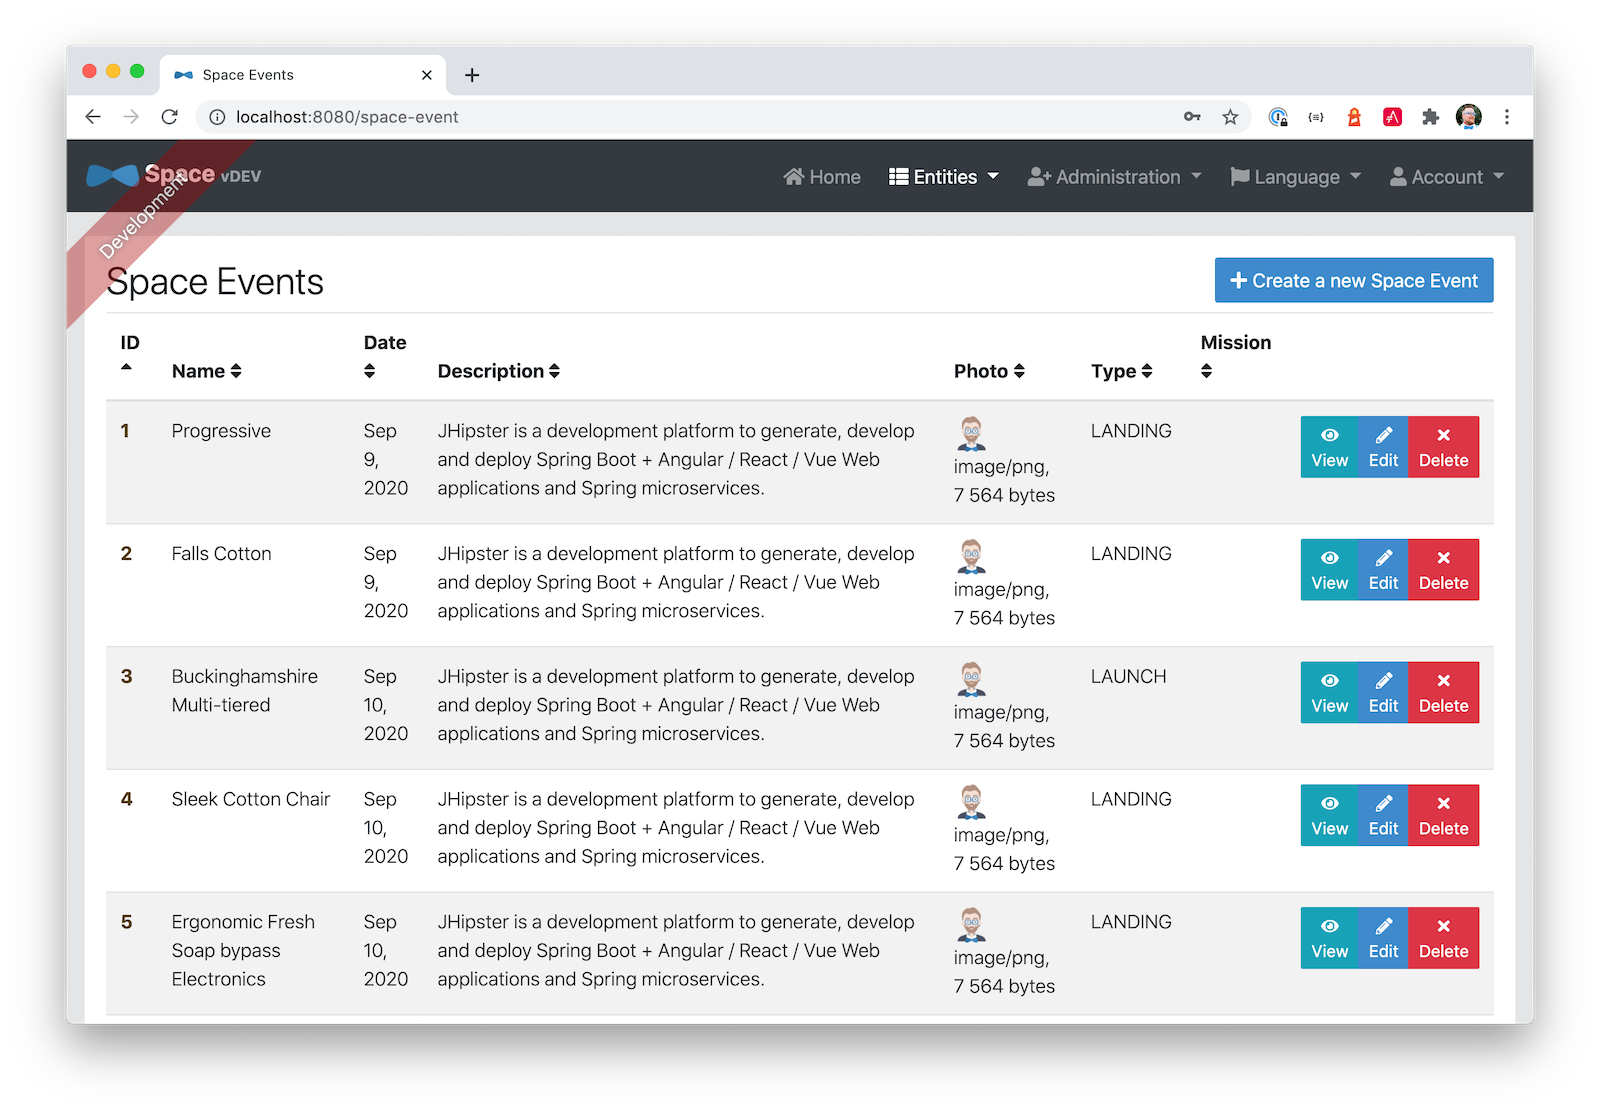
You might notice how both space events and missions have existing data. This is from Faker.js and Liquibase. Liquibase is used to create your database tables, and Faker.js is used to create fake data in development. If you want to turn off fake data, you can open src/main/resources/application-dev.yml and search for faker. Remove it from the list of active profiles for Liquibase.
|
liquibase:
  datasources:
    default:
      async: true
      change-log: classpath:config/liquibase/master.xml
      contexts: dev
Since you chose Protractor for testing, you can ensure all the client code works by running the following command in a second terminal window. (Your JHipster app should still be running in the first.)
npm run e2eYou should see a message saying that all tests have passed.
14 passing (34s)| The pauses for alerts when running end-to-end tests is a known issue. |
Prepare Micronaut for production
JHipster ships with profiles for development and production. In development, everything is designed to be fast for the developer. In production, everything should be quick for your users. When you build your app with the prod profile enabled, Micronaut is optimized with less logging and PostgreSQL. On the client side, scripts are optimized, CSS is minimized, and HTML is streamlined.
Deploy Micronaut to Heroku
Since JHipster has production optimizations built in, you’re ready to deploy your app to Heroku!
To begin, you must install the Heroku CLI, and have created a Heroku account. You will need to verify your Heroku account with a credit card as a security measure. JHipster won’t add any add-ons that cost money, but Heroku requires a credit card on file to provision some add-ons.
Stop your app. Then, run the following command:
mhipster herokuWhen prompted for type of deployment, choose Git. Use 11 for the Java version and select Yes to provision the Okta add-on. Enter your email for the JHipster Admin user and an initial password. When prompted to overwrite pom.xml, type a to overwrite it.
This process can take a while to complete. When I tried it, it took seven minutes.
When the deployment process finishes, open your favorite browser to the URL in your console or run heroku open.
You should be able to log in using the email and password you provided. Okta will prompt you to change your password and set a security question (for password recovery).
You can also deploy your JHipster app as a Docker container! In Angular + Docker with a Big Hug from Spring Boot, I showed you how to deploy Spring Boot to Heroku as a container. I also showed how you can deploy that same image to Knative on Google Cloud and Cloud Foundry. Once you have a JHipster + Micronaut image built, you can use those same instructions to deploy to those platforms.
In the next section, I’ll show how to deploy your container to Heroku.
Micronaut + Docker on Heroku
JHipster uses Jib to build Docker images for your application. Run the following command to create a Docker image.
./mvnw -Pprod verify jib:dockerBuildYou can test it out locally using Docker Compose.
docker-compose -f src/main/docker/keycloak.yml down
docker-compose -f src/main/docker/app.yml up|
To make Keycloak work, you need to add the following line to your hosts file ( This is because you will access your application with a browser on your machine (which is named localhost, or |
Once you’ve confirmed everything works, create a new app on Heroku, and add it as a remote.
heroku apps:create
git remote add docker https://git.heroku.com/<your-new-app>.git
Then run the commands below to deploy your Micronaut app as a Docker image. Be sure to replace the <…> placeholders with your Heroku app name. If you don’t know your app name, run heroku apps.
heroku container:login
docker tag space registry.heroku.com/<heroku-app>/web
docker push registry.heroku.com/<heroku-app>/web
For example, I used:
heroku container:login
docker tag space registry.heroku.com/infinite-crag-99454/web
docker push registry.heroku.com/infinite-crag-99454/web
At this point, you can use the PostgreSQL and Okta add-ons you’ve already configured. Run the following command to get the identifiers of the add-ons from the heroku remote that you first deployed to.
heroku addons --remote herokuThen you can attach these instances to your new application.
heroku addons:attach <postgresql-addon-name> --remote docker
heroku addons:attach <okta-addon-name> --remote docker
When you use mhipster heroku to deploy your application, it properly configures the database for you. However, when deploying it as a Docker container, none of that happens. Therefore, you need to set a few configuration variables so your Docker container can talk to PostgreSQL. First, run the following command to get the PostgreSQL URL.
heroku config:get DATABASE_URL --remote dockerThis command will retrieve a value with the following syntax:
postgres://username:password@addressThen, set the database environment variables to match the keys that are in application-heroku.yml.
heroku config:set JDBC_DATABASE_URL=jdbc:postgresql://<address> --remote docker
heroku config:set JDBC_DATABASE_USERNAME=<username> --remote docker
heroku config:set JDBC_DATABASE_PASSWORD=<password> --remote docker
Set the max amount of Java memory to use and specify the Micronaut environments.
heroku config:set JAVA_OPTS=-Xmx128m --remote docker
heroku config:set MICRONAUT_ENVIRONMENTS=prod,heroku --remote docker
heroku config:set MICRONAUT_ENV_DEDUCTION=false --remote docker
Now you should be able to release your container and start the app.
heroku container:release web --remote dockerYou can watch the logs to see if your container started successfully.
heroku logs --tail --remote dockerNow you should be able to open your app, click the sign in link, and authenticate!
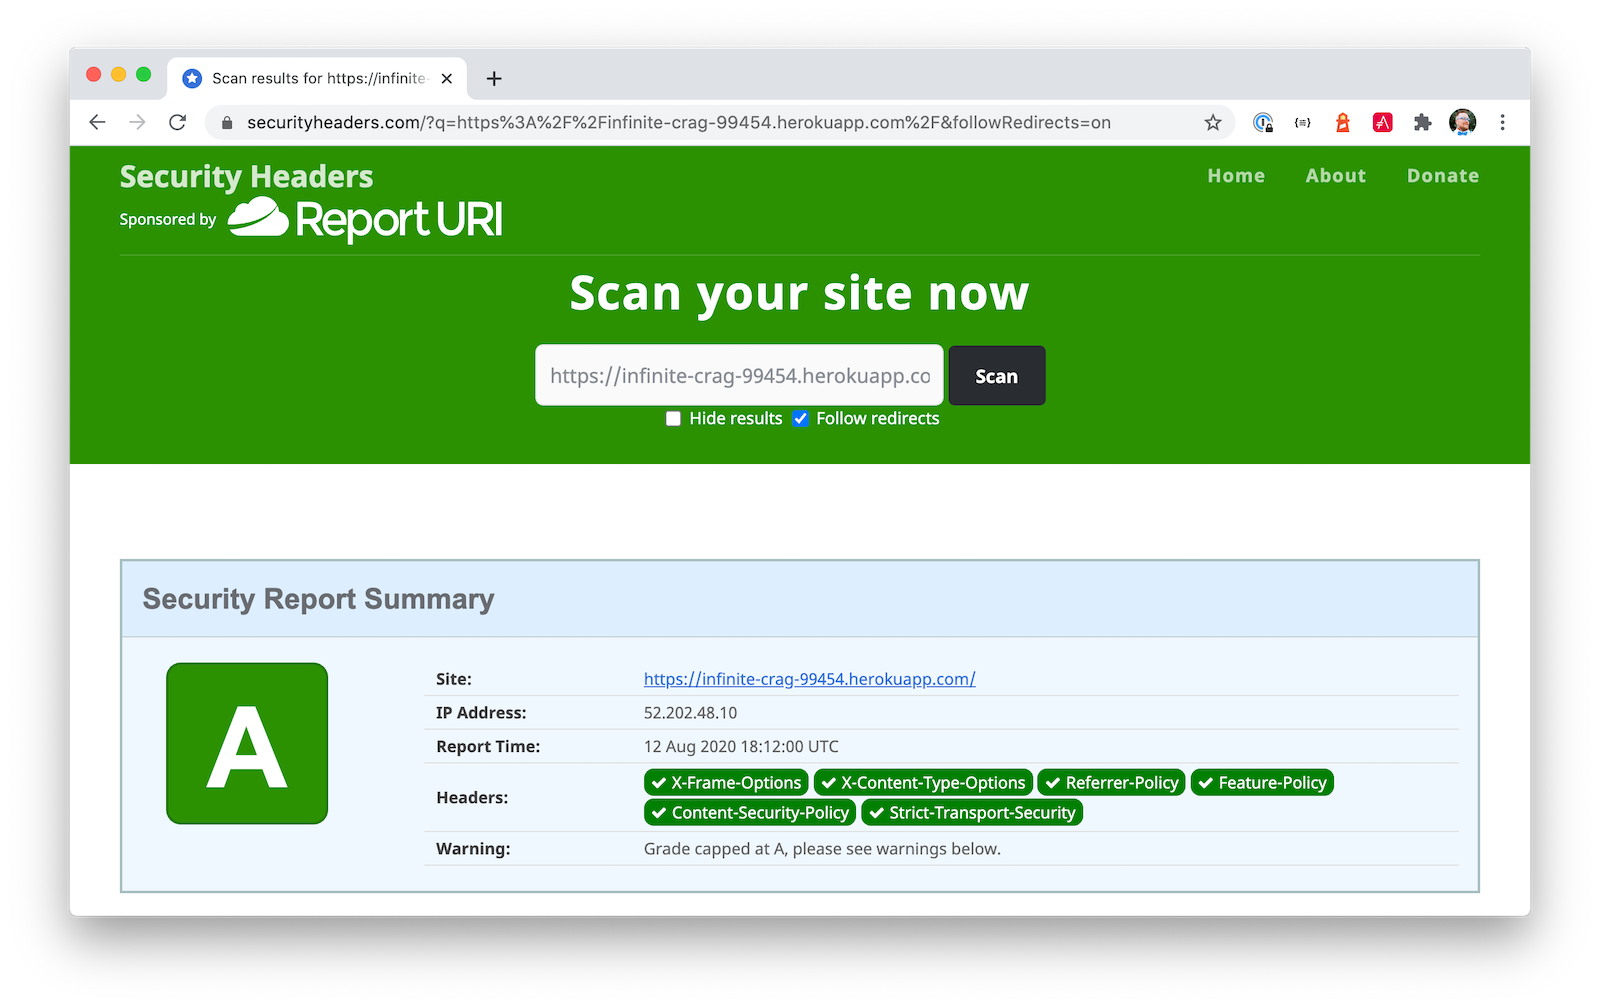
heroku open --remote dockerIf you test your Dockerized Angular + Micronaut app on securityheaders.com, you’ll see it scores an A!
If you want to log in to this app, you’ll need to add its login and logout redirect URIs to your Okta OIDC app. To access it, open dashboard.heroku.com in a private window. Log in and go to $docker-app-name > Resources > okta. After you’re redirected to the Okta Admin Console, go to the Applications section, select your app, and Edit its general settings.
For example, I added the following redirect URIs to mine:
-
Login:
https://infinite-crag-99454.herokuapp.com/oauth2/callback/oidc -
Logout:
https://infinite-crag-99454.herokuapp.com/logout
If you make save these changes and try to log in to your app again, you’ll likely receive an error message:
Internal Server Error: Unable to sync user with idp.
This happens when you try to log in with the super admin that the Okta add-on creates. If you log in using a private window, it should work as expected.
Deploying a Micronaut app to Heroku in a Docker container is a little more difficult because JHipster doesn’t configure PostgreSQL and Okta for you. However, setting a few environment variables is all you need to get things up and running.
Discover more about Micronaut and JHipster
I hope you enjoyed this whirlwind tour of Micronaut and JHipster. You can find the example created in this tutorial on GitHub.
If you’re interested in learning more about the Micronaut blueprint, see the generator-jhipster-micronaut project on GitHub. You can even earn money from the JHipster project by contributing to its open issues.
If you’re interested in a performance comparison of Spring Boot and Micronaut in JHipster, see OCI’s Practical Performance Comparison of Spring Boot, Micronaut 1.3, and Micronaut 2.0.
I hope you liked this hip tutorial! Here are some other ones that you might enjoy.
If you have any questions, please ask them in the comments below.
To be notified when we publish new blog posts, follow us on Twitter or LinkedIn. We frequently publish videos to our YouTube channel too. Please subscribe!
Changelog:
- Apr 1, 2021: Updated for the new Okta Admin Console. See okta-blog#657 to see what changed.
Matt Raible is a well-known figure in the Java community and has been building web applications for most of his adult life. For over 20 years, he has helped developers learn and adopt open source frameworks and use them effectively. He's a web developer, Java Champion, and Developer Advocate at Okta. Matt has been a speaker at many conferences worldwide, including Devnexus, Devoxx Belgium, Devoxx France, Jfokus, and JavaOne. He is the author of The Angular Mini-Book, The JHipster Mini-Book, Spring Live, and contributed to Pro JSP. He is a frequent contributor to open source and a member of the JHipster development team. You can find him online @mraible and raibledesigns.com.
Okta Developer Blog Comment Policy
We welcome relevant and respectful comments. Off-topic comments may be removed.