Simple, Secure Authentication with CodeIgniter

CodeIgniter is a simple, lightweight PHP framework that remains a popular option for many developers. It might lack the sophisticated architecture and advanced features of Symfony or Laravel, but it compensates with a small footprint and a shallow learning curve.
In this tutorial, I will show you how to build a simple application for creating/viewing news items. We will extend the standard CodeIgniter tutorial to add user authentication to the application, require a logged-in user in the ‘Create Item’ route, and associate new entries with the user who created them. During the process, you will also improve the default setup of new CodeIgniter projects to manage dependencies through Composer, and store application secrets/configuration variables in .env files.
If you want to follow the tutorial, you’ll need PHP, MySQL, Composer, and a free Okta developer account.
Note: In May 2025, the Okta Integrator Free Plan replaced Okta Developer Edition Accounts, and the Okta CLI was deprecated.
We preserved this post for reference, but the instructions no longer work exactly as written. Replace the Okta CLI commands by manually configuring Okta following the instructions in our Developer Documentation.
Initialize a CodeIgniter Project
The CodeIgniter installation instructions require you to download and unzip the project files to get started. However, you can more easily use Composer to handle the new project setup instead. There is a handy GitHub project to help you with this:
composer create-project kenjis/codeigniter-composer-installer okta-php-code-igniter-auth
cd okta-php-code-igniter-auth
php -S 127.0.0.1:8000 -t public
Open http://localhost:8000/ and you will see the default CodeIgniter Welcome page.
Set up the MySQL Database
The project uses a MySQL database, which you need to create. CodeIgniter provides to option to handle database migrations, so you also need to create the database schema manually:
mysql -uroot -p
CREATE DATABASE ci_auth CHARACTER SET utf8mb4 COLLATE utf8mb4_unicode_ci;
GRANT ALL on ci_auth.* to ci_auth@localhost identified by 'ci_auth';
quit
Import the following SQL file into the new database:
CREATE TABLE users (
        id int(11) NOT NULL AUTO_INCREMENT,
        email varchar(128) NOT NULL UNIQUE,
        PRIMARY KEY (id)
);

CREATE TABLE news (
        id int(11) NOT NULL AUTO_INCREMENT,
        user_id int(11) NOT NULL,
        title varchar(128) NOT NULL,
        slug varchar(128) NOT NULL,
        text text NOT NULL,
        PRIMARY KEY (id),
        FOREIGN KEY (user_id) REFERENCES users(id) ON DELETE CASCADE,
        KEY slug (slug)
);
The schema is simple - a users table (with an id and email), and a news table (with an id, title, slug, text of the article and a user_id for the article author). Note that there is no password field in the users table because user authentication will be handled by Okta.[a]
Okta Registration and Application Setup
Before proceeding with the CodeIgniter application, take some time to set up your Okta account and application. Okta makes identity management easier, more secure, and more scalable than you’re used to. Okta’s API service allows you to create, edit, and securely store user accounts and data, and connect them with one or more applications.
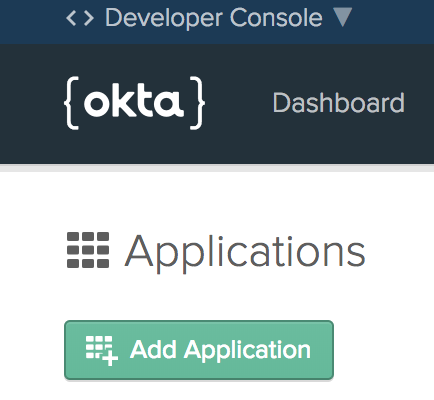
Register for a forever-free developer account, then log in to your Okta account, go to the Applications menu item and click the Add Application button:
Select Web and click Next.
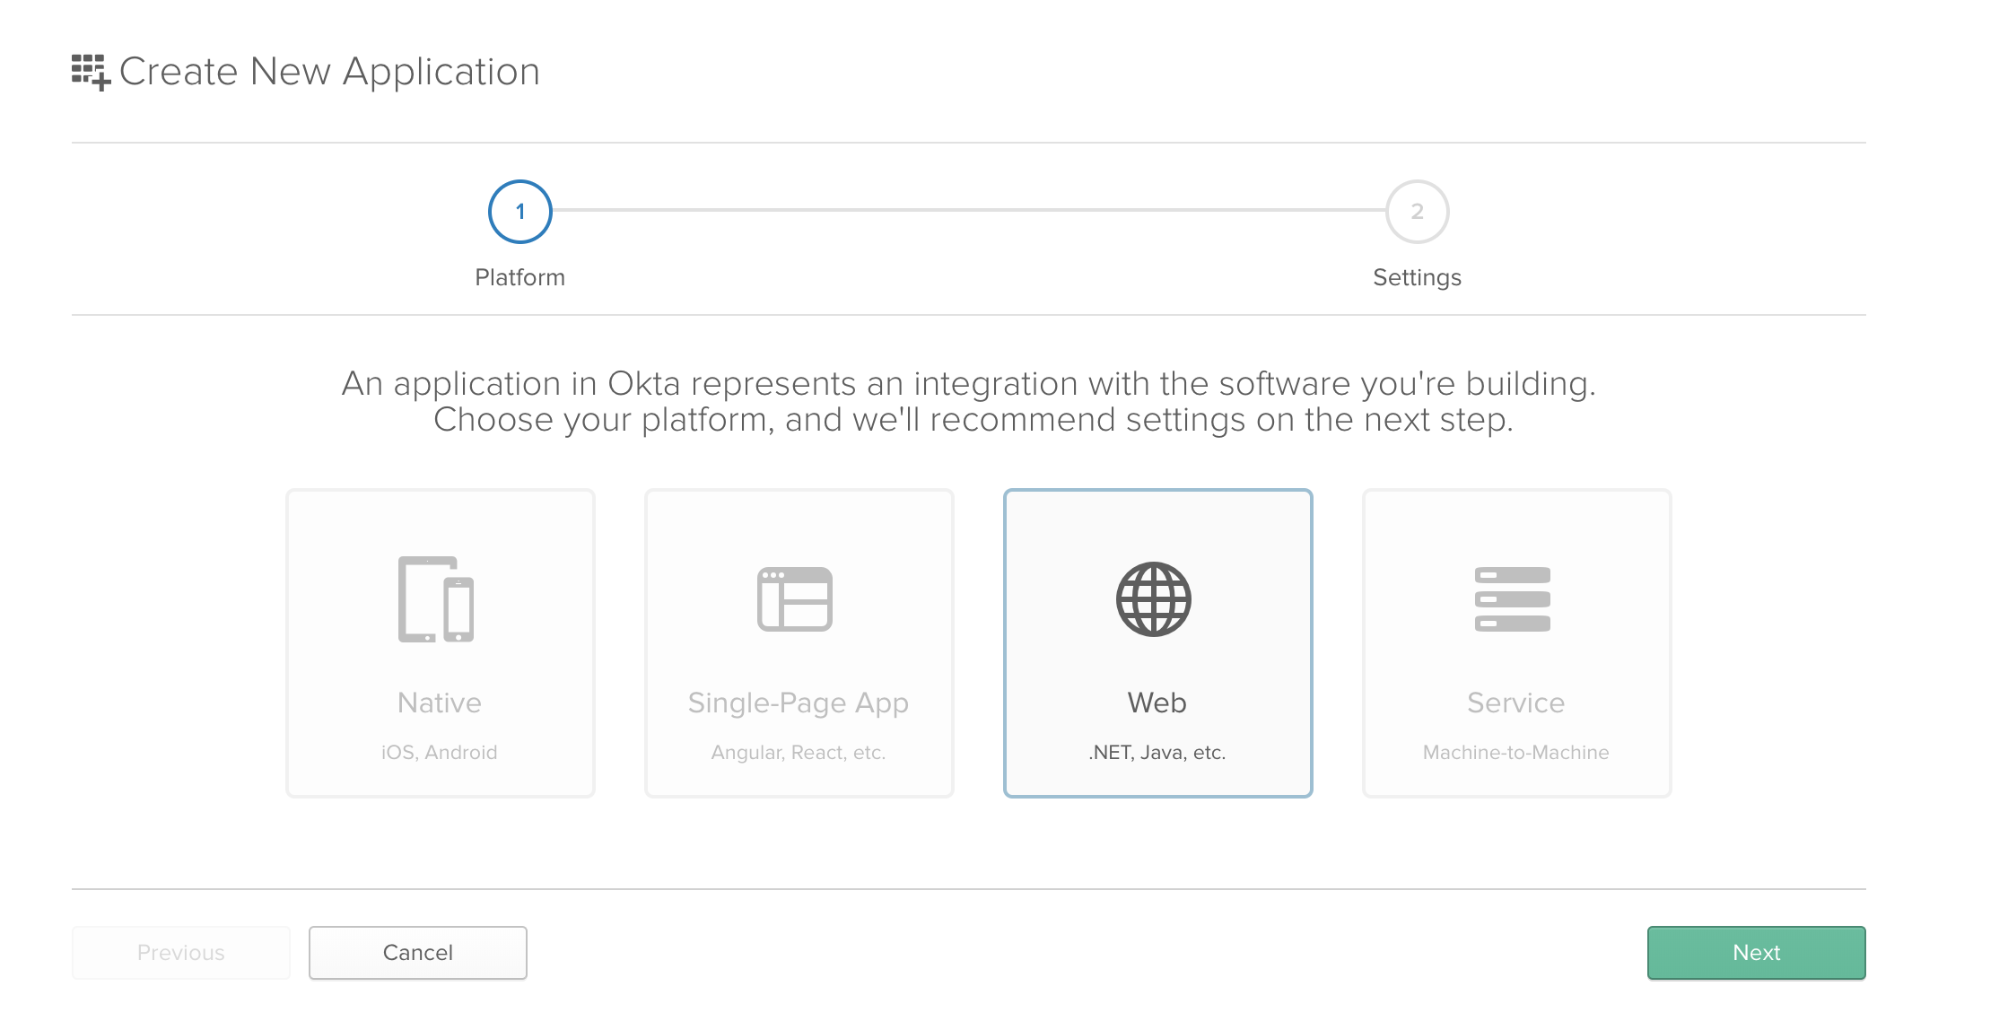
Enter a title, and set http://localhost:8000/ as the Base URI, and http://localhost:8000/callback as the Login Redirect URI, then click Done. You can leave the rest of the settings as they are.
Copy the Client ID and Client Secret from the application settings; you will need them soon.
Add DotEnv and a Custom Bootstrapper to CodeIgniter
The default CodeIgniter installation uses configuration files to manage the application secrets, which is not a great idea for multiple reasons, including security issues, managing local settings for different users, and maintaining of multiple environments (development, staging, production). The next step in the tutorial is to setup DotEnv to manage the secrets and configuration variables properly.
Install the DotEnv package through Composer:
composer require vlucas/phpdotenv
Create .env.example:
DB_HOST=localhost
DB_NAME=ci_auth
DB_USER=ci_auth
DB_PASS=ci_auth

OKTA_BASE_URL=http://localhost:8000/
OKTA_REDIRECT_URI=http://localhost:8000/callback
OKTA_CLIENT_ID=
OKTA_CLIENT_SECRET=
OKTA_METADATA_URL=https://{{yourOktaDomain}}/oauth2/default/.well-known/oauth-authorization-server
Copy .env.example to .env and edit the file. Replace the domain part of OKTA_METADATA_URL with your own Okta domain, and include the client_id and client_secret as you copied them from Okta. Also update the database credentials, if you didn’t use the default ones specified earlier.
Add the .env file to .gitignore so it’s not tracked by git:
.gitignore
....
.env
Create a bootstrap.php file in the main project directory so you can load the .env variables and use them in the code:
<?php
require 'vendor/autoload.php';
use Dotenv\Dotenv;

$dotenv = Dotenv::create(__DIR__);
$dotenv->load();
Add the following line at the end of public/index.php, but before the default CodeIgniter bootstrapper:
// this is the line you're adding:
require_once '../bootstrap.php';

// this is the existing line, it must remain at the end:
require_once BASEPATH.'core/CodeIgniter.php';
This allows the environment variables to be used while bootstrapping the rest of the framework, e.g. the database connection.
Next, update application/config/database.php to use the .env db settings so you don’t have to define them directly in this file:
$db['default'] = array(
    ...
    'hostname' => getenv('DB_HOST') ?? '',
    'username' => getenv('DB_USER') ?? '',
    'password' => getenv('DB_PASS') ?? '',
    'database' => getenv('DB_NAME') ?? '',
    ...
);
Update application/config/autoload.php so the Sessions library is autoloaded (you’ll need it in all controllers):
...
$autoload['libraries'] = array('session');
...
CodeIgniter does not use the default PHP sessions so you need to update the config file to set the session storage method/location, and you also need to add the storage path to .gitignore:
application/config/config.php
...
$config['base_url'] = 'http://localhost:8000';
...
$config['sess_save_path'] = APPPATH . '/storage';
...
.gitignore
...
application/storage/*
Create a Basic Controller and Template
The default application controller will show a list of news items, so let’s create a NewsController and set it as the default controller:
application/controllers/News.php
<?php
class News extends CI_Controller
{
    public function __construct()
    {
        parent::__construct();

        $this->load->view('templates/header');
    }

    public function index()
    {
        $data['title'] = 'News archive';

        $this->load->view('news/index', $data);
        $this->load->view('templates/footer');
    }
}
Modify application/config/routes.php to set the News controller as default:
...
$route['default_controller'] = 'news';
...
The controller loads a header template in the constructor, and a single index() method loads the index template and the footer template. Create the following directories and template files:
application/views/templates/header.php
<!DOCTYPE html>
<html lang="en">
    <head>
        <meta charset="utf-8">
        <meta http-equiv="X-UA-Compatible" content="IE=edge">
        <meta name="viewport" content="width=device-width, initial-scale=1">
        <meta name="description" content="PHP Login App bd-index-custom-example">
        <title>Code Igniter + Okta Login Example </title>
        <link rel="stylesheet" href="https://cdnjs.cloudflare.com/ajax/libs/bulma/0.7.2/css/bulma.min.css">
    </head>
    <body class="layout-default">
        <nav id="navbar" class="navbar has-shadow is-spaced">
            <div class="container">
                <div class="content">
                <h1>Code Igniter + Okta Login Example</h1>
application/views/templates/footer.php
                </div>
            </div>
        </nav>
   </body>
</html>
application/views/news/index.php
<h2><?php echo $title; ?></h2>
Reload http://localhost:8000/ and you will see the default template (run the PHP test server again if necessary with php -S 127.0.0.1:8000 -t public).
Implement User Login/Logout via Okta
Things are about to get interesting! In this section, you’ll add a navigation row to display the user information and login/logout links, and you’ll also implement the user login with Okta.
Modify application/config/routes.php to add all routes the application needs (e.g. routes to create and view a news item, login, logout and handle the Okta authentication callback):
application/config/routes.php
...
$route['login'] = 'user/login';
$route['logout'] = 'user/logout';
$route['callback'] = 'user/callback';

$route['news/create'] = 'news/create';
$route['news/(:any)'] = 'news/view/$1';
You will need an OktaApiService class to handle the communication with Okta. First, add some custom autoloading to the composer.json file, so you can store the file inside application/services and make it available in the controllers:
composer.json (full version):
{
    "description" : "The CodeIgniter Application with Composer",
    "require": {
        "php": ">=5.3.2",
        "codeigniter/framework": "3.1.*",
        "vlucas/phpdotenv": "^3.6"
    },
    "require-dev": {
        "mikey179/vfsStream": "1.1.*"
    },
    "autoload": {
        "psr-4": {"Src\\Services\\": "application/services"}
    }
}
Refresh the autoload files:
composer dumpautoload
Create application/services/OktaApiService.php:
<?php
namespace Src\Services;

class OktaApiService
{
    private $clientId;
    private $clientSecret;
    private $redirectUri;
    private $metadataUrl;

    public function __construct()
    {
        $this->clientId     = getenv('OKTA_CLIENT_ID');
        $this->clientSecret = getenv('OKTA_CLIENT_SECRET');
        $this->redirectUri  = getenv('OKTA_REDIRECT_URI');
        $this->metadataUrl  = getenv('OKTA_METADATA_URL');
    }

    public function buildAuthorizeUrl($state)
    {
        $metadata = $this->httpRequest($this->metadataUrl);
        $url = $metadata->authorization_endpoint . '?' . http_build_query([
            'response_type' => 'code',
            'client_id' => $this->clientId,
            'redirect_uri' => $this->redirectUri,
            'state' => $state,
            'scope' => 'openid email'
        ]);

        return $url;
    }

    public function authorizeUser($state)
    {
        if ($state != $_GET['state']) {
            $result['error'] = true;
            $result['errorMessage'] = 'Authorization server returned an invalid state parameter';
            return $result;
        }

        if (isset($_GET['error'])) {
            $result['error'] = true;
            $result['errorMessage'] = 'Authorization server returned an error: '.htmlspecialchars($_GET['error']);
            return $result;
        }

        $metadata = $this->httpRequest($this->metadataUrl);

        $response = $this->httpRequest($metadata->token_endpoint, [
            'grant_type' => 'authorization_code',
            'code' => $_GET['code'],
            'redirect_uri' => $this->redirectUri,
            'client_id' => $this->clientId,
            'client_secret' => $this->clientSecret
        ]);

        if (! isset($response->id_token)) {
            $result['error'] = true;
            $result['errorMessage'] = 'Error fetching ID token!';
            return $result;
        }

        $claims = json_decode(base64_decode(explode('.', $response->id_token)[1]));

        $result['username'] = $claims->email;
        $result['success'] = true;
        return $result;
    }

    private function httpRequest($url, $params = null)
    {
        $ch = curl_init($url);
        curl_setopt($ch, CURLOPT_RETURNTRANSFER, true);
        if ($params) {
            curl_setopt($ch, CURLOPT_POSTFIELDS, http_build_query($params));
        }
        return json_decode(curl_exec($ch));
    }
}
If you are interested more detail about what this class does and how the authentication flow works, check out this previous article: Build Simple Login in PHP.
Create a new User controller to handle the login, logout, and callback routes:
application/controllers/User.php
<?php

use Src\Services\OktaApiService as Okta;

class User extends CI_Controller
{
    protected $okta;

    public function __construct()
    {
        parent::__construct();
        $this->load->helper('url_helper');
        $this->load->model('users_model');
        $this->okta = new Okta;
    }

    public function login()
    {
        if (! isset($this->session->username)) {
            $state = bin2hex(random_bytes(5));
            $authorizeUrl = $this->okta->buildAuthorizeUrl($state);
            $this->session->state = $state;
            redirect($authorizeUrl, 'refresh');
        }

        redirect('/');
    }

    public function callback()
    {
        if (isset($_GET['code'])) {
            $result = $this->okta->authorizeUser($this->session->state);
            if (isset($result['error'])) {
                echo $result['errorMessage'];
                die();
            }
        }

        $userId = $this->users_model->find_or_create($result['username']);

        $this->session->userId = $userId;
        $this->session->username = $result['username'];
        redirect('/');
    }

    public function logout()
    {
        $this->session->userId = null;
        $this->session->username = null;
        redirect('/');
    }
}
Create the Users model:
application/models/Users_model.php
<?php
class Users_model extends CI_Model
{

    public function __construct()
    {
        $this->load->database();
    }

    public function find_or_create($email)
    {
        $data = [
            'email' => $email
        ];

        $query = $this->db->get_where('users', $data);
        $result = $query->row_array();

        if (! $result) {
            $this->db->insert('users', $data);
            return $this->db->insert_id();
        }

        return $result['id'];
    }
}
The model has a single method find_or_create($email) that accepts the email of the logged-in user, and returns the user ID if it already exists in the database, or creates a new User record and then returns the ID if it doesn’t exist.
Modify the header template to include the navigation row:
application/views/templates/header.php
<!DOCTYPE html>
<html lang="en">
    <head>
        <meta charset="utf-8">
        <meta http-equiv="X-UA-Compatible" content="IE=edge">
        <meta name="viewport" content="width=device-width, initial-scale=1">
        <meta name="description" content="PHP Login App bd-index-custom-example">
        <title>Code Igniter + Okta Login Example </title>
        <link rel="stylesheet" href="https://cdnjs.cloudflare.com/ajax/libs/bulma/0.7.2/css/bulma.min.css">
    </head>
    <body class="layout-default">
        <nav id="navbar" class="navbar has-shadow is-spaced">
            <div class="container">
                <div class="content">
                <h1>Code Igniter + Okta Login Example</h1>
                <?php
                    if (isset($username)) {
                ?>
                        <p>
                            Logged in as <?php echo $username; ?>
                        </p>
                        <p>
                            <a href="<?php echo site_url('news/create'); ?>">New article</a>
                            | <a href="<?php echo site_url('logout'); ?>">Log Out</a>
                        </p>
                <?php
                    } else {
                ?>
                        <p>Not logged in</p>
                        <p><a href="<?php echo site_url('login'); ?>">Log In</a></p>
                <?php
                    }
                ?>
Modify the News controller constructor to pass the logged-in user data to the views:
application/controllers/News.php
...
    public function __construct()
    {
        parent::__construct();
        $this->load->helper('url_helper');

        $this->username = $this->session->username ?? null;
        $data['username'] = $this->username;
        $this->load->view('templates/header', $data);
    }
...
Reload the site and you’ll see the navigation row. Test the login/logout links and confirm they are working correctly. You should be able to log in now and see your email address in the navigation bar when logged in.
Add a Form to Create News Items
If you look carefully, you’ll notice that when the user is logged in, the menu shows an additional item - New article. However, it’s not implemented yet and will result in an error if you click it. You’ll implement the new article form in this section of the tutorial.
Modify the News controller and add the method to handle this action:
application/controllers/News.php
...
    public function __construct()
    {
        parent::__construct();
        $this->load->model('news_model');
        $this->load->helper('url_helper');

        $this->username = $this->session->username ?? null;
        $data['username'] = $this->username;
        $this->load->view('templates/header', $data);
    }

...

    public function create()
    {
        if (! $this->username) {
            redirect('login');
        }

        $this->load->helper('form');
        $this->load->library('form_validation');

        $data['title'] = 'Create a news item';

        $this->form_validation->set_rules('title', 'Title', 'required');
        $this->form_validation->set_rules('text', 'Text', 'required');

        if ($this->form_validation->run() === FALSE)
        {
            $this->load->view('news/create', $data);
        } else {
            $this->news_model->set_news();
            $this->load->view('news/success');
        }

        $this->load->view('templates/footer');
    }
Note how the route is guarded by checking if there is a logged-in user before allowing the code to execute:
        if (! $this->username) {
            redirect('login');
        }
If you need to secure the whole controller, you can put this (or similar) code in the constructor. But if you want to guard just individual actions, then put the code inside the controller methods.
Create the News model and the set_news() method:
application/models/News_model.php
<?php
class News_model extends CI_Model
{

    public function __construct()
    {
            $this->load->database();
    }

    public function set_news()
    {
        $this->load->helper('url');

        $slug = url_title($this->input->post('title'), 'dash', TRUE);

        $data = array(
            'title' => $this->input->post('title'),
            'user_id' => $this->session->userId,
            'slug' => $slug,
            'text' => $this->input->post('text')
        );

        return $this->db->insert('news', $data);
    }
}
Create two new templates for the form and confirmation message:
application/views/news/create.php
<h2><?php echo $title; ?></h2>

<?php
    if (validation_errors()) {
?>
<div class="notification is-danger">
    <?php echo validation_errors(); ?>
</div>
<?php
    }
?>

<?php echo form_open('news/create'); ?>

<div class="field">
    <label for="title">Title</label>
    <div class="control">
        <input type="input" name="title" /><br />
    </div>
</div>

<div class="field">
    <label for="text">Text</label>
    <div class="control">
        <textarea name="text"></textarea><br />
    </div>
</div>

<div class="control">
    <div class="control">
        <button class="button is-link">Create news item</button>
    </div>
</div>

</form>
application/views/news/success.php
<h2>News item created successfully</h2>

<p><a href="<?php echo site_url('/'); ?>">Back to News</a></p>
<p><a href="<?php echo site_url('news/create'); ?>">Create Another</a></p>
Test the New Article link, including the form validation. You can now create News items, but the application does not show them yet.
Show All News Items and Individual News Item
In this section, you’ll make sure all news items are displayed on the home page with links to read individual items.
Modify the News model to add a method to retrieve all items or a specific item by its slug:
application/models/News_model.php (full version for clarity):
<?php
class News_model extends CI_Model
{
    public function __construct()
    {
            $this->load->database();
    }

    public function get_news($slug = FALSE)
    {
        if ($slug === FALSE)
        {
            $query = $this->db->get('news');
            return $query->result_array();
        }

        $query = $this->db->get_where('news', array('slug' => $slug));

        return $query->row_array();
    }

    public function set_news()
    {
        $this->load->helper('url');

        $slug = url_title($this->input->post('title'), 'dash', TRUE);

        $data = array(
            'title' => $this->input->post('title'),
            'user_id' => $this->session->userId,
            'slug' => $slug,
            'text' => $this->input->post('text')
        );

        return $this->db->insert('news', $data);
    }
}
Modify the News controller to display the News item in the index() method, and to add a new view() method for individual items:
application/controllers/News.php (full version for clarity):
<?php
class News extends CI_Controller
{
    public function __construct()
    {
        parent::__construct();
        $this->load->model('news_model');
        $this->load->helper('url_helper');

        $this->username = $this->session->username ?? null;
        $data['username'] = $this->username;
        $this->load->view('templates/header', $data);
    }

    public function index()
    {
        $data['news'] = $this->news_model->get_news();
        $data['title'] = 'News archive';

        $this->load->view('news/index', $data);
        $this->load->view('templates/footer');
    }

    public function view($slug = NULL)
    {
        $data['news_item'] = $this->news_model->get_news($slug);

        if (empty($data['news_item']))
        {
            show_404();
        }

        $data['title'] = $data['news_item']['title'];

        $this->load->view('news/view', $data);
        $this->load->view('templates/footer');
    }

    public function create()
    {
        if (! $this->username) {
            redirect('login');
        }

        $this->load->helper('form');
        $this->load->library('form_validation');

        $data['title'] = 'Create a news item';

        $this->form_validation->set_rules('title', 'Title', 'required');
        $this->form_validation->set_rules('text', 'Text', 'required');

        if ($this->form_validation->run() === FALSE)
        {
            $this->load->view('news/create', $data);
        } else {
            $this->news_model->set_news();
            $this->load->view('news/success');
        }

        $this->load->view('templates/footer');
    }
}
Create a new template to show an individual item:
application/views/news/view.php
<?php
echo '<h2>' . htmlspecialchars($news_item['title']) . '</h2>';
echo '<p>' . htmlspecialchars($news_item['text']) . '<p>';
?>

<p><a href="<?php echo site_url('/'); ?>">Back to News</a></p>
Modify the index template to show all items:
application/views/news/index.php
<h2><?php echo $title; ?></h2>

<?php foreach ($news as $news_item): ?>

    <h3><?php echo htmlspecialchars($news_item['title']); ?></h3>
    <p><?php echo htmlspecialchars($news_item['text']); ?></p>
    <p><a href="<?php echo site_url('news/' . $news_item['slug']); ?>">View article</a></p>

<?php endforeach; ?>
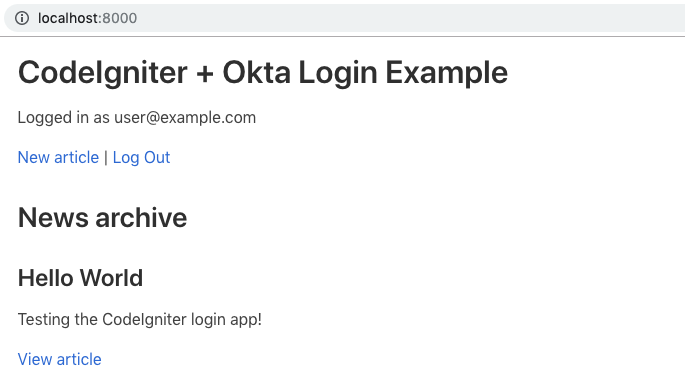
Reload the application and check that the items are displayed correctly, and all navigation links work. Congratulations, your application is now complete!
Learn More About CodeIgniter, Authentication, and Okta
You can find the whole code example on GitHub.
If you would like to learn more about Okta and PHP Authentication, start with these resources:
Like what you learned today? Follow us on Twitter, like us on Facebook, check us out on LinkedIn, and subscribe to our YouTube channel for more awesome content!
Okta Developer Blog Comment Policy
We welcome relevant and respectful comments. Off-topic comments may be removed.