PHP Authorization with OAuth 2.0 and Okta

User account management, authorization, and access control can be difficult to implement for many web developers. At the same time, they are critical cornerstones of application security – any mistake can lead to data leaks, financial losses, and legal troubles.
Successful web applications inevitably grow to a stage where simple user authorization is no longer sufficient and certain features have to be made available only to certain users. There are a variety of ways to achieve this, usually via some combination of access-control lists that limit access to the system based on the user’s role, group assignments, or even individual permissions. Depending on your choice of programming language/framework, you will likely have multiple implementation options for authorization available out-of-the-box.
No matter what framework you select (including none at all) though, third-party identity management providers like Okta offer a fast, secure, and simple option based on industry standards. Okta is an API service that allows you to create, edit, and securely store user accounts and user account data, and connect them with one or more applications. It solves all of the problems associated with user account management and lets you concentrate on what really matters – providing useful features to your customers.
I previously showed you how to build simple login in PHP using just core PHP with a single dependency on an external library. In that initial version, our simple application allowed users to register, log in, and reset their passwords. Today, we’ll build upon this foundation and add group and role-based authorization.
Prerequisites: Please ensure you have already installed PHP, Composer, and have signed up for a free Okta developer account.
Note: In May 2025, the Okta Integrator Free Plan replaced Okta Developer Edition Accounts, and the Okta CLI was deprecated.
We preserved this post for reference, but the instructions no longer work exactly as written. Replace the Okta CLI commands by manually configuring Okta following the instructions in our Developer Documentation.
Set Up a Simple PHP App and Add Okta
Before you start, clone the original project from https://github.com/oktadeveloper/okta-php-core-login-example and install the dependencies:
git clone git@github.com:oktadeveloper/okta-php-core-login-example.git
cd okta-php-core-login-example
composer install
cp .env.example .env
If you don’t have a free Okta developer account yet, create one now and log in.
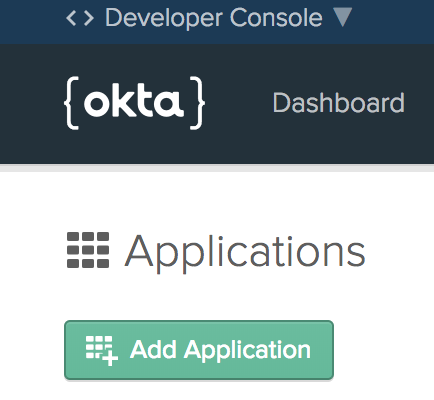
Go to the Applications menu item and click the Add Application button:
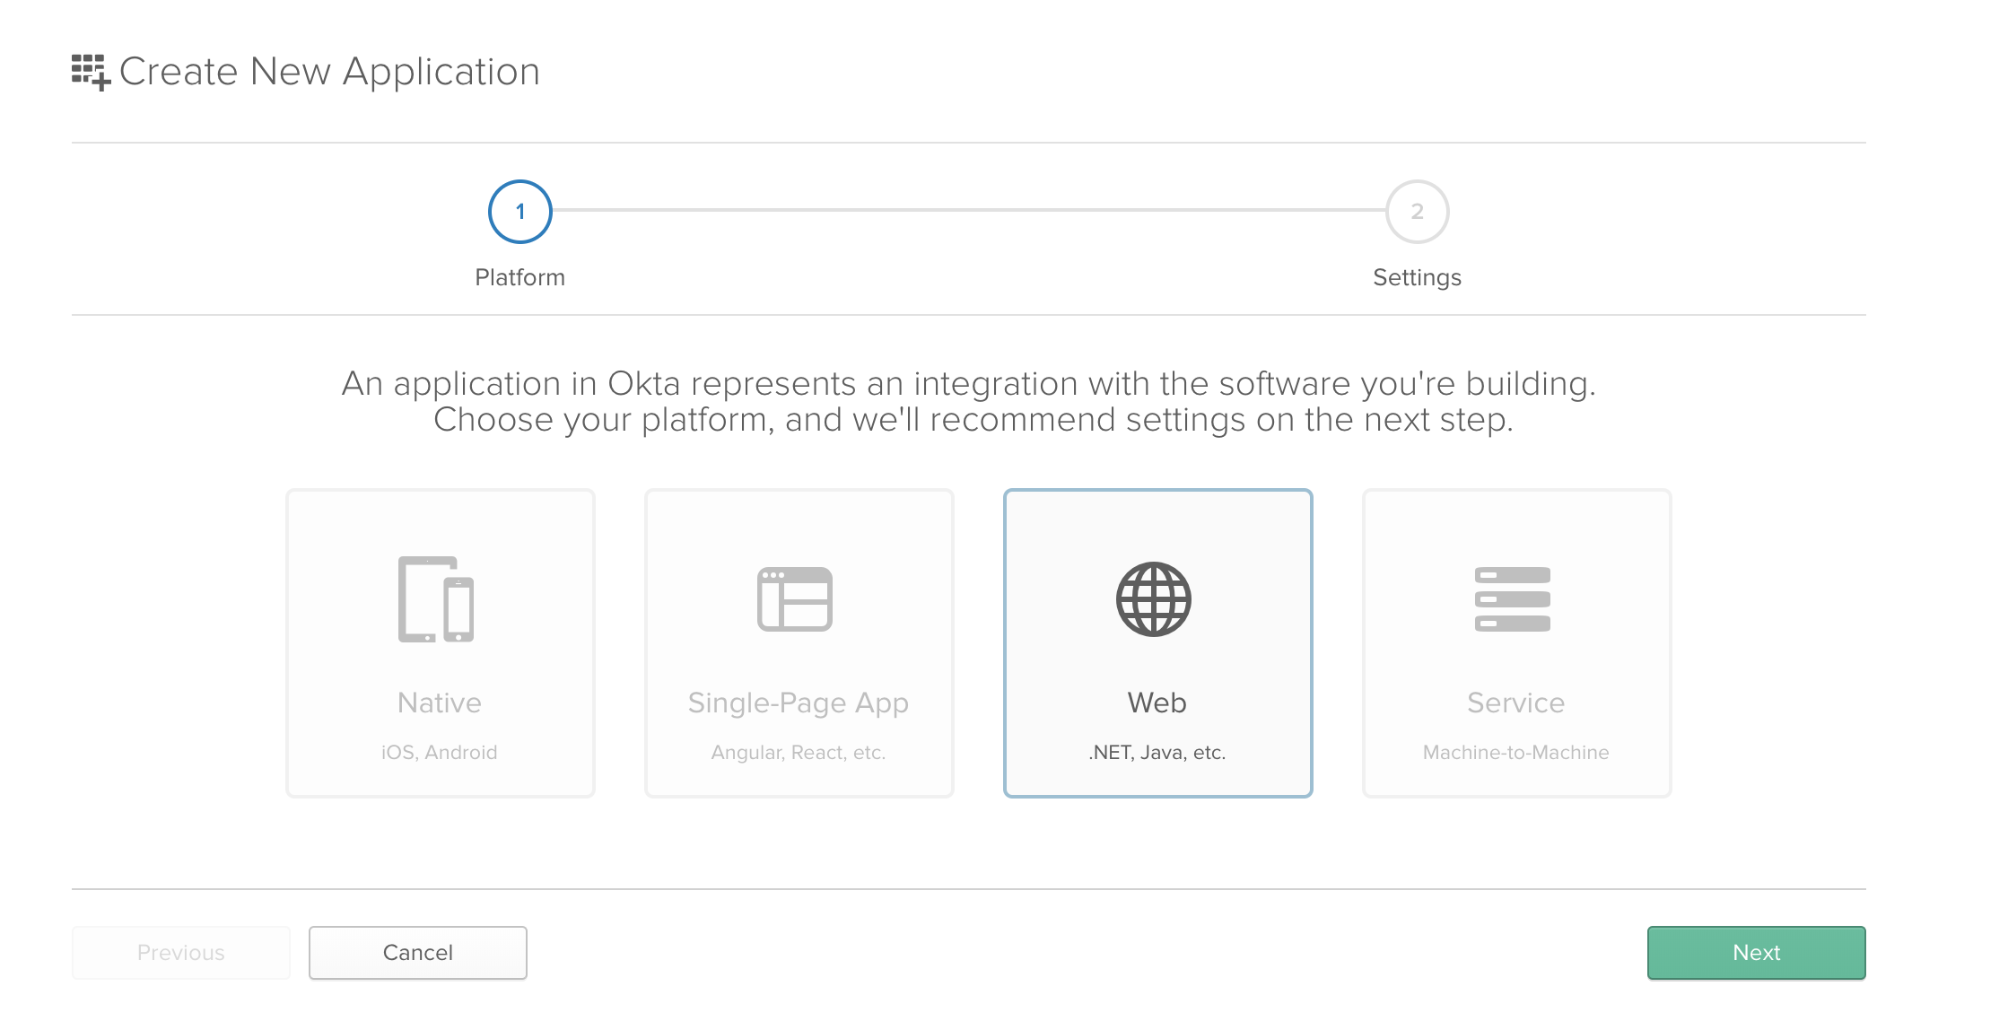
Select Web and click Next.
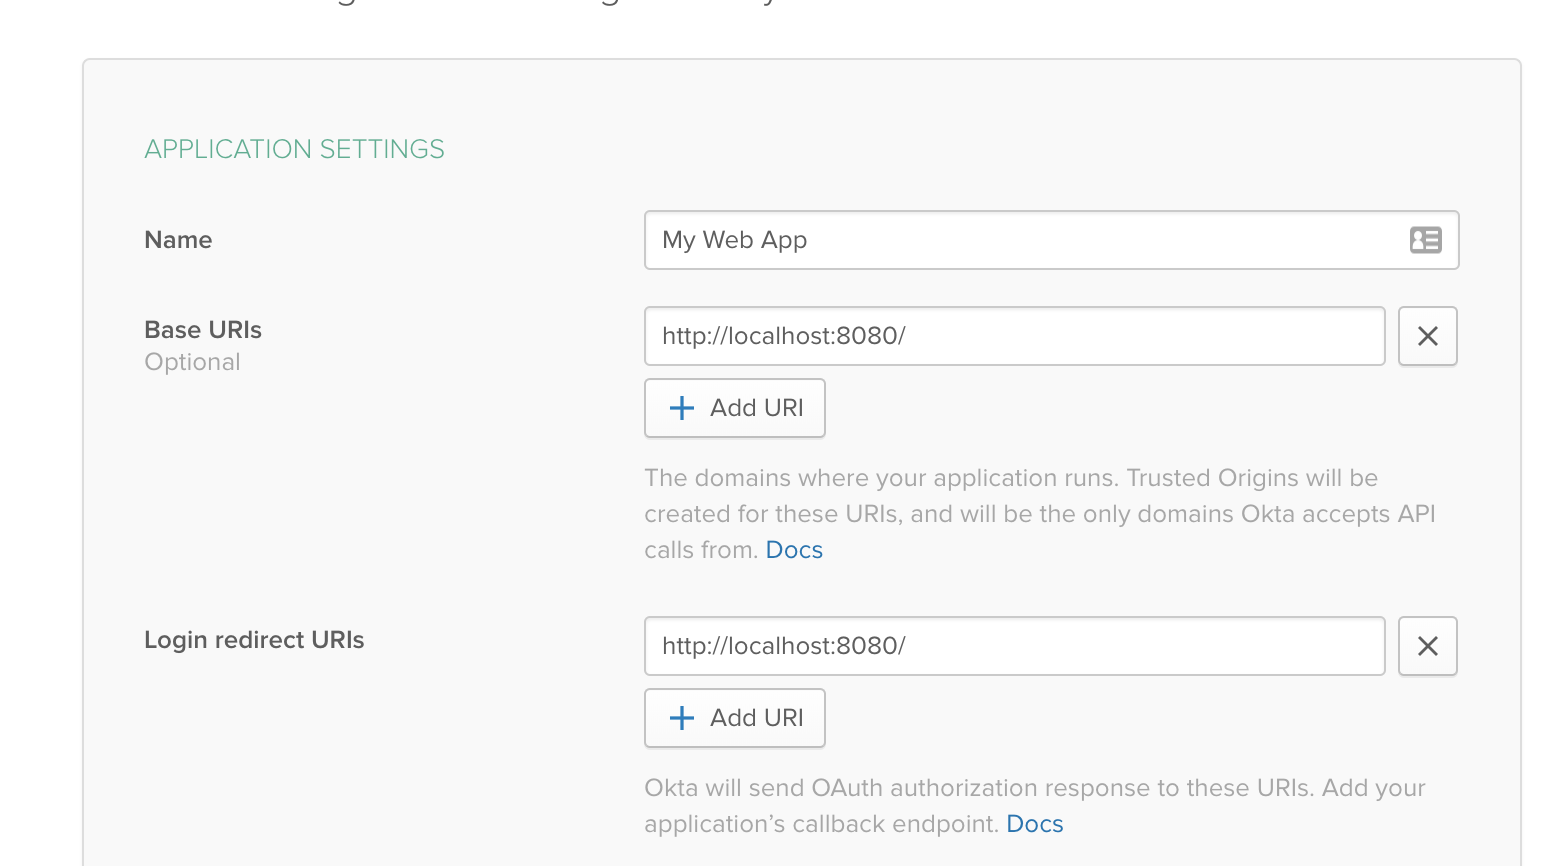
Enter a title, and set http://localhost:8080/ as both the Base URI and Login Redirect URI, then click Done. You can leave the rest of the settings as they are:
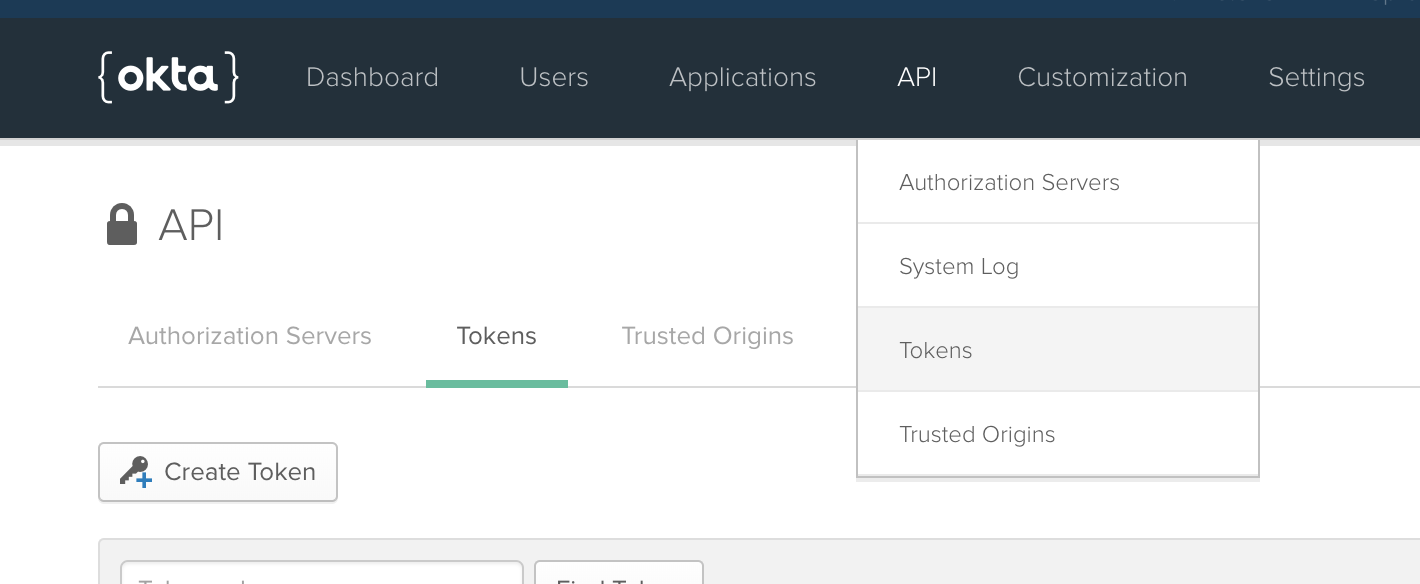
Copy the Client ID and Client Secret from the application settings, then go to API > Tokens, and click Create Token:
Enter a title for your token, copy the value of the token, and store it safely. You will only be able to see it once - if you lose it, you’ll need to create a new token. Also, take note of your main organization URL (it looks like https://{yourOktaDomain}) - you will need this as well.
Go back to your application directory, edit the .env file and fill in your Okta details like this:
CLIENT_ID=<Your Client ID from the Application settings>
CLIENT_SECRET=<Your Client Secret from the Application settings>
REDIRECT_URI=http://localhost:8080/
METADATA_URL=https://{yourOktaDomain}/oauth2/default/.well-known/oauth-authorization-server
API_URL_BASE=https://{yourOktaDomain}/api/v1/
API_TOKEN=<the value of the token you created>
Run the PHP built-in web server:
php -S 127.0.0.1:8080 -t public
When you load http://localhost:8080, you should see the app:
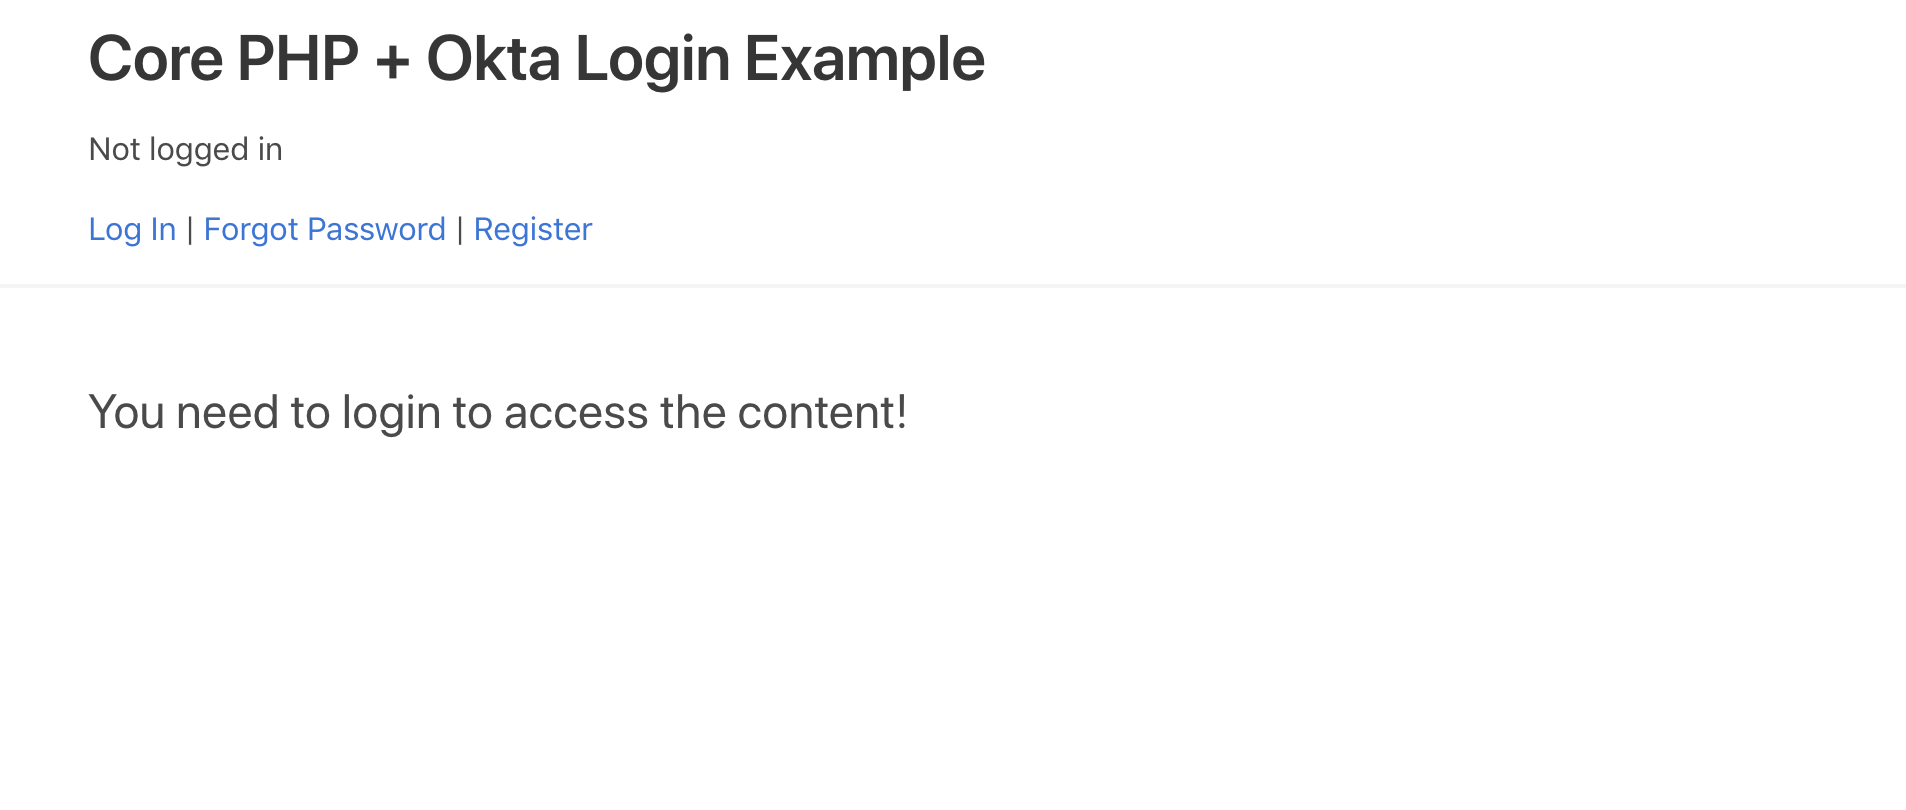
Test the application by logging in with your Okta account. You can also use the Register link to create a new account, and the Forgot password link to reset the password of an existing account. Verify that all features are working before proceeding further. Once you create new accounts, you’ll see them in your Okta account.
Finally, make sure to test the Log Out link as well. Note that when you log out, the application destroys the local session but you remain logged in your Okta account. If you click Log In again, you’ll be logged in without entering your password (unless you manually log out of your Okta account as well). This is the recommended behavior since the Okta account might be currently used in other applications as well – you don’t want to destroy the user’s session everywhere (although you can do it via the Okta API)!
Understand Roles and Groups-Based Authorization
It’s time to add group and role-based authorization to the application. But before you do that, let me explain the difference between roles and groups in Okta.
Your Okta organization can include multiple users. Okta can also provide identity management services for multiple applications. If you want to limit the access of users to certain applications, you can do it manually, user by user, but this won’t scale very well. It’s much easier to manage your users if you create groups and assign users to them. Then you can assign the groups to individual applications. You can also import users from an external application or directory into an Okta group.
You can learn more about users and groups in the Okta documentation.
Roles, on the other hand, mainly define what your users can do within Okta (although you can still use roles to control the permissions of users in external apps). Some of your Okta users have permissions to access the Okta administrative dashboard. When you give Administrator access to a user, it overrides the user’s group settings. The role types are pre-defined in Okta and you can read more about them here: Okta administrators
You can gain access to a user’s groups and roles via the Okta API:
Create an Admin Group and Users in Okta
If you’ve already set up and tested the base application, you should have some users in your organization. If you don’t have additional users yet, register some test accounts now! When ready, go ahead and create an ‘Admin’ group in Okta:
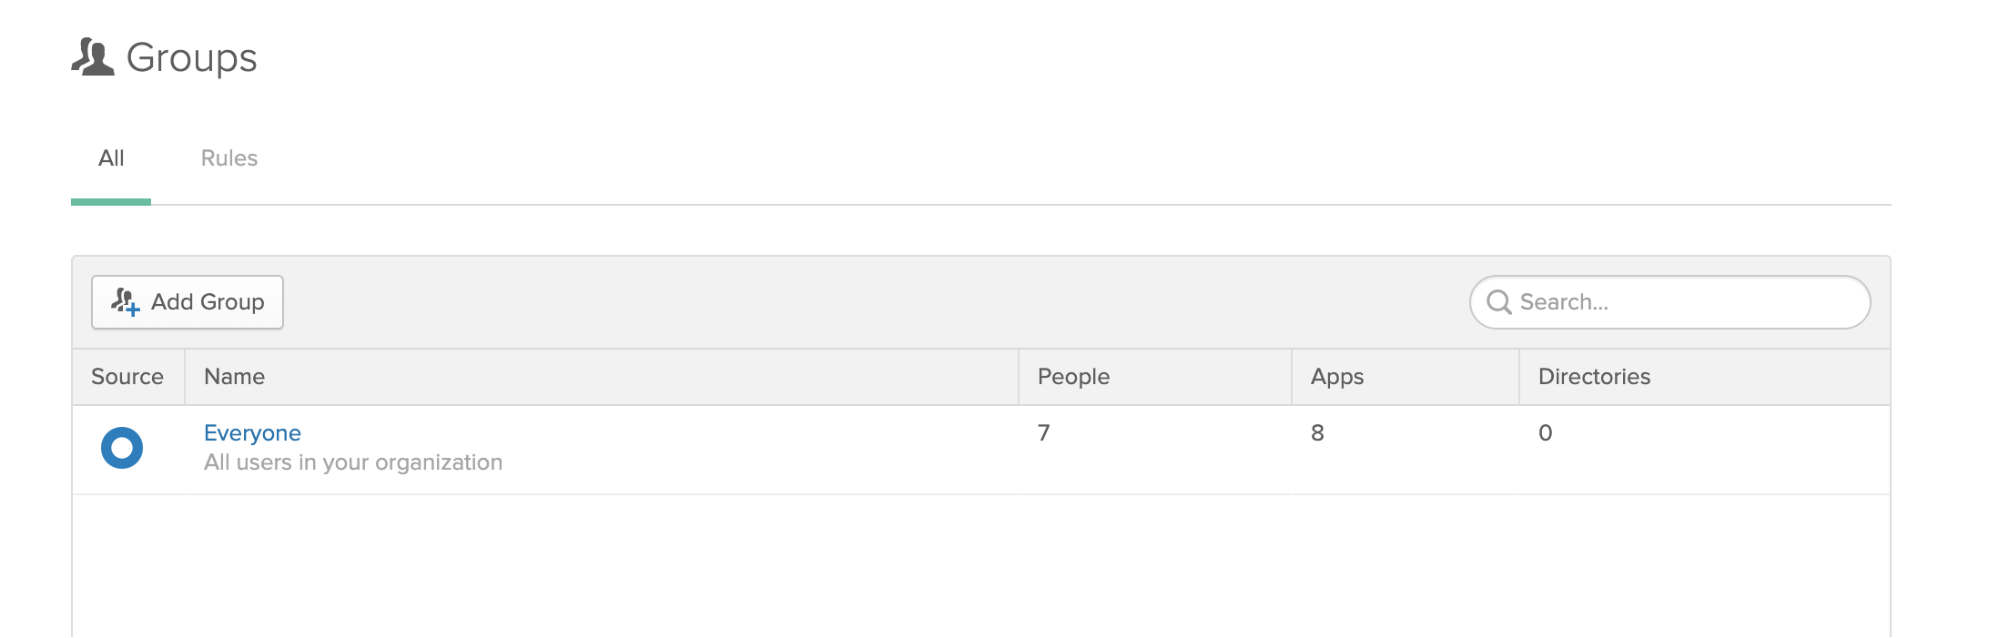
Go to Users > Groups in the menu. You should see a screen like this:
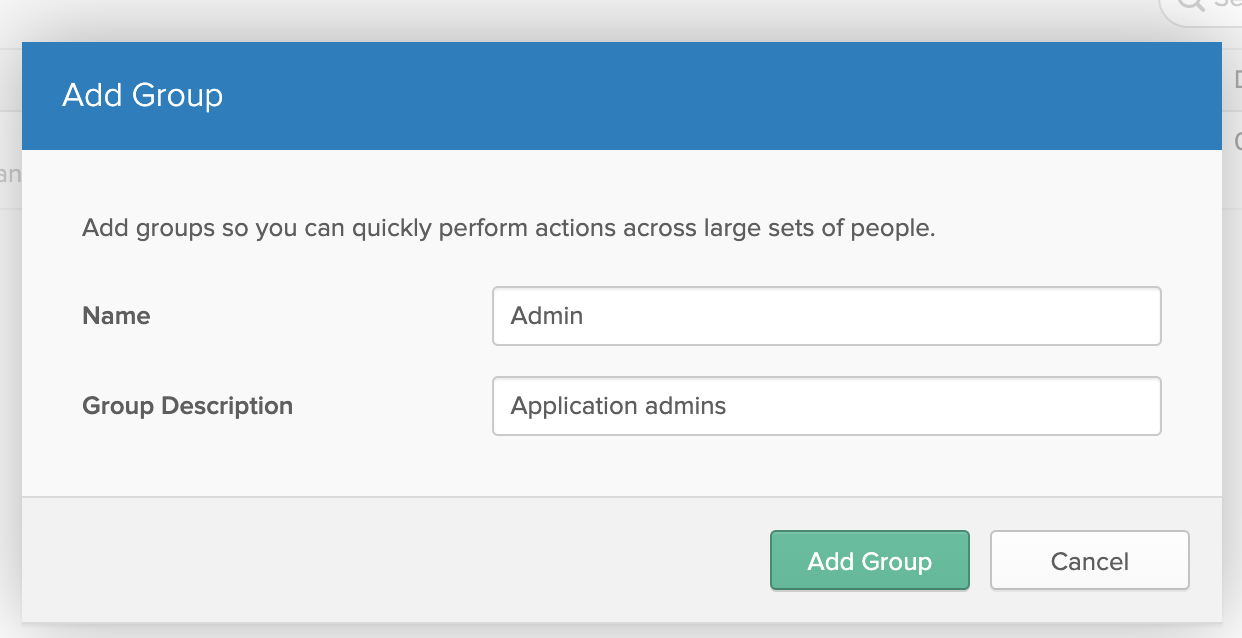
Click Add Group. Enter “Admin” as the group name, and “Application Admins” as the description:
After creating the group, click on the group name, then click Add Members, and associate one or two of your existing users to the admin group.
Retrieve the User Roles and Groups in Your PHP APP
In this section, you’ll modify the base application code so it will retrieve and display the user’s roles and groups upon login.
Modify src/services/OktaApiService.php. At the end of the authorizeUser() function, find the following code which verifies the token at the introspection endpoint and if it’s OK, sets the username of the logged in user:
        if ($token->active == 1) {
            $_SESSION['username'] = $token->username;
            $result['success'] = true;
            return $result;
        }
Modify the code like this, deleting the existing findUser() method from the class and add the following new methods below authorizeUser() (note that we’re also adding a refactored version of findUser() so the existing code won’t break):
    ...
    if ($token->active == 1) {
        $_SESSION['username'] = $token->username;
        $this->fillUserDetails($token->username);
        $result['success'] = true;
        return $result;
    }
    ...

    private function fillUserDetails($username)
    {
        $userData = json_decode($this->findUser(['email' => $username]), true);
        $userId = $userData[0]['id'];

        $userGroups = json_decode($this->getUserGroups($userId), true);
        $groupList = [];
        foreach($userGroups as $group) {
            $groupList[$group['id']] = $group['profile']['name'];
        }

        $userRoles = json_decode($this->getUserRoles($userId), true);
        $roleList = [];
        foreach($userRoles as $role) {
            $roleList[$role['id']] = $role['type'];
        }

        $_SESSION['username'] = $username;
        $_SESSION['id'] = $userId;
        $_SESSION['groups'] = $groupList;
        $_SESSION['roles'] = $roleList;
    }

    public function findUser($input)
    {
        $url = $this->apiUrlBase . 'users?q=' . urlencode($input['email']) . '&limit=1';
        return $this->oktaApiGet($url);
    }

    private function getUserGroups($userId)
    {
        $url = $this->apiUrlBase . 'users/' . $userId . '/groups';
        return $this->oktaApiGet($url);
    }

    private function getUserRoles($userId)
    {
        $url = $this->apiUrlBase . 'users/' . $userId . '/roles';
        return $this->oktaApiGet($url);
    }

    private function oktaApiGet($url)
    {
        $ch = curl_init($url);
        curl_setopt($ch, CURLOPT_RETURNTRANSFER, true);
        curl_setopt($ch, CURLOPT_HTTPHEADER, [
            'Accept: application/json',
            'Content-Type: application/json',
            'Authorization: SSWS ' . $this->apiToken
        ]);
        return curl_exec($ch);
    }
Modify /src/views/header.php to display the user’s roles and groups on the dashboard after logging in. Find the following part of the code:
<p>
    Logged in as <?php echo $_SESSION['username'] ?>
</p>
<p><a href="/?logout">Log Out</a></p>
Replace it with:
<p>
    Logged in as <?php echo $_SESSION['username'] ?> (id: <?php echo $_SESSION['id'];?>)
</p>
<p>
    Groups: <?php
        foreach($_SESSION['groups'] as $id => $name) {
            echo "<br>". $name;
        }
    ?>
</p>
<p>
    Roles: <?php
        foreach($_SESSION['roles'] as $id => $name) {
            echo "<br>". $name;
        }
    ?>
</p>
<p><a href="/?super">Super Admin Only</a> | <a href="/?admin">Admins</a> | <a href="/?logout">Log Out</a></p>
If you reload the application now (and login if necessary), you should see your user’s roles and groups:
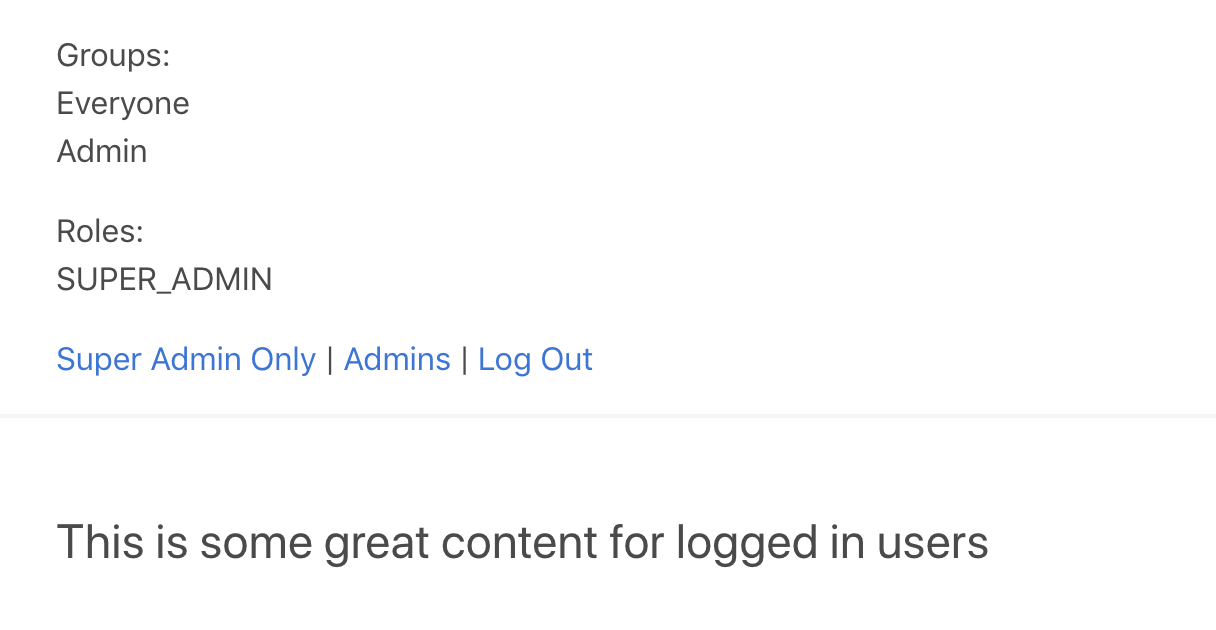
Login with different user accounts, including accounts that are members of the ‘Admin’ group and your main Okta account (which will have the SUPER_ADMIN role) to see how the groups and roles will change.
Add Protected Routes and Check User Permissions in PHP
If you paid attention, you’ve noticed that the menu includes two new items: ‘Super Admin only’ and ‘Admins’. Let’s implement the handlers for these routes and make sure the first one is accessible only to accounts with the ‘SUPER_ADMIN’ role, and the second one is only for members of the ‘Admin’ group.
Add the following code to public/index.php below the password_reset handler:
if (isset($_REQUEST['super'])) {
    if (isset($_SESSION['roles']) && in_array('SUPER_ADMIN', $_SESSION['roles'])) {
        echo 'You can access this page!';
    } else {
        echo 'Super Admins only!';
    }
    die();
}


if (isset($_REQUEST['admin'])) {
    if (isset($_SESSION['roles']) && in_array('Admin', $_SESSION['groups'])) {
        echo 'You can access this page!';
    } else {
        echo 'Admins only!';
    }
    die();
}
Try clicking the links when you’re logged in with different user accounts and you’ll see how the message changes depending on your role and group.
You should now have a basic understanding of how you can configure groups and roles in your Okta dashboard to control who can access different parts of an application!
Learn More About Authorization in PHP
You can find the whole code example here: GitHub link.
If you would like to dig deeper into the topics covered in this article, the following resources are a great starting point:
- Add Authentication to your PHP App in 5 Minutes
- Build Simple Login in PHP
- Okta Users API
- Okta Roles API
- Okta Groups API
Like what you learned today? Follow us on Twitter, like us on Facebook, check us out on LinkedIn, and subscribe to our YouTube channel for more awesome content!
Okta Developer Blog Comment Policy
We welcome relevant and respectful comments. Off-topic comments may be removed.