Tutorial: Develop Apps with Secure WebSockets in Java

WebSockets is a modern transport layer technology that establishes a two-way communication channel between a client and a server, perfect for low-latency, high-frequency interactions. WebSockets tend to be used in collaborative, real-time or event-driven applications, where traditional client-server request-response architecture or long polling would not satisfy requirements. Use cases include stock trading and shared dashboard applications.
In this tutorial, I’ll give you a quick overview of the WebSockets protocol and how it handles messages with STOMP. Then you’ll create an application that uses the WebSockets API to configure a Java/Spring Boot message broker and authenticate a JavaScript STOMP client during the WebSocket handshake. We’ll add some nifty helper frameworks, so the application is actually cool and plays music loops, and also use Okta for authentication and access tokens, rather than building it ourselves.
If you would rather follow along by watching a video, check out the screencast below from our YouTube channel.
Note: In May 2025, the Okta Integrator Free Plan replaced Okta Developer Edition Accounts, and the Okta CLI was deprecated.
We preserved this post for reference, but the instructions no longer work exactly as written. Replace the Okta CLI commands by manually configuring Okta following the instructions in our Developer Documentation.
The WebSocket Protocol and HTTP
The WebSocket protocol, defined in RFC 6455, consists of an opening handshake, followed by basic message framing, all over TCP. Although it is not HTTP, WebSockets works over HTTP and begins with a client HTTP request with an Upgrade header to switch to the WebSocket protocol:
GET /chat HTTP/1.1
Host: server.example.com
Upgrade: websocket
Connection: Upgrade
Sec-WebSocket-Key: dGhlIHNhbXBsZSBub25jZQ==
Origin: http://example.com
Sec-WebSocket-Protocol: chat, superchat
Sec-WebSocket-Version: 13
The response from the server looks like this:
HTTP/1.1 101 Switching Protocols
Upgrade: websocket
Connection: Upgrade
Sec-WebSocket-Accept: s3pPLMBiTxaQ9kYGzzhZRbK+xOo=
Sec-WebSocket-Protocol: chat
After the handshake comes the data transfer phase, during which each side can send data frames, or messages. The protocol defines message types binary and text but does not define their contents. However, it does define the mechanism for sub-protocol negotiation, STOMP.
STOMP - Simple Text Oriented Messaging Protocol
STOMP (Simple Text Oriented Messaging Protocol) was born as an alternative to existing open messaging protocols, like AMQP, to enterprise message brokers from scripting languages like Ruby, Python, and Perl with a subset of common message operations.
STOMP enables a simple publish-subscribe interaction over WebSockets and defines SUBSCRIBE and SEND commands with a destination header. These are inspected by the broker for message dispatching.
The STOMP frame contains a command string, header entries, and a body:
COMMAND
header1:value1
header2:value2

Body^@
Spring Support for WebSockets
Happily, for Java developers, Spring supports the WebSocket API, which implements raw WebSockets, WebSocket emulation through SocksJS (when WebSockets are not supported), and publish-subscribe messaging through STOMP. In this tutorial, you will learn how to use the WebSockets API and configure a Spring Boot message broker. Then we will authenticate a JavaScript STOMP client during the WebSocket handshake and implement Okta as an authentication and access token service. Let’s go!
Spring Boot Example App - Sound Looping!
For our example application, let’s create a collaborative sound-looping UI, where all connected users can play and stop a set of music loops. We will use Tone.js and NexusUI and configure a Spring Message Broker Server and JavaScript WebSocket Client. Rather than build authentication and access control yourself, you’ll be using an Okta developer account. It’s free!
Before you begin, you’ll need a free Okta developer account. Install the Okta CLI and run okta register to sign up for a new account. If you already have an account, run okta login.
Then, run okta apps create. Select the default app name, or change it as you see fit.
Choose Single-Page App and press Enter.
Use http://localhost:8080 for the Redirect URI and set the Logout Redirect URI to http://localhost:8080.
What does the Okta CLI do?
The Okta CLI will create an OIDC Single-Page App in your Okta Org. It will add the redirect URIs you specified and grant access to the Everyone group. It will also add a trusted origin for http://localhost:8080. You will see output like the following when it’s finished:
Okta application configuration:
Issuer:    https://dev-133337.okta.com/oauth2/default
Client ID: 0oab8eb55Kb9jdMIr5d6
NOTE: You can also use the Okta Admin Console to create your app. See Create a Single-Page App for more information.
Create the Message Broker Server Application in Spring Boot
Let’s get started with the application skeleton. Create a Spring Boot application with Spring Initializr and add the Okta Spring Boot Starter and WebSocket dependencies.
curl https://start.spring.io/starter.zip -d dependencies=websocket,okta \
-d bootVersion=2.4.0.RELEASE \
-d language=java \
-d type=maven-project \
-d groupId=com.okta.developer \
-d artifactId=java-websockets  \
-d name="Java WebSockets" \
-d description="Demo project of Spring support for Java WebSockets" \
-d packageName=com.okta.developer.websockets \
-o java-websockets.zip
Click the downloaded .zip file to expand it, or use the following command:
unzip java-websockets.zip -d java-websockets
For the built-in broker with authentication to work, add the following additional dependencies to your pom.xml:
<dependency>
   <groupId>org.springframework.security</groupId>
   <artifactId>spring-security-messaging</artifactId>
</dependency>
Configure the built-in STOMP broker with a WebSocketBrokerConfig.java class and add the following code to it. The @EnableWebSocketMessageBroker annotation enables WebSocket support in a Spring Boot app.
import org.springframework.context.annotation.Configuration;
import org.springframework.messaging.simp.config.MessageBrokerRegistry;
import org.springframework.web.socket.config.annotation.EnableWebSocketMessageBroker;
import org.springframework.web.socket.config.annotation.StompEndpointRegistry;
import org.springframework.web.socket.config.annotation.WebSocketMessageBrokerConfigurer;

@Configuration
@EnableWebSocketMessageBroker
public class WebSocketBrokerConfig implements WebSocketMessageBrokerConfigurer {

    @Override
    public void configureMessageBroker(MessageBrokerRegistry config) {
        config.enableSimpleBroker("/topic");
        config.setApplicationDestinationPrefixes("/app");
    }

    @Override
    public void registerStompEndpoints(StompEndpointRegistry registry) {
        registry.addEndpoint("/looping")
                .withSockJS();
    }

}
In the configuration above, the /looping connection endpoint initiates a WebSocket handshake and the /topic endpoint handles publish-subscribe interactions.
Token-Based Authentication for Server Side Java
NOTE: Spring Security requires authentication performed in the web application to hand off the principal to the WebSocket during the connection. For this example, we will use a different approach and configure Okta authentication to obtain an access token the client will send to the server during the WebSockets handshake. This allows you to have unique sessions in the same browser. If we only used server-side authentication, your browser tabs would share the same session.
First, configure WebSocket security and request authentication for any message. To do this, create a WebSocketSecurityConfig class to extend AbstractSecurityWebSocketMessageBrokerConfigurer. Override the configureInbound() method to require authentication for all requests, and disable the same-origin policy by overriding sameOriginDisabled().
import org.springframework.context.annotation.Configuration;
import org.springframework.security.config.annotation.web.messaging.MessageSecurityMetadataSourceRegistry;
import org.springframework.security.config.annotation.web.socket.AbstractSecurityWebSocketMessageBrokerConfigurer;

@Configuration
public class WebSocketSecurityConfig extends AbstractSecurityWebSocketMessageBrokerConfigurer {

    @Override
    protected void configureInbound(MessageSecurityMetadataSourceRegistry messages) {
        messages.anyMessage().authenticated();
    }

    @Override
    protected boolean sameOriginDisabled() {
        return true;
    }

}
For token-based authentication with STOMP and WebSockets the server must register a custom authentication interceptor. The interceptor must have precedence over Spring Security filters, so it must be declared in its own configurer with the highest order. Create a WebSocketAuthenticationConfig class with the following code:
import org.slf4j.Logger;
import org.slf4j.LoggerFactory;
import org.springframework.beans.factory.annotation.Autowired;
import org.springframework.context.annotation.Configuration;
import org.springframework.core.Ordered;
import org.springframework.core.annotation.Order;
import org.springframework.messaging.Message;
import org.springframework.messaging.MessageChannel;
import org.springframework.messaging.simp.config.ChannelRegistration;
import org.springframework.messaging.simp.stomp.StompCommand;
import org.springframework.messaging.simp.stomp.StompHeaderAccessor;
import org.springframework.messaging.support.ChannelInterceptor;
import org.springframework.messaging.support.MessageHeaderAccessor;
import org.springframework.security.core.Authentication;
import org.springframework.security.oauth2.jwt.Jwt;
import org.springframework.security.oauth2.jwt.JwtDecoder;
import org.springframework.security.oauth2.server.resource.authentication.JwtAuthenticationConverter;
import org.springframework.web.socket.config.annotation.EnableWebSocketMessageBroker;
import org.springframework.web.socket.config.annotation.WebSocketMessageBrokerConfigurer;

import java.util.List;

@Configuration
@EnableWebSocketMessageBroker
@Order(Ordered.HIGHEST_PRECEDENCE + 99)
public class WebSocketAuthenticationConfig implements WebSocketMessageBrokerConfigurer {

    private static final Logger logger = LoggerFactory.getLogger(WebSocketAuthenticationConfig.class);

    @Autowired
    private JwtDecoder jwtDecoder;

    @Override
    public void configureClientInboundChannel(ChannelRegistration registration) {
        registration.interceptors(new ChannelInterceptor() {
            @Override
            public Message<?> preSend(Message<?> message, MessageChannel channel) {
                StompHeaderAccessor accessor =
                        MessageHeaderAccessor.getAccessor(message, StompHeaderAccessor.class);
                if (StompCommand.CONNECT.equals(accessor.getCommand())) {
                    List<String> authorization = accessor.getNativeHeader("X-Authorization");
                    logger.debug("X-Authorization: {}", authorization);

                    String accessToken = authorization.get(0).split(" ")[1];
                    Jwt jwt = jwtDecoder.decode(accessToken);
                    JwtAuthenticationConverter converter = new JwtAuthenticationConverter();
                    Authentication authentication = converter.convert(jwt);
                    accessor.setUser(authentication);
                }
                return message;
            }
        });
    }
}
The JwtDecoder will parse and decode the token. To verify the signature, it will retrieve and cache the signing key from the issuer.
Create a src/main/resources/application.yml to hold your Okta issuer. This endpoint will be used to validate JWTs.
okta:
  oauth2:
    issuer: https://{yourOktaDomain}/oauth2/default
Finally, to serve the JavaScript client from the same application, configure Spring Security to allow unauthenticated access to the static resources:
import org.springframework.context.annotation.Configuration;
import org.springframework.core.annotation.Order;
import org.springframework.security.config.annotation.web.builders.HttpSecurity;
import org.springframework.security.config.annotation.web.configuration.WebSecurityConfigurerAdapter;

@Configuration
@Order(1)
public class ApplicationSecurityConfig extends WebSecurityConfigurerAdapter {

    @Override
    protected void configure(HttpSecurity http) throws Exception {
        http.authorizeRequests().antMatchers("/index.html", "/webjars/**", "/js/**").permitAll();
    }
}
JavaScript WebSocket Client
For simplicity, let’s create a static HTML index page to act as the client end for the WebSocket interaction. First, add WebJars dependencies for Bootstrap, SocksJS, and STOMP.
<dependency>
    <groupId>org.webjars</groupId>
    <artifactId>webjars-locator-core</artifactId>
    <version>0.38</version>
</dependency>
<dependency>
    <groupId>org.webjars</groupId>
    <artifactId>sockjs-client</artifactId>
    <version>1.1.2</version>
</dependency>
<dependency>
    <groupId>org.webjars</groupId>
    <artifactId>stomp-websocket</artifactId>
    <version>2.3.3</version>
</dependency>
<dependency>
    <groupId>org.webjars</groupId>
    <artifactId>bootstrap</artifactId>
    <version>4.3.1</version>
</dependency>
<dependency>
    <groupId>org.webjars</groupId>
    <artifactId>jquery</artifactId>
    <version>3.4.1</version>
</dependency>
Then create an index.html page in src/main/resources/static:
<!DOCTYPE html>
<html>
<head>
    <title>Looping</title>
    <script src="https://global.oktacdn.com/okta-auth-js/4.0.0/okta-auth-js.min.js" type="text/javascript"></script>
    <script src="/js/auth.js"></script>
    <link href="/webjars/bootstrap/css/bootstrap.min.css" rel="stylesheet">
    <script src="/webjars/jquery/jquery.min.js"></script>
    <script src="/webjars/sockjs-client/sockjs.min.js"></script>
    <script src="/webjars/stomp-websocket/stomp.min.js"></script>
    <script src="/js/NexusUI.js"></script>
    <script src="/js/Tone.js"></script>
    <script src="/js/app.js"></script>
    <link href="https://fonts.googleapis.com/css?family=Permanent+Marker&display=swap" rel="stylesheet">
    <style>
        h1 {
            font-family: 'Permanent Marker', cursive;
        }
    </style>
</head>
<body>
<noscript>
<h2 style="color: #ff0000">It seems your browser doesn't support JavaScript! WebSocket relies on JavaScript being enabled. Please enable JavaScript and reload this page!</h2>
</noscript>
<div id="main-content" class="container">
    <div class="row my-2">
        <div class="col-md-12 text-center">
            <button id="connect" class="btn btn-primary" onclick="connect()" type="button">Connect</button>
            <button id="disconnect" class="btn btn-primary" onclick="disconnect()" type="button">Disconnect</button>
        </div>
    </div>
    <div class="row my-5"></div>
    <div class="row my-2 justify-content-md-center">
        <div class="col-md-12 text-center">
            <h1>Loop me in</h1>
        </div>
    </div>
    <div class="row justify-content-md-center my-2">
        <div class="col col-lg-1 col-sm-2">
        </div>
        <div class="col-md-auto text-center">
                <span id="button-1"></span>
                <span id="button-2"></span>
                <span id="button-3"></span>
                <span id="button-4"></span>
                <span id="button-5"></span>
                <span id="button-6"></span>
                <span id="button-7"></span>
                <span id="button-8"></span>
                <span id="button-9"></span>
        </div>
        <div class="col col-lg-1 col-sm-2">
        </div>
    </div>
</div>
<script src="/js/loop-ui.js"></script>
</body>
</html>
JavaScript Client Authentication
First, create a src/main/resources/static/js folder in your project for the JavaScript files.
Add Tone.js to src/main/resources/static/js. Tone.js is a JavaScript framework to create interactive music in the browser; it will be used to play, stop and restart the music loops. Download Tone.js.
Add NexusUI also to src/main/resources/static/js.NexusUI is a framework for building web audio instruments, such as dials and sliders, in the browser. In this example, we will create simple circular buttons, each one to play a different loop. Download NexusUI from GitHub.
Add an auth.js script to handle client authentication with the Okta Authentication SDK. Use the issuer and client ID from the SPA application you created. If the client has not authenticated, it will be redirected to the Okta login page. After login and redirect to “/”, the ID token and access token will be parsed from the URL and added to the token manager.
var authClient = new OktaAuth({
  url: 'https://localhost:8080',
  issuer: 'https://{yourOktaDomain}/oauth2/default',
  clientId: '{yourClientID}',
  redirectUri: 'http://localhost:8080'
});


if (authClient.token.isLoginRedirect()) {
  // Parse token from redirect url
  authClient.token.parseFromUrl()
    .then(data => {
        const { idToken } = data.tokens;
        const { accessToken } = data.tokens;

        authClient.tokenManager.add('accessToken', accessToken);
        authClient.tokenManager.add('idToken', idToken);

        window.location.hash='';
    });
} else {
  // Attempt to retrieve ID Token from Token Manager
  authClient.tokenManager.get('accessToken')
    .then(accessToken => {
      console.log(accessToken);
      if (accessToken) {
        console.log(accessToken.value);
      } else {
        // You're not logged in, you need a sessionToken
        authClient.token.getWithRedirect({
          responseType: ['token','id_token']
        });
      }
    })
}
Create a src/main/resources/static/js/app.js file with the SocksJS client functionality. The connect() function will retrieve the access token from the token manager and set it in a custom header sent for the CONNECT STOMP command. The client inbound channel interceptor on the server will process this header. Once connected, the client subscribes to the /topic/loops channel, and for this example, incoming messages contain a button toggle event.
var stompClient = null;

function connect() {
    authClient.tokenManager.get('accessToken').then(function(accessToken){
        if(accessToken){
            var socket = new SockJS('/looping');
            stompClient = Stomp.over(socket);
            stompClient.connect({"X-Authorization": "Bearer " + accessToken.accessToken}, function (frame) {
                console.log('Connected: ' + frame);
                stompClient.subscribe('/topic/loops', function (message) {
                    console.log(loopEvent);
                    var loopEvent = JSON.parse(message.body);
                    console.log(loopEvent);
                    var button = eval(loopEvent.loopId);
                    if (button.state !== loopEvent.value) {
                        button.state = loopEvent.value;
                        if (loopEvent.value === true) {
                            button.player.restart();
                        } else {
                            button.player.stop();
                        }
                    }
                });
            });
        } else {
            console.log("token expired");
        }
    })
}

function sendEvent(loopId, value){
    if (stompClient != null) {
        stompClient.send("/topic/loops", {}, JSON.stringify({'loopId': loopId, 'value': value}));
    }
}

function disconnect() {
    if (stompClient !== null) {
        stompClient.disconnect();
        stompClient = null;
    }
    console.log("Disconnected");
}
So users can interact with the music loops, create a src/main/resources/static/loop-ui.js script for the UI buttons initialization with Tone.js and NexusUI:
var button1 = new Nexus.Button('#button-1',{
  'size': [80,80],
  'mode': 'toggle',
  'state': false
});

button1.colorize("accent", "#FFBE0B");
button1.colorize("fill", "#333");
button1.player = new Tone.Player({"url": "/loops/loop-chill-1.wav", "loop": true, "fadeOut": 1}).toMaster();
button1.on('change', function(v) {
    if (v === true){
        this.player.restart();
    } else {
        this.player.stop();
    }
    sendEvent("button1", v);
});

var button2 = new Nexus.Button('#button-2',{
  'size': [80,80],
  'mode': 'toggle',
  'state': false
});
button2.colorize("accent", "#FB5607");
button2.colorize("fill", "#333");
button2.player = new Tone.Player({"url": "/loops/loop-drum-1.wav", "loop": true, "fadeOut": 1}).toMaster();
button2.on('change', function(v) {
    if (v === true){
        this.player.restart();
    } else {
        this.player.stop();
    }
    sendEvent("button2", v);
});
In the code above, button1 is set to play /loops/loop-chill-1.wav and button2 will play /loops/loop-drum-1.wav. Optionally, configure the behavior for buttons 3 to 9, each one should play a different loop when toggled on. You can get the loops from the GitHub repo of this tutorial. To use your own music files, place them in the src/main/resources/static/loops folder. In addition to loop restart and stop, the on change handler will send the toggle event to the loops topic through the server message broker.
Run and Test the Java Application with WebSockets
Run the application with Maven:
./mvnw spring-boot:run
Open two different browser sessions at http://localhost:8080, with developer tools enabled to watch the console for STOMP traces. The app will first redirect to Okta for the login:
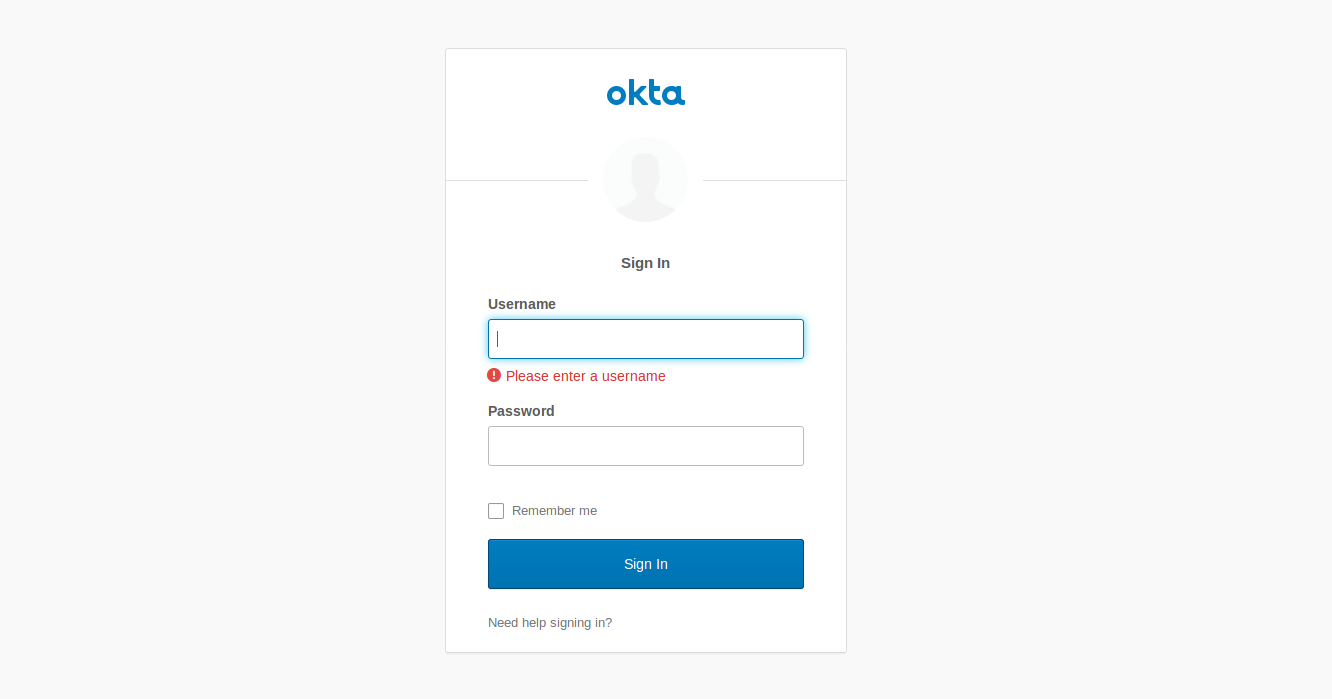
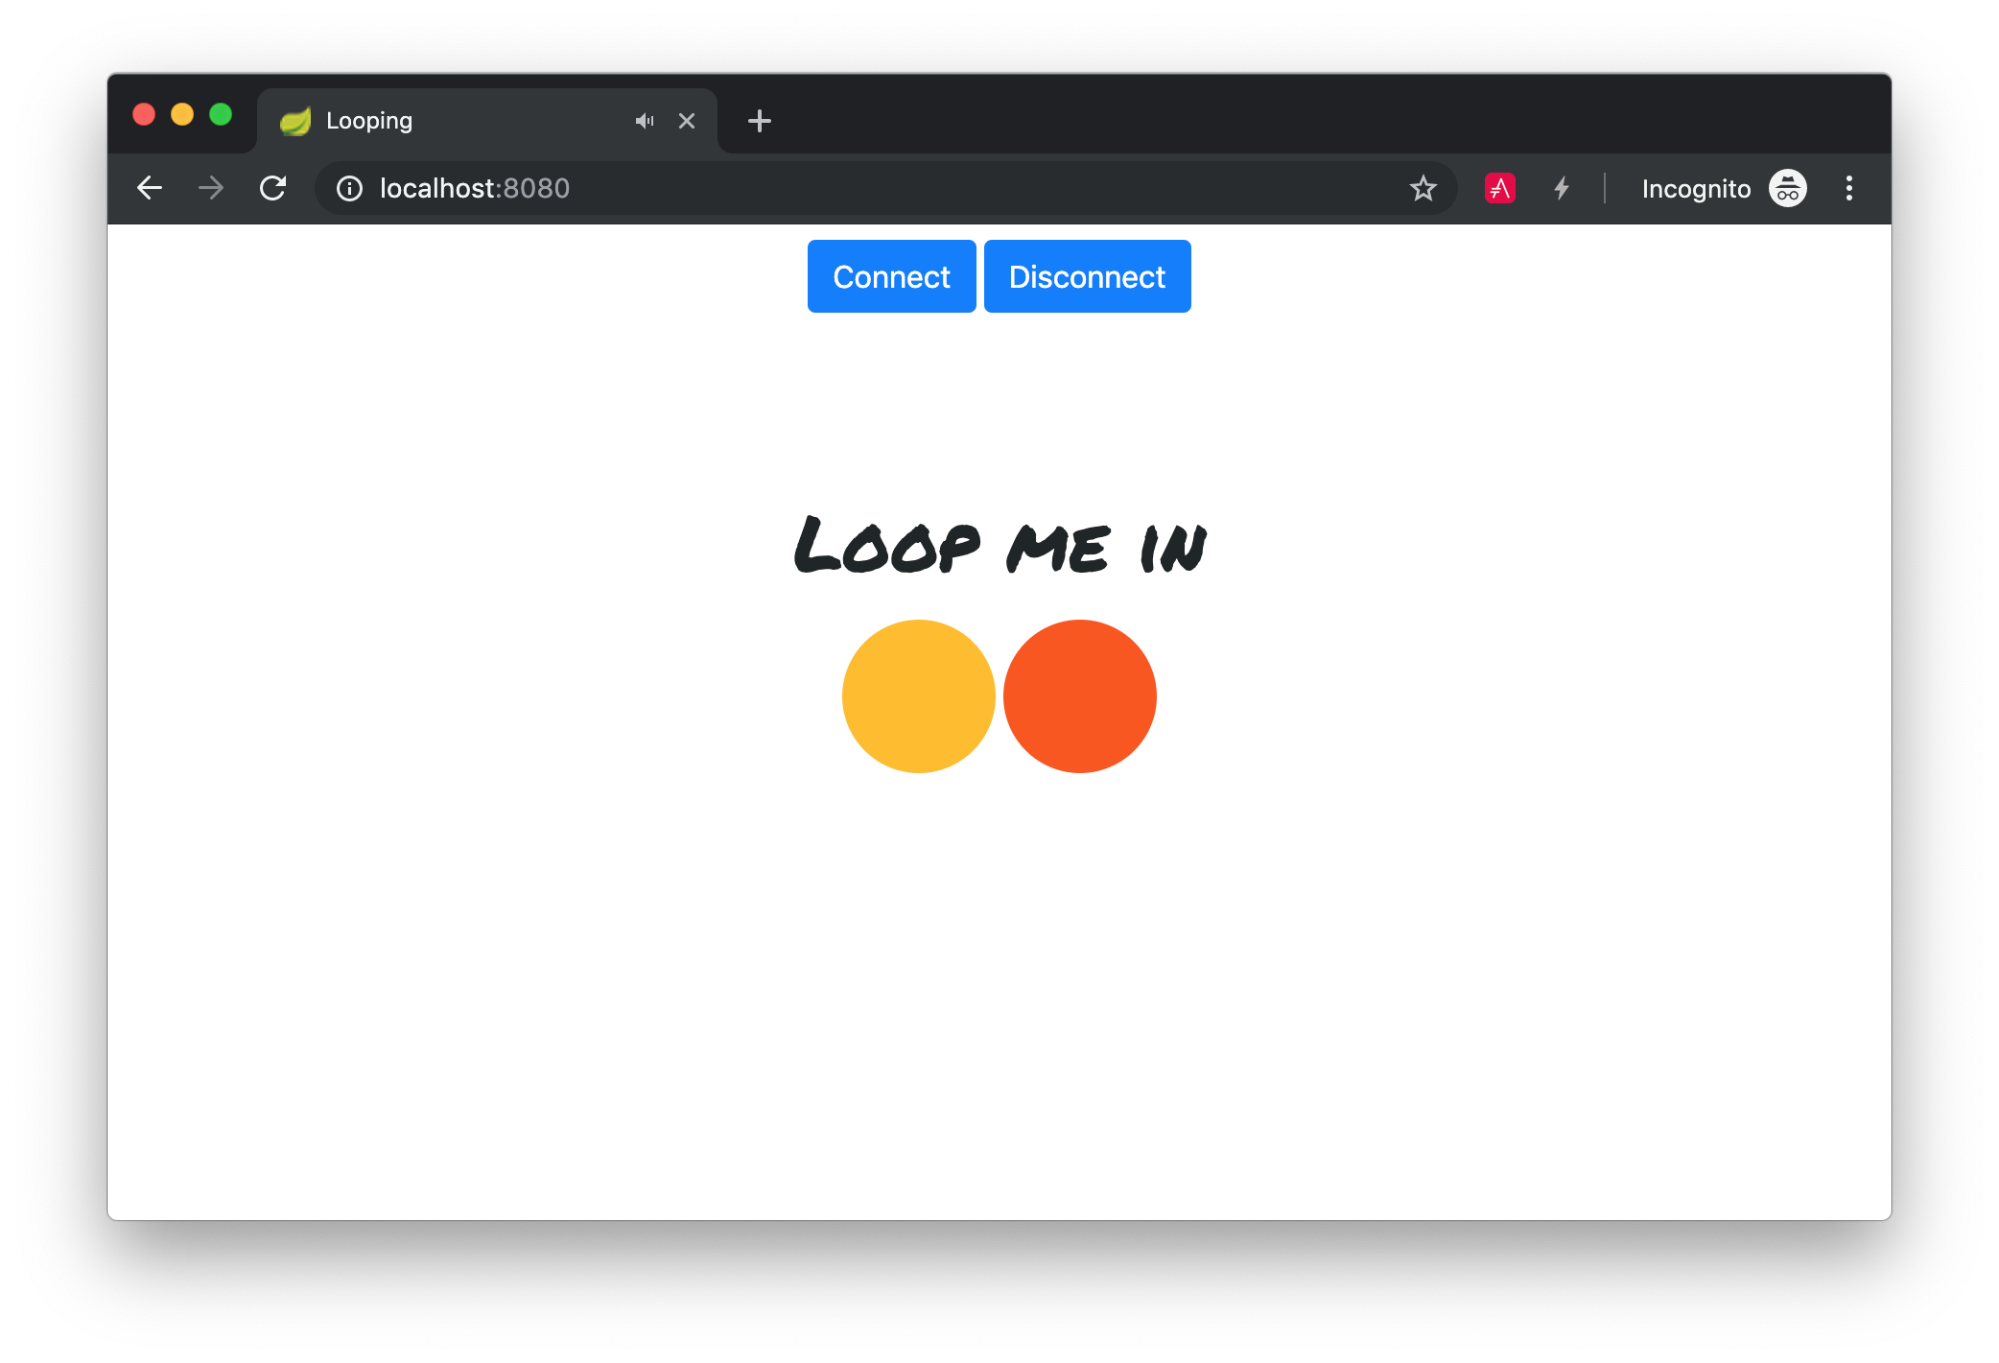
You can log in with the same account in both browser sessions or use different accounts. After you log in, the UI will load the loop buttons. In each browser, click the “Connect” button on the top to initiate the WebSocket handshake with the server and subscribe to the “loops” topic.
You should see STOMP commands CONNECT and SUBSCRIBE in the web console:
>>> CONNECT
X-Authorization:Bearer eyJraWQiOiJvSXk...
accept-version:1.1,1.0
heart-beat:10000,10000

<<< CONNECTED
version:1.1
heart-beat:0,0
user-name:0oa14trc2aHwBOide357

Connected: CONNECTED
user-name:0oa14trc2aHwBOide357
heart-beat:0,0
version:1.1

>>> SUBSCRIBE
id:sub-0
destination:/topic/loops
NOTE: In some browsers, you might see a 404 response when the browser attempts to declare the source map Tone.js and NexusUI.js, as they are not present in the local server. You can ignore the error for the test.
Once both browsers have connected to the server with WebSockets, toggle a loop circle button in one browser, the loop will start playing. The button should also toggle in the second browser when receiving the STOMP MESSAGE command:
<<< MESSAGE
destination:/topic/loops
subscription:sub-0
message-id:iqtb3gvf-0
content-length:33

{"loopId":"button1","value":true}
Congrats! You’ve successfully connected a Spring Boot Application with WebSockets.
Learn More About WebSockets and Spring Boot
I hope you enjoyed this WebSocket experiment as much as I did. You can find all this tutorial’s code on GitHub.
To continue learning about WebSocket-related technologies and Spring Framework’s support, check out our related blog posts:
- Full Stack Reactive with Spring WebFlux, WebSockets, and React
- A Quick Guide to Spring Boot Login Options
- 10 Excellent Ways to Secure Your Spring Boot Application
For more informative tutorials, please follow @oktadev on Twitter and subscribe to our YouTube channel.
Changelog:
- Dec 31, 2020: Updated Spring Boot to version 2.4.0. Updated Okta Auth JS to version 4.0.0. Update Tone.js library link. See the code changes in the example app on GitHub. Changes to this post can be viewed in oktadeveloper/okta-blog#495.
Okta Developer Blog Comment Policy
We welcome relevant and respectful comments. Off-topic comments may be removed.