Fast Java Made Easy with Quarkus and JHipster

Quarkus is a Kubernetes-native, Java framework for building high-performance web, serverless, and native apps. It uses Ahead of Time (AOT) compilation and aggressive optimizations like classpath scanning, configuration reloading, and application bootstrap pre-configuration during the build process. This results in impressive startup performance. In other words, a Quarkus app starts up super fast!
Like Spring and Micronaut, Quarkus can take advantage of GraalVM to transform a JVM-based application into a native executable, improving the overall performance even more!
Such performance gains allow the Java platform to be competitive in serverless, cloud, and Kubernetes environments by building Supersonic Subatomic Java applications.
Quarkus uses Java standards (like MicroProfile, JAX-RS) and best of breed libraries (such as Hibernate and Vert.x). It even has support for Spring’s annotations.
Note: In May 2025, the Okta Integrator Free Plan replaced Okta Developer Edition Accounts, and the Okta CLI was deprecated.
We preserved this post for reference, but the instructions no longer work exactly as written. Replace the Okta CLI commands by manually configuring Okta following the instructions in our Developer Documentation.
Quarkus + JHipster = Fast Java Made Easy
Development history has demonstrated gluing components together can be challenging. Developers love when you provide them enlightened opinions, and this is where JHipster comes in.
JHipster is a community-driven, full-stack development platform for generating, developing, and deploying modern web applications and microservice architectures.
The default backend framework in JHipster is Spring Boot, but more and more options are appearing. One of these options is the JHipster Quarkus blueprint.
Among others, one of the key capabilities that’s determined JHipster’s success is its extensibility via blueprints. A blueprint acts as a JHipster plugin and lets you override the default behavior to produce a new “flavor.”
JHipster’s Kotlin blueprint is, for instance, a popular add-on that developers like to use.
Thanks to blueprints, the possibilities are infinite. This is why JHipster even has non-Java implementations (like Node + NestJS and .NET Core.
This post will walk you through the steps to use JHipster, the Quarkus blueprint, and OAuth to build a native and secure full stack application.
Table of Contents
- Quarkus + JHipster = Fast Java Made Easy
- Create a Java Application with Quarkus
- Generate a JHipster Quarkus Application
- Make Sure OAuth 2.0 / OIDC with Keycloak Works
- How JHipster Quarkus OAuth 2.0 Support Works
- Integrate JHipster Quarkus with Okta
- Go Native with Quarkus and GraalVM
- Go Further with JHipster Quarkus
Create a Java Application with Quarkus
You’ll need to install a few things before you get started.
Prerequisites:
Install JHipster and its Quarkus blueprint using npm:
# Install JHipster globally
npm install -g generator-jhipster@6.10.5

# Install the JHipster Quarkus blueprint
npm install -g generator-jhipster-quarkus@1.1.1
The jhipster-quarkus command is now available as a shortcut for jhipster --blueprints quarkus. You can see all its options with the --help command.
$ jhipster-quarkus --help
Generate a JHipster Quarkus Application
To begin, generate a JHipster app with a Quarkus backend. Open a terminal and create a directory for your application.
mkdir okta-jhipster-quarkus-example && cd okta-jhipster-quarkus-example
# oh-my-zsh users: take okta-jhipster-quarkus-example
You can invoke the jhipster-quarkus command to start the application creation wizard.
jhipster-quarkus
For this tutorial, the key question will be the one regarding authentication.
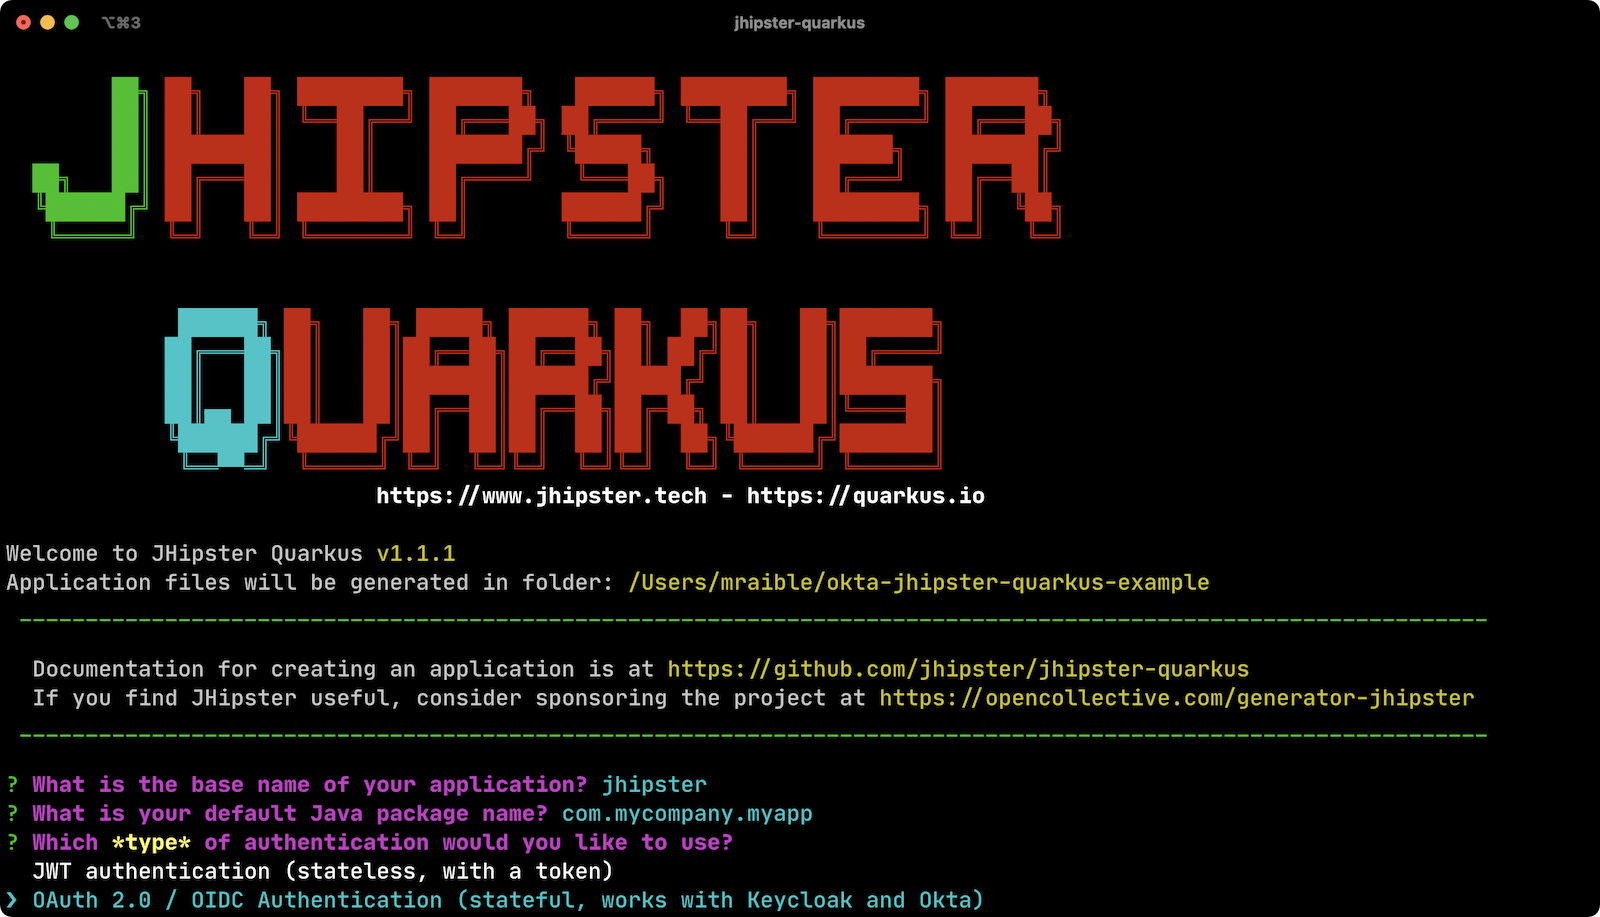
JHipster Quarkus allows you to use JWT (with user management in the application database) or OAuth 2.0 / OIDC Authentication via identity providers like Keycloak and Okta. OIDC stands for OpenID Connect and is a thin layer on top of OAuth 2.0. Its primary purpose is to provide authentication and identify the user.
Below is an example of wizard answers.
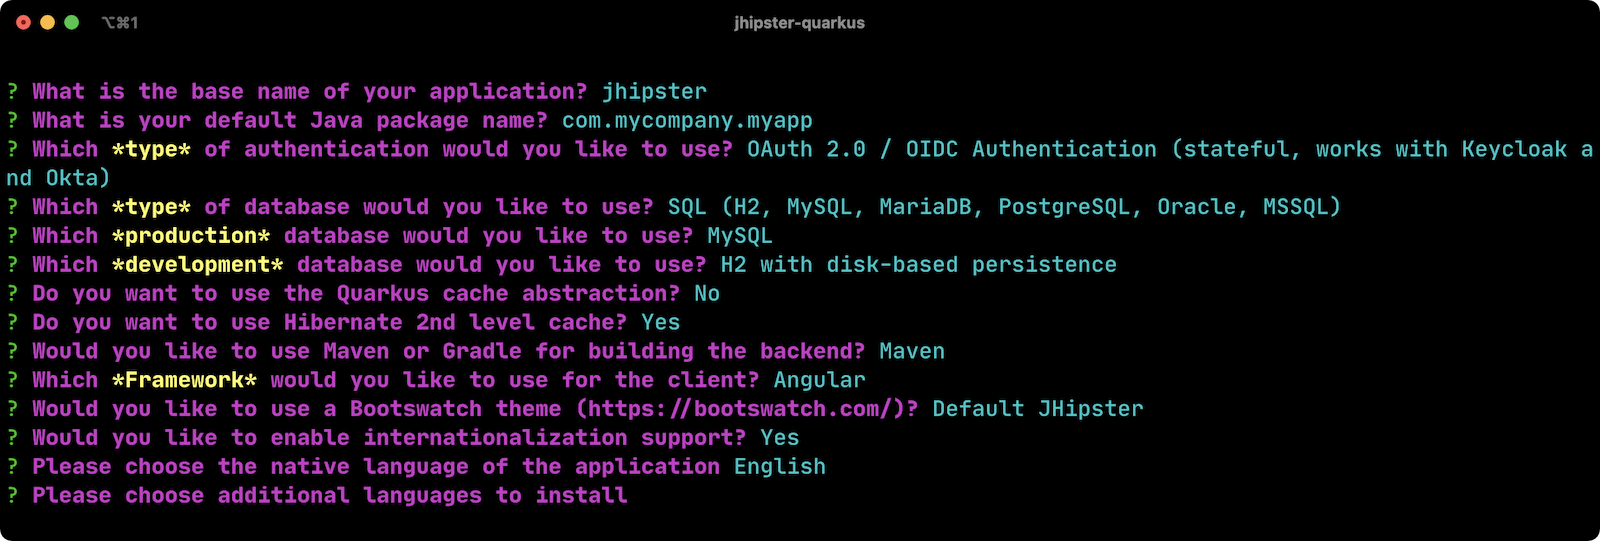
After you answer all the questions, JHipster will generate your application code and run npm install.
If you’d like to generate the same as I did for this tutorial, you can copy the following JSON into a .yo-rc.json in your okta-jhipster-quarkus-example directory, and run jhipster-quarkus.
{
  "generator-jhipster": {
    "promptValues": {
      "packageName": "com.mycompany.myapp",
      "nativeLanguage": "en"
    },
    "jhipsterVersion": "6.10.5",
    "applicationType": "monolith",
    "baseName": "jhipster",
    "packageName": "com.mycompany.myapp",
    "packageFolder": "com/mycompany/myapp",
    "serverPort": "8080",
    "authenticationType": "oauth2",
    "cacheProvider": "no",
    "enableHibernateCache": true,
    "websocket": false,
    "databaseType": "sql",
    "devDatabaseType": "h2Disk",
    "prodDatabaseType": "mysql",
    "messageBroker": false,
    "buildTool": "maven",
    "embeddableLaunchScript": false,
    "useSass": true,
    "clientPackageManager": "npm",
    "clientFramework": "angularX",
    "clientTheme": "none",
    "clientThemeVariant": "",
    "creationTimestamp": 1614834465776,
    "jhiPrefix": "jhi",
    "entitySuffix": "",
    "dtoSuffix": "DTO",
    "otherModules": [
      {
        "name": "generator-jhipster-quarkus",
        "version": "1.1.1"
      }
    ],
    "enableTranslation": true,
    "nativeLanguage": "en",
    "languages": ["en"],
    "blueprints": [
      {
        "name": "generator-jhipster-quarkus",
        "version": "1.1.1"
      }
    ]
  }
}
This file contains all the answers to JHipster’s initial questions, and will allow you to generate your app without any prompts.
Make Sure OAuth 2.0 / OIDC with Keycloak Works
Among other files, JHipster Quarkus generates a set of Docker Compose files to help you bootstrap a dev environment tailored for your freshly generated application. It even imports Keycloak default data with users and apps, so you don’t have to.
Keycloak is the default OIDC engine used by JHipster, and you can run it in a Docker container.
Start a Keycloak container using the command below:
docker-compose -f src/main/docker/keycloak.yml up -d
With Keycloak up and running, you should be able to log in. Start your app using Maven:
./mvnw
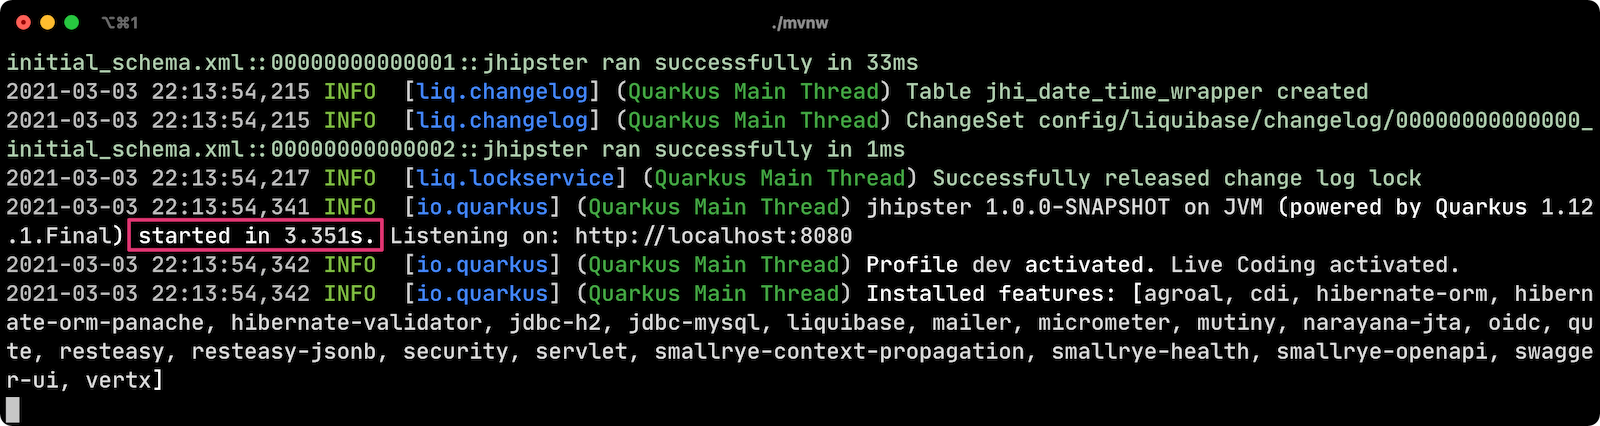
You can see the app starts in 3.351s and contains a vast list of Quarkus extensions (including oidc).
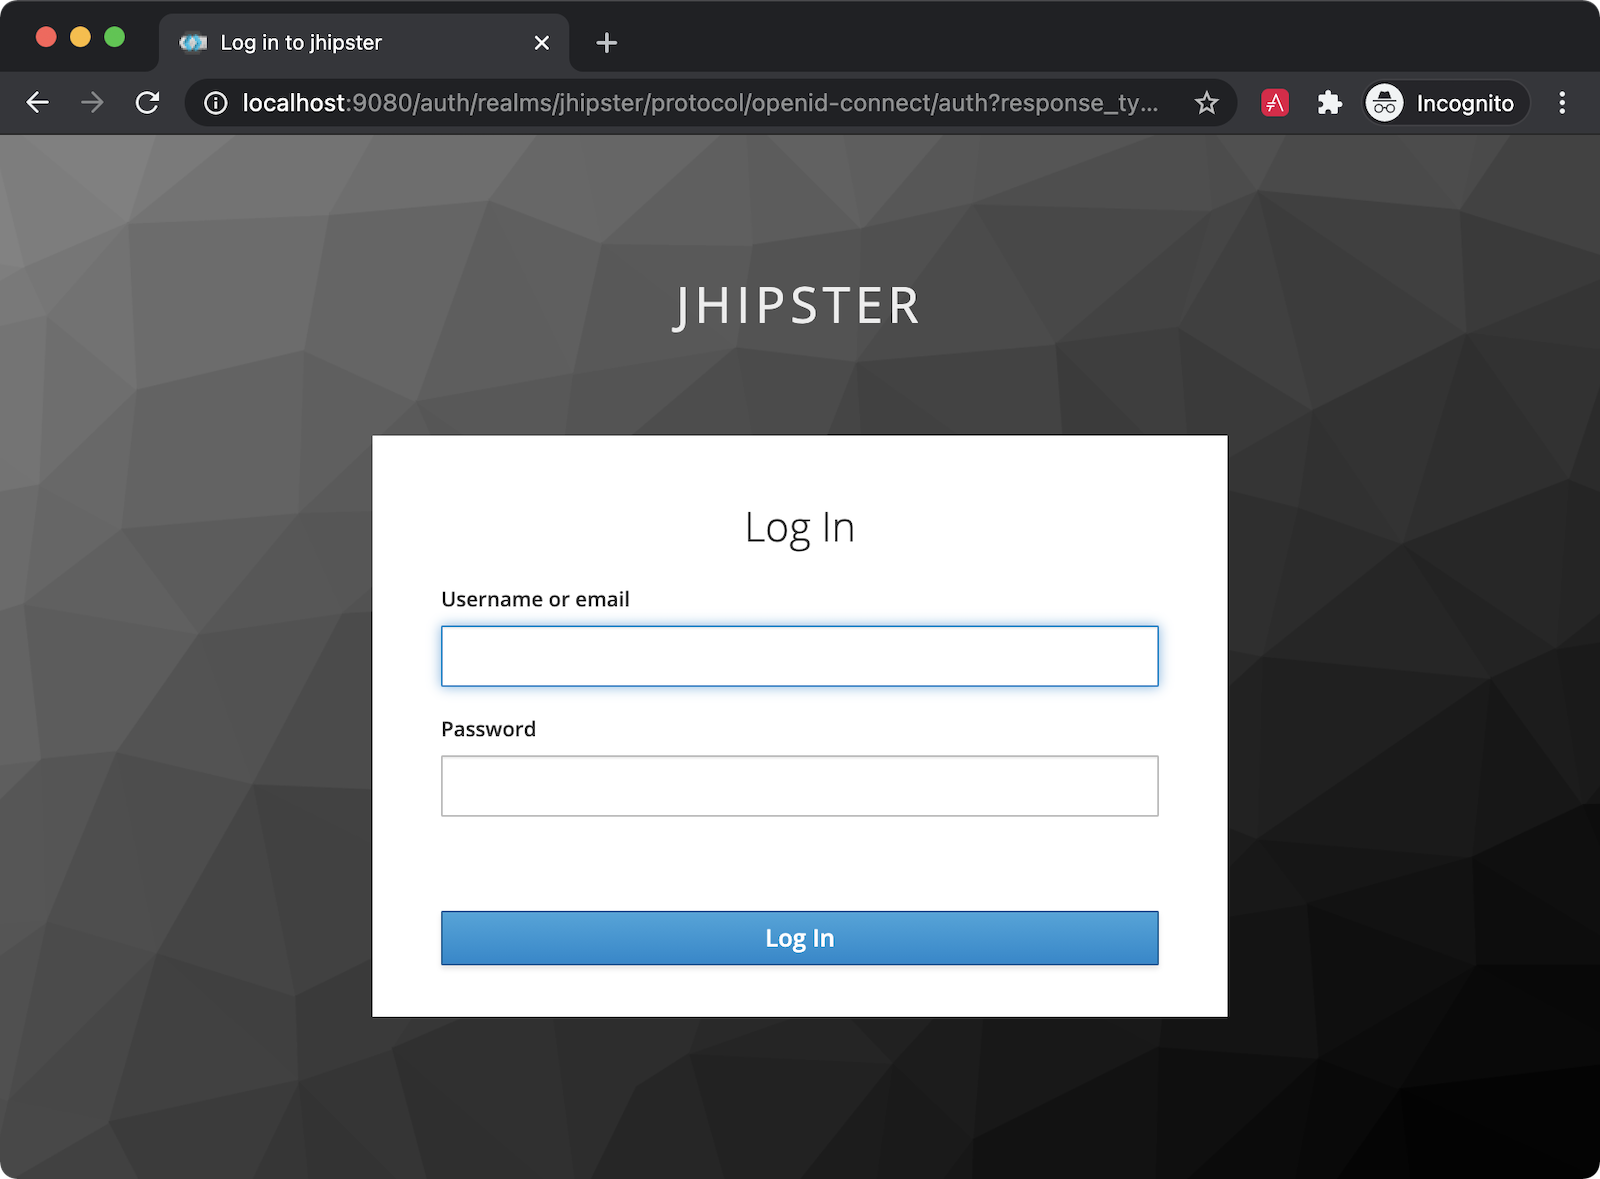
Go to http://localhost:8080 in your favorite browser and click the sign in link.
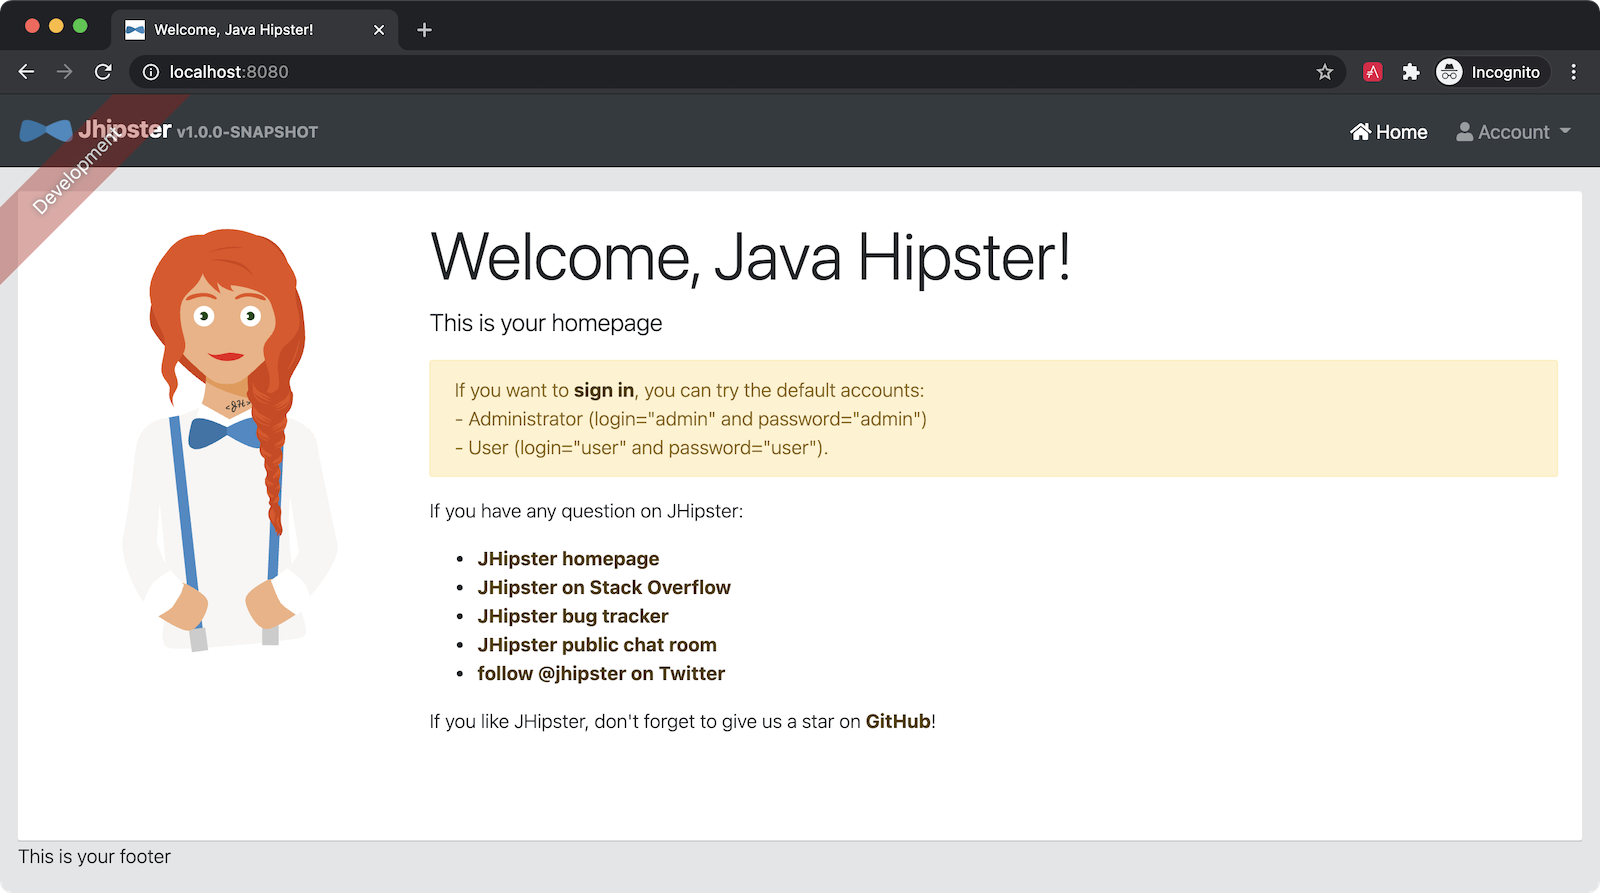
You will be redirected to Keycloak to log in. Enter admin/admin when prompted for credentials.
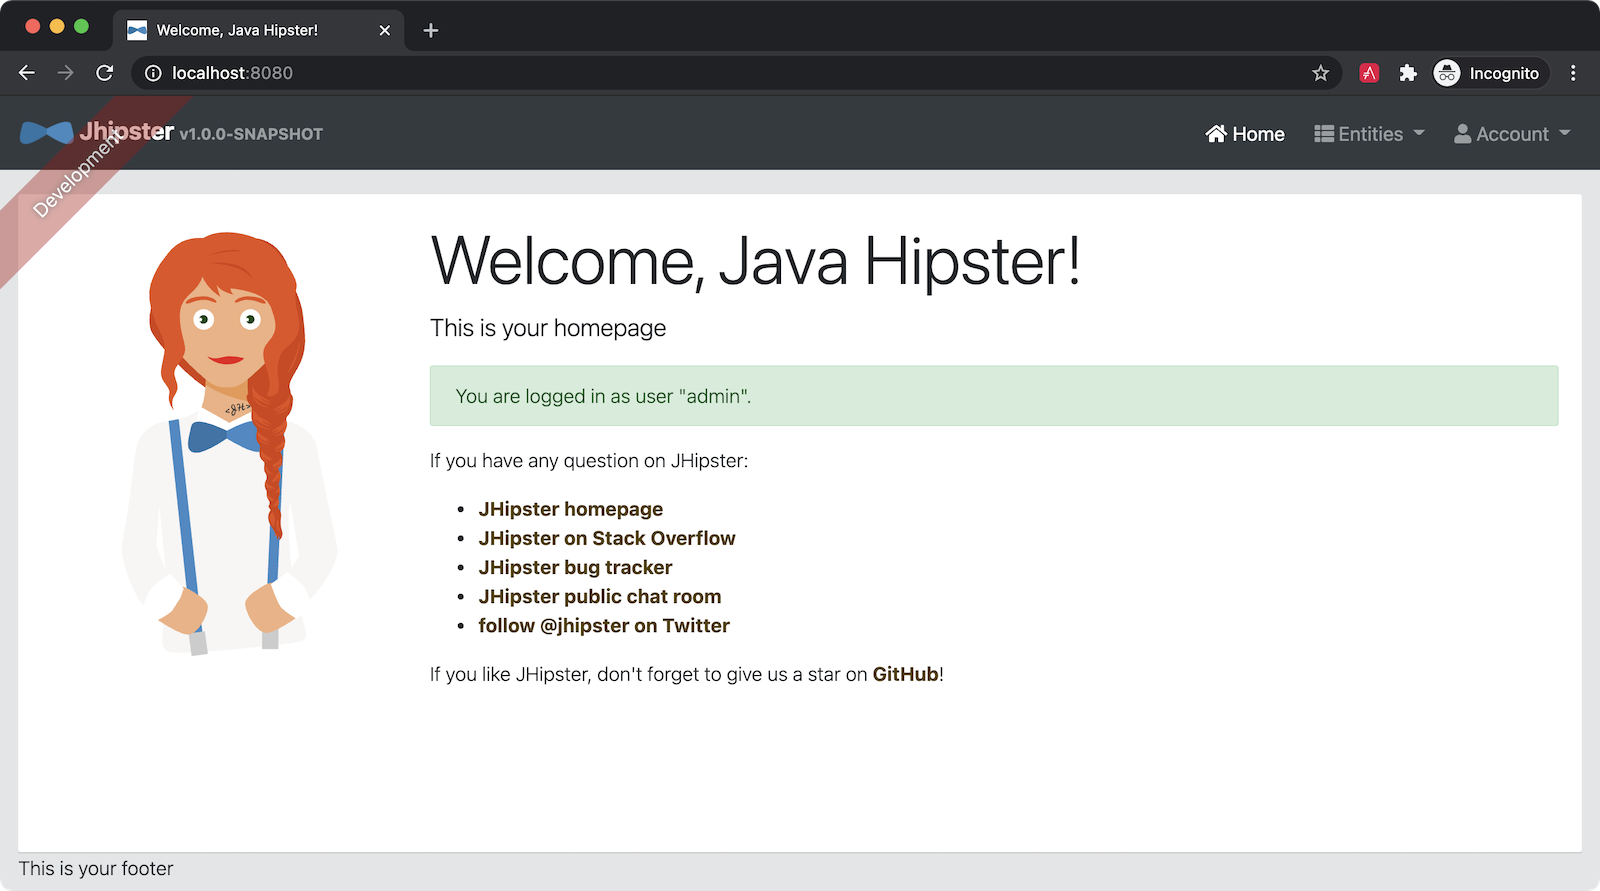
After successfully authenticating, you’ll be redirected back to your Quarkus app.
How JHipster Quarkus OAuth 2.0 Support Works
One of the challenges when developing a JHipster blueprint like the Quarkus is finding the sweet spot between reusing existing mechanisms and custom implementation.
Since Day 1, JHipster has integrated modern web application frameworks (Angular, React, or even Vue.js) with de-facto standard Java-based technologies, like Spring Boot and Spring Cloud.
The JHipster Quarkus OAuth 2.0 implementation relies on a login/oauth2/code/oidc redirect URI, which Spring Security expects. Doing server-side authentication is highly recommended since it’s a lot more secure (because the browser does not have to manage any credentials or store any access tokens).
In JHipster Quarkus, to reuse the front applications as-is and implement a server-side OAuth 2.0 flow, the backend had to expose these two HTTP routes. This is why JHipster Quarkus has a UserOauth2Controller controller and customized Quarkus OIDC properties to make everything work properly.
This is the kind of integration pitfall developers don’t want to waste time on. The collective intelligence of the JHipster community converges highly-efficient opinions, which explains the platform’s popularity and quality.
Integrate JHipster Quarkus with Okta
In this section, you’ll learn how to use Okta as an OAuth 2.0 / OIDC provider. Okta has two options for configuring an OpenID Connect (OIDC) application. You can either go through the developer console or use the Okta CLI.
Use the Okta CLI to Configure JHipster
The Okta CLI automates all the JHipster + Okta configuration for you. You can install the Okta CLI using popular package managers.
macOS (via Homebrew):
brew install --cask oktadeveloper/tap/okta
Linux (via Flatpak):
# Add Flathub repo
flatpak remote-add --if-not-exists flathub https://flathub.org/repo/flathub.flatpakrepo

# install the package
flatpak install com.okta.developer.CLI

# add this to your appropriate dot file
alias okta="flatpak run com.okta.developer.CLI"
Windows (via Chocolatey):
choco install okta -version 0.8.0
You can also just pipe it to bash:
curl https://raw.githubusercontent.com/okta/okta-cli/master/cli/src/main/scripts/install.sh | bash
Open a terminal, navigate to your Quarkus app’s directory, and run okta register if you don’t have an Okta developer account. If you already have one, run okta login.
$ okta register
First name: Daniel
Last name: Petisme
Email address: daniel.petisme@gmail.com
Company: Okta
Creating new Okta Organization, this may take a minute:
OrgUrl: https://dev-9323263.okta.com
An email has been sent to you with a verification code.

Check your email
Verification code: 232819
New Okta Account created!
Your Okta Domain: https://dev-9323263.okta.com
To set your password open this link:
https://dev-9323263.okta.com/welcome/drpt2SjbRAPR-gvVHhnm
If you already have an Okta developer account, run okta login. Then, run okta apps create jhipster in your Quarkus app’s directory. Accept the defaults when prompted for redirect URIs.
$ okta apps create jhipster
Application name [okta-jhipster-quarkus-example]:
Redirect URI
Common defaults:
  Spring Security - http://localhost:8080/login/oauth2/code/okta
  Quarkus OIDC - http://localhost:8080/callback
  JHipster - http://localhost:8080/login/oauth2/code/oidc
Enter your Redirect URI(s) [http://localhost:8080/login/oauth2/code/oidc, http://localhost:8761/login/oauth2/code/oidc]:
Enter your Post Logout Redirect URI(s) [http://localhost:8080/, http://localhost:8761/]:
Configuring a new OIDC Application, almost done:
Created OIDC application, client-id: 0oa5ozjxyNQPPbKc65d6
Creating Authorization Server claim 'groups':
Adding user daniel.petisme@gmail.com to groups: [ROLE_USER, ROLE_ADMIN]
Creating group: ROLE_USER
Creating group: ROLE_ADMIN

Okta application configuration has been written to: /Users/daniel/workspace/okta-jhipster-quarkus-example/.okta.env
NOTE: The http://localhost:8761* redirect URIs are for the JHipster Registry, which is often used when creating microservices with JHipster. The Okta CLI adds these by default. They aren’t necessary for this tutorial, but there’s no harm in leaving them in.
The Okta CLI will create an .okta.env in the current directory. If you look at it, you’ll see that it contains several OIDC-related keys and values.
$ cat .okta.env
export QUARKUS_OIDC_AUTH_SERVER_URL="https://dev-9323263.okta.com/oauth2/default"
export QUARKUS_OIDC_CLIENT_ID="0oa5ozjxyNQPPbKc65d6"
export QUARKUS_OIDC_CREDENTIALS_SECRET="KEJ0oNOTFEUEFHP7i1TELLING1xLm1XPRn"
export QUARKUS_OIDC_AUTHENTICATION_REDIRECT_PATH="/login/oauth2/code/oidc"
export JHIPSTER_OIDC_LOGOUT_URL="https://dev-9323263.okta.com/oauth2/default/v1/logout"
Source the file to set environment variables and start your application with Maven.
source .okta.env
./mvnw
Make sure to add *.env to your .gitignore so you don’t commit your client secret!
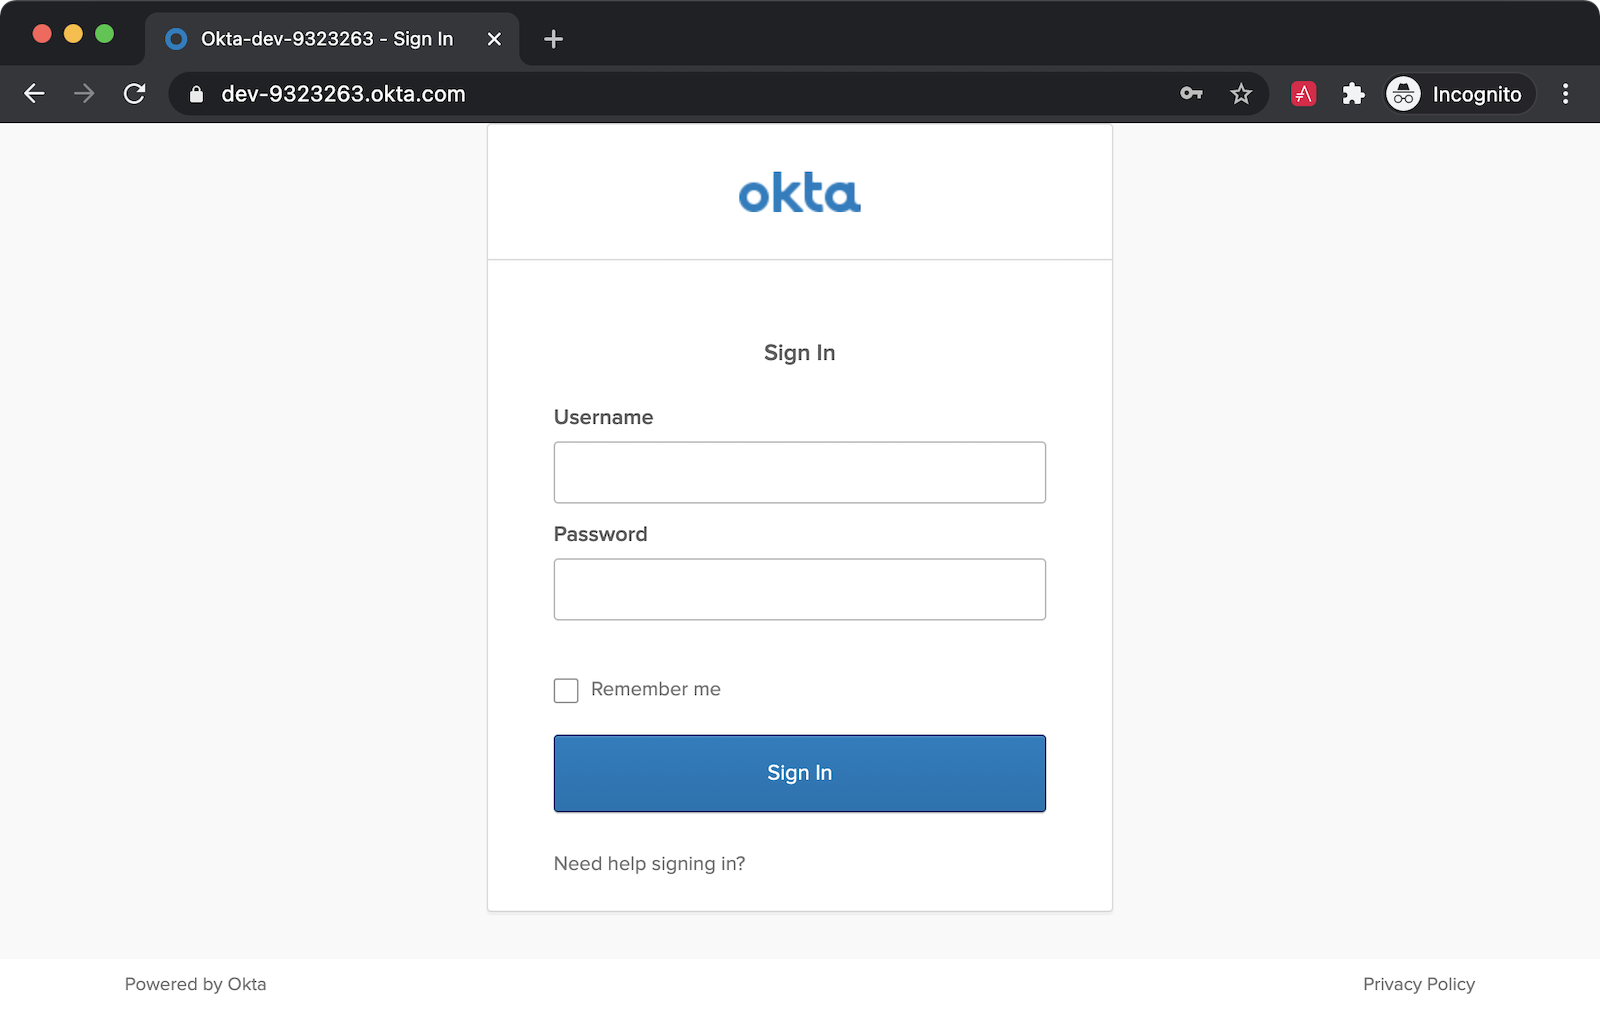
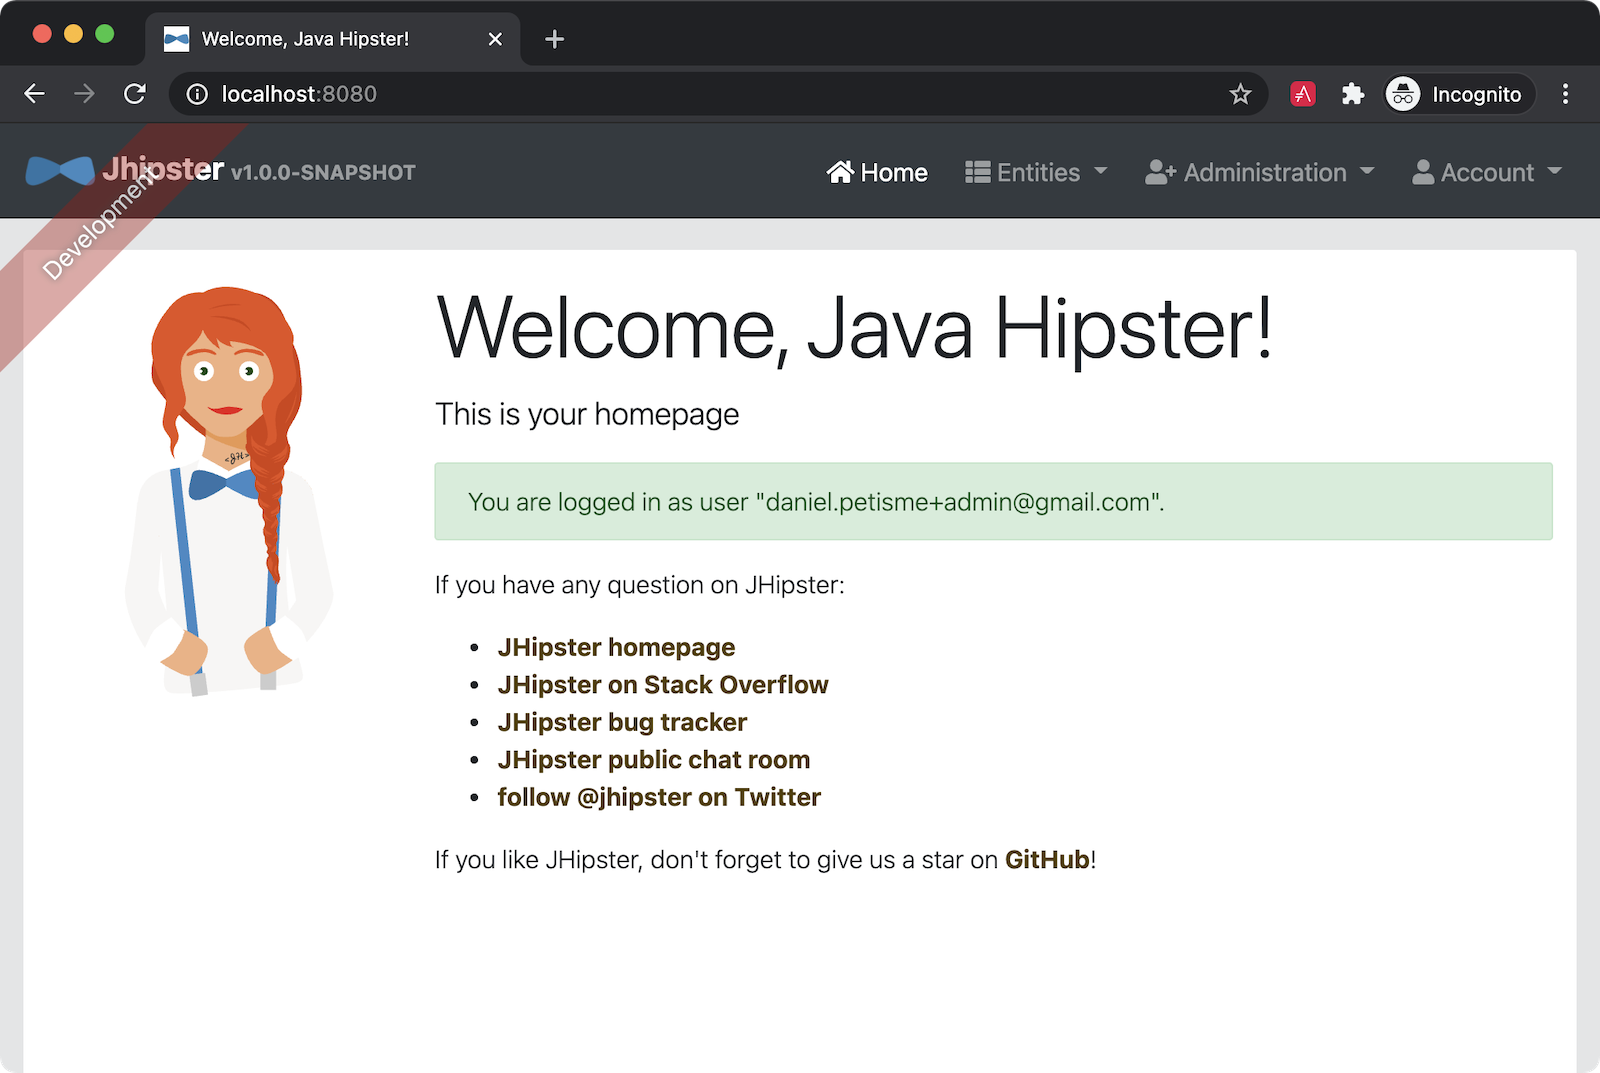
Once it’s started, open an incognito window to http://localhost:8080 and sign in. You’ll be prompted for your Okta credentials.
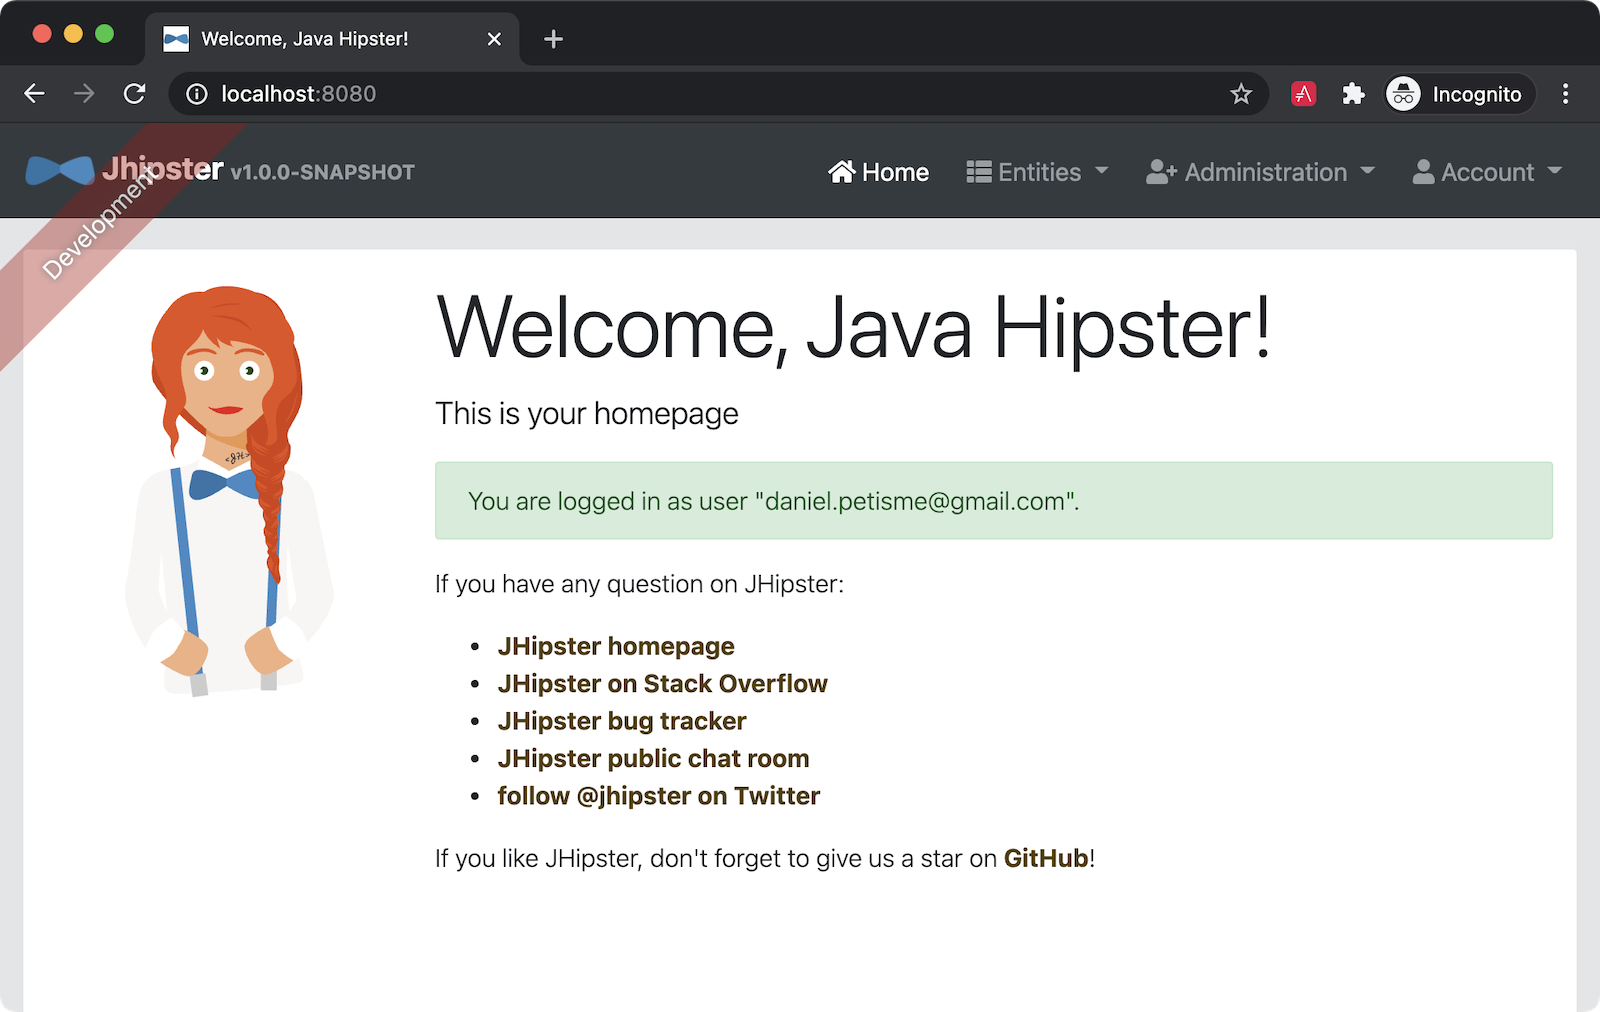
After authenticating successfully, you’ll be redirected back to your app. You should see your email address displayed on the homepage.
The Okta CLI streamlines JHipster’s configuration and does several things for you:
- It creates an OIDC app with the correct redirect URIs
- It makes
ROLE_ADMINandROLE_USERgroups that JHipster expects - It adds your current user to the
ROLE_ADMINandROLE_USERgroups - It creates a
groupsclaim in your default authorization server and adds the user’s groups to it
What if you dislike the command line? Don’t panic; I have your back! The Okta CLI is easy to use, but you might want to use a UI to configure things. That’s why I’ll go through each step to configure an OIDC application that works with JHipster Quarkus.
Use Okta’s Developer Console to Configure JHipster
If you don’t have an Okta developer account, you need to sign up. It’s nothing fancy: first name, last name, email, a strong password, and you’re ready to go.
Once logged in, you arrive in your developer console:
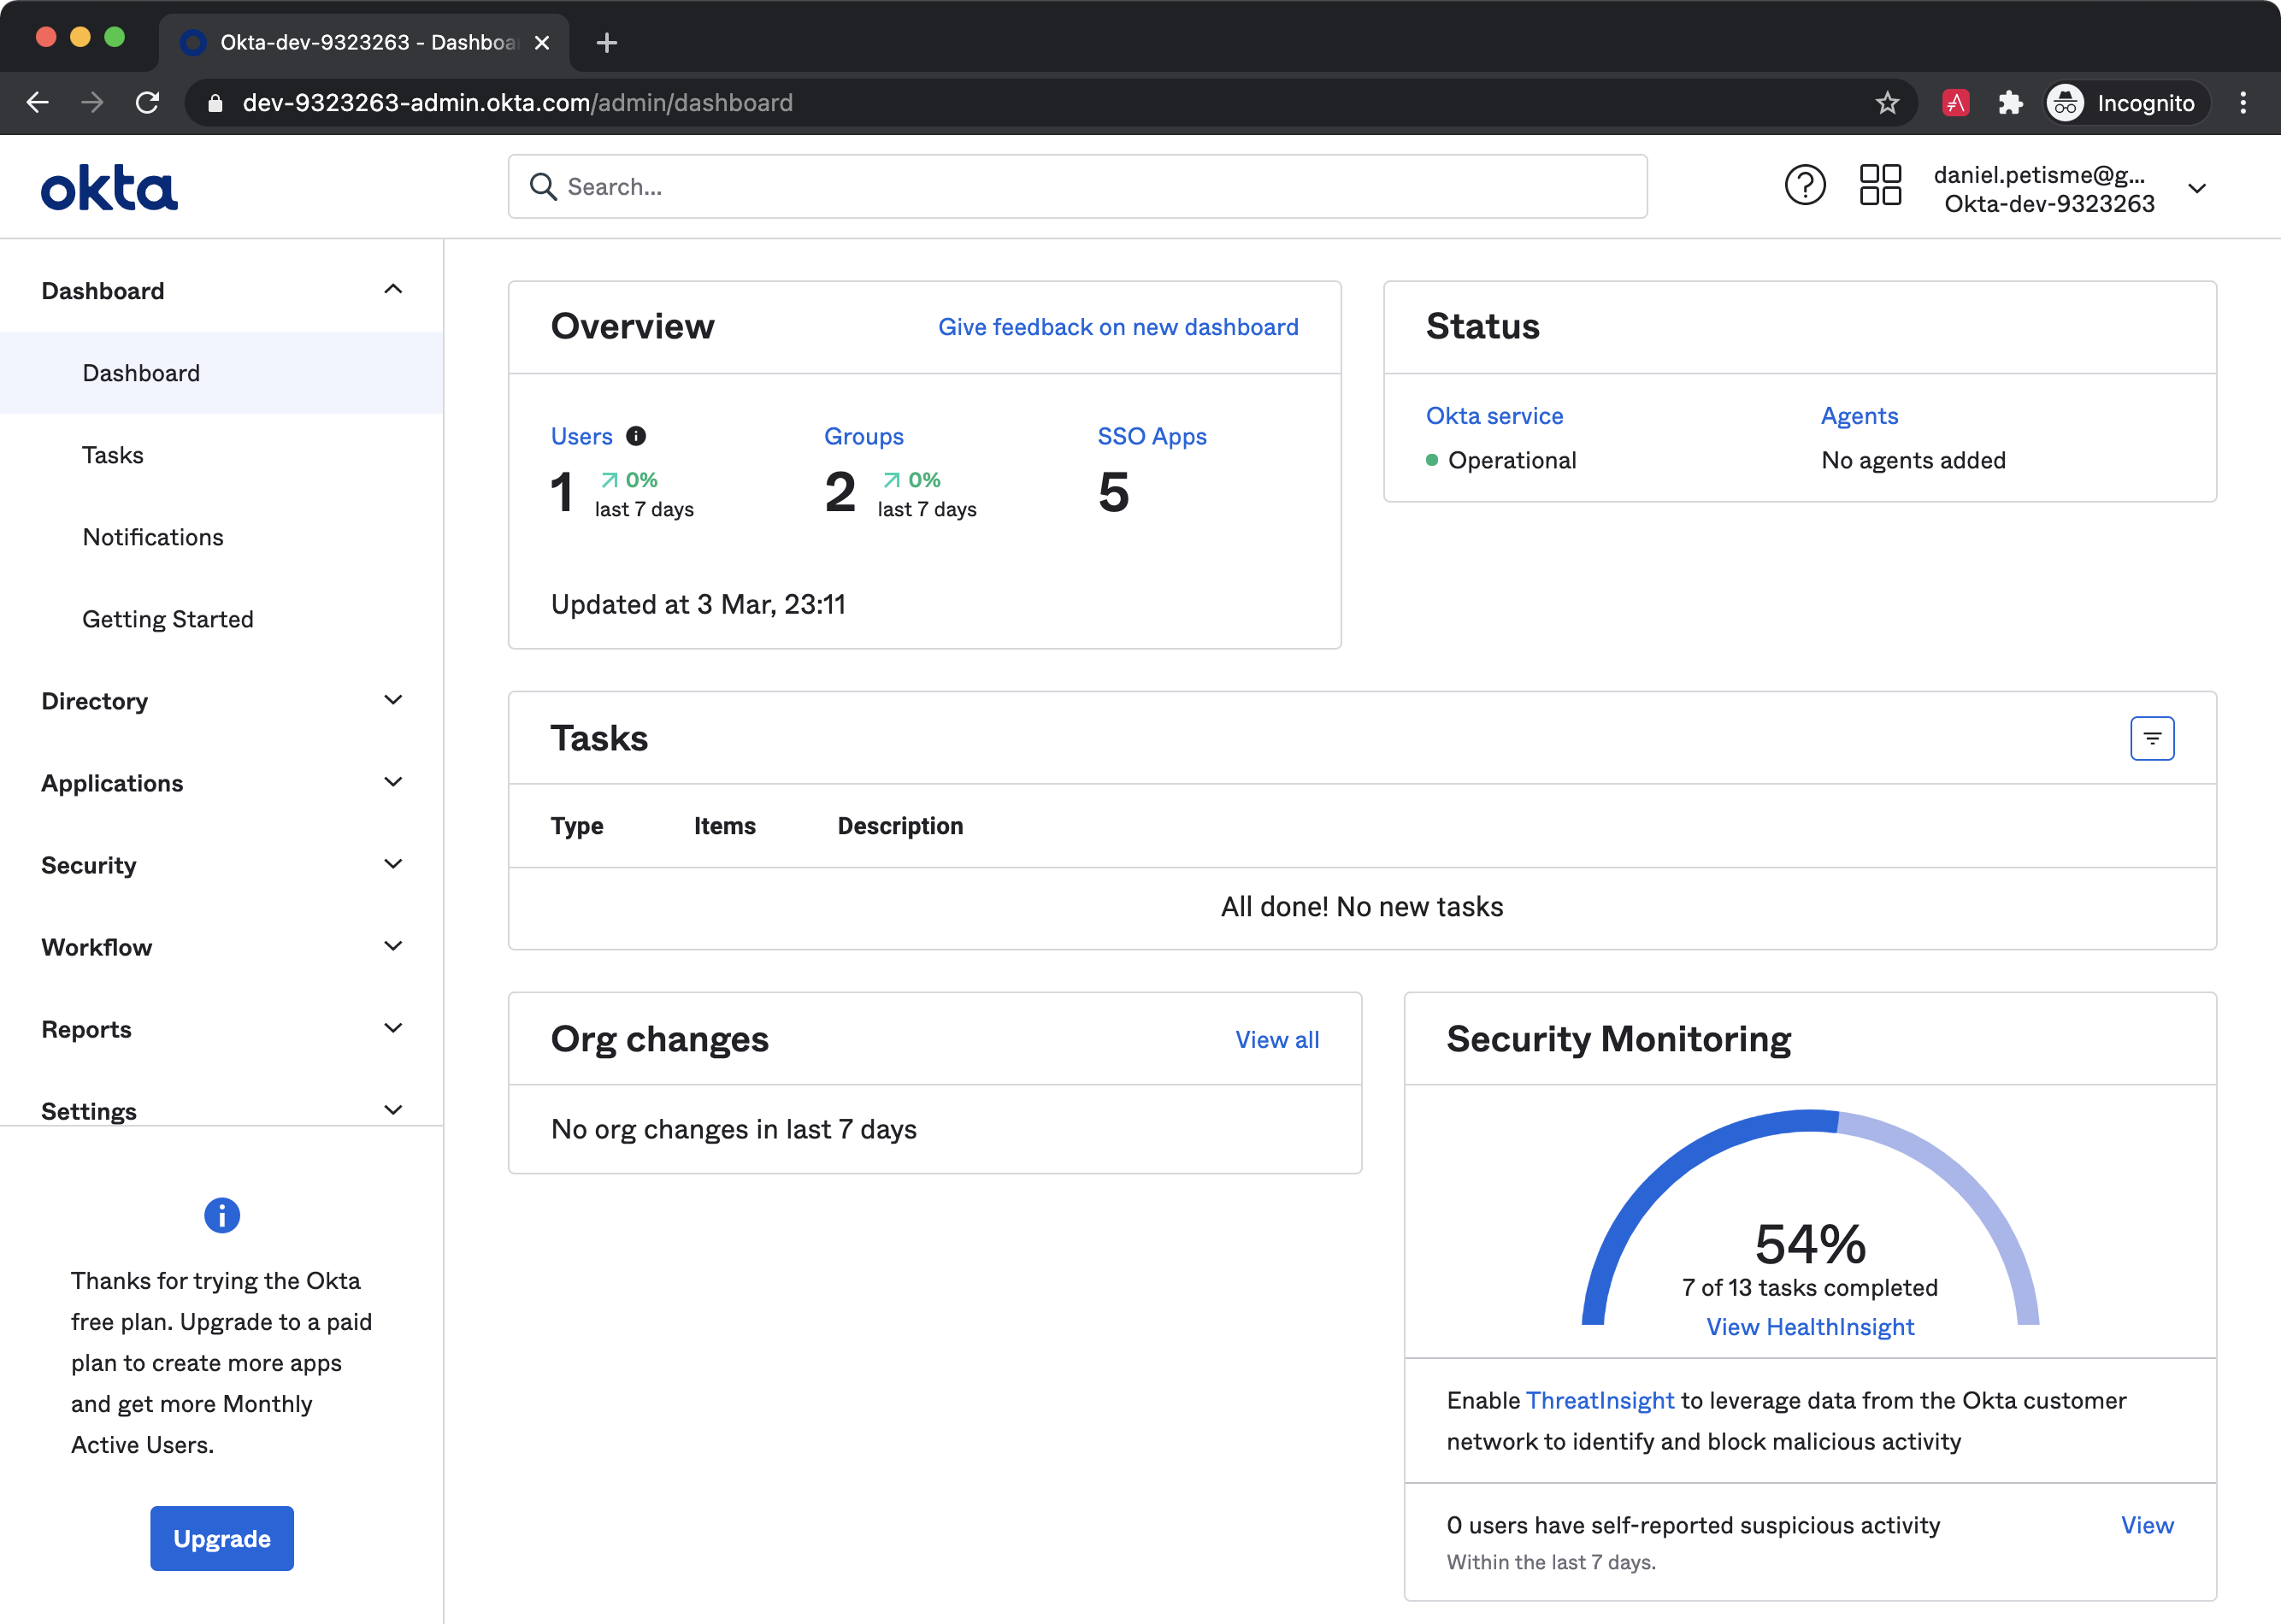
Expand Applications on the left nav, then go to Applications > Create App Integration to start the app creation wizard.
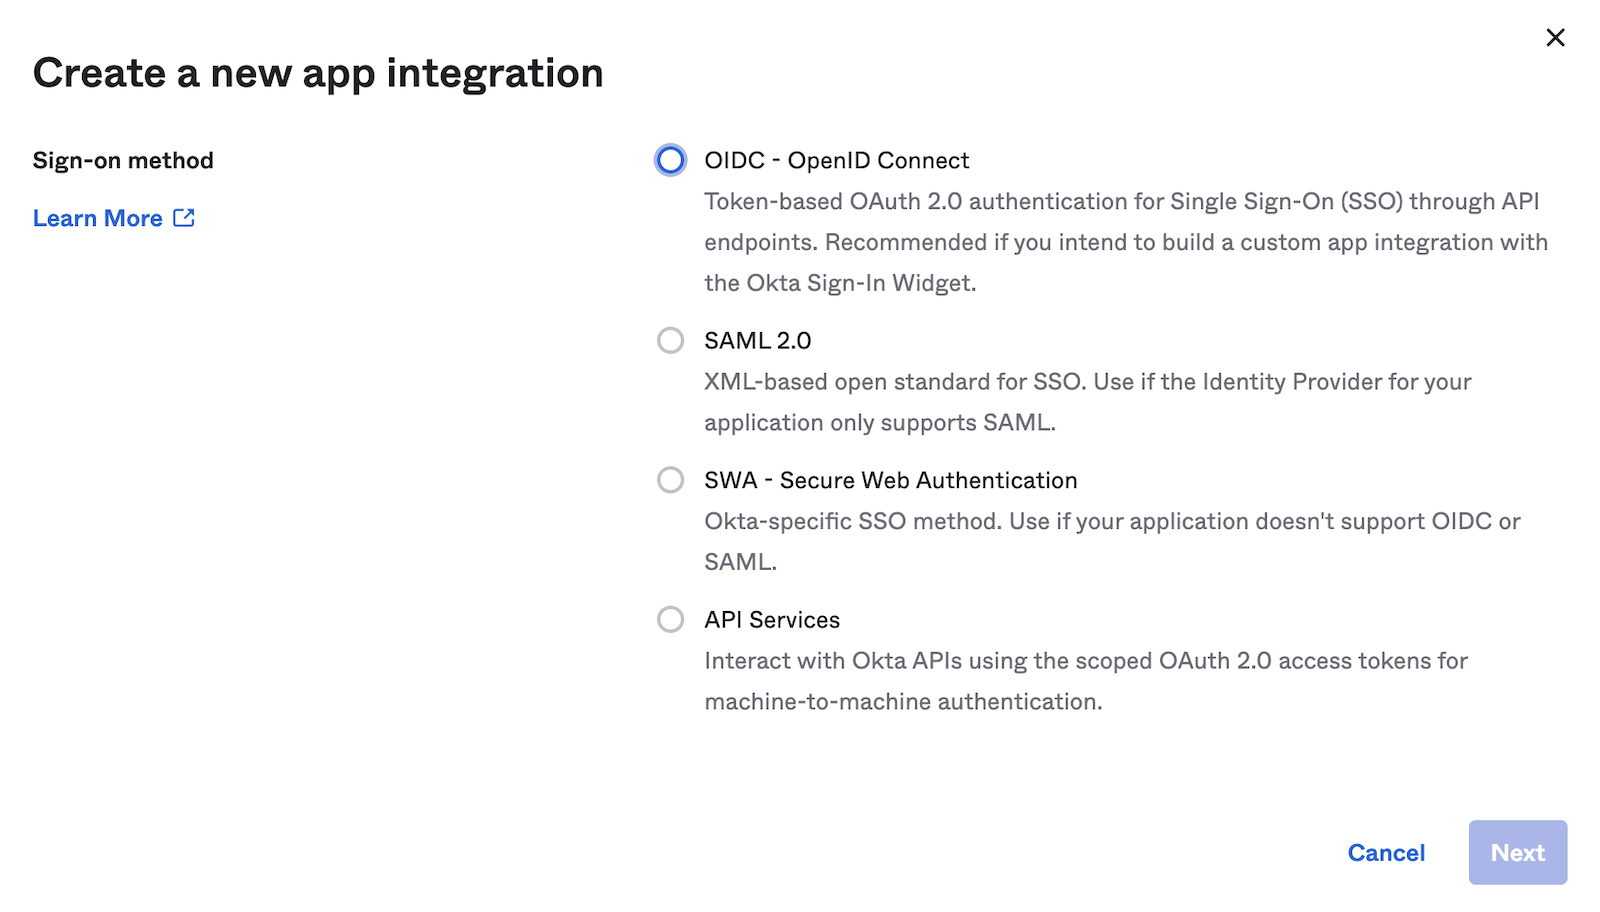
Select OIDC and Web Application. Then click Next.
You now need to provide some application settings.
- Name: Whatever you want, but “JHipster Quarkus” sounds cool 😎
- Login redirect URIs: Where Okta will redirect the user’s browser once authenticated.
Set it to
http://localhost:8080/login/oauth2/code/oidc, as this is what’s configured by default - Logout redirect URIs:
http://localhost:8080This is where the user will land after they log out - Group assignments: Which groups can use this application
Use the default values for the rest of the settings.
When you’re happy with your application, click Save. The next screen will show your application details.

The most important values are:
- The client credentials (client id and client secret). They allow your Java application to authenticate against Okta services for user authentication and authorization flows.
- The Okta domain from which Quarkus will derive the OAuth / OIDC endpoint URLs.
Create User Groups
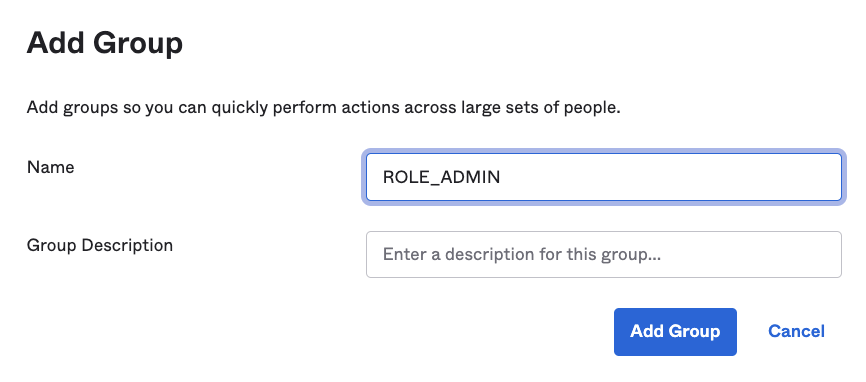
Now it’s time to create user groups. Out of the box, JHipster requires two groups:
ROLE_USER: for the authenticated usersROLE_ADMIN: for the authenticated users with administrator privileges on the application
In your developer console, go to Directory > Groups. Click on Add Group and create the ROLE_ADMIN group.
Next, add the ROLE_USER group.
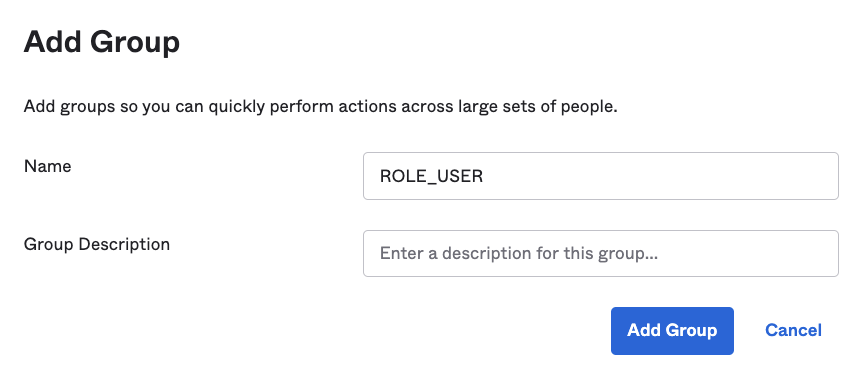
You’re done with the user groups; now, let’s add users.
Create Users
To see the difference between an admin user and a regular user, create users in each group. Using the Okta developer console, go to Directory > People.
Click on Add Person. Start by creating an Administrator user.

The key points are to associate the Administrator user to the ROLE_ADMIN group.
For this tutorial’s sake, use the Set by Admin password strategy to define an initial password the user will have to change.
I recommend using the Set by User strategy with an activation email in a real-life context.
Now, add a regular user.
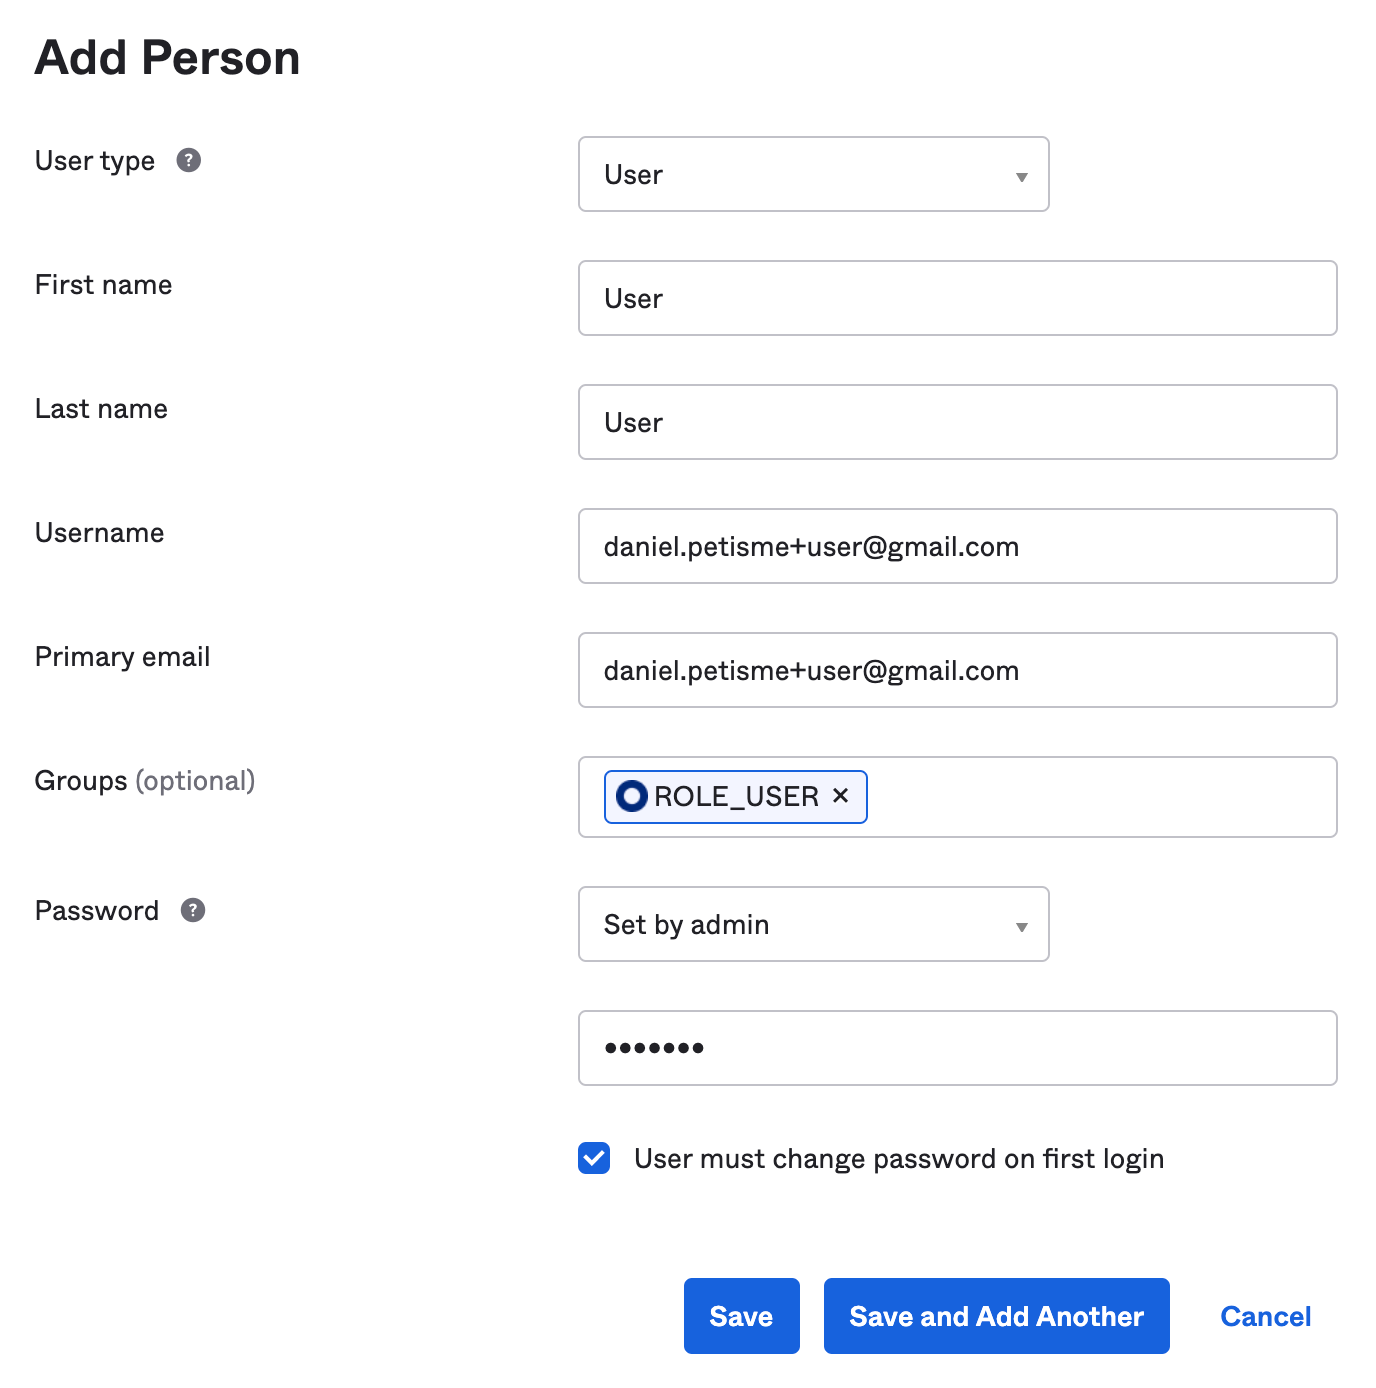
Make sure the User person is a member of the ROLE_USER group. It’s important to use a valid email address for password recovery purposes.
Go to Applications > JHipster Quarkus and click on Assignments. Assign the users you just created.
Add a Groups Claim to the ID Token
The last thing you’ll need to do is configure a groups claim that includes a user’s groups in the ID token. Go to Security > API and click on default. Go to Claims > Add Claim. Enter the following values:
- Name:
groups - Include in token type: ID Token
- Value type: groups
- Filter: Matches regex with a value of
.*
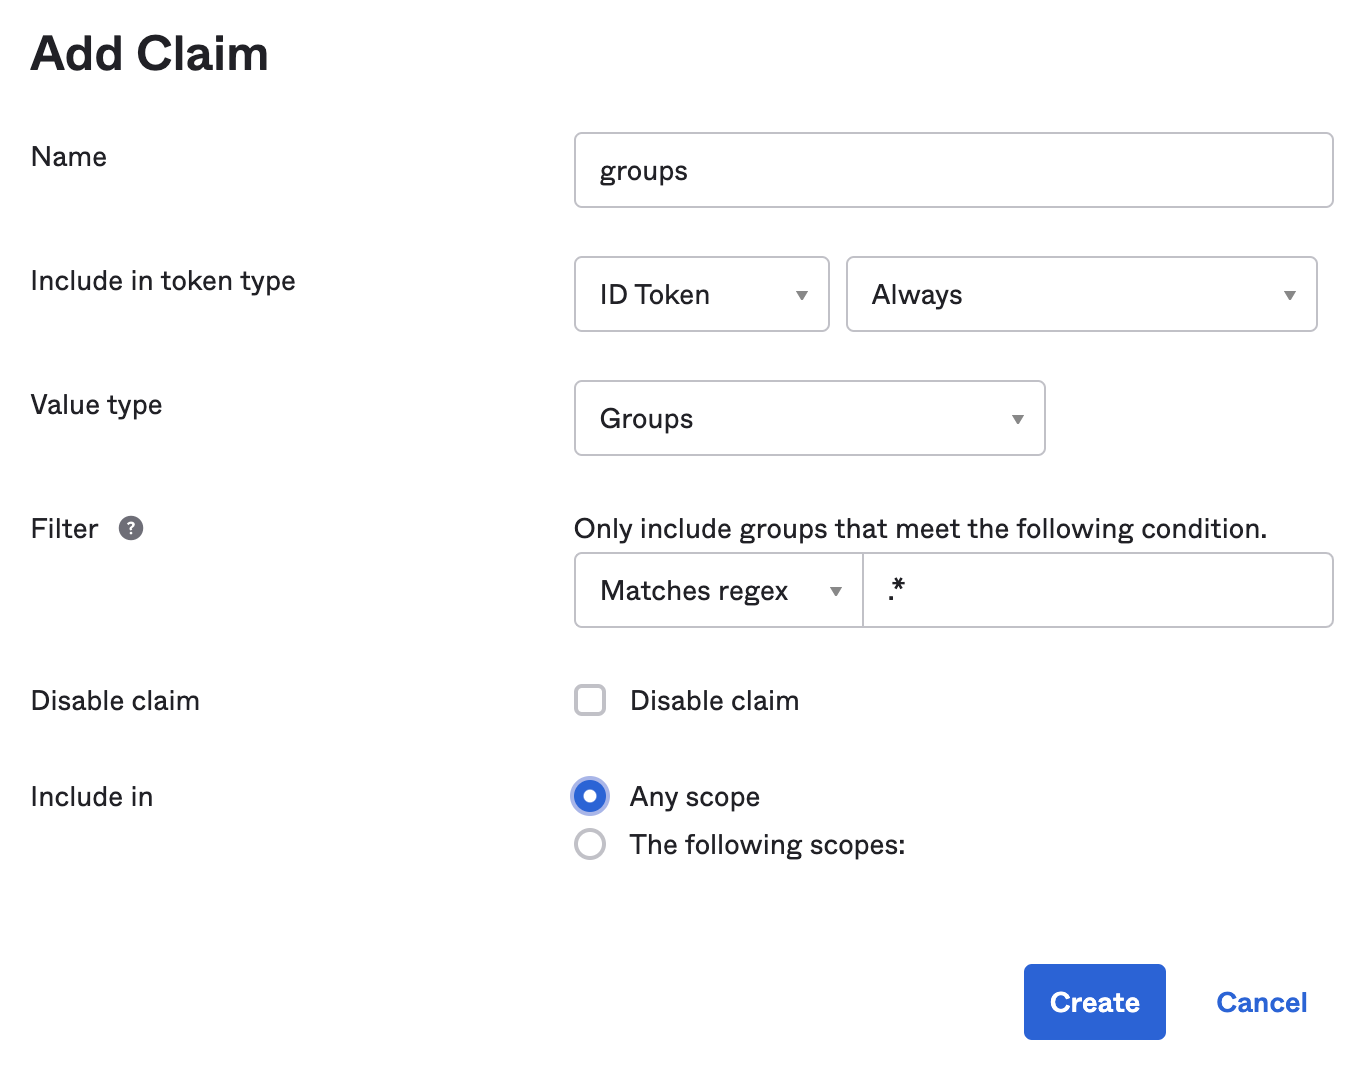
Click Create.
The Okta configuration for JHipster is now complete!
Configure Quarkus OIDC for Okta
At this point, you have a JHipster Quarkus Application running and configured to use Keycloak as its identity provider.
Let’s change it to use Okta.
First, you need to log out from the JHipster web application to prevent cookie collisions. Go to Account > Sign Out.
NOTE: You can leave the application running. Quarkus provides what they call a Dev Mode which hot reloads any source or resource file whenever they are updated. It’s super slick!
Edit src/main/resources/application.properties and find the following OIDC configuration section.
# OAuth 2.0 and OIDC
quarkus.oidc.enabled=true
quarkus.oidc.auth-server-url=http://localhost:9080/auth/realms/jhipster/
%dev.quarkus.oidc.client-id=web_app
%dev.quarkus.oidc.credentials.secret=web_app
quarkus.oidc.application-type=hybrid
quarkus.oidc.authentication.scopes=profile,address,email,address,phone,offline_access
quarkus.oidc.authentication.cookie-path=/
quarkus.oidc.authentication.redirect-path=/login/oauth2/code/oidc
quarkus.oidc.authentication.restore-path-after-redirect=false

jhipster.oidc.logout-url=http://localhost:9080/auth/realms/jhipster/protocol/openid-connect/logout

%test.quarkus.oidc.client-id=dummy
%test.quarkus.oidc.application-type=service
%test.jhipster.oidc.logout-url=some-dummy-logoutUrl
The above values are for Keycloak. You need to update the following properties to integrate your application with Okta.
quarkus.oidc.auth-server-url: The Okta’s API root URL derived from the OIDC application domain.quarkus.oidc.client-id: The OIDC application’s client ID.quarkus.oidc.credentials.secret: The OIDC application’s client secret.jhipster.oidc.logout-url: In JHipster, the browser will initiate the logout. The backend needs to expose this information (for now, it can’t be retrieved using OIDC discovery).
After you update this file, your properties should look similar to the following:
# OAuth 2.0 and OIDC
quarkus.oidc.enabled=true
quarkus.oidc.auth-server-url=https://dev-9323263.okta.com/oauth2/default
quarkus.oidc.client-id=0oaajhdr9q9jxbBM95d6
quarkus.oidc.credentials.secret=NEVERSHOWSECRETS
quarkus.oidc.application-type=hybrid
quarkus.oidc.authentication.scopes=profile,address,email,address,phone
quarkus.oidc.authentication.cookie-path=/
quarkus.oidc.authentication.redirect-path=/login/oauth2/code/oidc
quarkus.oidc.authentication.restore-path-after-redirect=false

jhipster.oidc.logout-url=https://dev-9323263.okta.com/oauth2/default/v1/logout
Restart your application go to http://localhost:8080. Click on sign in, and you’ll be redirected to an Okta login page.
Enter the admin username and the password you set. Okta detects it’s the first time you’ve logged in and asks you to update the password. Once done, you’ll be redirected to your Quarkus application.
Go Native with Quarkus and GraalVM
The final step of this tutorial is to package your Java application as a native executable. Once again, JHipster has your back, and everything is done for you.
Simply run Maven’s package command with the native profile:
./mvnw package -Pnative -DskipTests
You know, we know, everybody knows, we skipped the tests so this demo works flawlessly. Please do NOT skip the tests in a production context. 😅
If you’re not using a JDK with GraalVM included, you’ll get an error:
[error]: Build step io.quarkus.deployment.pkg.steps.NativeImageBuildStep#build threw an
 exception: java.lang.RuntimeException: Cannot find the `native-image` in the
 GRAALVM_HOME, JAVA_HOME and System PATH. Install it using `gu install native-image`
The easiest way to solve this is to use SDKMAN to install Java 11 with GraalVM.
sdk install java 21.0.0.2.r11-grl
Then, run gu install native-image:
$ gu install native-image
Downloading: Component catalog from www.graalvm.org
Processing Component: Native Image
Downloading: Component native-image: Native Image  from github.com
Installing new component: Native Image (org.graalvm.native-image, version 21.0.0.2)
Once this process completes, rerun the Maven package command.
./mvnw package -Pnative -DskipTests
The native compilation takes a long time. You might want to go for a walk, get a cup of coffee, or do some pushups.
If you’d rather stay at your computer, here are some other activities you might try:
- Check out the JHipster Quarkus Blueprint project
- Explore the Okta developer site
- Go through the excellent Quarkus guides
After roughly three minutes, the native executable should be ready:
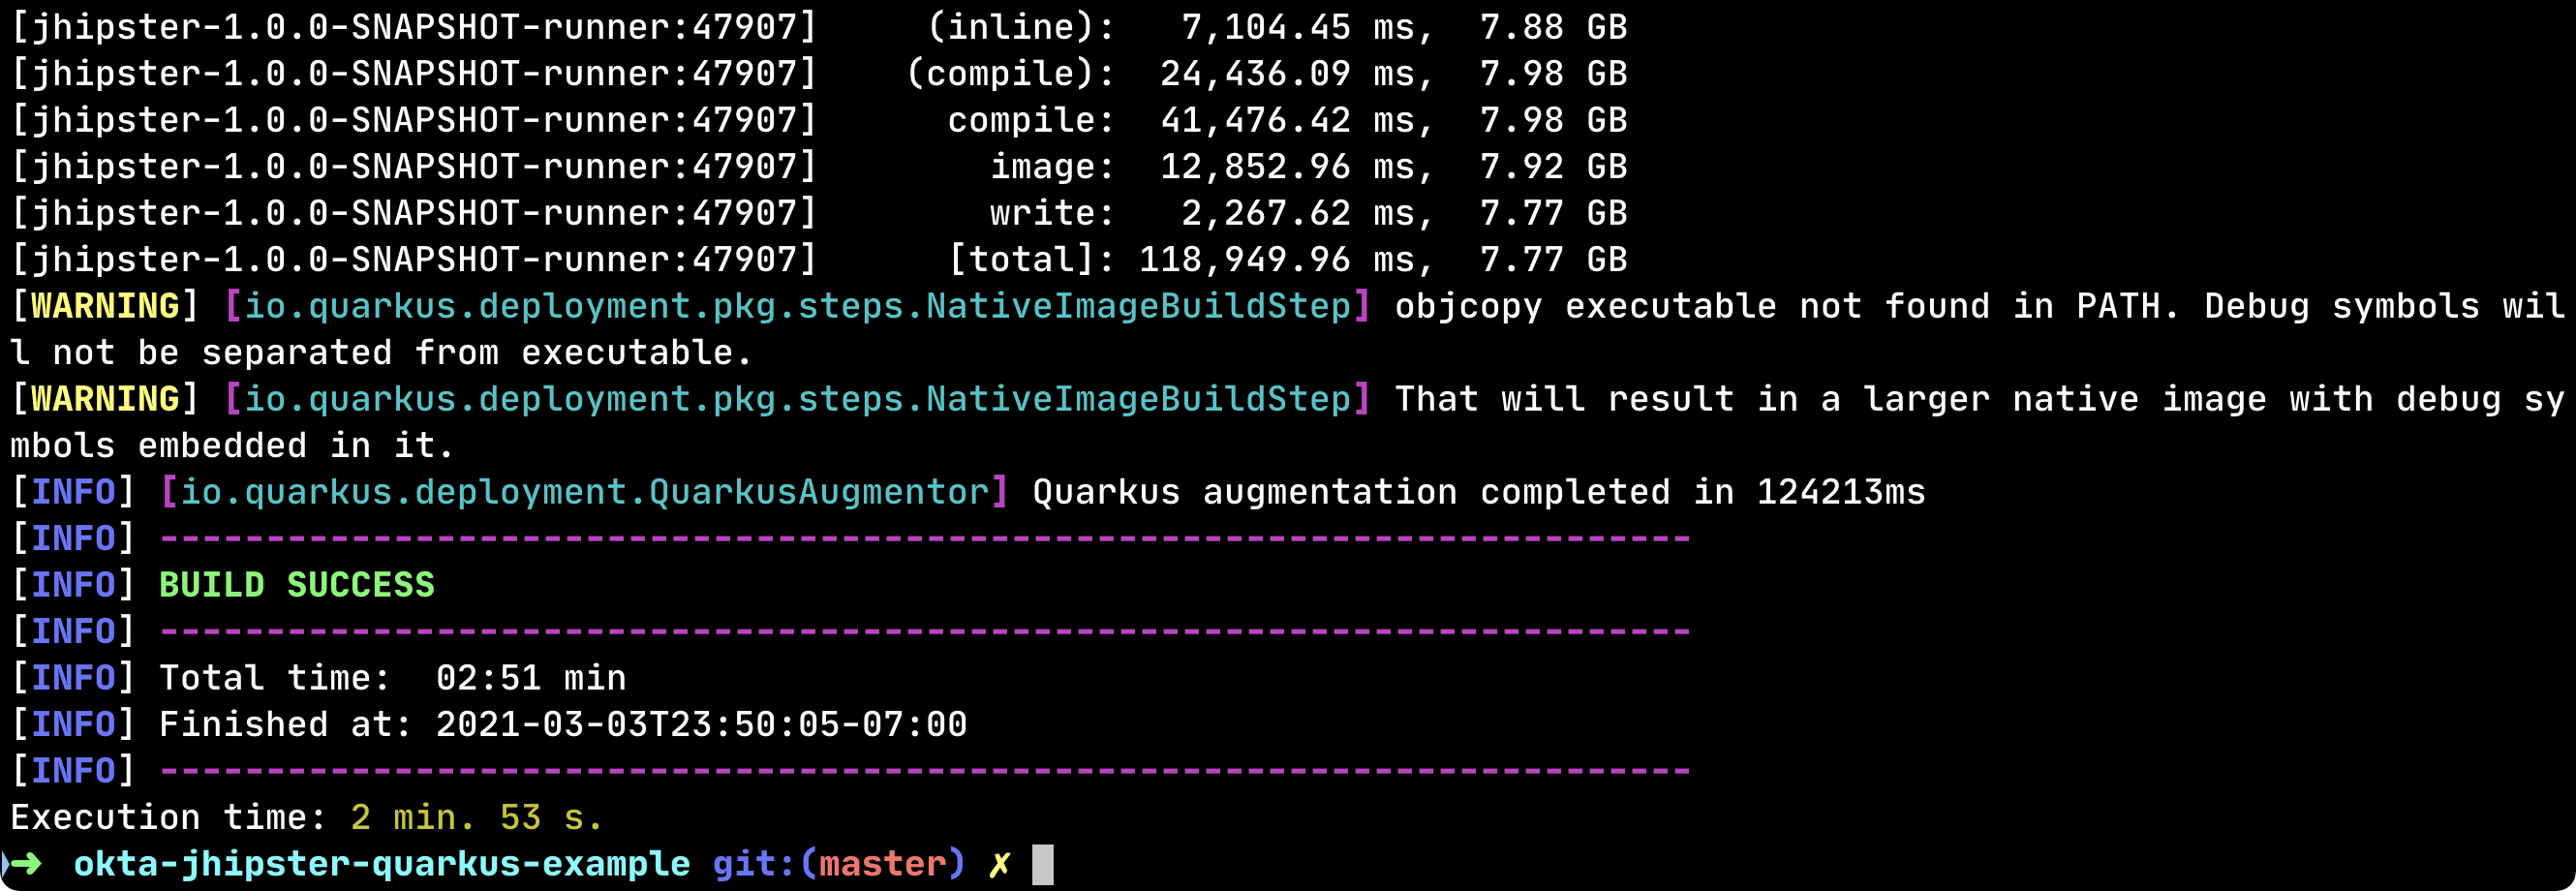
Start it as a native executable using target/*runner:
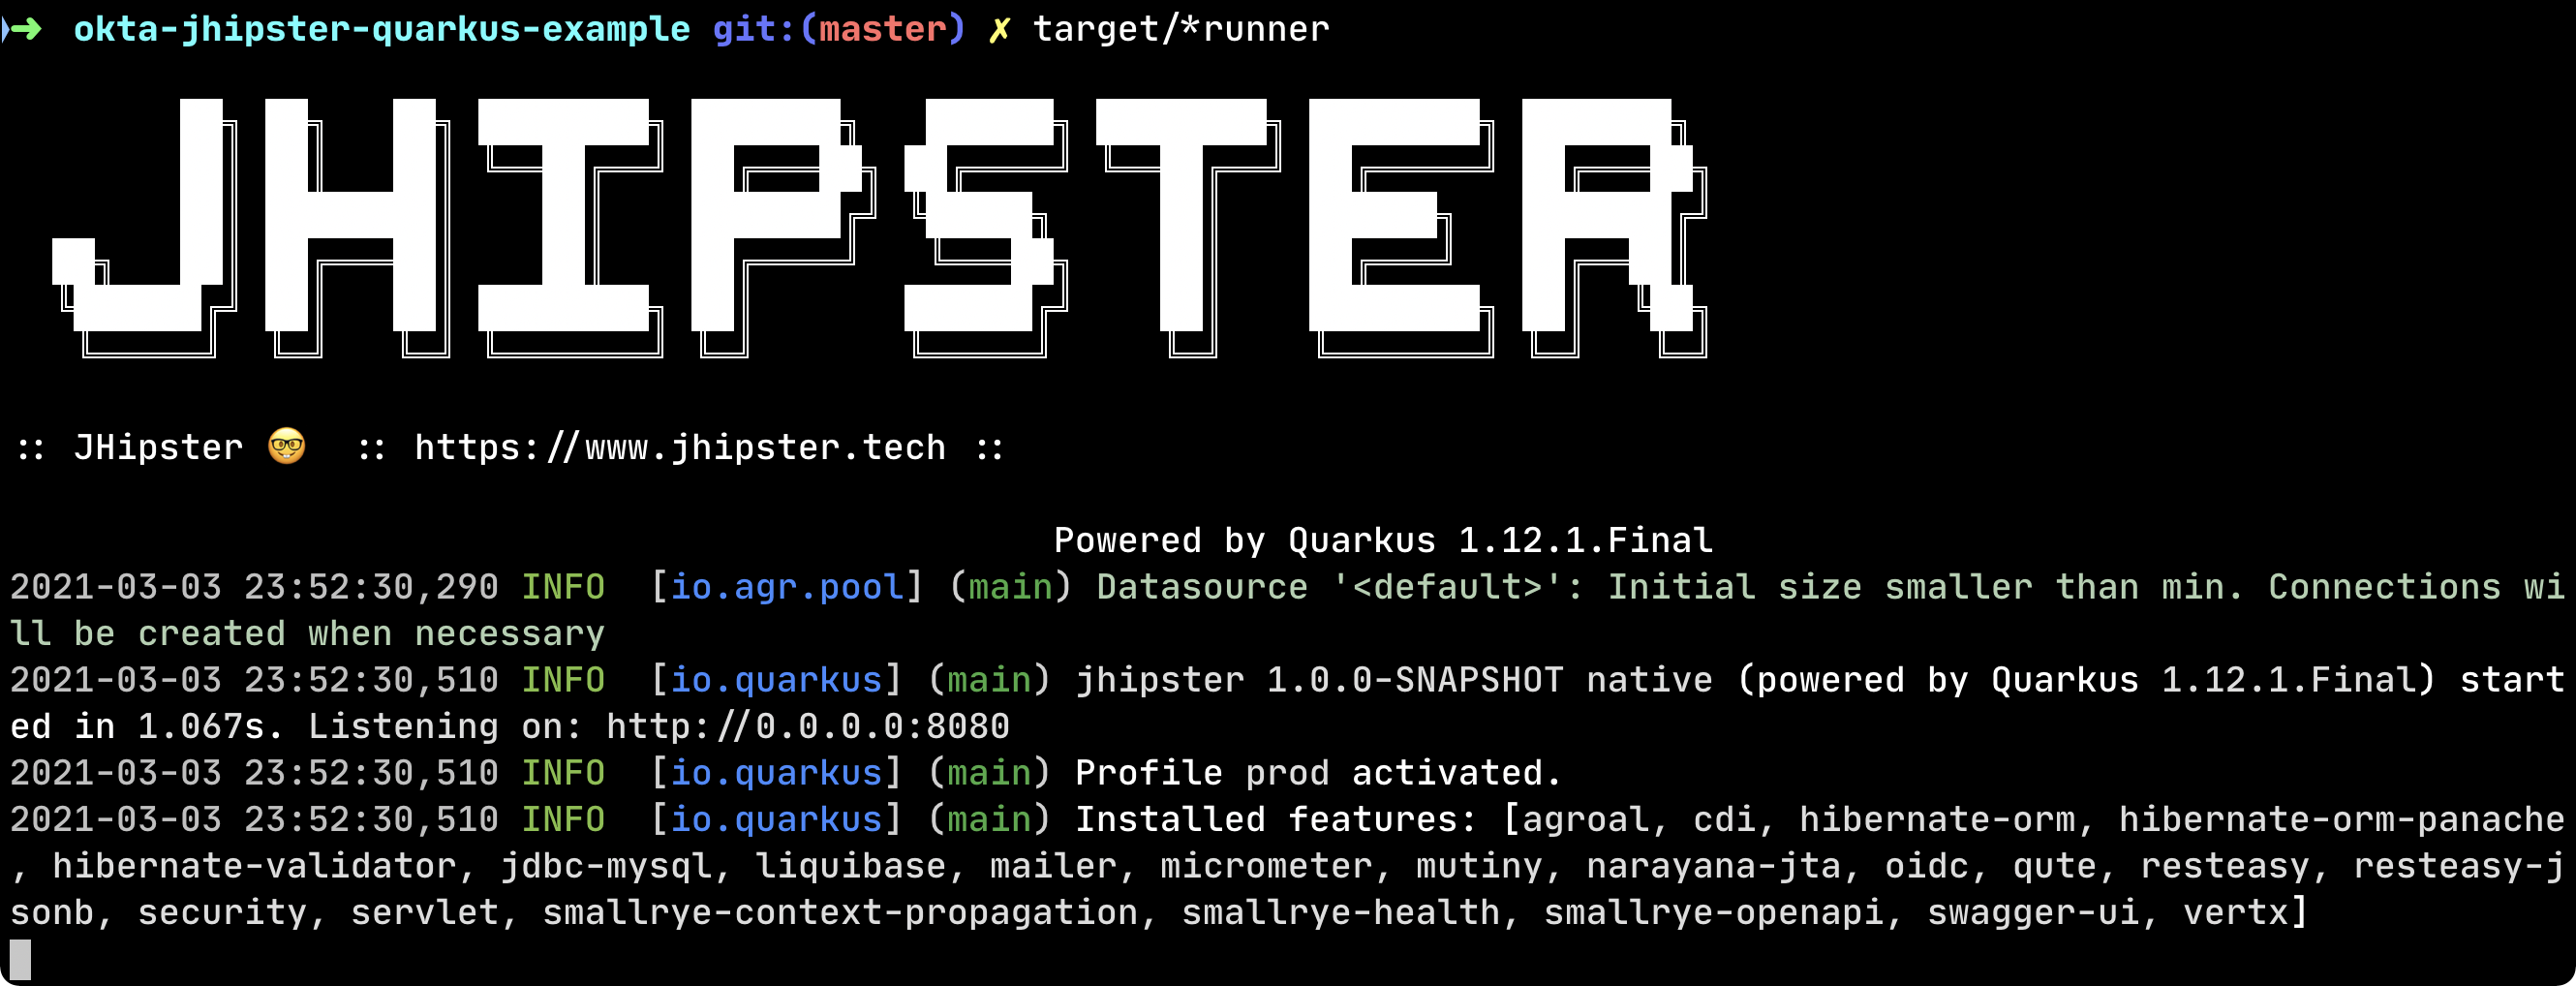
💥 Boom! Your good old-fashioned Java application starts in 1 second! 🚀
Remember, I talked about memory gains? Below is a command to get the memory consumption in megabytes.
$ ps -o pid,rss,command | grep --color jhipster | awk '{$2=int($2/1024)"M";}{ print;}'
30951 46M ./target/jhipster-1.0.0-SNAPSHOT-runner
31433 0M grep --color=auto --exclude-dir=.bzr --exclude-dir=CVS --exclude-dir=.git --exclude-dir=.hg --exclude-dir=.svn --color jhipster
Your application is consuming < 50MB of memory. 💃🏻
Go to http://localhost:8080 and make sure everything works. Then, enjoy your success!
Go Further with JHipster Quarkus
I hope you enjoyed this tutorial on creating a native app with Java, Quarkus, and JHipster. Isn’t it cool how JHipster and the Okta CLI do most of the heavy lifting for you?!
You can find the example created in this tutorial on GitHub.
If you’re interested in learning more about the Quarkus blueprint, see the generator-jhipster-quarkus project on GitHub.
I hope you liked this hip tutorial! Here are some related ones you might enjoy.
- How to Develop a Quarkus App with Java and OIDC Authentication
- Secure Kafka Streams with Quarkus and Java
- Reactive Java Microservices with Spring Boot and JHipster
- Java Microservices with Spring Cloud Config and JHipster
You can follow me on Twitter at @danielpetisme. You can follow the Okta developer relations team at @oktadev. They also have a YouTube channel you might enjoy.
Okta Developer Blog Comment Policy
We welcome relevant and respectful comments. Off-topic comments may be removed.