Use the Okta CLI to Quickly Build Secure Angular Apps
The Okta CLI is a new tool we’ve created here at Okta. It’s designed to streamline creating new Okta accounts, registering apps, and getting started. Wwwhhaaattt, you might say?! That’s right, it’s super awesome!
To show you how easy it is, I created a screencast that shows you how to use it with Angular.
To create the same app as the one shown in this video, you’ll need to run okta start angular --branch widget.
|
For those that would rather read than watch—this is for you.
Install the Okta CLI
You can find the website for the Okta CLI at cli.okta.com. This site has instructions on how to use common package managers on macOS, Windows, and Linux. You can also use cURL:
curl https://raw.githubusercontent.com/okta/okta-cli/master/cli/src/main/scripts/install.sh | bashOnce you have the Okta CLI installed, you’ll need Node.js installed to build your Angular app. I used v14.15.0 in this screencast.
Create an Angular App
To create a secure Angular app with Okta, run okta start angular. You’ll need to verify your email and set a password as part of this.
If you already have an Okta account, you can run okta login first.
|
This command will download our Okta Angular sample, register your app on Okta, and configure it by creating a .okta.env file with your issuer and client ID.
Follow the instructions that are printed out for you. To summarize:
cd angular
npm install
npm start
Next, open your browser to http://localhost:4200 in an incognito window. You will see a screen like the following:
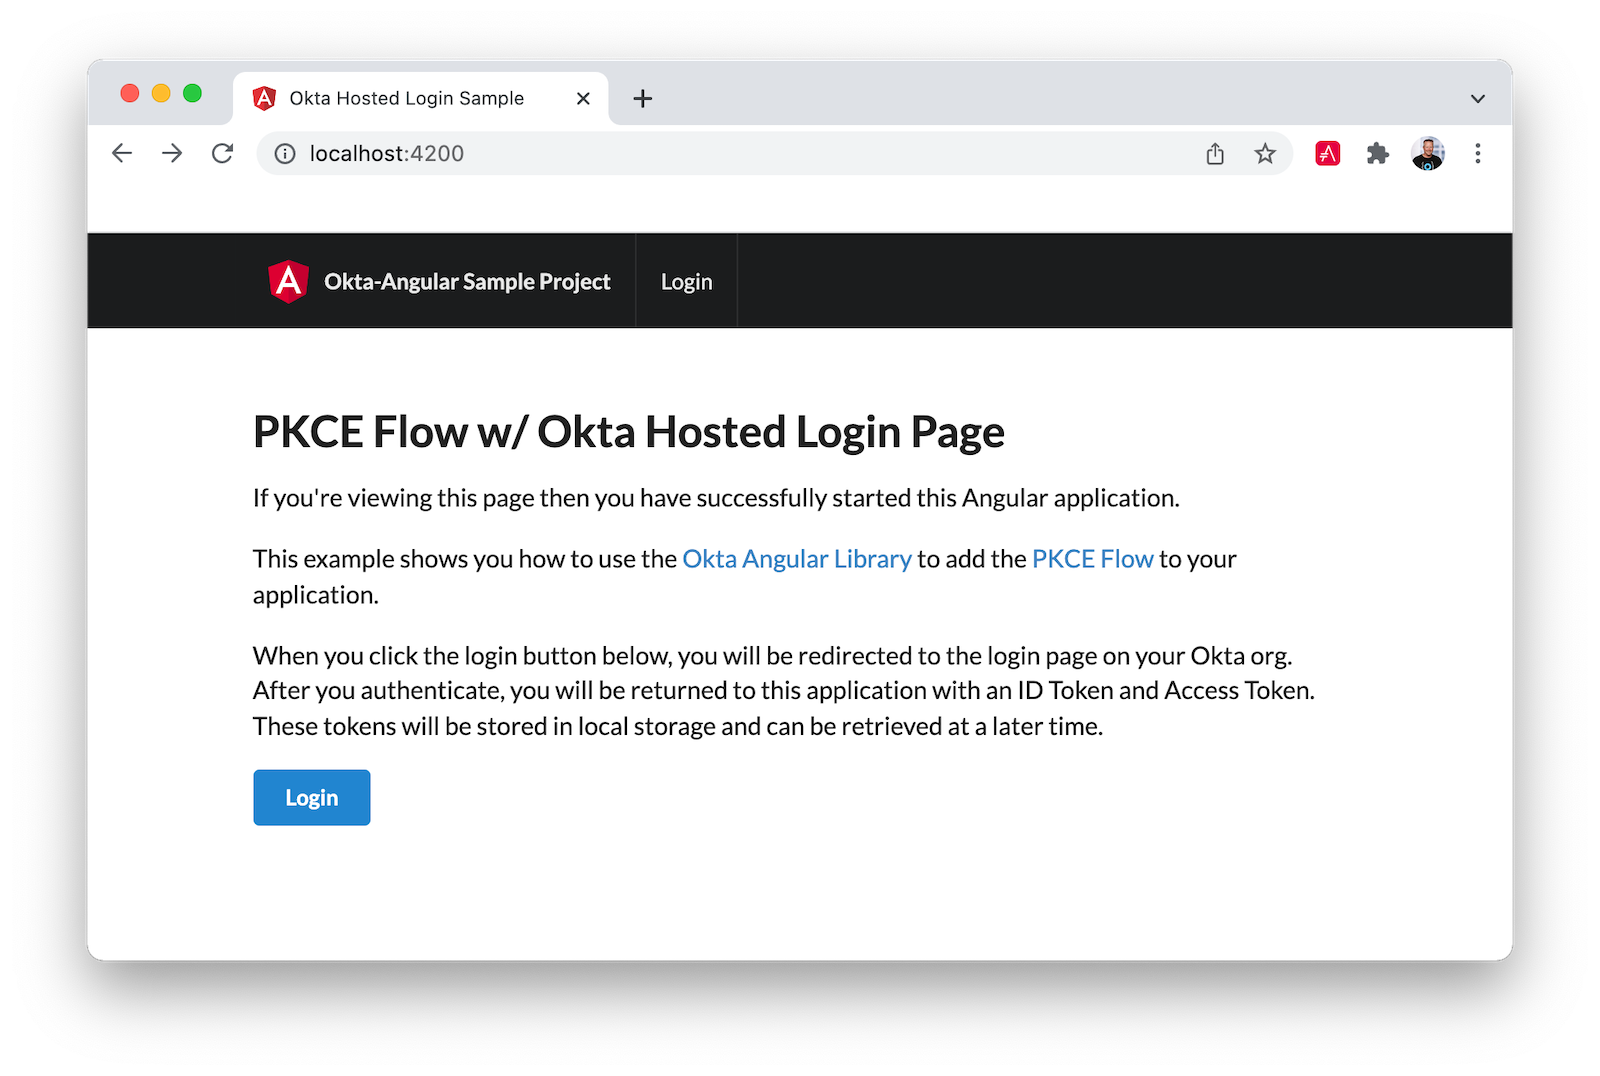
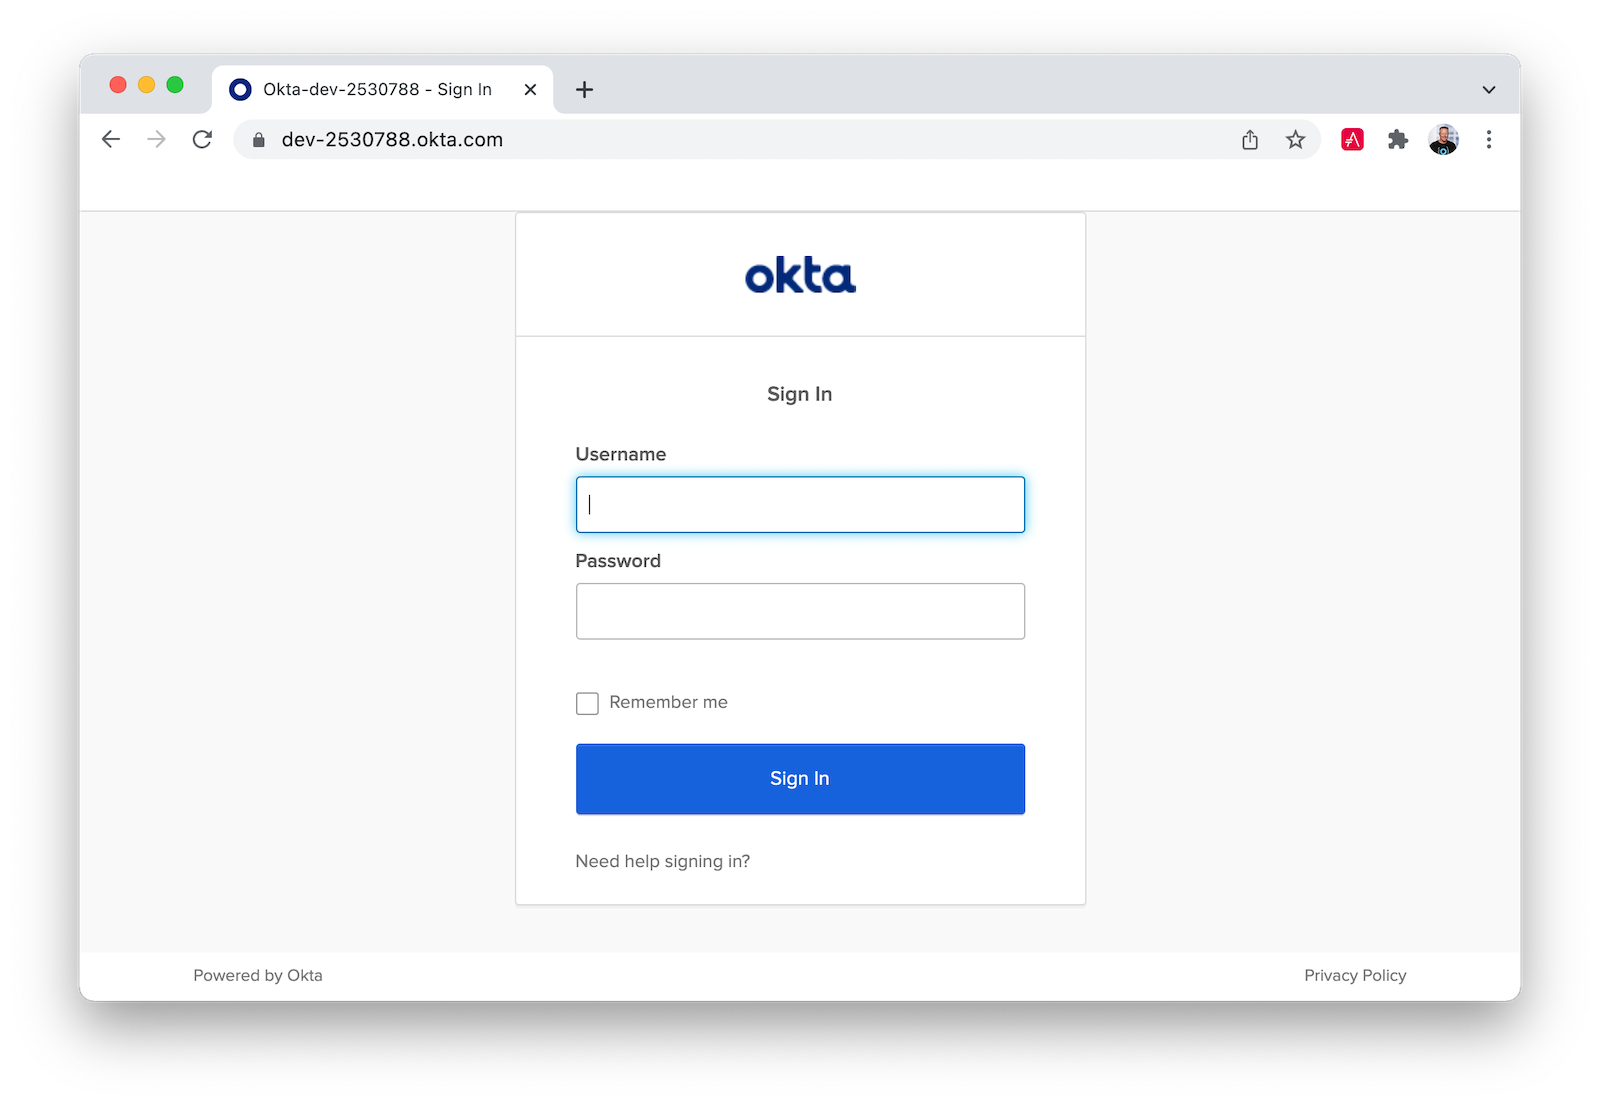
Click Login and authenticate with your credentials.
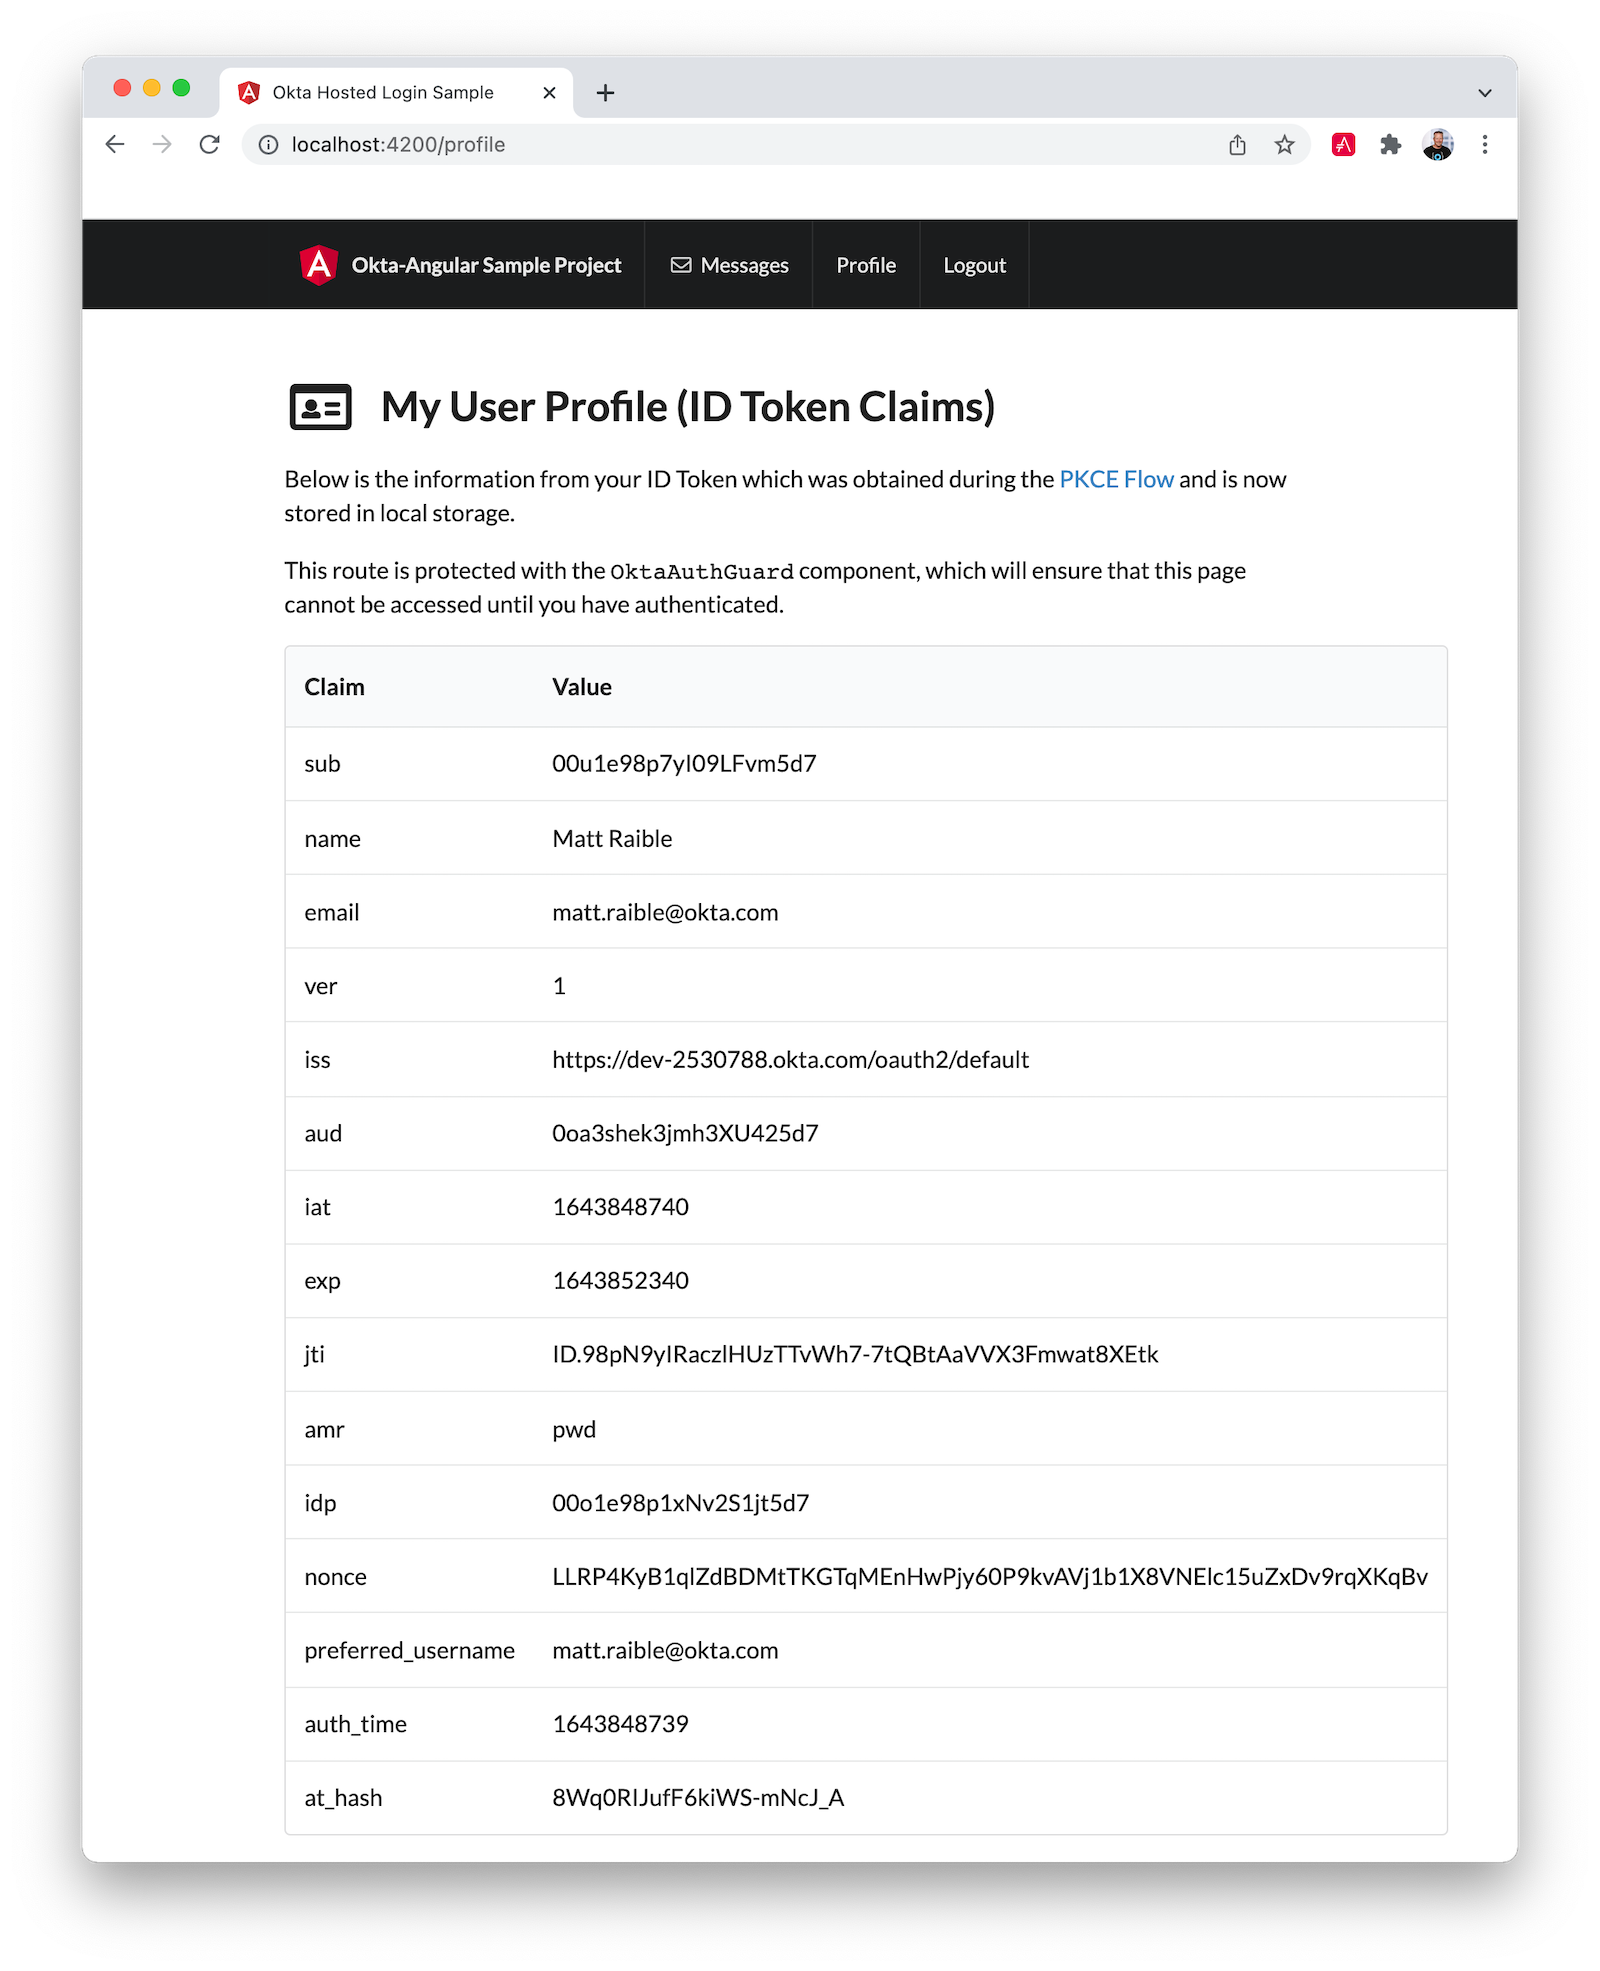
Upon successful sign-in, you’ll be returned to your app. Click on Profile to see your data that’s retrieved from your ID token.
export class ProfileComponent implements OnInit {
  claims!: { name: string; value: unknown }[];

  constructor(@Inject(OKTA_AUTH) public oktaAuth: OktaAuth) {
  }

  async ngOnInit() {
    const idToken = await this.oktaAuth.tokenManager.get('idToken');
    this.claims = Object.entries(idToken.claims).map(entry => ({ name: entry[0], value: entry[1] }));
  }

}
Learn More about Angular and Okta
I hope you’ve enjoyed this brief intro to the Okta CLI. It’s a tool that makes developers' lives easier. If you have any suggestions for improvement, please add an issue to our okta/okta-cli repository.
If you like Angular and Okta, you might like these posts:
Changelog:
- Feb 2, 2020:
Added note about
okta start angularchanging its default from using the Sign-In Widget to using the more secure redirect authentication. See okta-blog#1066 for changes to this post.
Matt Raible is a well-known figure in the Java community and has been building web applications for most of his adult life. For over 20 years, he has helped developers learn and adopt open source frameworks and use them effectively. He's a web developer, Java Champion, and Developer Advocate at Okta. Matt has been a speaker at many conferences worldwide, including Devnexus, Devoxx Belgium, Devoxx France, Jfokus, and JavaOne. He is the author of The Angular Mini-Book, The JHipster Mini-Book, Spring Live, and contributed to Pro JSP. He is a frequent contributor to open source and a member of the JHipster development team. You can find him online @mraible and raibledesigns.com.
Okta Developer Blog Comment Policy
We welcome relevant and respectful comments. Off-topic comments may be removed.