What's New in Laravel 8
With Laravel 8’s release in September 2020, the popular PHP framework continues to offer new features and improvements. After version 5, Laravel moved to semantic versioning and the more frequent releases have meant smaller changes between each one. That said, there are still several exciting updates in this version of the framework.
While Laravel will continue to offer security fixes for version 7 until early 2021, no more bug fixes will be released after October 2020, so you should upgrade to Laravel 8 as soon as possible. In this article, you’ll see all the new features and changes released in Laravel 8. After going through the new features, I’ll show you how to add authentication to your Laravel 8 application using Okta.
Note: In May 2025, the Okta Integrator Free Plan replaced Okta Developer Edition Accounts, and the Okta CLI was deprecated.
We preserved this post for reference, but the instructions no longer work exactly as written. Replace the Okta CLI commands by manually configuring Okta following the instructions in our Developer Documentation.
Jetstream
The biggest new feature available in Laravel 8 is an application scaffolding tool called Jetstream. Long-time Laravel users are probably familiar with Laravel Spark, which adds authentication, billing, teams, and improved security options to Laravel for a small fee. Jetstream now offers almost all of Spark’s features (without the billing) for free.
While Jetstream won’t help you much if you’re upgrading an existing Laravel app, as you’ve probably already built the features you need, it will accelerate the process of building new applications. Developers who take advantage of Jetstream’s features won’t have to build user profiles, change password flows, API token generation, or team account creation from scratch. You can also integrate Jetstream into third-party authentication providers like Okta using its various authentication hooks.
That said, Jetstream isn’t going to be right for everyone. It’s opinionated so, while it gives you two options for scaffolding your frontend code (Livewire or Inertia.js), you won’t get much out of it if you’re already committed to another popular frontend framework like React or Angular. Jetstream also relies on Tailwind UI, so users of Bootstrap or other styling libraries will have a lot of work to customize all the CSS elements.
Depending on your application workflow and priorities, Jetstream could save you a ton of time. You can also publish the package’s files and edit them, so it’s possible to customize everything it does to suit your needs.
Migration Schema Dumps
If you’ve worked on a Laravel application for a long time, you might have dozens or hundreds of database migration files in your project. Typically, you’ll only run the newest ones each time but, when a new developer joins your team or you want to refresh your database tables, you’ll have to run all those migrations in sequence again.
Laravel 8’s new schema:dump command fixes this problem. After you run the Artisan command, your existing migrations will be “squashed” and saved to a single SQL file. You can opt to set the --prune flag, which will also remove the original migration files from your project. Next time you run all your migrations, Laravel will just run the SQL file, followed by any newer migrations you’ve added since the squash.
To see the schema dump in action, create a new Laravel 8 project and connect a MySQL or Postgres database. Laravel comes with a few default migrations, so once you configure your database, you can run the following:
php artisan schema:dump --prune
You’ll see that Laravel has deleted your migrations in the ./database/migrations directory and created a single SQL file in the ./database/schema directory. Now, you can run all your migrations again, and Laravel will use the SQL file:
php artisan migrate:fresh
Note that Laravel 8’s migration schema dumps only work when using a SQL-based database like MySQL or PostgreSQL. NoSQL databases like MongoDB can’t use this feature, and it doesn’t work for SQLite yet either.
Class-based Factories
Laravel has removed model factory functions in favor of class-based model factories. This means that you can create an instance of a model for testing or seeding purposes using the new factory() method. For example, the following code will create five users and save them to your database:
User::factory()->count(5)->create();
Faker is always available to factory classes, so it’s really easy to generate nice-looking test data. If you need legacy support for factory functions, Laravel released a package that you can use to maintain the old method until you upgrade your code.
Rate Limiting Improvements
Before Laravel 8, the best way to add rate-limiting to your application was to use the throttle middleware. You could customize this middleware by extending it or creating your own class, but it wasn’t easy to do.
In version 8, Laravel added a new method to the RouteServiceProvider called configureRateLimiting(). Here you can use Laravel’s new RateLimiter facade to implement custom logic around rate limiting. For example, you could allow admins to make unlimited API requests while other users are limited to 60 requests per minute:
...
    protected function configureRateLimiting()
    {
        RateLimiter::for('api', function (Request $request) {
            return $request->user()->isAdmin() ?
                Limit::none() :
                Limit::perMinute(60);
        });
    }
...
Complex logic around rate limits can be compelling for API-based Laravel applications.
Improved Maintenance Mode Options
Developers typically put their Laravel apps into maintenance mode while running tasks like upgrading Composer packages or database migrations. In previous versions of Laravel, developers could use their IP address to bypass maintenance mode, but in Laravel 8, this method has been replaced with URL-based tokens.
For example, put your application into maintenance mode using the following command:
php artisan down --secret="12345"
Users won’t be able to access the application unless they navigate to <YOUR_APP_URL>/12345. If they do this, they can bypass maintenance mode and see the application. This allows you to share a link with other developers or stakeholders who might need to bypass maintenance mode.
Another problem with maintenance mode in previous versions of Laravel was that it depended on Laravel being in a working state. In other words, if your composer install command broke your Laravel installation, the maintenance page would be broken too.
To get around this, Laravel 8 added an option to prerender a specific view that users will see while your app is in maintenance mode. For example, if you want to show the default Laravel 503 error page during maintenance mode, you can run the following:
php artisan down --render="errors::503"
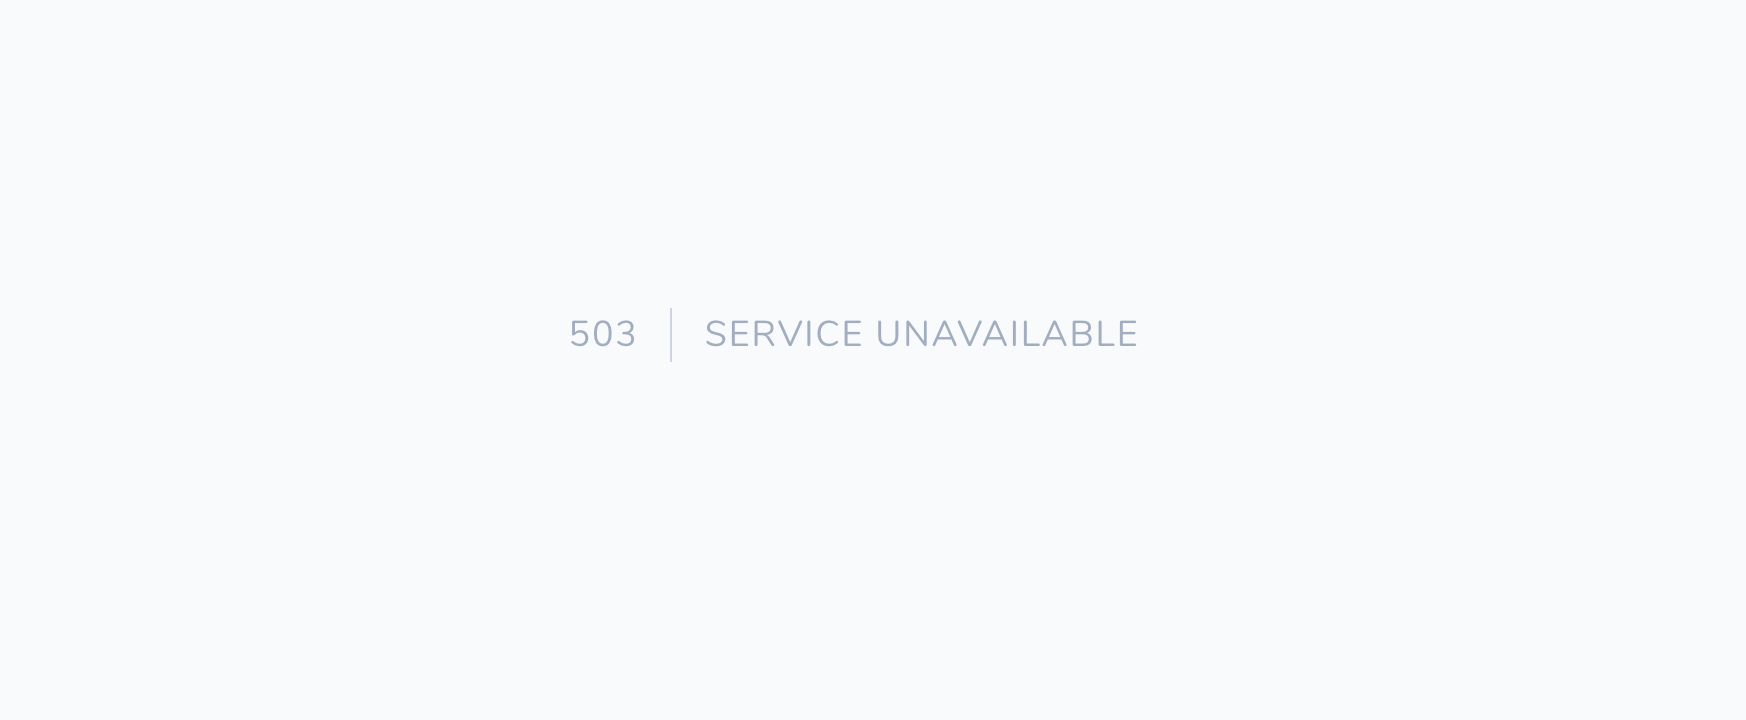
This feature ensures that maintenance mode is more robust. While you don’t want to spend too much time in maintenance mode, you want it to work.
Time Traveling Tests
Testing time-based code is always tricky. Applications that rely on time differences relative to now() will have difficulty testing their logic. Fortunately, Laravel 8 includes a new time manipulation feature that allows you to change the application’s perceived time during testing.
For example, you might have a method on your User model that returns true when a user’s account is more than 90 days old:
...
    public function isExperienced()
    {
        return $this->created_at < Carbon::now()->subDays(90);
    }
...
To test this, you can write a test that uses the travel() method:
...
    public function testUserIsExperienced()
    {
        $user = User::inRandomOrder()->first();

        $this->travel(91)->days();
        $this->assertTrue($user->isExperienced());

        $this->travelBack();
        $this->assertFalse($user->isExperienced());
    }
...
This feature dramatically improves your ability to test time-based code and catch edge cases.
Other Improvements
In addition to the significant new features outlined above, Laravel 8 also includes many relatively small improvements you can read more about in the version 8 release notes. For example:
- Laravel now puts models into a new directory (called
Models) by default. - Tailwind is being used for more of Laravel’s default styling, including pagination.
- You can now batch background jobs using the
Bus::batch()method. - The
php artisan servecommand now reloads your app whenever you update your.envfile. - Event listening closures can now be run in the background using the
queueable()function.
Adding Authentication to a Laravel 8 Application with Okta
If you’ve added authentication to your Laravel application in previous versions, you’ll notice some differences when using Laravel 8. The most significant change is that Laravel’s authentication UI code has been moved to a separate package, so you’ll need to either import this package or Jetsream in addition to the Socialite package.
In the remainder of this article, I’ll walk you through setting up a new Laravel 8 application using Socialite with Okta as your Authentication provider. By the end of this section, you’ll be able to log into your Laravel 8 application using Okta.
Prerequisites: Please ensure you have already installed PHP and Composer. This tutorial assumes you have already created a new Laravel PHP application and have signed up for a free Okta developer account.
Setting Up Your Okta Application
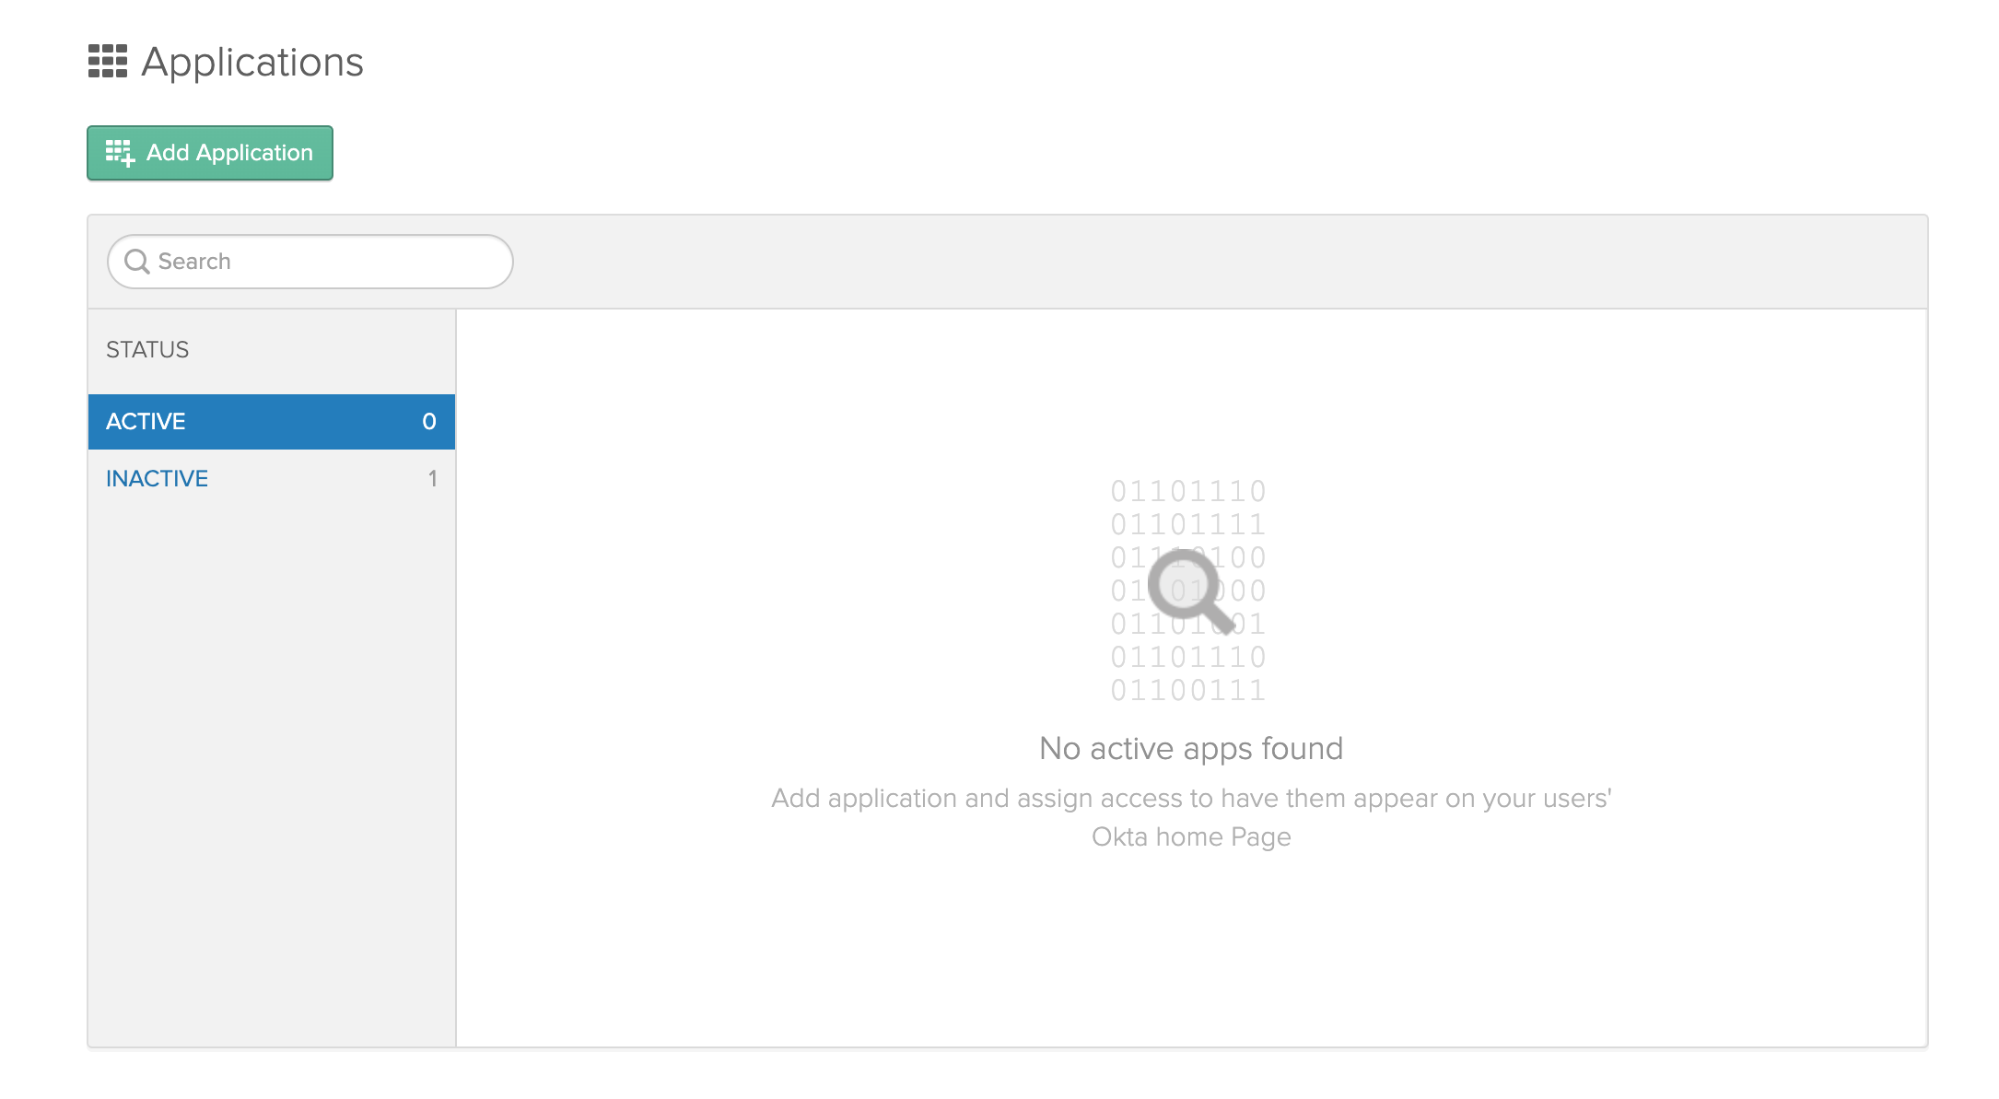
First, log into or create a new Okta account. From the Applications page, click “Add Application” to start the creation process.
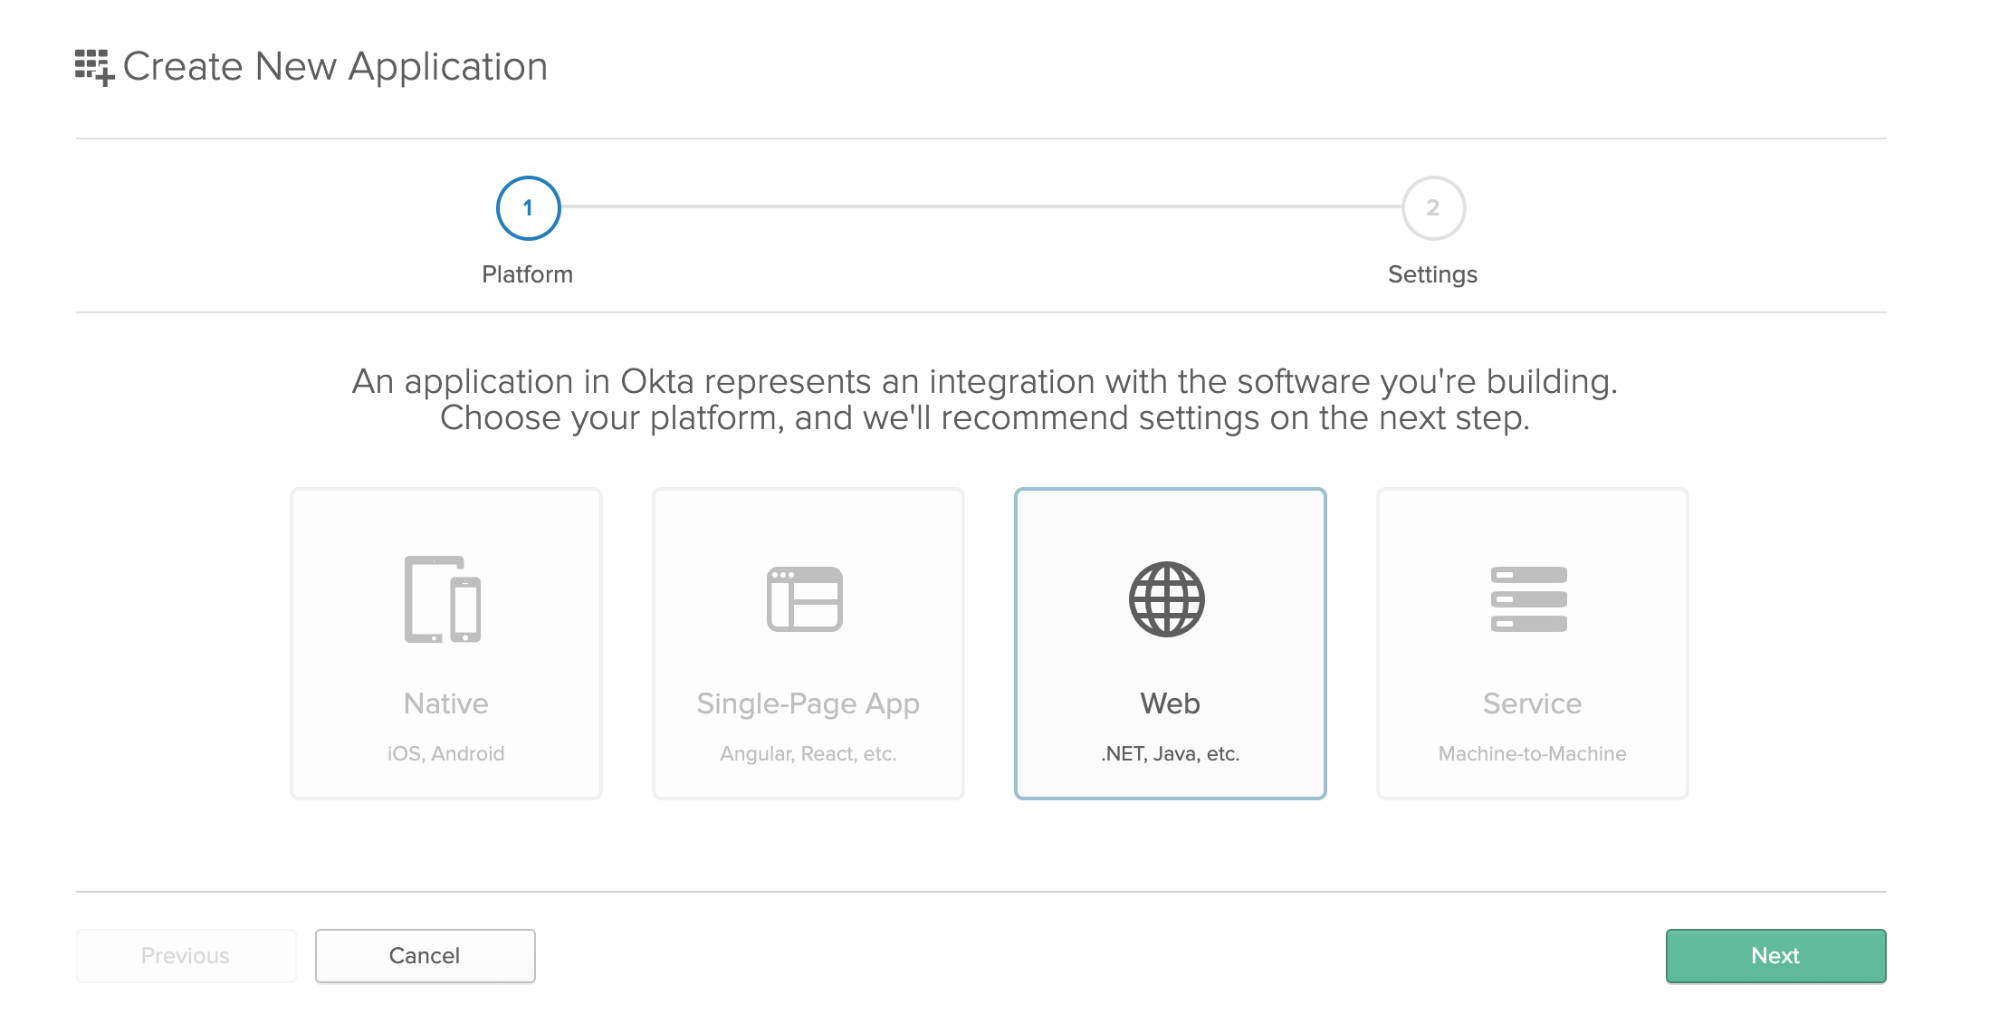
Select “Web Application” from the Platform menu.
Give your application a name, enter http://localhost:8000/ as the Base URI, http://localhost:8000/login/okta/callback as the Login redirect URI, and http://localhost:8000 as the Logout redirect URI. This will ensure that the Okta API recognizes and allows requests from your local Laravel application.
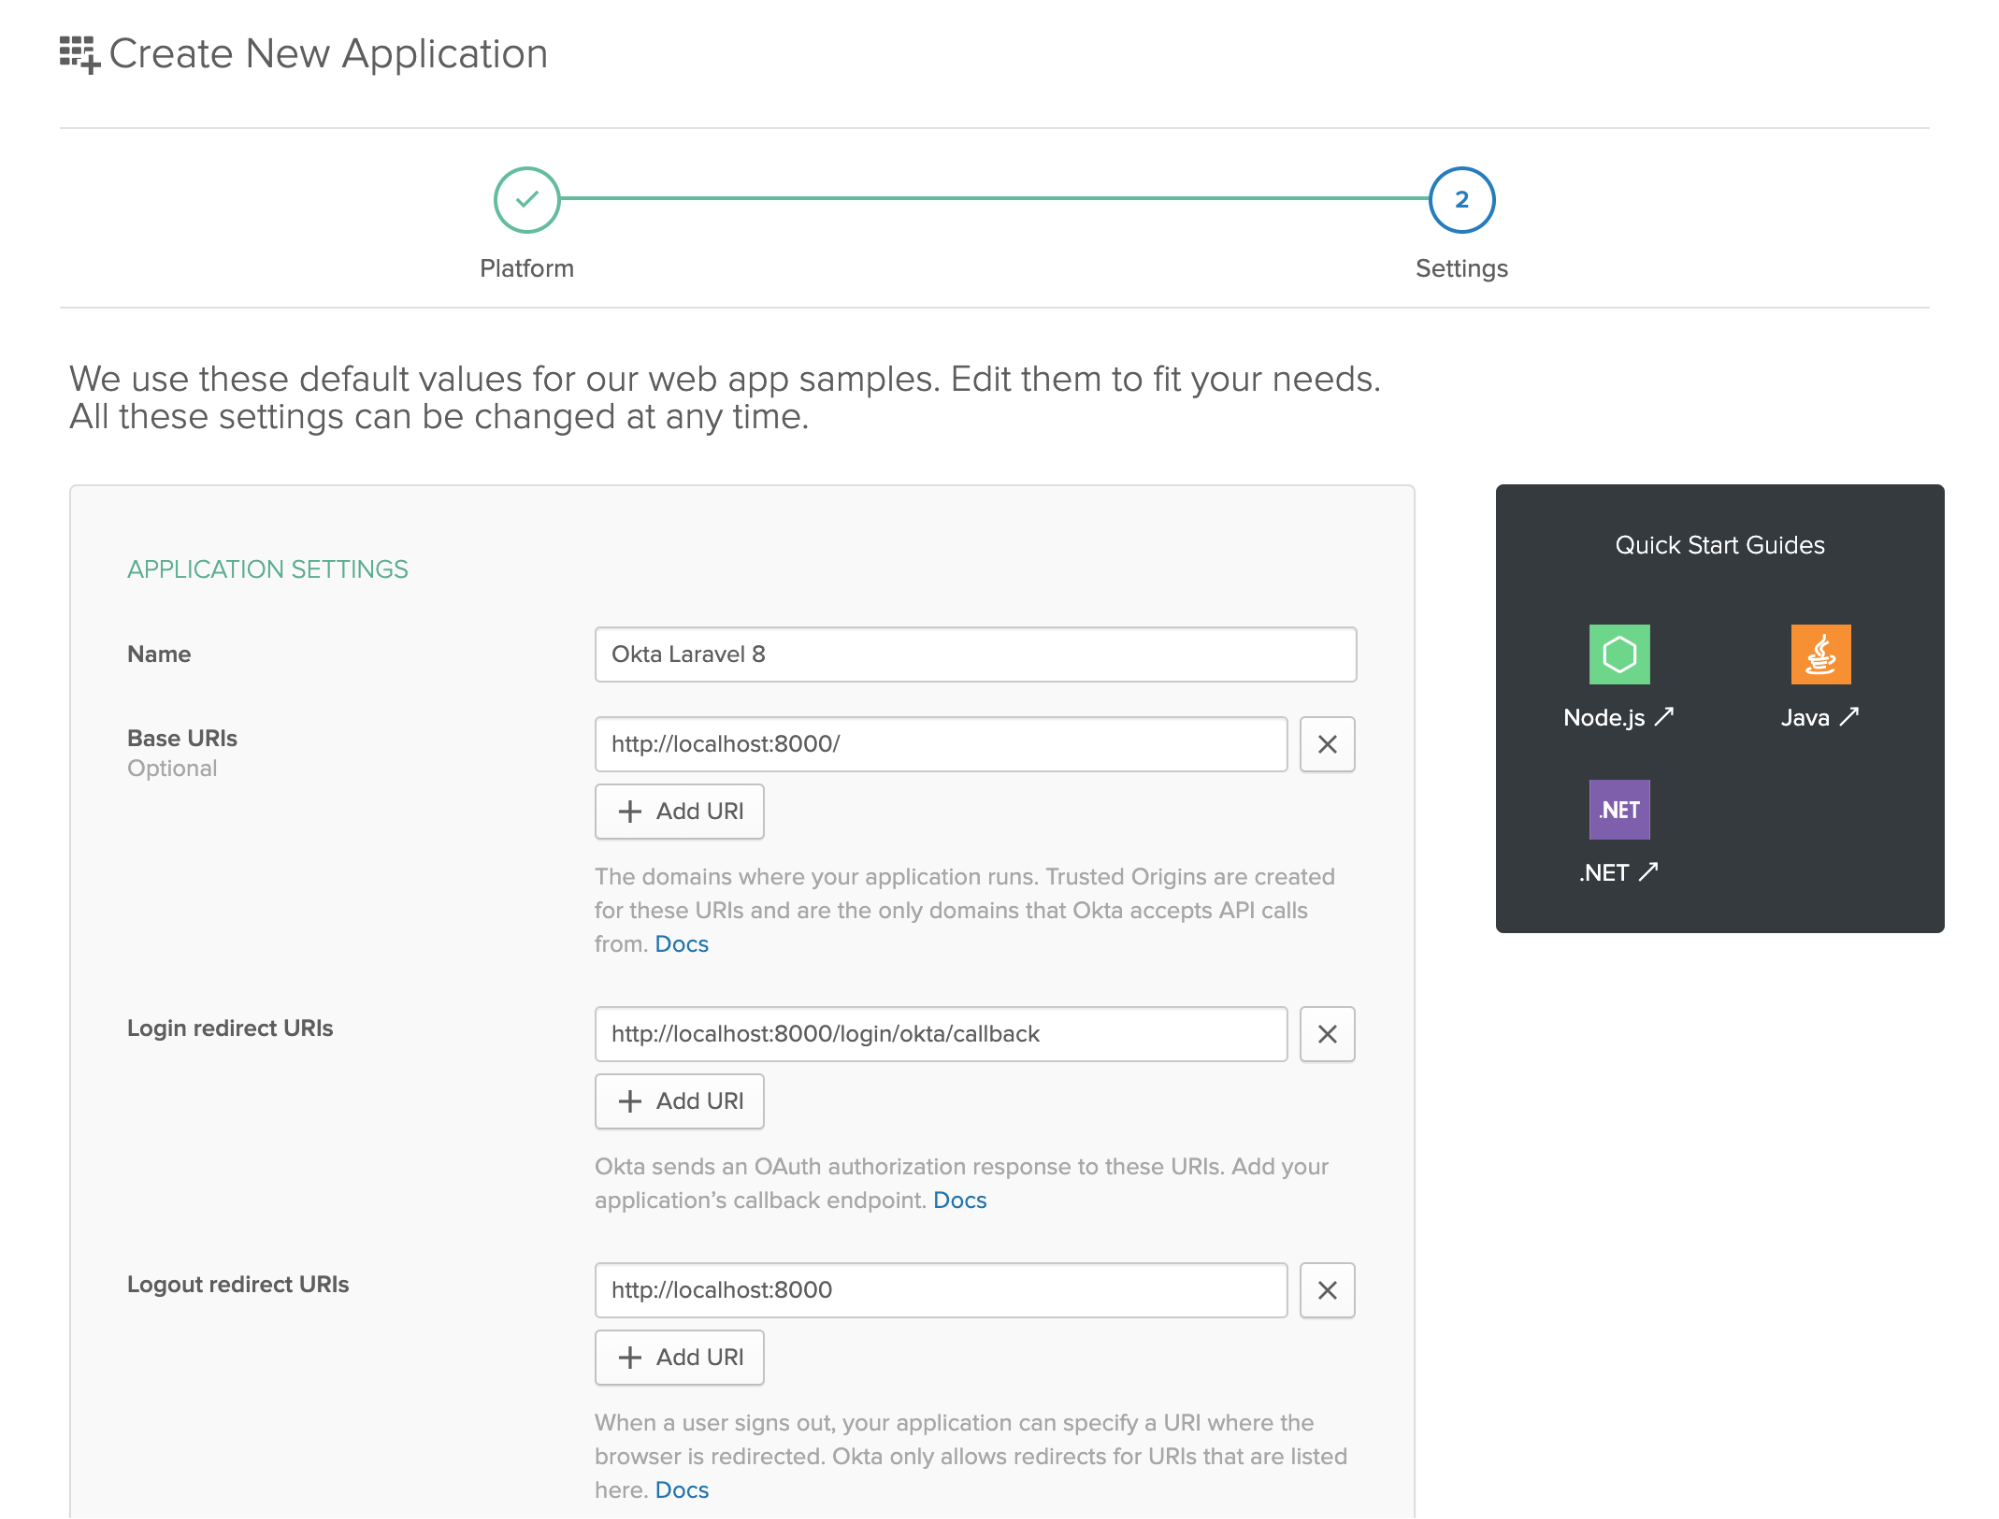
Click Done and copy the Client ID and Client secret shown on your app’s settings page. Finally, go to API > Authorization Servers in the Okta admin and copy the Issuer URI (without the /oauth2/default part). You will use this as your OKTA_BASE_URL in the next section.
You’re done setting up your Okta application. The rest of this tutorial assumes you have an existing Laravel application without authentication set up. If you don’t have a Laravel application yet, refer to the installation instructions here.
Configuring Okta in Laravel
Next, you need to install the Socialite package, Okta Socialite provider, and the Laravel UI package using composer:
composer require laravel/socialite socialiteproviders/okta laravel/ui
With the packages installed, you need to register them and your Okta credentials in your Laravel application. Add your Okta Client ID, Client Secret, Base URL, and Redirect URI to your Laravel application’s .env file:
OKTA_CLIENT_ID=**********
OKTA_CLIENT_SECRET=************
OKTA_BASE_URL=https://*****.okta.com
OKTA_REDIRECT_URI=http://localhost:8000/login/okta/callback
You’ll use these environment variables in your application’s configuration. Open up the config/services.php file and add a new array for Okta:
...
'okta' => [
    'client_id' => env('OKTA_CLIENT_ID'),
    'client_secret' => env('OKTA_CLIENT_SECRET'),
    'redirect' => env('OKTA_REDIRECT_URI'),
    'base_url' => env('OKTA_BASE_URL'),
],
...
You also need to register Socialite with Laravel. Add Socialite’s service provider to the $providers array in your config/app.php file:
...
$providers = [
    ...
    SocialiteProviders\Manager\ServiceProvider::class,
    ...
]
...
Finally, you need to make sure the Okta provider knows when Socialite is called to make the appropriate API calls. Open your app/Providers/EventServiceProvider.php file and add the following listener:
...
protected $listen = [
    ...
    \SocialiteProviders\Manager\SocialiteWasCalled::class => [
        'SocialiteProviders\\Okta\\OktaExtendSocialite@handle',
    ],
];
...
Your Okta application is now connected to Socialite and your Laravel application, but you need to update your user model and database migrations before you can test the login flow.
Update the User Model and Migrations
By default, Laravel creates a User model and database table with a password field and a database table for password resets. You won’t need these when you switch to Okta, so you can remove them if you’ve already created them. If not, you can simply remove the CreatePasswordResetsTable migration and update your CreateUsersTable:
<?php

use Illuminate\Support\Facades\Schema;
use Illuminate\Database\Schema\Blueprint;
use Illuminate\Database\Migrations\Migration;

class CreateUsersTable extends Migration
{
    /**
     * Run the migrations.
     *
     * @return void
     */
    public function up()
    {
        Schema::create('users', function (Blueprint $table) {
            $table->id();
            $table->string('name');
            $table->string('email')->unique();
            $table->text('token');
            $table->timestamps();
        });
    }

    /**
     * Reverse the migrations.
     *
     * @return void
     */
    public function down()
    {
        Schema::dropIfExists('users');
    }
}
Run the migrations from your command line using Artisan:
php artisan migrate
Next, update the User model to reflect these changes. Open app/Models/User.php and add update the $fillable property:
...
protected $fillable = ['email', 'name', 'token'];
...
This ensures that Laravel can write to the token column when a user signs in with Okta.
You can also remove the $hidden and $casts arrays as the password, remember_token, and email_verified_at fields are no longer used. Your User model and database table are now ready to connect to Okta for authentication. The next step is to update your routes and login controller.
Adding the Okta Authentication Routes
When you created your Okta application, you set a callback URL. After a user logs in, Okta will redirect them to this callback URL with a token, so your application needs to save that token and (if not already created) the user. You also need a route that directs users to Okta to login.
Open your routes/web.php file and add the following:
...
Route::get('/login/okta', 'App\Http\Controllers\Auth\LoginController@redirectToProvider')->name('login-okta');

Route::get('/login/okta/callback', 'App\Http\Controllers\Auth\LoginController@handleProviderCallback');
Now that the routes are set up, you need to update the LoginController to handle these new methods. Assuming this is a new Laravel application without authentication installed yet, you need to run the Artisan command to generate the authentication scaffolding. This will publish the authentication controllers and view files so you can edit them:
php artisan ui bootstrap --auth
Next, open the app/Http/Controllers/Auth/LoginController.php file and replace it with the following:
<?php

namespace App\Http\Controllers\Auth;

use App\Http\Controllers\Controller;
use App\Models\User;
use App\Providers\RouteServiceProvider;
use Illuminate\Foundation\Auth\AuthenticatesUsers;
use Illuminate\Http\Request;
use Illuminate\Support\Facades\Auth;
use Laravel\Socialite\Facades\Socialite;

class LoginController extends Controller
{
    use AuthenticatesUsers;

    /**
     * Where to redirect users after login.
     *
     * @var string
     */
    protected $redirectTo = RouteServiceProvider::HOME;

    /**
     * Create a new controller instance.
     *
     * @return void
     */
    public function __construct()
    {
        $this->middleware('guest')->except('logout');
    }

    /**
     * Redirect the user to the Okta authentication page.
     *
     * @return \Illuminate\Http\Response
     */
    public function redirectToProvider()
    {
        return Socialite::driver('okta')->redirect();
    }

    /**
     * Obtain the user information from Okta.
     *
     * @return \Illuminate\Http\Response
     */
    public function handleProviderCallback(Request $request)
    {
        $user = Socialite::driver('okta')->user();

        $localUser = User::where('email', $user->email)->first();

        // Create a local user with the email and token from Okta
        if (!$localUser) {
            $localUser = User::create([
                'email' => $user->email,
                'name' => $user->name,
                'token' => $user->token,
            ]);
        } else {
            // if the user already exists, just update the token:
            $localUser->token = $user->token;
            $localUser->save();
        }

        try {
            Auth::login($localUser);
        } catch (\Throwable $e) {
            return redirect('/login/okta');
        }

        return redirect('/home');
    }

}
The redirectToProvider() method sends users to Okta to enter their login credentials, and the handleProviderCallback() method saves the token returned by Okta to the user’s account. It can also create new users or log them in. Your Laravel application is almost ready to authenticate users, but the last step is to update the user interface login link.
Updating the User Interface
Before you can test your new authentication flow, update the login link to point to the new Okta route. Open your Laravel application’s resources/views/welcome.php file, and find the line containing @if (Route::has('login')).
Replace the entire @if block with the following:
...
@if (Route::has('login-okta'))
<div class="hidden fixed top-0 right-0 px-6 py-4 sm:block">
    @auth
        <a href="{{ url('/home') }}" class="text-sm text-gray-700 underline">Home</a>
    @else
        <a href="{{ route('login-okta') }}" class="text-sm text-gray-700 underline">Login</a>
    @endif
</div>
@endif
...
Install the frontend packages and run Laravel’s dev build command to create the necessary CSS files:
npm i && npm run dev
To test the entire authentication flow out, start the local development server:
php artisan serve
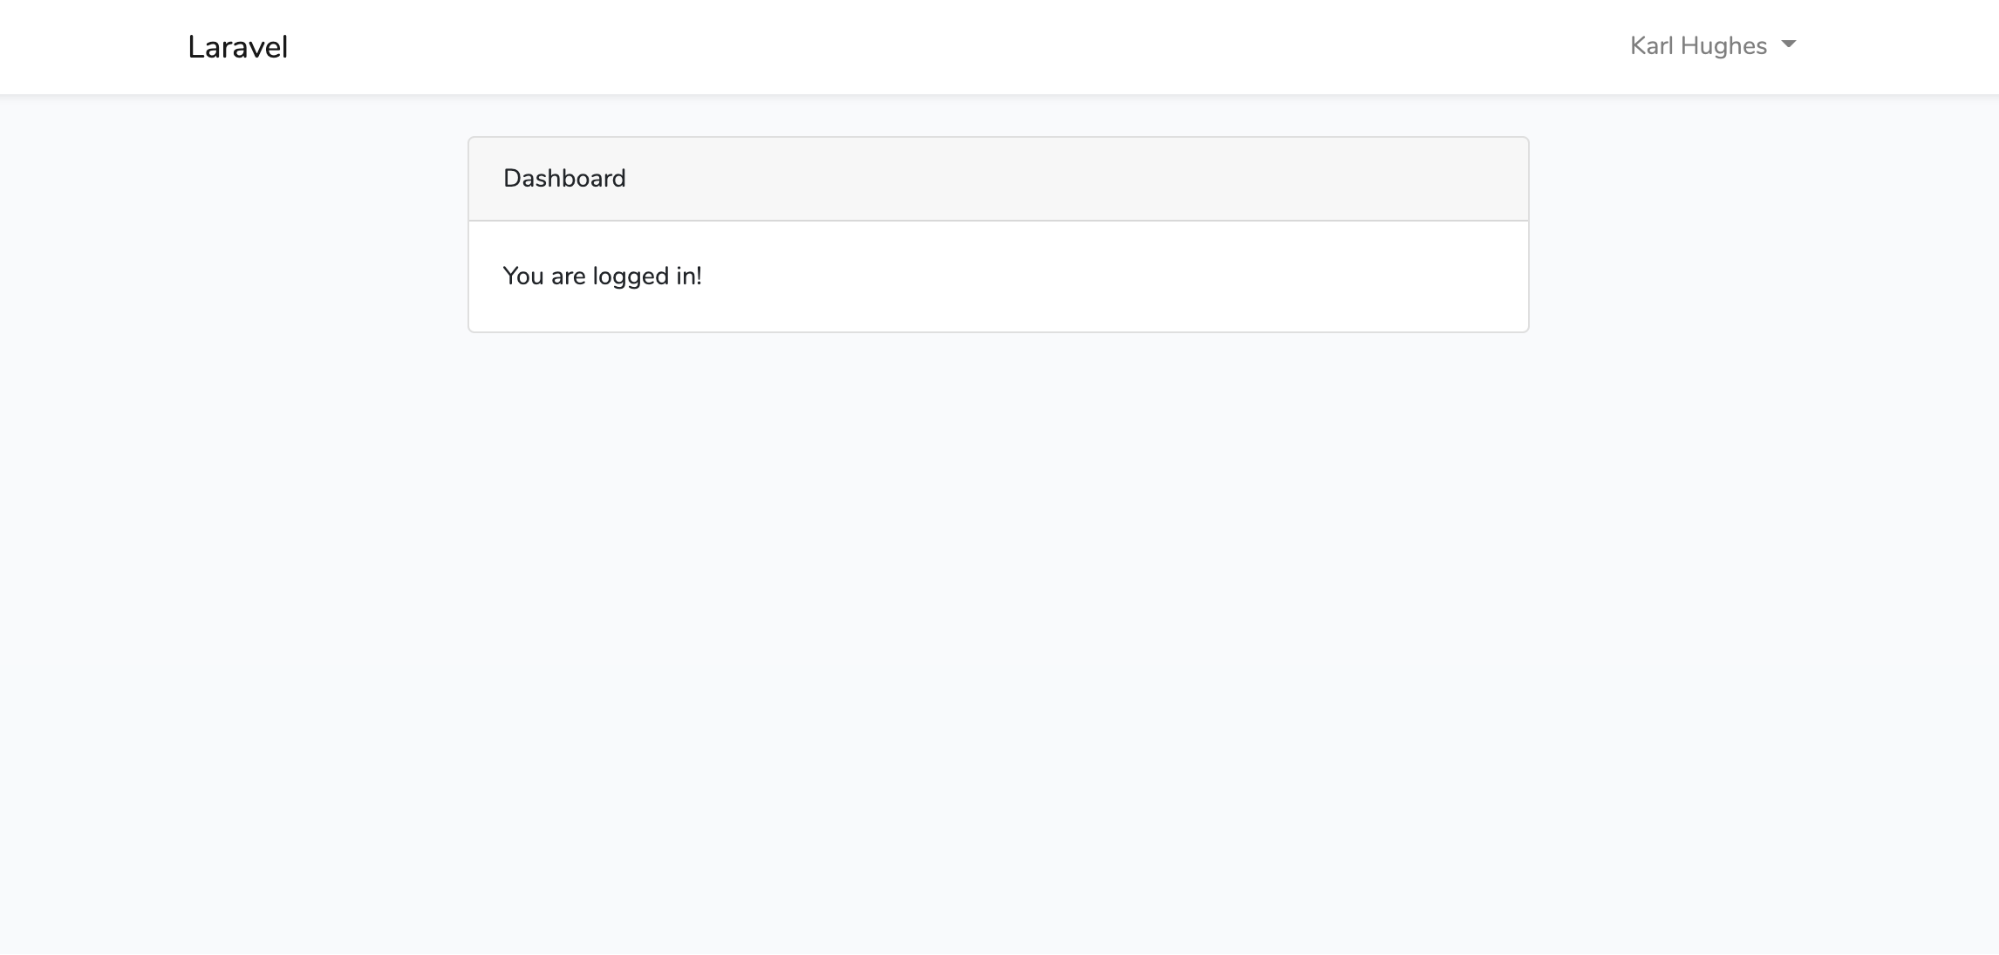
Visit http://localhost:8000/ in your browser. Click the “Login” link and enter your email and password. You should be taken to your dashboard.
The complete source code for this project is available on GitHub.
Learn More
In this post, you’ve seen all the major new features released in Laravel 8. Many of these new features will impact how you build Laravel apps in the future. While you probably won’t use them all immediately, it’s helpful to keep an eye on where the framework is progressing. Finally, setting up authentication in a new Laravel application has changed in the past two versions. You’ve also seen the most current way to add Okta as an authentication provider for your Laravel 8 applications.
If you’d like to learn more about integrating Okta with your Laravel and PHP applications, be sure to check out some of these resources:
- Build a Simple Laravel App with Authentication
- Protecting a PHP API Using OAuth
- Create and Verify JWTs in PHP with OAuth 2.0
If you like this blog post and want to see more like it, follow @oktadev on Twitter, subscribe to our YouTube channel, or follow us on LinkedIn. As always, please leave a comment below if you have any questions.
Okta Developer Blog Comment Policy
We welcome relevant and respectful comments. Off-topic comments may be removed.