Secure an Episerver CMS website with Okta and C#

Most developers know that building an e-Commerce website can be a major pain. You have to contend with making the front end look great even when the content is dynamic and frequently updated. From seasonal themes like Black Friday and Christmas to customization based on the user’s behavior, it can be a major project to keep up.
Luckily, there are platforms that allow developers to build in a templated fashion with content that can be pulled dynamically from a content management system. There are many such Content Management System (CMS) platforms available on the market today, running in different frameworks and languages. If you’re a C# developer, you may be interested in Episerver - the focus of this blog post. Let’s get into it!
In this post, we will integrate Episerver CMS with Okta via OpenID Connect, resulting in a centralized user identity store for your e-commerce customers through the Okta Identity Cloud platform.
For this project, you’ll need to prepare a few dependencies:
- Visual Studio 2019
- Episerver Visual Studio Extension
- Microsoft NuGet add-on libraries
- A free Okta Developer account
Install Visual Studio to Build Episerver Website
First things first, you need to download and install Visual Studio. The community edition is perfectly fine for what we are going to do.
Install Episerver CMS Visual Studio Extension
There are two ways to install the extension. The first is via the link above and the other one is through the Visual Studio IDE, demonstrated below.
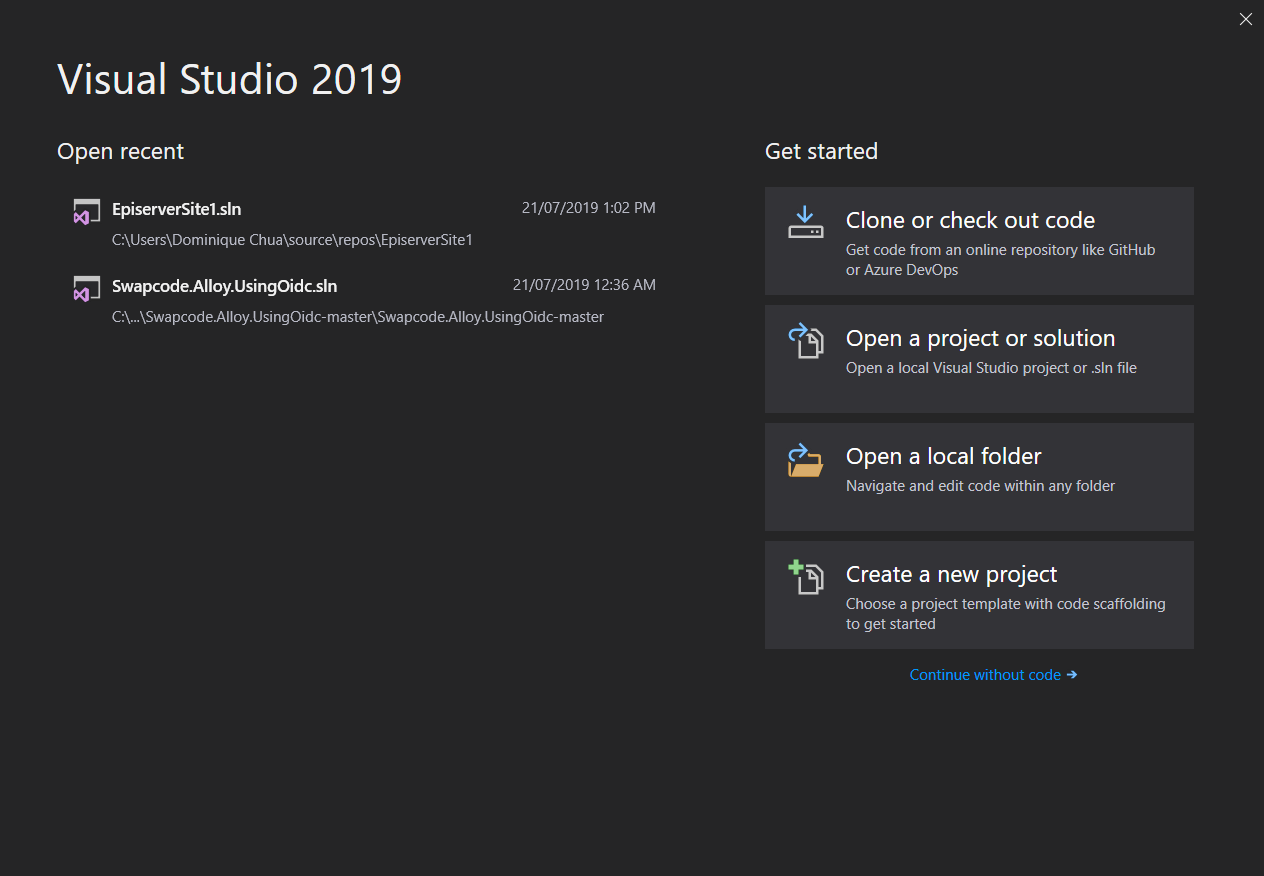
On the Visual Studio 2019 landing screen shown above, click Continue without code. On the Extensions Menu bar, click Manage Extensions. Finally, click Online and in the search bar, query for Episerver.
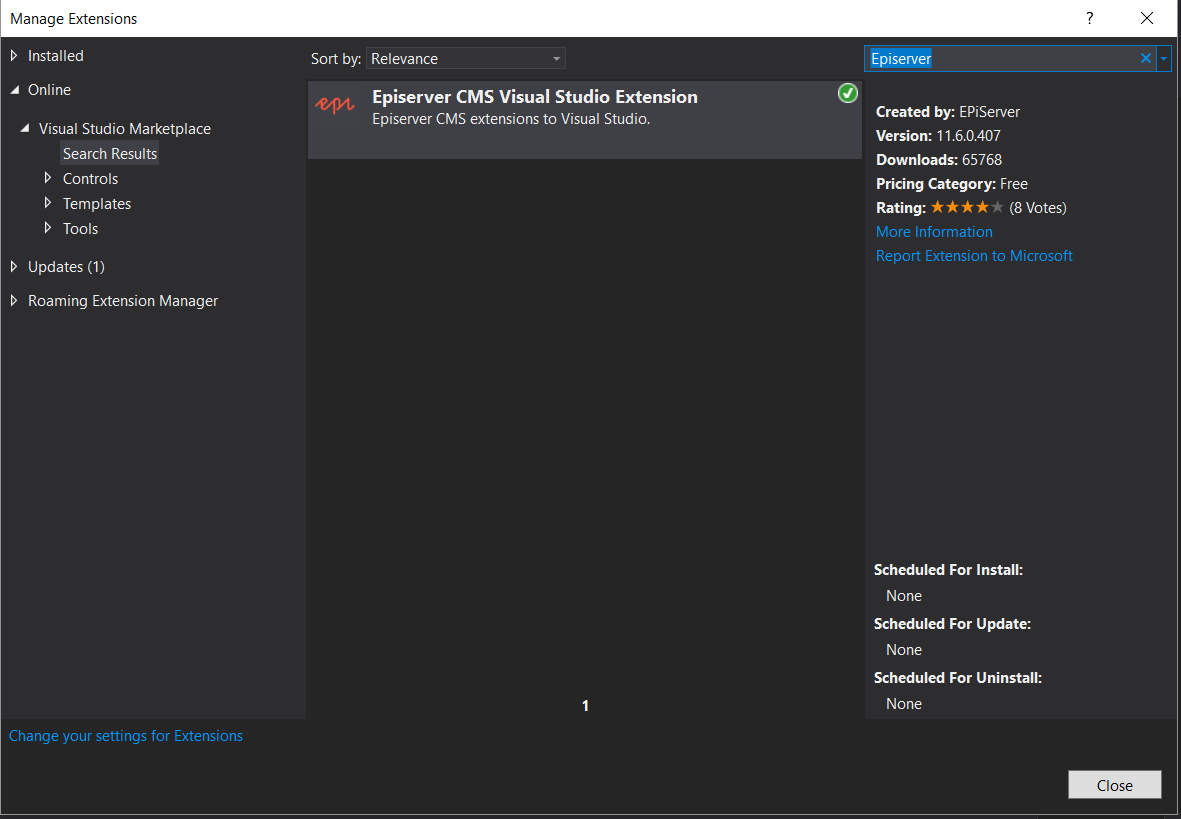
Install the extension and once done, restart Visual Studio.
Create an Episerver CMS Template Project (Alloy)
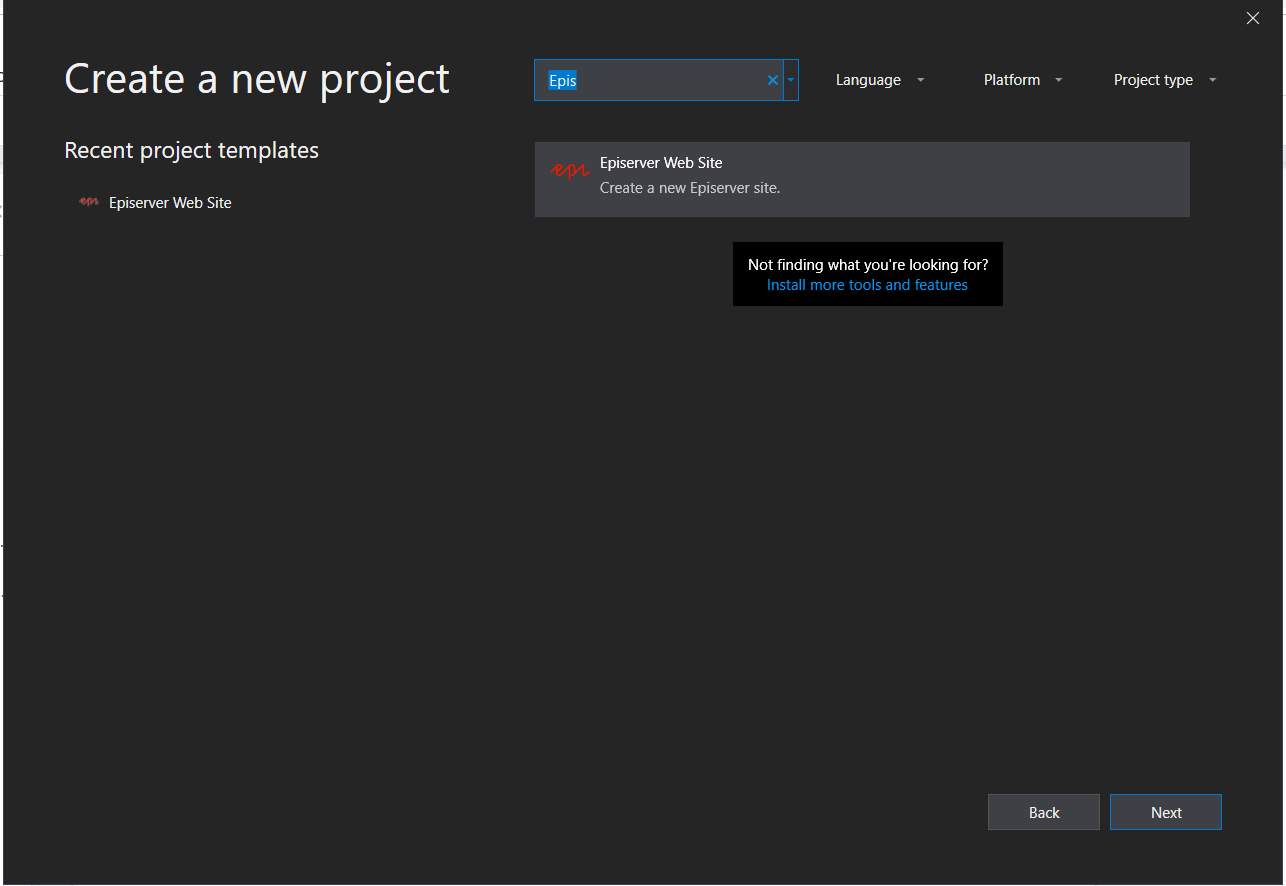
After re-launching Visual Studio, you should be back on the project landing page. Click Create New Project.
Search for Episerver and you should see the Episerver Web Site Template. Select the template and click Next.
You will be asked for additional project information.
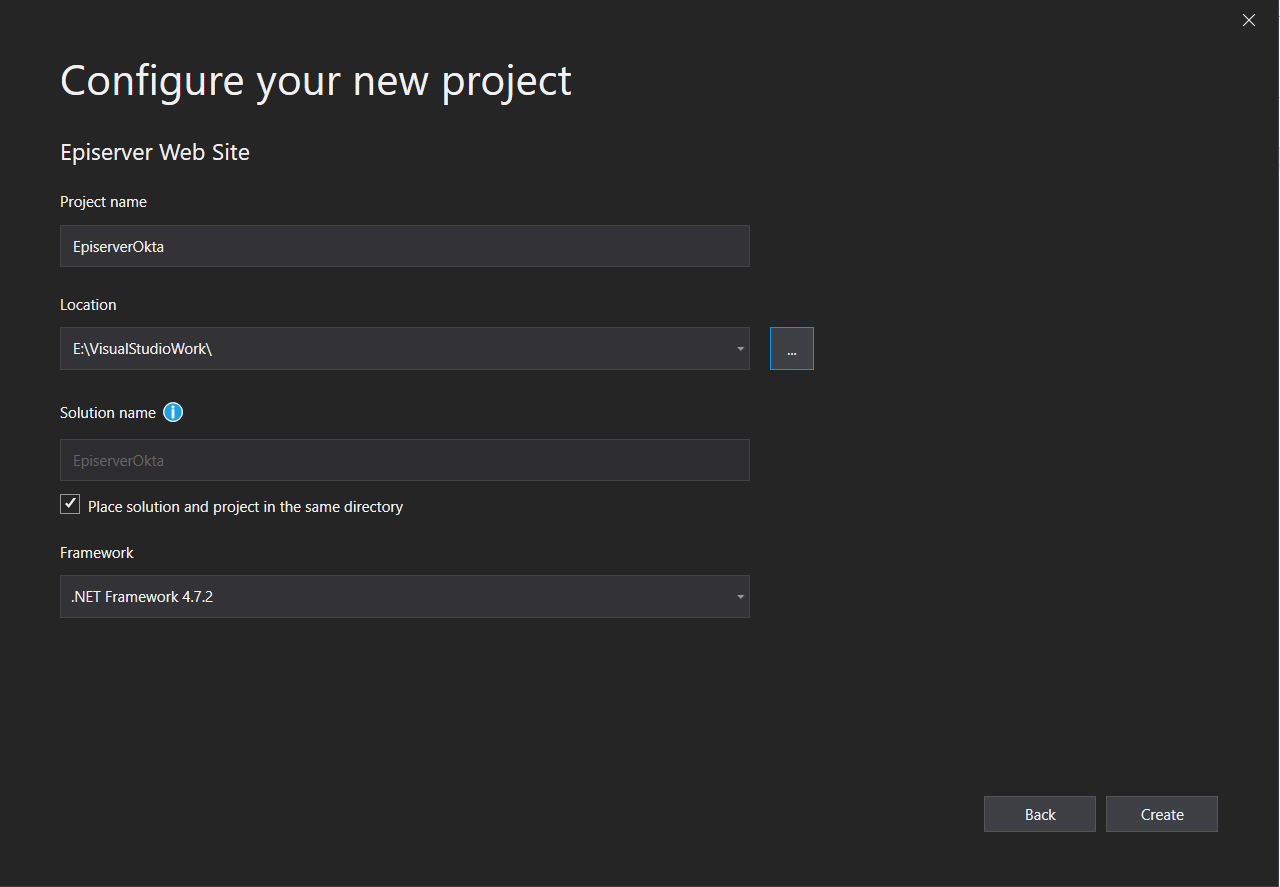
Click Create. You will be asked which project template you want to use for this Episerver project. Select Episerver Alloy (MVC) and set the other fields to the default option.
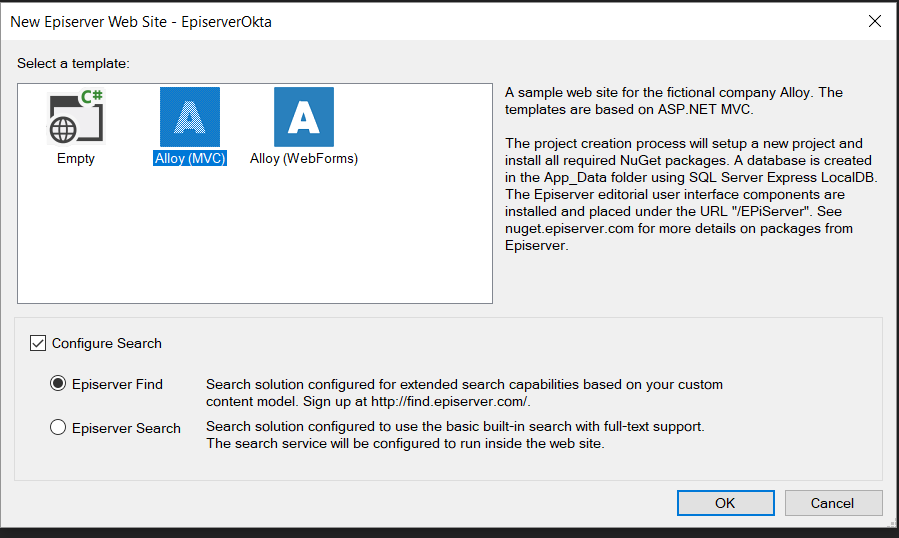
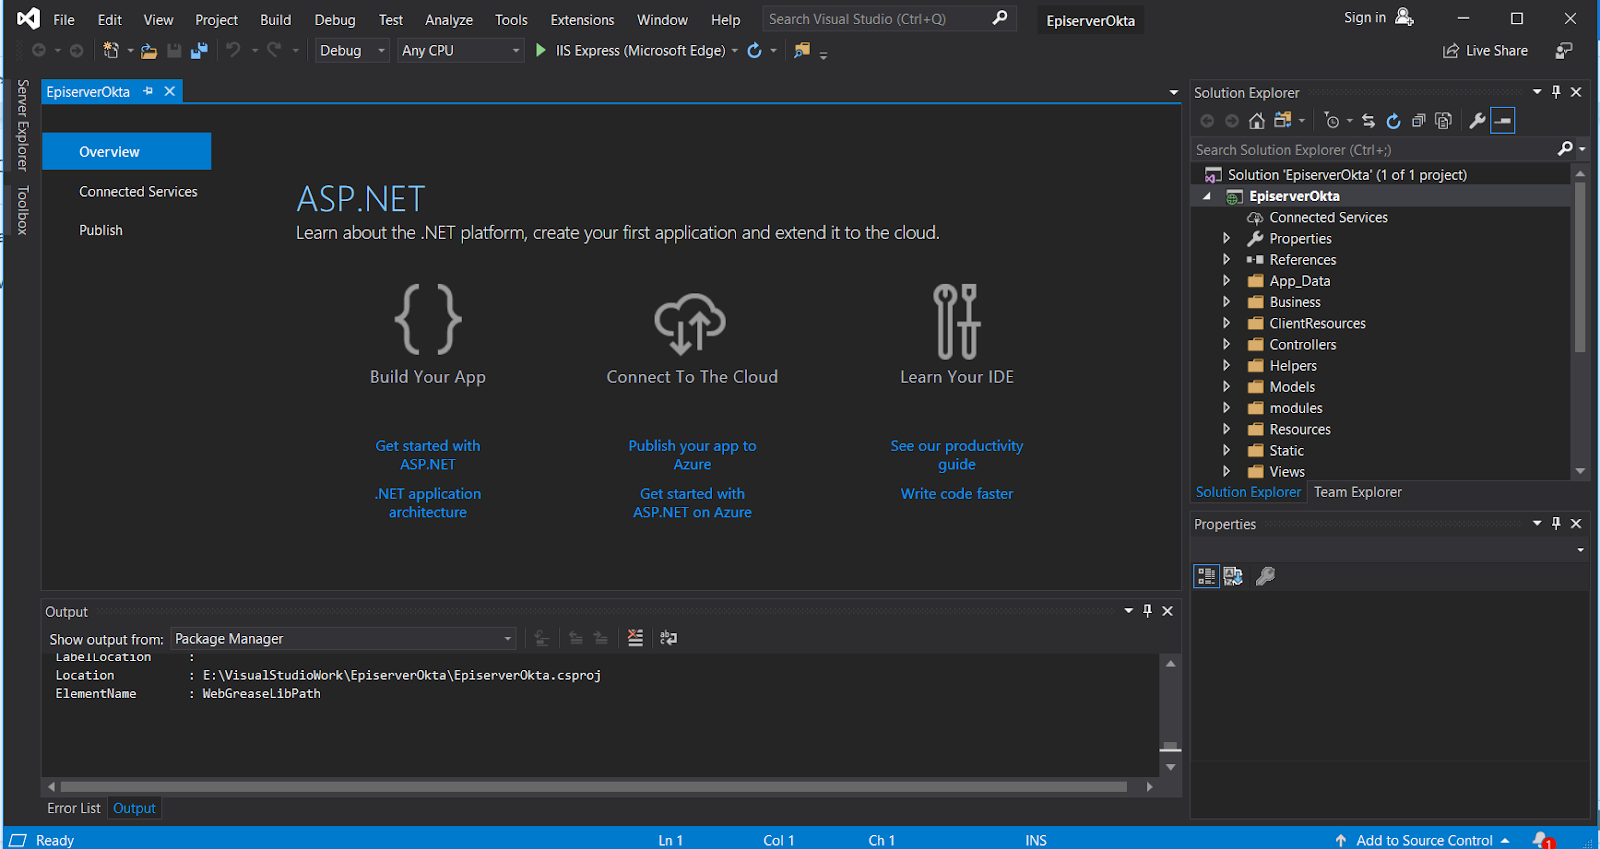
Grab a coffee or a cup of tea because it’s going to take a while to finish creating the project. Here is how it should look once everything is ready:
Configure Episerver to Use OpenID Connect (OIDC)
By default, the Episerver CMS project doesn’t leverage external providers for authentication so you will need to tweak it a little to use OIDC.
I’ve found the best description of how to do so on this blog from @koodihahmo.
Modify web.config to disable the local authentication provider.
Comment out the following line:
<authentication mode="None">

<!--<forms name=".EpiserverLogin" loginUrl="Util/login.aspx" timeout="120" defaultUrl="~/" />-->

</authentication>
In the same web.config, look for
<Episerver.framework>
   ...
    <securityEntity>
      <providers>
        <add name="SynchronizingProvider" type="Episerver.Security.SynchronizingRolesSecurityEntityProvider, Episerver" />
      </providers>
    </securityEntity>
Look for Startup.cs under solution explorer:
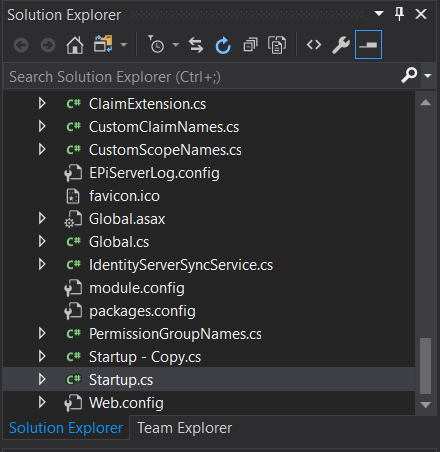
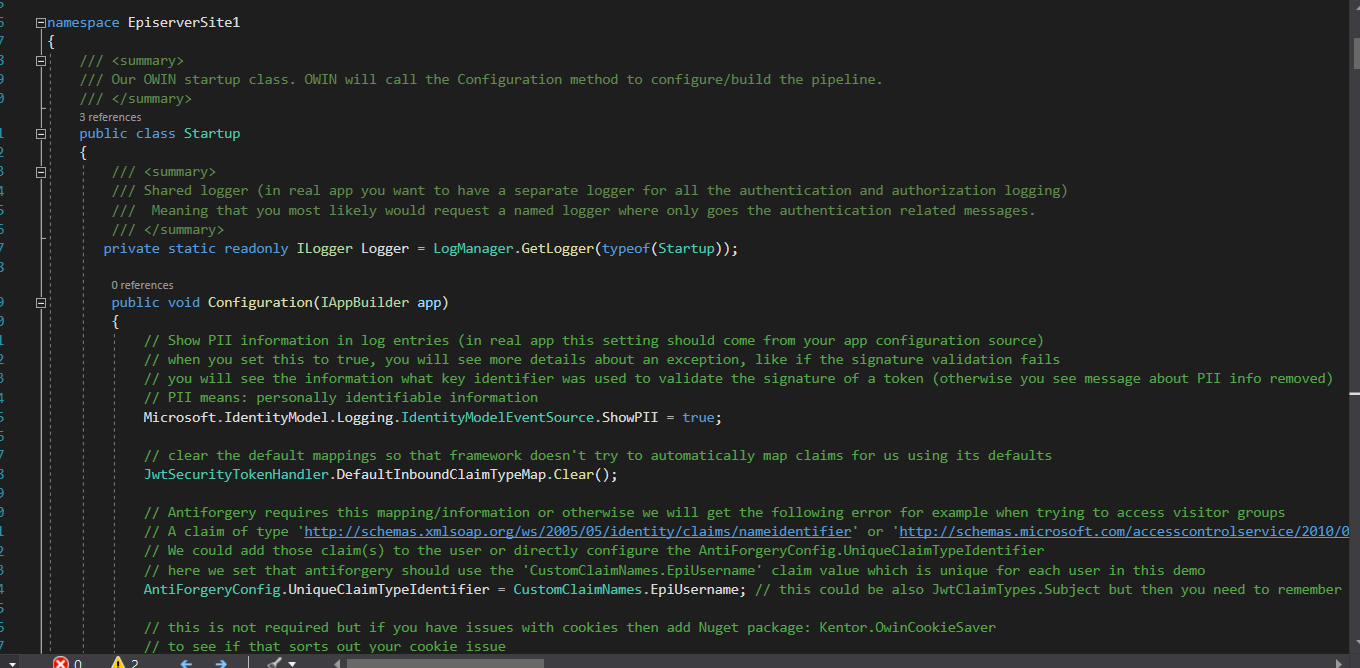
Open the file and it should look like this:
using System;
using System.Web;
using Episerver.Cms.UI.AspNetIdentity;
using Microsoft.AspNet.Identity;
using Microsoft.AspNet.Identity.Owin;
using Microsoft.Owin;
using Microsoft.Owin.Security.Cookies;
using Owin;

[assembly: OwinStartup(typeof(EpiserverOkta.Startup))]

namespace EpiserverOkta
{
    public class Startup
    {
        public void Configuration(IAppBuilder app)
        {
            // Add CMS integration for ASP.NET Identity
            app.AddCmsAspNetIdentity<ApplicationUser>();

            // Remove to block registration of administrators
            app.UseAdministratorRegistrationPage(() => HttpContext.Current.Request.IsLocal);

            // Use cookie authentication
            app.UseCookieAuthentication(new CookieAuthenticationOptions
            {
                AuthenticationType = DefaultAuthenticationTypes.ApplicationCookie,
                LoginPath = new PathString(Global.LoginPath),
                Provider = new CookieAuthenticationProvider
                {
                    // If the "/util/login.aspx" has been used for login otherwise you don't need it you can remove OnApplyRedirect.
                    OnApplyRedirect = cookieApplyRedirectContext =>
                    {
                        app.CmsOnCookieApplyRedirect(cookieApplyRedirectContext, cookieApplyRedirectContext.OwinContext.Get<ApplicationSignInManager<ApplicationUser>>());
                    },

                    // Enables the application to validate the security stamp when the user logs in.
                    // This is a security feature which is used when you change a password or add an external login to your account.
                    OnValidateIdentity = SecurityStampValidator.OnValidateIdentity<ApplicationUserManager<ApplicationUser>, ApplicationUser>(
                        validateInterval: TimeSpan.FromMinutes(30),
                        regenerateIdentity: (manager, user) => manager.GenerateUserIdentityAsync(user))
                }
            });
        }
    }
}
Remove the entire public void Configuration(IAppBuilder app) and replace the content with this code on GitHub.
Modified Startup.cs in github: https://github.com/hawjefferson/EpiserverCMSOkta/blob/master/Startup.cs
Import the dependent class files as separate class files and add them into your project:
Add Authentication with OIDC to Episerver
In the sameStartup.cs class, there is an internal class called OIDCInMemoryConfiguration - this is where you will setup the OIDC configuration values from Okta. For now, we’ll just leave it so we can circle back here and finalise the integration between Okta and your Episerver CMS project later.
internal static class OIDCInMemoryConfiguration
{
    // NOTE! If using https, you will need to have the port 443 also in the authority url, even though it is the default

    /// <summary>
    /// OIDC client id.
    /// </summary>
    public const string ClientId = "<insert okta  client_id_here>"; // TODO: change your client ID here
    /// <summary>
    /// OIDC client secret.
    /// </summary>
    public const string ClientSecret = "<insert okta client_secret here>"; // TODO: change your secret here
    /// <summary>
    /// OIDC authority. Also used to get OIDC discovery automatically if the identity provider is using the default well-known endpoint (/.well-known/openid-configuration).
    /// </summary>
    public const string Authority = "<okta OAuth 2.0 server endpoint e.g.(https://identity.hawservers.com/oauth2/aus4j6hlzlVZzXsj42p7/)";
    /// <summary>
    /// OIDC url where Identity provider is allowed to return tokens or authorization code.
    /// </summary>
    public const string WebAppOidcEndpoint = "http://localhost:50127"; // TODO: change your web app address/port here
    /// <summary>
    /// Where the client is redirected to after identity provider logout.
    /// </summary>
    public const string PostLogoutRedirectUrl = "http://localhost:50127"; // NOTE: http://localhost:48660 and http://localhost:48660/ are different addresses (the backslash at the end)!
    /// <summary>
    /// Is HTTPS required for the metadata endpoint.
    /// </summary>
    public const bool RequireHttpsMetadata = false;
    /// <summary>
    /// How long the web application authentication cookie is valid (in minutes in our example).
    /// </summary>
    public const int AuthCookieValidMinutes = 60;
}
Setup Okta for Authentication in Episerver
If you haven’t already, head on over to https://developer.okta.com/signup/ and create a free Okta org.
For this example, I’ll be using my own Okta tenant: https://identity.hawservers.com. This tenant has been configured to use a vanity URL, which you can also setup by following this guide.
Go ahead and login to your Okta account, click Applications and then Add Application. Next, click Web and then Next.
This creates an OpenID Connect application representing your Episerver application.
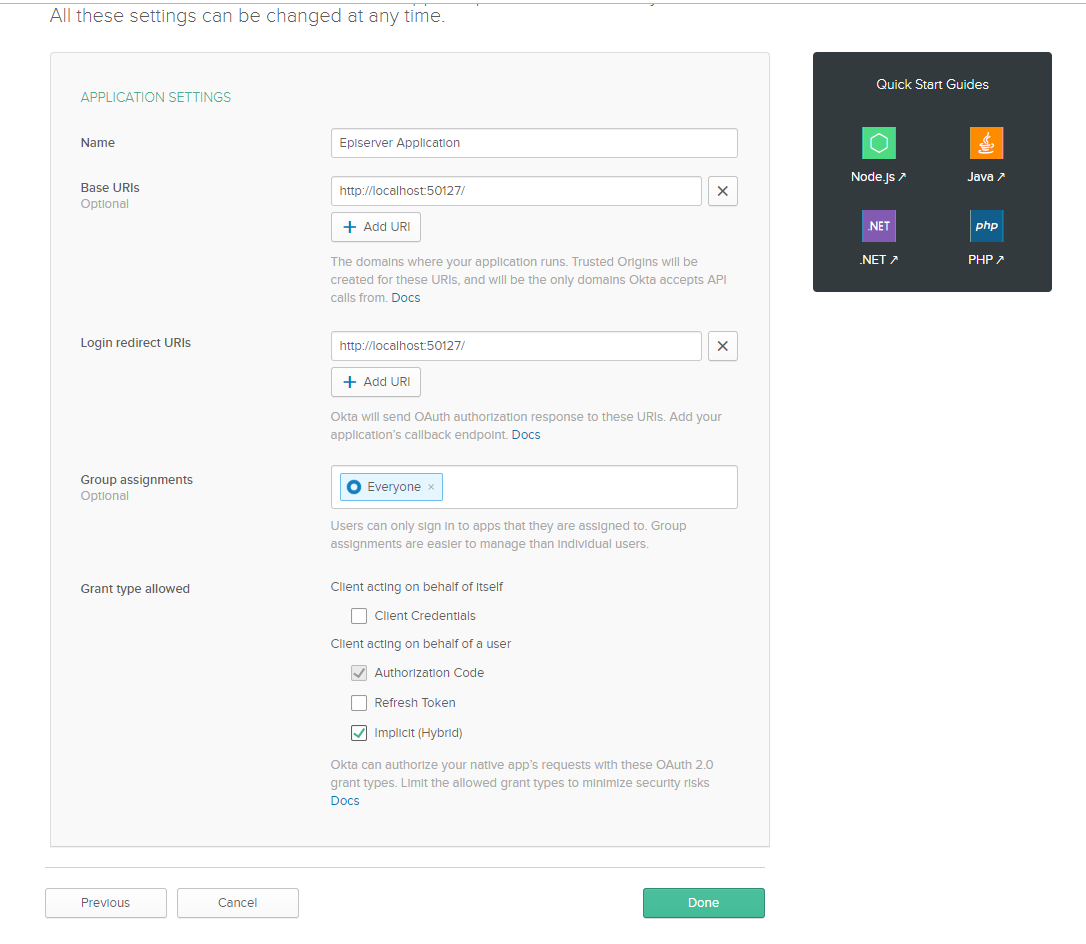
You’ll be presented with a screen to configure your Okta OpenID Connect application where you can change the name to Episerver Application. As for the Login redirect URIs field, this will be the url when you run your Episerver CMS instance (e.g. http://localhost:<port>).
Click Done when you’re finished.
Note the Client ID and Secret by scrolling down below as you will need these to complete the Episerver OIDC configuration.
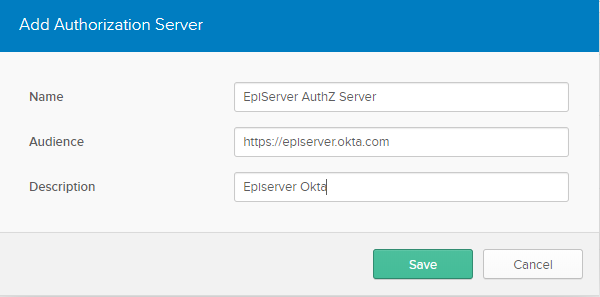
Next, we need to create a Custom Authorization Server within Okta. Navigate to: API > Authorization Servers and choose Add Authorization Server.
Input Episerver AuthZ Server for the Name field https://Episerver.okta.com for the Audience field. Give it a description and click Save.
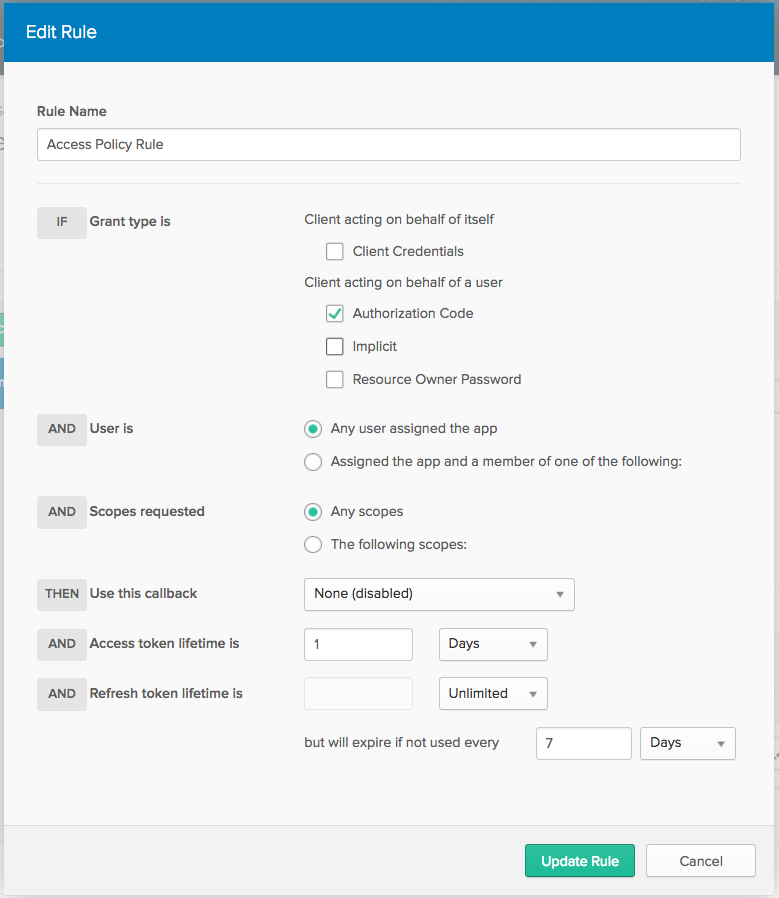
Once done, finish by creating a simple Access Policy. Click the Access Policies tab and click Add New Access Policy.
Click Add Rule and uncheck all the grant types except Authorization Code. Leave the other defaults in place and click Save.
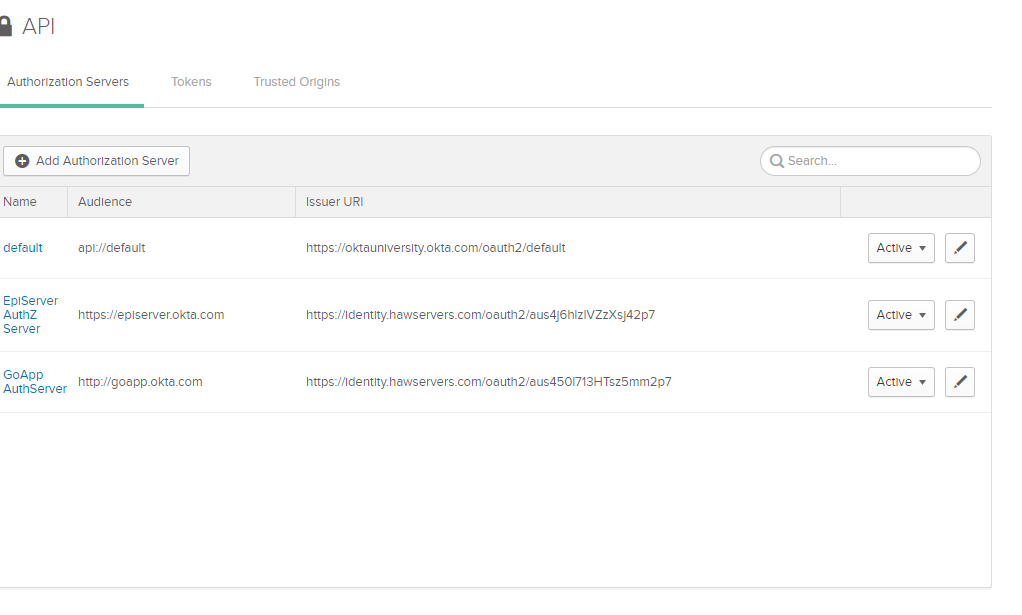
Go back to API > Authorization Server, look for the Episerver AuthZ Server, and copy the issuer URI. This is the OIDC endpoint you will use within your Episerver CMS project.
With your OIDC application setup in Okta, it is now time to edit the OIDC configuration in the Startup.cs file. Here is mine as an example:
internal static class OIDCInMemoryConfiguration
{
    // NOTE! If using https, you will need to have the port 443 also in the authority url, even though it is the default

    /// <summary>
    /// OIDC client id.
    /// </summary>
    public const string ClientId = "0oa4j67yomOtwEGd32p7"; // TODO: change your client ID here
    /// <summary>
    /// OIDC client secret.
    /// </summary>
    public const string ClientSecret = "Db2X5aMw3G7VDDpZtB-HvuMg71_G1lX2iS-8umRc"; // TODO: change your secret here
    /// <summary>
    /// OIDC authority. Also used to get OIDC discovery automatically if the identity provider is using the default well-known endpoint (/.well-known/openid-configuration).
    /// </summary>
    public const string Authority = "https://identity.hawservers.com/oauth2/aus4j6hlzlVZzXsj42p7/";
    /// <summary>
    /// OIDC url where Identity provider is allowed to return tokens or authorization code.
    /// </summary>
    public const string WebAppOidcEndpoint = "http://localhost:50127"; // TODO: change your web app address/port here
    /// <summary>
    /// Where the client is redirected to after identity provider logout.
    /// </summary>
    public const string PostLogoutRedirectUrl = "http://localhost:50127"; // NOTE: http://localhost:48660 and http://localhost:48660/ are different addresses (the backslash at the end)!
    /// <summary>
    /// Is HTTPS required for the metadata endpoint.
    /// </summary>
    public const bool RequireHttpsMetadata = false;
    /// <summary>
    /// How long the web application authentication cookie is valid (in minutes in our example).
    /// </summary>
    public const int AuthCookieValidMinutes = 60;
}
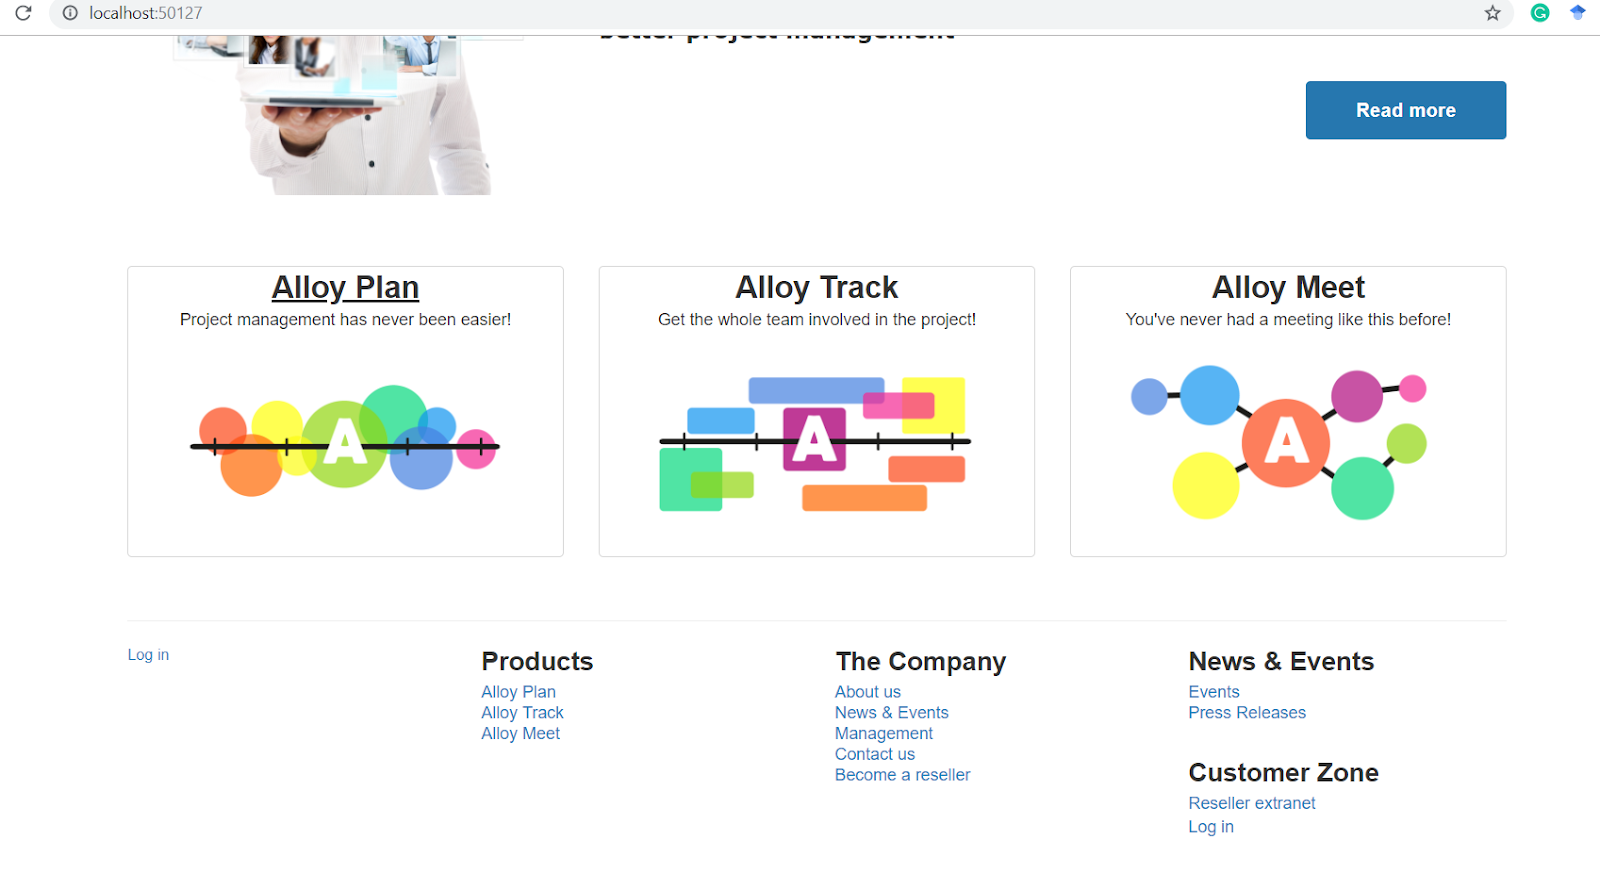
Test Your Episerver Website
Almost there! Go ahead and run the project and you should now see the home page. If you scroll down to the footer area, there will be a Login link.
Click Log in to be redirected to your Okta Login page for authentication.

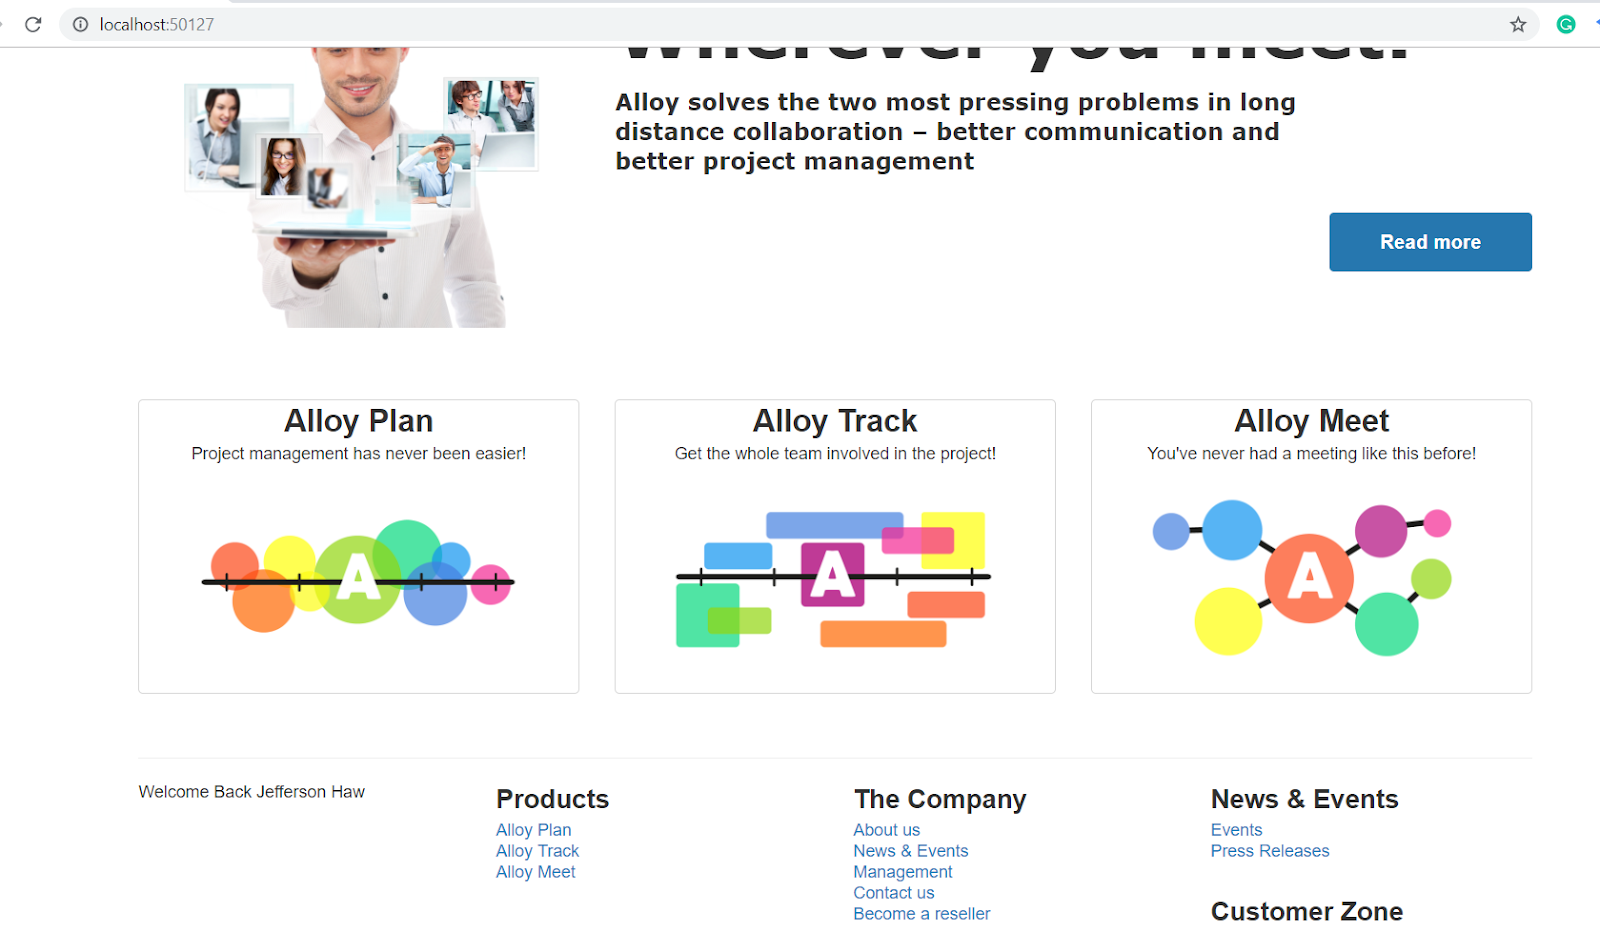
Once authenticated, you should be redirected back to the home page.
If you check your console log in Visual Studio, you should see something like this:
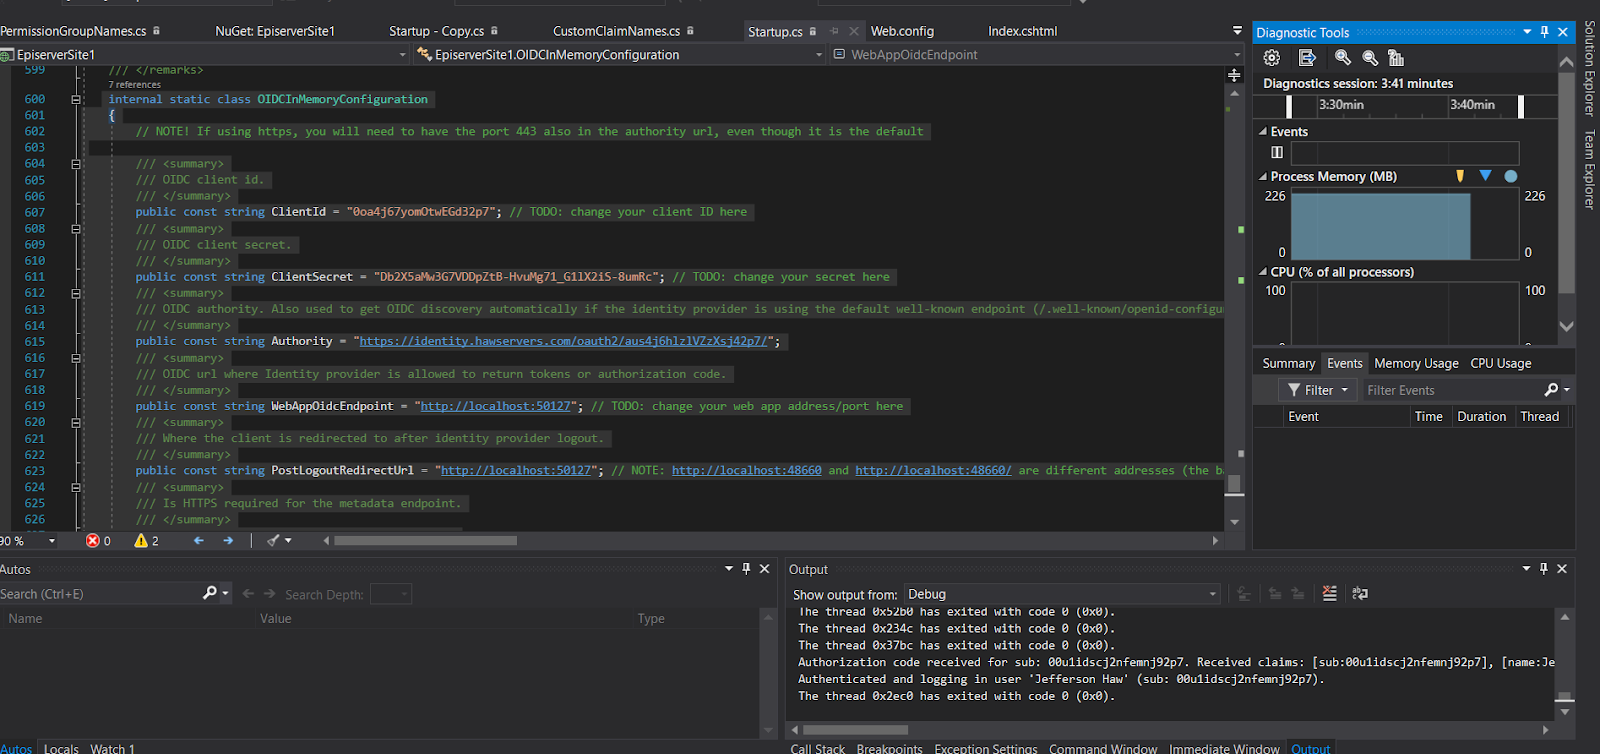
Authorization code received for sub: 00u1idscj2nfemnj92p7.
Received claims: [sub:00u1idscj2nfemnj92p7], [name:Jefferson Haw],
[locale:en-US], [email:jefferson.haw@okta.com], [ver:1],
[iss:https://identity.hawservers.com/oauth2/aus4j6hlzlVZzXsj42p7],
[aud:0oa4j67yomOtwEGd32p7], [iat:1563706400], [exp:1563710000],
[jti:ID.KJZhv7LJz3_w0tKumgOF5PqQssXVc4F2dWpA_RDdBd0], [amr:pwd],
[idp:00o1idsci6zlzuxnm2p7], [nonce:636993031351913938.ZGIzZTRlMjgtNDJlMS00YTI3LWI1MDUtZjc0MDhhNzYyNTdiZDE5ZjhjZTgtNGE3NC00ZTA0LTllNzQtZGZlMDViZWVhMWRj],
[preferred_username:jefferson.haw@okta.com], [given_name:Jefferson],
[family_name:Haw], [zoneinfo:America/Los_Angeles], [updated_at:1563516366],
[email_verified:true], [auth_time:1563706398], [c_hash:DT7BpeJ3piGThWwxIHqDFg].
Authenticated and logging in user 'Jefferson Haw' (sub: 00u1idscj2nfemnj92p7).
You now have a robust CMS enabled with Okta as the identity provider! If you want to go further, you can leverage Okta’s social identity providers and generic OIDC provider capability to support third party identity providers like Facebook, Google, Apple ID, etc.
Learn More About Securing your CMS and ASP.NET
If you want to learn more about CMS platforms, OIDC, or C#, please take a look at a few of our other tutorials on these topics!
- Use OpenID Connect for Authorization in Your ASP.NET MVC Framework 4.x App
- Static Sites vs CMS
- Secure Your ASP.NET Core App with OAuth 2.0
- Decode JWTs in C# for Authorization
We’d love to hear from you in the comments below or find us (and follow us) on Twitter @oktadev.
Okta Developer Blog Comment Policy
We welcome relevant and respectful comments. Off-topic comments may be removed.