An Illustrated Guide to OAuth and OpenID Connect
In the “stone age” days of the Internet, sharing information between services was easy. You simply gave your username and password for one service to another so they could login to your account and grab whatever information they wanted!
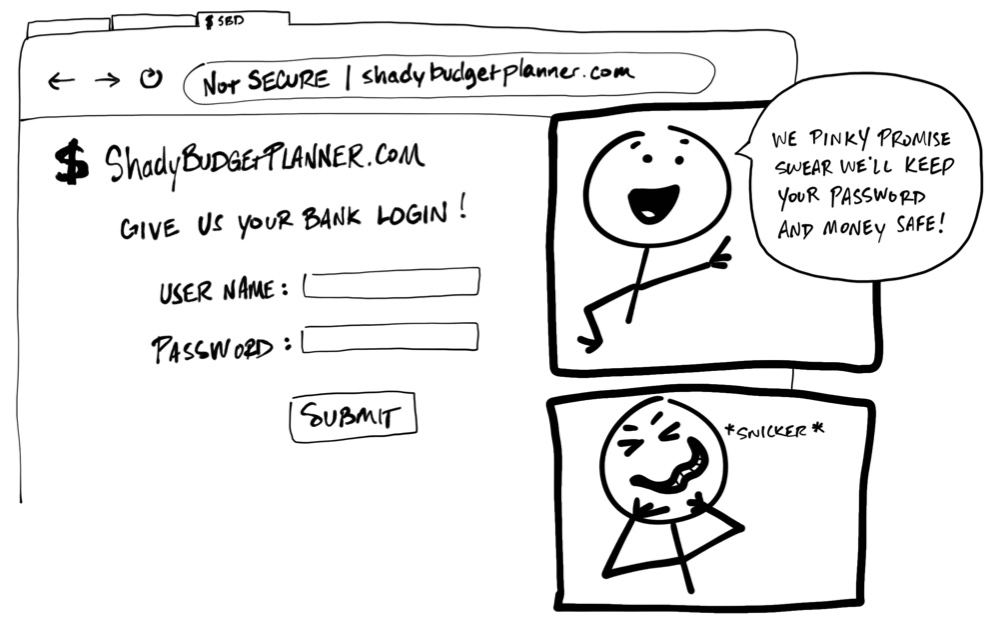
Yikes! You should never be required to share your username and password, your credentials, to another service. There’s no guarantee that an organization will keep your credentials safe, or guarantee their service won’t access more of your personal information than necessary. It might sound crazy, but some applications still try to get away with this!
Today we have an agreed-upon standard to securely allow one service to access data from another. Unfortunately, these standards use a lot of jargon and terminology that make them more difficult to understand. The goal of this post is to explain how these standards work using simplified illustrations.
You can think of this post as the worst children’s book ever. You’re welcome.
By the way, this content is also available as a video!
Ladies and Gentlemen, Introducing OAuth 2.0
OAuth 2.0 is a security standard where you give one application permission to access your data in another application. The steps to grant permission, or consent, are often referred to as authorization or even delegated authorization. You authorize one application to access your data, or use features in another application on your behalf, without giving them your password. Sweet!
As an example, let’s say you’ve discovered a web site named “Terrible Pun of the Day” and create an account to have it send an awful pun joke as a text message every day to your phone. You love it so much, you want to share this site with everyone you’ve ever met online. Who wouldn’t want to read a bad pun every day, am I right?

However, writing an email to every person in your contacts list sounds like a lot of work. And, if you’re like me, you’ll go to great lengths to avoid anything that smells like work. Good thing “Terrible Pun of the Day” has a feature to invite your friends! You can grant “Terrible Pun of the Day” access to your email contacts and send out emails for you! OAuth for the win!
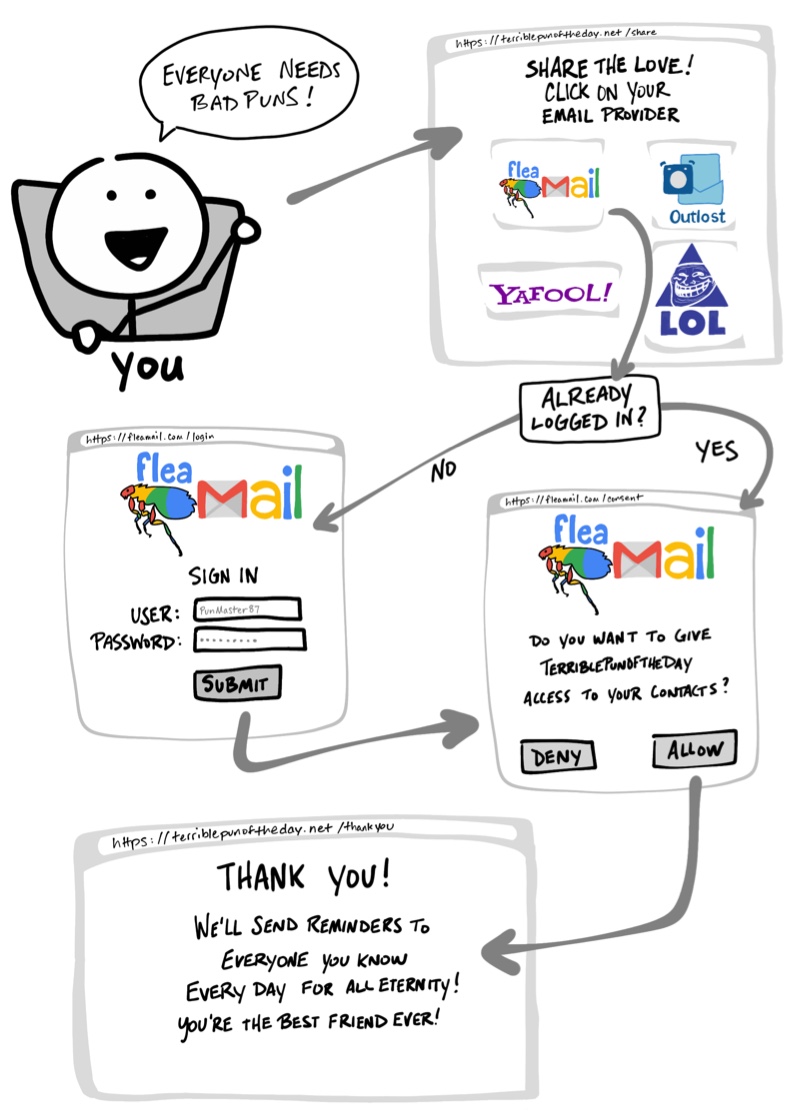
- Pick your email provider
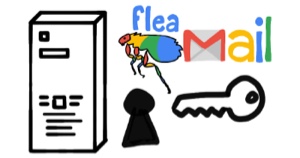
- Redirect to your email provider and login if needed
- Give “Terrible Pun of the Day” permission to access to your contacts
- Redirect back to “Terrible Pun of the Day”
In case you change your mind, applications that use OAuth to grant access also provide a way to revoke access. Should you decide later you no longer want your contacts shared, you can go to your email provider and remove “Terrible Pun of the Day” as an authorized application.
Let the OAuth Flow
You’ve just stepped through what is commonly referred to as an OAuth flow. The OAuth flow in this example is made of visible steps to grant consent, as well as some invisible steps where the two services agree on a secure way of exchanging information. The previous “Terrible Pun of the Day” example uses the most common OAuth 2.0 flow, known as the “authorization code” flow.
Before we dive into more details on what OAuth is doing, let’s map some of the OAuth terminologies.
 |
Resource Owner: You! You are the owner of your identity, your data, and any actions that can be performed with your accounts. |
 |
Client: The application (e.g. “Terrible Pun of the Day”) that wants to access data or perform actions on behalf of the Resource Owner. |
 |
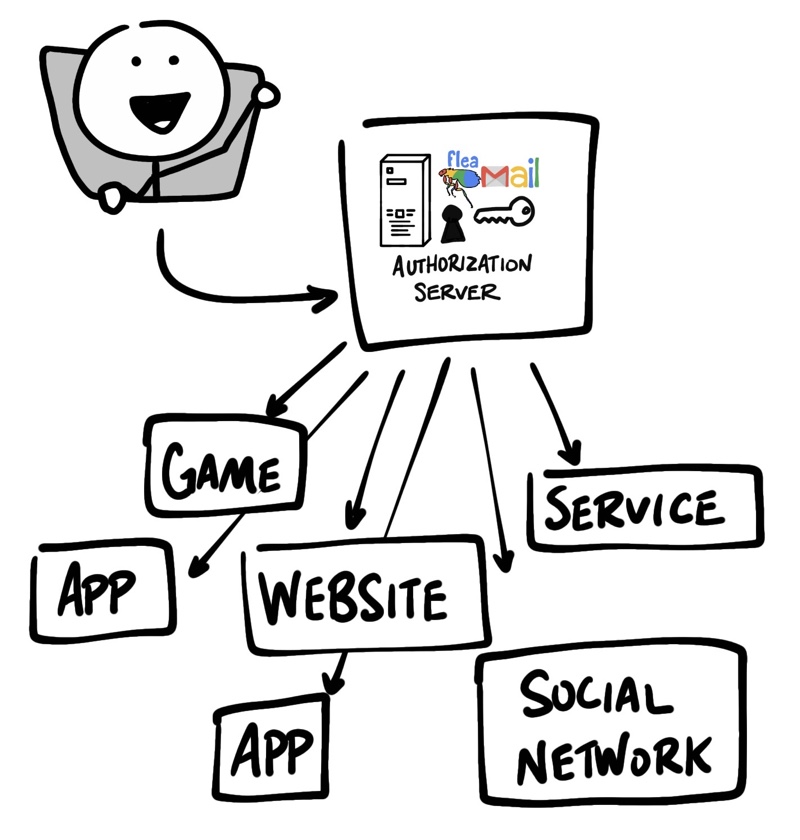
Authorization Server: The application that knows the Resource Owner, where the Resource Owner already has an account. |
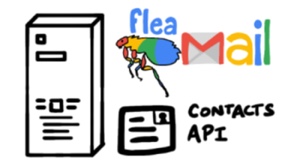 |
Resource Server: The Application Programming Interface (API) or service the Client wants to use on behalf of the Resource Owner. |
 |
Redirect URI: The URL the Authorization Server will redirect the Resource Owner back to after granting permission to the Client. This is sometimes referred to as the “Callback URL.” |
 |
Response Type: The type of information the Client expects to receive. The most common Response Type is code, where the Client expects an Authorization Code. |
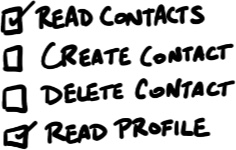 |
Scope: These are the granular permissions the Client wants, such as access to data or to perform actions. |
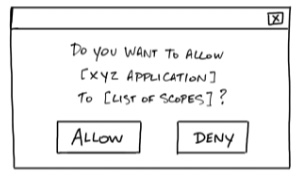 |
Consent: The Authorization Server takes the Scopes the Client is requesting, and verifies with the Resource Owner whether or not they want to give the Client permission. |
 |
Client ID: This ID is used to identify the Client with the Authorization Server. |
 |
Client Secret: This is a secret password that only the Client and Authorization Server know. This allows them to securely share information privately behind the scenes. |
 |
Authorization Code: A short-lived temporary code the Client gives the Authorization Server in exchange for an Access Token. |
 |
Access Token: The key the client will use to communicate with the Resource Server. This is like a badge or key card that gives the Client permission to request data or perform actions with the Resource Server on your behalf. |
Note: Sometimes the “Authorization Server” and the “Resource Server” are the same server. However, there are cases where they will not be the same server or even part of the same organization. For example, the “Authorization Server” might be a third-party service the “Resource Server” trusts.
Now that we have some of the OAuth 2.0 vocabulary handy, let’s revisit the example with a closer look at what’s going on throughout the OAuth flow.
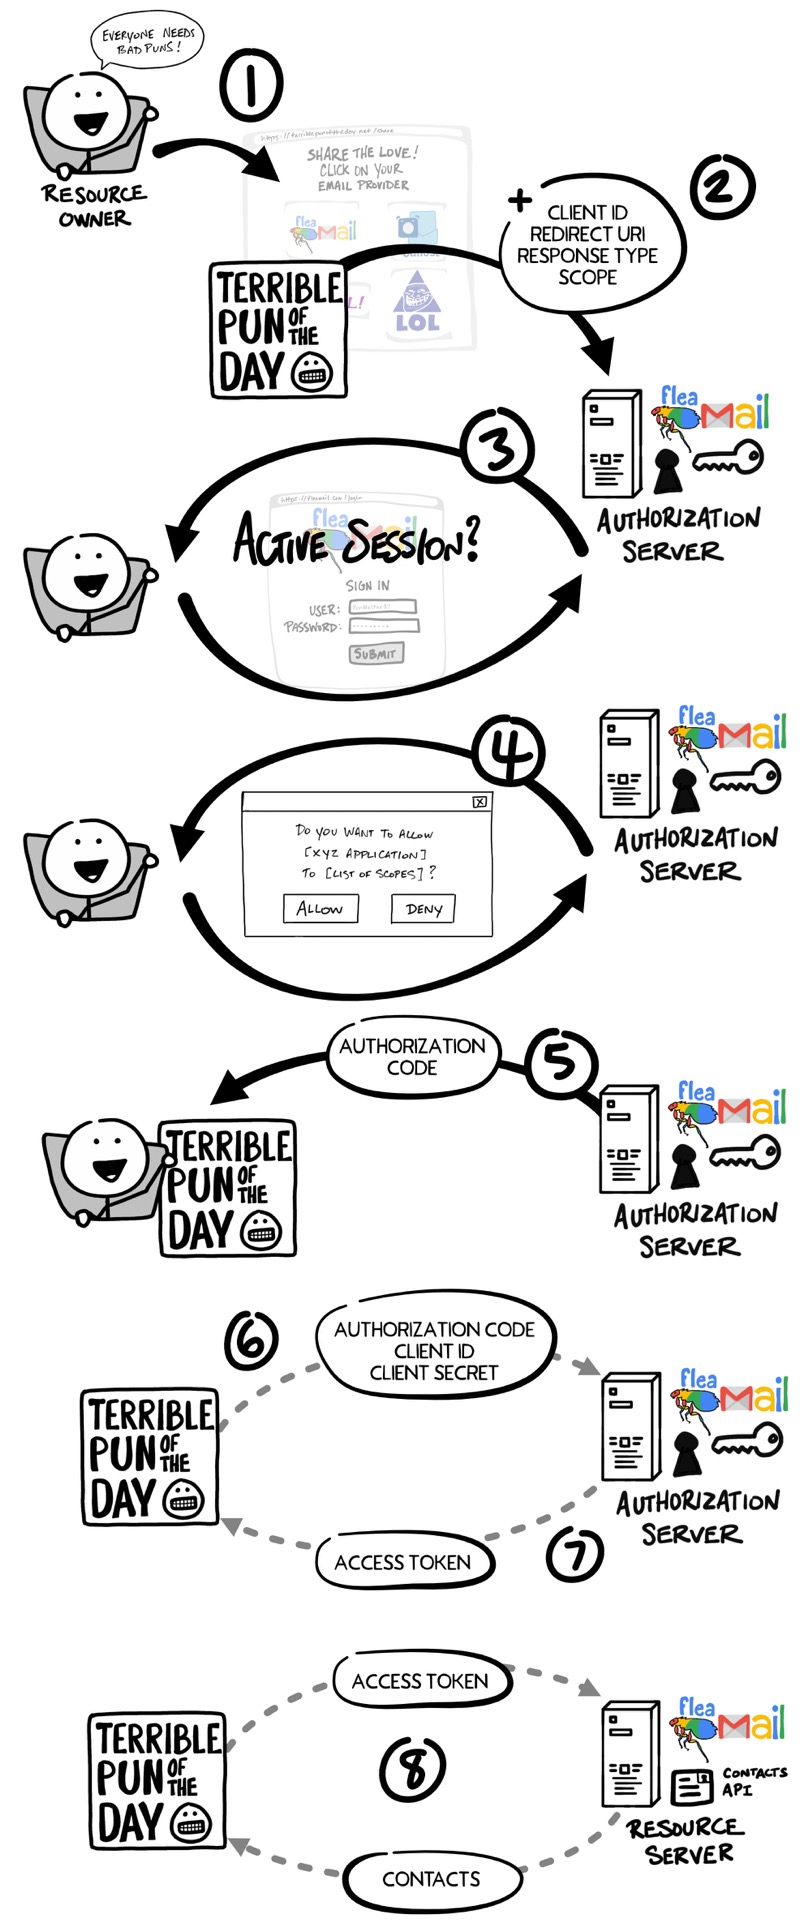
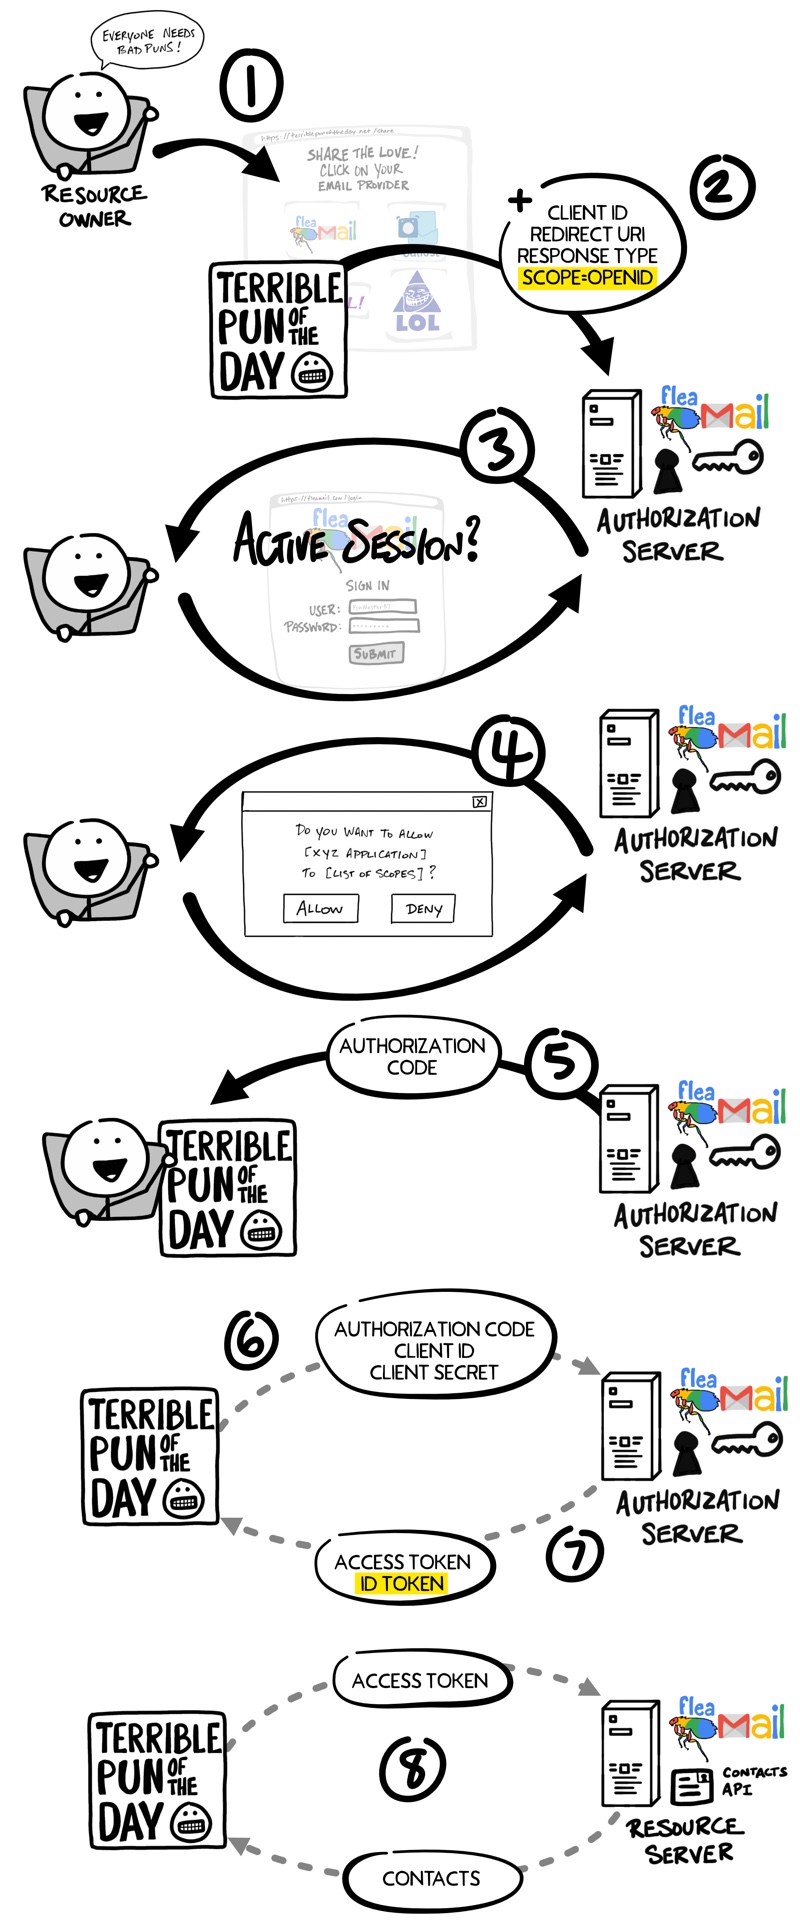
- You, the Resource Owner, want to allow “Terrible Pun of the Day,” the Client, to access your contacts so they can send invitations to all your friends.
- The Client redirects your browser to the Authorization Server and includes with the request the Client ID, Redirect URI, Response Type, and one or more Scopes it needs.
- The Authorization Server verifies who you are, and if necessary prompts for a login.
- The Authorization Server presents you with a Consent form based on the Scopes requested by the Client. You grant (or deny) permission.
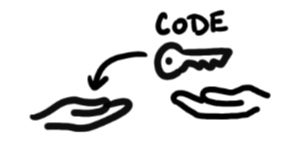
- The Authorization Server redirects back to Client using the Redirect URI along with an Authorization Code.
- The Client contacts the Authorization Server directly (does not use the Resource Owner’s browser) and securely sends its Client ID, Client Secret, and the Authorization Code.
- The Authorization Server verifies the data and responds with an Access Token.
- The Client can now use the Access Token to send requests to the Resource Server for your contacts.
Client ID and Secret
Long before you gave “Terrible Pun of the Day” permission to access your contacts, the Client and the Authorization Server established a working relationship. The Authorization Server generated a Client ID and Client Secret, sometimes called the App ID and App Secret, and gave them to the Client to use for all future OAuth exchanges.
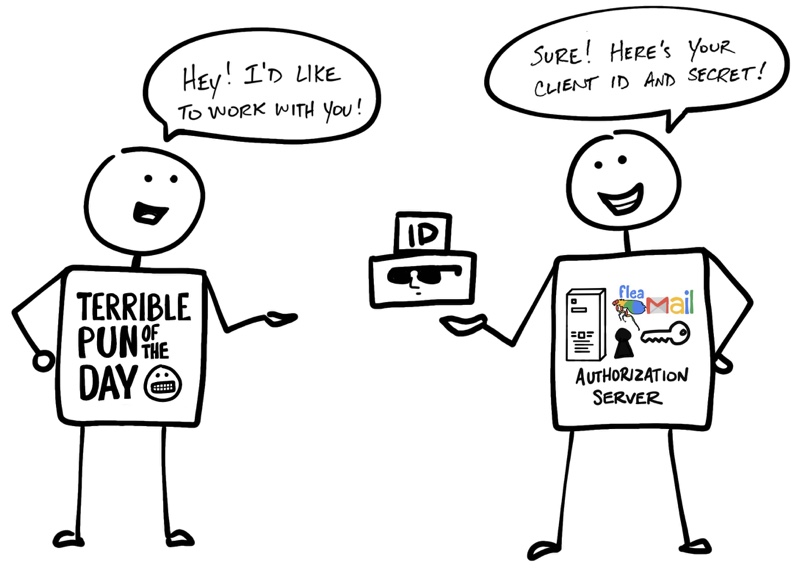
As the name implies, the Client Secret must be kept secret so that only the Client and Authorization Server know what it is. This is how the Authorization Server can verify the Client.
That’s Not All Folks… Please Welcome OpenID Connect
OAuth 2.0 is designed only for authorization, for granting access to data and features from one application to another. OpenID Connect (OIDC) is a thin layer that sits on top of OAuth 2.0 that adds login and profile information about the person who is logged in. Establishing a login session is often referred to as authentication, and information about the person logged in (i.e. the Resource Owner) is called identity. When an Authorization Server supports OIDC, it is sometimes called an identity provider, since it provides information about the Resource Owner back to the Client.
OpenID Connect enables scenarios where one login can be used across multiple applications, also known as single sign-on (SSO). For example, an application could support SSO with social networking services such as Facebook or Twitter so that users can choose to leverage a login they already have and are comfortable using.
The OpenID Connect flow looks the same as OAuth. The only differences are, in the initial request, a specific scope of openid is used, and in the final exchange the Client receives both an Access Token and an ID Token.
As with the OAuth flow, the OpenID Connect Access Token is a value the Client doesn’t understand. As far as the Client is concerned, the Access Token is just a string of gibberish to pass with any request to the Resource Server, and the Resource Server knows if the token is valid. The ID Token, however, is very different.
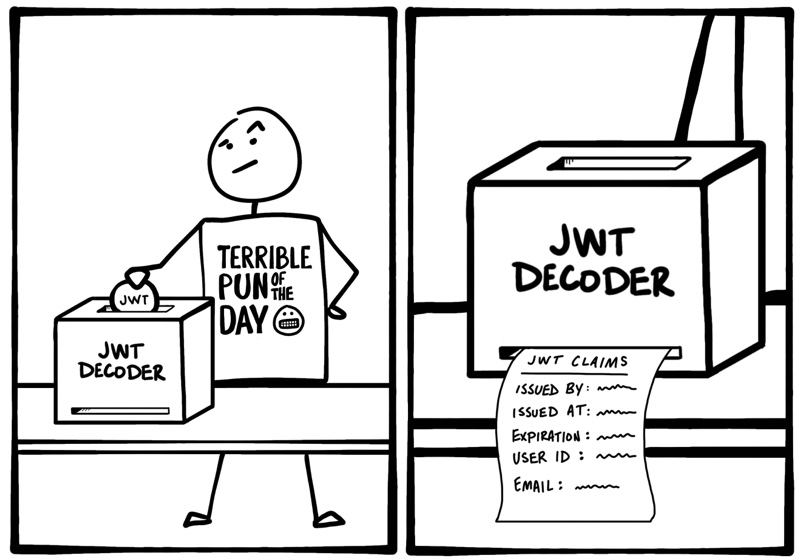
Jot This Down: An ID Token is a JWT
An ID Token is a specifically formatted string of characters known as a JSON Web Token, or JWT. JWTs are sometimes pronounced “jots.” A JWT may look like gibberish to you and me, but the Client can extract information embedded in the JWT such as your ID, name, when you logged in, the ID Token expiration, and if anything has tried to tamper with the JWT. The data inside the ID Token are called claims.
With OIDC, there’s also a standard way the Client can request additional identity information from the Authorization Server, such as their email address, using the Access Token.
Learn More About OAuth and OIDC
That’s OAuth and OIDC in a nutshell! Ready to dig deeper? Here are some additional resources to help you learn more about OAuth 2.0 and OpenID Connect!
- What the Heck is OAuth?
- Nobody Cares About OAuth or OpenID Connect
- Implement the OAuth 2.0 Authorization Code with PKCE Flow
- What is the OAuth 2.0 Grant Type?
- OAuth 2.0 From the Command Line
- Build a Secure Node.js App with SQL Server
As always, feel free to leave comments below. To make sure you stay up to date with our latest developer guides and tips follow us on Twitter and subscribe to our YouTube Channel!
Okta Developer Blog Comment Policy
We welcome relevant and respectful comments. Off-topic comments may be removed.