How to Create a Simple Symfony Application with Authentication

Symfony is not the most popular or loved PHP framework, but it’s arguably the most mature, flexible, and reliable. Since its initial release, Symfony has evolved into a set of loosely-coupled, high-quality components that can be chosen individually or combined to create powerful applications, without the compromise of bloat or huge runtime overhead. These components are also widely used outside the context of the framework, as stand-alone modules or sitting at the bottom of other frameworks (e.g., Laravel) and content management systems (Drupal).
One of the most common features of Web applications is user authentication/authorization. Symfony provides a powerful Security component that can take care of most user management use cases automatically. However, you can quickly expand it to add additional authentication methods and user providers, so you don’t have to maintain your own Identity Provider (IdP). In this article, I’ll show you how to implement user authentication using Okta as the IdP within the Symfony 4.3 security module.
To follow this tutorial, you’ll need PHP, MySQL, Composer, and a free Okta developer account.
Note: In May 2025, the Okta Integrator Free Plan replaced Okta Developer Edition Accounts, and the Okta CLI was deprecated.
We preserved this post for reference, but the instructions no longer work exactly as written. Replace the Okta CLI commands by manually configuring Okta following the instructions in our Developer Documentation.
Symfony Architecture
The previous versions of Symfony (2 and 3) were standard, full-stack frameworks that assumed you would build heavy applications with frontend, backend, database access, a templating system, email delivery, and everything else you might need.
Symfony 4 abandoned this approach completely and introduced Symfony Flex – a new way to build applications. Flex allows you to start small (with just the skeleton of a future Web application) and evolve it in any direction you prefer, depending on what you’re building. It supports microservices, public APIs, single-page application backends, or complex, traditional Web apps with dozens of dependencies.
Symfony 4 consists of dozens of components you can add to your project. This tutorial uses the Flex approach – we start with just a skeleton and then gradually add more features only when they are needed.
Symfony 4 relies heavily on dependency injection and auto-wiring. If you don’t know what these terms mean, look them up – you will understand modern frameworks (in and outside of the PHP world) much better.
Symfony Security - Authorization and Authentication
Symfony Flex requires you to explicitly install the Security bundle to use it in your application. Additionally, no matter what kind of authentication method you choose, you must create your User entity class, and it must implement UserInterface.
Once you’ve created your User entity, you can configure the Security bundle so it knows where the users are stored (in the database, in memory, using HTTP basic authorization, etc.), what algorithm to use for encoding passwords, and various other options.
The most important section of the security configuration file is firewalls. You can have multiple firewalls, but only one is active during each request, and Symfony determines it by finding the first firewall that matches the URL pattern. The firewall defines if a user should be authenticated to access the requested resource, what user roles are required, etc.
I’ll review the Symfony security system in more detail (and in a more practical way) during the tutorial.
Okta Registration and Application Setup
Before proceeding with the Symfony application, set up your Okta account and application. Okta makes identity management easier, more secure, and more scalable than you’re used to. Okta is an API service that allows you to create, edit, and securely store user accounts and user account data, and connect them with one or more applications.
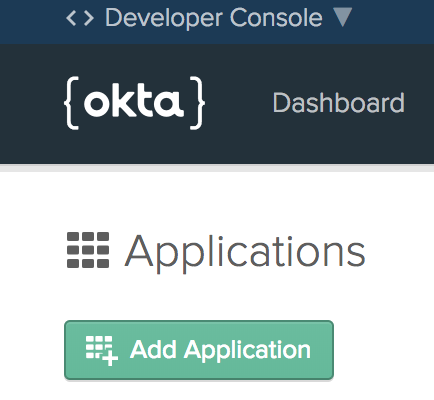
Register for a forever-free developer account, then log in to your Okta account, go to the Applications menu item and click the Add Application button:
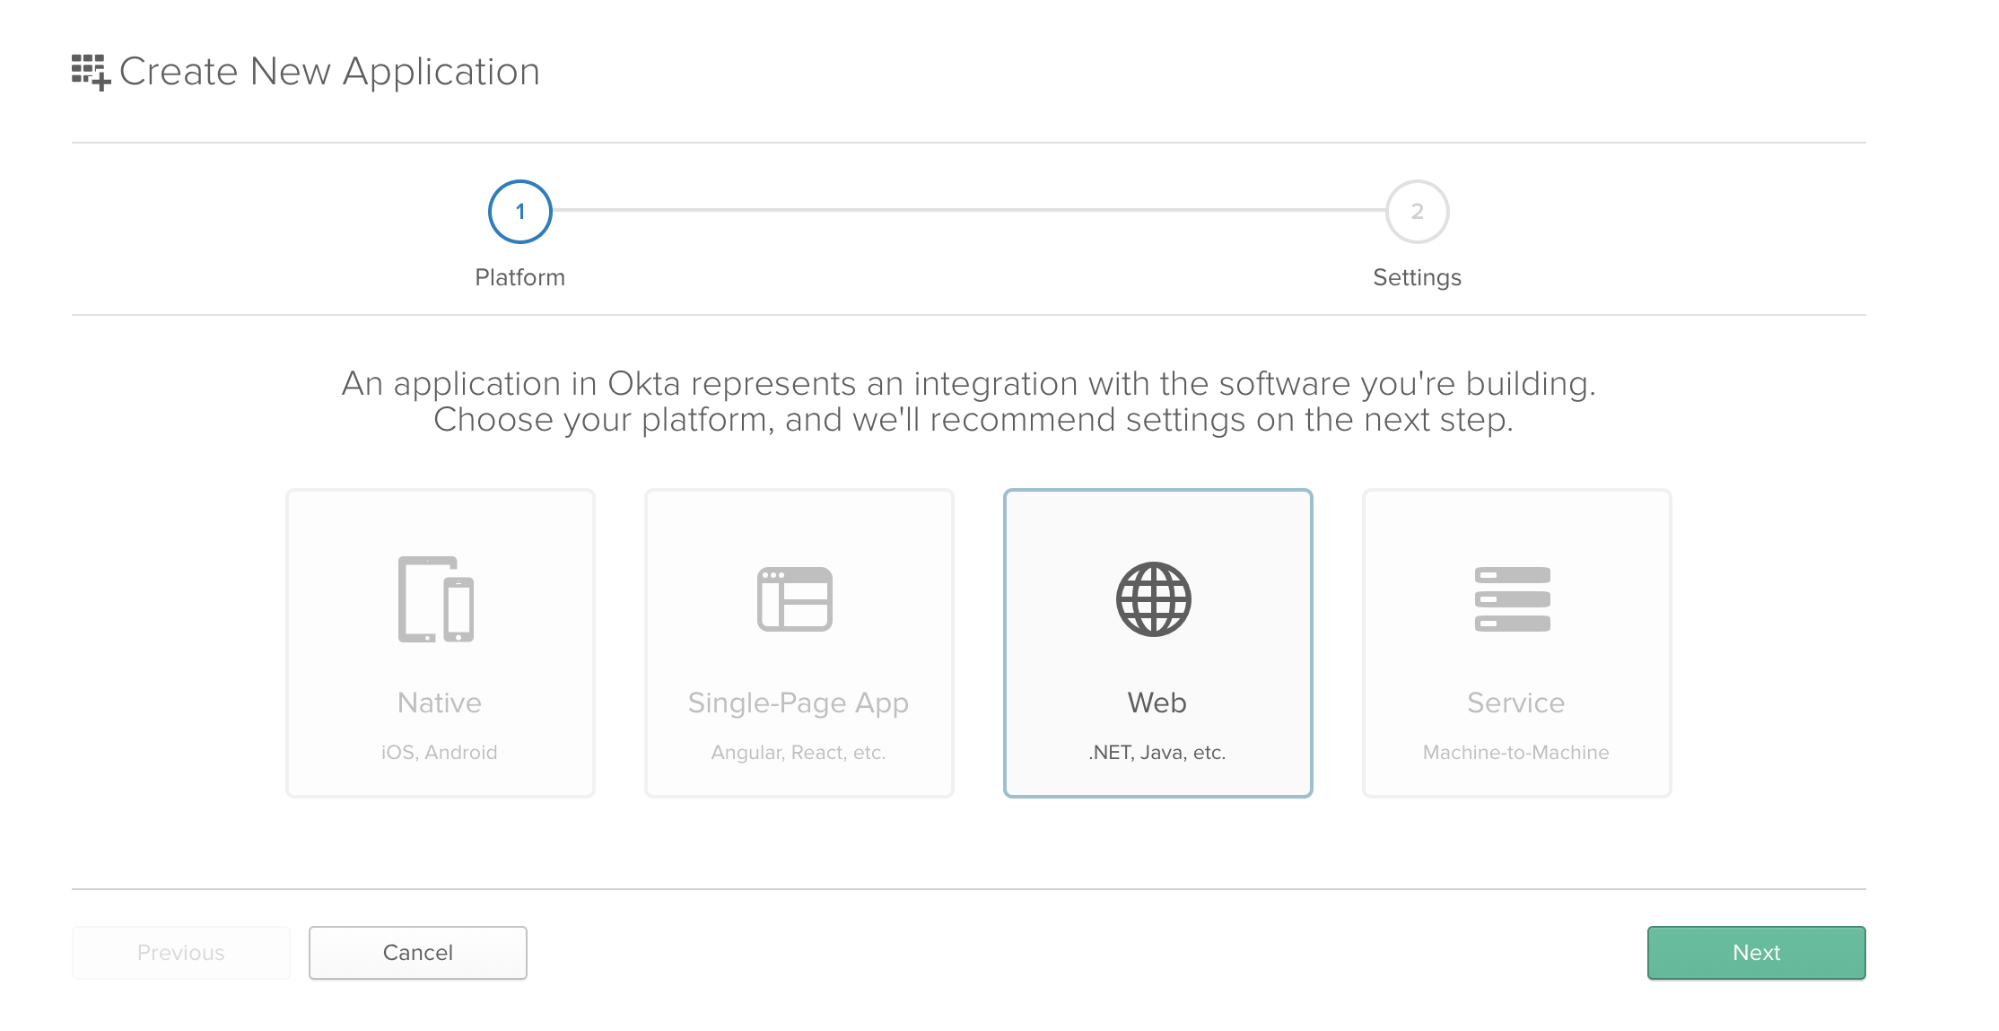
Select Web and click Next.
Enter a title, and set http://localhost:8000/ as the Base URI, and http://localhost:8000/authorization-code/callback as the Login Redirect URI, then click Done. You can leave the rest of the settings as they are.
Copy the Client ID and Client Secret from the application settings, you will need them soon.
Set up the Symfony Project
Create a MySQL database and user:
mysql -uroot -p
CREATE DATABASE symfony_auth CHARACTER SET utf8mb4 COLLATE utf8mb4_unicode_ci;
GRANT ALL on symfony_auth.* to 'symfony_auth'@'127.0.0.1' identified by 'symfony_auth';
quit
Initialize a new Symfony project using the Flex skeleton and start the built-in PHP server:
composer create-project symfony/skeleton symfony-auth-demo
cd symfony-auth-demo
php -S 127.0.0.1:8000 -t public
Load http://127.0.0.1:8000 and you should see the default Symfony page.
Make sure the version of Symfony is locked to 4.3 in composer.json by confirming the versions match the below:
...
        "symfony/console": "4.3.*",
        "symfony/dotenv": "4.3.*",
        "symfony/flex": "^1.3.1",
        "symfony/framework-bundle": "4.3.*",
        "symfony/yaml": "4.3.*"
...
Update the dependencies if you made any changes to composer.json:
composer update
Create a new .env.local file inside the main project directory to store your local credentials and add the following values:
.env.local
DATABASE_URL=mysql://symfony_auth:symfony_auth@127.0.0.1:3306/symfony_auth
OKTA_BASE_URL=http://localhost:8000/
OKTA_REDIRECT_URI=http://localhost:8000/authorization-code/callback
OKTA_CLIENT_ID=
OKTA_CLIENT_SECRET=
OKTA_METADATA_URL=https://{{yourOktaDomain}}/oauth2/default/.well-known/oauth-authorization-server
Replace the domain name in OKTA_METADATA_URL with your own (dev-xxxxxx.okta.com), and input your Client ID and Client Secret (saved when you created the Okta application).
Create a Basic Symfony Controller and Home Page Template
In this section, you’ll create your first Symfony controller and a simple home page template. Since you started with Symfony Flex and just the skeleton, add the Framework Extra bundle (so you can use the Doctrine ORM and Annotations) and the templating engine (Twig) bundle:
composer require sensio/framework-extra-bundle symfony/twig-bundle
Replace templates/base.html.twig:
<!DOCTYPE html>
<html lang="en">
    <head>
        <meta charset="utf-8">
        <meta name="viewport" content="width=device-width, initial-scale=1">

        <meta charset="UTF-8">
        <title>{% block title %}Welcome!{% endblock %}</title>

        <!-- Fonts -->
        <link href="https://fonts.googleapis.com/css?family=Nunito:200,600" rel="stylesheet">

        <!-- Styles -->
        <style>
            html, body {
                background-color: #fff;
                color: #636b6f;
                font-family: 'Nunito', sans-serif;
                font-weight: 200;
                height: 100vh;
                margin: 0;
            }
            .top-right {
                position: absolute;
                right: 10px;
                top: 18px;
            }
            .full-height {
                height: 100vh;
            }
            .flex-center {
                align-items: center;
                display: flex;
                justify-content: center;
            }
            .position-ref {
                position: relative;
            }
            .content {
                text-align: center;
            }
            .title {
                font-size: 84px;
            }
            .links > a {
                color: #636b6f;
                padding: 0 25px;
                font-size: 13px;
                font-weight: 600;
                letter-spacing: .1rem;
                text-decoration: none;
                text-transform: uppercase;
            }
            .m-b-md {
                margin-bottom: 30px;
            }
        </style>
    </head>
    <body>
        <div class="flex-center position-ref full-height">
            <div class="content">
                <div class="title m-b-md">
                    Symfony Authorization Demo
                </div>
                {% block body %}
                {% endblock %}
            </div>
        </div>

        {% block javascripts %}{% endblock %}
    </body>
</html>
Create templates/home.html.twig:
{% extends 'base.html.twig' %}
Create a new controller src/Controller/HomeController.php:
<?php
namespace App\Controller;
use Symfony\Bundle\FrameworkBundle\Controller\AbstractController;
use Symfony\Component\Routing\Annotation\Route;
class HomeController extends AbstractController
{
    /**
    * @Route("/", methods="GET")
    */
    public function home()
    {
        return $this->render('home.html.twig');
    }
}
Reload http://127.0.0.1:8000/ (run the server again if necessary) and you’ll see a greeting message: “Symfony Authorization Demo”.
Add Home Page Content for Authorized Users Only
The code still has no authentication, since you haven’t pulled in the security bundle yet. Nevertheless, let’s prepare a page for authorized users only, and put some content on the home page that only shows to authorized users. Add the Security bundle:
composer require symfony/security-bundle
Modify the HomeController body:
...
    /**
    * @Route("/", name="home")
    */
    public function home()
    {
        return $this->render('home.html.twig');
    }
    /**
    * @Route("/personal-home-page", name="personal")
    */
    public function personal()
    {
        return $this->render('personal.html.twig');
    }
    /**
    * @Route("/login", name="login")
    */
    public function login()
    {
        return;
    }
    /**
    * @Route("/logout", name="logout")
    */
    public function logout()
    {
        return;
    }
...
Modify templates/home.html.twig:
{% extends 'base.html.twig' %}
{% block body %}
<div class="links">
    <a href="{{ path('personal') }}">Personal Home Page</a>
</div>
{% endblock %}
Create a new template templates/personal.html.twig:
{% extends 'base.html.twig' %}
{% block body %}
<h2>Personal Home Page</h2>
<p>
    You are logged in as ...!
</p>
<div class="links">
    <a href="{{ path('home') }}">Back to Home</a>
</div>
{% endblock %}
Add above <div class="content"> in templates/base.html.twig:
<div class="top-right links">
    {% if is_granted('ROLE_USER') %}
        <p>
            Logged in as {{ app.user.email }}<br>
            <a href="{{ path('logout') }}">Logout</a>
        </p>
    {% else %}
        <a href="{{ path('login') }}">Log in with Okta</a>
    {% endif %}
</div>
Test the new links and pages - the Login link is not yet functional, of course, and you will have free access to the ‘Personal’ page without authorization.
Configure the Security Bundle
Security in Symfony starts with the User entity class. There is also a helpful Maker bundle which allows you to create entities quickly from the command line, let’s make use of it:
composer require symfony/orm-pack
composer require symfony/maker-bundle --dev
php bin/console make:entity

Class name of the entity to create or update (e.g. GentleGnome):

 > User
 created: src/Entity/User.php
 created: src/Repository/UserRepository.php

 Entity generated! Now let's add some fields!

 You can always add more fields later manually or by re-running this command.
 New property name (press <return> to stop adding fields):
 > name

 Field type (enter ? to see all types) [string]:
 >

 Field length [255]:
 >

 Can this field be null in the database (nullable) (yes/no) [no]:
 >

 updated: src/Entity/User.php
 Add another property? Enter the property name (or press <return> to stop adding fields):
 > email

 Field type (enter ? to see all types) [string]:
 >

 Field length [255]:
 > 191

 Can this field be null in the database (nullable) (yes/no) [no]:
 >

 updated: src/Entity/User.php
 Add another property? Enter the property name (or press <return> to stop adding fields):
 > token

 Field type (enter ? to see all types) [string]:
 > text

 Can this field be null in the database (nullable) (yes/no) [no]:
 >

 updated: src/Entity/User.php
 Add another property? Enter the property name (or press <return> to stop adding fields):
 >

Success!

Next: When you're ready, create a migration with make:migration
Next, let’s make modifications to the User entity: set the email field to be unique, implement the UserInterface, and make it serializable. Here’s the full version for clarity:
<?php
namespace App\Entity;

use Doctrine\ORM\Mapping as ORM;
use Symfony\Component\Security\Core\User\UserInterface;

/**
 * @ORM\Entity(repositoryClass="App\Repository\UserRepository")
 */
class User implements UserInterface, \Serializable
{
    /**
     * @ORM\Id()
     * @ORM\GeneratedValue()
     * @ORM\Column(type="integer")
     */
    private $id;

    /**
     * @ORM\Column(type="string", length=255)
     */
    private $name;

    /**
     * @ORM\Column(type="string", length=191, unique=true)
     */
    private $email;

    /**
     * @ORM\Column(type="text")
     */
    private $token;

    public function getId(): ?int
    {
        return $this->id;
    }

    public function getName(): ?string
    {
        return $this->name;
    }

    public function setName(string $name): self
    {
        $this->name = $name;
        return $this;
    }

    public function getEmail(): ?string
    {
        return $this->email;
    }

    public function setEmail(string $email): self
    {
        $this->email = $email;
        return $this;
    }

    public function getToken(): ?string
    {
        return $this->token;
    }

    public function setToken(string $token): self
    {
        $this->token = $token;

        return $this;
    }

    public function getRoles()
    {
        return [
            'ROLE_USER'
        ];
    }

    public function getPassword()
    {
        return null;
    }

    public function getSalt()
    {
        return null;
    }

    public function getUsername()
    {
        return $this->email;
    }

    public function eraseCredentials()
    {

    }

    public function serialize()
    {
        return serialize([
            $this->id,
            $this->name,
            $this->email,
            $this->token
        ]);
    }

    public function unserialize($serialized)
    {
        list($this->id,
            $this->name,
            $this->email,
            $this->token) = unserialize($serialized);
    }
}
Create a migration and migrate the database to create the new tables:
php bin/console make:migration
php bin/console doctrine:migrations:migrate
Modify config/packages/security.yaml:
security:
    providers:
        database:
            entity: { class: App\Entity\User, property: email }
    firewalls:
        dev:
            pattern: ^/(_(profiler|wdt)|css|images|js)/
            security: false
        main:
            anonymous: true
            pattern: ^/
            logout:
                path: logout
    access_control:
        - { path: ^/personal, roles: ROLE_USER }
Now reload the page and click the ‘Personal Home Page’ link - you’ll get a 401 Unauthorized error.
Make the link only appear if the user is logged in:
templates/home.html.twig:
{% extends 'base.html.twig' %}

{% block body %}
{% if is_granted('ROLE_USER') %}
<div class="links">
    <a href="{{ path('personal') }}">Personal Home Page</a>
</div>
{% endif %}
{% endblock %}
Also modify the text paragraph in templates/personal.html.twig:
...
<p>
    You are logged in as {{ app.user.email }}!
</p>
...
Ok, this is cleaner. The next step is to implement the Login link using Okta.
Connect the Login Link to Okta
You will create a new service OktaApiService to handle the communication with Okta. It will need access to the .env.local variables that define the URLs, client ID and client secret, so add the DotEnv component:
composer require symfony/dotenv
Create a new folder src/Services, and inside, create a new file OktaApiService.php:
<?php
namespace App\Services;

use Symfony\Component\HttpFoundation\Session\SessionInterface;

class OktaApiService
{
    private $session;
    private $clientId;
    private $clientSecret;
    private $redirectUri;
    private $metadataUrl;

    public function __construct(SessionInterface $session)
    {
        $this->session      = $session;
        $this->clientId     = $_ENV['OKTA_CLIENT_ID'];
        $this->clientSecret = $_ENV['OKTA_CLIENT_SECRET'];
        $this->redirectUri  = $_ENV['OKTA_REDIRECT_URI'];
        $this->metadataUrl  = $_ENV['OKTA_METADATA_URL'];
    }

    public function buildAuthorizeUrl()
    {
        $this->session->set('state', bin2hex(random_bytes(5)));
        $metadata = $this->httpRequest($this->metadataUrl);
        $url = $metadata->authorization_endpoint . '?' . http_build_query([
            'response_type' => 'code',
            'client_id' => $this->clientId,
            'redirect_uri' => $this->redirectUri,
            'scope' => 'openid email',
            'state' => $this->session->get('state')
        ]);
        return $url;
    }

    public function authorizeUser()
    {
        if ($this->session->get('state') != $_GET['state']) {
            return null;
        }

        if (isset($_GET['error'])) {
            return null;
        }

        $metadata = $this->httpRequest($this->metadataUrl);

        $response = $this->httpRequest($metadata->token_endpoint, [
            'grant_type' => 'authorization_code',
            'code' => $_GET['code'],
            'redirect_uri' => $this->redirectUri,
            'client_id' => $this->clientId,
            'client_secret' => $this->clientSecret
        ]);

        if (!isset($response->id_token)) {
            return null;
        }

        $this->session->set('id_token', $response->id_token);

        $claims = json_decode(base64_decode(explode('.', $response->id_token)[1]));

        return $claims;
    }

    private function httpRequest($url, $params = null)
    {
        $ch = curl_init($url);
        curl_setopt($ch, CURLOPT_RETURNTRANSFER, true);
        if ($params) {
            curl_setopt($ch, CURLOPT_POSTFIELDS, http_build_query($params));
        }
        return json_decode(curl_exec($ch));
    }
}
Quite a few things happen inside this service. This service initiates the authentication flow and redirects the user to Okta, and confirms their user info when Okta redirects back to the app. If you want to understand it better, check this article: Build Simple Login in PHP.
Also, using the $_GET array directly is more limiting compared to Symfony’s Request object, so you can refactor this service by injecting the Request object and using it instead of $_GET.
Modify the HomeController to implement the login and callback methods:
src/Controller/HomeController.php (full version):
<?php
namespace App\Controller;

use Symfony\Component\Routing\Annotation\Route;
use Symfony\Component\HttpFoundation\Response;
use Symfony\Bundle\FrameworkBundle\Controller\AbstractController;
use Symfony\Component\HttpFoundation\Session\SessionInterface;
use Symfony\Component\Security\Core\Authentication\Token\UsernamePasswordToken;

use App\Entity\User;
use App\Repository\UserRepository;
use App\Services\OktaApiService;

class HomeController extends AbstractController
{

    private $session;
    private $okta;
    private $userRepository;

    public function __construct(
        SessionInterface $session,
        OktaApiService $okta,
        UserRepository $UserRepository)
    {
        $this->session = $session;
        $this->okta = $okta;
        $this->userRepository = $UserRepository;
    }

    /**
    * @Route("/", name="home")
    */
    public function home()
    {
        return $this->render('home.html.twig');
    }

    /**
    * @Route("/personal-home-page", name="personal")
    */
    public function personal()
    {
        return $this->render('personal.html.twig');
    }

    /**
    * @Route("/login", name="login")
    */
    public function login()
    {
        return $this->redirect($this->okta->buildAuthorizeUrl());
    }

    /**
    * @Route("/authorization-code/callback", name="callback")
    */
    public function callback()
    {
        $token = $this->okta->authorizeUser();

        if (!$token) {
            return $this->redirectToRoute('home');
        }

        $email = $token->email;
        $user = $this->userRepository->findOneByEmail($email);

        if (! $user) {
            $user = new User();
            $user->setEmail($email);
            $user->setName($email);
            $user->setToken($accessToken);
            $em = $this->getDoctrine()->getManager();
            $em->persist($user);
            $em->flush();
        }

        // Manually authenticate the user
        $token = new UsernamePasswordToken($user, null, 'main', $user->getRoles());
        $this->get('security.token_storage')->setToken($token);
        $this->get('session')->set('_security_main', serialize($token));

        return $this->redirectToRoute('home');
    }

    /**
    * @Route("/logout", name="logout")
    */
    public function logout()
    {

    }
}
Clicking the login button now takes you to the Okta login form, or immediately logs you in if you’re already logged into Okta. Once you’re logged in, you can access the Personal Home Page link and you can also see your Okta email displayed as your login identifier.
Learn More About Symfony, Authentication, and Okta
You can find the whole code example on GitHub. If you would like to learn more about Symfony, Okta, and PHP Authentication, start with these resources:
- OAuth 2.0 and OpenID Connect
- Build Simple Login in PHP
- Tutorial: Build a Basic CRUD App with Symfony 4 and Vue
- Tutorial: Build Your First CRUD App with Symfony and Angular
- Tutorial: Build a Secure CRUD App with Symfony and React
Like what you learned today? Follow us on Twitter, like us on Facebook, check us out on LinkedIn, and subscribe to our YouTube channel for more awesome content!
Okta Developer Blog Comment Policy
We welcome relevant and respectful comments. Off-topic comments may be removed.