Build Simple Authentication in Express in 15 Minutes

Building web pages with user authentication can be a huge pain. You typically need to set up some sort of database to manage users even if you’re not using the database for anything else. You would then need to store their password hashes, and you almost need a degree on internet security to know the safest ways to do that.
What if I told you it didn’t have to be so complicated? Using Okta and Express, I’ll show you how to really quickly set up a website that has secure user authentication, without the need for a separate database. Everything you need you could deploy anywhere that you can run Node.
Note: In May 2025, the Okta Integrator Free Plan replaced Okta Developer Edition Accounts, and the Okta CLI was deprecated.
We preserved this post for reference, but the instructions no longer work exactly as written. Replace the Okta CLI commands by manually configuring Okta following the instructions in our Developer Documentation.
Create a New App in Express
Creating a new app in Express doesn’t take a lot of code. You’ll need to set up your project structure and install some dependencies, which you can do with just a few commands:
mkdir new-project
cd new-project
npm init -y
npm install express hbs @4.17.1 hbs@4.1.1
npm install --save-dev nodemon@2.0.4 standard@16.0.4
Edit the "scripts" section of your package.json to look like this:
"scripts": {
  "start": "nodemon .",
  "test": "standard"
},
Now create a new file index.js:
index.js
const express = require('express');
const path = require('path');

const app = express();

app.set('views', path.join(__dirname, 'views'));
app.set('view engine', 'hbs');

app.use(express.urlencoded({ extended: true }));
app.use('/static', express.static('public'));

// @TODO add auth middleware
// @TODO add registration page

app.use('/', require('./routes/index'));

const port = process.env.PORT || 3000;
app.listen(port, () => console.log(`App listening on port ${port}`));
Make a few new folders as well:
mkdir -p public/images routes views
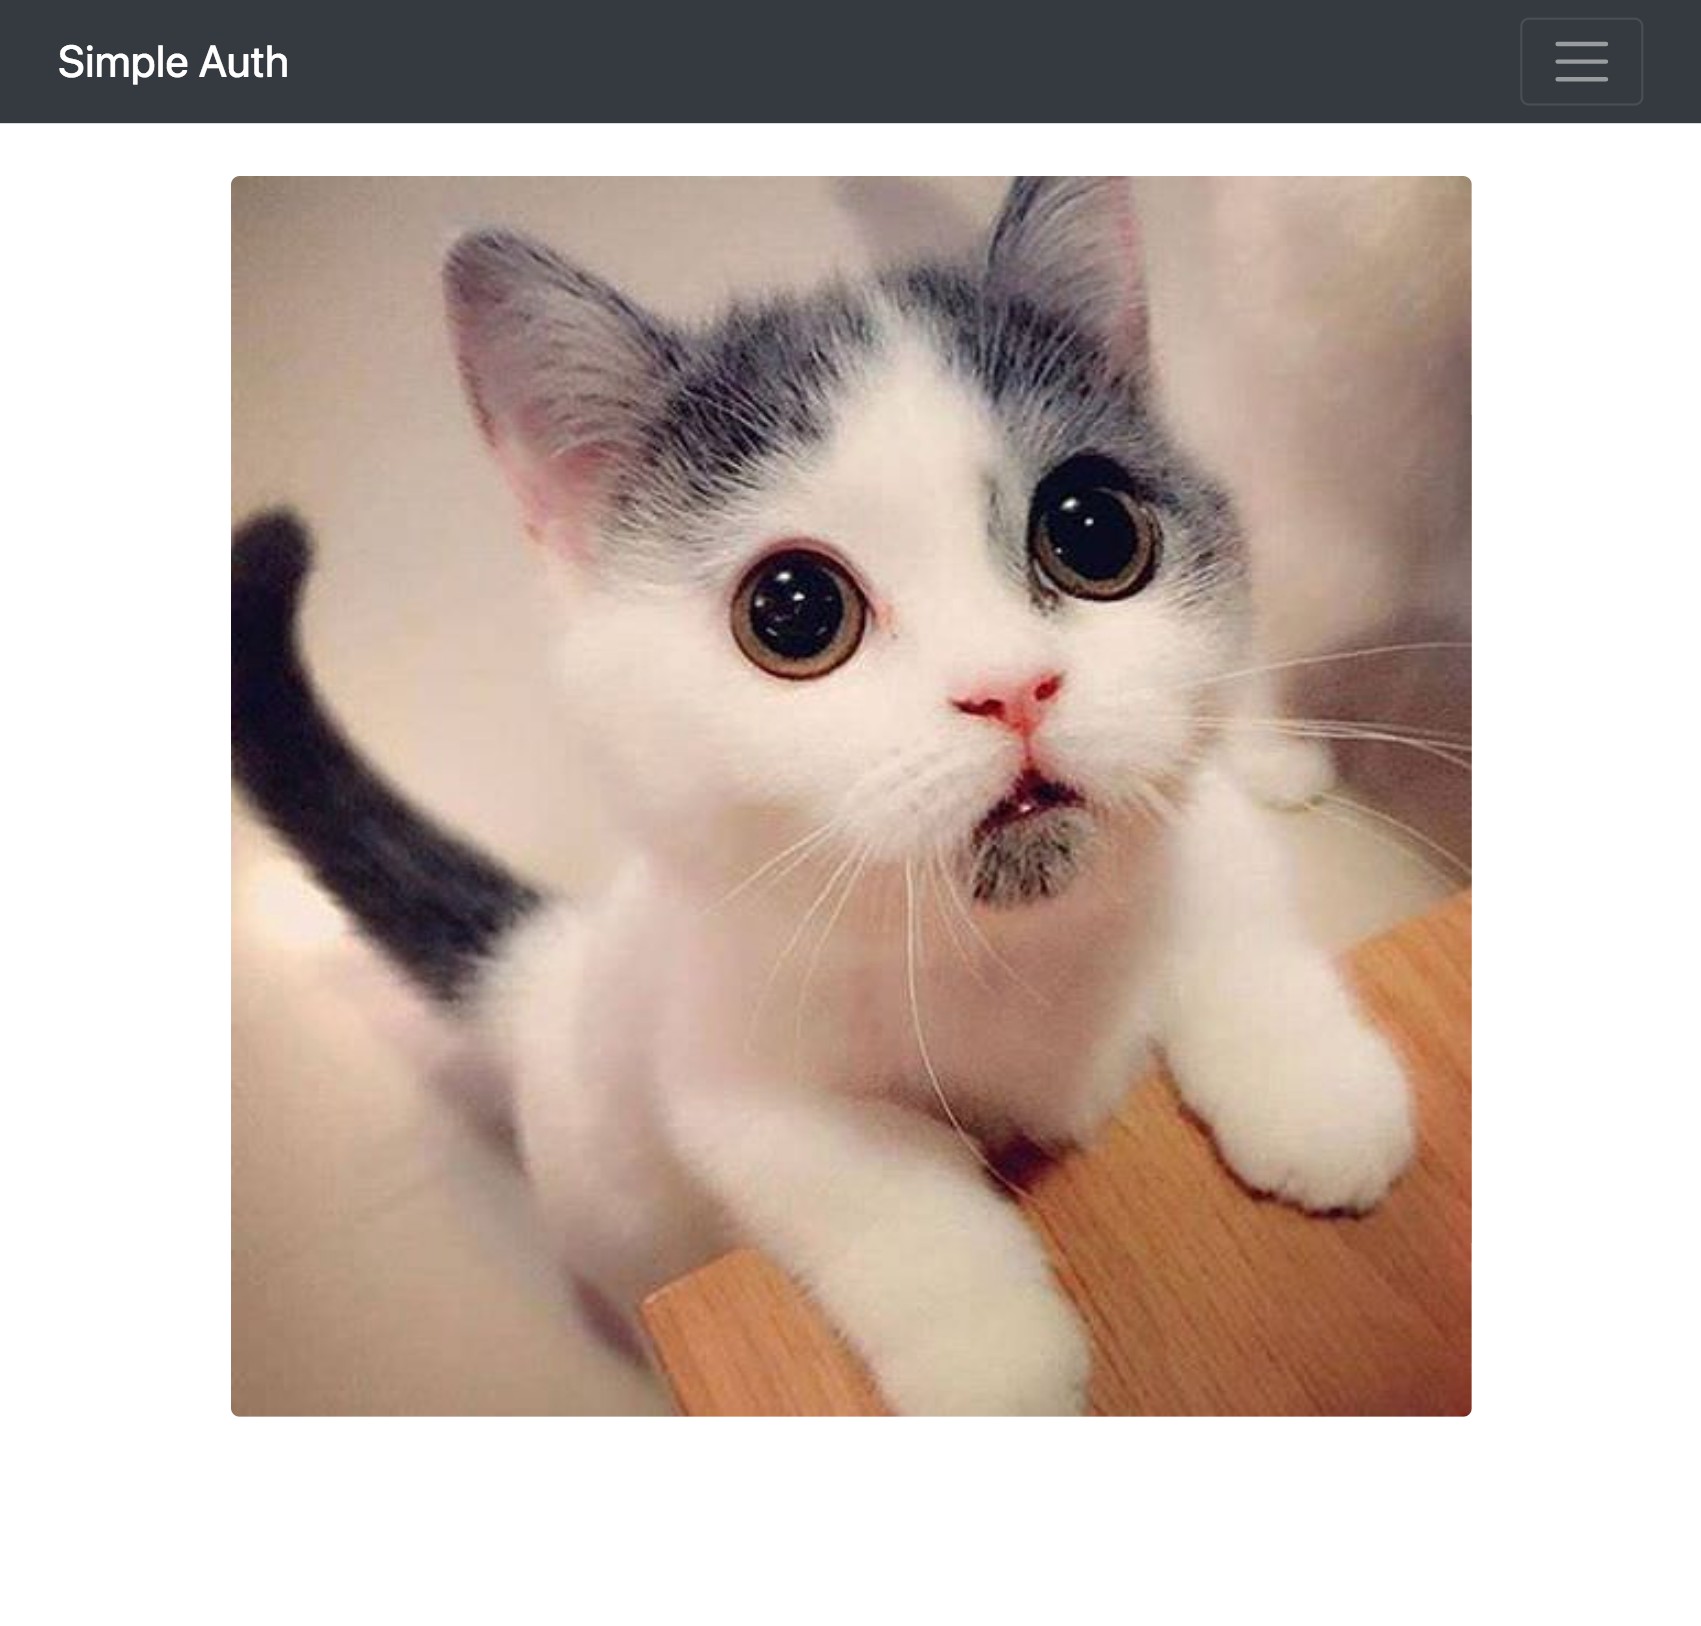
Put a fun greeting image in public/images/greeting.jpg that you will use to greet users.
Express allows for a templating engine. You already set up Handlebars (hbs) above, so now you can create a couple of views. One will be the HTML skeleton that contains the basic markup, and the other will be your homepage (the index view).
views/layout.hbs
<!doctype html>
<html lang="en">
  <head>
    <!-- Required meta tags -->
    <meta charset="utf-8" />
    <meta name="viewport" content="width=device-width, initial-scale=1, shrink-to-fit=no" />

    <!-- Bootstrap CSS -->
    <link
      rel="stylesheet"
      href="https://stackpath.bootstrapcdn.com/bootstrap/4.1.3/css/bootstrap.min.css"
      integrity="sha384-MCw98/SFnGE8fJT3GXwEOngsV7Zt27NXFoaoApmYm81iuXoPkFOJwJ8ERdknLPMO"
      crossorigin="anonymous"
    />

    <title>Simple Auth in 15 Minutes</title>
  </head>
  <body>
    <nav class="navbar navbar-expand-lg navbar-dark bg-dark">
      <div class="container">
        <a class="navbar-brand" href="/">Navbar</a>
        <button
          class="navbar-toggler"
          type="button"
          data-toggle="collapse"
          data-target="#navbarNavAltMarkup"
          aria-controls="navbarNavAltMarkup"
          aria-expanded="false"
          aria-label="Toggle navigation"
        >
          <span class="navbar-toggler-icon"></span>
        </button>
        <div class="collapse navbar-collapse" id="navbarNavAltMarkup">
          <div class="navbar-nav">
            {{!-- @TODO add auth links --}}
          </div>
        </div>
      </div>
    </nav>
    <main class="container pt-4">{{{body}}}</main>

    <!-- Optional JavaScript -->
    <!-- jQuery first, then Popper.js, then Bootstrap JS -->
    <script
      src="https://code.jquery.com/jquery-3.3.1.slim.min.js"
      integrity="sha384-q8i/X+965DzO0rT7abK41JStQIAqVgRVzpbzo5smXKp4YfRvH+8abtTE1Pi6jizo"
      crossorigin="anonymous"
    ></script>
    <script
      src="https://cdnjs.cloudflare.com/ajax/libs/popper.js/1.14.3/umd/popper.min.js"
      integrity="sha384-ZMP7rVo3mIykV+2+9J3UJ46jBk0WLaUAdn689aCwoqbBJiSnjAK/l8WvCWPIPm49"
      crossorigin="anonymous"
    ></script>
    <script
      src="https://stackpath.bootstrapcdn.com/bootstrap/4.1.3/js/bootstrap.min.js"
      integrity="sha384-ChfqqxuZUCnJSK3+MXmPNIyE6ZbWh2IMqE241rYiqJxyMiZ6OW/JmZQ5stwEULTy"
      crossorigin="anonymous"
    ></script>
  </body>
</html>
This layout will get rendered for each view, with the specific view replacing the {{{body}}} tag.
Now you can create the index view. This will just display the image you put in public/images/greeting.jpg:
views/index.hbs
<div class="d-flex justify-content-center">
  <img class="rounded img-fluid" src="/static/images/greeting.jpg" />
</div>
To tell the homepage to use that file when rendering, you’ll also need to create a router. You already required routes/index.js in the index.js file of your app, so now you just need to create that file:
routes/index.js
const express = require('express');
const router = express.Router();

router.get('/', (req, res) => {
  res.render('index');
});

module.exports = router;
The call to res.render('index') tells Express to use the render the index.hbs view and respond with the results back to the client. You can also pass in some context, but it’s not needed here just yet.
Now you can run your server with the following command (as you make changes, the server will reload and you’ll just need to refresh the page):
npm start
Go to http://localhost:3000 to see your greeting.
Add Authentication to Your Express App
You now have a simple web server with a homepage and a lovely greeting image. The next step I promised to show you is to add secure user authentication. This is where Okta comes in to play. Okta is a cloud service that allows developers to create, edit, and securely store user accounts and user account data, and connect them with one or multiple applications. Our API enables you to:
- Authenticate and authorize your users
- Store data about your users
- Perform password-based and social login
- Secure your application with multi-factor authentication
- And much more! Check out our product documentation
If you don’t already have one, sign up for a forever-free developer account.
You’re going to need to save some information to use in the app. Create a new file named .env in the root of your application. In it, enter your organization URL.
HOST_URL=http://localhost:3000
OKTA_ORG_URL=https://{yourOktaOrgUrl}
You will also need a random string to use as an App Secret for sessions. You can generate this with the following command:
npm install -g uuid-cli
echo "APP_SECRET=`uuid`" >> .env
Next, create an Okta OIDC application.
Install the Okta CLI and run okta login.
Then, run okta apps create. Select the default app name, or change it as you see fit.
Choose Web and press Enter.
Select Other.
Then, change the Redirect URI to http://localhost:3000/callback and use http://localhost:3000 for the Logout Redirect URI.
What does the Okta CLI do?
The Okta CLI will create an OIDC Web App in your Okta Org. It will add the redirect URIs you specified and grant access to the Everyone group. You will see output like the following when it’s finished:
Okta application configuration has been written to: /path/to/app/.okta.env
Run cat .okta.env (or type .okta.env on Windows) to see the issuer and credentials for your app.
export OKTA_OAUTH2_ISSUER="https://dev-133337.okta.com/oauth2/default"
export OKTA_OAUTH2_CLIENT_ID="0oab8eb55Kb9jdMIr5d6"
export OKTA_OAUTH2_CLIENT_SECRET="NEVER-SHOW-SECRETS"
Your Okta domain is the first part of your issuer, before /oauth2/default.
NOTE: You can also use the Okta Admin Console to create your app. See Create a Web App for more information.
Copy the client ID and client secret from .okta.env file created during the above step into your .env file.
OKTA_CLIENT_ID={yourClientId}
OKTA_CLIENT_SECRET={yourClientSecret}
The last piece of information you need from Okta is an API token. In your developer console, navigate to Security > API > Tokens (tab), then click on Create Token. You can have many tokens, so just give this one a name that reminds you what it’s for, like “15 Minute Auth”. You’ll be given a token that you can only see right now. If you lose the token, you’ll have to create another one. Add this to .env also.
OKTA_TOKEN={yourOktaAPIToken}
Add Auth Middleware to Your Express App
Okta provides some middleware that will give you information about whether the user is registered or not. It also gives you a login page by default at /login. Add the following dependencies:
npm install dotenv@10.0.0 express-session@1.17.1 @okta/oidc-middleware@4.3.0 @okta/okta-sdk-nodejs@5.0.0
In your index.js page, replace the // @TODO add auth middleware comment with the following code:
app.use(
  require('express-session')({
    secret: process.env.APP_SECRET,
    resave: true,
    saveUninitialized: false
  })
);

const { ExpressOIDC } = require('@okta/oidc-middleware');
const oidc = new ExpressOIDC({
  appBaseUrl: process.env.HOST_URL,
  issuer: `${process.env.OKTA_ORG_URL}/oauth2/default`,
  client_id: process.env.OKTA_CLIENT_ID,
  client_secret: process.env.OKTA_CLIENT_SECRET,
  redirect_uri: `${process.env.HOST_URL}/callback`,
  scope: 'openid profile',
  routes: {
    loginCallback: {
      path: '/callback'
    }
  }
});

app.use(oidc.router);
Also, make sure to add the following to the very top of index.js. This needs to be there before any other code in order to load your environment variables, so it should be the very first line of the file:
require('dotenv').config();
Create a Registration Page
You should now be able to login by going to /login in an incognito window. This will redirect you to your Okta developer page, and after you sign in you’ll be redirected back to the homepage.
For people who aren’t registered yet, they’ll need a registration page. At the time of this writing, Okta doesn’t provide a registration page out of the box, but you can build one pretty quickly. Create a new view for your route:
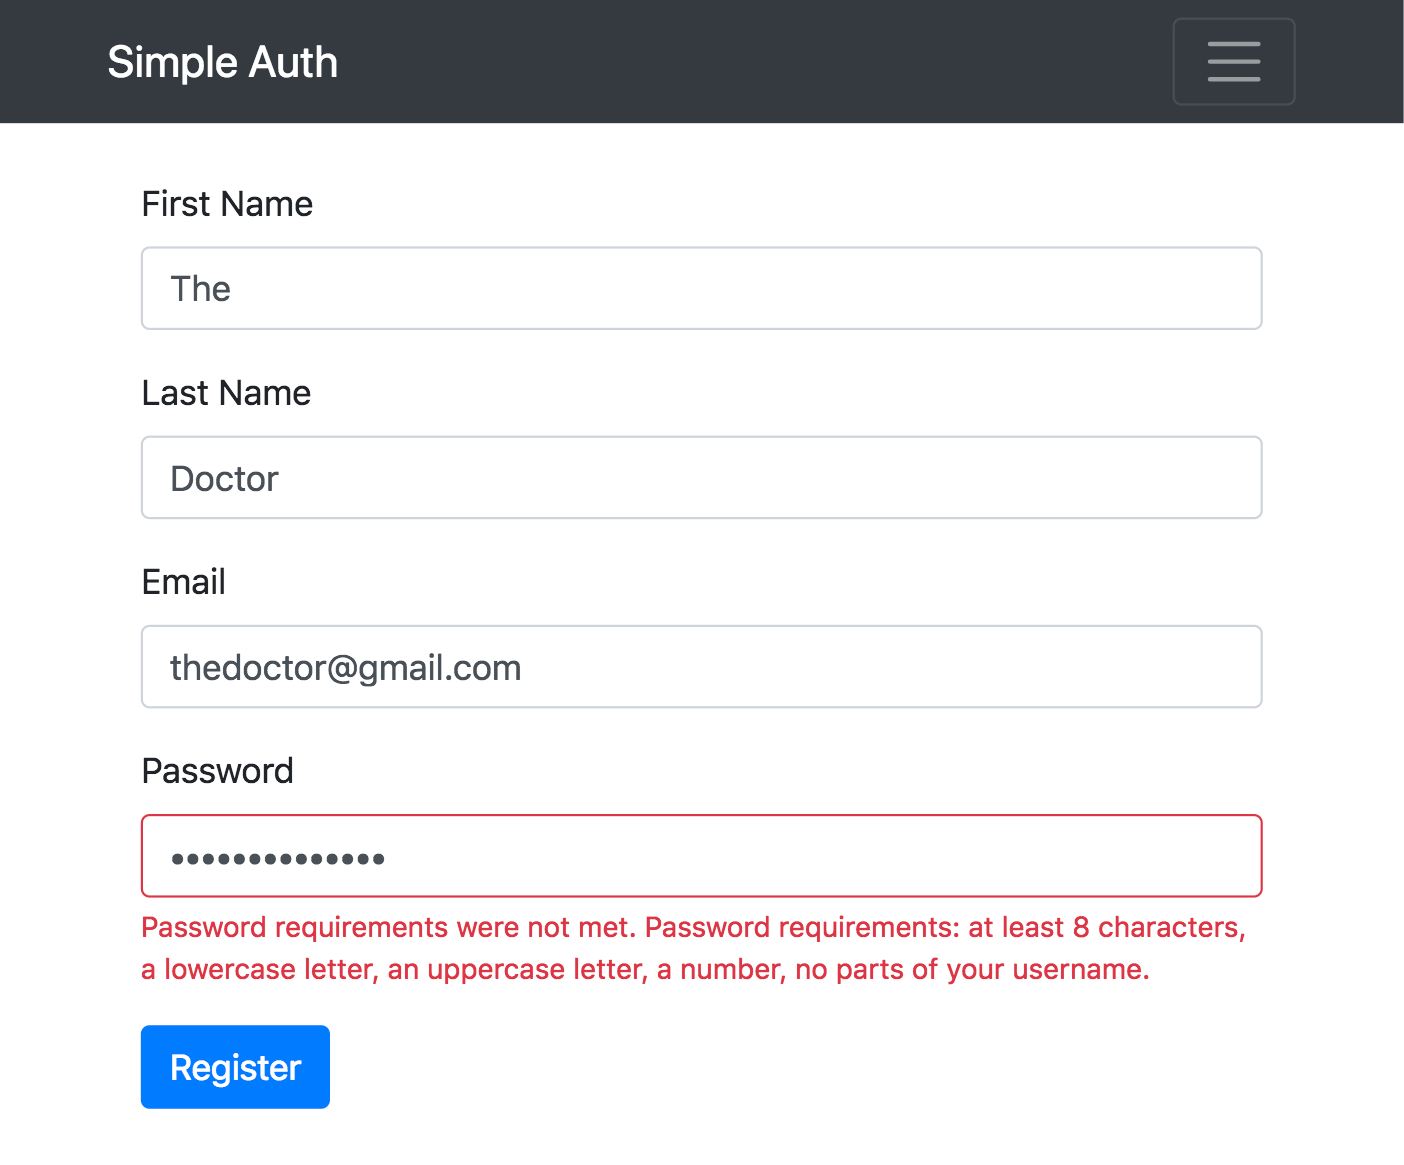
views/register.hbs
<form method="post">
  {{#each fields}}
    <div class="form-group">
      <label>{{this.label}}</label>
      <input
        required
        name="{{this.name}}"
        type="{{this.type}}"
        class="form-control {{#if this.error}}is-invalid{{/if}}"
        value="{{this.value}}"
      />
      <div class="invalid-feedback">{{this.error}}</div>
    </div>
  {{/each}}
  <button type="submit" class="btn btn-primary">Register</button>
</form>
You’ll also need a new route:
routes/register.js
const okta = require('@okta/okta-sdk-nodejs');
const express = require('express');

const router = express.Router();

const client = new okta.Client({
  orgUrl: process.env.OKTA_ORG_URL,
  token: process.env.OKTA_TOKEN
});

// Take the user to the homepage if they're already logged in
router.use('/', (req, res, next) => {
  if (req.userContext) {
    return res.redirect('/');
  }

  next();
});

const fields = [
  { name: 'firstName', label: 'First Name' },
  { name: 'lastName', label: 'Last Name' },
  { name: 'email', label: 'Email', type: 'email' },
  { name: 'password', label: 'Password', type: 'password' }
];

router.get('/', (req, res) => {
  res.render('register', { fields });
});

router.post('/', async (req, res) => {
  const { body } = req;

  try {
    await client.createUser({
      profile: {
        firstName: body.firstName,
        lastName: body.lastName,
        email: body.email,
        login: body.email
      },
      credentials: {
        password: {
          value: body.password
        }
      }
    });

    res.redirect('/');
  } catch ({ errorCauses }) {
    const errors = {};

    errorCauses.forEach(({ errorSummary }) => {
      const [, field, error] = /^(.+?): (.+)$/.exec(errorSummary);
      errors[field] = error;
    });

    res.render('register', {
      errors,
      fields: fields.map((field) => ({
        ...field,
        error: errors[field.name],
        value: body[field.name]
      }))
    });
  }
});

module.exports = router;
To tie this all together, in your root index.js file, make sure to replace the // @TODO add registration page comment with the following:
app.use('/register', require('./routes/register'));
You can now have users register. If they run into an error, it will be displayed with the field that caused the error.
The Default Logout Route
Okta’s middleware also provides a /logout route.
If you’re logged in, hitting http://localhosts:3000/logout with a POST request will invalidate the token and delete the user’s session. It will then redirect you back to the homepage. If you’re not logged in, it just takes you back to the homepage.
Add Links to the New Routes in Your Express App
To more easily expose these routes to the user, you can add some buttons. You’ll need to expose the user context to the view to know if a user is logged in or not so you know which buttons to display, and potentially greet the user.
In routes/index.js replace the res.render('index') line with the following:
routes/index.js
const { userContext } = req;
res.render('index', { userContext });
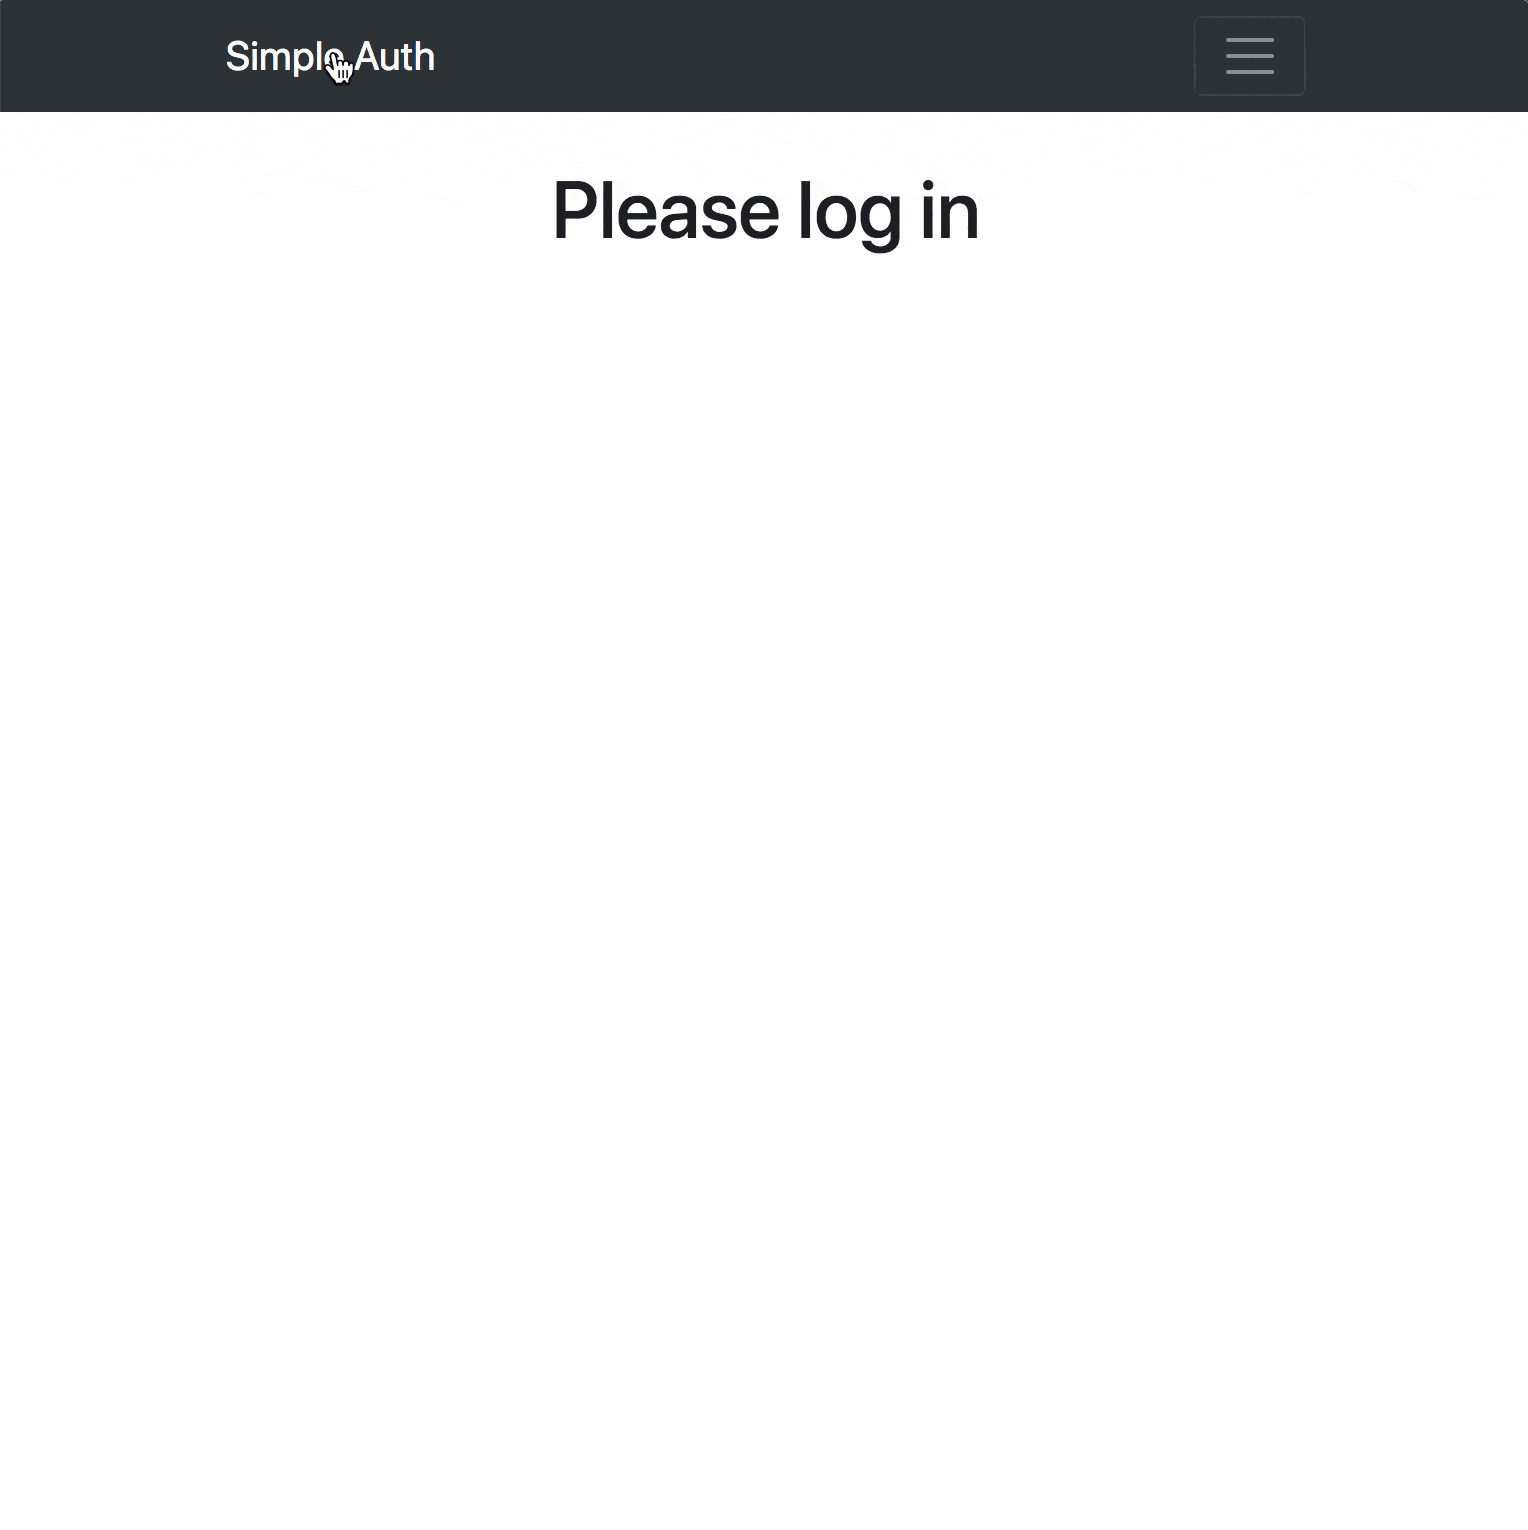
While you’re at it, you can also prevent the user from seeing your greeting unless they’re logged in. Change your views/index.hbs file to the following:
views/index.hbs
{{#if userContext}}
  <h1 class="text-center">Hi {{userContext.userinfo.given_name}}!</h1>
  <div class="d-flex justify-content-center">
    <img class="rounded img-fluid" src="/static/images/greeting.jpg" />
  </div>
{{else}}
  <h1 class="text-center">Please log in</h1>
{{/if}}
Now to add the buttons. In views/layout.hbs, replace the {{!-- @TODO add auth links --}} comment with the following:
views/layout.hbs
{{#if userContext}}
  <form method="POST" action="/logout">
    <button type="submit" class="btn btn-link nav-item nav-link">Logout</button>
  </form>
{{else}}
  <a class="nav-item nav-link" href="/login">Log in</a>
  <a class="nav-item nav-link" href="/register">Register</a>
{{/if}}
Check out the final product to make sure it works.
Learn more about Node, Express, and Okta
That’s it! In just a few minutes, you went from an empty folder to a secure website with user registration and login. You didn’t even have to set up a database! If you want to see the final code sample for reference, you can find it on GitHub.
If you’d like to learn more about Node and Express check out some of these other posts on the Okta developer blog:
- Build and Understand Express Middleware through Examples
- Build and Understand a Simple Node.js Website with User Authentication
- Build a Simple REST API with Node and OAuth 2.0
- Build Secure Node Authentication with Passport.js and OpenID Connect
- Secure a Node API with OAuth 2.0 Client Credentials
If you have any questions about this post, please add a comment below. For more awesome content, follow @oktadev on Twitter, like us on Facebook, or subscribe to our YouTube channel.
Changelog:
- Oct 18, 2021: Updated to use the Okta CLI and latest Okta libraries. These changes can be viewed in oktadev/okta-blog#925. Code changes to the example app can be seen at oktadev/okta-node-express-15-minute-auth-example#17.
- Jun 15, 2020: Updated to use the v4.0.1 version of Okta Middleware. See the code changes in the example app on GitHub. Changes to this article can be viewed in oktadev/okta-blog#325.
Okta Developer Blog Comment Policy
We welcome relevant and respectful comments. Off-topic comments may be removed.