Build a Cryptocurrency Comparison Site with Vue.js
Vue.js is a simple JavaScript framework that lets you build dynamic front-end web applications. Lots of people compare it to React and Angular.
As a back-end developer, and someone not incredibly experienced with frontend web applications, I’ve found Vue.js a lot simpler to learn, use, and be successful with vs. React and Angular.
In this article, I’ll walk you through the basics of Vue.js, and in the process we’ll build a very simple single page application that compares the prices of the top 10 cryptocurrencies. To keep things simple, we’ll just be using plain old HTML, CSS, and JavaScript for this – nothing fancy required.
Who is Vue Built For?
Vue.js is a framework designed to handle the view layer of your web applications. This means Vue will only handle things related to displaying the user interface on the page.
Vue uses plain old HTML, and doesn’t require you to learn another language (like JSX with React), and can therefore be picked up by web designers and other front-end developers who are familiar with HTML already.
If you’re looking for a simple JavaScript framework to help you dynamically display data, you can’t really go wrong with Vue:
Vue is simple, fast, and well documented.
Vue Basics
Let’s take a look at a minimal Vue.js web page:
<html>
  <body>
    <!-- All that Vue cares about is what is inside this div. -->
    <div id="app">
    </div>
    <script src="https://unpkg.com/vue"></script>
    <script>
      let app = new Vue({
        el: "#app"
      });
    </script>
  </body>
</html>
This minimal web page will initialize Vue.js fully, and have it manage
everything inside of the app div. The el parameter in the Vue constructor tells
Vue to bind itself to the element (in this case a div) whose id is app.
Data Management
One of the core things Vue does is manage data. In order to tell Vue what data
you want to manage, you need to explicitly declare every bit of data you expect
Vue to dynamically manage for you upfront in a special data object, like so:
<html>
  <body>
    <div id="app">
      <h1>{{ message }}</h1>
    </div>

    <script src="https://unpkg.com/vue"></script>
    <script>
      let app = new Vue({
        el: "#app",
        data: {
          message: "Hi!"
        }
      });
    </script>
  </body>
</html>
As you can see in the example above, I’m defining a new data object inside the
Vue constructor, and defining my data inside of it. In this case, I’m just
telling Vue that I’d like it to manage a message for me.
You’ll also notice that my HTML code now contains a variable: {{ message }}.
After Vue starts up, and scans the app div for code, it will start replacing any
variables it finds with the related data objects you’ve defined.
If you open the JavaScript console in your browser, and attempt to modify the message value like so:
app.message = "yo";
You’ll notice that the contents of the page will change!

This happens because Vue is managing that data for you. When the data changes, Vue re-renders the variable on the page.
This behavior makes it really easy to build dynamic web applications, since any time you change data in JavaScript, the page is re-rendered on your behalf and you don’t need to worry about any sort of UI management.
Conditionals
In addition to managing pieces of data, Vue also supports writing programming logic in your HTML templates.
Vue supports typical if, else if, and else conditionals using the v-if,
v-else-if, and v-else syntax.
Let’s take a look at a simple Vue application that uses an if-else conditional.
<html>
  <body>
    <div id="app">
      <h1>{{ message }}</h1>
      <p v-if="secretMessage">This is a secret HTML element.</p>
      <p v-else>Welcome to the website.</p>
    </div>

    <script src="https://unpkg.com/vue"></script>
    <script>
      let app = new Vue({
        el: "#app",
        data: {
          message: "Hi!",
          secretMessage: false
        }
      });
    </script>
  </body>
</html>
As you can see above, we now have two paragraph tags, each with a different message. If you run this in your browser, you’ll see the following:
Because the secretMessage variable is false, the conditional statement in HTML
will fail to execute, and the else statement code will be ran, outputting the
HTML element with the welcome message.
Since we know Vue is dynamic, we can now open the JavaScript console, modify the
value of secretMessage, and BAM, the page will re-render with the secret message
being shown.
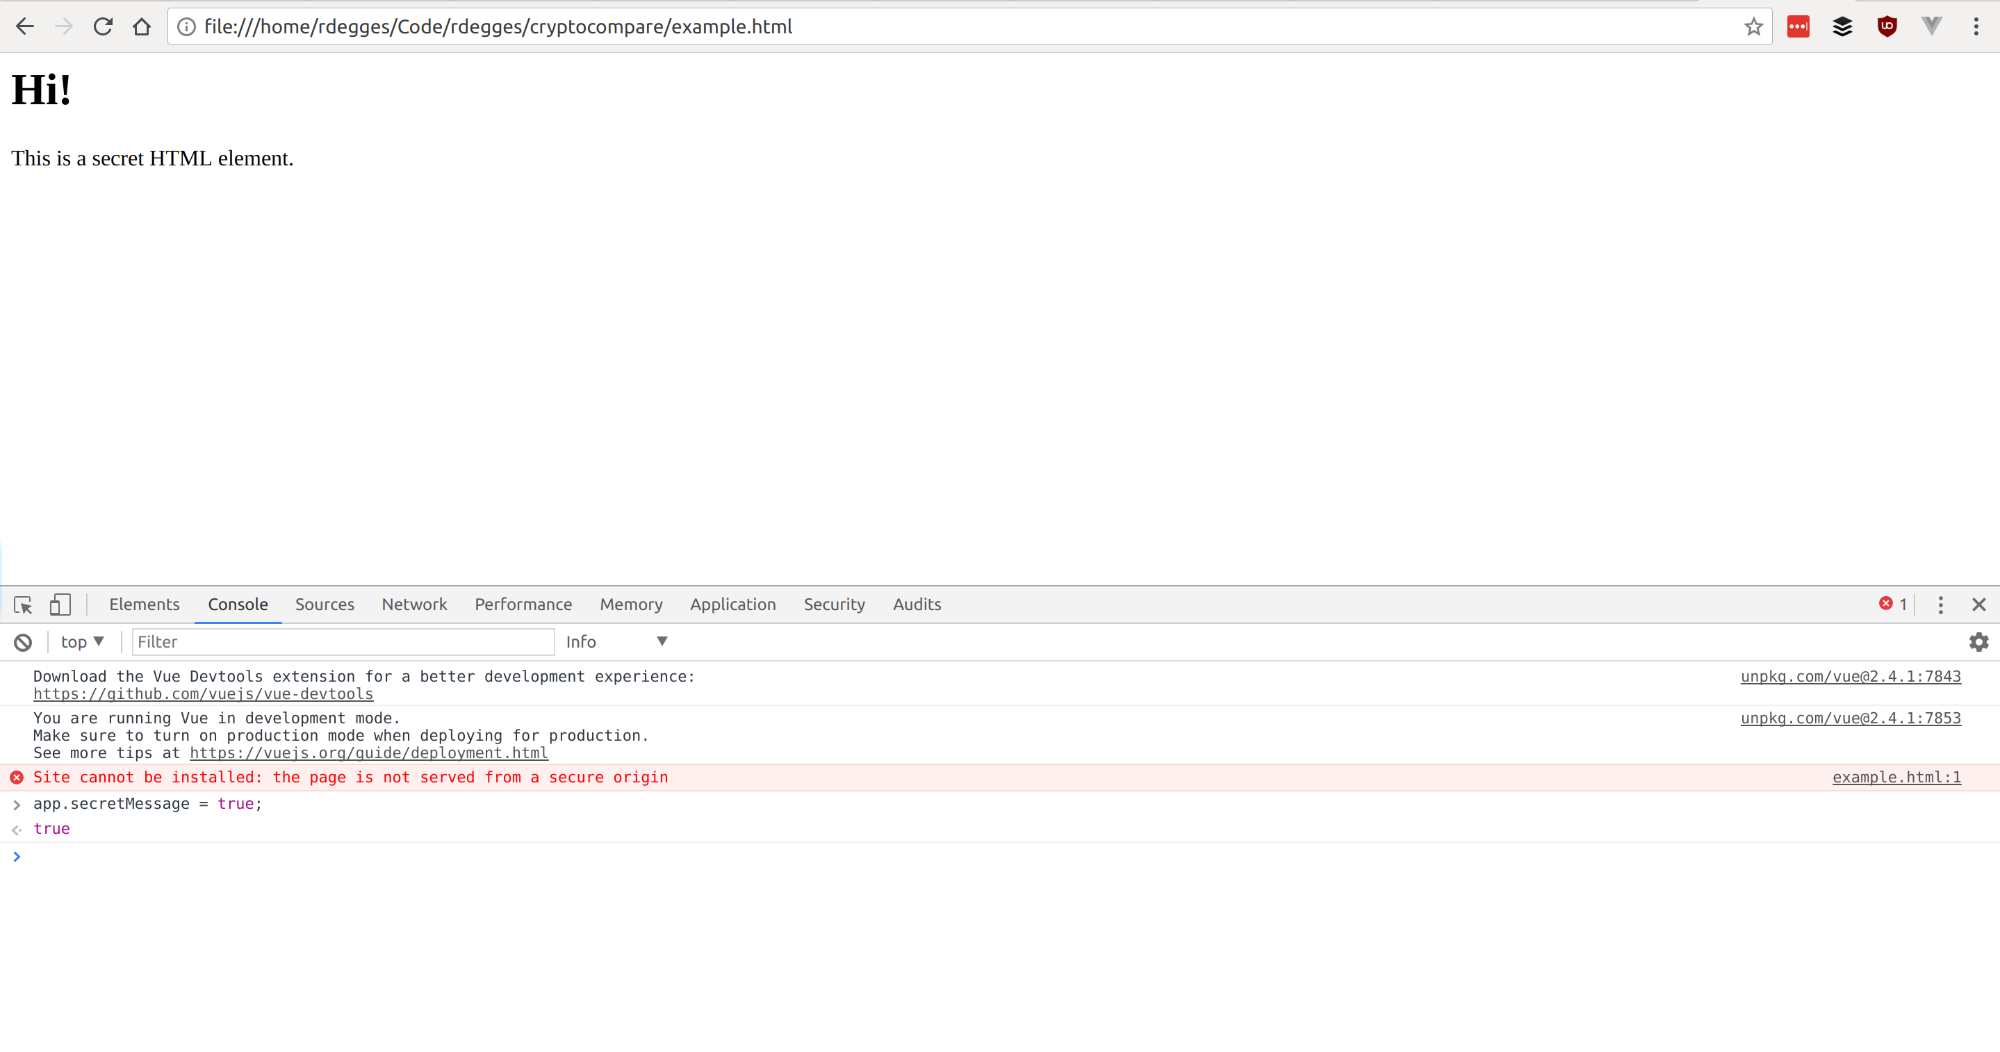
One important thing to note: when using Vue conditionals, the DOM will be
modified. In the example above, when we enable the secretMessage flag and show
the message, the previously shown paragraph tag will be completely removed from
the DOM.
Looping
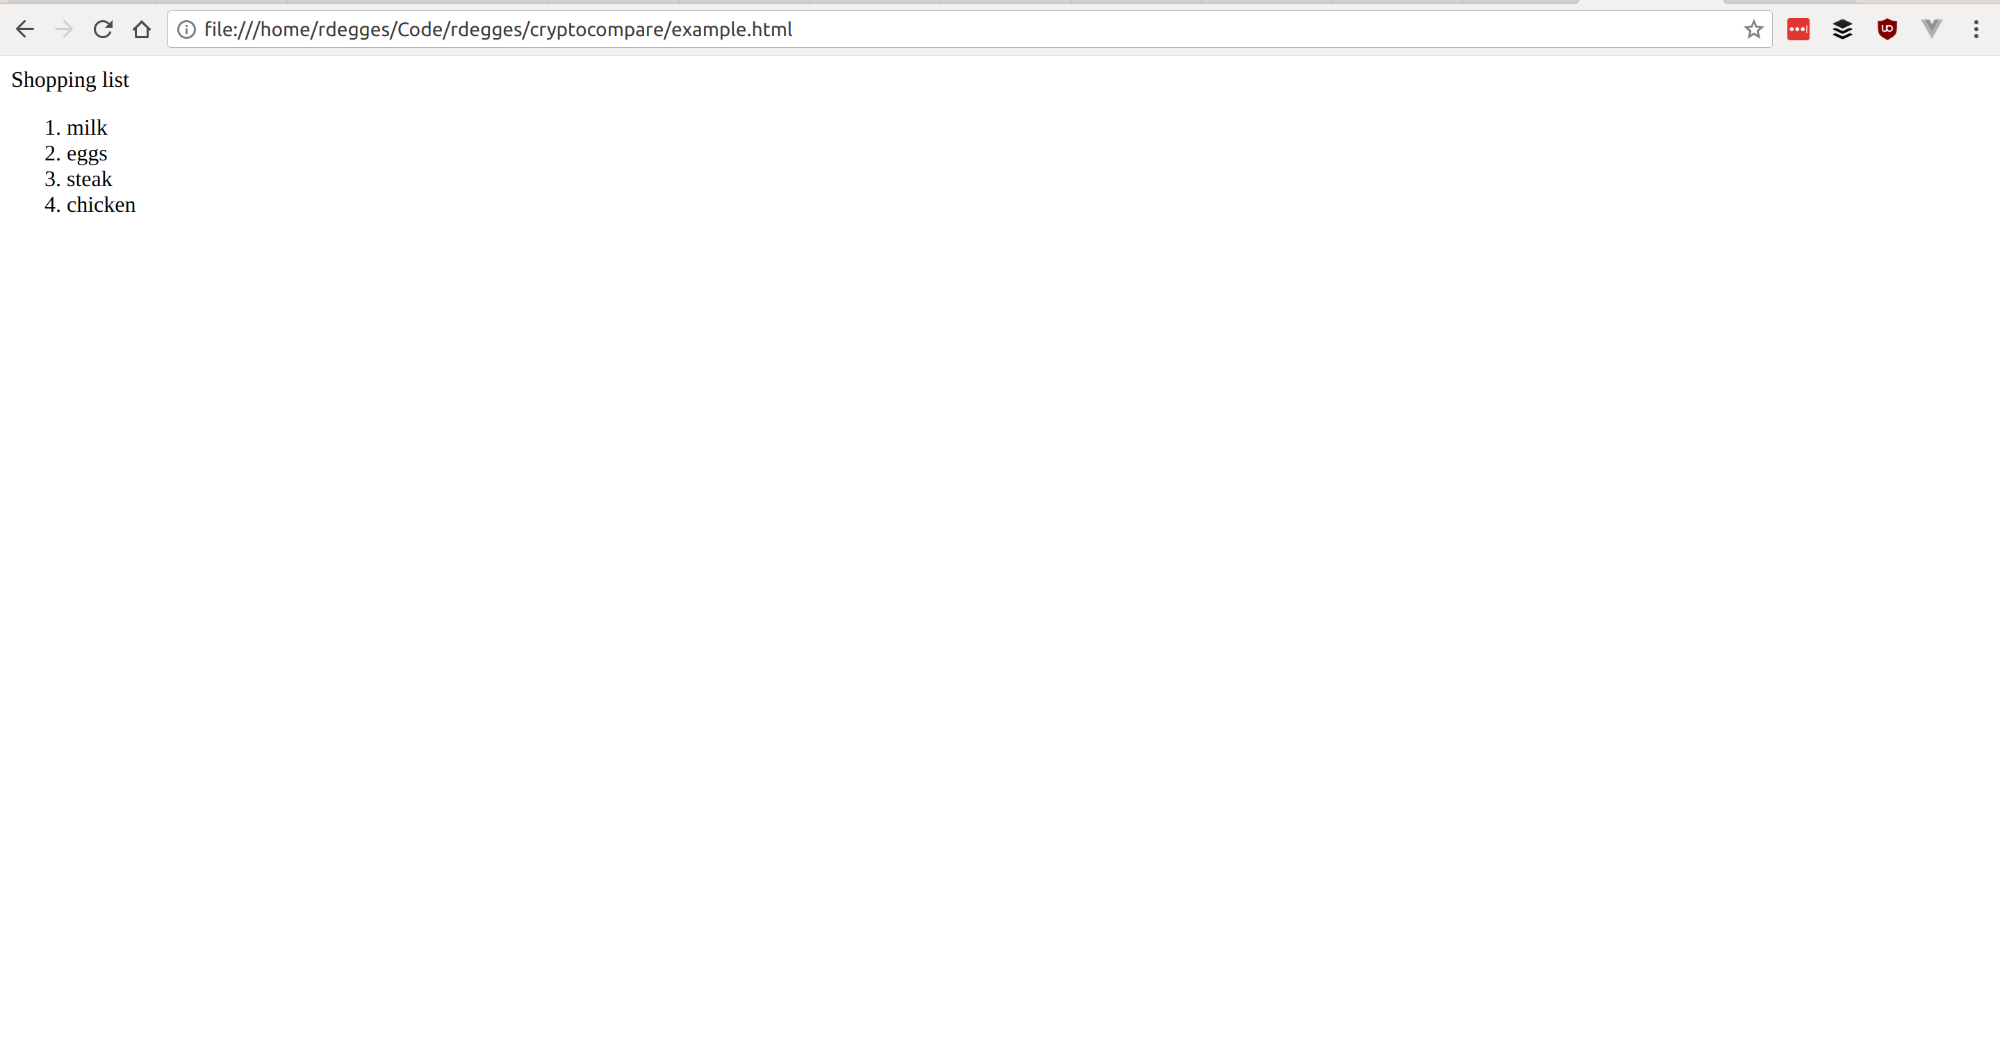
Vue also supports simple loops. Here’s a small example application that uses Vue to loop through an array of shopping items, displaying them in an ordered list:
<html>
  <body>
    <div id="app">
      <p>Shopping list</p>
      <ol>
        <li v-for="item in shoppingList">{{ item }}</li>
      </ol>
    </div>

    <script src="https://unpkg.com/vue"></script>
    <script>
      let app = new Vue({
        el: "#app",
        data: {
          shoppingList: [
            "milk",
            "eggs",
            "steak",
            "chicken"
          ]
        }
      });
    </script>
  </body>
</html>
When this runs in the browser, you’ll see that the v-for directive Vue provides
will repeat itself, looping over the contents of the shoppingList array:
If you go modify the shoppingList array in the JavaScript console, you’ll notice
the same behavior as before: Vue will re-render the shopping list for you
automatically.
Two-Way Data Management
The next basic concept we’ll cover is two-way data binding. Up until now, you’ve seen that whatever data you define in Vue will appropriately render when changed. This is really useful, but there’s a little bit more we can do.
In some circumstances, like when accepting user input, you’ll also want Vue to manage user controlled data. This is called two way data binding: when both the user (and you) can manage the same pieces of data in your application.
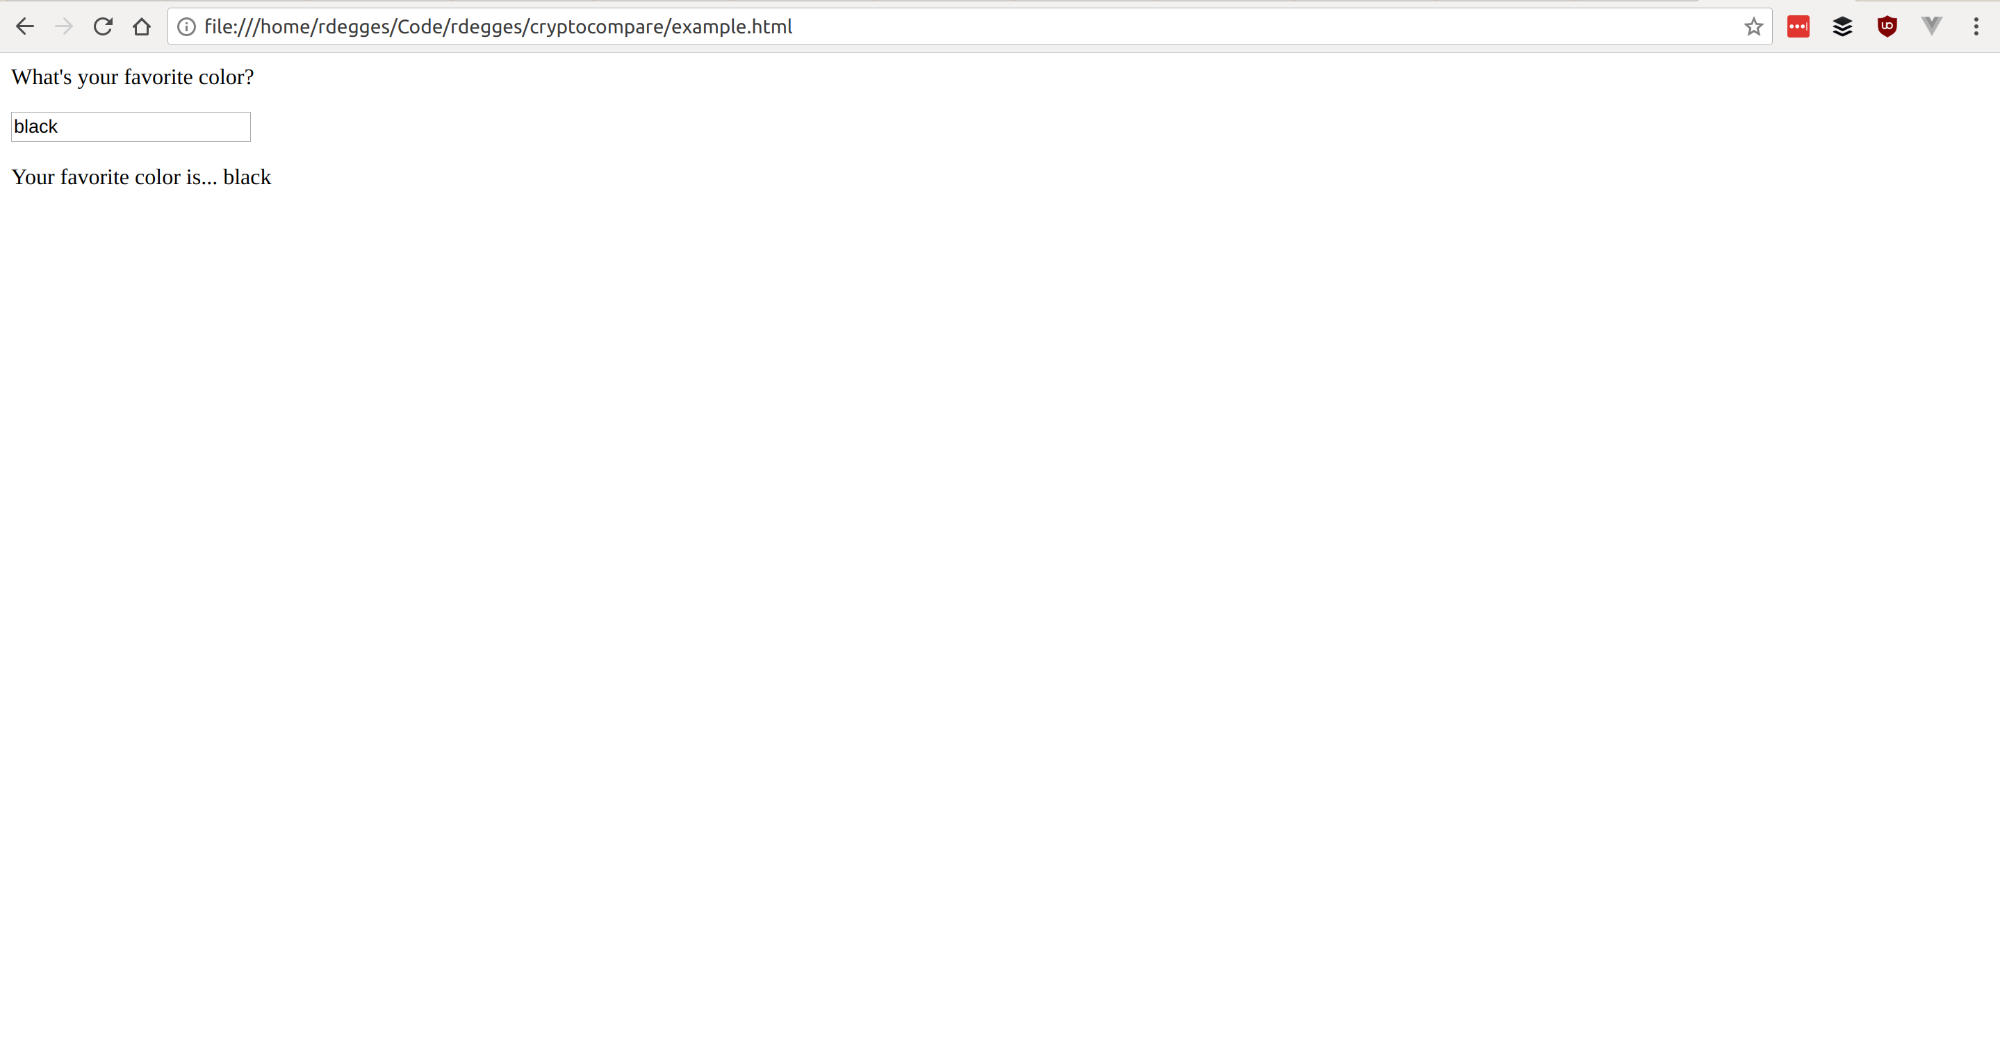
Let’s take a look at a simple Vue application that uses two-way data binding:
<html>
  <body>
    <div id="app">
      <p>What's your favorite color?</p>
      <input v-model="color" type="text">
      <p>Your favorite color is... {{ color }}</p>
    </div>

    <script src="https://unpkg.com/vue"></script>
    <script>
      let app = new Vue({
        el: "#app",
        data: {
          color: ''
        }
      });
    </script>
  </body>
</html>
As you can see if you try this out yourself, when you enter data into the input
box, the color variable is changed, and then re-rendered on the page. This is
two-way data binding.
If you go into the JavaScript console and modify this directly yourself, you’ll see it change again.
Doing Things with Methods
Now that we’ve covered some of the fundamental Vue.js properties, let’s talk about something a little more interesting: Vue methods.
In addition to managing data, Vue also provides a convenient way to structure your JavaScript actions.
Let’s take a look at a very simple example application that uses a method to capitalize the color from the example above when clicked:
<html>
  <body>
    <div id="app">
      <p>What's your favorite color?</p>
      <input v-model="color" type="text">
      <p>Your favorite color is... {{ color }}</p>
      <input type="button" v-on:click="capitalizeColor" value="Capitalize">
    </div>

    <script src="https://unpkg.com/vue"></script>
    <script>
      let app = new Vue({
        el: "#app",
        data: {
          color: ''
        },
        methods: {
          capitalizeColor: function() {
            this.color = this.color.toUpperCase();
          }
        }
      });
    </script>
  </body>
</html>
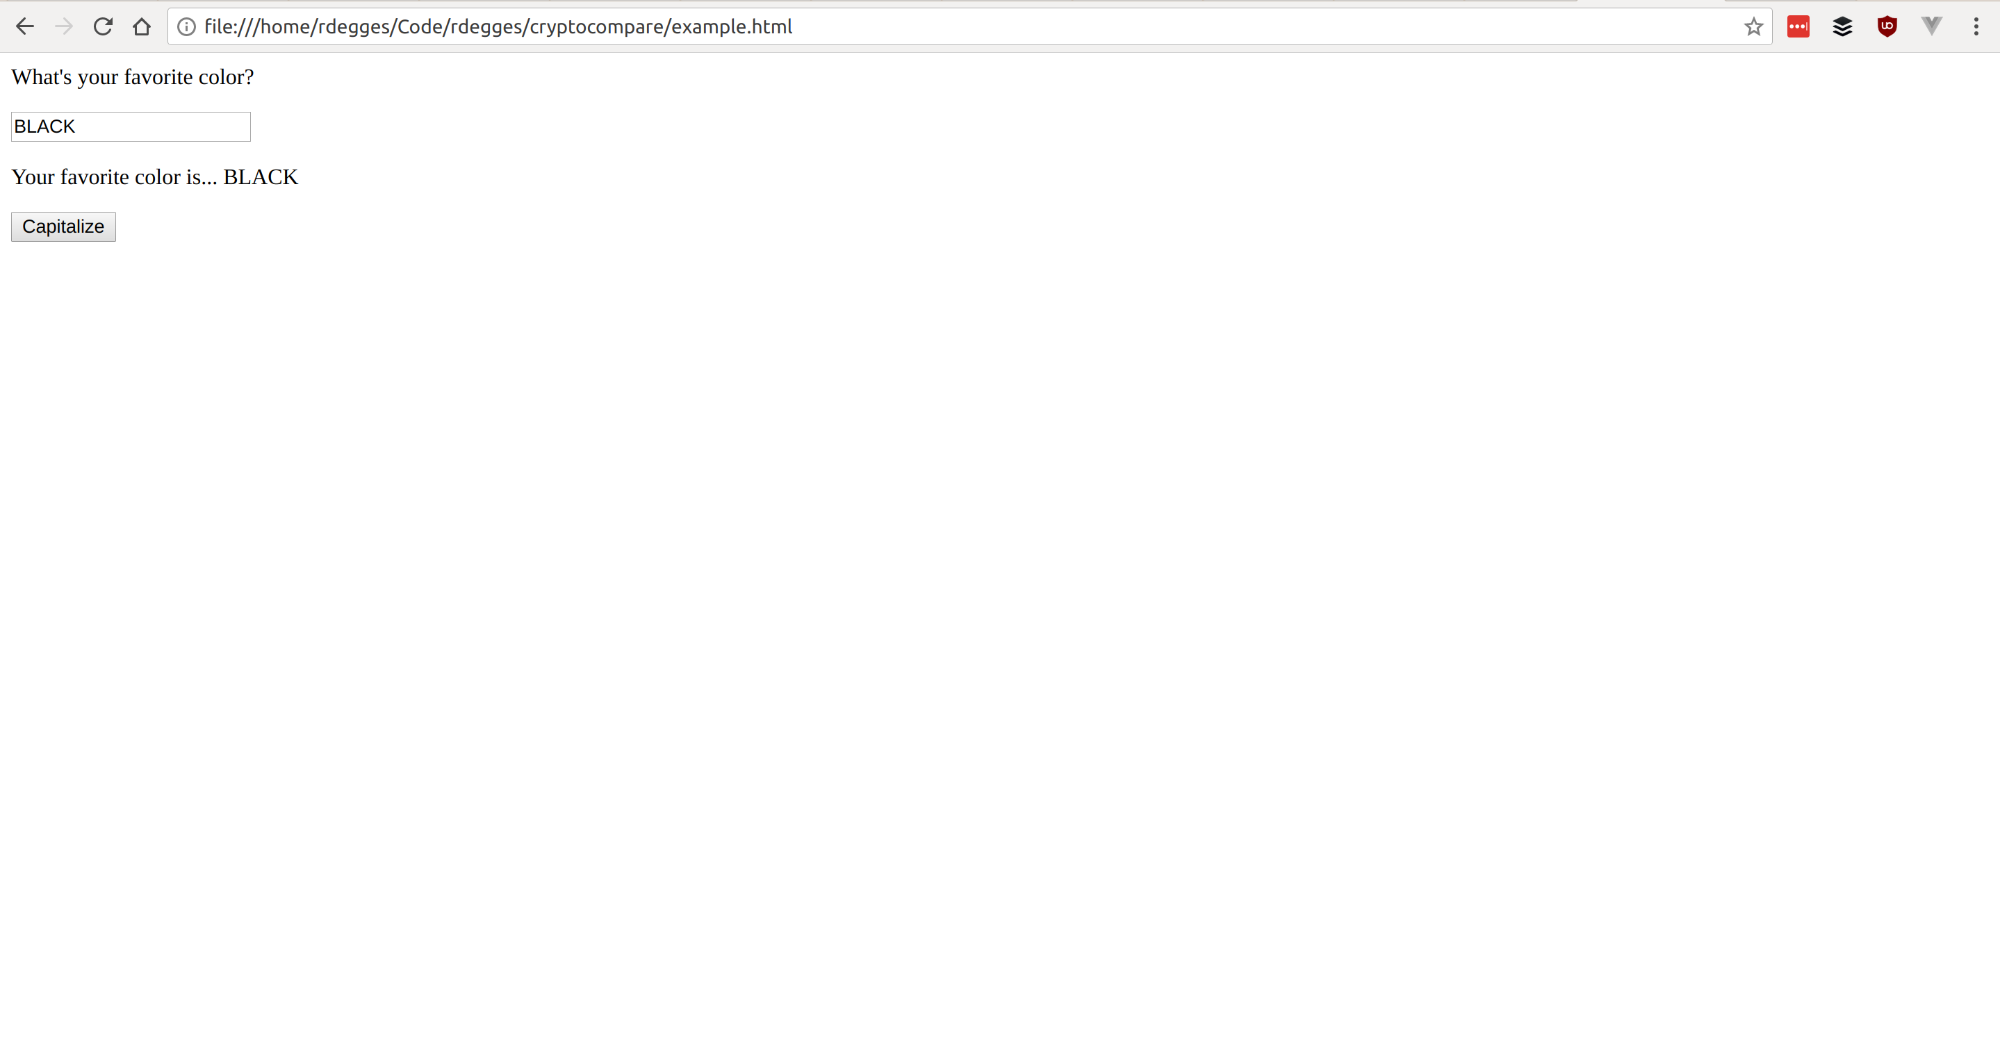
In this example, we define a function in the methods object of Vue, which simply
capitalizes the color variable from before. We then use the v-on:click attribute
on our input tag to tell Vue that when the button is clicked, it should run that
method.
Pretty straightforward, right?
Build a Cryptocurrency Comparison Website with Vue
Now that we’ve had a chance to look at some basic Vue.js patterns and usage, let’s try to build something with our new found knowledge!
I’ve been using Bitcoin for many years now, and enjoy working with it, so I thought it’d be fun to hack together a little single page app that displays the top 10 cryptocurrencies as well as their price data.
This could be a useful dashboard for someone who’s considering purchasing cryptocurrencies for speculative purposes, as it gives you an idea of how these things are valued at any given time.
So… Let’s get started!
NOTE: If you’d rather just look at the completed project on GitHub, you can check it out on GitHub.
Bootstrapping
The first thing we’ll do is get our page bootstrapped with some basic HTML, JavaScript libraries, etc.
Because I’m not a web designer (and have poor visual taste!), we’ll be using Twitter’s Bootstrap library for basic styling. We’ll also be using Vue.js, and a few other small helper libraries which will be explained later on:
- vue2-filters, a simple Vue.js library that provides some useful template filters for displaying text. In this app, I only the filter for helping to display currency values nicely.
- axios, a popular JavaScript library for making HTTP requests
All in all, our basic HTML page with all our dependencies included will look like this:
<!DOCTYPE html>
<html lang="en">
<head>
<meta charset="utf-8">
<meta http-equiv="X-UA-Compatible" content="IE=edge">
<meta name="viewport" content="width=device-width, initial-scale=1">
<title>CryptoCompare</title>
<link rel="stylesheet" href="https://maxcdn.bootstrapcdn.com/bootstrap/3.3.7/css/bootstrap.min.css" integrity="sha384-BVYiiSIFeK1dGmJRAkycuHAHRg32OmUcww7on3RYdg4Va+PmSTsz/K68vbdEjh4u" crossorigin="anonymous">
<link rel="stylesheet" href="https://bootswatch.com/simplex/bootstrap.min.css">
<link rel="stylesheet" href="/static/css/style.css">
<!--[if lt IE 9]>
<script src="https://oss.maxcdn.com/html5shiv/3.7.3/html5shiv.min.js"></script>
<script src="https://oss.maxcdn.com/respond/1.4.2/respond.min.js"></script>
<![endif]-->
</head>
<body class="container">
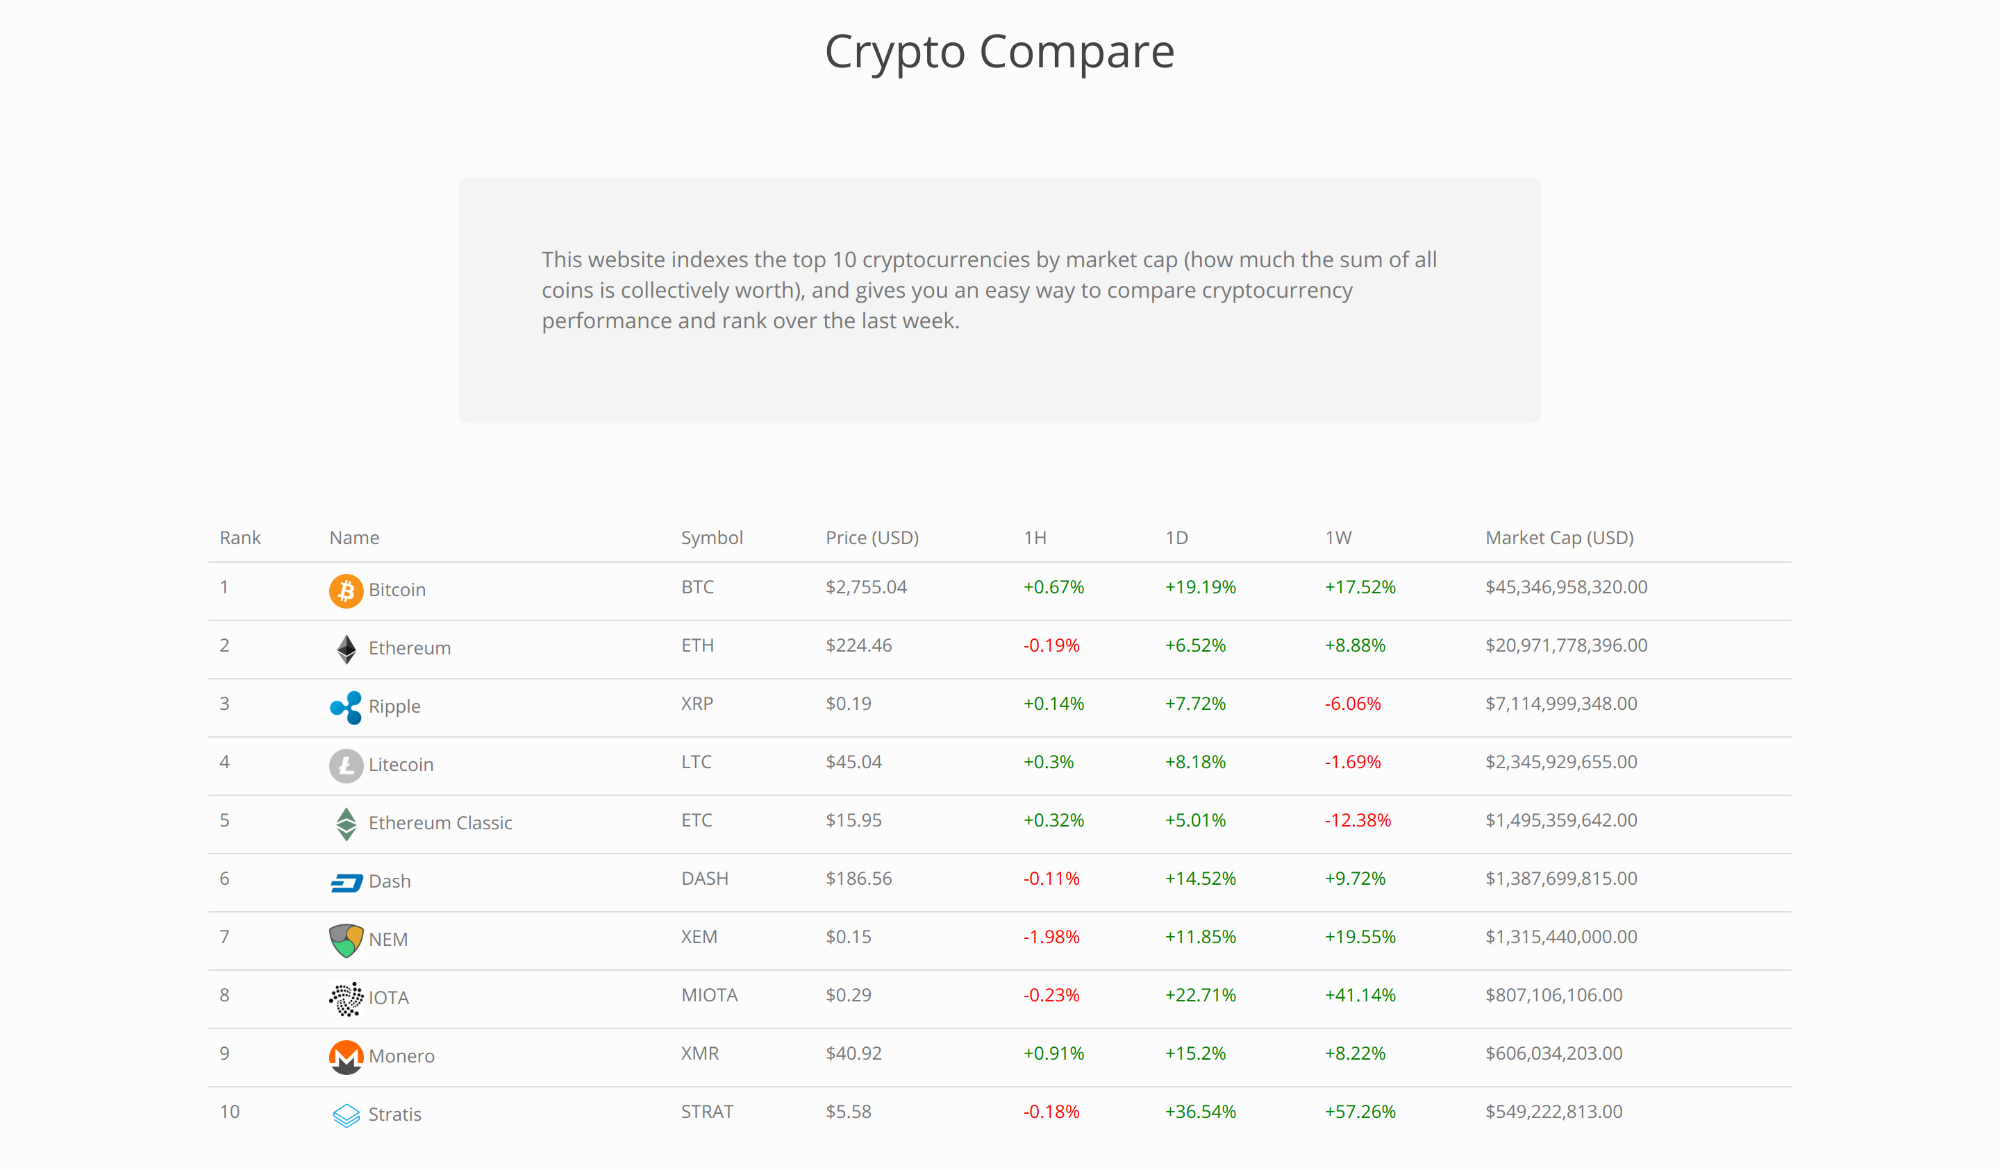
<h1>Crypto Compare</h1>
<div class="row">
<div class="jumbotron col-xs-offset-2 col-xs-8">
<p>
This website indexes the top 10 cryptocurrencies by market cap (how
much the sum of all coins is collectively worth), and gives you an easy
way to compare cryptocurrency performance and rank over the last week.
</p>
</div>
</div>
<div id="app">
</div>
<script src="https://ajax.googleapis.com/ajax/libs/jquery/1.12.4/jquery.min.js"></script>
<script src="https://maxcdn.bootstrapcdn.com/bootstrap/3.3.7/js/bootstrap.min.js" integrity="sha384-Tc5IQib027qvyjSMfHjOMaLkfuWVxZxUPnCJA7l2mCWNIpG9mGCD8wGNIcPD7Txa" crossorigin="anonymous"></script>
<script src="https://unpkg.com/vue"></script>
<script src="/static/js/vue2-filters.min.js"></script>
<script src="https://unpkg.com/axios/dist/axios.min.js"></script>
<script src="/static/js/app.js"></script>
</body>
</html>
We’ve got all our dependencies included, we’ve got a basic HTML page, and we’re ready to start doing some real development work.
Design Your Page
The first thing I like to do after bootstrapping my page is to lay out the elements where they belong. In this case, since we’ll be building a ranked list of the top cryptocurrencies, we’ll have a very simple design. It’s just an HTML table that lists the top cryptocurrencies, and their associated stats.
Here’s the modified HTML and CSS, and what it looks like after defining these basic elements:
<div id="app">
  <table class="table table-hover">
    <thead>
      <tr>
        <td>Rank</td>
        <td>Name</td>
        <td>Symbol</td>
        <td>Price (USD)</td>
        <td>1H</td>
        <td>1D</td>
        <td>1W</td>
        <td>Market Cap (USD)</td>
    </thead>
    <tbody>
    </tbody>
  </table>
</div>
/* /static/css/style.css */

h1 {
  text-align: center;
}

td img {
  width: 25px;
}

.jumbotron p {
  font-size: 1.2em;
}

.jumbotron {
  margin-top: 5em;
  margin-bottom: 5em;
}

We’re off to a good start! We’ve now got our basic website layout done, and we have a good idea of what data we’ll need to make this work, etc.
Cryptocurrency Data
In order to build the rest of this app, we need a way to retrieve a list of the top cryptocurrencies, as well as their stats. For this project, I thought it’d be fun to show the following:
- The top 10 cryptocurrencies by market cap (the total worth of all coins for the given currency)
- Each currency’s name
- Each currency’s symbol (this is how people typically refer to the currencies on trading platforms)
- The current price of a single coin in each currency, in USD
- The percent change in value of the currency over the last hour, day, and week
Luckily for us, there’s a great free API service that provides this exact data. It’s called CoinMarketCap. It doesn’t require any registration or setup, you can just read through their API documentation, figure out how the API endpoints work, and plug it into whatever you’re building.
We’ll need to use the ticker API provided by CoinMarketCap, which will allow us to grab a list of the top 10 cryptocurrencies, and display their stats. Here’s what this API call looks like, and what it returns:
[
  {
    "id": "bitcoin",
    "name": "Bitcoin",
    "symbol": "BTC",
    "rank": "1",
    "price_usd": "2747.54",
    "price_btc": "1.0",
    "24h_volume_usd": "2242640000.0",
    "market_cap_usd": "45223373666.0",
    "available_supply": "16459587.0",
    "total_supply": "16459587.0",
    "percent_change_1h": "-2.83",
    "percent_change_24h": "19.78",
    "percent_change_7d": "17.2",
    "last_updated": "1500596647"
  },
  ...
]
As you can see above, the resulting JSON is an array of the top 10 cryptocurrencies. Each JSON object in the array represents one currency, and contains all the information we need.
There is one thing we’re missing though. To make our table look nice, I’d also like to display the logo of each cryptocurrency next to their name.
Unfortunately, the CoinMarketCap API doesn’t have any images, so I did a little Google-ing around and found another API we can use to retrieve metadata about tons of different cryptocurrencies, including their logos!
The CryptoCompare API provides us this data. Much like CoinMarketCap, there’s no registration required.
The API call we’ll use to retrieve data about all the cryptocurrencies looks like this:
$ curl https://www.cryptocompare.com/api/data/coinlist
{
  ...
  "Data": {
    "AVT": {
      "Id": "138642",
      "Url": "/coins/avt/overview",
      "ImageUrl": "/media/1383599/avt.png",
      "Name": "AVT",
      "CoinName": "AventCoin",
      "FullName": "AventCoin (AVT)",
      "Algorithm": "N/A",
      "ProofType": "N/A",
      "FullyPremined": "0",
      "TotalCoinSupply": "10000000",
      "PreMinedValue": "N/A",
      "TotalCoinsFreeFloat": "N/A",
      "SortOrder": "1266"
    },
    ...
  }
}
With the new data we have from the API call above, we can correlate a
cryptocurrency’s symbol (for instance BTC, AVI, etc.) with an ImageUrl that
shows a picture of that currency.
Using this new data, plus the data from CoinMarketCap, we now have everything we need!
Set Up Your Vue App
Now that we know how to grab the data we need, let’s start building out our Vue
app. To keep things simple, all our Vue code will be placed into the file
static/js/app.js.
The first thing we need to do here is scaffold our Vue app, and tell it what variables we expect it to manage:
/**
 * Our Vue.js application.
 *
 * This manages the entire front-end website.
 */

// The API we're using for grabbing metadata about each cryptocurrency
// (including logo images). The service can be found at:
// https://www.cryptocompare.com/api/
let CRYPTOCOMPARE_API_URI = "https://www.cryptocompare.com";

// The API we're using for grabbing cryptocurrency prices.  The service can be
// found at: https://coinmarketcap.com/api/
let COINMARKETCAP_API_URI = "https://api.coinmarketcap.com";

// The amount of milliseconds (ms) after which we should update our currency
// charts.
let UPDATE_INTERVAL = 60 * 1000;

let app = new Vue({
  el: "#app",
  data: {
    coins: [],
    coinData: {}
  },
  methods: {

    /**
     * Load up all cryptocurrency data.  This data is used to find what logos
     * each currency has, so we can display things in a friendly way.
     */
    getCoinData: function() {
    },

    /**
     * Get the top 10 cryptocurrencies by value.  This data is refreshed each 5
     * minutes by the backing API service.
     */
    getCoins: function() {
    },

    /**
     * Given a cryptocurrency ticket symbol, return the currency's logo
     * image.
     */
    getCoinImage: function(symbol) {
    }
  }
});
The two variables we’re going to have Vue manage for us to make this possible are:
coins- which will be an array of all the different types of cryptocurrencies (bitcoin, ethereum, etc.), andcoinData- which will be an object loaded from the CryptoCompare API service we looked at earlier. Using this we’ll be able to cross reference cryptocurrency data to get a logo image. We’re also going to define three stub methods that we’ll need to implement:getCoinData- which will retrieve the coin data from CryptoComparegetCoins- which will load the coin data from CoinMarketCapgetCoinImage- which takes a currency symbol and returns a link to that currency’s logo image
With these three methods in place, we can now begin writing some software!
Implement Your Coin Methods
Let’s start by implementing the getCoins method that will talk to the
CoinMarketCap API. We know from before that all we need to do is hit the API and
store the resulting array of JSON data in our Vue variable.
To make API requests, I like to use the axios JavaScript library (mentioned earlier on in this article). It’s a very popular library for making HTTP requests in client side JavaScript.
Since I’ve already loaded it up for us in the web scaffold, we can use it directly in our Vue code:
getCoins: function() {
  let self = this;

  axios.get(COINMARKETCAP_API_URI + "/v1/ticker/?limit=10")
    .then((resp) => {
      this.coins = resp.data;
    })
    .catch((err) => {
      console.error(err);
    });
},
As you can see, we can easily use axios to issue a GET request for us, grab the
resulting array of data, and then store it as self.coins (which updates the Vue
coins variable). Once that variable change occurs, Vue will re-render any part
of our page that’s dependent upon it.
Next, let’s implement our other method: getCoinData, which retrieves metadata
about many different types of cryptocurrencies, and will be used to find their
logo images:
getCoinData: function() {
  let self = this;

  axios.get(CRYPTOCOMPARE_API_URI + "/api/data/coinlist")
    .then((resp) => {
      this.coinData = resp.data.Data;
      this.getCoins();
    })
    .catch((err) => {
      this.getCoins();
      console.error(err);
    });
}
This is another simple API call: we make the request and update the data. One
thing we will do here, however, is call the getCoins method as well. We do this
because we’ll only need to call this method once when the page has loaded (to
load up all the currency metadata), but will need to call the getCoins method
many times to keep the data up-to-date, and we should only call it once the
metadata about all coins has already been loaded.
The last major coin method we need to implement is getCoinImage, which takes in
a coin’s symbol and returns the full image URL. Here’s how we do that:
getCoinImage: function(symbol) {
  return CRYPTOCOMPARE_API_URI + this.coinData[symbol].ImageUrl;
}
This code takes care of the cross-referencing between both API services, and allows us to easily retrieve a cryptocurrency’s image.
Load Data When the App Starts
Now that we’ve built some of our data-retrieval methods, we need to actually run them. Otherwise: our app will open, but nothing will happen.
In Vue, we can bind actions to certain events that happen on the page. One of these lifecycle events is called “created”, and we can use this lifecycle hook to run our code once the Vue app has been fully initialized in the browser.
Here’s what it looks like:
let app = new Vue({
  // ...
  created: function() {
    this.getCoinData();
  }
});
This is exactly what we need, because once the page is loaded, we’ll call our
getCoinData method which will retrieve all coin image URls, then we’ll call our
getCoins method which will load the initial data we need to eventually display
on the page.
Finally, we need to ensure that we actually keep the data on the page updating. The CryptoMarketCap API service says that their data is refreshed once every five minutes, so as to not be aggressive, we’ll be querying their API once per minute to display new results to our users.
We can do this easily outside of our Vue app using a plain old call to
JavaScript’s setInterval function:
/**
 * Once the page has been loaded and all of our app stuff is working, we'll
 * start polling for new cryptocurrency data every minute.
 */
setInterval(() => {
  app.getCoins();
}, UPDATE_INTERVAL);
Notice how we’re able to run our Vue method outside of our Vue app by calling it off the Vue app object. Vue publicly exports all of your data and methods so they can be used outside Vue.
Displaying Your Data
Now that we’ve built the data management side of things, let’s hop back into our HTML code and actually display some of this shiny new data for our users.
Using the same constructs we learned earlier, we’re going to loop through the cryptocurrency data, filling out our table:
<table class="table table-hover">
  <thead>
    <tr>
      <td>Rank</td>
      <td>Name</td>
      <td>Symbol</td>
      <td>Price (USD)</td>
      <td>1H</td>
      <td>1D</td>
      <td>1W</td>
      <td>Market Cap (USD)</td>
  </thead>
  <tbody>
    <tr v-for="coin in coins">
      <td>{{ coin.rank }}</td>
      <td><img v-bind:src="getCoinImage(coin.symbol)"> {{ coin.name }}</td>
      <td>{{ coin.symbol }}</td>
      <td>{{ coin.price_usd | currency }}</td>
      <td>
        <span v-if="coin.percent_change_1h > 0">+</span>{{ coin.percent_change_1h }}%
      </td>
      <td>
        <span v-if="coin.percent_change_24h > 0">+</span>{{ coin.percent_change_24h }}%
      </td>
      <td>
        <span v-if="coin.percent_change_7d > 0">+</span>{{ coin.percent_change_7d }}%
      </td>
      <td>{{ coin.market_cap_usd | currency }}</td>
    </tr>
  </tbody>
</table>
Pretty straightforward, right?
The only new thing here is the v-bind directive. If you’re wondering what that
does, it tells Vue to run the getCoinImage function, grab the result, and use
that result for the <img> tag’s src attribute (this is how we’re able to display
the logo to the user).
The final thing we’ll want to do now is clean the coloring up a bit:
- If the percent change in a currency is positive, we should color it green
- If the percent change in a currency is negative, we should color it red
This adds a bit more visual flair to the page, and makes it a little easier to eyeball the performance of a currency.
So, let’s quickly build a method and plug it into our HTML:
/**
 * Return a CSS color (either red or green) depending on whether or
 * not the value passed in is negative or positive.
 */
getColor: (num) => {
  return num > 0 ? "color:green" : "color:red";
}
<tbody>
  <tr v-for="coin in coins">
    <td>{{ coin.rank }}</td>
    <td><img v-bind:src="getCoinImage(coin.symbol)"> {{ coin.name }}</td>
    <td>{{ coin.symbol }}</td>
    <td>{{ coin.price_usd | currency }}</td>
    <td v-bind:style="getColor(coin.percent_change_1h)">
      <span v-if="coin.percent_change_1h > 0">+</span>{{ coin.percent_change_1h }}%
    </td>
    <td v-bind:style="getColor(coin.percent_change_24h)">
      <span v-if="coin.percent_change_24h > 0">+</span>{{ coin.percent_change_24h }}%
    </td>
    <td v-bind:style="getColor(coin.percent_change_7d)">
      <span v-if="coin.percent_change_7d > 0">+</span>{{ coin.percent_change_7d }}%
    </td>
    <td>{{ coin.market_cap_usd | currency }}</td>
  </tr>
</tbody>
With these final changes, load the code up in your browser, and give it a go!
If you play around with the app a bit, you’ll notice that every 60 seconds the data is updated as designed.
In the event one currency takes over another’s ranking, all the items will shift
seamlessly on the page (you can play around with this in the JavaScript console
by modifying app.coins directly if you want).
Put It All Together
I hope you had fun learning a bit about Vue, and seeing how to use it to build a basic web app.
If you’re a web developer looking to organize your front-end logic in a simpler and maintainable way, I strongly recommend you give Vue.js a try.
And finally, if you’re interested in reading other articles about web development, APIs, and security, you should follow our Twitter account.
Randall Degges runs Evangelism at Okta where he works on security research, development, and education. In his spare time, Randall writes articles and gives talks advocating for security best practices. Randall also builds and contributes to various open-source security tools.
Randall's realm of expertise include Python, JavaScript, and Go development, web security, cryptography, and infrastructure security. Randall has been writing software for ~20 years and has built some of the most-used API services on the internet.
Okta Developer Blog Comment Policy
We welcome relevant and respectful comments. Off-topic comments may be removed.