Add Authentication to Your Angular PWA
Heads up... this blog post is old!
For an updated version of this blog post, see Build Your First PWA with Angular.
You’re developing a Progressive Web Application (PWA), and your service worker and web app manifest are working swimmingly. You’ve even taken the time to deploy it to a server with HTTPS, and you’re feeling pretty good about things. But wait, you don’t have any way of knowing who your users are! Don’t you want to provide them with an opportunity to authenticate and tell you who they are? Once you know who they are, you can give them all kinds of personalization options, inspire them to ❤️ your app, and maybe even support your work!
In this article, I’ll show you how you can lock down a Spring Boot app, then use a modern authentication protocol, in this case, OpenID Connect (OIDC), to authenticate and gain access to its APIs.
Note: In May 2025, the Okta Integrator Free Plan replaced Okta Developer Edition Accounts, and the Okta CLI was deprecated.
We preserved this post for reference, but the instructions no longer work exactly as written. Replace the Okta CLI commands by manually configuring Okta following the instructions in our Developer Documentation.
Secure Your Spring Boot App
You might’ve heard that Stormpath joined forces with Okta a few months ago (February 2017). Since the transition, we’ve been working hard to make the Stormpath SDKs work with Okta’s API. The good news is we’ve made significant progress!
In this example, you’ll use Okta’s Spring Boot Starter to add security to a Spring Boot app. Then I’ll show you how you can use OIDC and Okta’s Angular SDK in an Angular app to log in and get data from the Spring Boot app.
I recently created a Spring Boot app that provides a list of good beers, based on a pre-populated list. It filters out less-than-great beers and displays them in an Angular UI that displays the first animated GIF (from Giphy) that matches the beer name.
Let’s get started!
Rather than building Spring Boot and Angular applications from scratch, you can clone an existing GitHub project to get you going quickly.
git clone https://github.com/oktadeveloper/spring-boot-angular-pwa-example.git
If you’d prefer to build this application yourself, please read Build Your First Progressive Web Application with Angular and Spring Boot.
In this project’s server/pom.xml file, you’ll need to add the Okta Spring Boot starter as a dependency, and force Spring Security to use the latest version of Spring Security OAuth:
<properties>
    <okta.version>0.3.0</okta.version>
</properties>

<dependencies>
    ...
    <dependency>
        <groupId>com.okta.spring</groupId>
        <artifactId>okta-spring-boot-starter</artifactId>
        <version>${okta.version}</version>
    </dependency>
    <dependency>
        <groupId>org.springframework.security.oauth</groupId>
        <artifactId>spring-security-oauth2</artifactId>
        <version>2.2.1.RELEASE</version>
    </dependency>
    <!--dependency>
        <groupId>org.springframework.boot</groupId>
        <artifactId>spring-boot-devtools</artifactId>
        <scope>runtime</scope>
    </dependency-->
</dependencies>
NOTE: You’ll need to comment out the devtools dependency to work around an issue in the Okta Spring Boot Starter.
Get Started with Okta
To begin, you’ll need to create an Okta Developer account. This account is free forever and provides the complete Okta Identity Platform for up to 3 applications and 100 users.
- Head on over to https://www.okta.com/developer/signup
- Fill out the signup form, and click “Get Started”
- Within a few minutes, you’ll get a confirmation email, follow the instructions in the email to finish setting up your account
Log in to your Okta Developer account and navigate to Applications > Add Application. Click Single-Page App, click Next, and give the app a name you’ll remember (e.g., “Angular PWA”). Change all instances of localhost:8080 to localhost:4200 and click Done.
TIP: Add http://localhost:4200 as a Logout redirect URI, so log out functionality works in your Angular app.
Copy the client ID into your server/src/main/resources/application.properties file. While you’re in there, add a okta.oauth2.issuer property that matches your Okta domain. For example:
okta.oauth2.issuer=https://{yourOktaDomain}/oauth2/default
okta.oauth2.clientId={clientId}
Update server/src/main/java/com/okta/developer/demo/DemoApplication.java to enable it as a resource server.
import org.springframework.security.oauth2.config.annotation.web.configuration.EnableResourceServer;

@EnableResourceServer
@SpringBootApplication
Now, start it up…
cd server
./mvnw spring-boot:run
Navigate to http://localhost:8080, and you’ll see an access denied error.
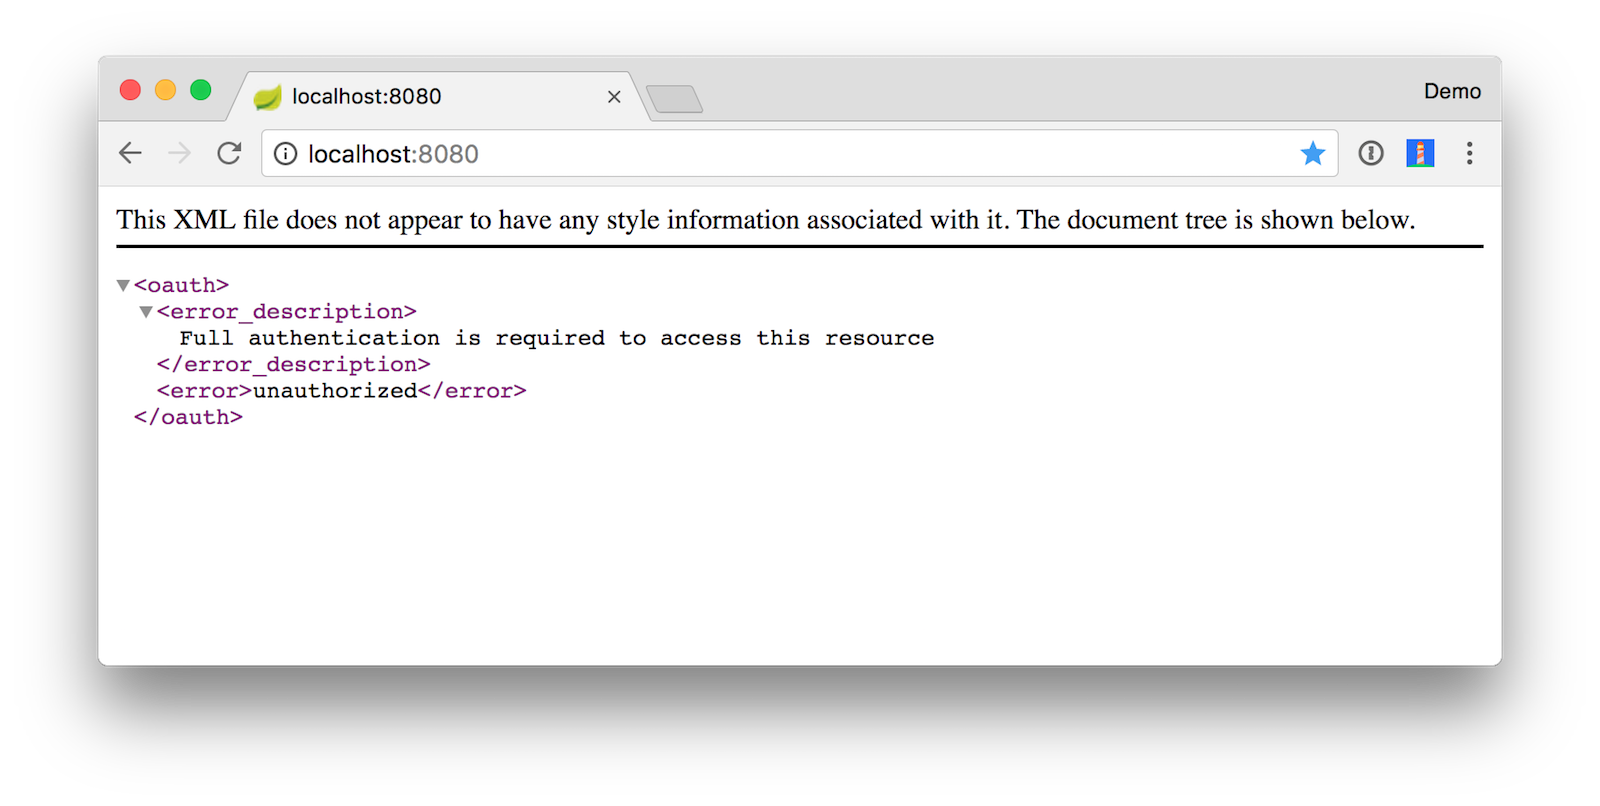
If you call the API with a different Accept header (e.g. application/json), you’ll get a JSON response. The command below uses HTTPie.
$ http :8080
HTTP/1.1 401
Cache-Control: no-cache, no-store, max-age=0, must-revalidate
Cache-Control: no-store
Content-Type: application/json;charset=UTF-8
Date: Fri, 23 Feb 2018 18:50:58 GMT
Expires: 0
Pragma: no-cache
Pragma: no-cache
Transfer-Encoding: chunked
WWW-Authenticate: Bearer realm="api://default", error="unauthorized", error_description="Full authentication is required to access this resource"
X-Content-Type-Options: nosniff
X-Frame-Options: DENY
X-XSS-Protection: 1; mode=block
{
    "error": "unauthorized",
    "error_description": "Full authentication is required to access this resource"
}
Authenticate with OpenID Connect
Start the Angular application by running the following commands in your project’s root directory.
cd client
npm install
ng serve
If you receive an error like the one below, disable the warning using the instructions provided, or just ignore it. You can upgrade your dependencies in package.json, but there’s no guarantee that this tutorial will still work! ;)
Your global Angular CLI version (1.7.0) is greater than your local
version (1.6.7). The local Angular CLI version is used.

To disable this warning use "ng set --global warnings.versionMismatch=false".
When you navigate to http://localhost:4200, you’ll likely see a cross-origin request error.
Failed to load http://localhost:8080/good-beers: No 'Access-Control-Allow-Origin' header is present on the requested resource. Origin 'http://localhost:4200' is therefore not allowed access. The response had HTTP status code 401.
You can usually use a @CrossOrigin annotation to enable cross-origin resource sharing (CORS) on the server, but it won’t work once you integrate Spring Security. To solve this issue, create a simpleCorsFilter bean in your DemoApplication.java class.
package com.example.demo;

import org.springframework.boot.SpringApplication;
import org.springframework.boot.autoconfigure.SpringBootApplication;
import org.springframework.boot.web.servlet.FilterRegistrationBean;
import org.springframework.context.annotation.Bean;
import org.springframework.core.Ordered;
import org.springframework.security.oauth2.config.annotation.web.configuration.EnableResourceServer;
import org.springframework.web.cors.CorsConfiguration;
import org.springframework.web.cors.UrlBasedCorsConfigurationSource;
import org.springframework.web.filter.CorsFilter;

import java.util.Collections;

@EnableResourceServer
@SpringBootApplication
public class DemoApplication {

    public static void main(String[] args) {
        SpringApplication.run(DemoApplication.class, args);
    }

    @Bean
    public FilterRegistrationBean simpleCorsFilter() {
        UrlBasedCorsConfigurationSource source = new UrlBasedCorsConfigurationSource();
        CorsConfiguration config = new CorsConfiguration();
        config.setAllowCredentials(true);
        config.setAllowedOrigins(Collections.singletonList("http://localhost:4200"));
        config.setAllowedMethods(Collections.singletonList("*"));
        config.setAllowedHeaders(Collections.singletonList("*"));
        source.registerCorsConfiguration("/**", config);
        FilterRegistrationBean bean = new FilterRegistrationBean(new CorsFilter(source));
        bean.setOrder(Ordered.HIGHEST_PRECEDENCE);
        return bean;
    }
}
You can remove the @CrossOrigin annotation from BeerController.java since it’s no longer needed. Make sure to save the files you changed and restart your server.
Install Manfred Steyer’s project to add OAuth 2 and OpenID Connect support to your Angular client.
npm install --save angular-oauth2-oidc
Update client/src/app/app.component.ts to import OAuthService and configure your app to use your Okta application settings (replacing {clientId} and {yourOktaDomain} with the values from your “Angular PWA” OIDC app).
import { JwksValidationHandler, OAuthService } from 'angular-oauth2-oidc';

...

  constructor(private oauthService: OAuthService) {
    this.oauthService.redirectUri = window.location.origin;
    this.oauthService.clientId = '{clientId}';
    this.oauthService.scope = 'openid profile email';
    this.oauthService.oidc = true;
    this.oauthService.issuer = 'https://{yourOktaDomain}/oauth2/default';
    this.oauthService.tokenValidationHandler = new JwksValidationHandler();

    this.oauthService.loadDiscoveryDocumentAndTryLogin();
  }
...
Modify client/src/app/app/app.component.html to use <router-outlet> instead of <app-beer-list>.
<router-outlet></router-outlet>
Create client/src/app/home/home.component.ts and configure it to display Login and Logout buttons.
import { Component } from '@angular/core';
import { OAuthService } from 'angular-oauth2-oidc';

@Component({
  template: `
    <mat-card *ngIf="givenName">
      <mat-card-title>Welcome, {{givenName}}!</mat-card-title>
      <button mat-raised-button (click)="logout()">Logout</button>
      <a mat-button routerLink="/beer-list">Beer List</a>
    </mat-card>

    <mat-card *ngIf="!givenName">
      <button mat-raised-button (click)="login()">Login</button>
    </mat-card>`
})
export class HomeComponent {
  constructor(private oauthService: OAuthService) {
  }

  login() {
    this.oauthService.initImplicitFlow();
  }

  logout() {
    this.oauthService.logOut();
  }

  get givenName() {
    const claims: any = this.oauthService.getIdentityClaims();
    if (!claims) {
      return null;
    }
    return claims.name;
  }
}
Modify client/src/app/shared/beer/beer.service.ts to read the access token from oauthService and add an Authorization header.
import { Injectable } from '@angular/core';
import { HttpClient, HttpHeaders } from '@angular/common/http';
import { Observable } from 'rxjs/Observable';
import { OAuthService } from 'angular-oauth2-oidc';

@Injectable()
export class BeerService {

  constructor(private http: HttpClient, private oauthService: OAuthService) {}

  getAll(): Observable<any> {
    return this.http.get('http://localhost:8080/good-beers', {headers: this.getHeaders()});
  }

  getHeaders(): HttpHeaders {
    return new HttpHeaders().set('Authorization', this.oauthService.authorizationHeader());
  }
}
Create client/src/app/shared/auth/auth.guard.ts to navigate to the HomeComponent if the user is not authenticated.
import { Injectable } from '@angular/core';
import { ActivatedRouteSnapshot, CanActivate, Router, RouterStateSnapshot } from '@angular/router';
import { OAuthService } from 'angular-oauth2-oidc';

@Injectable()
export class AuthGuard implements CanActivate {

  constructor(private oauthService: OAuthService, private router: Router) {}

  canActivate(route: ActivatedRouteSnapshot, state: RouterStateSnapshot): boolean {
    if (this.oauthService.hasValidIdToken()) {
      return true;
    }

    this.router.navigate(['/home']);
    return false;
  }
}
Add OAuthModule.forRoot() to the list of imports in client/src/app/app.module.ts, add HomeComponent in declarations, and lock the /beer-list route down with the AuthGuard. While you’re there, add MatCardModule to the list of imports since HomeComponent uses components from this module.
import { OAuthModule } from 'angular-oauth2-oidc';
import { HomeComponent } from './home/home.component';
import { RouterModule, Routes } from '@angular/router';
import { AuthGuard } from './shared/auth/auth.guard';
import { MatCardModule } from '@angular/material';

const appRoutes: Routes = [
  { path: 'beer-list', component: BeerListComponent, canActivate: [AuthGuard] },
  { path: 'home', component: HomeComponent },
  { path: '', redirectTo: 'home', pathMatch: 'full' },
  { path: '**', redirectTo: 'home' }
];

@NgModule({
  declarations: [
    ...
    HomeComponent
  ],
  imports: [
    ...
    MatCardModule,
    OAuthModule.forRoot(),
    RouterModule.forRoot(appRoutes)
  ],
  providers: [AuthGuard],
  bootstrap: [AppComponent]
})
export class AppModule { }
After making these changes, you should be able to run ng serve and see a login button.
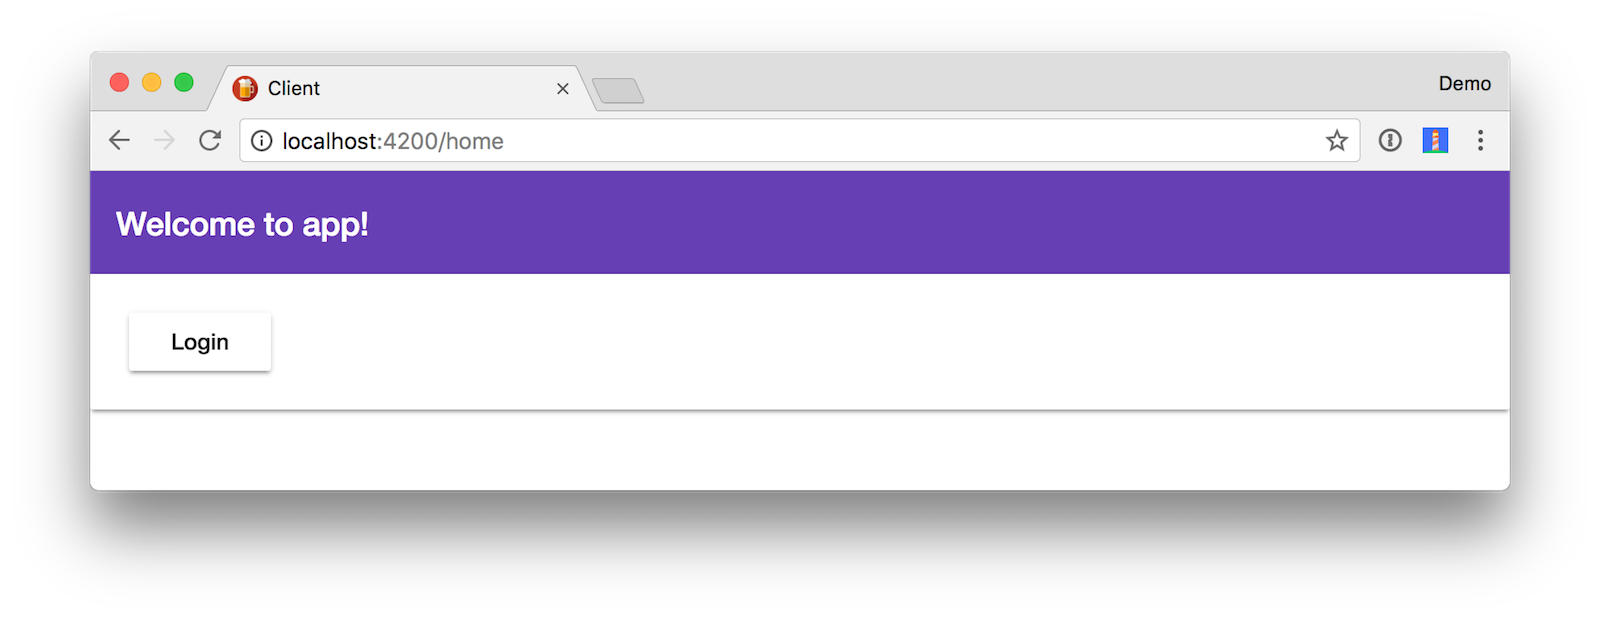
Click the Login button and sign-in with one of the users assigned in your Okta application.
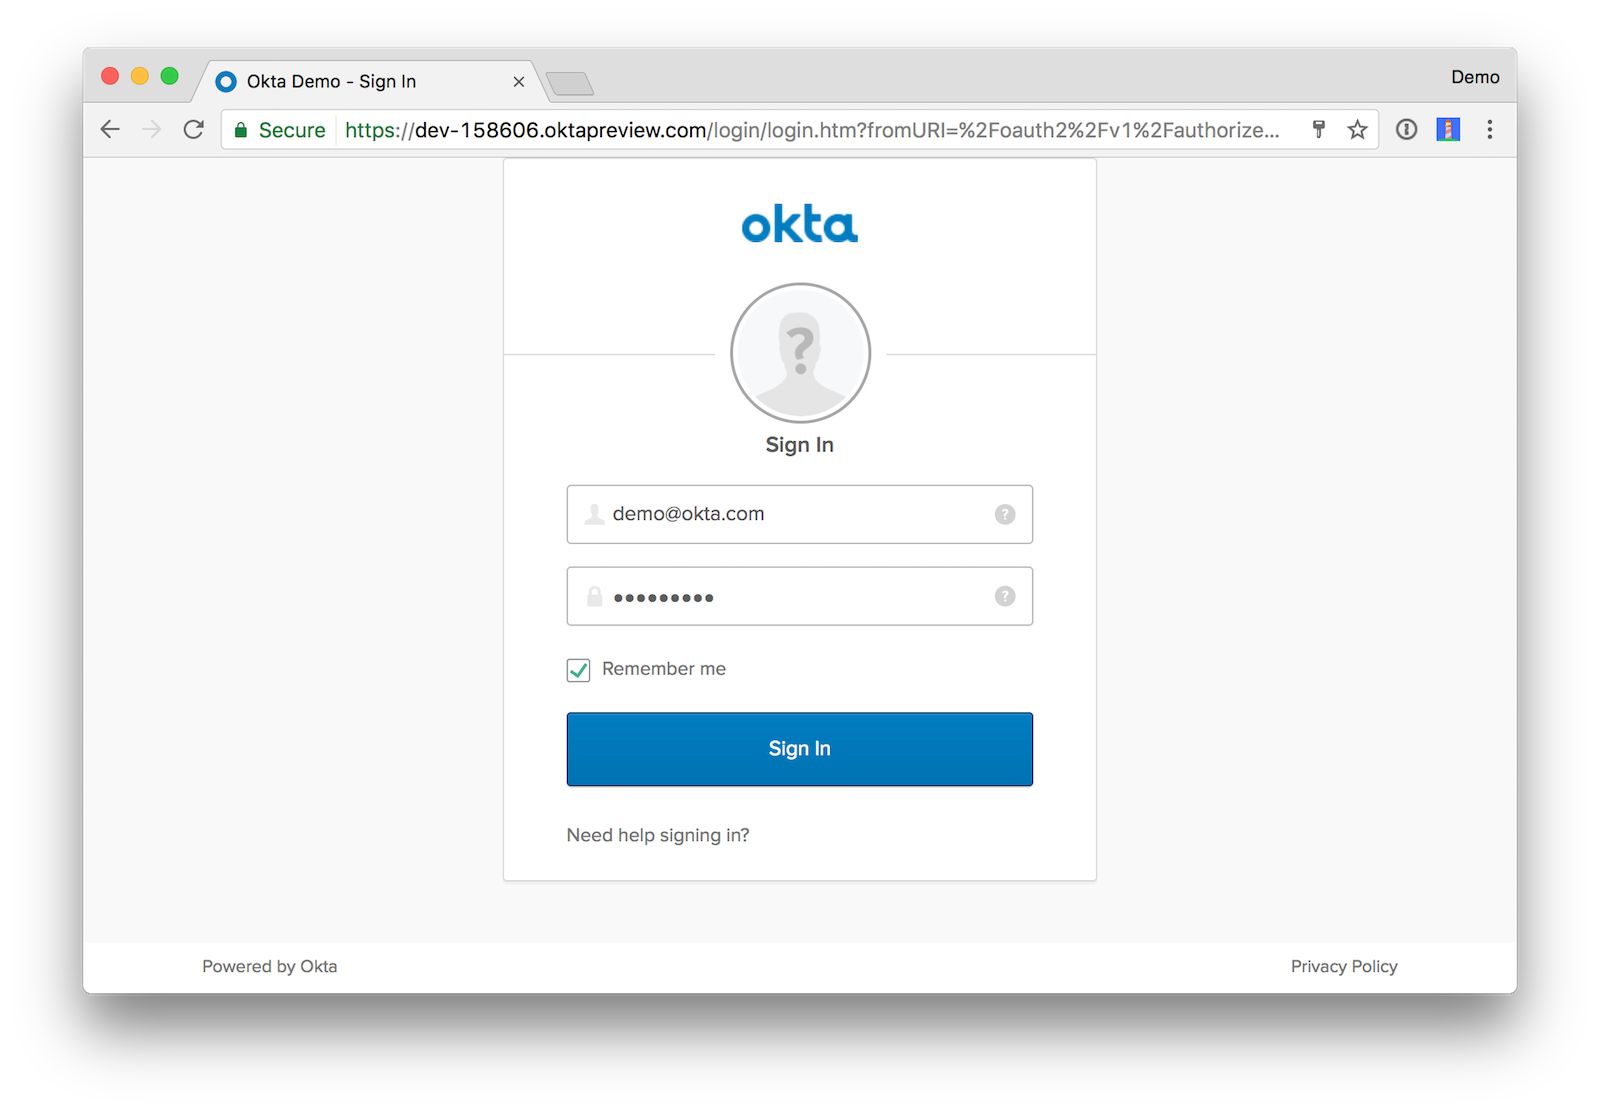
You should see a welcome message like the one below.

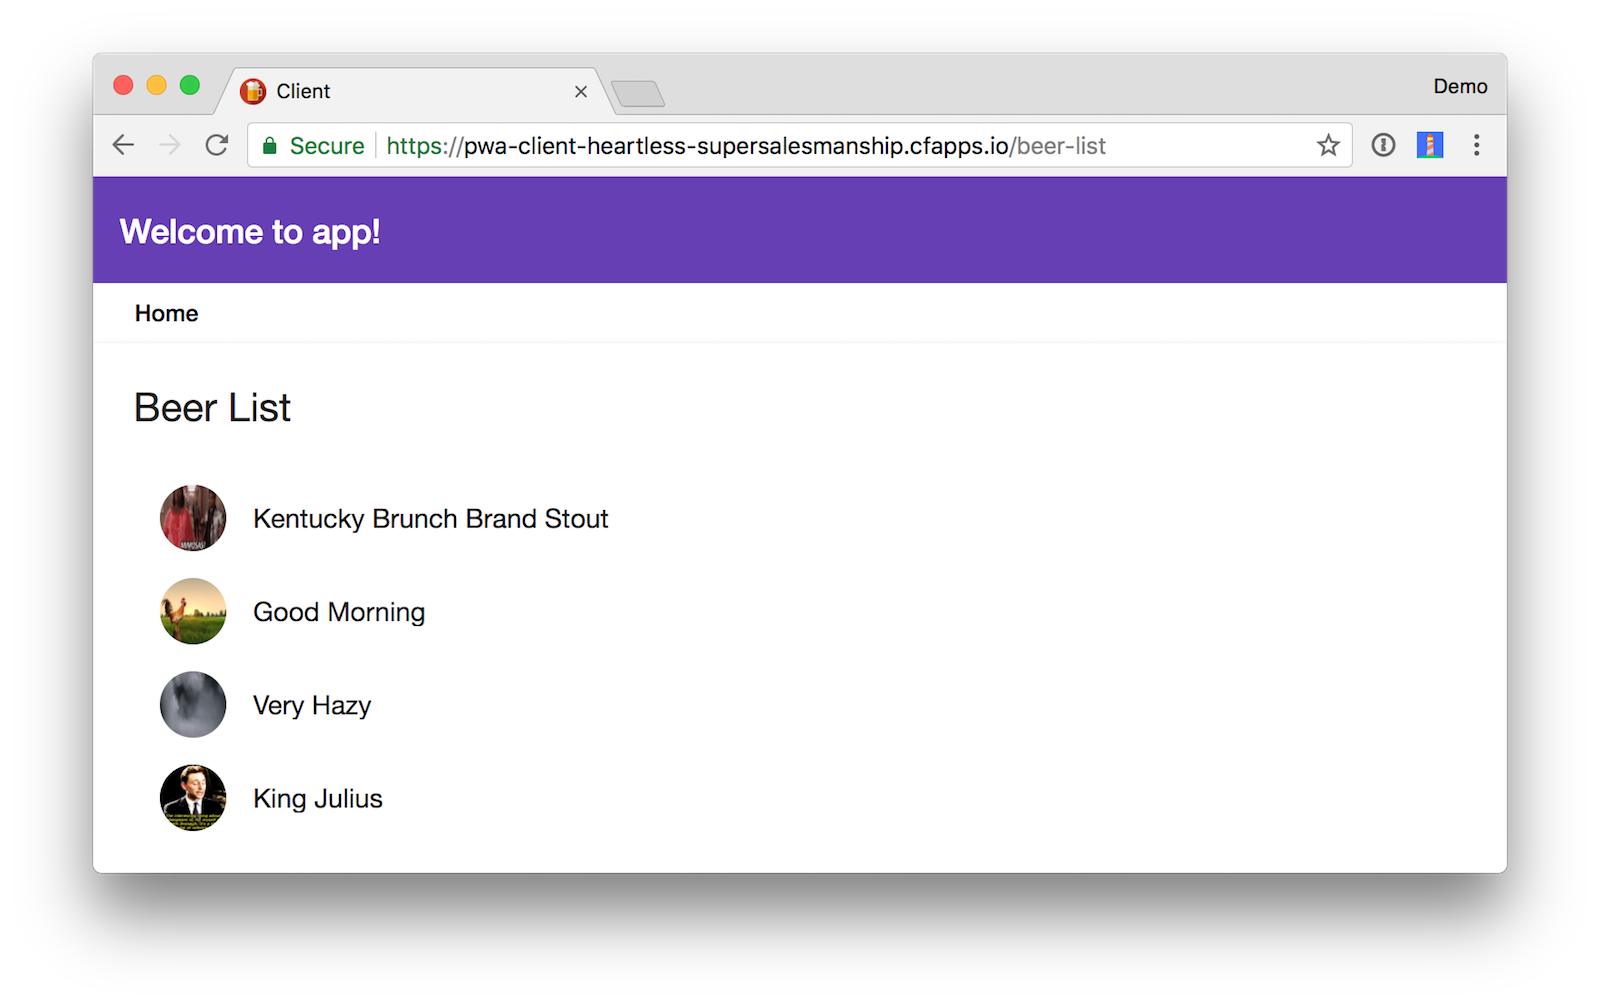
Click on Beer List to see data from your Spring Boot app.

To add the “Home” link at the top (as shown in the screenshot above), modify client/src/app/beer-list/beer-list.component.html to include the following HTML.
<a mat-button routerLink="/home">Home</a>

<mat-card>
  <mat-card-title>Beer List</mat-card-title>
  <mat-card-content>
    <mat-list>
      <mat-list-item *ngFor="let beer of beers">
        <img mat-list-avatar src="{{beer.giphyUrl}}" alt="{{beer.name}}">
        <h3 mat-line>
          {{beer.name}}
        </h3>
      </mat-list-item>
    </mat-list>
  </mat-card-content>
</mat-card>
If it works - great, now we can add auth with Okta!
Authenticating with the Okta Auth SDK
The Okta Auth SDK builds on top of Okta’s Authentication API and OAuth 2.0 API to enable you to create a fully branded sign-in experience using JavaScript.
Install it using npm:
npm install @okta/okta-auth-js --save
Change HomeComponent to import OktaAuth and modify its template, so it has a sign-in form.
import * as OktaAuth from '@okta/okta-auth-js';

@Component({
  template: `
    <mat-card *ngIf="givenName">
      <h2>Welcome, {{givenName}}!</h2>
      <button mat-raised-button (click)="logout()">Logout</button>
      <a mat-button routerLink="/beer-list">Beer List</a>
    </mat-card>

    <mat-card *ngIf="!givenName">
      <mat-card-title>Login with Redirect</mat-card-title>
      <button mat-raised-button (click)="login()">Login</button>
    </mat-card>

    <mat-card *ngIf="!givenName">
      <mat-card-title>Login Directly</mat-card-title>

      <form (ngSubmit)="loginWithPassword()" ngNativeValidate>
        <p style="color:red; font-weight:bold" *ngIf="error">
          {{error}}
        </p>

        <p>
          <mat-input-container>
            <input matInput [(ngModel)]="username" name="username"
                   placeholder="Name" required>
          </mat-input-container>
        </p>

        <p>
          <mat-input-container>
            <input matInput [(ngModel)]="password" name="password"
                   type="password" placeholder="Password" required>
          </mat-input-container>
        </p>

        <button mat-raised-button type="submit">Login</button>
      </form>
    </mat-card>`
})
Update client/src/app/app.module.ts to import the dependencies required by Angular Material when working with forms.
import { MatInputModule } from '@angular/material';
import { FormsModule } from '@angular/forms';
import { BrowserAnimationsModule } from '@angular/platform-browser/animations';

@NgModule({
  ...
  imports: [
    ...
    FormsModule,
    BrowserAnimationsModule,
    MatInputModule
  ],
  ...
})
After making these changes, run ng serve and the HomeComponent should render as follows (after you’ve logged out and unchecked “Offline” in the Network tab):

In HomeComponent, import Angular’s ChangeDetectorRef, add it as a dependency in the constructor, and add local variables for the username and password fields. Then implement a loginWithPassword() method in HomeComponent. This method uses the OktaAuth library to get a session token and exchange it for ID and access tokens.
import { ChangeDetectorRef } from '@angular/core';
...
export class HomeComponent {
  private username: string;
  private password: string;
  private error: string;

  constructor(private oauthService: OAuthService, private changeDetector: ChangeDetectorRef) {
  }
  ...
  loginWithPassword() {
    this.oauthService.createAndSaveNonce().then(nonce => {
      const authClient = new OktaAuth({
        url: 'https://{yourOktaDomain}',
        issuer: 'default'
      });
      return authClient.signIn({
        username: this.username,
        password: this.password
      }).then((response) => {
        if (response.status === 'SUCCESS') {
          return authClient.token.getWithoutPrompt({
            clientId: this.oauthService.clientId,
            responseType: ['id_token', 'token'],
            scopes: ['openid', 'profile', 'email'],
            sessionToken: response.sessionToken,
            nonce: nonce,
            redirectUri: window.location.origin
          })
            .then((tokens) => {
              const idToken = tokens[0].idToken;
              const accessToken = tokens[1].accessToken;
              const keyValuePair = `#id_token=${encodeURIComponent(idToken)}&access_token=${encodeURIComponent(accessToken)}`;
              this.oauthService.tryLogin({
                customHashFragment: keyValuePair,
                disableOAuth2StateCheck: true
              }).then(() => {
                // notify Angular that things have changed
                this.changeDetector.detectChanges();
              });
            });
        } else {
          throw new Error('We cannot handle the ' + response.status + ' status');
        }
      }).fail((error) => {
        console.error(error);
        this.error = error.message;
      });
    });
  }
}
You should be able to sign in with the form as one of your app’s registered users. After logging in, you’ll be able to click the Beer List link and view the beer list.
Deploy to Cloud Foundry
Now it’s time for one of the coolest places on the internet - production!
You’ll need to modify the deploy.sh script in the root directory to replace http://localhost:4200 in DemoApplication.java instead of BeerController.java, but that’s about it. You can see the modified deploy.sh on GitHub. Copy the contents of this file on top of your existing deploy.sh.
Install the Cloud Foundry CLI, then log into Pivotal Web Services.
cf login -a api.run.pivotal.io
Run ./deploy.sh and watch the magic happen!
If you navigate to the client’s URL after deploying, you’ll see an error like the following in Chrome’s console.
Failed to load https://dev-158606.oktapreview.com/oauth2/default/.well-known/openid-configuration: No 'Access-Control-Allow-Origin' header is present on the requested resource. Origin 'https://pwa-client-heartless-supersalesmanship.cfapps.io' is therefore not allowed access.
To fix this, modify the Trusted Origins on Okta (under API > Trusted Origins) to have your client’s URL (e.g. https://pwa-client-heartless-supersalesmanship.cfapps.io).
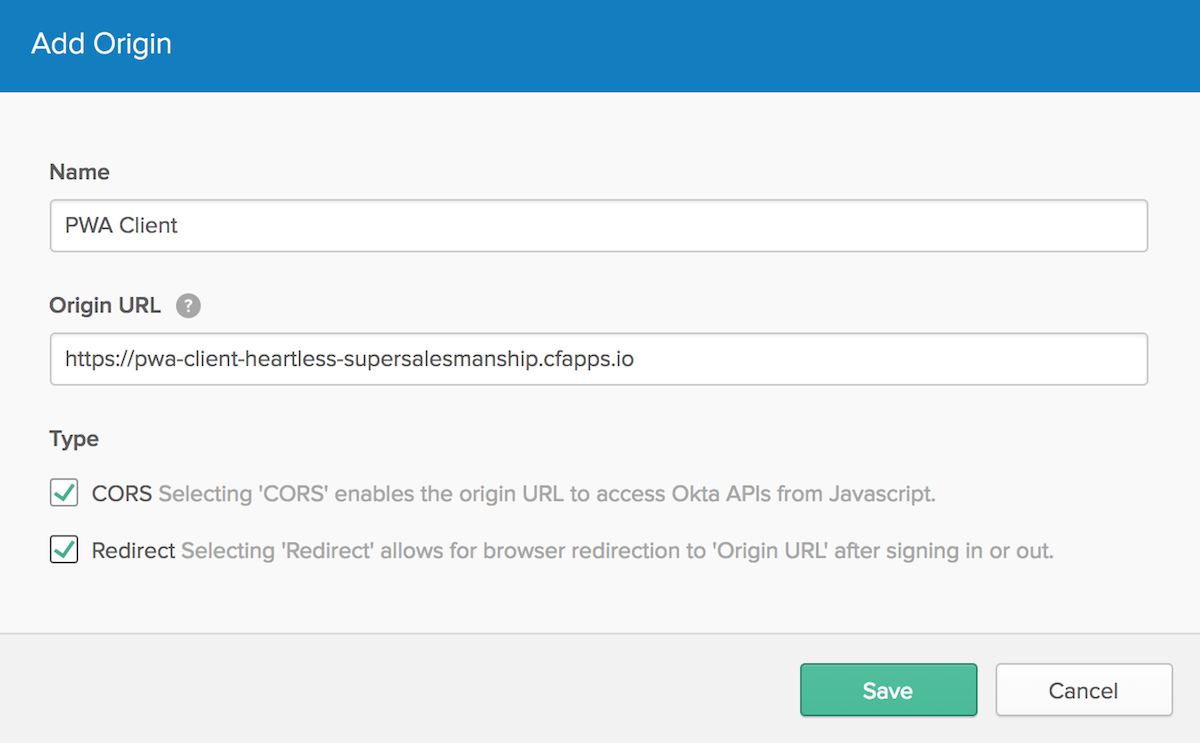
You’ll also need to add this URL to the Login redirect URI and Logout redirect URI properties for your “Angular PWA” OIDC application.
After making these changes, both login techniques should work as expected and you should be able to load the beer list from your Spring Boot app.
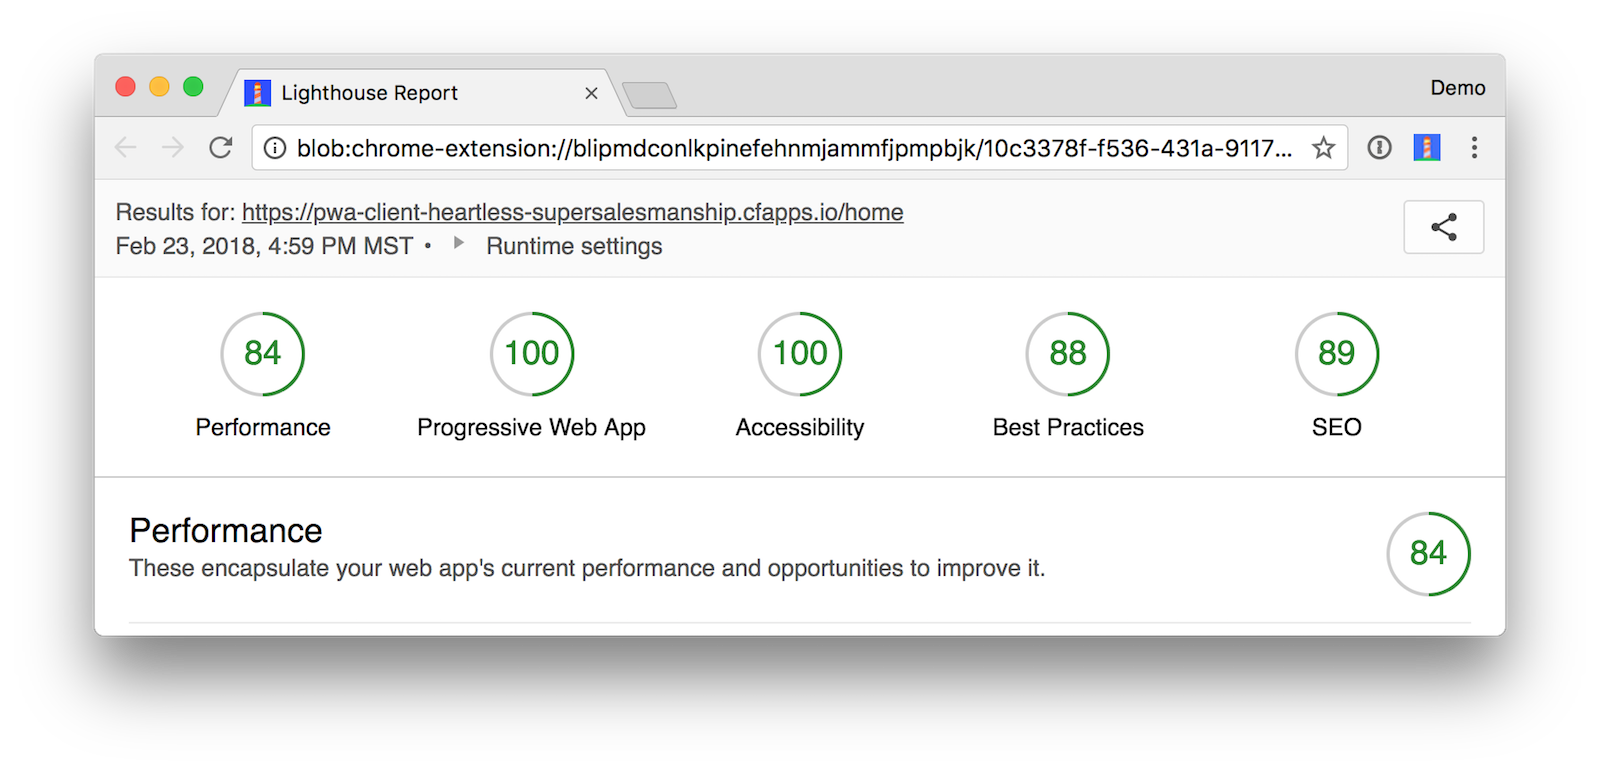
After I got everything deployed, I used Lighthouse to audit this application and found it received a perfect score. Huzzah!
TIP: Joe Kutner, Java Languages Owner at Heroku, created a heroku.sh script you can use to deploy this same application to Heroku. Thanks, Joe!
Happy Authenticating!
You can find the source code associated with this article on GitHub. If you find any bugs, please file an issue, or post your question to the Okta Developer Forums. Of course, you can always ping me on Twitter too.
This article showed you how to add authentication with Okta to an Angular PWA with a Spring Boot API. You learned how to use OpenID Connect to get an access token and securely communicate with the backend. Finally, you saw how to deploy everything to Cloud Foundry and get a Lighthouse PWA score of 100.
To learn more about PWAs, check out some recent tutorials I wrote:
- Build Your First Progressive Web Application with Angular and Spring Boot
- Tutorial: Develop a Mobile App With Ionic and Spring Boot
- The Ultimate Guide to Progressive Web Applications
There’s also a number of excellent resources by Google and Smashing Magazine:
- Addy Osmani at Google I/O ‘17: Production Progressive Web Apps With JavaScript Frameworks
- Google’s Progressive Web Apps homepage, step-by-step code lab, and instructor-led PWA training.
- A Beginner’s Guide To Progressive Web Apps
Changelog:
- Feb 23, 2018: Updated to use Spring Boot 1.5.10, Angular CLI 1.6.7, and remove Stormpath SDKs. See the code changes in the example app on GitHub. You can see changes to this article in oktadeveloper/okta.github.io#1794.
Matt Raible is a well-known figure in the Java community and has been building web applications for most of his adult life. For over 20 years, he has helped developers learn and adopt open source frameworks and use them effectively. He's a web developer, Java Champion, and Developer Advocate at Okta. Matt has been a speaker at many conferences worldwide, including Devnexus, Devoxx Belgium, Devoxx France, Jfokus, and JavaOne. He is the author of The Angular Mini-Book, The JHipster Mini-Book, Spring Live, and contributed to Pro JSP. He is a frequent contributor to open source and a member of the JHipster development team. You can find him online @mraible and raibledesigns.com.
Okta Developer Blog Comment Policy
We welcome relevant and respectful comments. Off-topic comments may be removed.