Bootiful Development with Spring Boot and Angular
Heads up... this blog post is old!
For an updated version of this blog post, see Build a CRUD App with Angular 9 and Spring Boot 2.2.
To simplify development and deployment, you want everything in the same artifact, so you put your Angular app “inside” your Spring Boot app, right? But what if you could create your Angular app as a standalone app and make cross-origin requests to your API? Hey guess what, you can do both!
I believe that most frontend developers are used to having their apps standalone and making cross-origin requests to APIs. The beauty of having a client app that can point to a server app is you can point it to any server and it makes it easy to test your current client code against other servers (e.g. test, staging, production).
This post shows how you can have the best of both worlds where the UI and the API are separate apps. You’ll learn how to create REST endpoints with Spring Data REST, configure Spring Boot to allow CORS, and create an Angular app to display its data. This app will display a list of beers from the API, then fetch a GIF from https://giphy.com/ that matches the beer’s name.
If you don’t want to code along, feel free to grab the source code from GitHub! You can also watch a video of this tutorial below.
Build an API with Spring Boot
To get started with Spring Boot, navigate to start.spring.io. In the “Search for dependencies” field, select the following:
- DevTools: Provides auto-reloading of your application when files change
- H2: An in-memory database
- JPA: Standard ORM for Java
- Rest Repositories: Allows you to expose your JPA repositories as REST endpoints
- Web: Spring MVC with Jackson (for JSON), Hibernate Validator, and embedded Tomcat
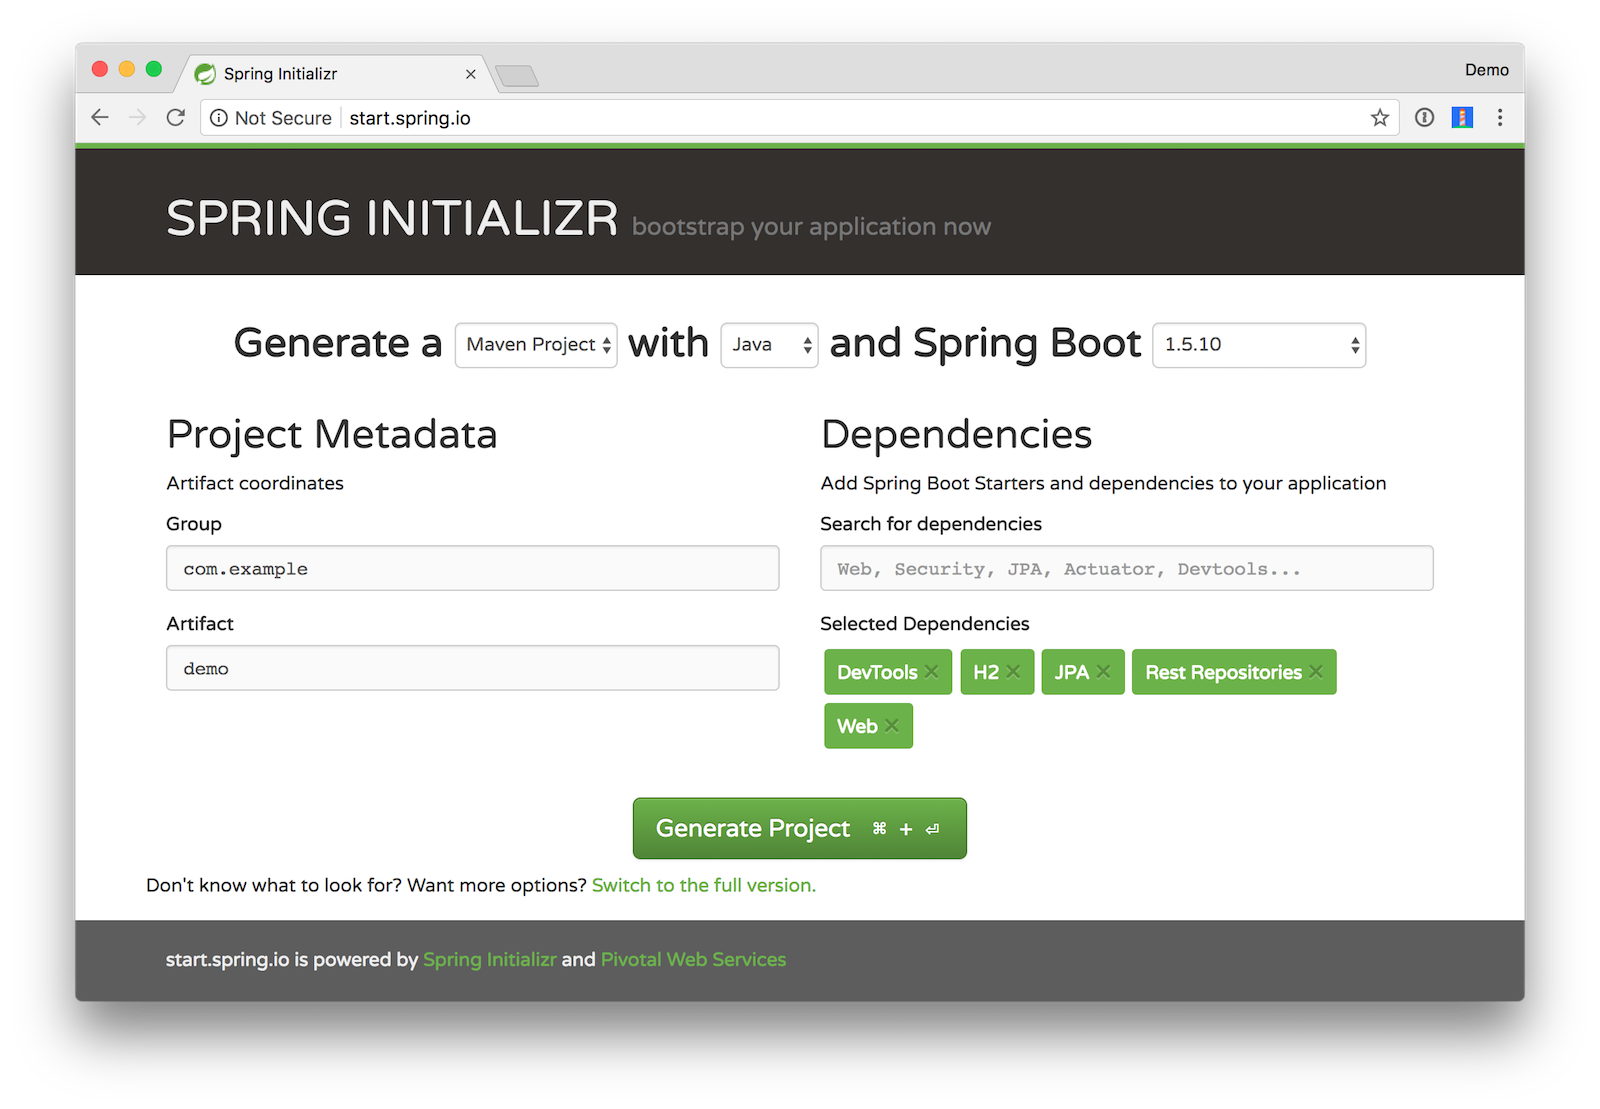
If you like the command-line better, you can use the following command to download a demo.zip file with HTTPie.
http https://start.spring.io/starter.zip bootVersion==1.5.10.RELEASE \
dependencies==devtools,h2,data-jpa,data-rest,web -d
Create a directory called spring-boot-angular-example and expand the contents of demo.zip inside it. Rename the demo directory to server and delete demo.zip.
Open the server project in your favorite IDE and run DemoApplication or start it from the command line using ./mvnw spring-boot:run.
Create a com.example.demo.beer package and a Beer.java file in it. This will be the entity that holds your data.
package com.example.demo.beer;

import javax.persistence.Entity;
import javax.persistence.GeneratedValue;
import javax.persistence.Id;

@Entity
public class Beer {

    @Id
    @GeneratedValue
    private Long id;
    private String name;

    public Beer() {}

    public Beer(String name) {
        this.name = name;
    }

    public Long getId() {
        return id;
    }

    public void setId(Long id) {
        this.id = id;
    }

    public String getName() {
        return name;
    }

    public void setName(String name) {
        this.name = name;
    }

    @Override
    public String toString() {
        return "Beer{" +
                "id=" + id +
                ", name='" + name + '\'' +
                '}';
    }
}
Add a BeerRepository class that leverages Spring Data to do CRUD on this entity.
package com.example.demo.beer;

import org.springframework.data.jpa.repository.JpaRepository;

interface BeerRepository extends JpaRepository<Beer, Long> {
}
Add a BeerCommandLineRunner that uses this repository and creates a default set of data.
package com.example.demo.beer;

import org.springframework.boot.CommandLineRunner;
import org.springframework.stereotype.Component;

import java.util.stream.Stream;

@Component
public class BeerCommandLineRunner implements CommandLineRunner {

    private final BeerRepository repository;

    public BeerCommandLineRunner(BeerRepository repository) {
        this.repository = repository;
    }

    @Override
    public void run(String... strings) throws Exception {
        // Top beers from https://www.beeradvocate.com/lists/top/
        Stream.of("Kentucky Brunch Brand Stout", "Good Morning", "Very Hazy", "King Julius",
                "Budweiser", "Coors Light", "PBR").forEach(name ->
                repository.save(new Beer(name))
        );
        repository.findAll().forEach(System.out::println);
    }
}
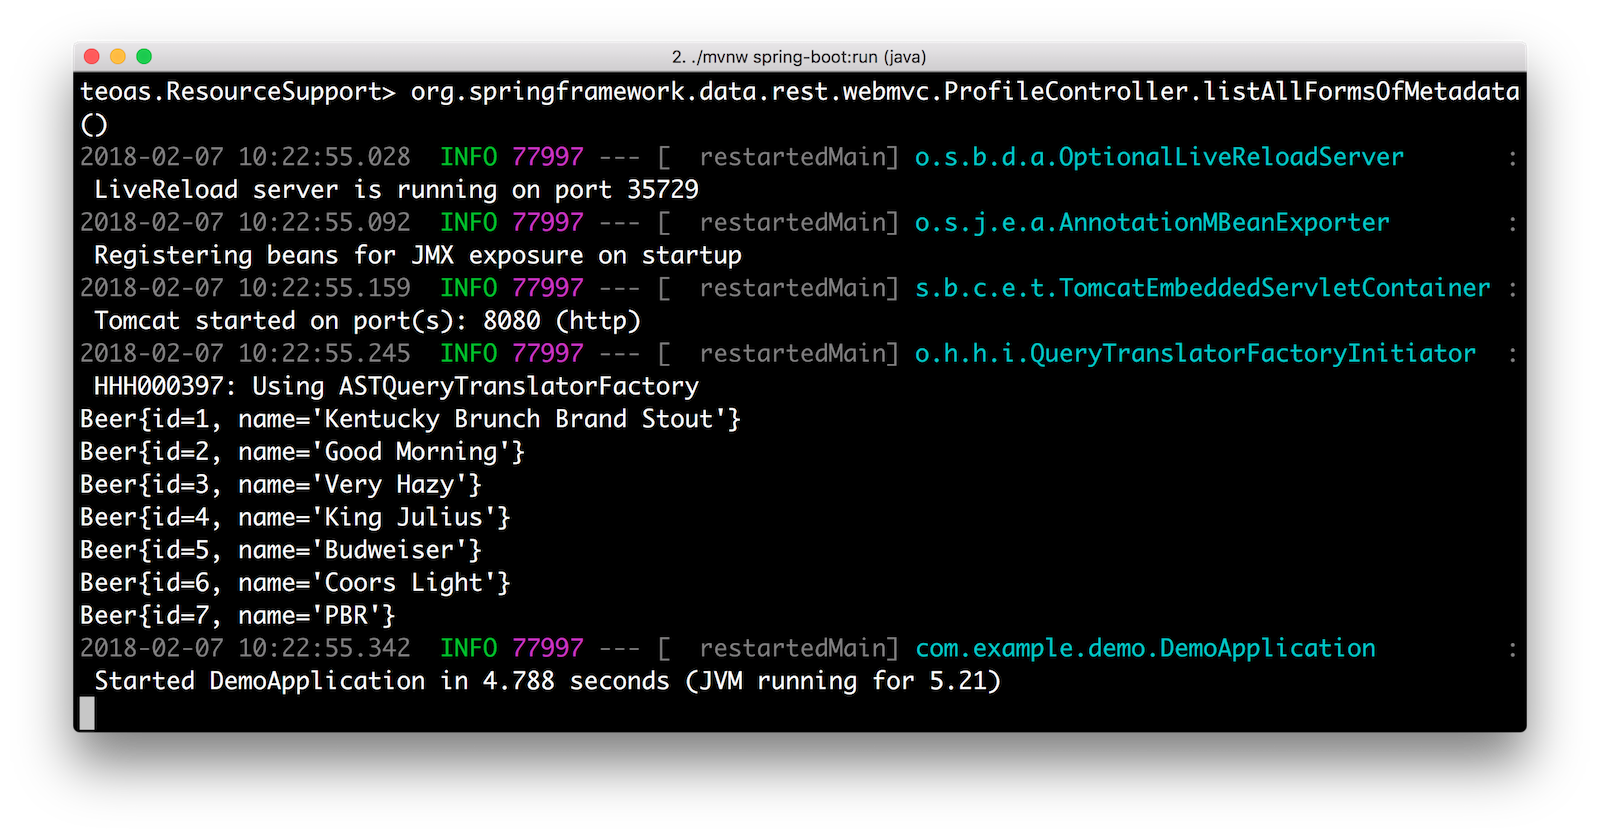
Rebuild your project and you should see a list of beers printed in your terminal.
Add a @RepositoryRestResource annotation to BeerRepository to expose all its CRUD operations as REST endpoints.
import org.springframework.data.rest.core.annotation.RepositoryRestResource;

@RepositoryRestResource
interface BeerRepository extends JpaRepository<Beer, Long> {
}
Add a BeerController class to create an endpoint that filters out less-than-great beers.
package com.example.demo.beer;

import org.springframework.web.bind.annotation.GetMapping;
import org.springframework.web.bind.annotation.RestController;

import java.util.Collection;
import java.util.stream.Collectors;

@RestController
public class BeerController {
    private BeerRepository repository;

    public BeerController(BeerRepository repository) {
        this.repository = repository;
    }

    @GetMapping("/good-beers")
    public Collection<Beer> goodBeers() {

        return repository.findAll().stream()
                .filter(this::isGreat)
                .collect(Collectors.toList());
    }

    private boolean isGreat(Beer beer) {
        return !beer.getName().equals("Budweiser") &&
                !beer.getName().equals("Coors Light") &&
                !beer.getName().equals("PBR");
    }
}
Re-build your application and navigate to http://localhost:8080/good-beers. You should see the list of good beers in your browser.
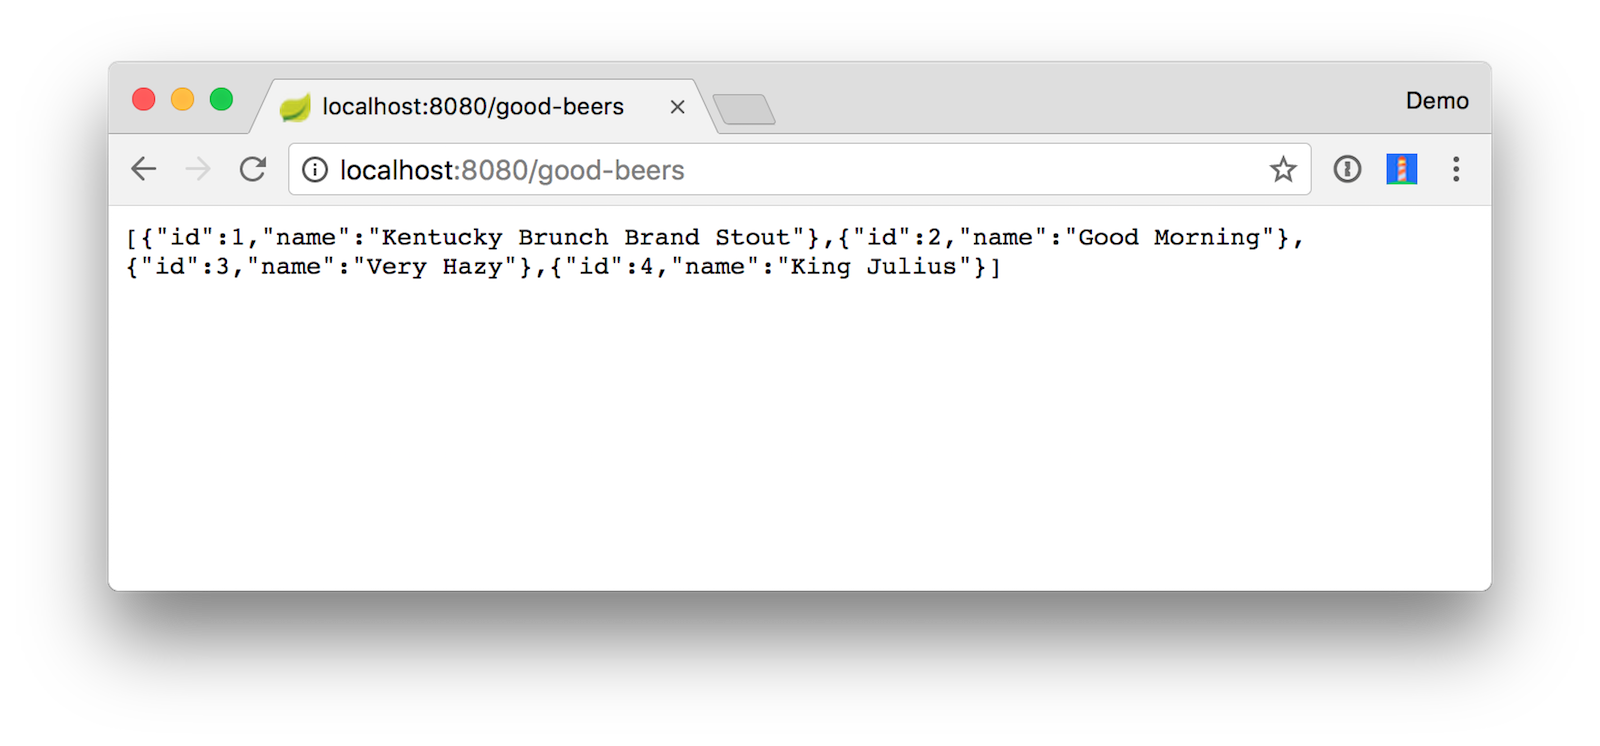
You should also see this same result in your terminal window when using HTTPie.
http localhost:8080/good-beers
Create a Project with Angular CLI
It’s cool that you created an API to display a list of beers, but APIs aren’t that cool without a UI. In this section, you’ll create a new Angular app, build services to fetch beers/images, and create components to display this data.
To create an Angular project, make sure you have Node.js and the latest Angular CLI installed.
npm install -g @angular/cli@1.6.7
From a terminal window, cd into the root of the spring-boot-angular-example directory and run the following command:
ng new client
This will create a new client directory and run npm install to install all the necessary dependencies. To verify everything works, cd into the client directory and run ng e2e. If everything works, you should see output like the following in your terminal:
[10:30:59] I/launcher - Running 1 instances of WebDriver
[10:30:59] I/direct - Using ChromeDriver directly...
Jasmine started

  client App
    ✓ should display welcome message

Executed 1 of 1 spec SUCCESS in 0.692 sec.
[10:31:01] I/launcher - 0 instance(s) of WebDriver still running
[10:31:01] I/launcher - chrome #01 passed
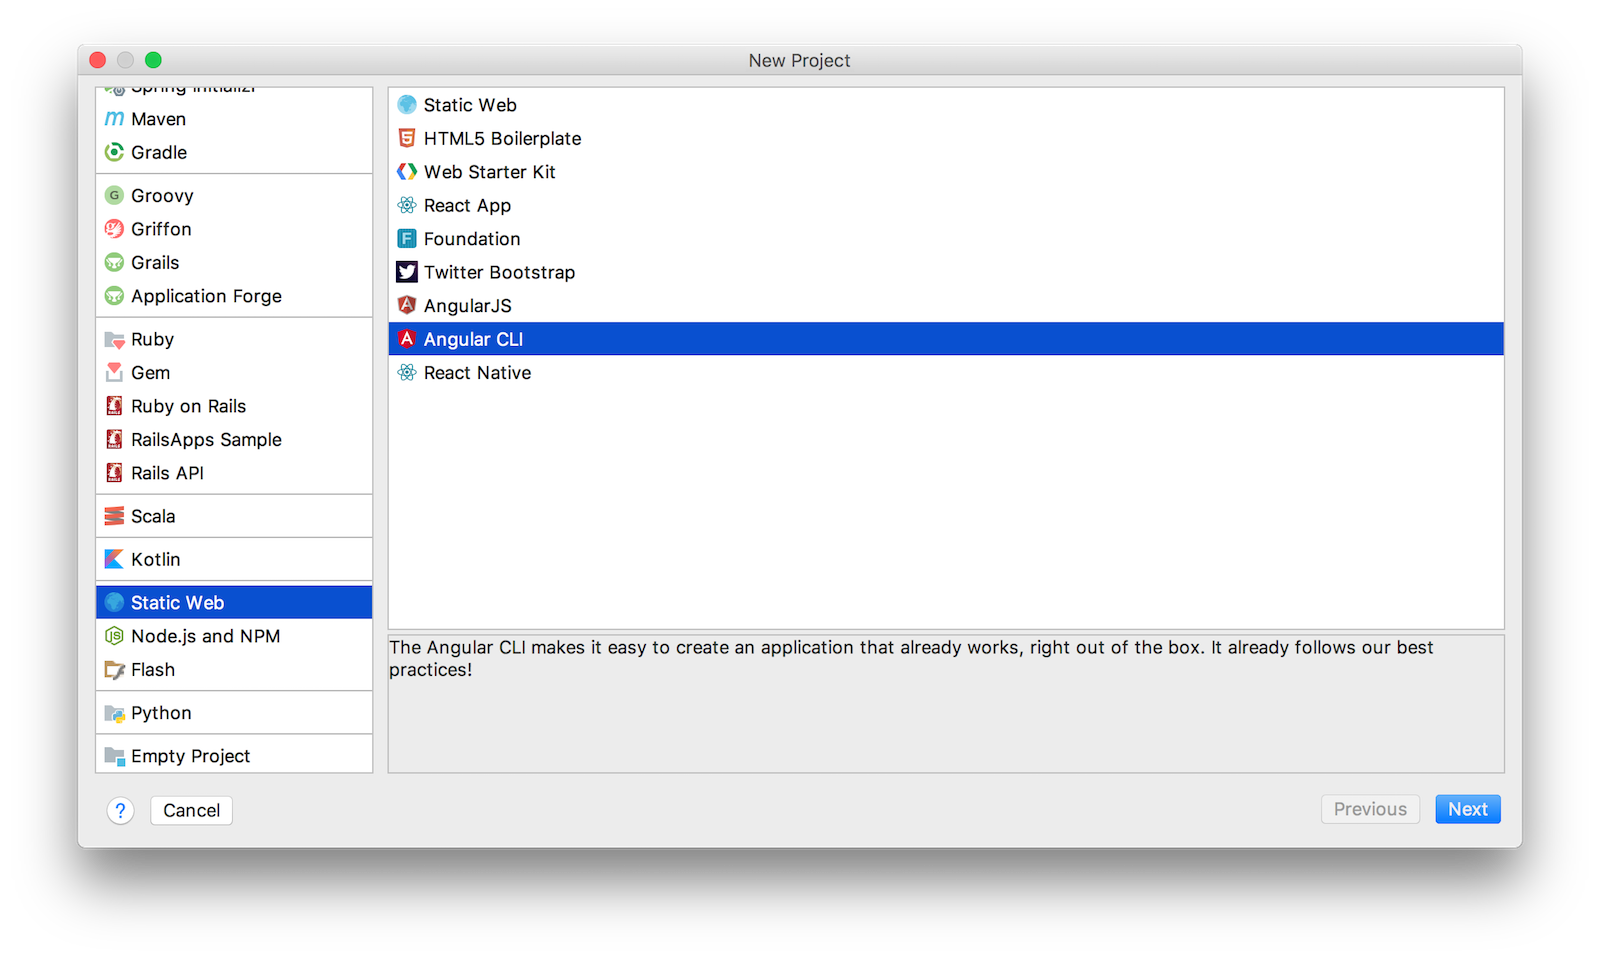
If you’d rather not use the command line and have IntelliJ IDEA (or WebStorm) installed, you can create a new Static Web Project and select Angular CLI.
Create a BeerListComponent and BeerService
Thus far, you’ve created a good-beers API and an Angular app, but you haven’t created the UI to display the list of beers from your API. To do this, create a <beer-list> component by running Angular CLI’s generate component command.
$ ng generate component beer-list
  create src/app/beer-list/beer-list.component.css (0 bytes)
  create src/app/beer-list/beer-list.component.html (28 bytes)
  create src/app/beer-list/beer-list.component.spec.ts (643 bytes)
  create src/app/beer-list/beer-list.component.ts (280 bytes)
  update src/app/app.module.ts (408 bytes)
TIP: There is a g alias for generate and a c alias for component, so you can type ng g c beer-list too.
Create a beer service:
$ ng g s beer
  create src/app/beer.service.spec.ts (362 bytes)
  create src/app/beer.service.ts (110 bytes)
Create a src/app/shared/beer directory and move beer.service.* into it.
mkdir -p src/app/shared/beer
mv src/app/beer.service.* src/app/shared/beer/.
Create a src/app/shared/index.ts file and export the BeerService. The reason for this file is so you can export multiple classes and import them in one line rather than multiple.
export * from './beer/beer.service';
Modify client/src/app/shared/beer/beer.service.ts to call the “good-beers” API service.
import { Injectable } from '@angular/core';
import { HttpClient } from '@angular/common/http';
import { Observable } from 'rxjs/Observable';

@Injectable()
export class BeerService {

  constructor(private http: HttpClient) {}

  getAll(): Observable<any> {
    return this.http.get('http://localhost:8080/good-beers');
  }
}
Open client/src/app/app.module.ts and add HttpClientModule as an import.
import { HttpClientModule } from '@angular/common/http';

@NgModule({
  ...
  imports: [
    BrowserModule,
    HttpClientModule
  ],
  ...
})
Modify client/src/app/beer-list/beer-list.component.ts to use the BeerService and store the results in a local variable. Notice that you need to add the service as a provider in the @Component definition or you will see an error.
import { Component, OnInit } from '@angular/core';
import { BeerService } from '../shared';

@Component({
  selector: 'app-beer-list',
  templateUrl: './beer-list.component.html',
  styleUrls: ['./beer-list.component.css'],
  providers: [BeerService]
})
export class BeerListComponent implements OnInit {
  beers: Array<any>;

  constructor(private beerService: BeerService) { }

  ngOnInit() {
    this.beerService.getAll().subscribe(
      data => {
        this.beers = data;
      },
      error => console.log(error)
    )
  }
}
Modify client/src/app/beer-list/beer-list.component.html so it renders the list of beers.
<h2>Beer List</h2>

<div *ngFor="let b of beers">
  {{b.name}}
</div>
Update app.component.html to have the BeerListComponent below the title, removing the rest of the HTML.
<div style="text-align:center">
  <h1>
    Welcome to {{ title }}!
  </h1>
</div>
<app-beer-list></app-beer-list>
Make sure both apps are started (with mvn spring-boot:run in the server directory, and ng serve in the client directory) and navigate to http://localhost:4200. You should see an error in your console that you means you have to configure cross-origin resource sharing (CORS) on the server.
Failed to load http://localhost:8080/good-beers: No 'Access-Control-Allow-Origin' header is present on the requested resource. Origin 'http://localhost:4200' is therefore not allowed access.
To fix this issue, you’ll need to configure Spring Boot to allow cross-domain access from http://localhost:4200.
Configure CORS for Spring Boot
In the server project, open BeerController.java and add a @CrossOrigin annotation to enable cross-origin resource sharing (CORS) from the client (http://localhost:4200).
import org.springframework.web.bind.annotation.CrossOrigin;
...
    @GetMapping("/good-beers")
    @CrossOrigin(origins = "http://localhost:4200")
    public Collection<Beer> goodBeers() {
After making these changes, you should be able to see a list of beers from your Spring Boot API.
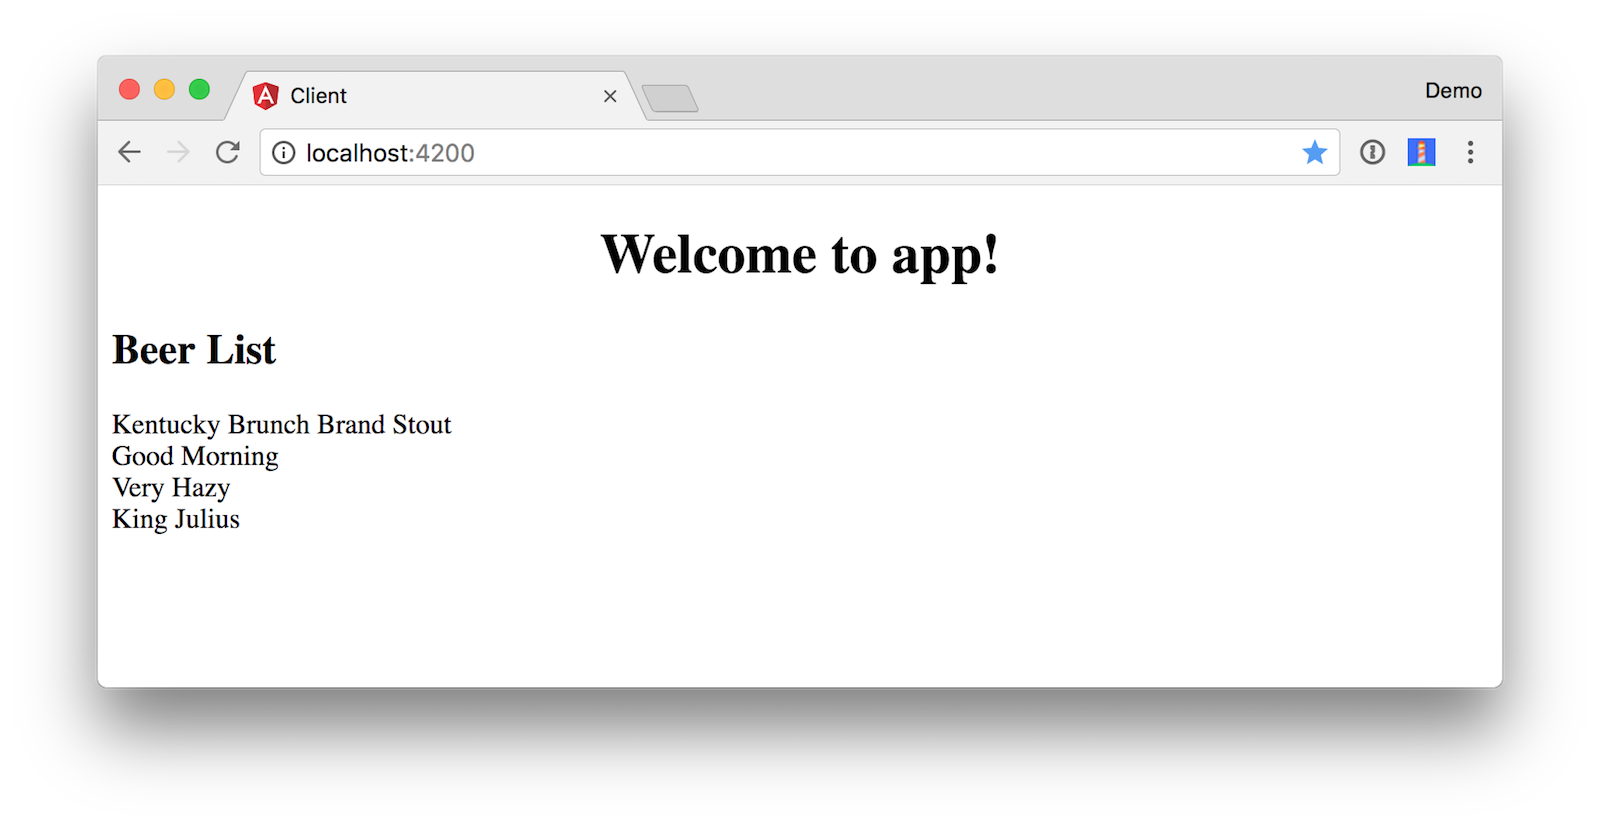
To make it look a little better, add a Giphy service to fetch images based on the beer’s name. Create client/src/app/shared/giphy/giphy.service.ts and place the following code inside it.
import { Injectable } from '@angular/core';
import { HttpClient } from '@angular/common/http';
import 'rxjs/add/operator/map';

@Injectable()
// http://tutorials.pluralsight.com/front-end-javascript/getting-started-with-angular-2-by-building-a-giphy-search-application
export class GiphyService {

  // Public beta key: https://github.com/Giphy/GiphyAPI#public-beta-key
  giphyApi = '//api.giphy.com/v1/gifs/search?api_key=dc6zaTOxFJmzC&limit=1&q=';

  constructor(public http: HttpClient) {
  }

  get(searchTerm) {
    const apiLink = this.giphyApi + searchTerm;
    return this.http.get(apiLink).map((response: any) => {
      if (response.data.length > 0) {
        return response.data[0].images.original.url;
      } else {
        return 'https://media.giphy.com/media/YaOxRsmrv9IeA/giphy.gif'; // dancing cat for 404
      }
    });
  }
}
Add an export for this class in client/src/app/shared/index.ts.
export * from './beer/beer.service';
export * from './giphy/giphy.service';
Then add it to BeerListComponent to set a giphyUrl on each beer object.
import { Component, OnInit } from '@angular/core';
import { BeerService, GiphyService } from '../shared';

@Component({
  selector: 'app-beer-list',
  templateUrl: './beer-list.component.html',
  styleUrls: ['./beer-list.component.css'],
  providers: [BeerService, GiphyService]
})
export class BeerListComponent implements OnInit {
  beers: Array<any>;

  constructor(private beerService: BeerService, private giphyService: GiphyService) { }

  ngOnInit() {
    this.beerService.getAll().subscribe(
      data => {
        this.beers = data;
        for (const beer of this.beers) {
          this.giphyService.get(beer.name).subscribe(url => beer.giphyUrl = url);
        }
      },
      error => console.log(error)
    )
  }
}
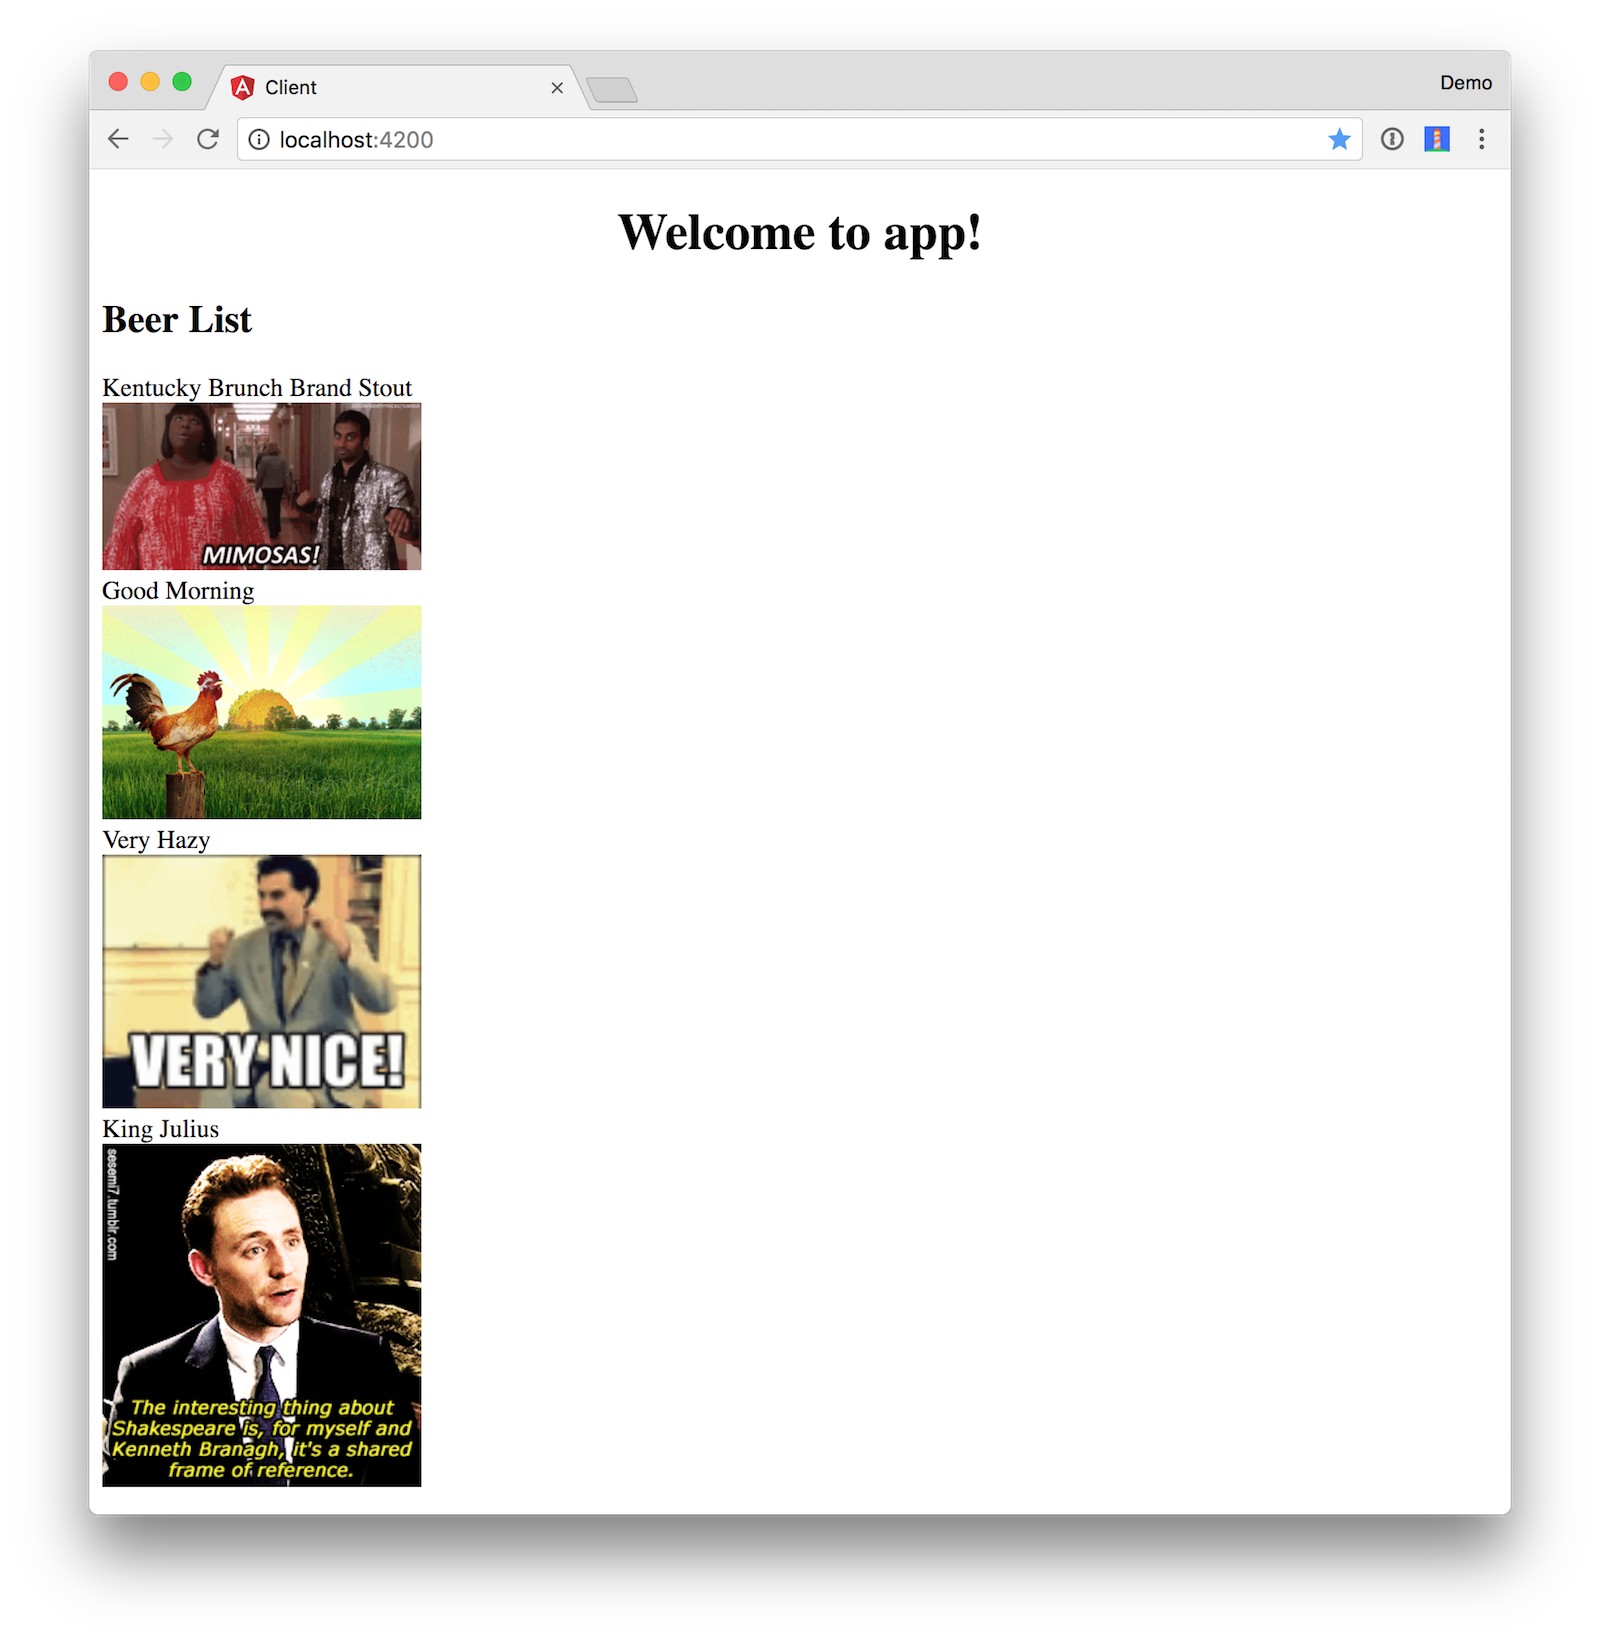
Then update beer-list.component.html to include a reference to this image.
<div *ngFor="let b of beers">
  {{b.name}}<br>
  <img width="200" src="{{b.giphyUrl}}" alt="{{b.name}}">
</div>
The result should look something like the following list of beer names with images.
You’ve just created an Angular app that talks to a Spring Boot API using cross-domain requests. Congratulations!
Learn More About Spring Boot and Angular
To learn more about Angular, Spring Boot, or Okta, check out the following resources:
- Angular Authentication with OpenID Connect and Okta in 20 Minutes
- Get Started with Spring Boot, OAuth 2.0, and Okta
- Getting Started with Spring Boot by Josh Long (SF JUG 2015)
- Angular Best Practices by Stephen Fluin (ng-conf 2017)
You can find the source code associated with this article on GitHub. If you find any bugs, please file an issue on GitHub, or ask your question on Stack Overflow with an okta tag. Of course, you can always ping me on Twitter too.
Update: To learn how to turn this application into a progressive web application that can work offline, see Build Your First Progressive Web Application with Angular and Spring Boot. I also wrote a tutorial that shows how to develop an Ionic mobile app for this Spring Boot backend.
Update 2: To see how to develop this same application with Spring Boot, React, and Okta, see Bootiful Development with Spring Boot and React.
Changelog:
- Feb 7, 2018: Updated to use Spring Boot 1.5.10, Angular 5.2.0, and Angular CLI 1.6.7. See the code changes in the example app on GitHub. Changes to this article can be viewed in this pull request.
- Nov 3, 2017: Updated to use Spring Boot 1.5.8, Angular 5.0.0, and Angular CLI 1.5.0. See the code changes in the example app on GitHub.
Okta Developer Blog Comment Policy
We welcome relevant and respectful comments. Off-topic comments may be removed.