On this page
Test the Okta REST APIs with Postman
A great way to learn an Application Programming Interface (API) is to issue requests and inspect the responses. You can use Okta Postman Collections to learn how to incorporate Okta APIs into your workflow. To use these collections, complete the following steps:
- Sign up for Okta if you don't have an existing Okta org.
- Set up your Postman environment.
- Import the Okta collection that you want to test.
- Set up Okta for API access.
You can then send test requests to your Okta org and verify the results.
Sign up for Okta
You need an Okta Integrator Free Plan org to get started. Don't have one? Create an org for free (opens new window). The Integrator Free Plan org is assigned a base URL such as integrator-1234567.okta.com. This is your unique subdomain in Okta.
Note: Use this unique subdomain whenever you see the
{yourOktaDomain}variable in this document.
Set up your Postman environment
Start Postman if it's not open already.
In the upper-left corner, click the hamburger menu > File > Import if you're on Windows. Click Import if you're on MacOS.
In the Import dialog, paste the following link into the Paste cURL, Raw text or URL... textbox:
https://developer.okta.com/docs/api/postman/example.oktapreview.com.environment.Note: You can also download this environment locally and import it as a file.
In the upper-right corner, click the box that lists the environments, and then select
{yourOktaDomain}from the list. The initial value isNo Environmentif you just installed Postman.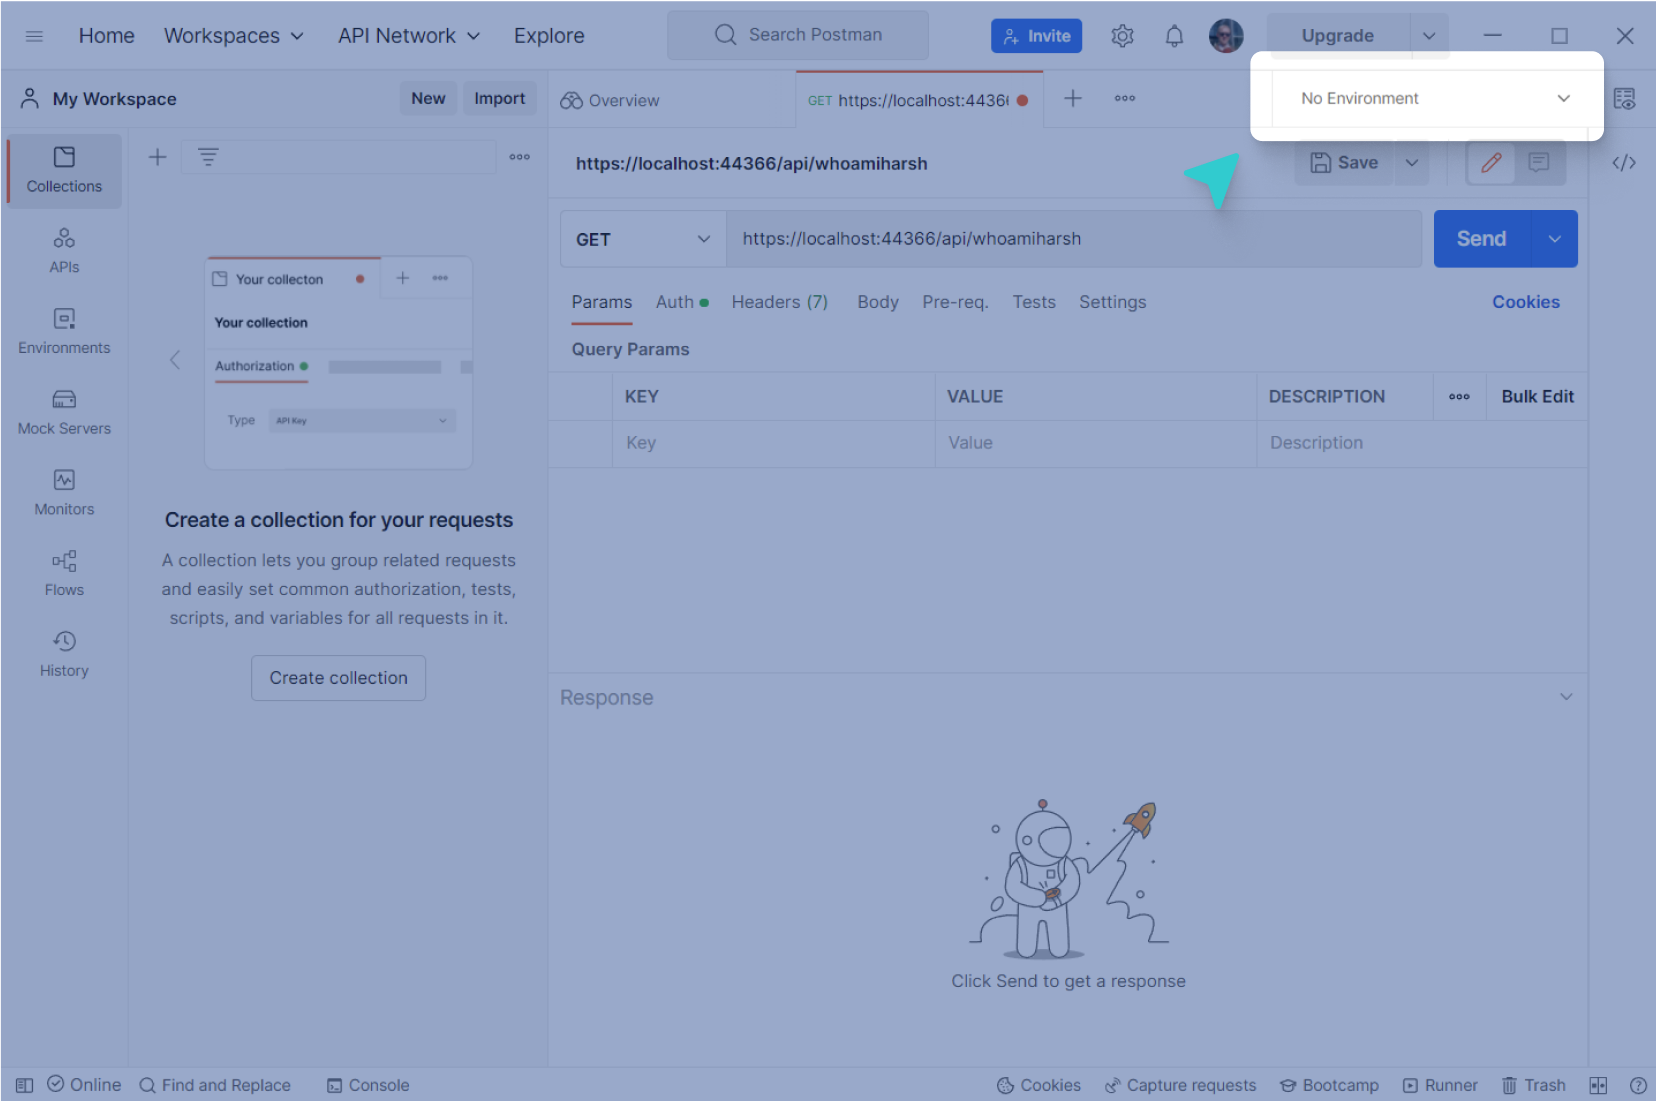
In the upper-right corner, next to
{yourOktaDomain}, click Environment quick look .
.In the upper-right corner of the
{yourOktaDomain}dialog, click Edit.In the environment tab, do the following:
- Click the environment name, delete the placeholder text, and name your environment. For example:
integrator-1234567 Okta Org - For the
urlvariable, in the Initial Value and Current Value columns, replace the placeholder text with your org's full URL. For example:https://integrator-1234567.okta.com. Remember to remove the-adminpart of your subdomain.
- Click the environment name, delete the placeholder text, and name your environment. For example:
Click Save near the top of the tab.
To close the environment tab, hover over the tab and click the x.
Import a collection
Go to the Okta Postman Collections (opens new window) reference to fork the collection that you want to test.
To fork a collection from the Okta Postman Collections (opens new window) reference page, complete the following steps:
Click the Collections icon from the Okta Public API Collections left-hand navigation panel.
Click on the collection you want to fork, click the menu icon, and then select Fork.
Specify a name and workspace for your forked collection.
Set up Okta for API access
To access Okta APIs from Postman, you need to authenticate with the Okta API resource server. Okta APIs support the OAuth 2.0 authentication scheme that uses access tokens. Access tokens enable the bearer to perform specific actions on specific Okta endpoints, defined by the scopes in the token.
See Set up Okta for API access for step-by-step instructions on how to set up Okta to obtain user-based or service-based access tokens.
Note: Okta doesn't recommend using the Okta-propriety
SSWSAPI token authentication scheme. This API token scheme allows you to access a broad range of APIs because there's no scope associated with the token. Access to the APIs depends on the privileges of the user that created the API token. The API token also has a fixed expiry date.
Tips
Use the following tips to work more efficiently with your collection.
Find IDs for Okta API requests
Your imported collections contain URLs and JSON request bodies that have sample data with variables such as {userId}. You can replace the variables in the URL and body with the IDs of the resources that you want to specify.
- To get a user's ID, send a request to list the users in your org like you did in the previous section. Each user listed in the response has an ID:
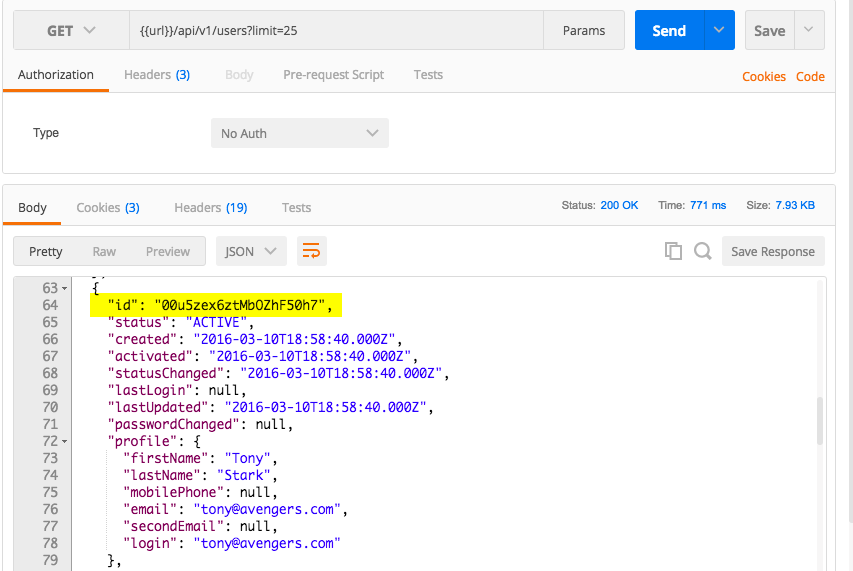
- Copy the
idof the resource for use in your next request. In this example, use theidfor Tony Stark. You can add theidvalue in your Postman environment and use the corresponding variable in your request URL or body.
Retain the headers when you click links
You can retain headers when you click HAL links in the responses.
To retain the headers:
- Click the gear icon from the toolbar in the upper-right corner of the page.
- Select Settings.
- In the Headers section, enable Retain headers when clicking on links.
Next steps
Use Postman to learn more about the Okta APIs:
- Review the Okta API reference (opens new window).
- Import more API Postman Collections.
- Try request examples in the collections to help you understand how the APIs behave.