How to Build Low-Code API Integrations for Enterprise Apps Using Okta

API Integration Actions are now available in Okta Integration Network (OIN) for Integrator Free Trial Orgs to build Provisioning, Entitlements, and Universal Logout applications.
What are API Integration Actions?
API Integration Actions are a feature that uses Workflows, Okta’s low-code builder, to enable independent software vendors (ISVs) to build Okta Integrations (Provisioning, Entitlements, Universal Logout) that are seamlessly invoked by Okta services — for example, retrieving and updating entitlements or triggering risk-based logout flows.
You can just skip the complexity of building and maintaining a System for Cross-domain Identity Management (SCIM) server. API Integration Actions allow you to use your existing APIs as-is by mapping them directly to Okta action contracts. By using our low-code builder, you no longer need in-depth knowledge of protocols, making it faster and easier to build, test, and deliver enterprise-grade Secure Identity Integrations. This leads to a fast time-to-value for customers leveraging ISV data for connector-heavy Okta Identity Governance (OIG) use cases.
Benefits of low-code API integration for ISVs
For the ISV application developer:
- Built on Workflows: use the low-code builder instead of writing and maintaining complex code
- Translates your API calls into formats consumable by Okta: bring your APIs as they are, without having to make any changes
- No need for in-depth knowledge of protocols: Workflows makes mapping your API to Okta’s format simple
- No need to invest in costly infrastructure: don’t worry about managing a SCIM server
- It’s not just secure — it’s fast and easy!
How to build low-code API integrations with Okta Workflows
If you don’t already have an account, sign up for an Okta Integrator Free Plan first. Once created, log in and follow these steps.
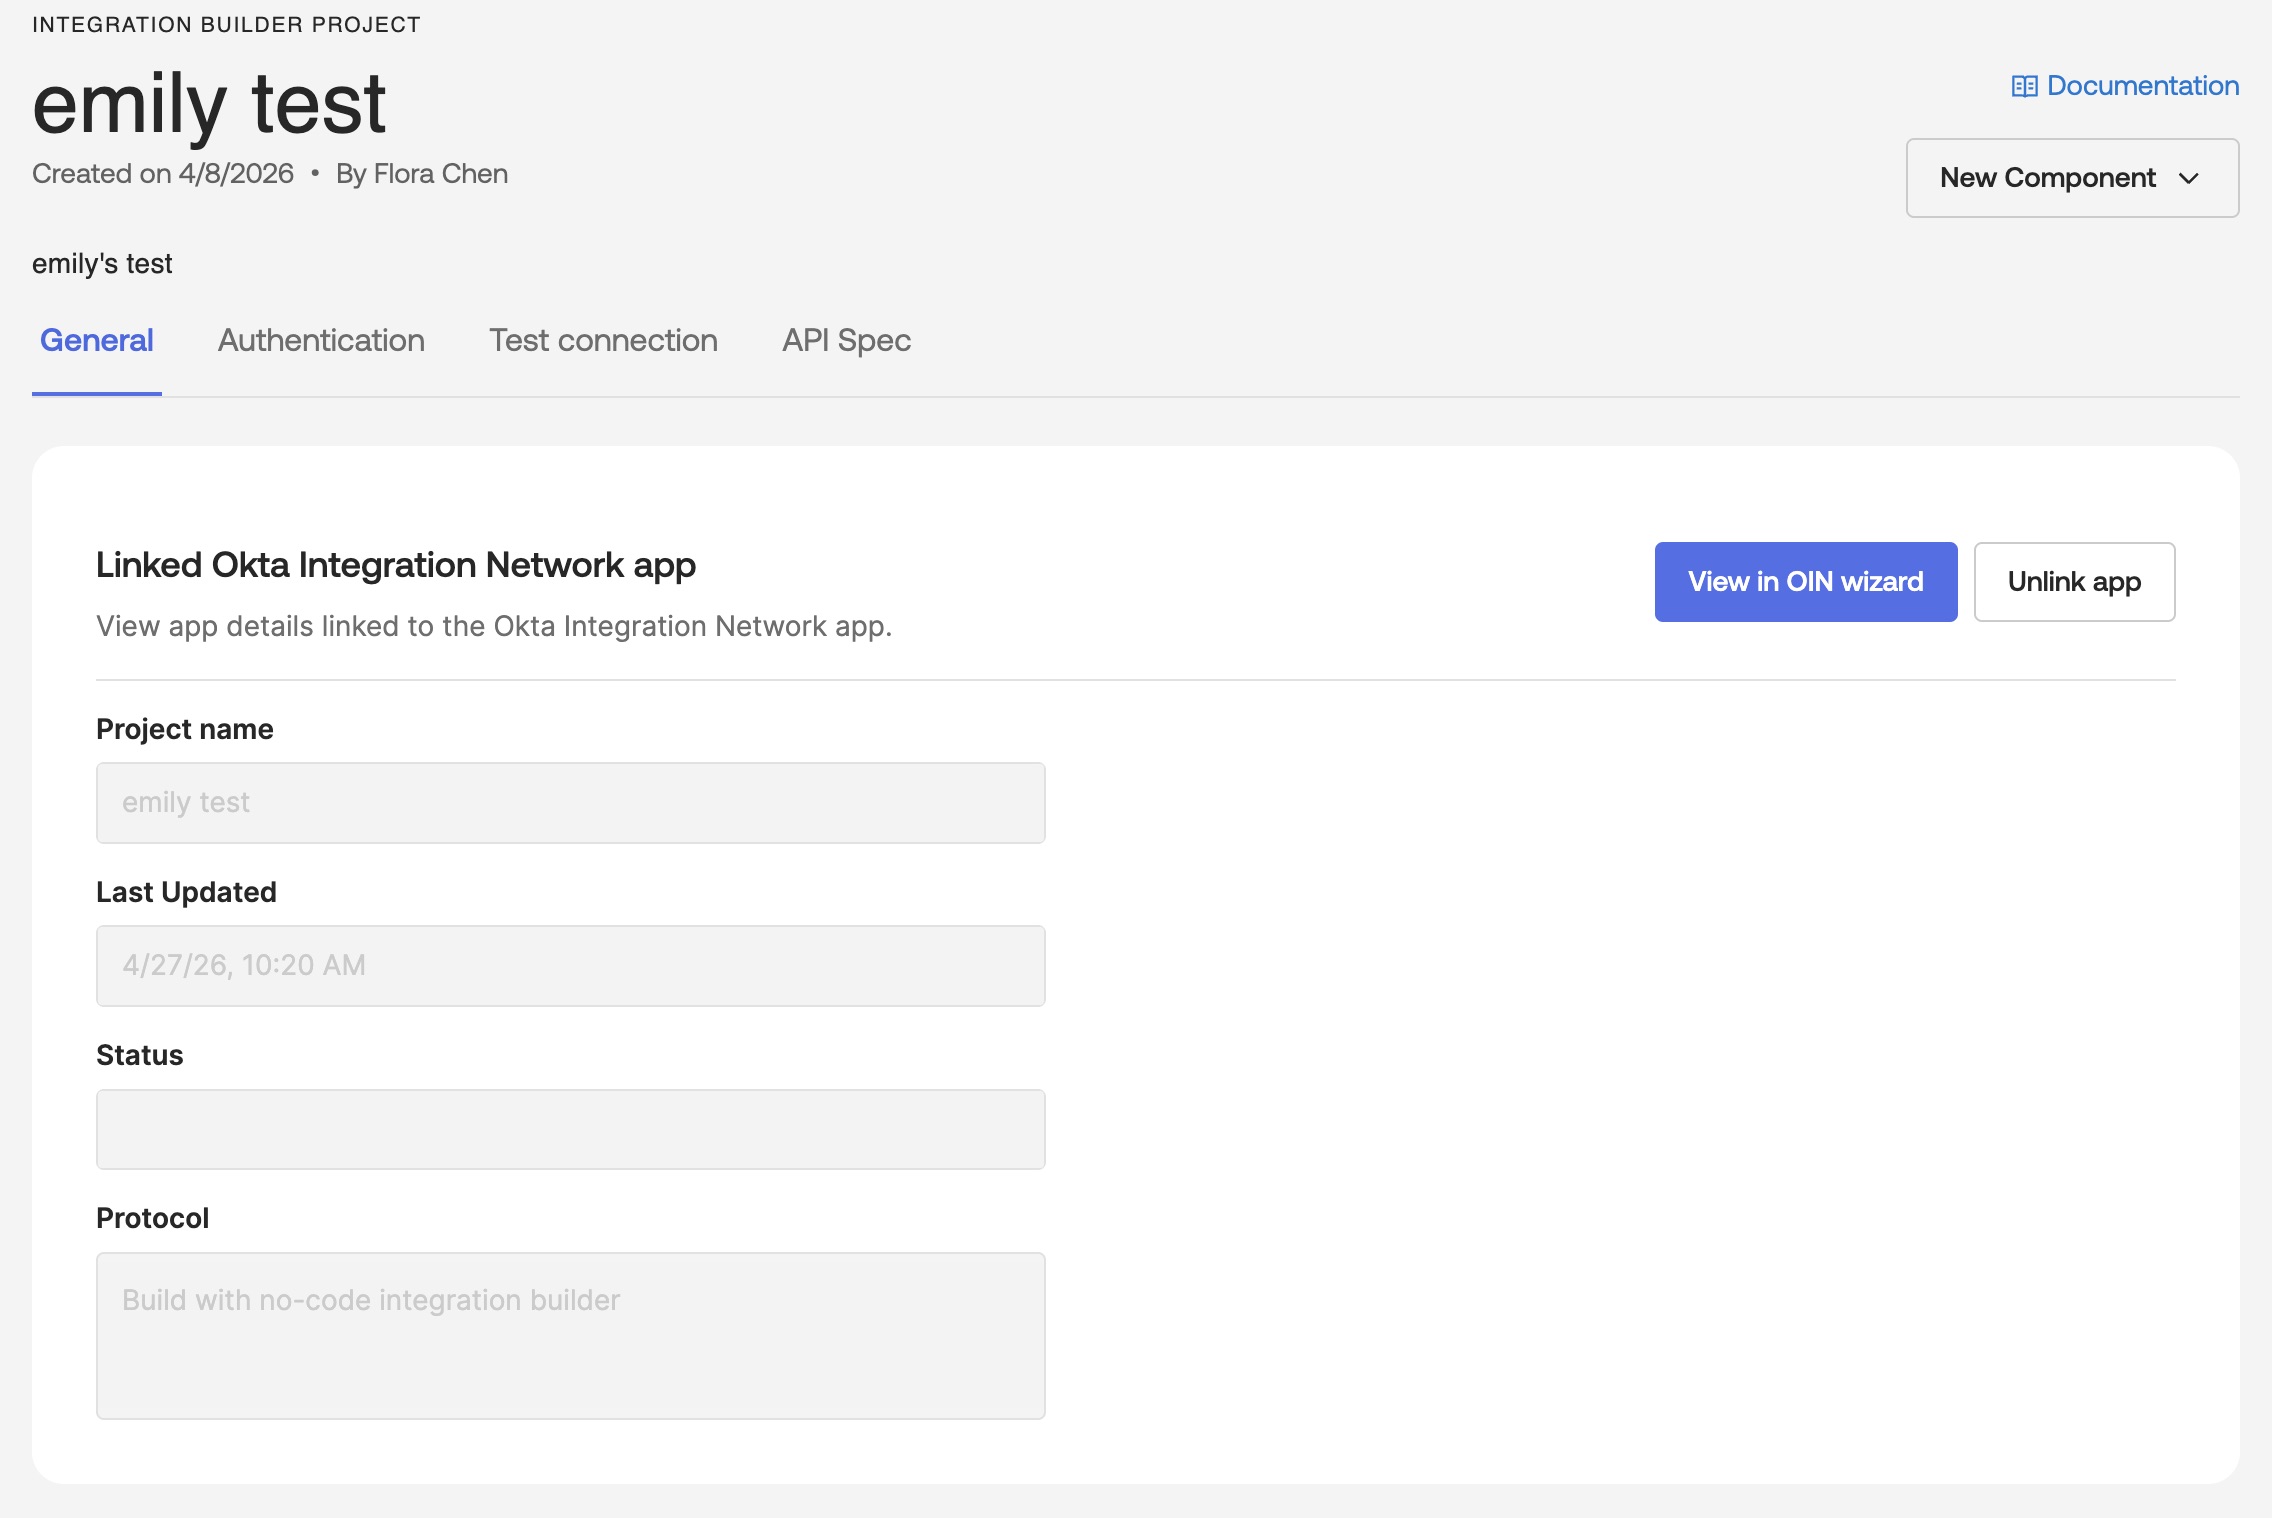
Step 1: Create your OIN integration
- Click Applications > Your OIN Integrations
- Click Build new OIN integration
- Choose the single sign-on (SSO) type
- If you are building an integration that uses Universal Logout, choose that option. If you are building an integration using provisioning and entitlements, choose those options
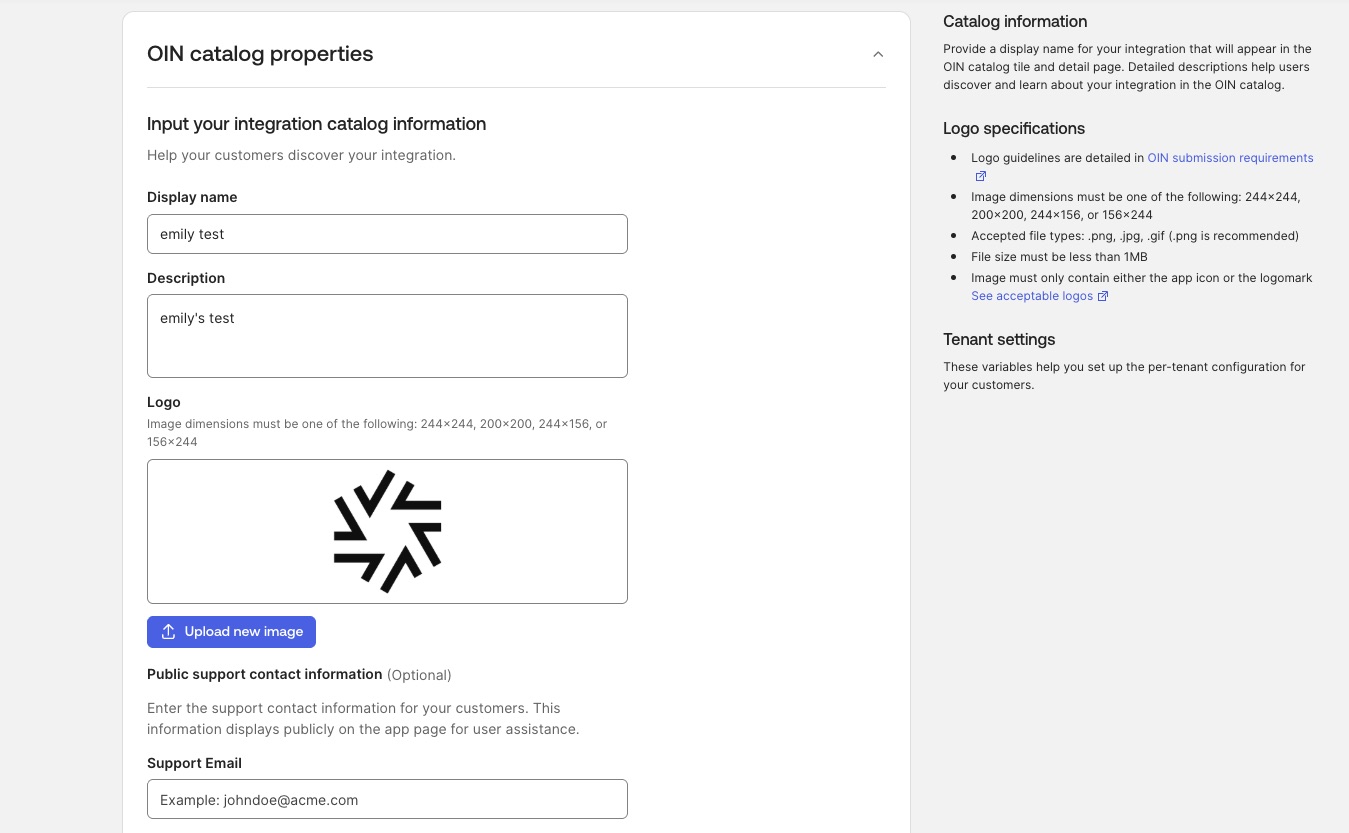
- Select View integration details
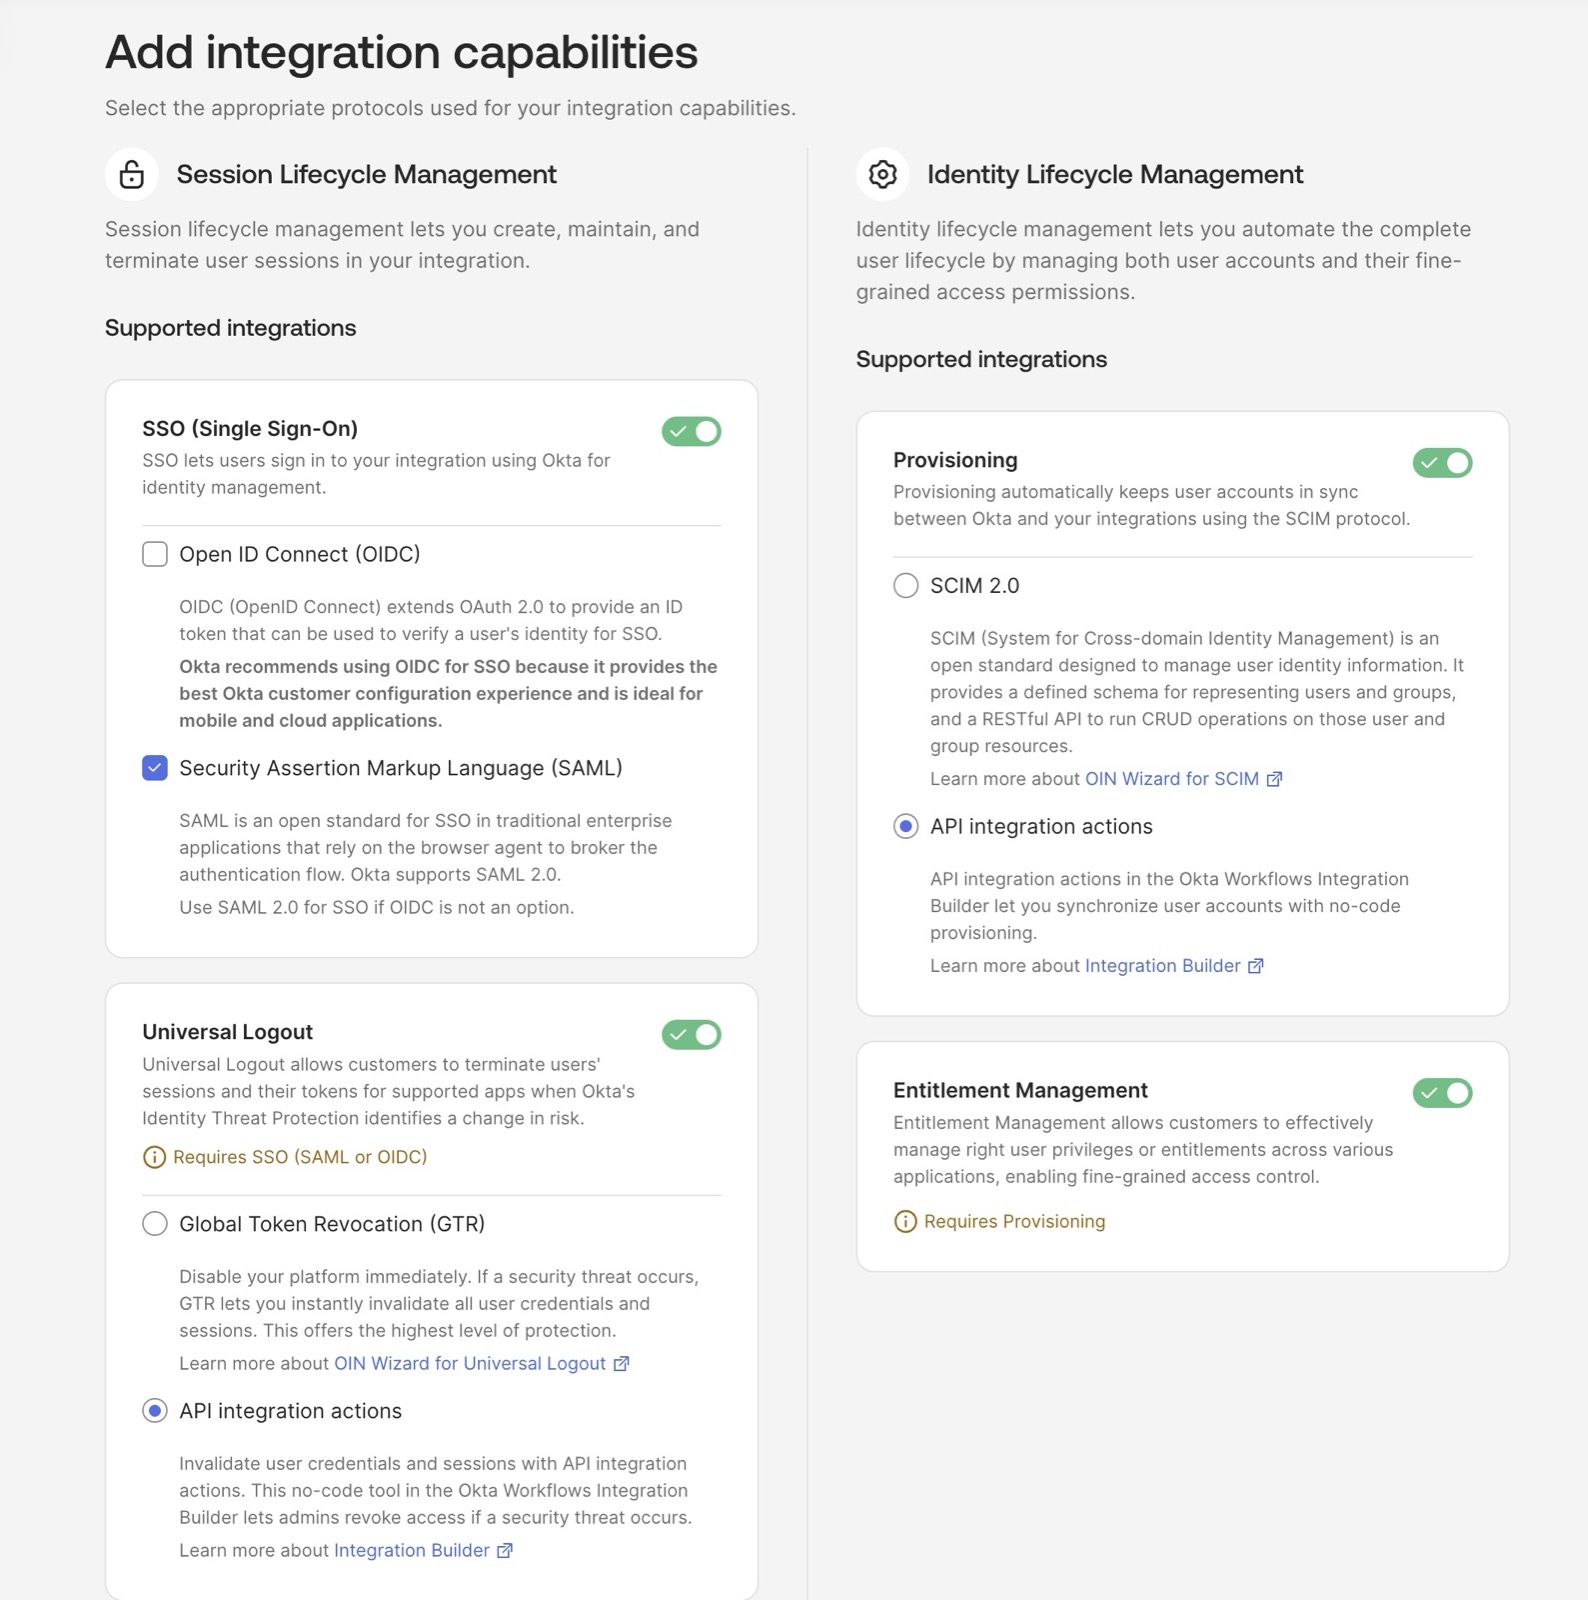
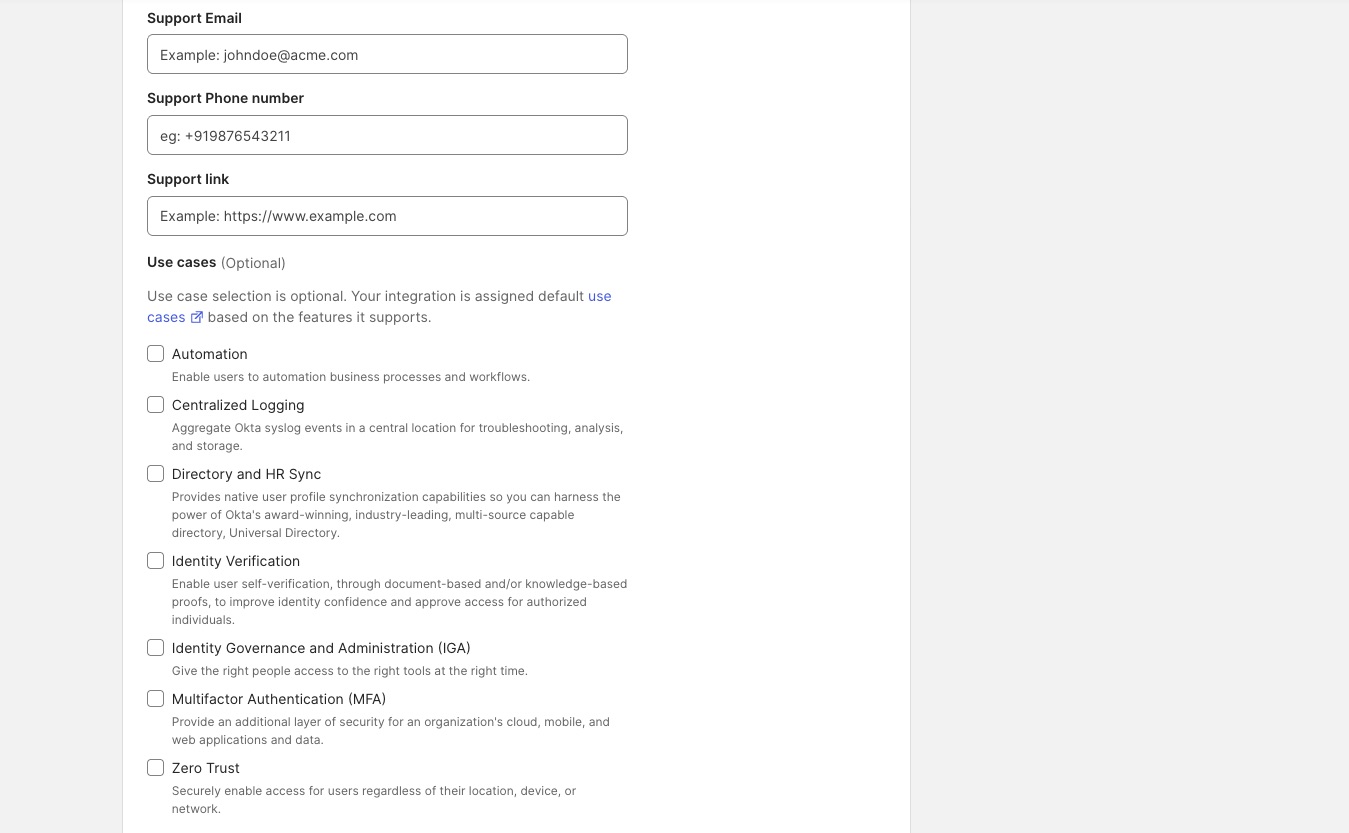
- Add the integration details
- If you are a customer creating an integration for your orgs during the EA period, put “Customer-created integration - not for the public catalog” in the description field. Then provide a list of your org tenant IDs and subdomains. After submission, you will need to email your account manager to ensure this integration is deployed to your orgs.
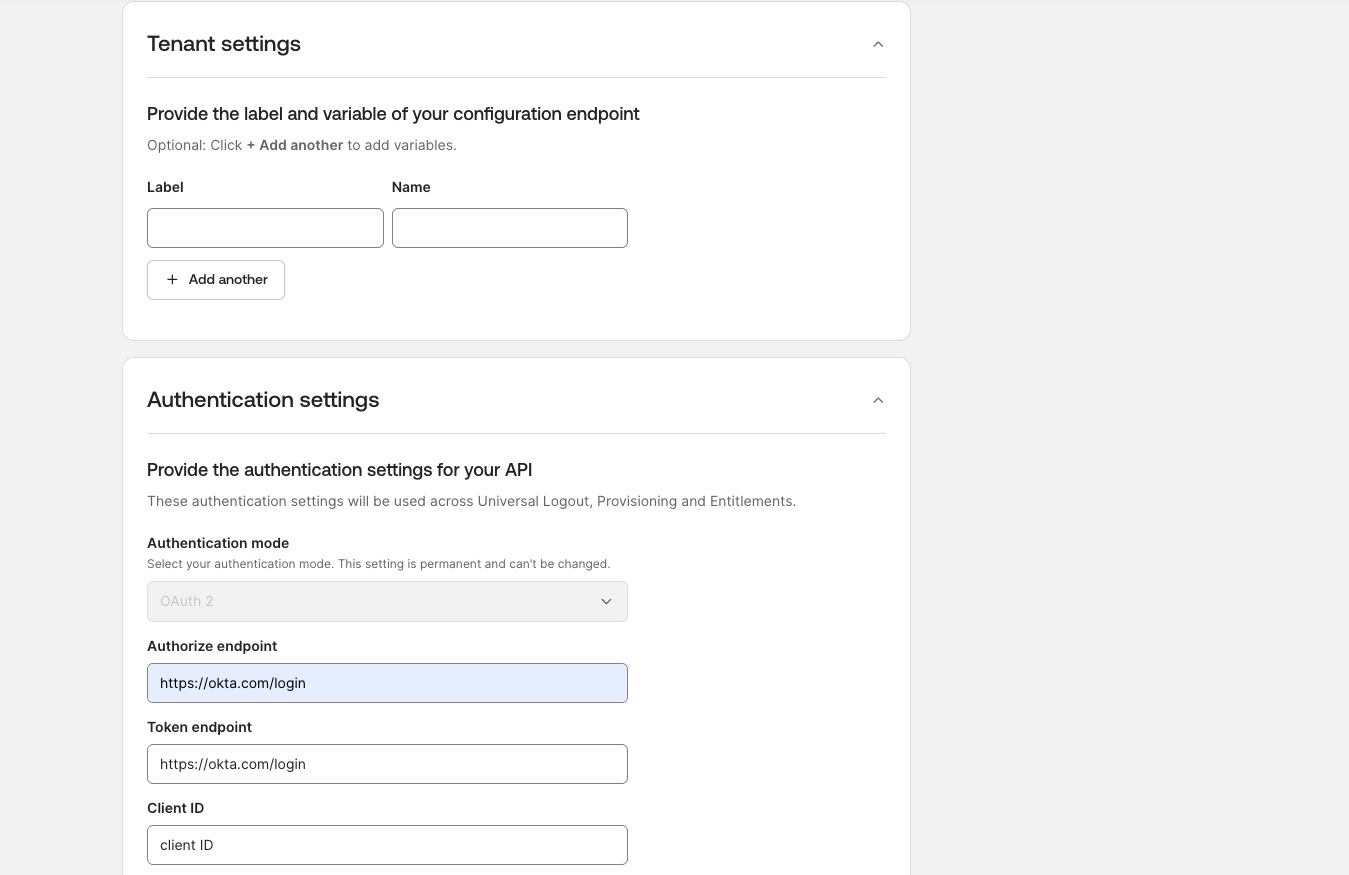
Step 2: Configure authentication and API Integration Actions
- Tenant settings refer to subdomains or additional information needed for the SSO components
- Authentication settings include all of the allowed integration types. Choose the one used by the API and provide the information
- Click Save and start building
- This will send you to Integration Builder within the Okta Workflows product, where you build out the flows that connect to the API
- Validate that the information is correct — it should match what was provided in OIN Wizard
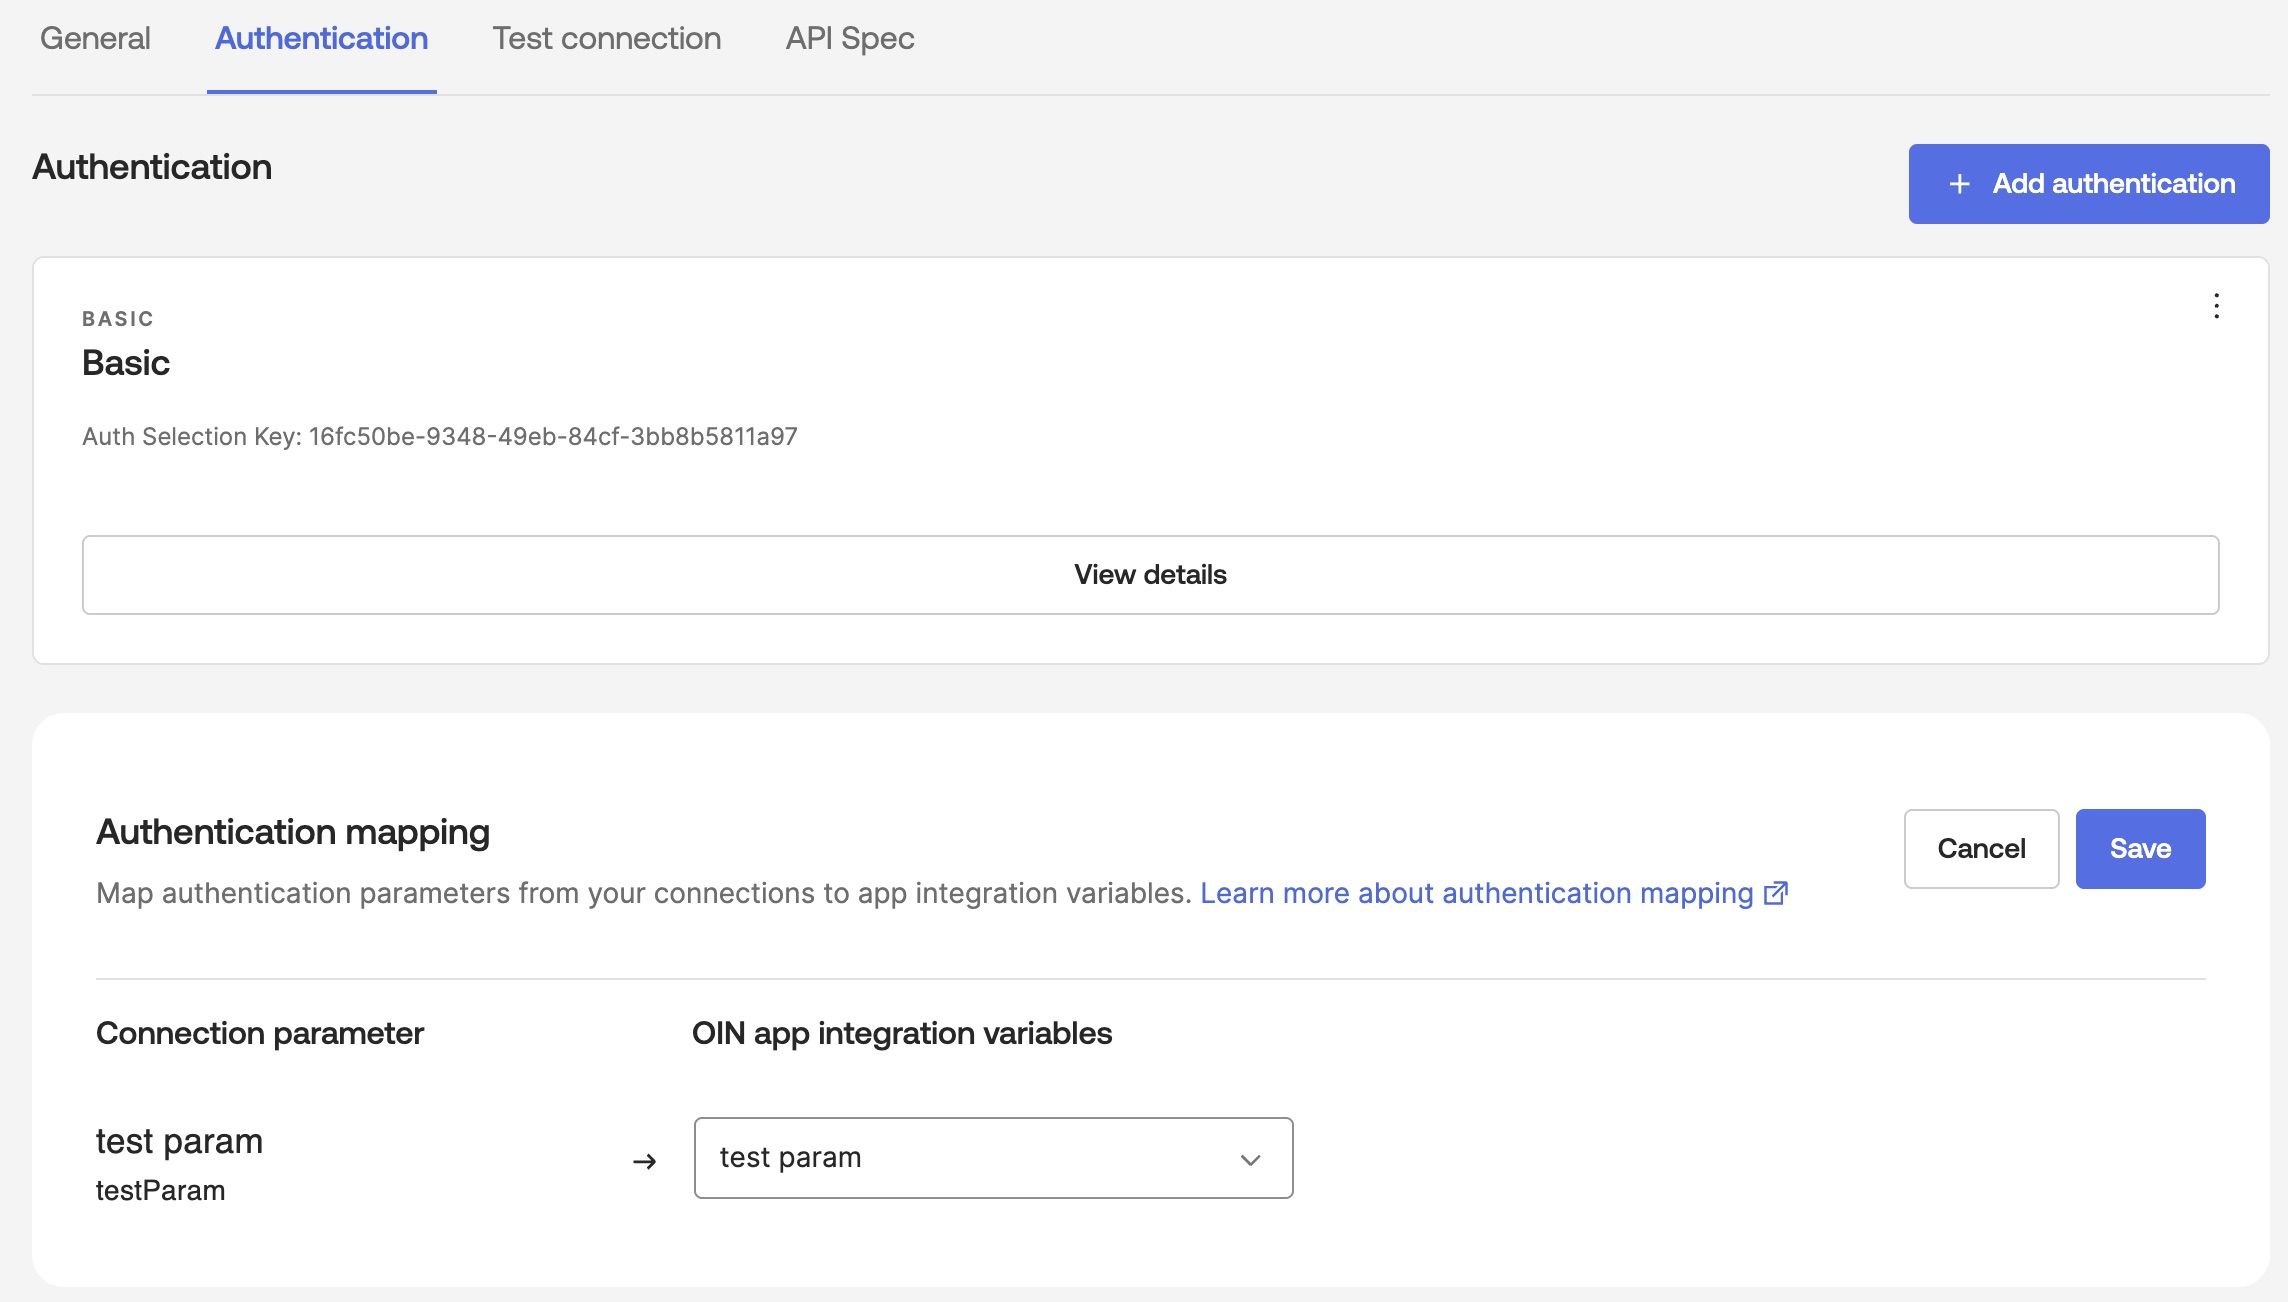
- Click on the Authentication tab and add the authentication information. Make sure it matches what is in the OIN Wizard
- Fill out the Authentication Mapping section to map the OIN Wizard auth parameters to the Workflows auth parameters
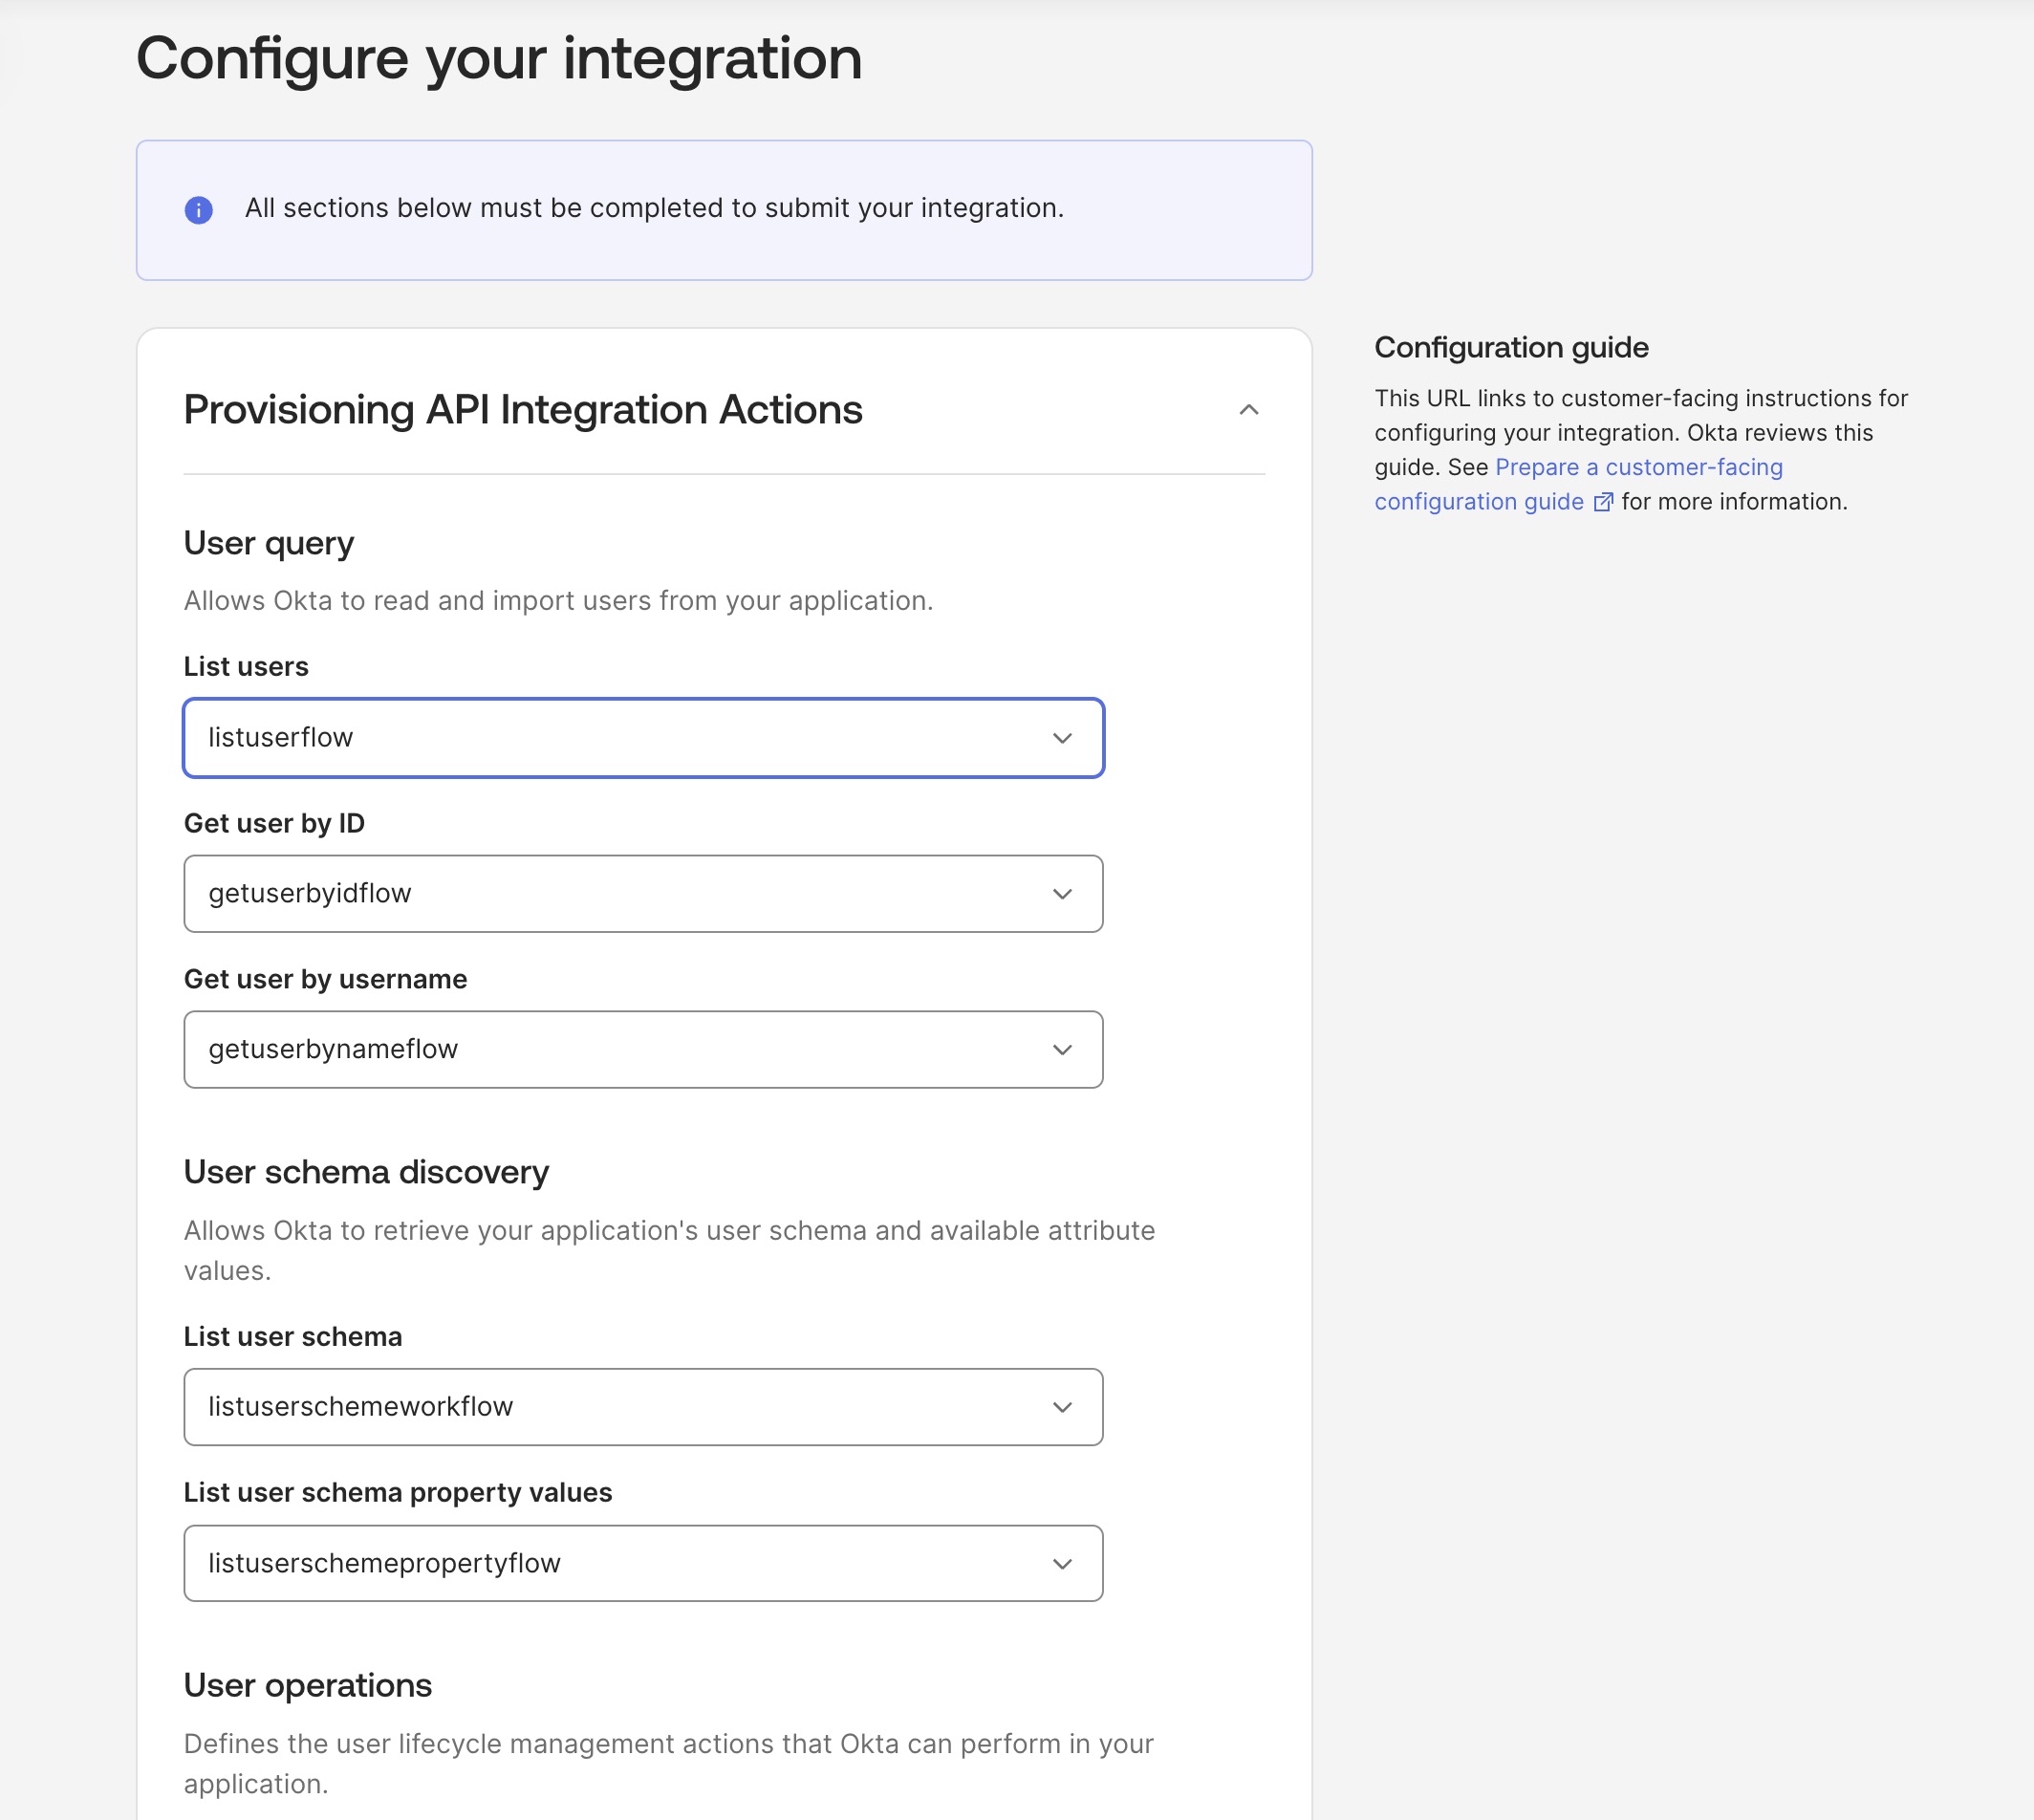
- Click on New Component and choose Add Action
- Choose the API Integration Action component from the list, and click save

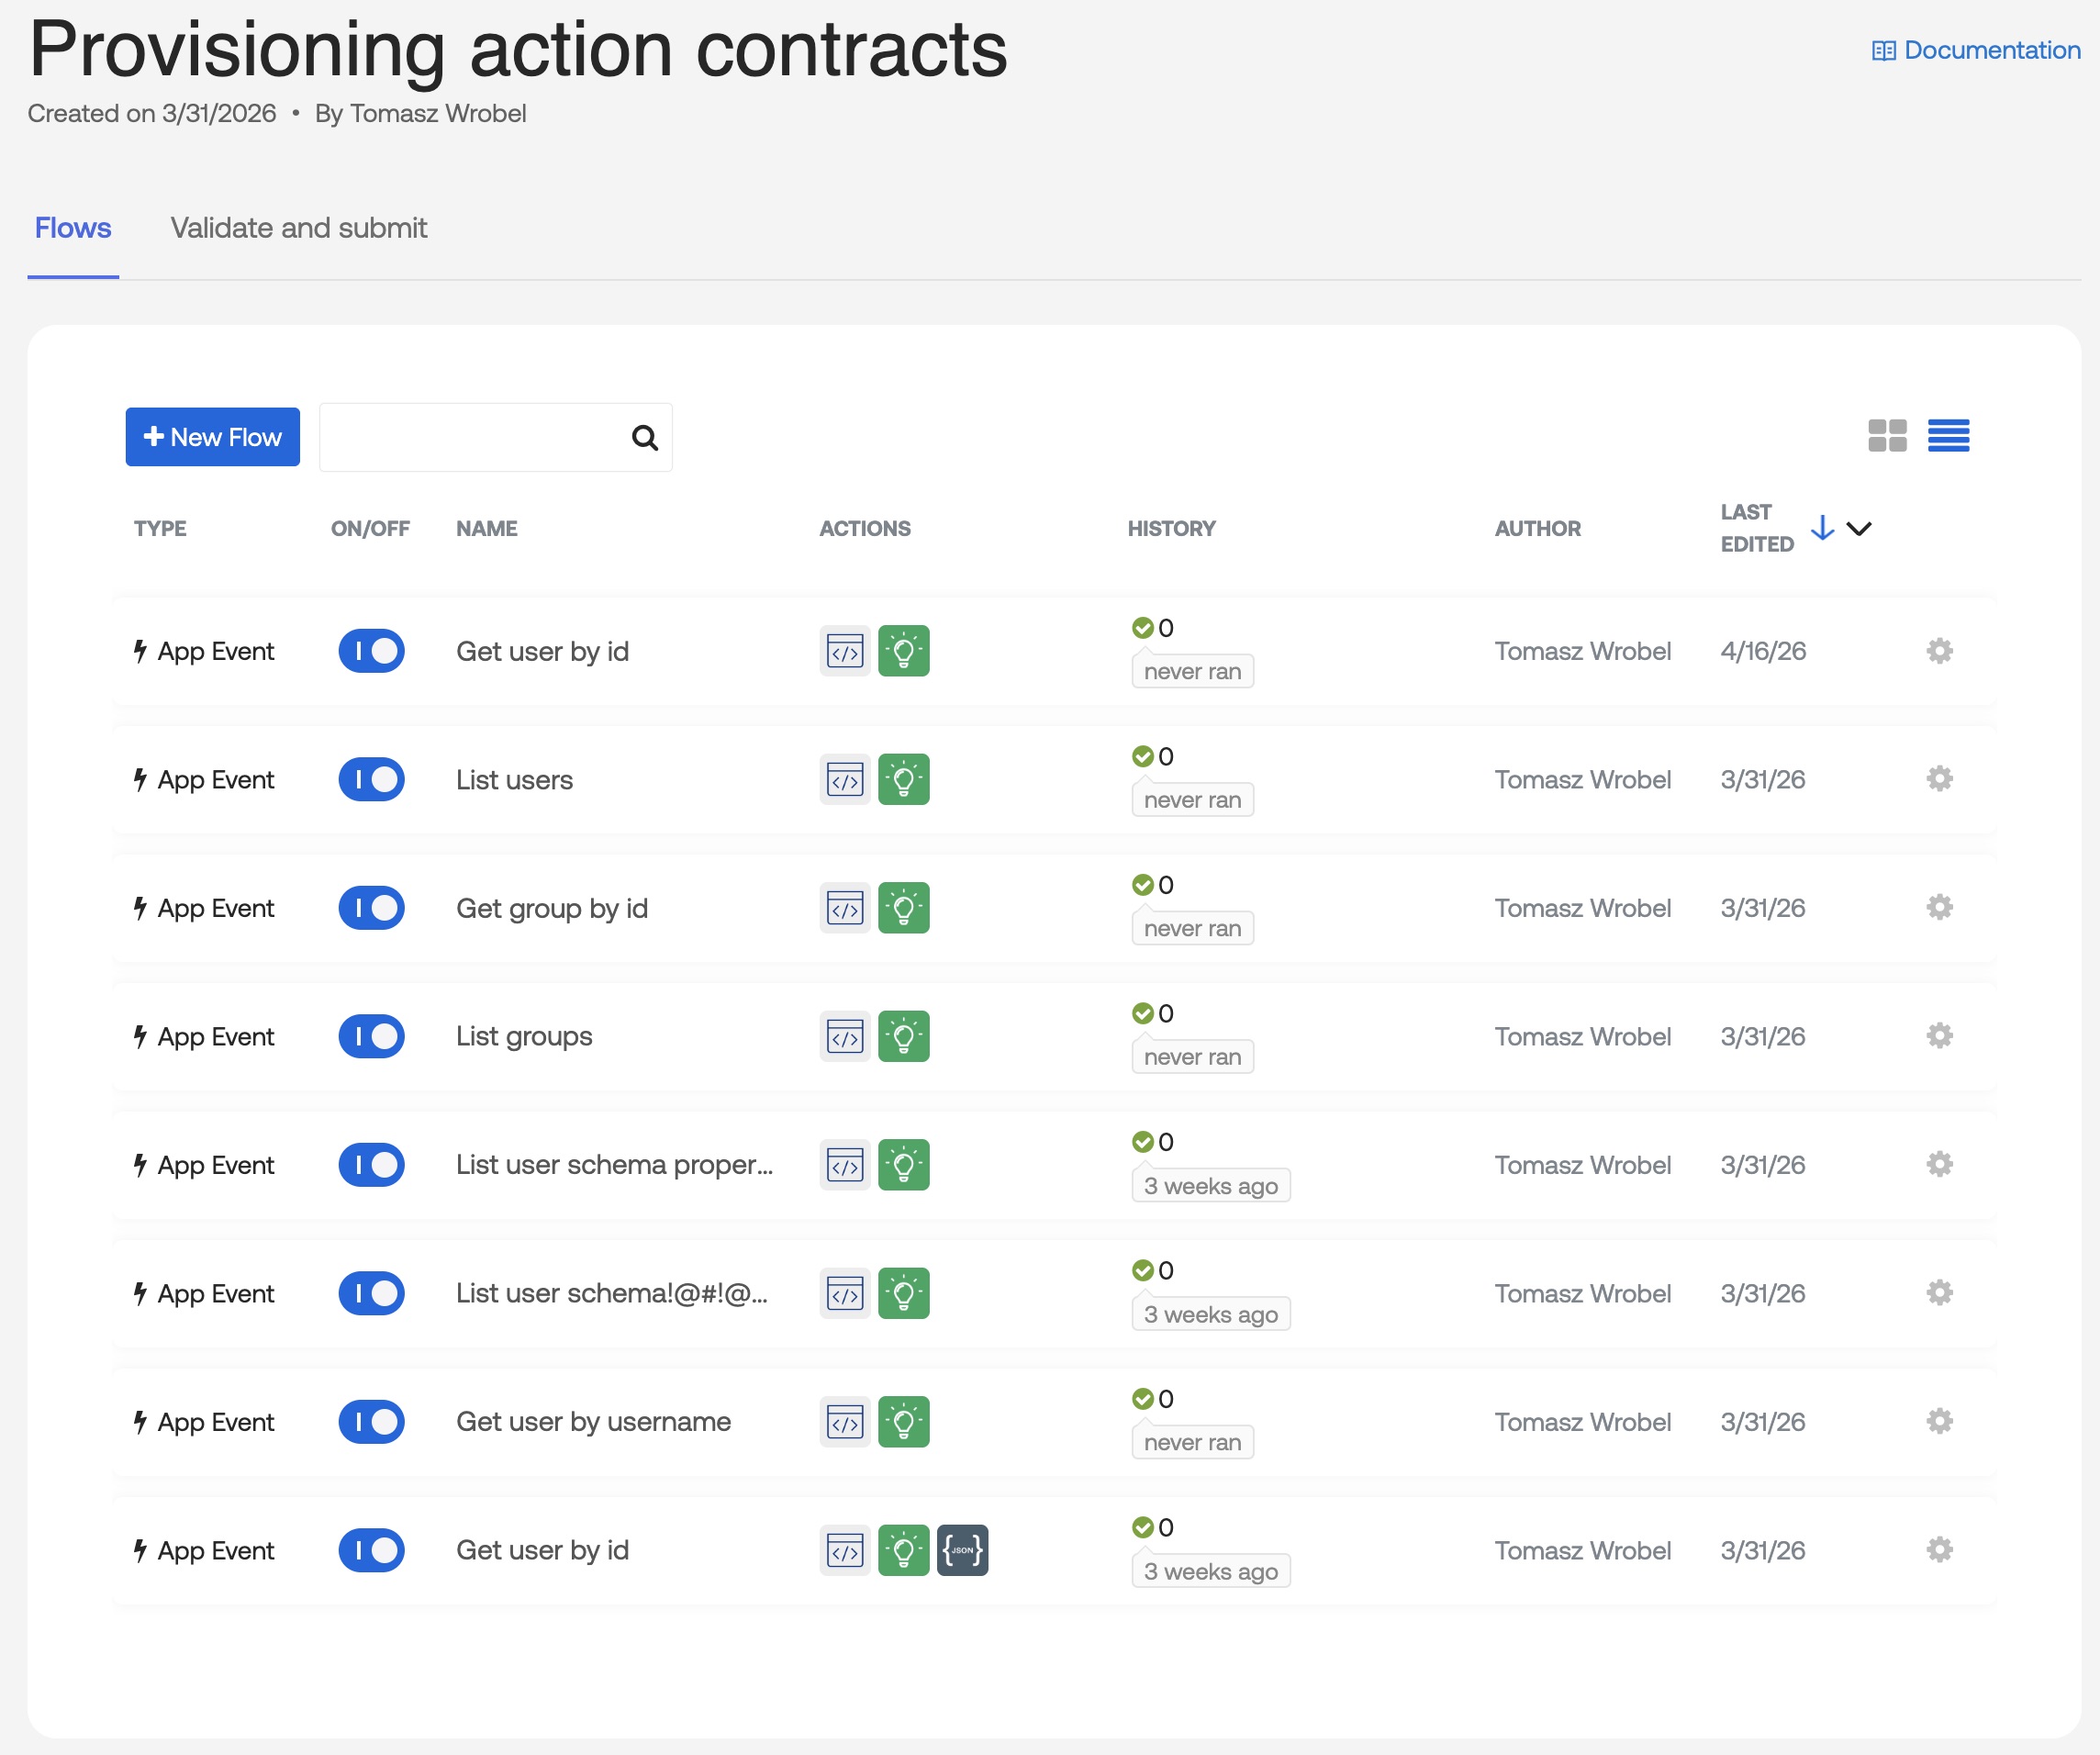
Step 3: Build your low-code workflow flows
- Click on New Flow
- Create the workflow and repeat as necessary
- Once your flows are created, you can create test flows in the test folder to validate that the API calls are being made correctly
- After testing, click on Validate and Submit
- Click on Validate flows and fix any errors that may exist
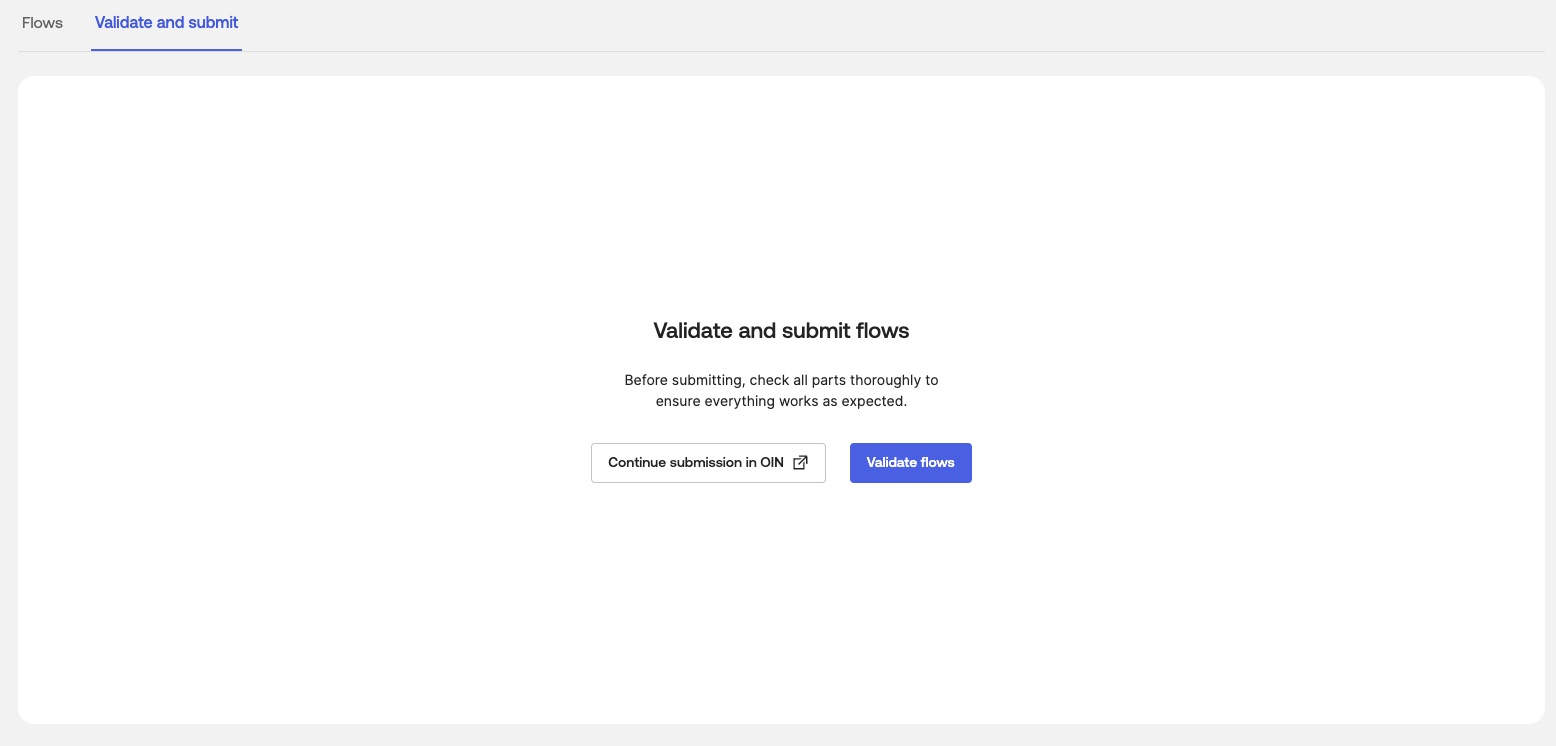
- Click on Continue submission in OIN
- Back in the OIN Wizard, choose the correct flows for each of the API Integration Actions that have been created
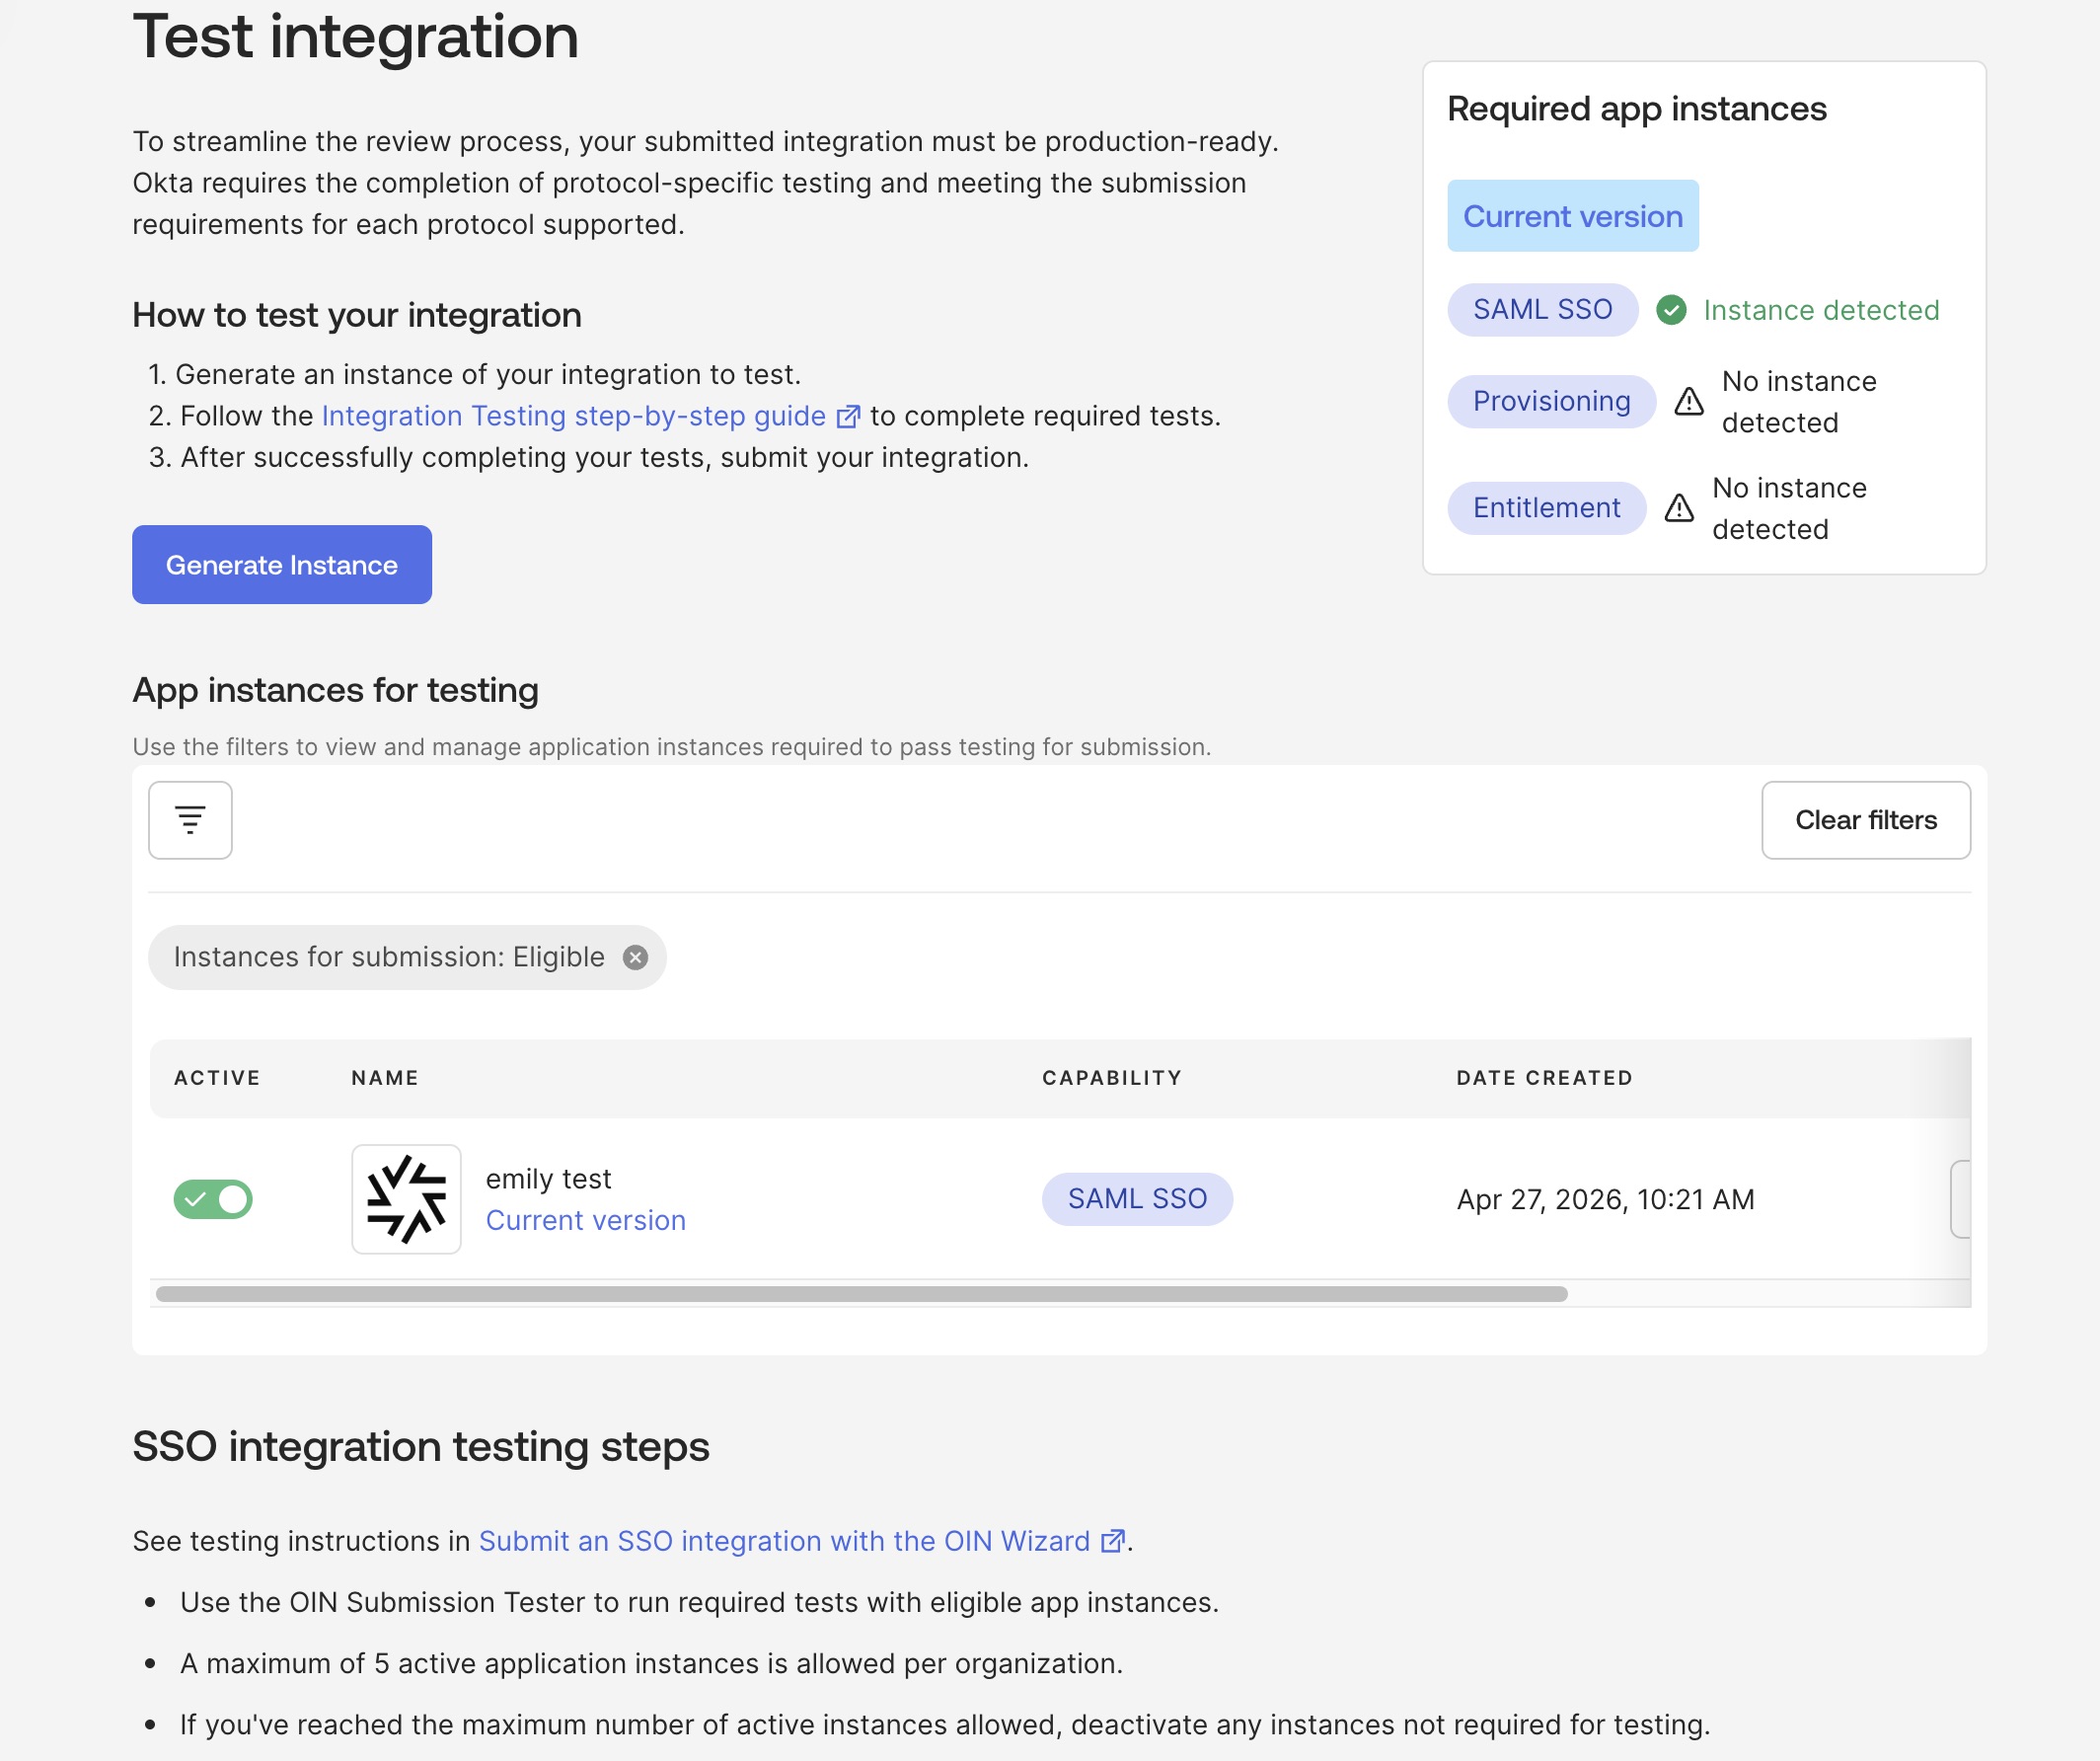
- Click on Get started with testing
How to test your API integration before publishing to the OIN
Before submitting your integration for review and publication, you must test it in your Okta org. Your integration will only be available on your Okta org. Okta admins will see the same authorization experience.
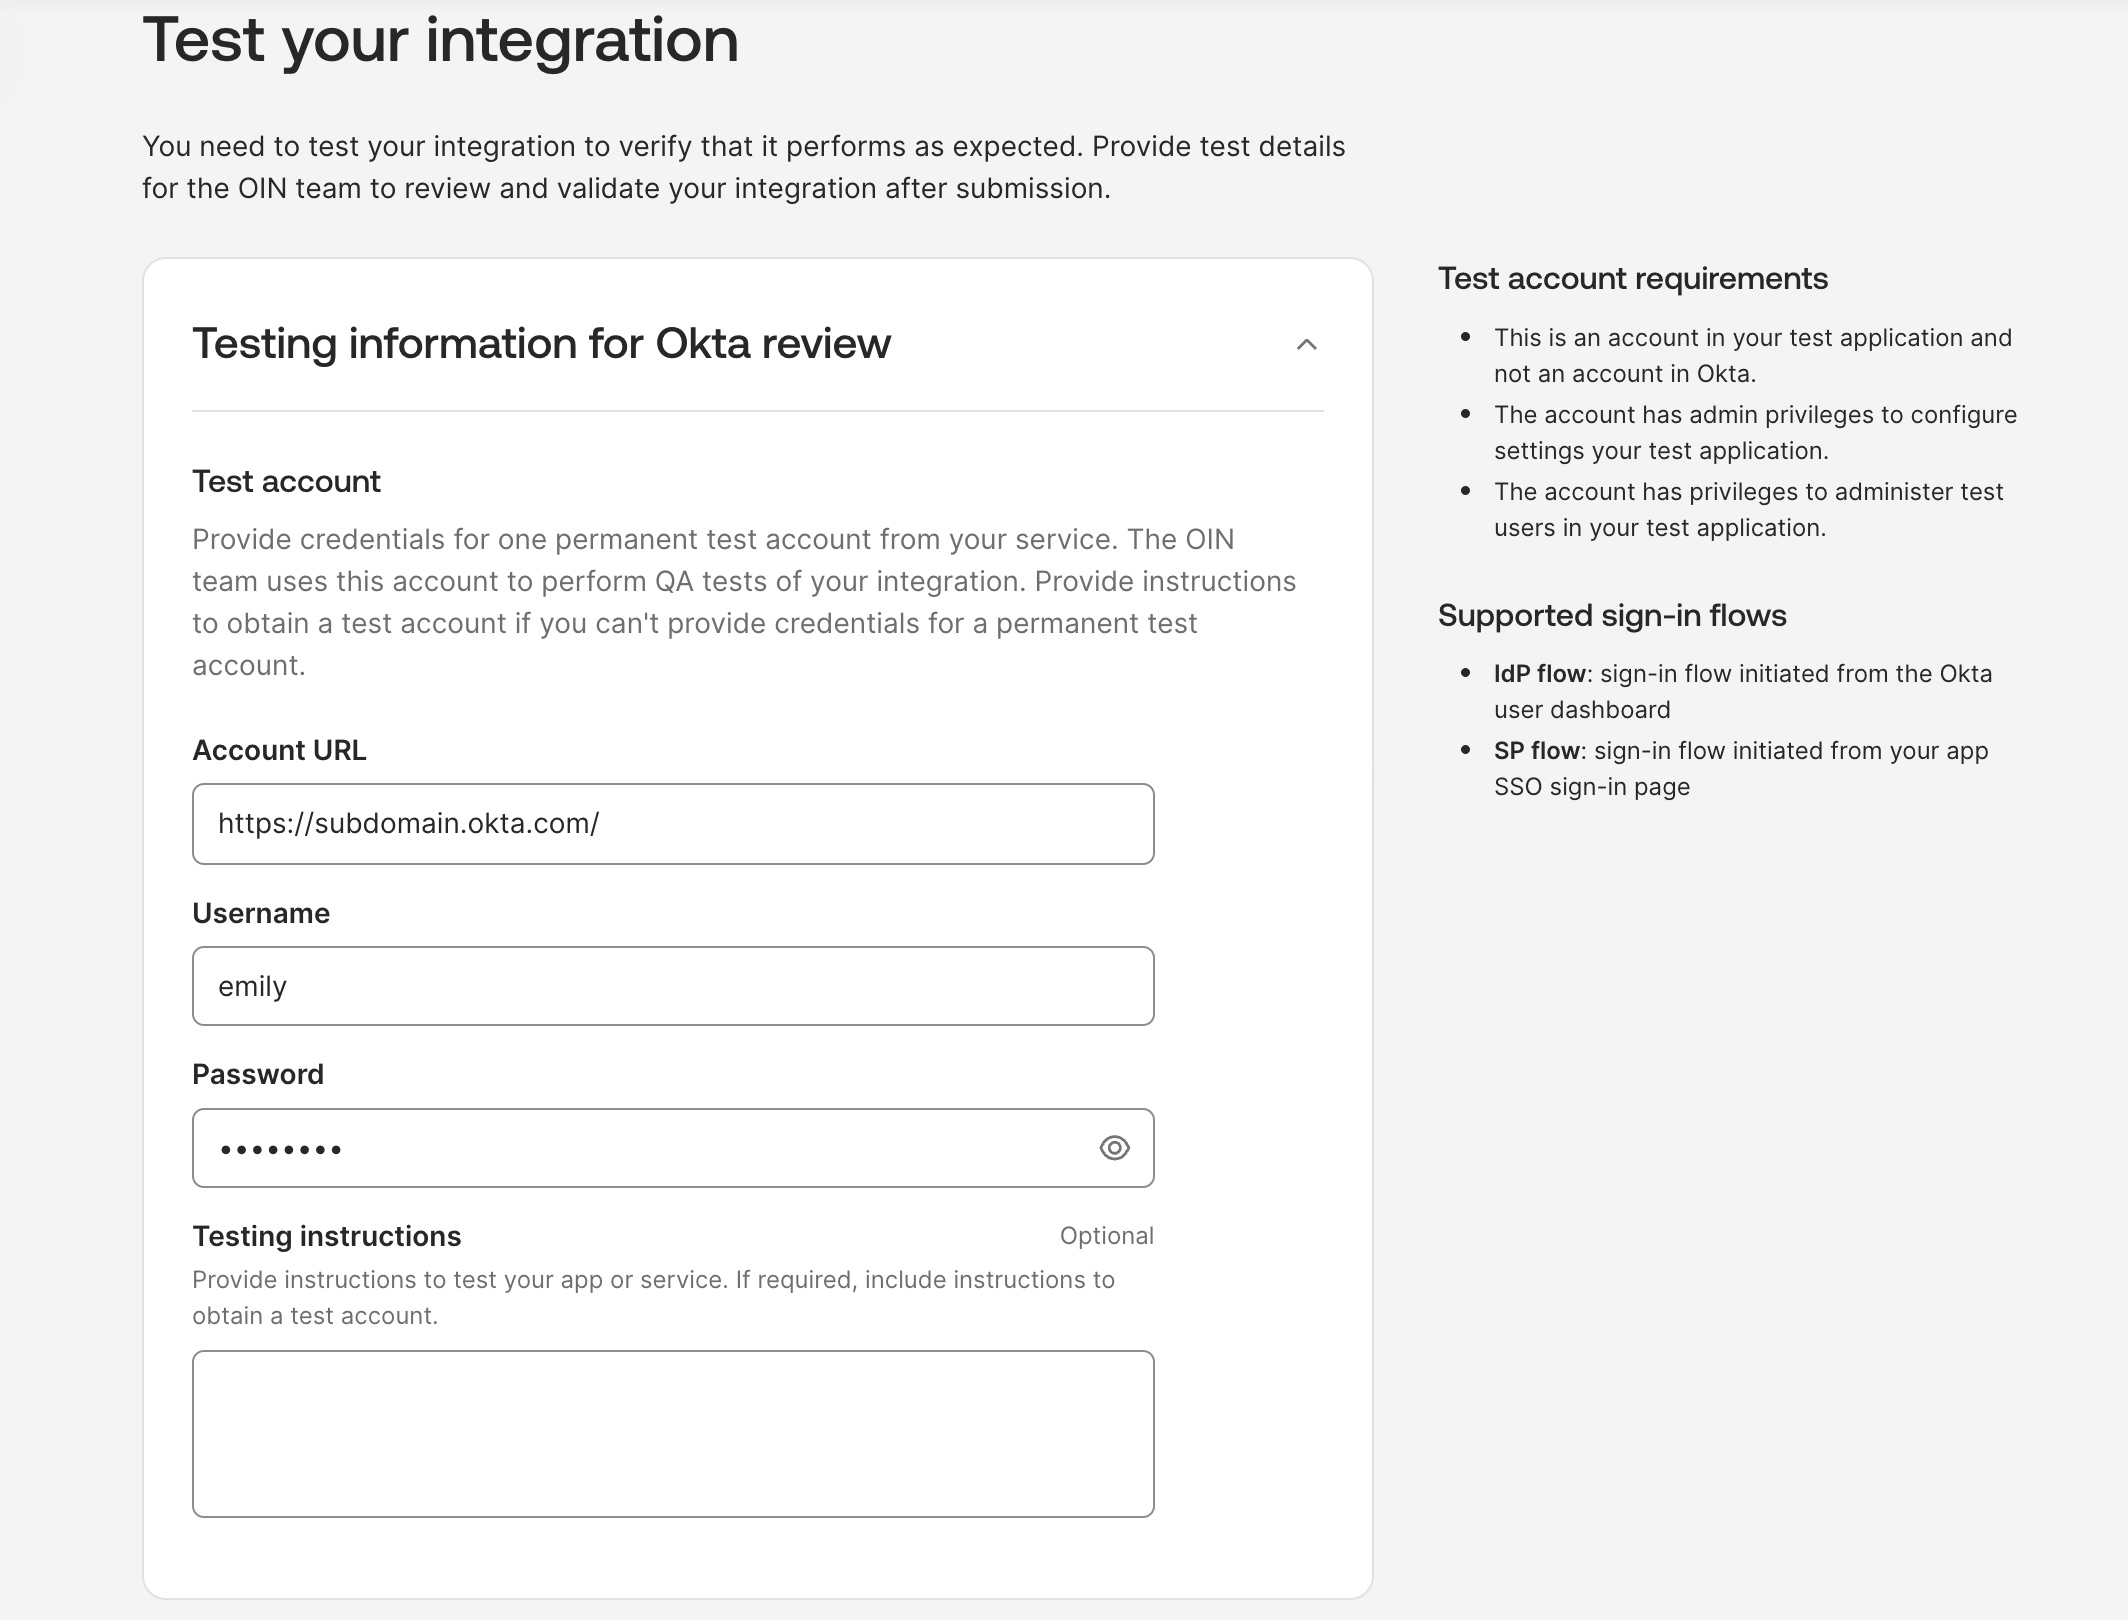
- Provide the testing information needed for Okta to review the submission
- Once finished, click on Test your integration
Create a test instance
- Fill out the information, including the test account and any SSO testing features on the Test your integration section of the OIN Wizard
- Click Test your integration
- Follow the instructions in the Test integration section to generate a test instance and complete all of the testing
- Validate your flows by clicking the button — take action on any failures that occur
Update a test instance
When you make an update to your submission in the OIN Manager (for example, modifying the scopes or name of the integration), the update will not automatically be reflected in your test instance for security reasons.
To update a test instance, repeat the procedure above for creating a test instance.
Once finished, click the last checkbox to enable submitting your integration for review. This process is similar to the existing OIN Catalog process.
Get started with low-code API integration using Okta
If you’re ready to build an integration between your APIs and Okta’s, start by exploring how to build and publish an application using API Integration Actions to the OIN by reading our product documentation Build and publish API Integration Actions.
Remember to follow us on Twitter and subscribe to our YouTube channel for more exciting content. We also want to hear from you about the topics you’d like to see and any questions you may have. Leave us a comment below!
Emily is a former developer turned product manager. She worked with integrations at different companies for small businesses and enterprise customers. She loves helping customers thrive. Emily has been at Okta for over seven years, focusing initially on the Okta-built provisioning apps and Workflow connectors and now on the Workflows platform.
Okta Developer Blog Comment Policy
We welcome relevant and respectful comments. Off-topic comments may be removed.