The Ultimate Guide to Using Elasticsearch in Node.js

Elasticsearch is one of the most powerful and popular search engines on the market. Elasticsearch lets you search through vast amounts of data, whether you’re implementing real-time search experiences or doing in-depth data analysis.
In this tutorial, you’ll learn how to integrate Elasticsearch into your Node.js app. You’ll see how to connect it with the front-end and how to secure your entire API and data with Okta.
You can follow along with this GitHub repository.
Table of Contents
- What is Elasticsearch?
- Integrating Elasticsearch with Express
- Securing data access with Okta
- Build more with Node and Elasticsearch
Note: In May 2025, the Okta Integrator Free Plan replaced Okta Developer Edition Accounts, and the Okta CLI was deprecated.
We preserved this post for reference, but the instructions no longer work exactly as written. Replace the Okta CLI commands by manually configuring Okta following the instructions in our Developer Documentation.
What is Elasticsearch?
At its core, Elasticsearch is a NoSQL analytics database with an extensive JSON-centric REST API used for querying and indexing data. It’s built in Java, on top of Apache Lucene, providing a scalable and performant search experience.
Over time, Elasticsearch and its ecosystem have evolved dramatically, turning into a set of software components called the Elastic Stack (also known as ELK Stack). This stack includes the Elasticsearch service as the core, Kibana for data visualization and management, and Logstash for processing and indexing data into Elasticsearch.
Elasticsearch and the accompanying Elastic Stack provide solutions for a growing number of use cases, such as the following:
- Search services: Whether it’s inside an app or website or across an enterprise’s internal data sets, Elasticsearch can power all kinds of search experiences.
- Data analytics: Because of its near-real-time data querying and easy data injection, Elasticsearch is suitable for analyzing data from system logs or business operations.
- Monitoring: Apart from analytics, Elasticsearch is also suitable for all kinds of monitoring, serving as a central hub for different data sources.
Integrating Elasticsearch with Express
Before getting started with the app, you’ll first want to ensure you have the following software installed:
Backend setup
Next, create a new directory for the projects and two folders inside it: frontend and backend. Inside the backend folder, set up a new Express app with the following commands:
npm init -y
npm install express body-parser express-async-errors express-openid-connect dotenv @elastic/elasticsearch
Installed dependencies are as follows:
- Express: The Node.js framework
- Body parser: Express middleware for parsing incoming request’s bodies
- Express async errors: Module for improved handling of
async/awaiterrors in Express routes - Express OpenID Connect: Express middleware wrapper around openid-client
- Dotenv: Module for loading
.envfiles - Elasticsearch Node.js client: Simplifies the use of the Elasticsearch REST API in Node.js
Elastic Cloud setup
When it comes to the setup, Elasticsearch provides two primary options: self-managed or Elastic Cloud. This tutorial will guide you through the setup process for the Elastic Cloud trial.
Remember that you can always switch to a self-hosted Elasticsearch instance without much effort. For reference, here’s the official guide to installing Elasticsearch on Docker.
To get started, create a new Elastic Cloud account or log in to an existing one.
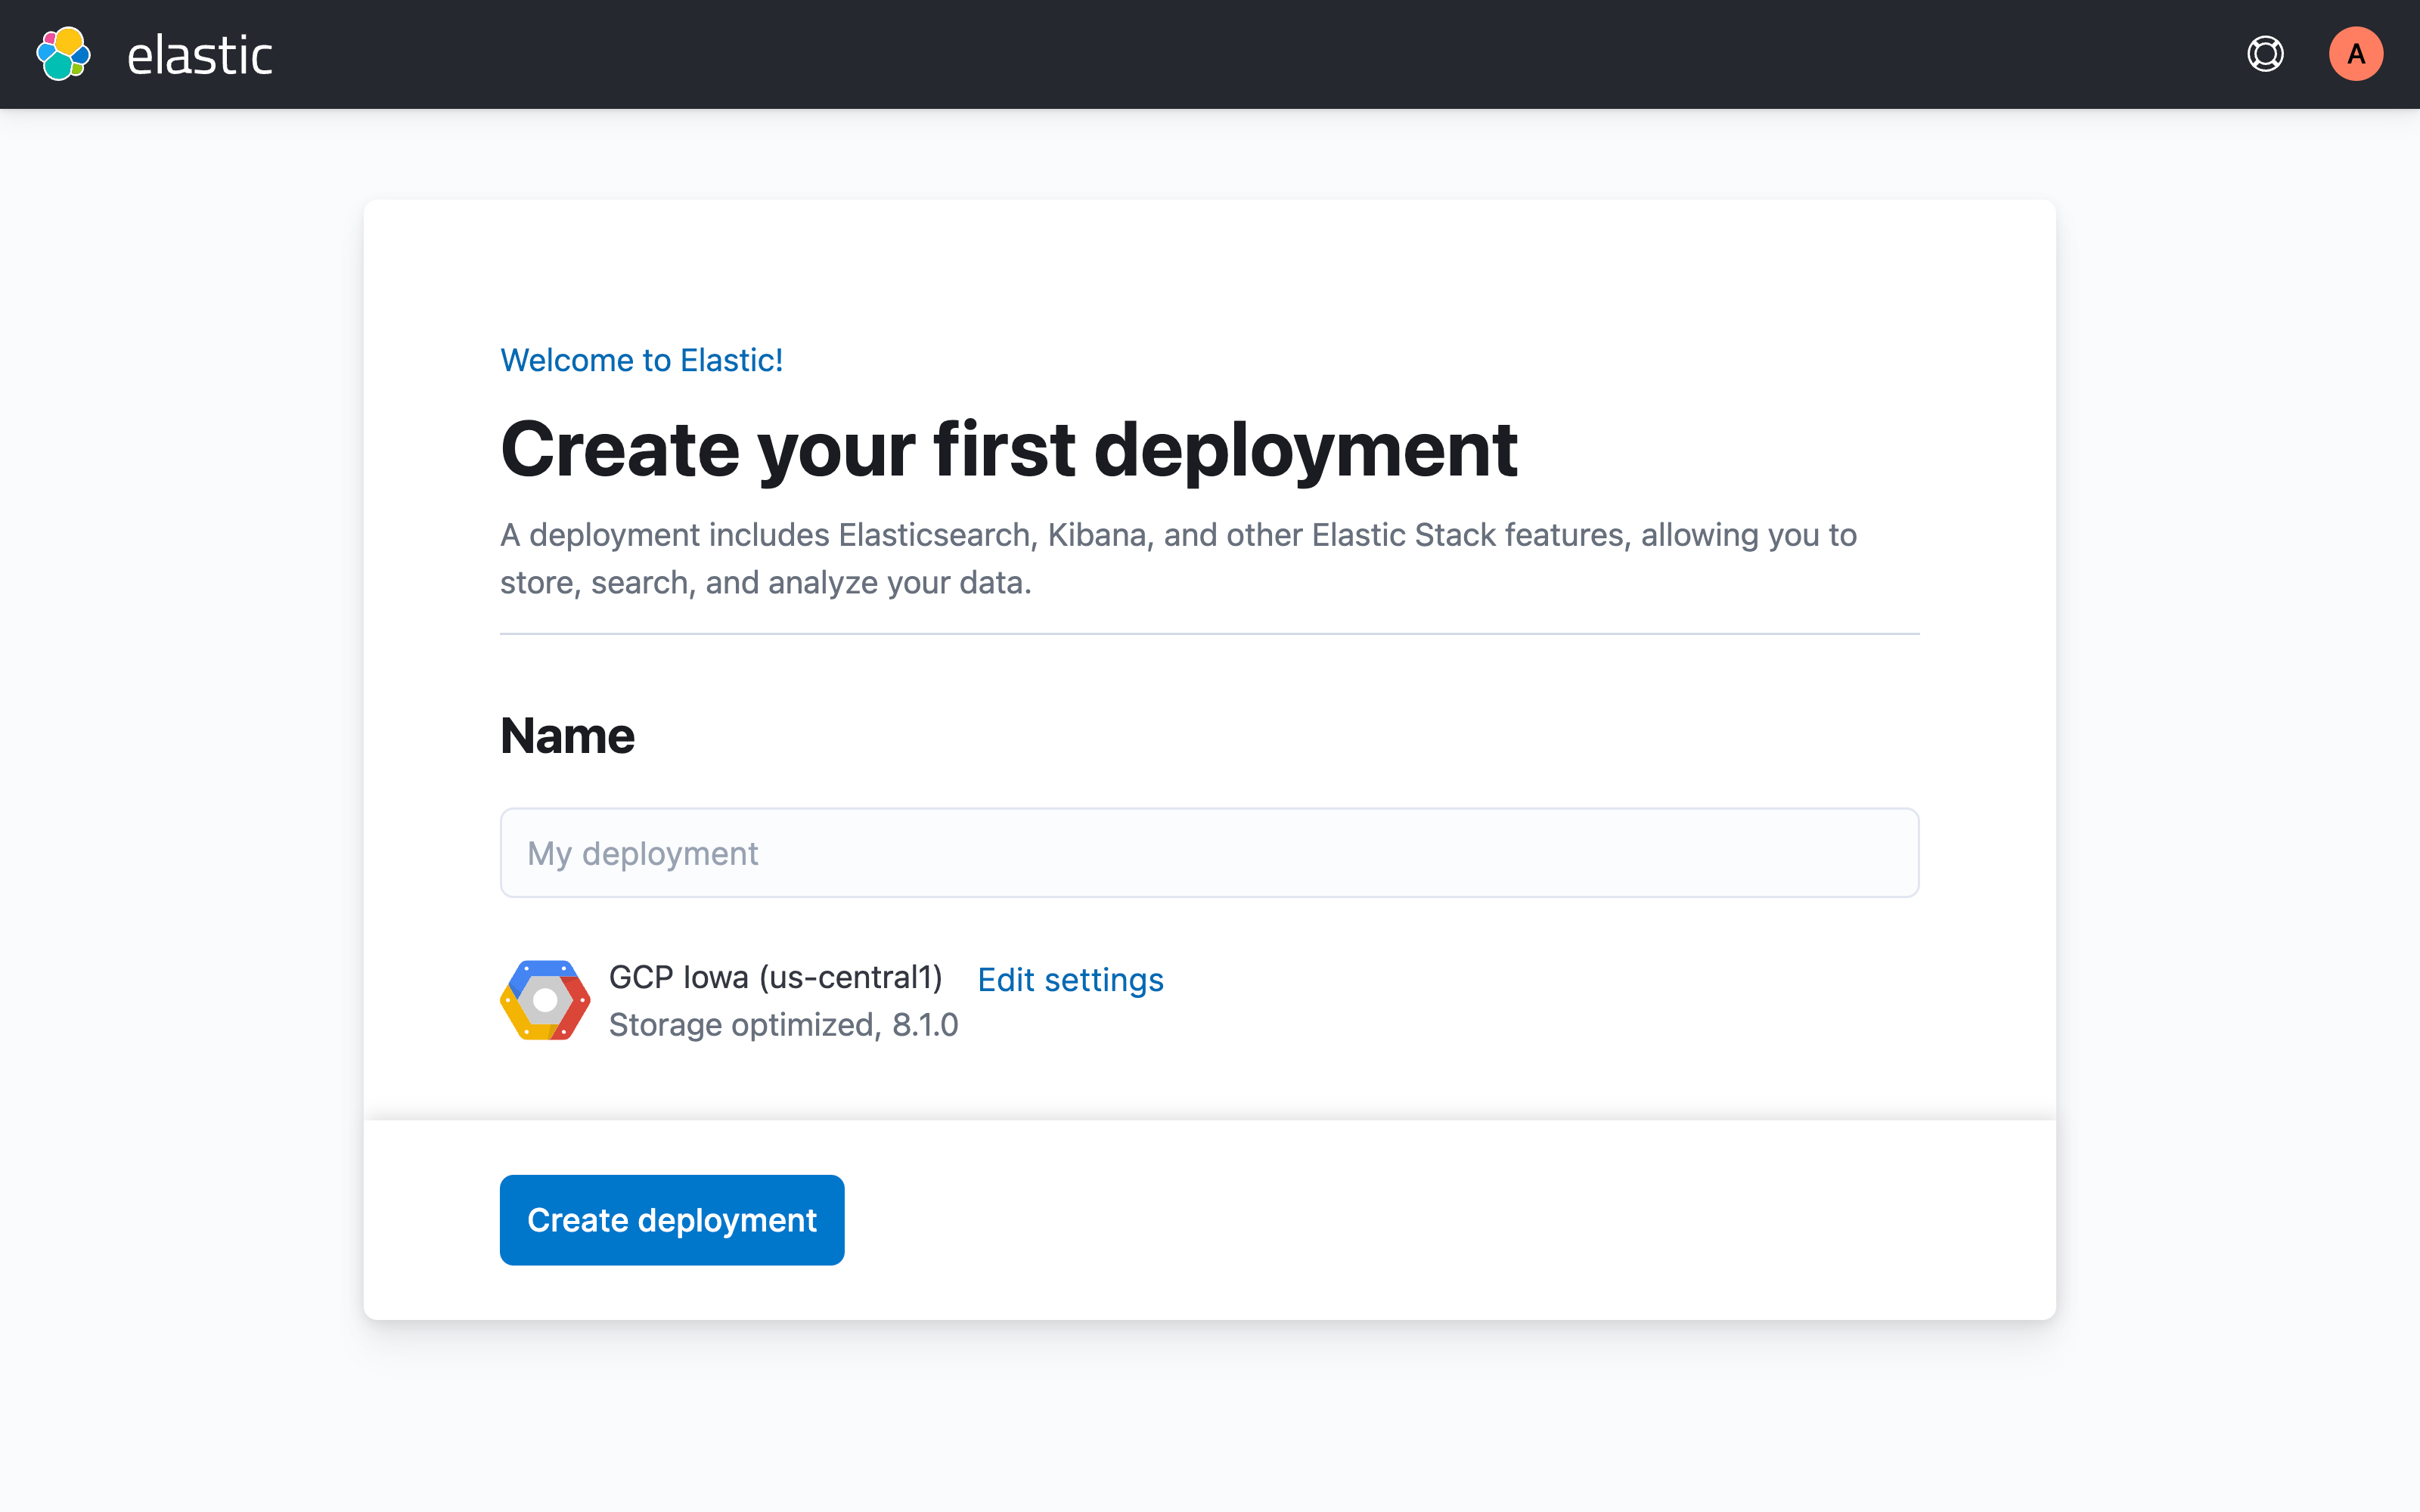
Inside the dashboard, click Start your free trial and configure a new deployment.
Copy the resulting deployment credentials and put them inside the .elastic.env file inside the backend folder:
ELASTIC_USERNAME="your-username"
ELASTIC_PASSWORD="your-password"
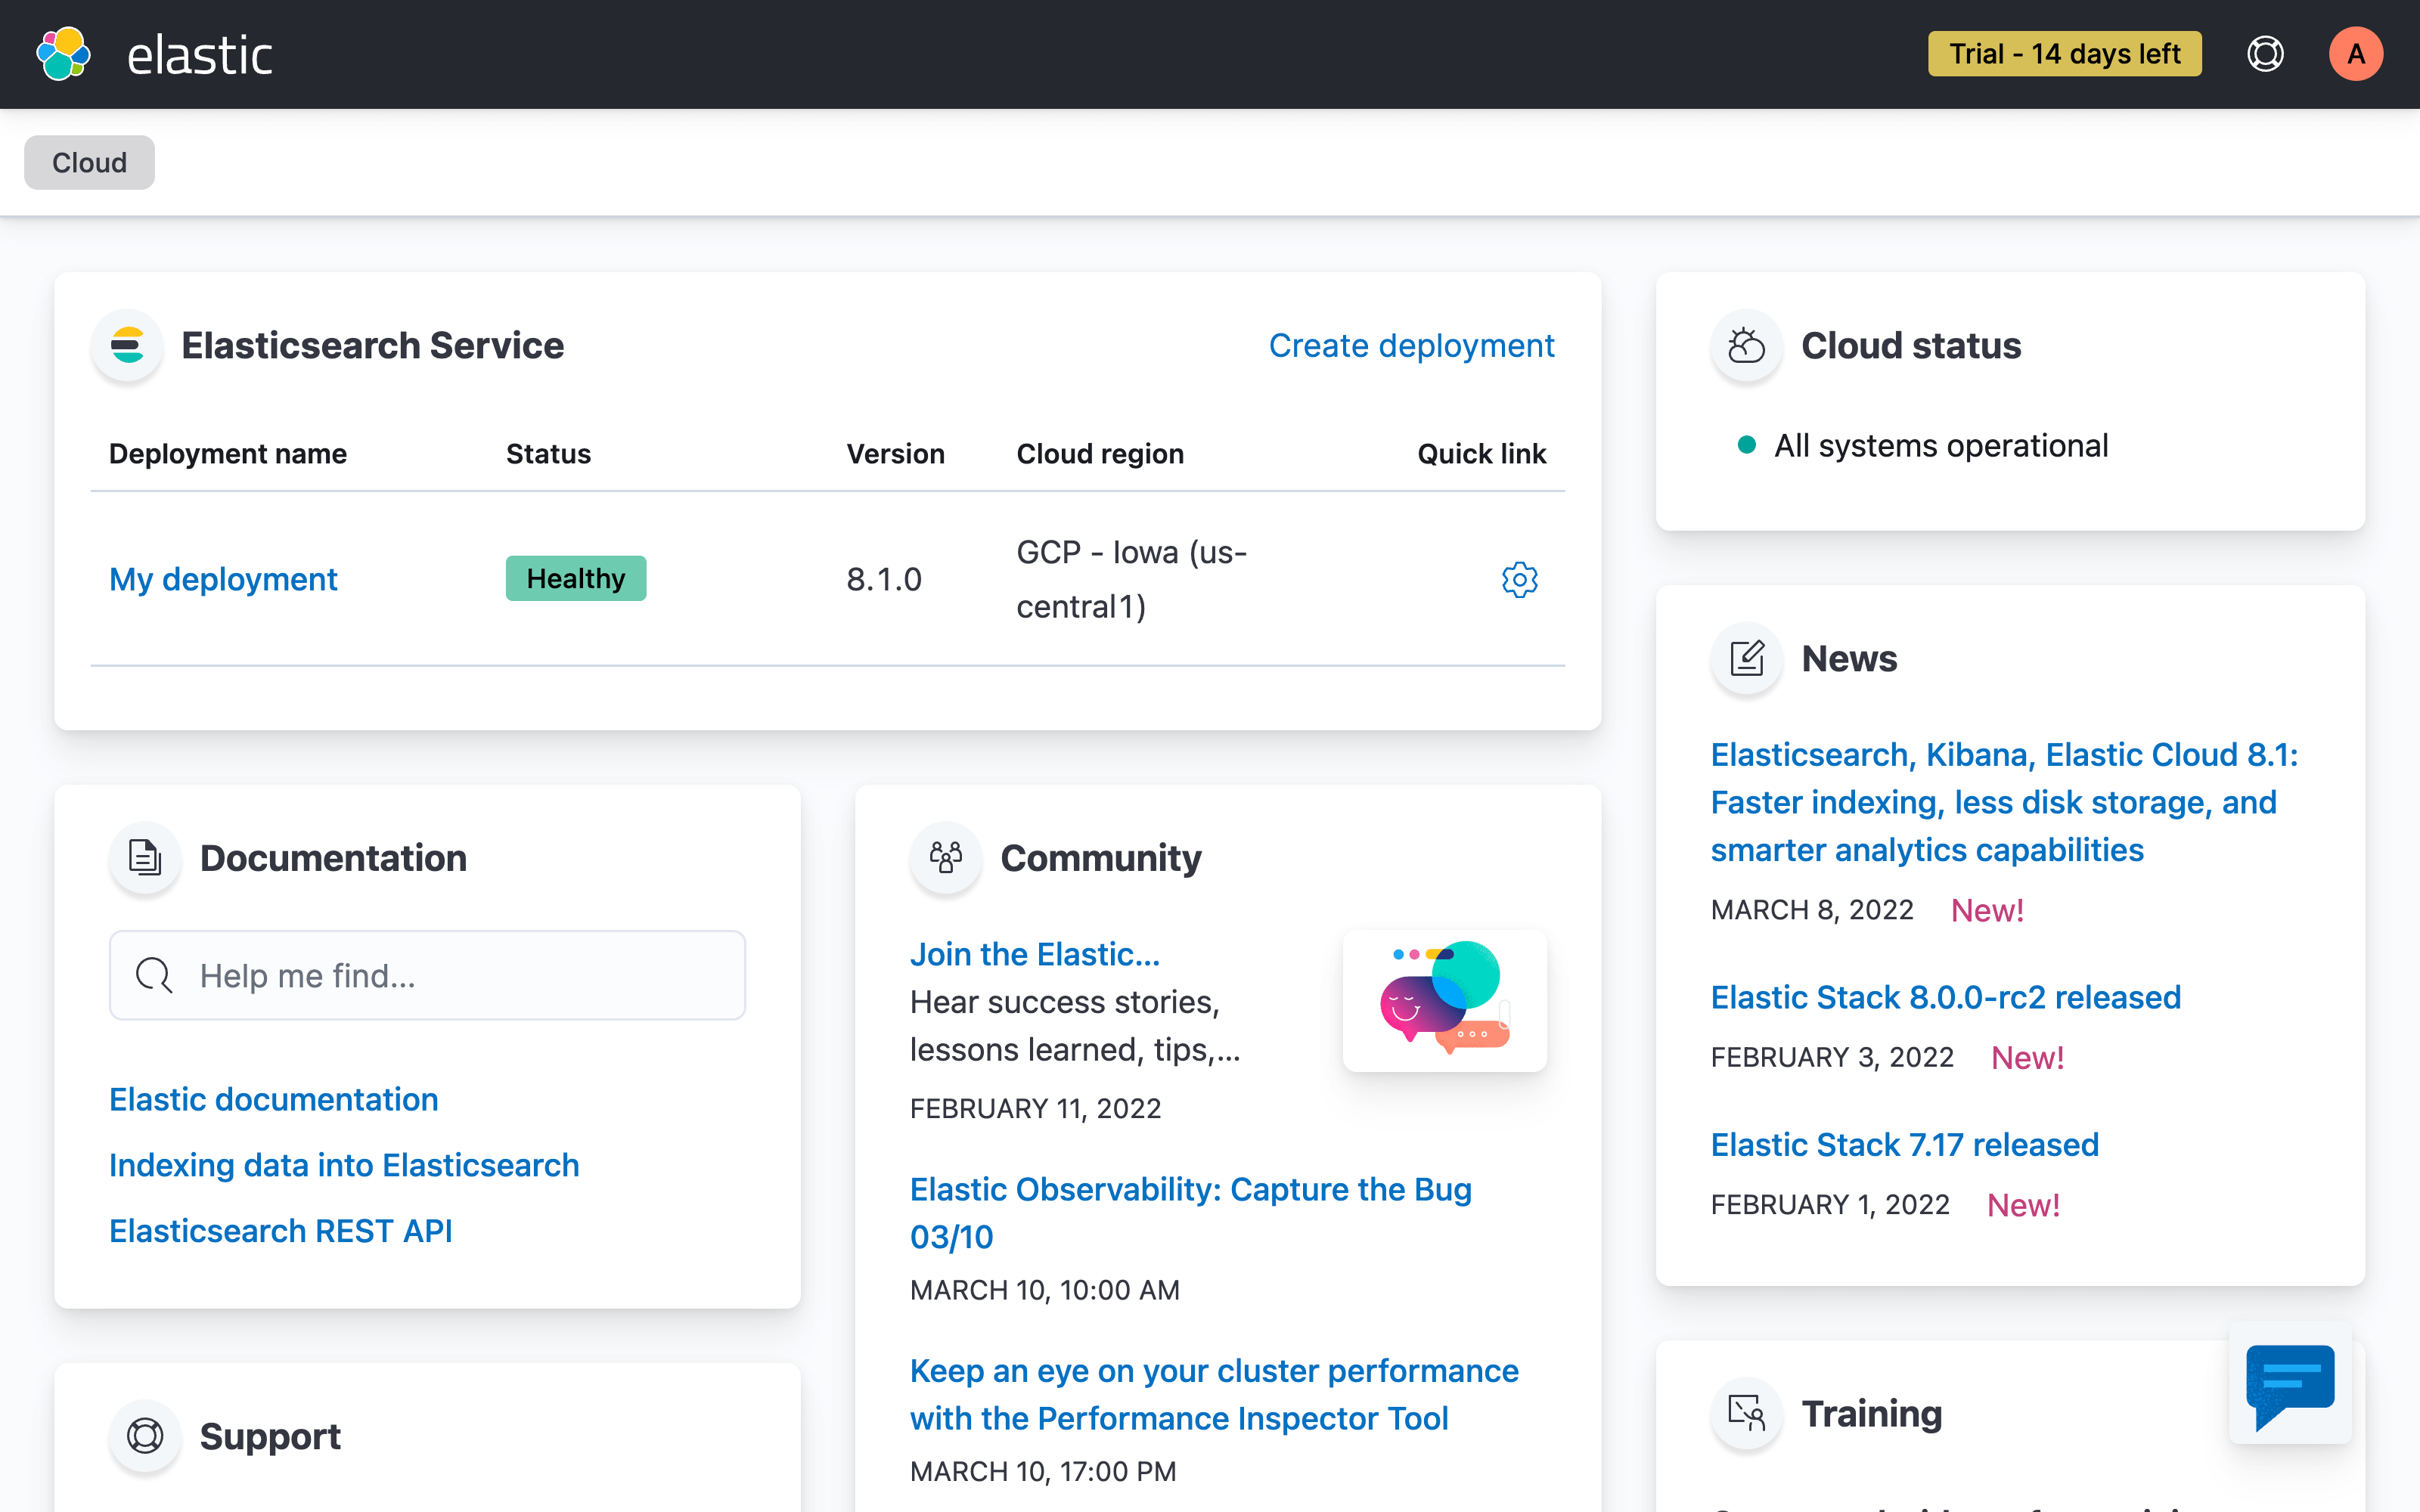
The last detail you need is your deployment’s Cloud ID. To get that, return to your dashboard and go to the deployment settings. You can access the settings by clicking on the cog next to the deployment name under the Elasticsearch Service section.
From there, copy the Cloud ID and paste it into the .elastic.env file as ELASTIC_CLOUD_ID:
ELASTIC_CLOUD_ID="your-cloud-id"
ELASTIC_USERNAME="your-username"
ELASTIC_PASSWORD="your-password"
Creating the Elasticsearch index
With the Elastic Cloud credentials in place, create an elastic-client.js file where you’ll initialize the Elasticsearch Node.js client:
// backend/elastic-client.js
const { Client } = require("@elastic/elasticsearch");

require("dotenv").config({ path: ".elastic.env" });

const elasticClient = new Client({
  cloud: {
    id: process.env.ELASTIC_CLOUD_ID,
  },
  auth: {
    username: process.env.ELASTIC_USERNAME,
    password: process.env.ELASTIC_PASSWORD,
  },
});

module.exports = elasticClient;
The script loads the environment variables with dotenv and initializes the client through dedicated cloud and auth properties in its config object.
The initiated client is then exported for use in other files. This includes create-index.js, in which a new posts index for storing sample blog post data is created:
// backend/create-index.js
const elasticClient = require("./elastic-client");

const createIndex = async (indexName) => {
  await elasticClient.indices.create({ index: indexName });
  console.log("Index created");
};

createIndex("posts");
Running the script with node create-index.js will initiate the index and prepare Elasticsearch for the next steps.
Creating Express routes
Start integrating Elasticsearch with Express by creating an index.js file, where you’ll initialize a new Express app:
// backend/index.js
const express = require("express");
const bodyParser = require("body-parser");
const elasticClient = require("./elastic-client");
require("express-async-errors");

const app = express();

app.use(bodyParser.json());

// Express routes

app.listen(8080);
The JSON body-parser parses incoming JSON request bodies, while express-async-errors patches Express v4 to automatically handle errors in async code.
The routes themselves will serve as a controlled proxy for the calls to the Elasticsearch REST API. The methods from the Elasticsearch client used here are index(), delete() and search():
// ...
app.get("/", (req, res) => {
  res.redirect("http://localhost:3000/");
});
app.post("/create-post", async (req, res) => {
  const result = await elasticClient.index({
    index: "posts",
    document: {
      title: req.body.title,
      author: req.body.author,
      content: req.body.content,
    },
  });

  res.send(result);
});
app.delete("/remove-post", async (req, res) => {
  const result = await elasticClient.delete({
    index: "posts",
    id: req.query.id,
  });

  res.json(result);
});
app.get("/search", async (req, res) => {
  const result = await elasticClient.search({
    index: "posts",
    query: { fuzzy: { title: req.query.query } },
  });

  res.json(result);
});
app.get("/posts", async (req, res) => {
  const result = await elasticClient.search({
    index: "posts",
    query: { match_all: {} },
  });

  res.send(result);
});
// ...
To operate on the index’s data, the index() method can be used to insert documents, while delete() can remove a document matching a provided ID. Finally, search() is one of the most important and versatile methods of the client, providing tons of options for querying the data.
For this example, only fuzzy matching (matching the term closely rather than exactly to the query) and match_all query parameters are used to search for blog posts by their titles and return all blog posts from the index.
You might have noticed that the root route (/) redirects to port 3000—that’s where the frontend will be located.
Frontend setup
To see how this backend setup integrates with a modern frontend, let’s create a new React app powered by Vite.
To set up a new Vite project from a template, install necessary dependencies and start the development server. Use the following commands to do so in the project root folder:
npm create vite frontend -- --template react
cd frontend
npm install
npm install @mui/material @emotion/react @emotion/styled @faker-js/faker @mui/icons-material @mui/x-data-grid axios
npm run dev
The dependencies include the following:
- MUI: React component framework with accompanying libraries and submodules like icons and data-grid component
- Faker: Library to quickly generate fake data for development and testing purposes
- Axios: Isomorphic (can run in both Node.js and browsers with the same codebase) HTTP client
To complete the setup, make sure to link the Roboto font inside the index.html file, as recommended by MUI:
<link
  rel="stylesheet"
  href="https://fonts.googleapis.com/css?family=Roboto:300,400,500,700&display=swap"
/>
Additionally, to make the development and integration with the backend smooth (without unnecessary CORS issues), make sure to set up Vite proxy from the vite.config.js file:
import { defineConfig } from "vite";
import react from "@vitejs/plugin-react";

export default defineConfig({
  plugins: [react()],
  server: {
    proxy: {
      "/api": {
        target: "http://localhost:8080",
        rewrite: (path) => path.replace(/^\/api/, ""),
      },
    },
  },
});
With the above configuration, all requests to the Vite development server’s /api route will be redirected to the back-end server, allowing access to both from the same host.
Building the UI
While not the primary focus of this tutorial, thanks to MUI, it’s easy to make a good-looking frontend without much effort.
The whole UI will fit into the src/App.jsx file, with only a few changes required to the src/main.jsx file:
// src/main.jsx
import React from "react";
import ReactDOM from "react-dom";
import App from "./App";
import CssBaseline from "@mui/material/CssBaseline";

ReactDOM.render(
  <React.StrictMode>
    <CssBaseline />
    <App />
  </React.StrictMode>,
  document.getElementById("root")
);
The added <CssBaseline/> component will apply an MUI-specific CSS reset stylesheet.
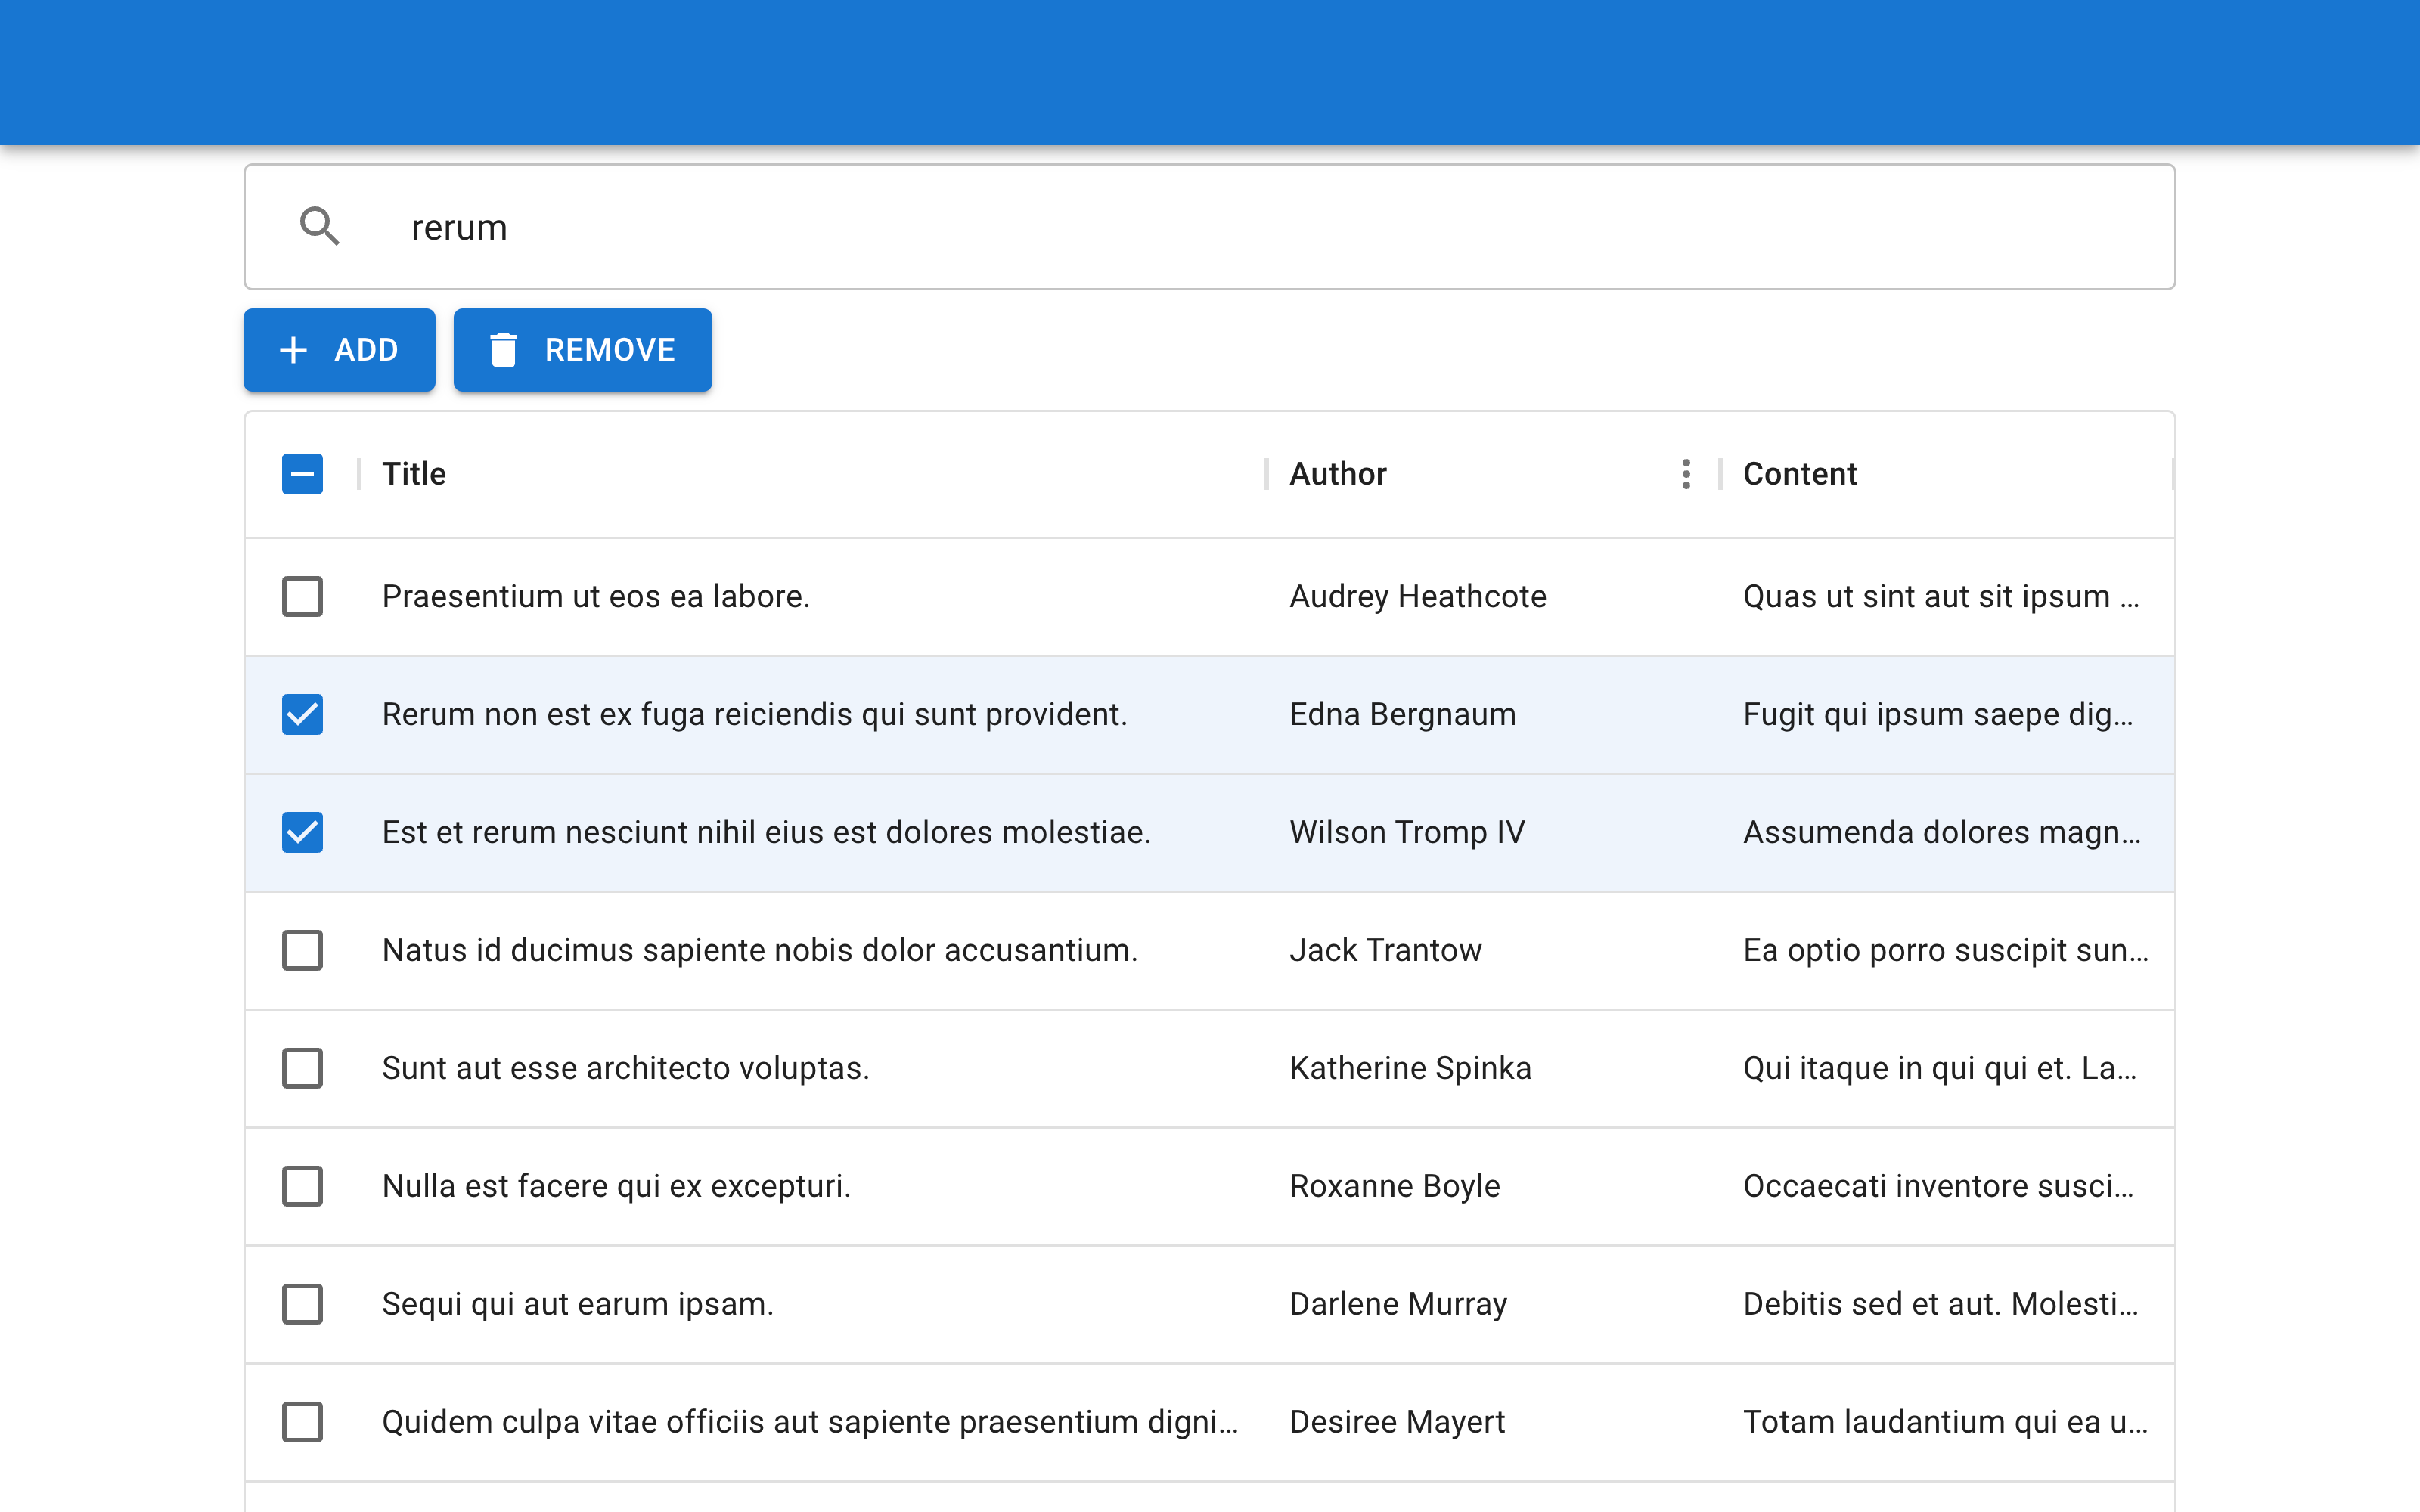
Inside App.jsx, the <App/> component will be at the center of the whole UI, managing the state and core components. This component sets up the state for holding the search query, current selection, and all the posts, while also building the UI with help of MUI components.
import {
  AppBar,
  Box,
  Container,
  Button,
  IconButton,
  InputAdornment,
  TextField,
  Toolbar,
} from "@mui/material";
import { useState } from "react";
import { DataGrid } from "@mui/x-data-grid";
import { Add, Search, Delete } from "@mui/icons-material";
import axios from "axios";
import faker from "@faker-js/faker";
import { useEffect } from "react";

const api = {
    // ...
};
const columns = [
  {
    field: "title",
    headerName: "Title",
    flex: 2,
    minWidth: 150,
  },
  {
    field: "author",
    headerName: "Author",
    flex: 1,
    minWidth: 150,
  },
  {
    field: "content",
    headerName: "Content",
    flex: 1,
    minWidth: 150,
  },
];
const TopMenu = (props) => {
  // ...
};
const EditMenu = (props) => {
  // ...
};
const App = () => {
  const [posts, setPosts] = useState([]);
  const [selection, setSelection] = useState([]);
  const [query, setQuery] = useState("");
  const addPost = async () => {
    // ...
  };
  const removePosts = async (removedIds) => {
    // ...
  };
  const search = async () => {
    //...
  };

  useEffect(() => {
    // ...
  }, []);

  return (
    <>
      <TopMenu />
      <Container maxWidth="md">
        <TextField
          placeholder="Search"
          fullWidth
          value={query}
          onInput={(event) => setQuery(event.target.value)}
          InputProps={{
            startAdornment: (
              <InputAdornment sx={{ pr: 1.5 }} position="start">
                <IconButton onClick={search}>
                  <Search />
                </IconButton>
              </InputAdornment>
            ),
          }}
        ></TextField>
        <EditMenu
          selection={selection}
          addPost={addPost}
          removePosts={removePosts}
        />
        <div style={{ width: "100%" }}>
          <DataGrid
            autoHeight
            rows={posts}
            columns={columns}
            pageSize={100}
            checkboxSelection
            onSelectionModelChange={(model) => setSelection(model)}
            selectionModel={selection}
          />
        </div>
      </Container>
    </>
  );
};

export default App;
The app consists of a search bar, editing menu, and a table to display and manage the data. You can see the structure for API integration in the form of the api object, table configuration for the incoming data in the columns, and multiple state management functions right inside the <App/> component.
The <TopMenu/> and <EditMenu/> components will serve as the app bar and data-edit controls, respectively. Where necessary, they’ll use the state and control methods provided through props to control the state.
// ...
const TopMenu = (props) => {
  return (
    <Box sx={{ flexGrow: 1, mb: 1 }}>
      <AppBar position="static">
        <Toolbar />
      </AppBar>
    </Box>
  );
};
const EditMenu = (props) => {
  return (
    <div>
      <Button
        startIcon={<Add />}
        variant="contained"
        sx={{ my: 1, mr: 1 }}
        onClick={props.addPost}
      >
        Add
      </Button>
      <Button
        startIcon={<Delete />}
        variant="contained"
        disabled={!props.selection.length}
        sx={{ my: 1, mr: 1 }}
        onClick={() => props.removePosts(props.selection)}
      >
        Remove
      </Button>
    </div>
  );
};
// ...
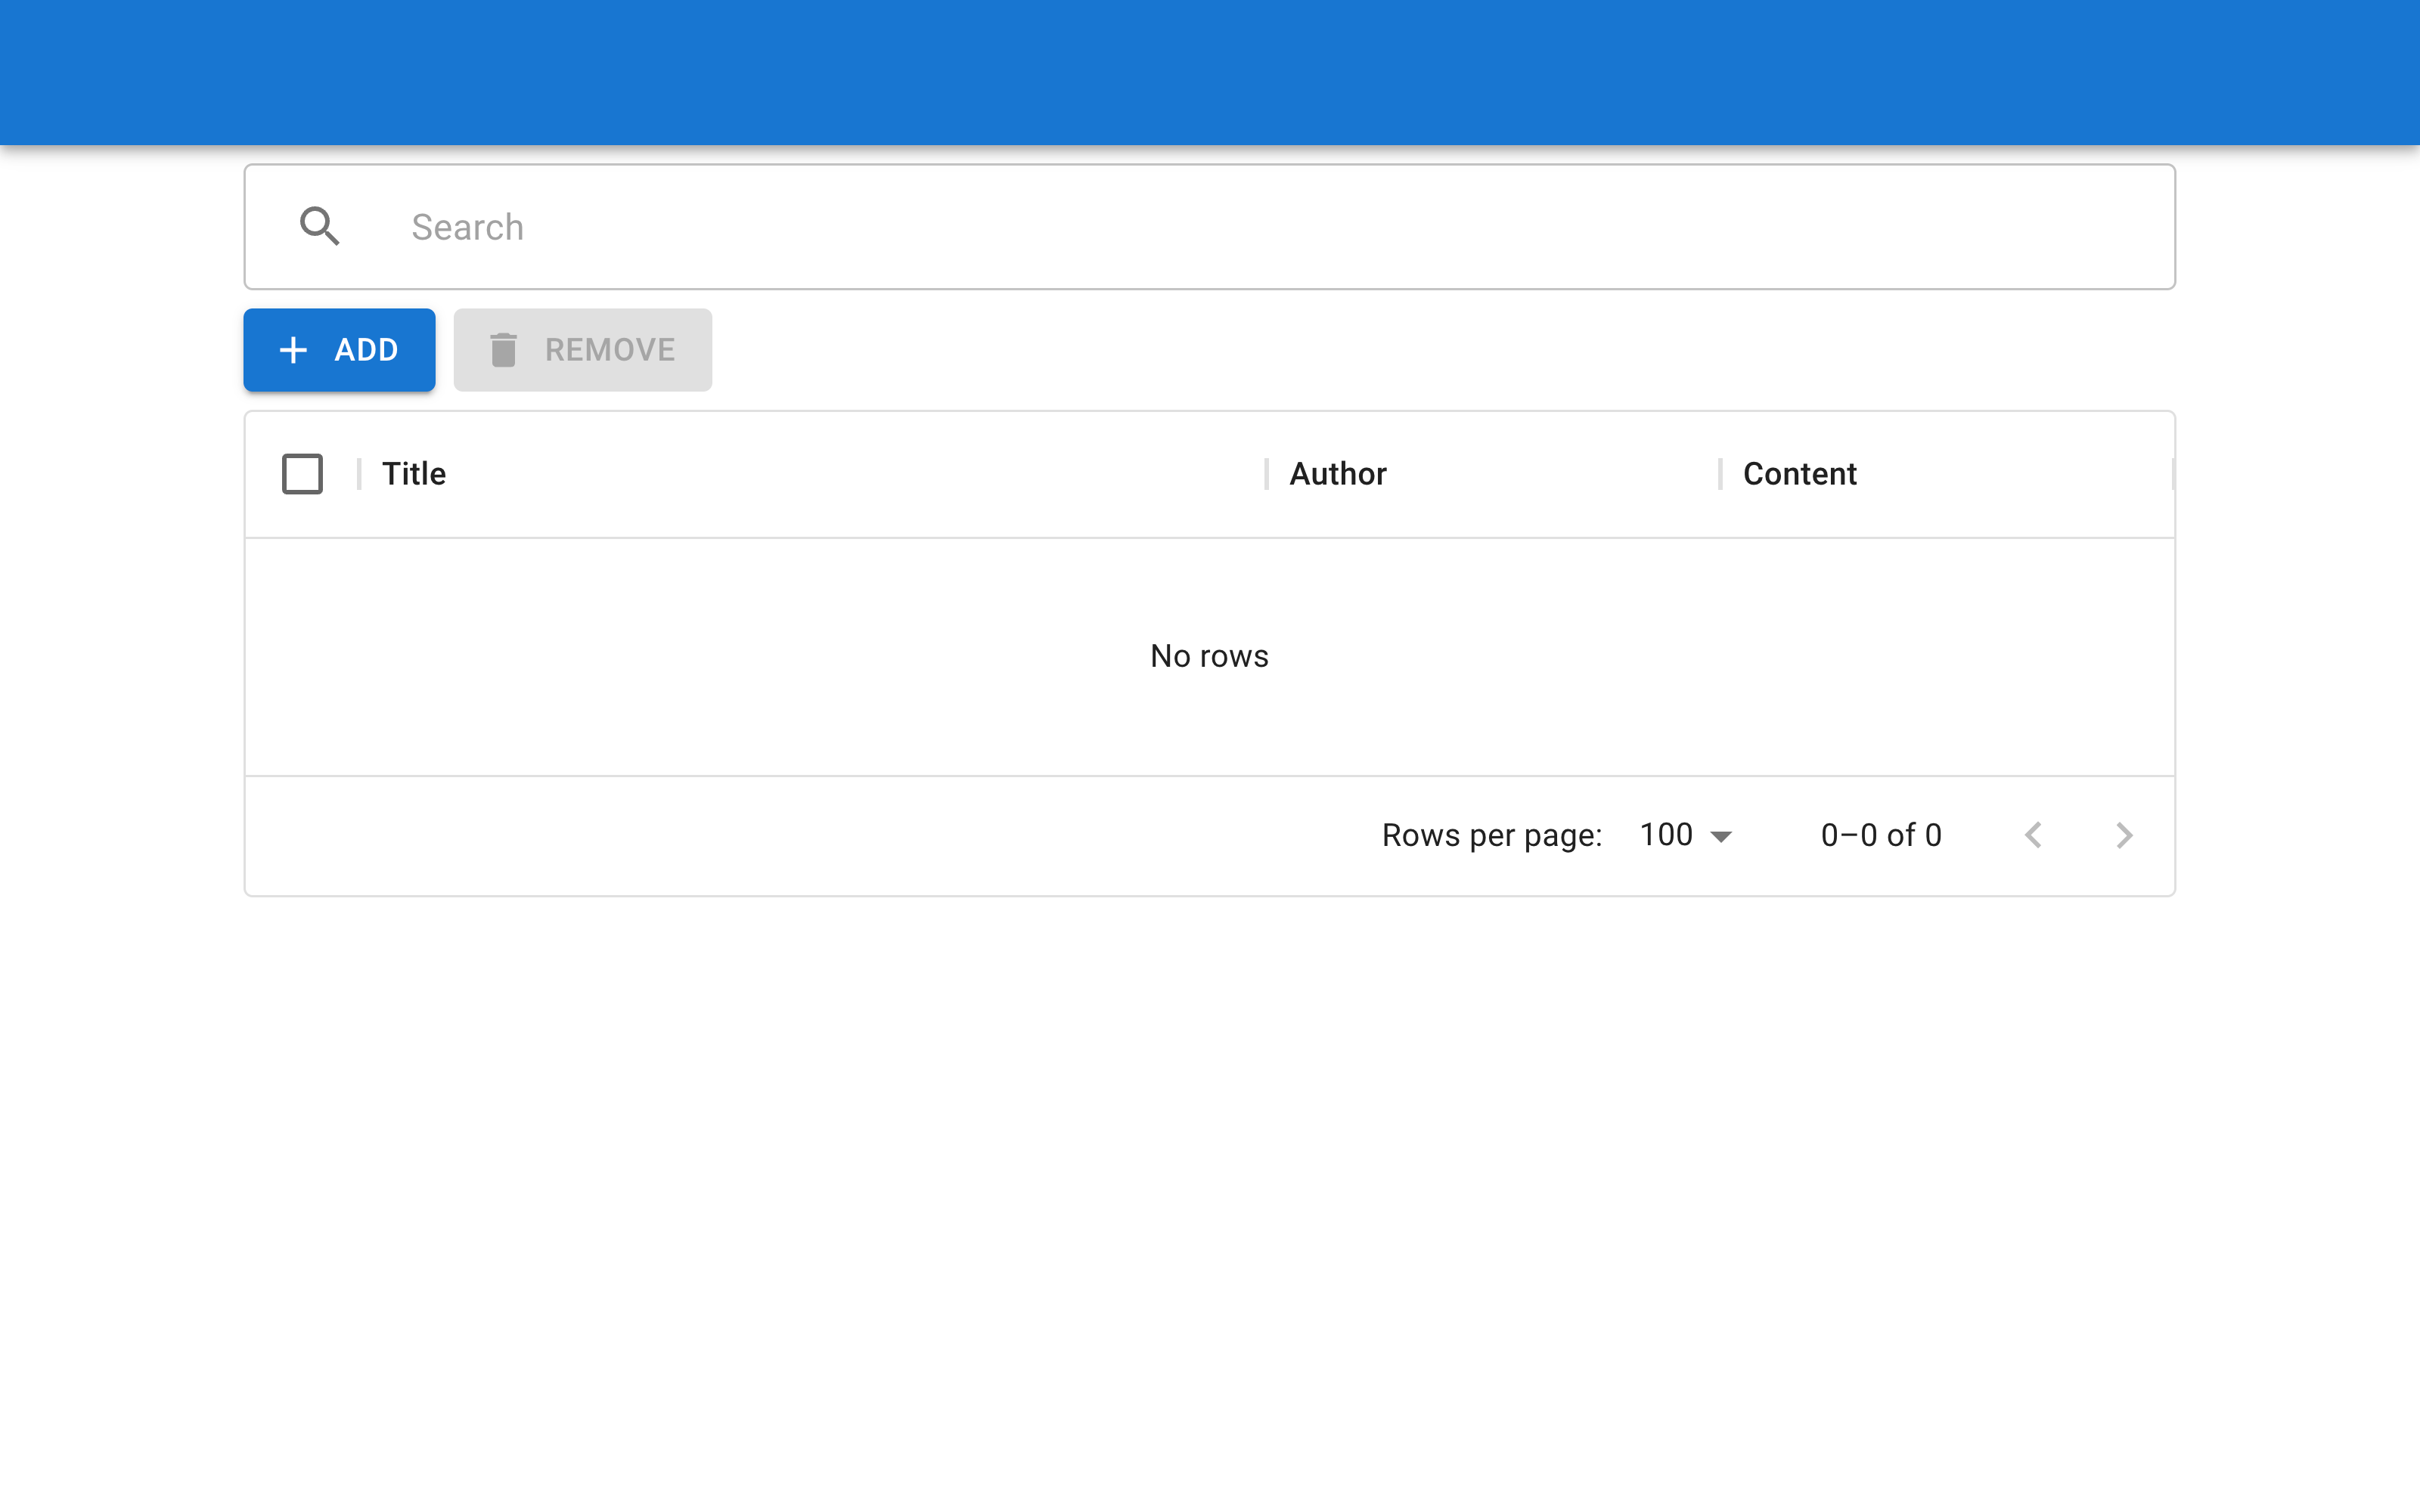
With this setup, the app will look like this:
Integrating the frontend with the backend
To integrate the app with the backend, wrap the Axios API requests into reusable methods:
// ...
const api = {
  async addPost(post) {
    const response = await axios.post("/api/create-post", post);

    return response.data;
  },
  async removePost(id) {
    const response = await axios.delete(`/api/remove-post?id=${id}`);

    return response.data;
  },
  async search(query) {
    const response = await axios.get(`/api/search?query=${query}`);

    return response.data;
  },
  async getAllPosts() {
    const response = await axios.get("/api/posts");

    return response.data;
  },
  async isAuthenticated() {
    const response = await axios.get("/api/is-authenticated");

    return response.data;
  },
};
// ...
Now, inside the main <App/> component, create the functions to connect the API with the state:
// ...
const addPost = async () => {
  const post = {
    title: faker.lorem.lines(1),
    content: faker.lorem.paragraphs(3),
    author: faker.name.findName(),
  };
  const response = await api.addPost(post);
  setPosts([...posts, { ...post, id: response._id }]);
};
const removePosts = async (removedIds) => {
  setPosts(posts.filter((post) => !removedIds.includes(post.id)));
  await Promise.all(removedIds.map((id) => api.removePost(id)));
};
const search = async () => {
  const response = await api.search(query);

  setSelection(
    response.hits.hits.map((hit) => {
      return hit._id;
    })
  );
};
// ...
Here, the addPost() function creates a new post using the data from Faker.js and updates it both on the frontend and the backend. A similar process happens in removePosts(), which, given an array of post IDs, removes the related data on both ends. Finally, search() sends a query to the backend and selects the matching results in the table.
To load the initial data on the component mount, you’ll have to use the useEffect() hook, which will fetch the posts and update the view accordingly:
// ...
useEffect(() => {
  loadUser().then((authenticated) => {
    if (authenticated) {
      api.getAllPosts().then((response) => {
        setPosts(
          response.hits.hits.map((hit) => ({
            id: hit._id,
            ...hit._source,
          }))
        );
      });
    }
  });
}, []);
// ...
Now, ensure both your backend and frontend servers are running, and check out all the features of your app!
Securing data access with Okta
While the app is working, it’s completely exposed to unauthorized access, which can be harmful to your data, code, and infrastructure as a whole. To fix that, you can use Okta.
The entire process is quite simple and requires only a few changes on both ends of the app.
Securing the backend
Inside the backend folder, use the Okta CLI to create an .okta.env file with all required credentials.
Before you begin, you’ll need a free Okta developer account. Install the Okta CLI and run okta register to sign up for a new account. If you already have an account, run okta login.
Then, run okta apps create. Select the default app name, or change it as you see fit.
Choose Web and press Enter.
Select Other.
Then, change the Redirect URI to http://localhost:8080/callback and use http://localhost:8080/ for the Logout Redirect URI.
What does the Okta CLI do?
The Okta CLI will create an OIDC Web App in your Okta Org. It will add the redirect URIs you specified and grant access to the Everyone group. You will see output like the following when it’s finished:
Okta application configuration has been written to: /path/to/app/.okta.env
Run cat .okta.env (or type .okta.env on Windows) to see the issuer and credentials for your app.
export OKTA_OAUTH2_ISSUER="https://dev-133337.okta.com/oauth2/default"
export OKTA_OAUTH2_CLIENT_ID="0oab8eb55Kb9jdMIr5d6"
export OKTA_OAUTH2_CLIENT_SECRET="NEVER-SHOW-SECRETS"
Your Okta domain is the first part of your issuer, before /oauth2/default.
NOTE: You can also use the Okta Admin Console to create your app. See Create a Web App for more information.
With that done, load the env file inside index.js and initiate express-openid-connect middleware:
const express = require("express");
const bodyParser = require("body-parser");
const elasticClient = require("./elastic-client");
const { auth, requiresAuth } = require("express-openid-connect");
require("dotenv").config({ path: ".okta.env" });
require("express-async-errors");

const app = express();

app.use(bodyParser.json());
app.use(
  auth({
    issuerBaseURL: process.env.OKTA_OAUTH2_ISSUER,
    clientID: process.env.OKTA_OAUTH2_CLIENT_ID,
    clientSecret: process.env.OKTA_OAUTH2_CLIENT_SECRET,
    secret: process.env.OKTA_OAUTH2_CLIENT_SECRET,
    baseURL: "http://localhost:8080",
    idpLogout: true,
    authRequired: false,
    authorizationParams: {
      scope: "openid profile",
      response_type: "code",
    },
  })
);
// ...
The middleware not only secures the endpoints but also handles the callback and creates new /login and /logout routes for the configured
OpenID provider — we’re using Okta.
By setting authRequired to false, you get to selectively choose which endpoints to secure. In this case, this will include all endpoints related to Elasticsearch:
// ...
const securedRouter = express.Router();

securedRouter.use(requiresAuth());
securedRouter.post("/create-post", async (req, res) => {
  const result = await elasticClient.index({
    index: "posts",
    document: {
      title: req.body.title,
      author: req.body.author,
      content: req.body.content,
    },
  });

  res.send(result);
});

// Other routes

app.use(securedRouter);
// ...
For simplicity, a separate, secured router is used. All you have to do is move the routes you want to secure to that router.
Lastly, you should create an unsecured /is-authenticated route for the frontend to contact when making initial requests:
// ...
app.get("/is-authenticated", (req, res) => {
  const authenticated = req.oidc.isAuthenticated();
  if (authenticated) {
    res.json({
      authenticated,
      username: req.oidc.user.name,
    });
  } else {
    res.json({ authenticated: false });
  }
});
// ...
Additionally, the endpoint returns the username of the authorized user.
Integrating the frontend
Inside the src/App.jsx file on the frontend, add the isAuthenticated() method to the api object:
// ...
const api = {
  // ...
  async isAuthenticated() {
    const response = await axios.get("/api/is-authenticated");

    return response.data;
  },
};
// ...
Then, inside the <App/> component, check if the user is authenticated and, if so, load his username:
// ...
const App = () => {
  // ...
  const [username, setUsername] = useState("");
  // ...
  const loadUser = async () => {
    const response = await api.isAuthenticated();

    console.log(response);
    if (response.authenticated) {
      setUsername(response.username);
      return true;
    }

    return false;
  };

  useEffect(() => {
    loadUser().then((authenticated) => {
      if (authenticated) {
        api.getAllPosts().then((response) => {
          setPosts(
            response.hits.hits.map((hit) => ({
              id: hit._id,
              ...hit._source,
            }))
          );
        });
      }
    });
  }, []);

  return (
    <>
      <TopMenu username={username} />
      <Container maxWidth="md">
        {/* ... */}
        <EditMenu
          username={username}
          selection={selection}
          addPost={addPost}
          removePosts={removePosts}
        />
        {/* ... */}
      </Container>
    </>
  );
};
// ...
Finally, in the menus, disable editing and show the LOGIN button in the app bar. If the user is logged in, show the LOGOUT button instead alongside his username:
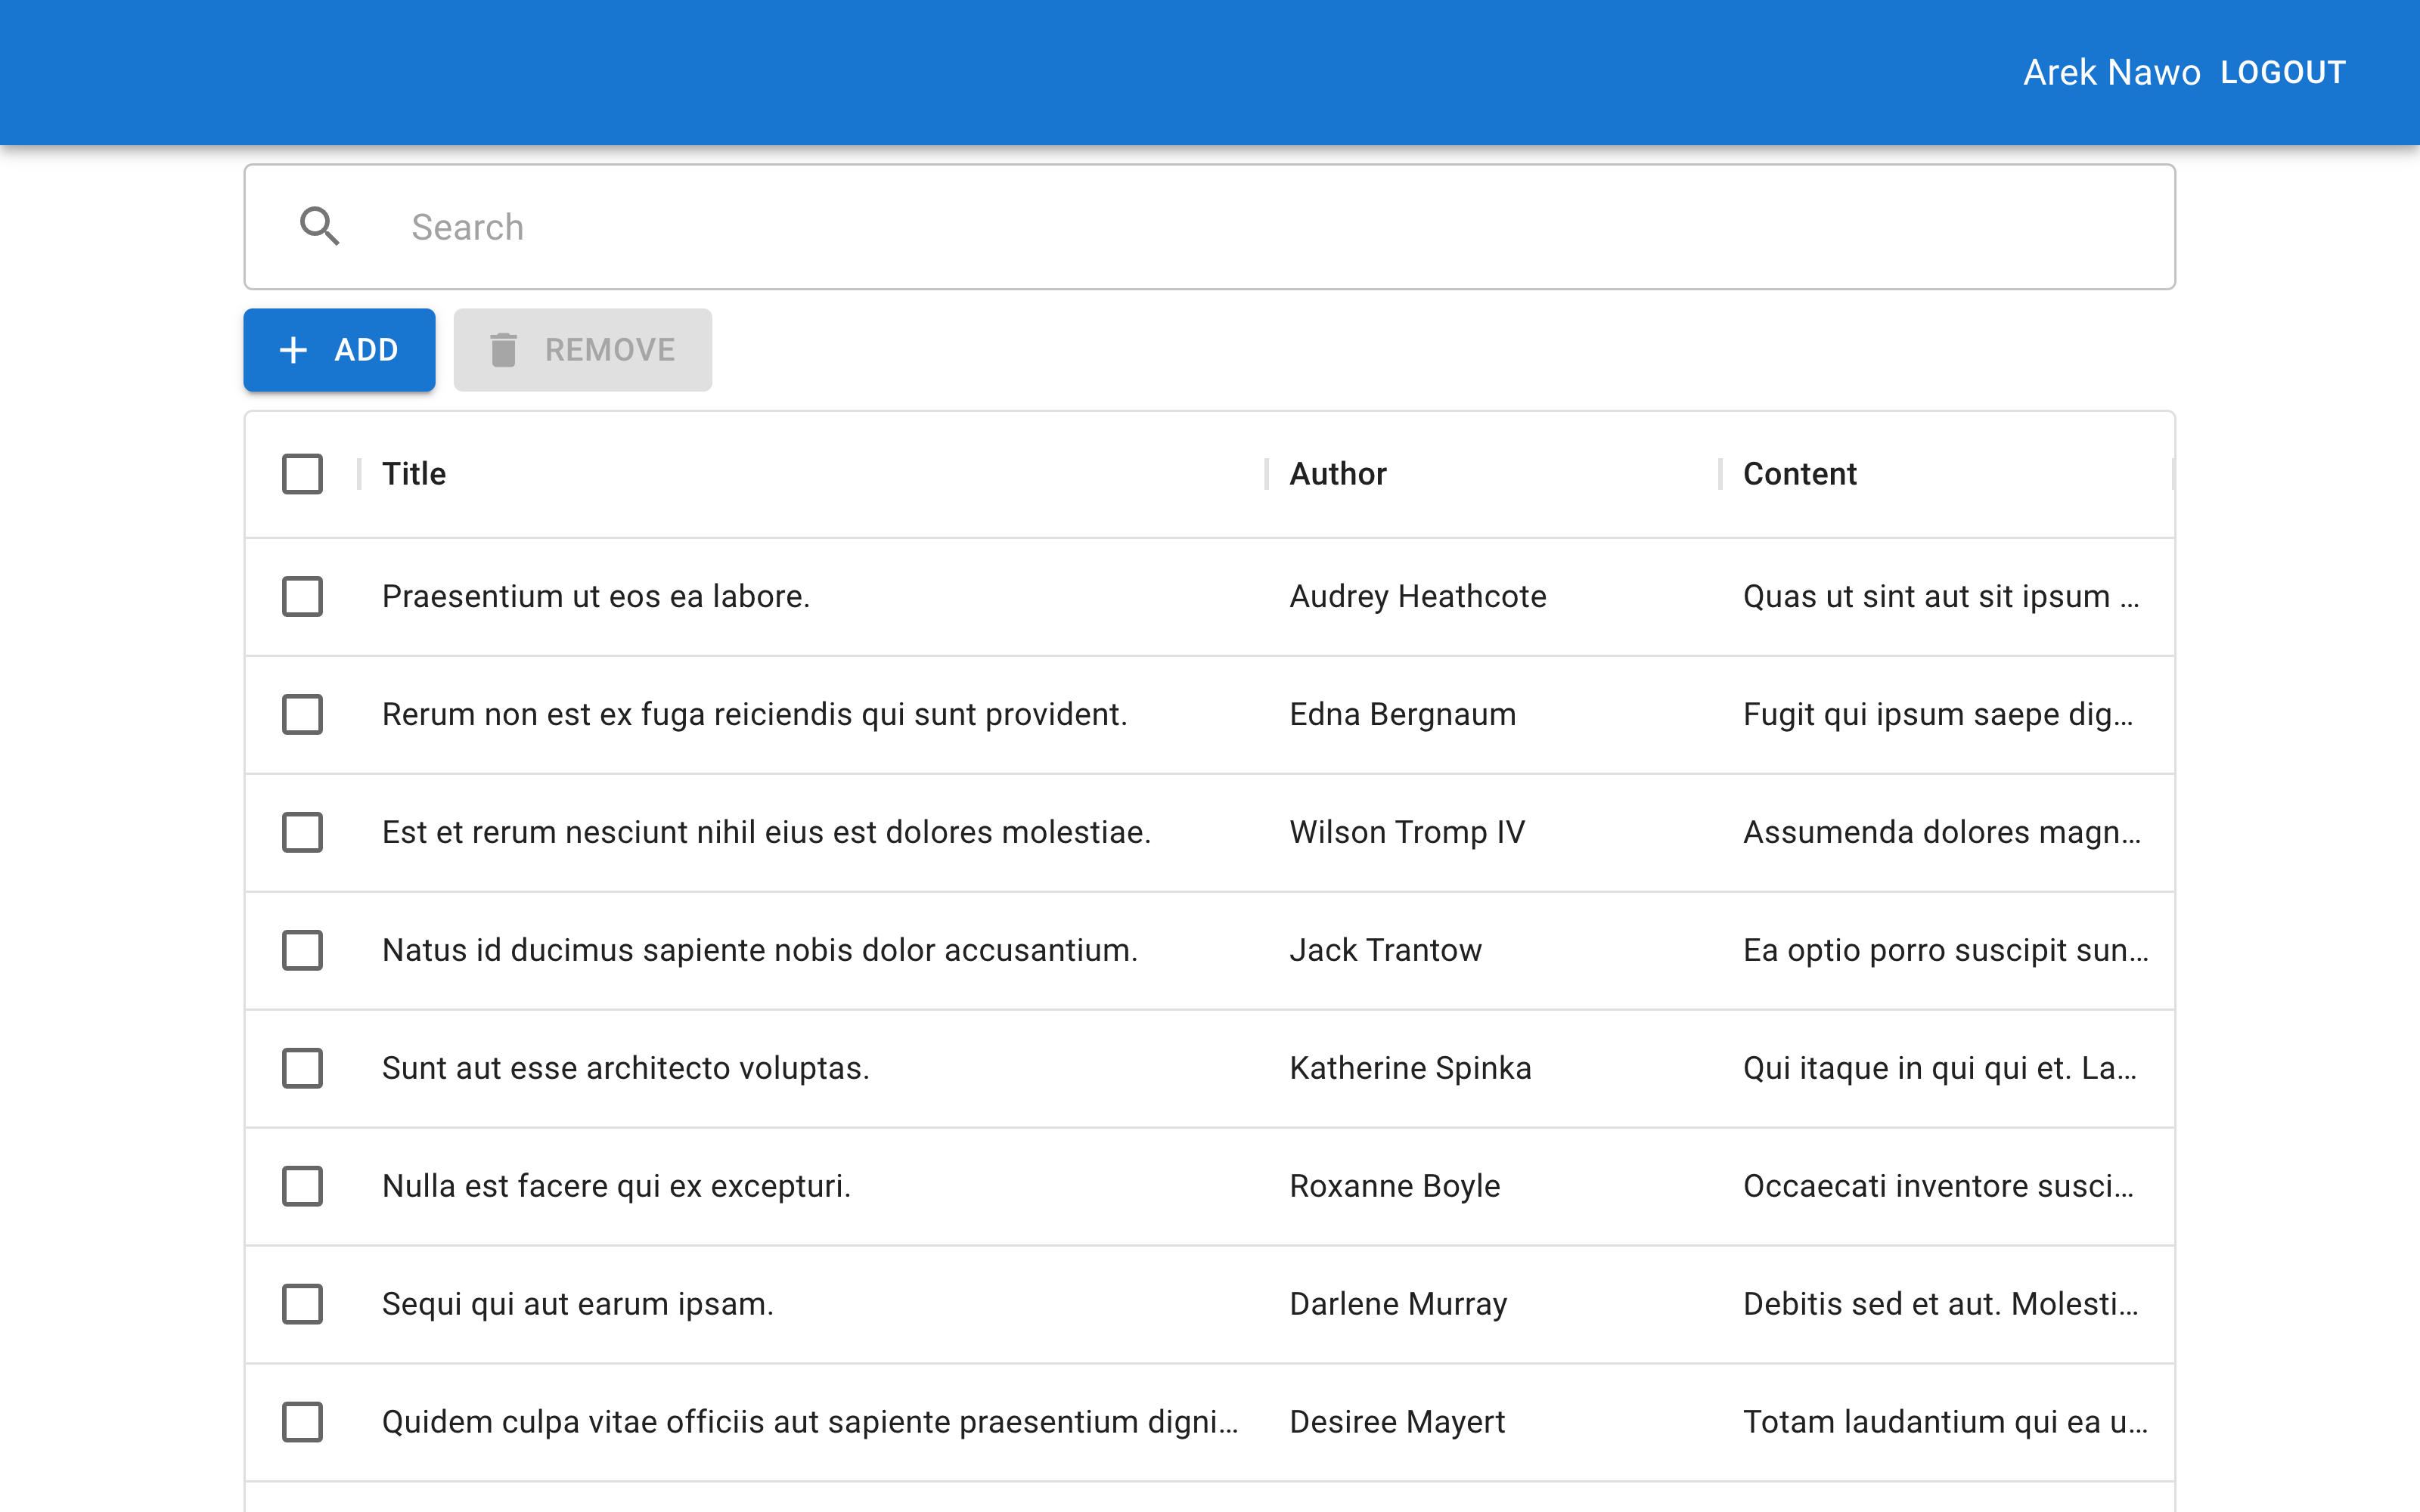
const TopMenu = (props) => {
  return (
    <Box sx={{ flexGrow: 1, mb: 1 }}>
      <AppBar position="static">
        <Toolbar>
          <div style={{ flex: 1 }}></div>
          {props.username ? (
            <>
              <span>{props.username}</span>
              <Button color="inherit" href="/api/logout">
                LOGOUT
              </Button>
            </>
          ) : (
            <Button color="inherit" href="/api/login">
              Login
            </Button>
          )}
        </Toolbar>
      </AppBar>
    </Box>
  );
};
const EditMenu = (props) => {
  return (
    <div>
      <Button
        startIcon={<Add />}
        variant="contained"
        sx={{ my: 1, mr: 1 }}
        onClick={props.addPost}
        disabled={!props.username}
      >
        ADD
      </Button>
      <Button
        startIcon={<Delete />}
        variant="contained"
        disabled={!props.username || !props.selection.length}
        sx={{ my: 1, mr: 1 }}
        onClick={() => props.removePosts(props.selection)}
      >
        REMOVE
      </Button>
    </div>
  );
};
With this done, the app is now fully secured with Okta, both on the frontend and the backend!
If you want to see the entire project, you can clone it from GitHub here.
Build more with Node and Elasticsearch
After completing this tutorial, you now know how to implement powerful Elasticsearch features into your Express app and secure it with Okta. But that’s just the first step to building a feature-rich, scalable, and secure application!
If you’d like to learn more about building web apps with Node.js, you might want to check out these other great posts:
- Build Secure Node Authentication with Passport.js and OpenID Connect
- Build User Registration with Node, React, and Okta
- Simple Node Authentication
- Build a Basic CRUD App with Vue.js and Node
If you enjoyed working through this tutorial, you can keep up with our content for developers by following @oktadev on Twitter, connecting with us on LinkedIn, or subscribing to our YouTube channel.
If you have any questions or want to add suggestions for future tutorials, please add a comment below.
Okta Developer Blog Comment Policy
We welcome relevant and respectful comments. Off-topic comments may be removed.