Build a Simple CRUD App with Python, Flask, and React

Note: In May 2025, the Okta Integrator Free Plan replaced Okta Developer Edition Accounts, and the Okta CLI was deprecated.
We preserved this post for reference, but the instructions no longer work exactly as written. Replace the Okta CLI commands by manually configuring Okta following the instructions in our Developer Documentation.
Today’s modern web applications are often built with a server-side language serving data via an API and a front-end javascript framework that presents the data in an easy-to-use manner to the end user. Python is a dynamic language widely adopted by companies and developers. The language states on its core values that software should simple, readable making developers more productive and happier. You’ll also use Flask to help you to quickly put together a ReST API. React is a declarative, efficient, and flexible JavaScript library developed at Facebook for building user interfaces. It facilitates the creation of complex, interactive, and stateful UIs from small and isolated pieces of code called components.
In this tutorial you are going to build a JavaScript application using React in the front-end and we are also going to build a ReST API written in Python which is going to persist. Our app will be a GitHub open source bookmark project (a.k.a kudo).
Table of Contents
- Create a ReST API with Python
- Create the React Client-Side App
- Learn More About Python, Flask, and React
To complete this tutorial, there are few things you will need:
- macOS or Linux operating system
- Python 3 installed
- MongoDB or the Docker toolbox installed
- A free-forever Okta account
You will start by creating the back-end.
Note: In May 2025, the Okta Integrator Free Plan replaced Okta Developer Edition Accounts, and the Okta CLI was deprecated.
We preserved this post for reference, but the instructions no longer work exactly as written. Replace the Okta CLI commands by manually configuring Okta following the instructions in our Developer Documentation.
Create a ReST API with Python
Make sure you have Python 3 installed. Check the version of Python installed by running the following command:
python --version
To install Python 3 you can use pyenv.
If you are using macOS, you can install it using Homebrew:
brew update
brew install pyenv
On a Linux system using the bash shell:
curl -L https://github.com/pyenv/pyenv-installer/raw/master/bin/pyenv-installer | bash
Once installed, you can run the following commands to install Python 3.
pyenv install 3.6.3
pyenv global 3.6.3
Your ReST API will use some third-party code (libraries) to help you (e.g. to connect to a database, to create schemas for your models, and validate whether the incoming requests are authenticated or not). Python has a powerful tool to manage dependencies called pipenv. To install pipenv on your machine follow these steps:
On macOS:
brew install pipenv
pip install --user pipenv
With pipenv installed, create a directory for your backend code:
mkdir kudos_oss && cd kudos_oss
The command below will create a Python 3 virtual environment and install Flask:
pipenv install flask==1.0.2
Python 3 provides some cool features like absolute_import and print_function that you will use in this tutorial. To import them run the following commands:
touch __init__.py
touch __main__.py
And copy and paste the following content into the __main__.py file:
from __future__ import absolute_import, print_function
Your backend will need to implement the following user stories:
- As an authenticated user I want to favorite an github open source project
- As an authenticated user I want to unfavorite an github open source project
- As an authenticated user I want to list all bookmarked github open source projects I’ve previously favorited
A normal ReST API will expose endpoints so clients can create, update, delete, read and list all resources. By end of this section your back-end application will be capable to handle the following HTTP calls:
# For the authenticated user, fetches all favorited github open source projects
GET /kudos

# Favorite a github open source project for the authenticated user
POST /kudos

# Unfavorite a favorited github open source project
DELETE /kudos/:id
Define the Python Model Schemas
Your ReST API will have two core schemas, they are GitHubRepoSchema and KudoSchema. GitHubRepoSchema will represent a GitHub repository sent by the clients whereas KudoSchema will represent the data you are going to persist in the database.
Go ahead and run the following commands:
mkdir -p app/kudo
touch app/kudo/schema.py
touch app/kudo/service.py
touch app/kudo/__init__.py
The above commands will create the app directory with another directory within it called kudo then, the second command will create three files: schema.py, service.py, and __init__.py.
Copy and paste the content below within the schema.py file.
from marshmallow import Schema, fields

class GitHubRepoSchema(Schema):
  id = fields.Int(required=True)
  repo_name = fields.Str()
  full_name = fields.Str()
  language = fields.Str()
  description = fields.Str()
  repo_url = fields.URL()

class KudoSchema(GitHubRepoSchema):
  user_id = fields.Email(required=True)
As you may have noticed, the schemas are inheriting from Schema a package from the marshmallow library, marshmallow is an ORM/ODM/framework-agnostic library for serializing/deserializing complex data types, such as objects, to and from native Python data types.
Install the marshmallow library running the following commands:
pipenv install marshmallow==2.16.3
Python ReST API Persistence with MongoDB
Great! You have now your first files in place. The schemas were created to represent the incoming request data as well as the data your application persists in the MongoDB. In order to connect and to execute queries against the database, you are going to use a library created and maintained by MongoDB itself called pymongo.
Install the pymongo library running the following commands:
pipenv install pymongo==3.7.2
You can either use MongoDB installed on your machine or you can use Docker to spin up a MongoDB container. This tutorial assumes you have Docker and docker-compose installed.
docker-compose will manage the MongoDB container for you.
Create docker-compose.yml
touch docker-compose.yml
Paste the following content into it:
version: '3'
services:
  mongo:
    image: mongo
    restart: always
    ports:
     - "27017:27017"
    environment:
      MONGO_INITDB_ROOT_USERNAME: mongo_user
      MONGO_INITDB_ROOT_PASSWORD: mongo_secret
All you have to do now to spin up a MongoDB container is:
docker-compose up
With MongoDB up and running you are ready to work the MongoRepository class, it is always a good idea to have class with just a single responsibility, so the only point in your back-end application MongoDB is going to be explicitly dealt with is in the MongoRepository.
Start by creating a directory where all persistence related files should sit, a suggestion would be: repository.
mkdir -p app/repository
Then, create the file that will hold the MongoRepository class:
touch app/repository/mongo.py
touch app/repository/__init__.py
With pymongo properly installed and MongoDB up and running, paste the following content into the app/repository/mongo.py file.
import os
from pymongo import MongoClient

COLLECTION_NAME = 'kudos'

class MongoRepository(object):
  def __init__(self):
    mongo_url = os.environ.get('MONGO_URL')
    self.db = MongoClient(mongo_url).kudos

  def find_all(self, selector):
    return self.db.kudos.find(selector)

  def find(self, selector):
    return self.db.kudos.find_one(selector)

  def create(self, kudo):
    return self.db.kudos.insert_one(kudo)

  def update(self, selector, kudo):
    return self.db.kudos.replace_one(selector, kudo).modified_count

  def delete(self, selector):
    return self.db.kudos.delete_one(selector).deleted_count
As you can see the MongoRepository class is straightforward, it creates a database connection on its initialization then saves it to a instance variable to be use later by the methods: find_all(), find(), create(), update(), and delete(). Notice that all methods explicitly use the pymongo API.
You might have noticed that the MongoRepository class reads a environment variable MONGO_URL . To export the environment variable, run:
export MONGO_URL=mongodb://mongo_user:mongo_secret@0.0.0.0:27017/
Since you might want to use another database in the future, it is a good idea to decouple your application from MongoDB. For the sake of simplicity you are going to create an abstract class to represent a Repository, this class should be the one used throughout your application.
Paste the following content into the app/repository/__init__.py file:
class Repository(object):
  def __init__(self, adapter=None):
    self.client = adapter()

  def find_all(self, selector):
    return self.client.find_all(selector)

  def find(self, selector):
    return self.client.find(selector)

  def create(self, kudo):
    return self.client.create(kudo)

  def update(self, selector, kudo):
    return self.client.update(selector, kudo)

  def delete(self, selector):
    return self.client.delete(selector)
You might recall the user story that you’re working on is that an authenticated user should able to create, delete and list all favorited GitHub open-source projects. In order to get that done those MongoRepository’s methods will come in handy.
You will soon implement the endpoints of your ReST API. First, you need to create a service class that knows how to translate the incoming request payload to our representation KudoSchema defined in the app/kudo/schema.py. The difference between the incoming request payload, represented by GitHubSchema, and the object you persist in the database, represented by KudoSchema is: The first has an user_id which determines who owns the object.
Copy the content below to the app/kudo/service.py file:
from ..repository import Repository
from ..repository.mongo import MongoRepository
from .schema import KudoSchema

class Service(object):
  def __init__(self, user_id, repo_client=Repository(adapter=MongoRepository)):
    self.repo_client = repo_client
    self.user_id = user_id

    if not user_id:
      raise Exception("user id not provided")

  def find_all_kudos(self):
    kudos  = self.repo_client.find_all({'user_id': self.user_id})
    return [self.dump(kudo) for kudo in kudos]

  def find_kudo(self, repo_id):
    kudo = self.repo_client.find({'user_id': self.user_id, 'repo_id': repo_id})
    return self.dump(kudo)

  def create_kudo_for(self, githubRepo):
    self.repo_client.create(self.prepare_kudo(githubRepo))
    return self.dump(githubRepo.data)

  def update_kudo_with(self, repo_id, githubRepo):
    records_affected = self.repo_client.update({'user_id': self.user_id, 'repo_id': repo_id}, self.prepare_kudo(githubRepo))
    return records_affected > 0

  def delete_kudo_for(self, repo_id):
    records_affected = self.repo_client.delete({'user_id': self.user_id, 'repo_id': repo_id})
    return records_affected > 0

  def dump(self, data):
    return KudoSchema(exclude=['_id']).dump(data).data

  def prepare_kudo(self, githubRepo):
    data = githubRepo.data
    data['user_id'] = self.user_id
    return data
Notice that your constructor __init__ receives as parameters the user_id and the repo_client which are used in all operations in this service. That’s the beauty of having a class to represent a repository. As far as the service is concerned, it does not care if the repo_client is persisting the data in a MongoDB, PostgreSQL, or sending the data over the network to a third party service API, all it needs to know is the repo_client is a Repository instance that was configured with an adapter that implements methods like create(), delete() and find_all().
Define Your ReST API Middleware
At this point, you’ve covered 70% of the backend. You are ready to implement the HTTP endpoints and use OpenID Connect (OIDC) to secure your ReST API against unauthenticated requests.
You can start by creating a directory where HTTP related files should be placed.
mkdir -p app/http/api
Within this directory, create an endpoints.py file with the following commands:
touch app/http/api/__init__.py
touch app/http/api/endpoints.py
The requests made to your ReST API are JWT-authenticated, which means you need to make sure that every single request carries a valid JSON Web Token. Flask-OIDC will take care of the validation for you. To install it run the following command:
pipenv install Flask-OIDC==1.4.0
Define Your ReST API Endpoints
The HTTP handlers should be easy now, since you have already done the important pieces, it’s just a matter of putting everything together.
Since your end goal is to create a JavaScript application that will run on web browsers, you need to make sure that web browsers are happy when a preflight is performed, you can learn more about it here. In order to implement CORS for your ReST API, install flask_cors.
pipenv install flask_cors==3.0.7
Next, implement your endpoints. Go ahead and paste the content above into the app/http/api/endpoints.py file. The g.oidc_token_info['sub'] value in the code below will be the user’s email address.
from flask_oidc import OpenIDConnect
from flask import Flask, json, g, request
from app.kudo.service import Service as Kudo
from app.kudo.schema import GitHubRepoSchema
from flask_cors import CORS

app = Flask(__name__)
app.config.update({
  'OIDC_CLIENT_SECRETS': './../../../../client_secrets.json',
  'OIDC_RESOURCE_SERVER_ONLY': True
})
oidc = OpenIDConnect(app)
CORS(app)

@app.route("/kudos", methods=["GET"])
@oidc.accept_token(True)
def index():
  return json_response(Kudo(g.oidc_token_info['sub']).find_all_kudos())


@app.route("/kudos", methods=["POST"])
@oidc.accept_token(True)
def create():
  github_repo = GitHubRepoSchema().load(json.loads(request.data))

  if github_repo.errors:
    return json_response({'error': github_repo.errors}, 422)

  kudo = Kudo(g.oidc_token_info['sub']).create_kudo_for(github_repo)
  return json_response(kudo)


@app.route("/kudo/<int:repo_id>", methods=["GET"])
@oidc.accept_token(True)
def show(repo_id):
  kudo = Kudo(g.oidc_token_info['sub']).find_kudo(repo_id)

  if kudo:
    return json_response(kudo)
  else:
    return json_response({'error': 'kudo not found'}, 404)


@app.route("/kudo/<int:repo_id>", methods=["PUT"])
@oidc.accept_token(True)
def update(repo_id):
   github_repo = GitHubRepoSchema().load(json.loads(request.data))

   if github_repo.errors:
     return json_response({'error': github_repo.errors}, 422)

   kudo_service = Kudo(g.oidc_token_info['sub'])
   if kudo_service.update_kudo_with(repo_id, github_repo):
     return json_response(github_repo.data)
   else:
     return json_response({'error': 'kudo not found'}, 404)


@app.route("/kudo/<int:repo_id>", methods=["DELETE"])
@oidc.accept_token(True)
def delete(repo_id):
  kudo_service = Kudo(g.oidc_token_info['sub'])
  if kudo_service.delete_kudo_for(repo_id):
    return json_response({})
  else:
    return json_response({'error': 'kudo not found'}, 404)


def json_response(payload, status=200):
  return (json.dumps(payload), status, {'content-type': 'application/json'})
Create a client_secrets.json file with your Okta settings in it.
{
  "web": {
    "auth_uri": "https://{{OKTA_DOMAIN}}/oauth2/default/v1/authorize",
    "client_id": "{{CLIENT_ID}}",
    "client_secret": "{{CLIENT_SECRET}}",
    "redirect_uris": [
      "http://localhost:8080/authorization-code/callback"
    ],
    "issuer": "https://{{OKTA_DOMAIN}}/oauth2/default",
    "token_uri": "https://{{OKTA_DOMAIN}}/oauth2/default/v1/token",
    "token_introspection_uri": "https://{{OKTA_DOMAIN}}/oauth2/default/v1/introspect",
    "userinfo_uri": "https://{{OKTA_DOMAIN}}/oauth2/default/v1/userinfo"
  }
}
You might be wondering, where the heck do I get the values for {{OKTA_DOMAIN}}, {{CLIENT_ID}}, and {{CLIENT_SECRET}}?
Before you begin, you’ll need a free Okta developer account. Install the Okta CLI and run okta register to sign up for a new account. If you already have an account, run okta login.
Then, run okta apps create. Select the default app name, or change it as you see fit.
Choose Web and press Enter.
Select Other.
Then, change the Redirect URI to http://localhost:8080/authorization-code/callback and accept the default Logout Redirect URI of http://localhost:8080.
What does the Okta CLI do?
The Okta CLI will create an OIDC Web App in your Okta Org. It will add the redirect URIs you specified and grant access to the Everyone group. You will see output like the following when it’s finished:
Okta application configuration has been written to: /path/to/app/.okta.env
Run cat .okta.env (or type .okta.env on Windows) to see the issuer and credentials for your app.
export OKTA_OAUTH2_ISSUER="https://dev-133337.okta.com/oauth2/default"
export OKTA_OAUTH2_CLIENT_ID="0oab8eb55Kb9jdMIr5d6"
export OKTA_OAUTH2_CLIENT_SECRET="NEVER-SHOW-SECRETS"
Your Okta domain is the first part of your issuer, before /oauth2/default.
NOTE: You can also use the Okta Admin Console to create your app. See Create a Web App for more information.
Replace the {{...}} values in client_secrets.json with your domain, client ID, and client secret.
Brilliant! It’s all in place now! You should be able to run your ReST API with the command below:
FLASK_APP=$PWD/app/http/api/endpoints.py FLASK_ENV=development pipenv run python -m flask run --port 4433
Create the React Client-Side App
To create your React Client-Side App, you will use Facebook’s awesome create-react-app tool to bypass all the webpack hassle.
You will need a directory to place your React application, go ahead and create the web directory within the pkg/http folder.
mkdir -p app/http/web
Now, create a React application:
cd app/http/web
npx create-react-app app
Create React App might take a few minutes to generate the boilerplate application. Go to the recently created app directory and run npm start.
cd app
npm start
By default, the React app generated by create-react-app will run listening on port 3000. Let’s change it to listen to the port 8080.
Change the start command on the file app/http/web/app/package.json to use port 8080.
   "scripts": {
-    "start": "react-scripts start",
+    "start": "PORT=8080 react-scripts start",
     "build": "react-scripts build",
     "test": "react-scripts test",
     "eject": "react-scripts eject"
Then, run the app again.
npm start
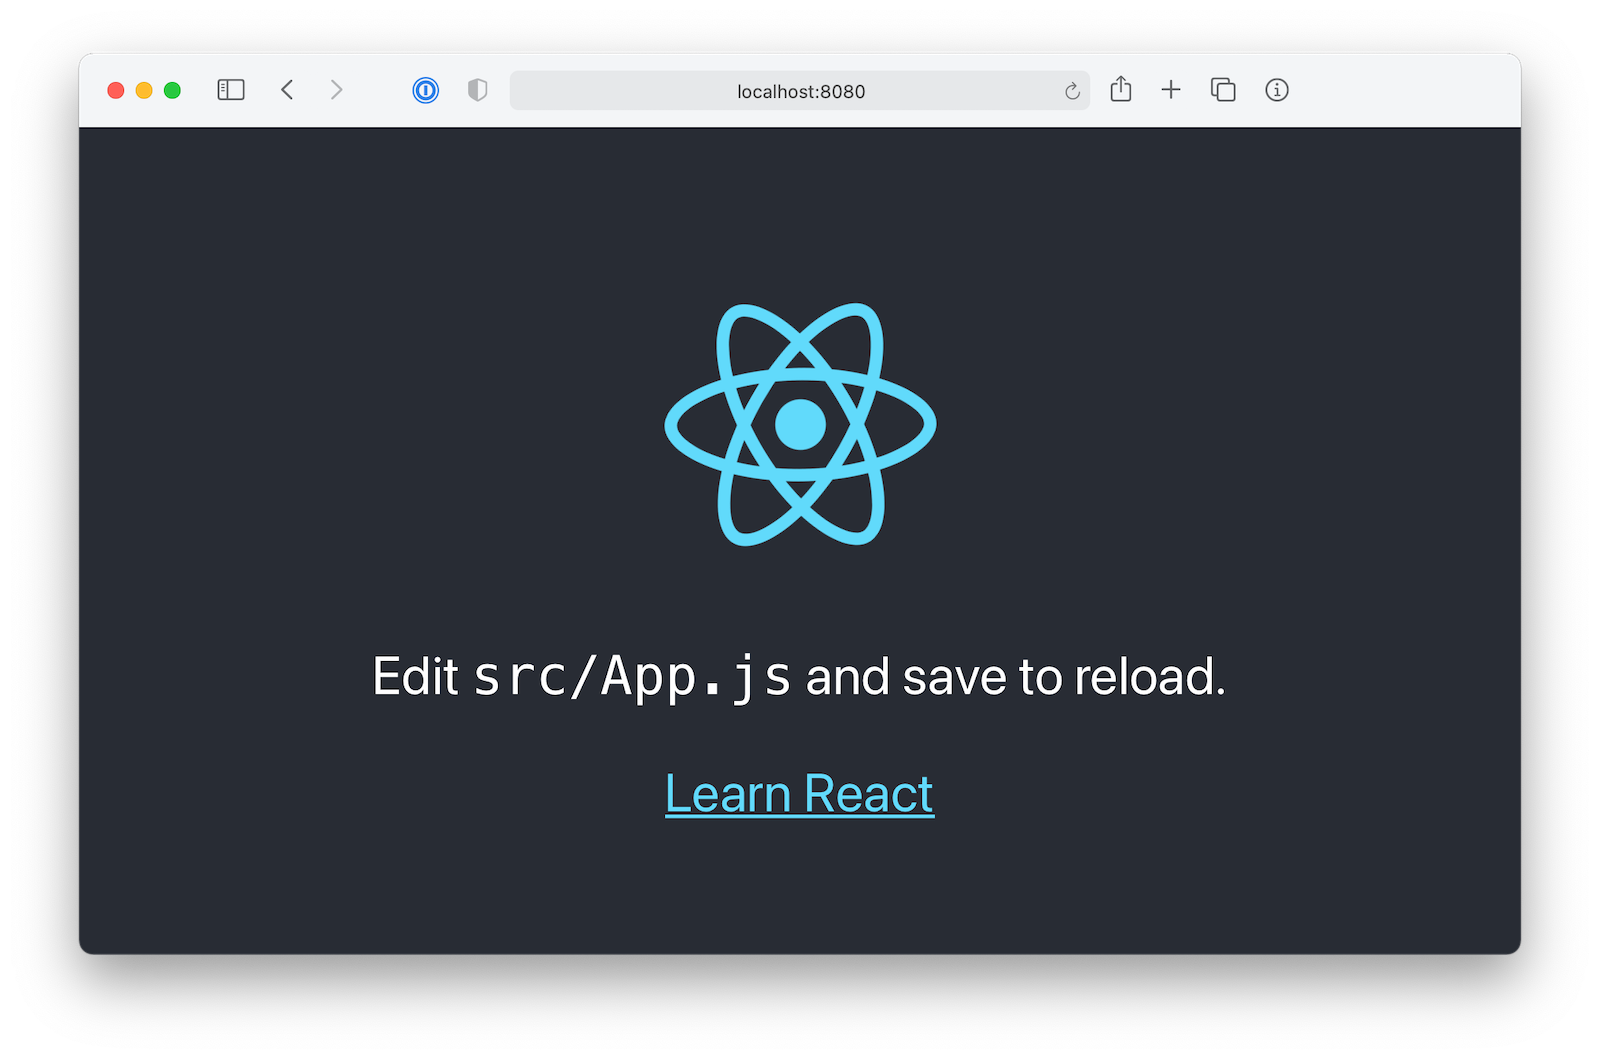
Running npm start will start a web server listening to the port 8080. Open http://localhost:8080/ in your browser. Your browser should load React and render the App.js component created automatically by create-react-app.
Your goal now is to use Material Design to create a simple and beautiful UI. Thankfully, the React community has created Material-UI which basically are the Material Design concepts translated to React components.
Run the following commands to install what you will need from Material Design.
npm i @material-ui/core@4.11.3
npm i @material-ui/icons@4.11.2
Great, now you have components like: Grid, Card, Icon, AppBar and many more ready to be imported and used. You will use them soon. Let’s talk about protected routes.
Add Authentication to Your React App with Okta
Writing secure user authentication and building login pages are easy to get wrong and can be the downfall of a new project. Okta makes it simple to implement all the user management functionality quickly and securely.
Install the Okta CLI and run okta login.
Then, run okta apps create. Select the default app name, or change it as you see fit.
Choose Single-Page App and press Enter.
Use http://localhost:8080/callback for the Redirect URI and accept the default Logout Redirect URI of http://localhost:8080.
What does the Okta CLI do?
The Okta CLI will create an OIDC Single-Page App in your Okta Org. It will add the redirect URIs you specified and grant access to the Everyone group. It will also add a trusted origin for http://localhost:8080. You will see output like the following when it’s finished:
Okta application configuration:
Issuer:    https://dev-133337.okta.com/oauth2/default
Client ID: 0oab8eb55Kb9jdMIr5d6
NOTE: You can also use the Okta Admin Console to create your app. See Create a React App for more information.
Create Your React Routes
React Router is the most used library for routing URLs to React components. React Router has a collection a components that can be used to help the user to navigate in you application.
Your React application will have two routes:
/ The root route does not require the user to be logged in, it actually is the landing page of your application. A user should be able to access this page in order to log in. You will use the Okta React SDK to integrate react-router with Okta’s OpenID Connect API.
/home The Home route will render most of the React components you application will have. It should implement the following user stories.
- An authenticated user should be able to search through the GitHub API the open source projects of his/her preferences
- An authenticated user should be able to bookmark open source projects that pleases him/her
- An authenticated user should be able to see in different tabs his/her previously bookmarked open source projects and the search results
To install react-router run the command:
npm i react-router-dom@5.2.0
And to install the Okta React SDK run the command:
npm i @okta/okta-react@5.1.0
npm i @okta/okta-auth-js@4.8.0
Now, go head and create your Main component.
mkdir -p src/Main
Then, within the Main directory create a file named index.js.
touch src/Main/index.js
And paste the following content into the recently created file:
import React, { Component } from 'react';
import { Switch, Route } from 'react-router-dom'
import { Security, LoginCallback, SecureRoute } from '@okta/okta-react';
import { OktaAuth, toRelativeUrl } from '@okta/okta-auth-js';

import Login from '../Login'
import Home from '../Home'

class Main extends Component {

  constructor(props) {
    super(props);
    this.oktaAuth = new OktaAuth({
      issuer: 'https://{yourOktaDomain}/oauth2/default',
      clientId: '{clientId}',
      redirectUri: window.location.origin + '/callback'
    });
    this.restoreOriginalUri = async (_oktaAuth, originalUri) => {
      props.history.replace(toRelativeUrl(originalUri, window.location.origin));
    };
  }

  render() {
    return (
      <Security oktaAuth={this.oktaAuth} restoreOriginalUri={this.restoreOriginalUri}>
        <Switch>
          <Route exact path="/" component={Login} />
          <Route path="/callback" component={LoginCallback} />
          <SecureRoute path="/home" component={Home} />
        </Switch>
      </Security>
    );
  }
}

export default Main;
Make sure to set the issuer and client_id values to match the SPA app you created.
Don’t worry for now about the Home and Login components. You will work on them soon. Focus on the Security, SecureRoute, and LoginCallback components.
For routes to work properly in React, you need to wrap your whole application in a router. Similarly, to allow access to authentication anywhere in the app, you need to wrap the app in a Security component provided by Okta. Okta also needs access to the router, so the Security component should be nested inside the router.
For routes that require authentication, you will define them using the SecureRoute Okta component. If an unauthenticated user tries to access /home, he/she will be redirect to the / root route.
The LoginCallback component is the route/URI destination to which the user will be redirected after Okta finishes the sign in process.
Go ahead and change the src/index.js to mount your Main component.
import React from 'react';
import ReactDOM from 'react-dom';
import { Router } from 'react-router-dom'
import { createBrowserHistory } from 'history'

import Main from './Main';

const history = createBrowserHistory();

ReactDOM.render((
  <Router history={history}>
    <Main history={history} />
  </Router>
), document.getElementById('root'))
Your are now ready to create the Login component. As mentioned previously, this component will be accessible to all users (not only authenticated users). The main goal of the Login component is to authenticate the user.
Inside the directory app, you will find a directory called src which stands for source. Go ahead and create a directory named Login.
mkdir -p src/Login
Then, within the Login directory create a file named index.js.
touch src/Login/index.js
And paste the following content into the file:
import React from 'react'
import Button from '@material-ui/core/Button';
import { Redirect } from 'react-router-dom'
import { withOktaAuth } from '@okta/okta-react';

class Login extends React.Component {
  constructor(props) {
    super(props);
    this.login = this.login.bind(this);
  }

  async login() {
    await this.props.oktaAuth.signInWithRedirect();
  }

  render() {
    if (this.props.authState.isAuthenticated) {
      return <Redirect to='/home' />
    } else {
      return (
        <div style={{height: '100vh', display: 'flex', alignItems: 'center', justifyContent: 'center'}}>
          <Button variant="contained" color="primary" onClick={this.login}>Login with Okta</Button>
        </div>
      )
    }
  }
}

export default withOktaAuth(Login);
In order to see the Login page working, you need to create a placeholder for the Home component.
Go ahead and create a directory called Home.
mkdir -p src/Home
Then, within that directory, create a file named index.js.
touch src/Home/index.js
And paste the following content into it:
import React from 'react'

const home = () => {
  return (
    <div>Home</div>
  )
};

export default home;
Now try running npm start and open http://localhost:8080 in your browser. You should see the page below.
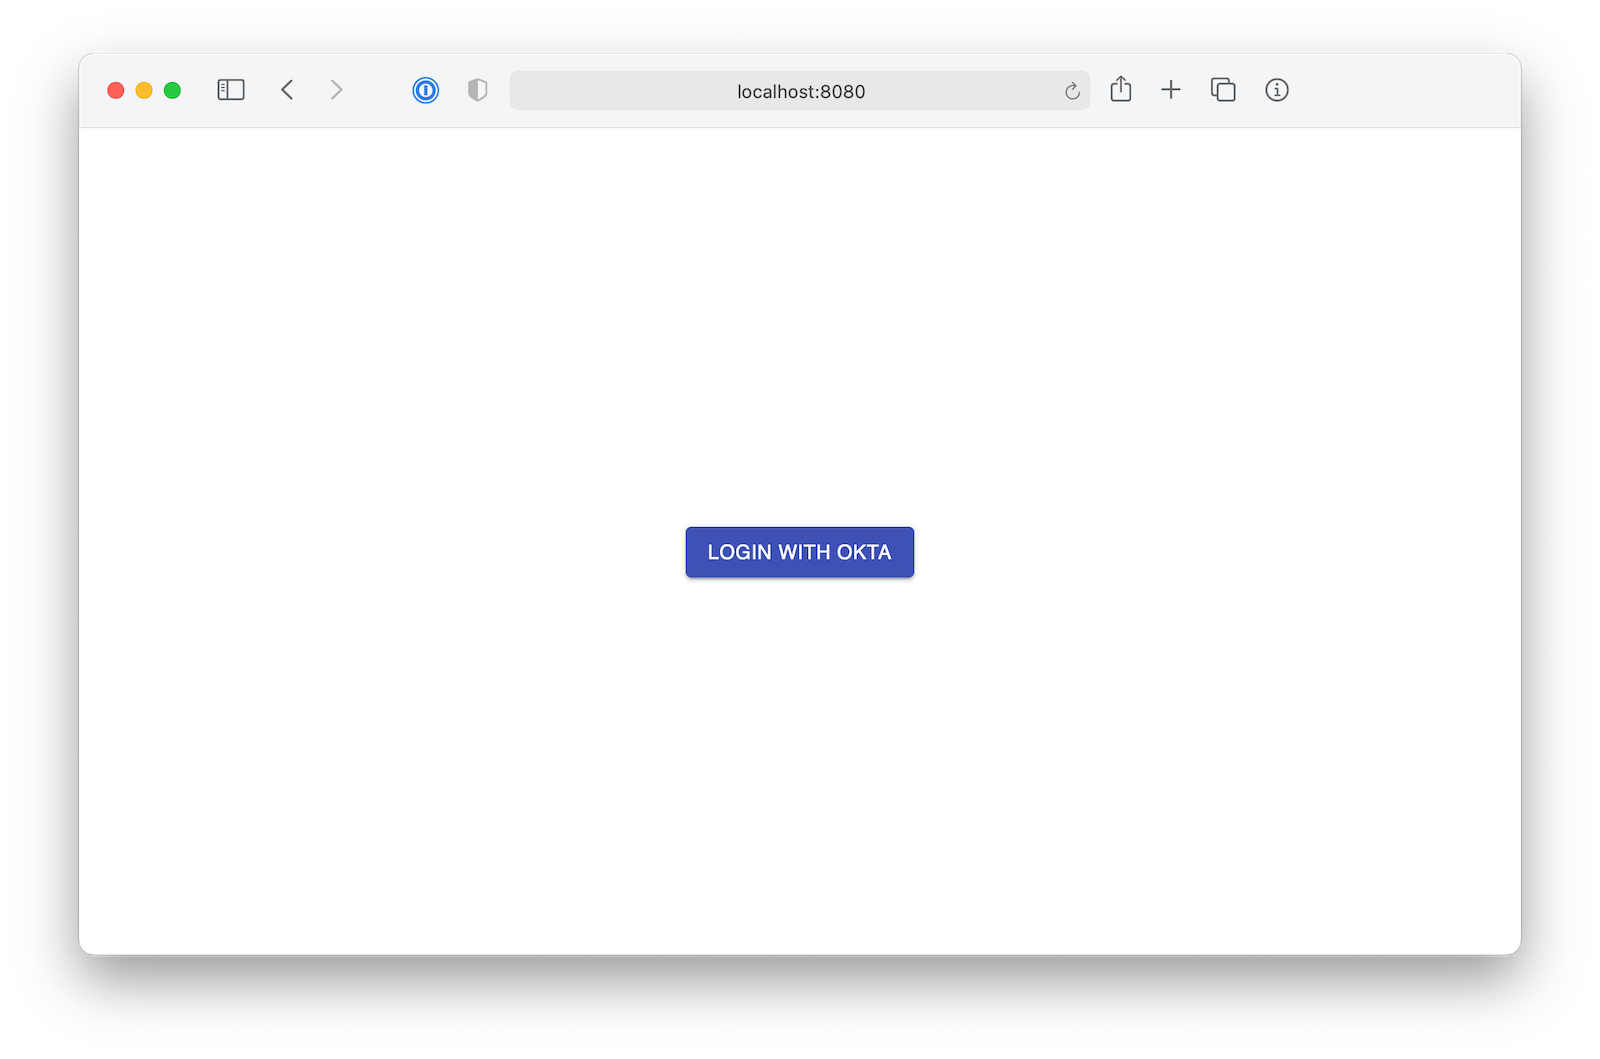
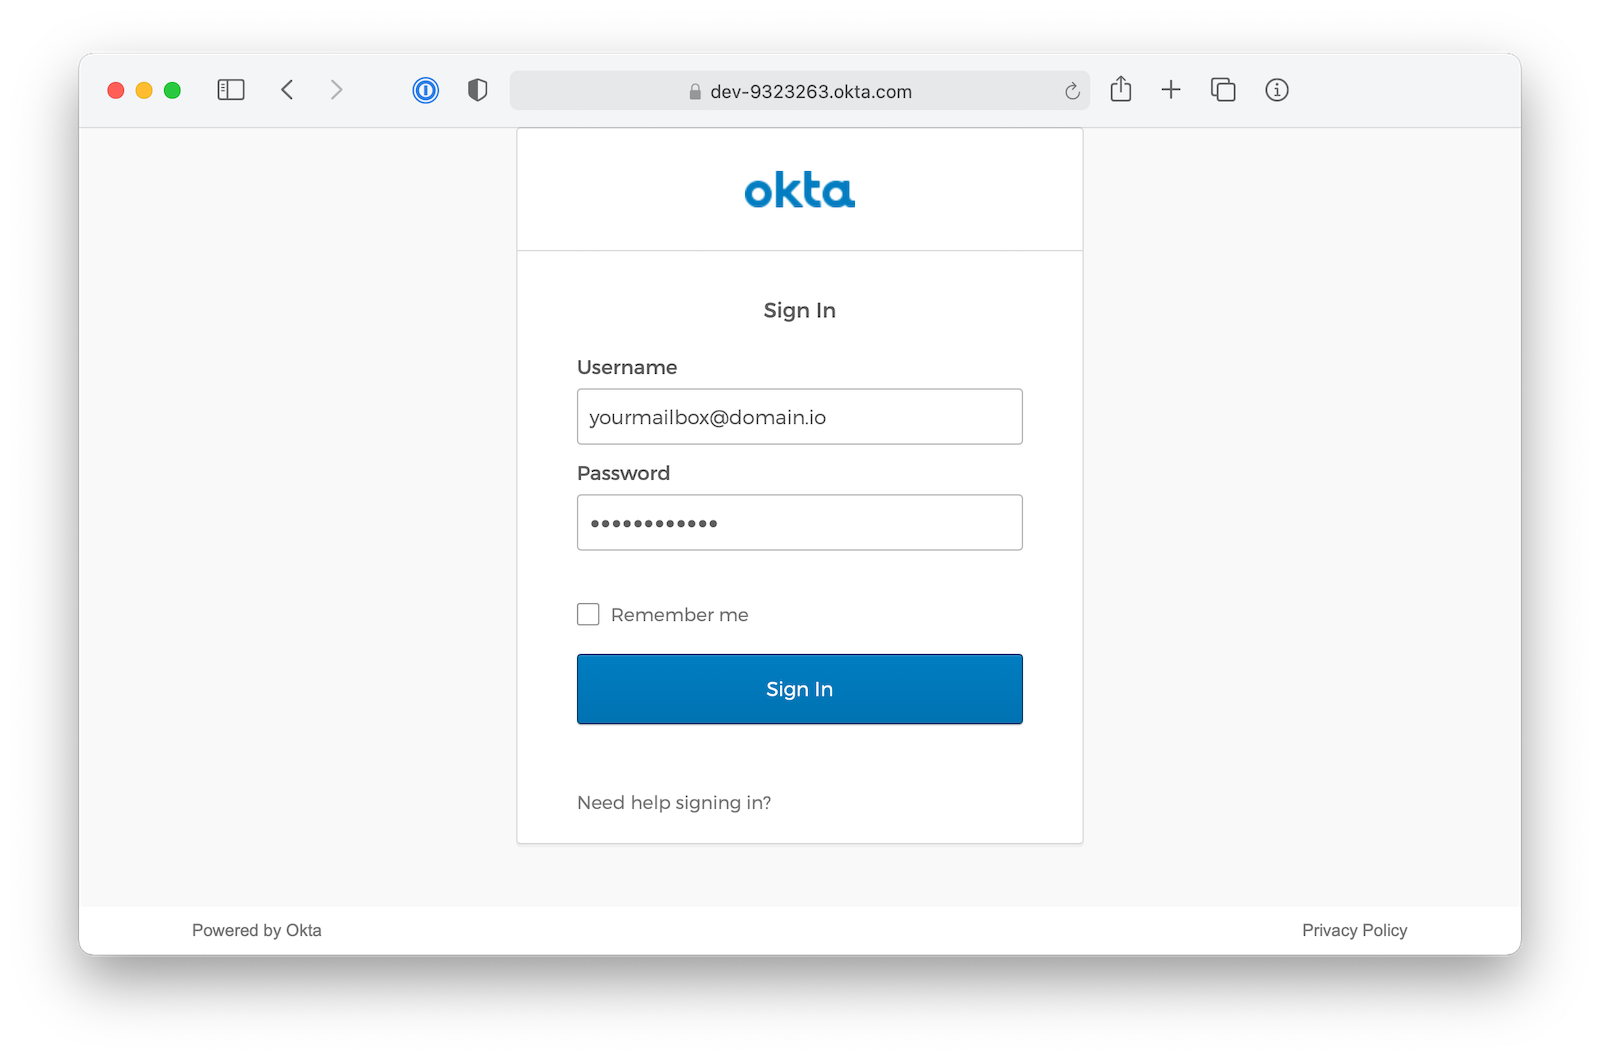
In the Login component you are using the Okta React SDK to check whether the user has signed in. If the user has already signed in, they should be redirected to the /home route, otherwise he/she could click Login With Okta to be redirected to Okta, authenticate and be sent to the home page.
For now, the home page is blank, but eventually here’s what you’ll want the home page to look like:
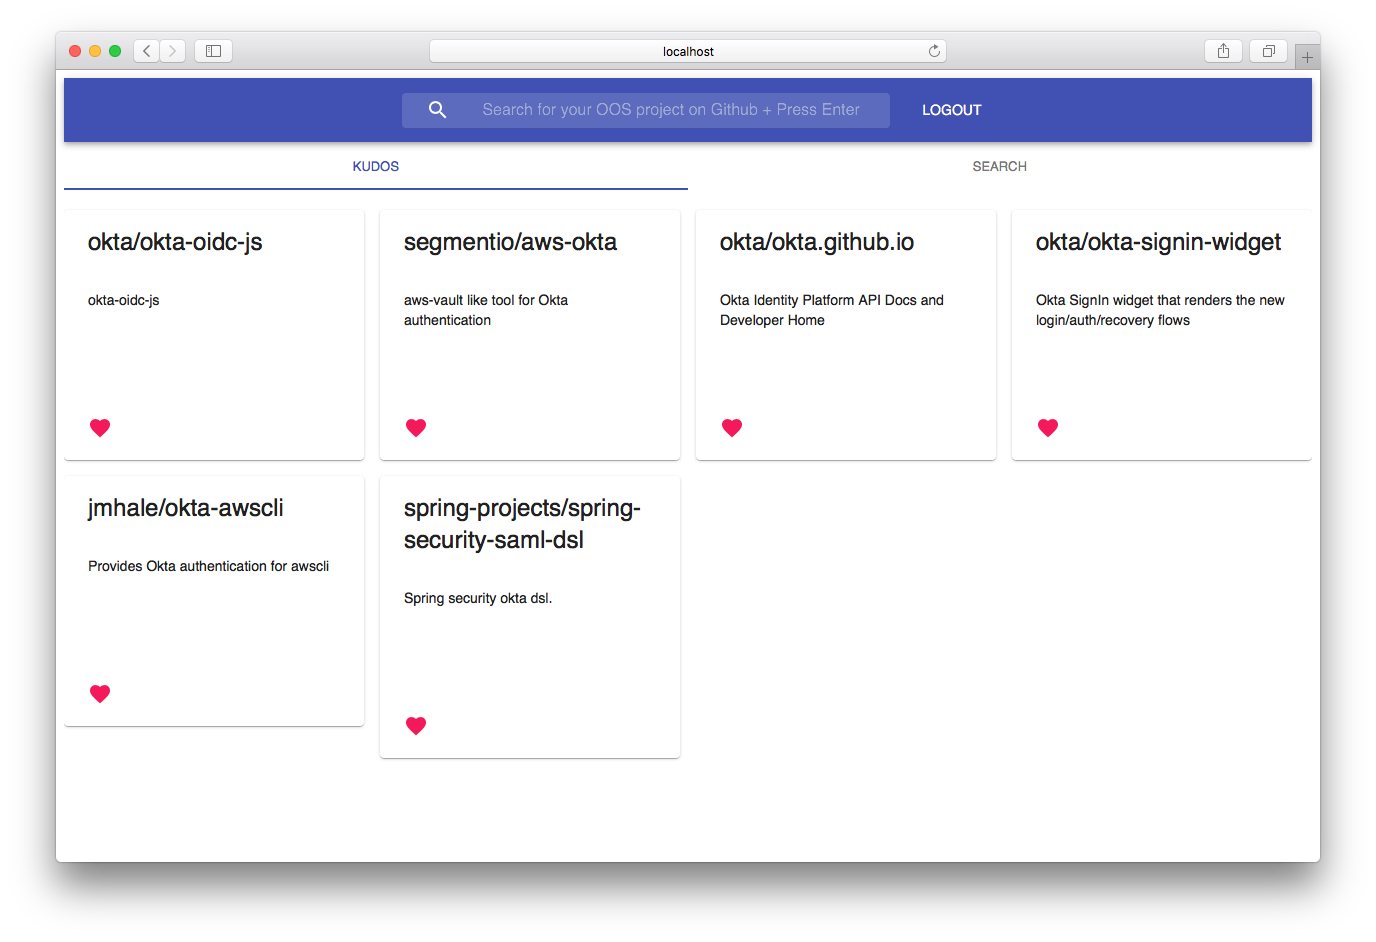
The Home component is composed of Material Design components like: Tab, AppBar,
Button, and Icon as well as a few custom components you will have to create.
For your app, you need to list all the bookmarked open source projects as well as the search results. As you can see in the image above, the Home component is using a tabs to separate bookmarked open source projects from search results, the first tab is listing all the open source projects bookmarked by the user whereas the second tab will list the search results.
You can create a component to represent an open source project in both “Kudos” and “Search Results” lists, that’s the beauty of React components they are highly flexible and reusable.
Go ahead and create a directory called GitHubRepo
mkdir -p src/GitHubRepo
Then, within that directory, create a file named index.js
touch src/GitHubRepo/index.js
And paste the following content into it:
import React from 'react';
import { withStyles } from '@material-ui/core/styles';
import Card from '@material-ui/core/Card';
import CardHeader from '@material-ui/core/CardHeader';
import CardContent from '@material-ui/core/CardContent';
import CardActions from '@material-ui/core/CardActions';
import IconButton from '@material-ui/core/IconButton';
import Typography from '@material-ui/core/Typography';
import FavoriteIcon from '@material-ui/icons/Favorite';

const styles = theme => ({
  card: {
    maxWidth: 400,
  },
  media: {
    height: 0,
    paddingTop: '56.25%', // 16:9
  },
  actions: {
    display: 'flex',
  }
});

class GitHubRepo extends React.Component {
  handleClick = (event) =>  {
    this.props.onKudo(this.props.repo)
  }

  render() {
    const { classes } = this.props;

    return (
      <Card className={classes.card}>
        <CardHeader
          title={this.props.repo.full_name}
        />
        <CardContent>
          <Typography component="p" style={{minHeight: '90px', overflow: 'scroll'}}>
            {this.props.repo.description}
          </Typography>
        </CardContent>
        <CardActions className={classes.actions} disableActionSpacing>
          <IconButton aria-label="Add to favorites" onClick={this.handleClick}>
            <FavoriteIcon color={this.props.isKudo ? "secondary" : "primary"} />
          </IconButton>
        </CardActions>
      </Card>
    );
  }
}

export default withStyles(styles)(GitHubRepo);
The GitHubRepo is a quite simple component, it receives two props: A repo object which holds a reference to a GitHub repository and an isKudo boolean flag that indicates whether the repo has been bookmarked or not.
The next component you will need is the SearchBar. It will have two responsibilities: log the user out and call React on every press of the Enter key in the search text field.
Create a directory called SearchBar
mkdir -p src/SearchBar
Then, within the directory, create a file named index.js
touch src/SearchBar/index.js
Paste the following content:
import React from 'react';
import PropTypes from 'prop-types';
import AppBar from '@material-ui/core/AppBar';
import Toolbar from '@material-ui/core/Toolbar';
import InputBase from '@material-ui/core/InputBase';
import Button from '@material-ui/core/Button';
import { fade } from '@material-ui/core/styles/colorManipulator';
import { withStyles } from '@material-ui/core/styles';
import SearchIcon from '@material-ui/icons/Search';
import { withOktaAuth } from '@okta/okta-react';

const styles = theme => ({
  root: {
    width: '100%',
  },
  MuiAppBar: {
    alignItems: 'center'
  },
  grow: {
    flexGrow: 1,
  },
  title: {
    display: 'none',
    [theme.breakpoints.up('sm')]: {
      display: 'block',
    },
  },
  search: {
    position: 'relative',
    borderRadius: theme.shape.borderRadius,
    backgroundColor: fade(theme.palette.common.white, 0.15),
    '&:hover': {
      backgroundColor: fade(theme.palette.common.white, 0.25),
    },
    marginRight: theme.spacing(2),
    marginLeft: 0,
    width: '100%',
    [theme.breakpoints.up('sm')]: {
      marginLeft: theme.spacing(3),
      width: 'auto',
    },
  },
  searchIcon: {
    width: theme.spacing(9),
    height: '100%',
    position: 'absolute',
    pointerEvents: 'none',
    display: 'flex',
    alignItems: 'center',
    justifyContent: 'center',
  },
  inputRoot: {
    color: 'inherit',
    width: '100%',
  },
  inputInput: {
    paddingTop: theme.spacing(),
    paddingRight: theme.spacing(),
    paddingBottom: theme.spacing(),
    paddingLeft: theme.spacing(10),
    transition: theme.transitions.create('width'),
    width: '100%',
    [theme.breakpoints.up('md')]: {
      width: 400,
    },
  },
  toolbar: {
    alignItems: 'center'
  }
});

class SearchBar extends React.Component {
  constructor(props) {
    super(props);
    this.logout = this.logout.bind(this);
  }

  async logout(e) {
    e.preventDefault();
    await this.props.oktaAuth.signOut();
  }

  render() {
    const { classes } = this.props;

    return (
      <div className={classes.root}>
        <AppBar position="static" style={{alignItems: 'center'}}>
          <Toolbar>
            <div className={classes.search}>
              <div className={classes.searchIcon}>
                <SearchIcon />
              </div>
              <InputBase
                placeholder="Search for your OOS project on GitHub + Press Enter"
                onKeyPress={this.props.onSearch}
                classes={{
                  root: classes.inputRoot,
                  input: classes.inputInput,
                }}
              />
            </div>
            <div className={classes.grow} />
            <Button onClick={this.logout} color="inherit">Logout</Button>
          </Toolbar>
        </AppBar>
      </div>
    );
  }
}

SearchBar.propTypes = {
  classes: PropTypes.object.isRequired,
};

export default withStyles(styles)(withOktaAuth(SearchBar));
The SearchBar component receives one prop called onSearch which is the function that should be called in each keyPress event triggered in the search text input.
The SearchBar uses the withOktaAuth helper provided by Okta React SDK which will inject the oktaAuth object in the props of the component. The oktaAuth object has a method called signOut() that will wipe out all user related data from the session. This is exactly what you want in order to log the user out.
Now it’s time to work on the Home component. One of the dependencies the component has is the react-swipeable-views library which will add nice animations when the user changes tabs.
To install react-swipeable-views, run the command:
npm i react-swipeable-views@0.13.9
You will also need to make HTTP calls to your Python ReST API as well as to the GitHub ReST API. The GitHub HTTP client will need to have a method or function to make a request to this URL: https://api.github.com/search/repositories?q=USER-QUERY. You are going to use the q query string to pass the term the user wants to query against GitHub’s repositories.
Create a file named githubClient.js.
touch src/githubClient.js
Paste the following content in it:
function getJSONRepos(query) {
  return fetch('https://api.github.com/search/repositories?q=' + query).then(response => response.json());
}

export default getJSONRepos;
Now, you need to create an HTTP client to make HTTP calls to the Python ReST API you implemented in the first section of this tutorial. Since all the requests made to your Python ReST API require the user to be authenticated, you will need to set the Authorization HTTP Header with the accessToken provided by Okta.
Go ahead and create a file named apiClient.js.
touch src/apiClient.js
And install axios to help you to perform HTTP calls to your flask API.
npm i axios@0.21.1
Then, paste the following content:
import axios from 'axios';

const BASE_URI = 'http://localhost:4433';

const client = axios.create({
 baseURL: BASE_URI,
 json: true
});

class APIClient {
  constructor(accessToken) {
    this.accessToken = accessToken;
  }

  createKudo(repo) {
    return this.perform('post', '/kudos', repo);
  }

  deleteKudo(repo) {
    return this.perform('delete', `/kudos/${repo.id}`);
  }

  getKudos() {
    return this.perform('get', '/kudos');
  }

  async perform (method, resource, data) {
    return client({
      method,
      url: resource,
      data,
      headers: {
        Authorization: `Bearer ${this.accessToken}`
      }
    }).then(resp => {
      return resp.data ? resp.data : [];
    })
  }
}

export default APIClient;
Great! Your APIClient’s method perform is adding the user’s accessToken to the Authorization HTTP header of every request, which means, it’s authenticating every request. When the server receives these HTTP requests your Okta middleware will be able to verify the token and to extract user details from it as well.
Normally, you might create separate components for getting the user’s bookmarks and for searching for github repos. For simplicity’s sake you’ll put them all in the HomeComponent.
Paste the following content in the src/Home/index.js file.
import React from 'react';
import { withStyles } from '@material-ui/core/styles';
import SwipeableViews from 'react-swipeable-views';
import Tabs from '@material-ui/core/Tabs';
import Tab from '@material-ui/core/Tab';
import Grid from '@material-ui/core/Grid';
import { withOktaAuth } from '@okta/okta-react';

import GitHubRepo from "../GitHubRepo"
import SearchBar from "../SearchBar"

import githubClient from '../githubClient'
import APIClient from '../apiClient'

const styles = theme => ({
  root: {
    flexGrow: 1,
    marginTop: 30
  },
  paper: {
    padding: theme.spacing(2),
    textAlign: 'center',
    color: theme.palette.text.secondary,
  },
});

class Home extends React.Component {
  state = {
    value: 0,
    repos: [],
    kudos: []
  };

  componentDidMount() {
    const accessToken = this.props.authState.accessToken.accessToken;
    this.apiClient = new APIClient(accessToken);
    this.apiClient.getKudos().then((data) =>
      this.setState({...this.state, kudos: data})
    );
  }

  handleTabChange = (event, value) => {
    this.setState({ value });
  };

  handleTabChangeIndex = index => {
    this.setState({ value: index });
  };

  resetRepos = repos => this.setState({ ...this.state, repos })

  isKudo = repo => this.state.kudos.find(r => r.id === repo.id)
    onKudo = (repo) => {
      this.updateBackend(repo);
  }

  updateBackend = (repo) => {
    if (this.isKudo(repo)) {
      this.apiClient.deleteKudo(repo);
    } else {
      this.apiClient.createKudo(repo);
    }
    this.updateState(repo);
  }

  updateState = (repo) => {
    if (this.isKudo(repo)) {
      this.setState({
        ...this.state,
        kudos: this.state.kudos.filter( r => r.id !== repo.id )
      })
    } else {
      this.setState({
        ...this.state,
        kudos: [repo, ...this.state.kudos]
      })
    }
  }

  onSearch = (event) => {
    const target = event.target;
    if (!target.value || target.length < 3) { return }
    if (event.which !== 13) { return }

    githubClient(target.value)
      .then((response) => {
        target.blur();
        this.setState({ ...this.state, value: 1 });
        this.resetRepos(response.items);
      })
  }

  renderRepos = (repos) => {
    if (!repos) { return [] }
    return repos.map((repo) => {
      return (
        <Grid item xs={12} md={3} key={repo.id}>
          <GitHubRepo onKudo={this.onKudo} isKudo={this.isKudo(repo)} repo={repo} />
        </Grid>
      );
    })
  }

  render() {
    return (
      <div className={styles.root}>
        <SearchBar onSearch={this.onSearch} />
        <Tabs
          value={this.state.value}
          onChange={this.handleTabChange}
          indicatorColor="primary"
          textColor="primary"
          variant="fullWidth"
        >
          <Tab label="Kudos" />
          <Tab label="Search" />
        </Tabs>

        <SwipeableViews
          axis={'x-reverse'}
          index={this.state.value}
          onChangeIndex={this.handleTabChangeIndex}
        >
          <Grid container spacing={10} style={{padding: '20px 0'}}>
            { this.renderRepos(this.state.kudos) }
          </Grid>
          <Grid container spacing={10} style={{padding: '20px 0'}}>
            { this.renderRepos(this.state.repos) }
          </Grid>
        </SwipeableViews>
      </div>
    );
  }
}

export default withStyles(styles)(withOktaAuth(Home));
Now run npm start and open http://localhost:8080 in your browser. You should be able to login, search for GitHub repos, and favorite a repo and see it in your Kudos list!
If you want to see what the finished project looks like, you can see the code on GitHub.
Learn More About Python, Flask, and React
As we’ve seen, React is a powerful and straightforward JavaScript library with phenomenal adoption and community growth. In this tutorial, you learned to build a fully-functional, secure JavaScript with React, Python, and Flask. To learn more about React and other technologies check out these other great resources from the @oktadev team:
- The Ultimate Guide to Progressive Web Applications
- Build a Simple CRUD App with Python and Flask
- Build a Basic CRUD App with Node and React
As always, if you have any questions feel free to leave us a comment below. Don’t forget to follow us Follow us on Twitter, like us on Facebook, check us out on LinkedIn, and subscribe to our YouTube channel.
Changelog:
- Apr 5, 2021: Updated to use the Okta CLI and Okta React SDK v5.1.0. See the code changes in python-flask-react-crud-example#8 and the article changes in okta-blog#686.
- Nov 2, 2020: Updated to use Flask-OIDC and React 17. See the code changes in python-flask-react-crud-example#4 and the article changes in okta-blog#458.
Okta Developer Blog Comment Policy
We welcome relevant and respectful comments. Off-topic comments may be removed.