Simple Multi-Factor Authentication in Node
If you’re building a web application, chances are you’re going to want to serve different content depending on the user. Authenticating users can be complex for many reasons. The most straightforward route is to allow users to sign in with a username and password. The problem with this is, no matter how strongly you hash passwords, there’s no stopping someone from guessing that your user’s password is hunter2, letmein, or correct horse battery staple.
Maybe you implement some requirements so that your users must have uppercase and lowercase characters, a number, a special character, and at least ten characters total. Still, you can’t keep them from writing their password down on a sticky note next to their computer. What happens when they reuse the same username and password on every site, and one of those sites has a database leak? Or perhaps they access your site from a public computer with a password manager, and now their secure password is there for the next person to use.
This is where multi-factor authentication (MFA) comes into play. By adding an extra level of security, even if someone manages to phish your user’s login information, they still won’t be able to sign in without access to another device such as their mobile phone or a U2F key. You might be thinking, managing passwords is hard enough; securely keeping track of various devices will be a nightmare.
To simplify, we will use Okta to add basic authentication and MFA. Before we dive in, I’d like to give you a quick overview of what Okta does and how it can simplify the development process while ensuring best-in-class security for both you and your users.
Note: In May 2025, the Okta Integrator Free Plan replaced Okta Developer Edition Accounts, and the Okta CLI was deprecated.
We preserved this post for reference, but the instructions no longer work exactly as written. Replace the Okta CLI commands by manually configuring Okta following the instructions in our Developer Documentation.
What is Okta?
Okta is a cloud service that allows developers to create, edit, and securely store user accounts and user account data and connect them with multiple applications. Our API enables you to:
- Authenticate and authorize your users
- Store data about your users
- Perform password-based and social login
- Secure your application with multi-factor authentication
- And much more! Check out our product documentation
In short: we make user account management a lot easier, more secure, and more scalable than what you’re probably used to. It’s super easy to register for a free developer account, and when you’re done, come on back so we can learn more about building secure authentication in Node and implementing MFA with Okta.
Prerequisites
This tutorial uses the following technologies but doesn’t require any prior experience:
Set Up the Express Application
You can get a quick boilerplate web app up and running using the Express Generator.
npm install -g express-generator
express --git simple-multifactor-auth
cd simple-multifactor-auth
npm install
git init && git add . && git commit -m 'initial commit'
PORT=8080 npm start
This installs the generator globally as a command line tool and creates a new application in a directory called simple-multifactor-auth. The --git flag creates a .gitignore file with some defaults.
Inside the new directory, npm install adds all the dependencies needed for the application, and npm start runs the app. The git commands save the current state so that it’s easier to track changes you make going forward.
The last command, npm start, starts the application. You can now go to http://localhost:8080 to see a very simple welcome page. You can use ctrl-c at any time to stop the Node app and return to the terminal.
Create an Okta Application to Support Adding Multi-Factor Authentication to Your Node App
In order to add authentication, your app will need a few configuration variables. To keep these private, store them in a file named .env in the root of your project. The .gitignore file created earlier already says to ignore this file from git, so these won’t end up in source control (this is especially important on an open source project where you wouldn’t want people to have full access to your configuration settings).
One thing you will need in your .env file is an application secret, which should be random. One way to do this is with the following commands:
npm install -g uuid-cli
echo "APP_SECRET=`uuid`" >> .env
Before you begin, you’ll need a free Okta developer account. Install the Okta CLI and run okta register to sign up for a new account. If you already have an account, run okta login.
Then, run okta apps create. Select the default app name, or change it as you see fit.
Choose Web and press Enter.
Select Other.
Then, change the Redirect URI to http://localhost:8080/authorization-code/callback and use http://localhost:8080/ for the Logout Redirect URI.
What does the Okta CLI do?
The Okta CLI will create an OIDC Web App in your Okta Org. It will add the redirect URIs you specified and grant access to the Everyone group. You will see output like the following when it’s finished:
Okta application configuration has been written to: /path/to/app/.okta.env
Run cat .okta.env (or type .okta.env on Windows) to see the issuer and credentials for your app.
export OKTA_OAUTH2_ISSUER="https://dev-133337.okta.com/oauth2/default"
export OKTA_OAUTH2_CLIENT_ID="0oab8eb55Kb9jdMIr5d6"
export OKTA_OAUTH2_CLIENT_SECRET="NEVER-SHOW-SECRETS"
Your Okta domain is the first part of your issuer, before /oauth2/default.
NOTE: You can also use the Okta Admin Console to create your app. See Create a Web App for more information.
Once you create the application, you will get OKTA_OAUTH2_ISSUER, OKTA_OAUTH2_CLIENT_ID, and OKTA_OAUTH2_CLIENT_SECRET. Update these in your .env file.
Your .env file should now look something like this:
APP_SECRET=super-secret-string
OKTA_OAUTH2_ISSUER=your-issuer-url
HOST_URL=http://localhost:8080
OKTA_OAUTH2_CLIENT_ID=your-client-id
OKTA_OAUTH2_CLIENT_SECRET=your-client-secret
Keeping these variables in a separate file that is ignored by git keeps them private. It also makes it easy to deploy the same code to different environments (for example, development, staging, and production) by swapping out one file.
Add a Protected Dashboard to Support MFA in Your Node Application
Your application is currently public, which is great for the homepage. To add a protected route for after your users log in, you can create a couple new files:
views/dashboard.jade
extends layout
block content
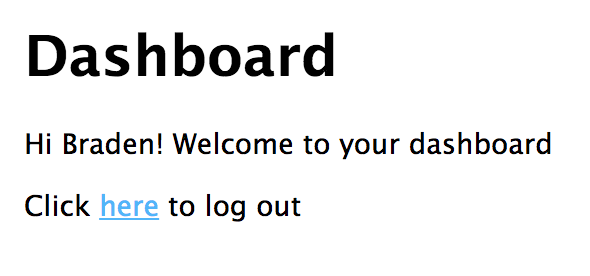
h1 Dashboard
p Hi #{given_name}! Welcome to your dashboard
p Click #[a(href="/logout") here] to log out
routes/dashboard.js
const express = require('express')
const router = express.Router()

router.get('/', (req, res) => {
  res.render('dashboard', req.userinfo)
})

module.exports = router;
At the time of this writing, Express Generator uses the Jade templating engine (which is now called Pug) by default. When you call res.render you pass in the template’s name and the context. In this example, the context is req.userinfo, which contains information about the user. That lets you access data like given_name inside the template.
You’ll also need to add a link to the dashboard on the homepage.
views/index.jade
p Click #[a(href="/dashboard") here] to view your dashboard
The place where all this ties together is in app.js. You need to add /dashboard and /logout routes to the Express app, and you also need to tell the app to use Okta’s OpenID Connect middleware.
app.js
// This code should come after the following line:
// var app = express()

const session = require('express-session')
app.use(session({
  secret: process.env.APP_SECRET,
  resave: true,
  saveUninitialized: false,
}))

const { ExpressOIDC } = require('@okta/oidc-middleware')
const oidc = new ExpressOIDC({
  issuer: `${process.env.OKTA_OAUTH2_ISSUER}`,
  client_id: process.env.OKTA_OAUTH2_CLIENT_ID,
  client_secret: process.env.OKTA_OAUTH2_CLIENT_SECRET,
  appBaseUrl: `${process.env.HOST_URL}`,
  scope: 'openid profile',
})
app.use(oidc.router)

const dashboardRouter = require('./routes/dashboard')
app.use('/dashboard', oidc.ensureAuthenticated(), dashboardRouter)
app.use('/logout', (req, res) => {
  req.logout()
  res.redirect('/')
})
You also need Node to read the .env file to access the environment variables. You can do this by using a module called dotenv. It needs to be the first thing in the code, so it should go at the top of bin/www, which is the entry point to the app. Just make sure it goes below the shebang (#!/usr/bin/env node).
bin/www
require('dotenv').config()
Now that you’ve added the necessary code, you need to add the new dependencies and start the app again.
npm install @okta/oidc-middleware@4 express-session@1 dotenv@10
PORT=8080 npm start
Test that the app works by visiting the dashboard. If you notice it takes you there without asking for your credentials, it could be because you’re already logged into your Okta Org. Try again in Incognito Mode (or your favorite browser’s equivalent), and you’ll see that it asks you to log in to Okta when you click the dashboard link. You will be redirected to the dashboard as soon as you log in.
Add Multi-Factor Authentication to Your Node Application
The real bread-and-butter behind this tutorial is adding MFA. It turns out Okta makes this extremely simple as well! Since you have your Okta Developer account already set up and hooked into a Node app, you don’t even need to change any of your code around. From this point on, it’s just a matter of changing some configuration settings inside Okta.
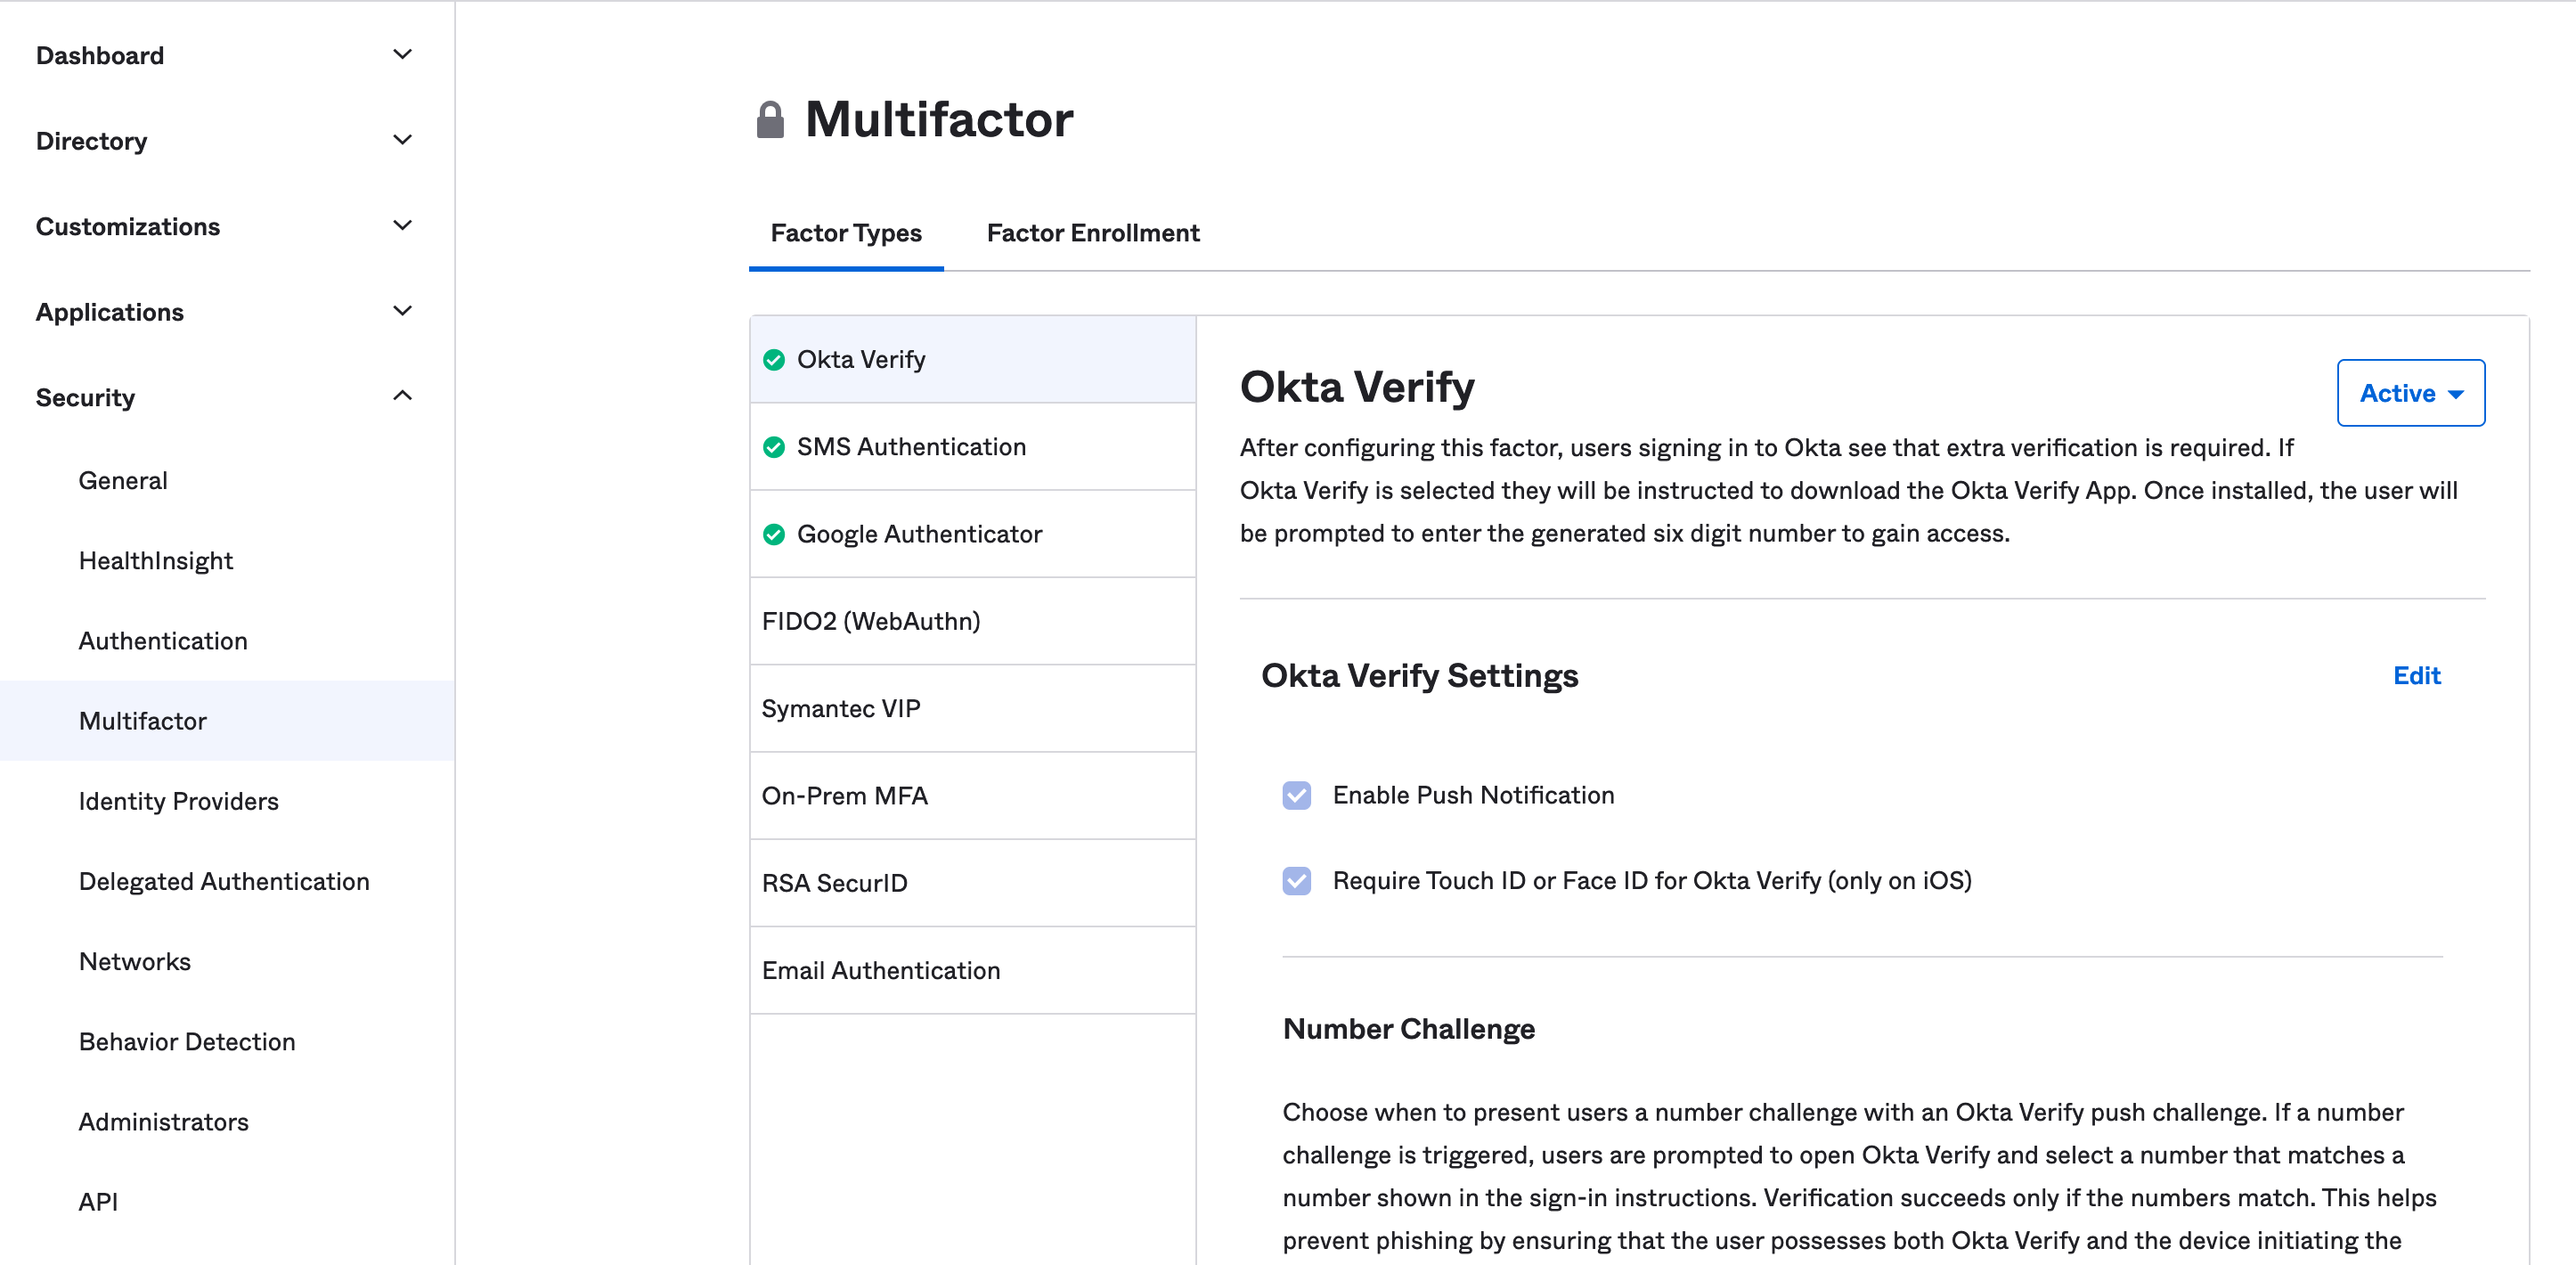
From inside your Okta Org’s Admin Console click on the Security tab, then click Multifactor to select some factor types to enable. You can choose which applications will use MFA, but this step is required to enable it on any of them. There are quite a few options, but for now activate Okta Verify, Google Authenticator, and SMS Authentication.
Go to your application settings by clicking on the Applications tab and then clicking on the application you want to have MFA. Now, click on the Sign On tab to view your policy settings. You’ll notice under Sign On Policy that you have a single rule called Default sign on rule that you cannot edit. This is the rule that allows users to sign in to the app.
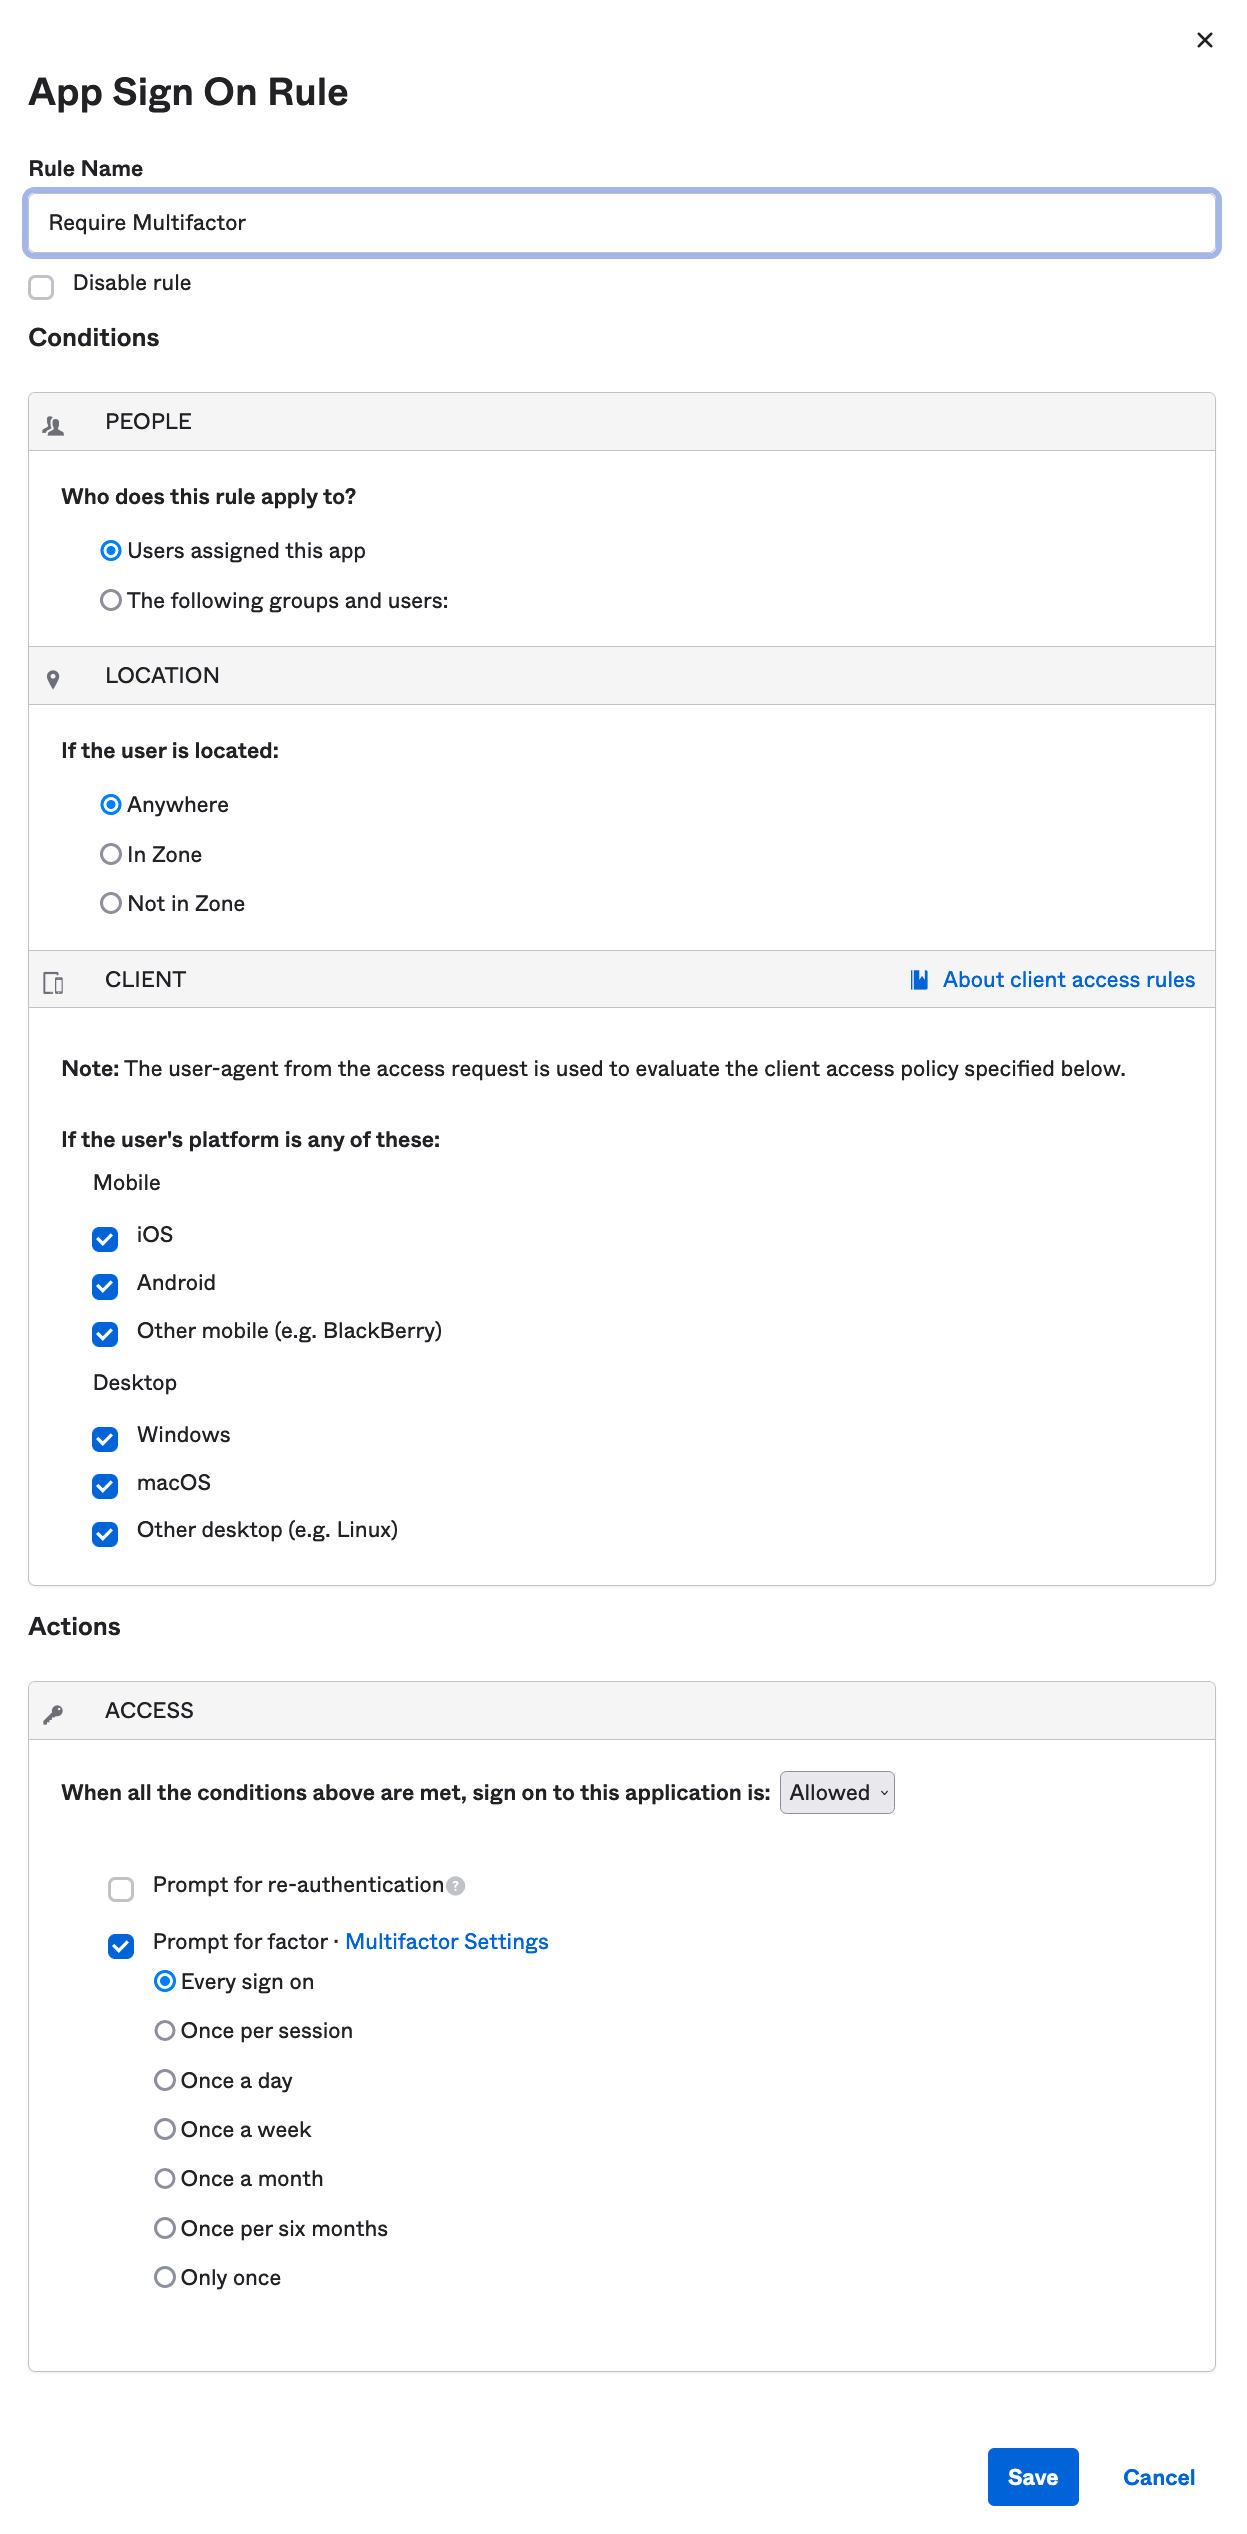
Click on Add Rule to create a new rule. You have a lot of flexibility here. For example, you can define zones where users have to re-enter their password every 20 minutes, groups of users that are denied access, or make multifactor authentication required once a week. For now, create a rule that applies to all users of the app in any location. Give it a useful name like Require Multifactor, then check the box for Prompt for factor, select Every sign on, and click on the Save button.
Head back to your Node app running at http://localhost:8080 and sign in. This time you’ll be prompted to sign up for a form of Multifactor Authentication. By default, all the allowed forms are optional, so you can choose which of the three you want to use. If you want to change which ones are required and optional, you can do this back in Security → Multifactor under the Factor Enrollment tab. Like the sign-on policies, you also can set different rules for different groups of users.
Learn More About Node and Secure Multi-Factor Authentication with Okta
Securing your application doesn’t need to be scary. You can add robust user sign-on with multi-factor authentication in a single afternoon without breaking a sweat! Your users can rest assured that their data is in good hands.
If you’d like to learn more about Node, Okta, and authentication or MFA, take a look at these resources, as well as the rest of the Okta developer blog:
- More detail about the different factor types
- Okta Multi-Factor Authentication Use Cases
- Multi-factor Authentication: Because Phishing Happens
- Two-Factor Authentication vs. Multi-Factor Authentication: What Are the Risks?
- Build User Registration with Node, React, and Okta
- Okta OIDC Middleware Documentation
And as always, we’d love your feedback! Hit us up in the comments below, or on Twitter @oktadev.
Changelog:
- Jan 5, 2022: Updated dependencies, code, and screenshots. See this post’s changes in okta-blog#1017.
Okta Developer Blog Comment Policy
We welcome relevant and respectful comments. Off-topic comments may be removed.