User Authorization in ASP.NET Core with Okta
Authorization is the oft-forgotten piece of identity and access management. The fact is, almost every app needs more than just “are they signed in?” for authorization. Most times, you need to not only know who “they” are, but what access they are supposed to have. For instance, “are they in the administrator group?” or “are they in a group with some special privileges?” Today, you’ll learn how to do this with Okta in an ASP.NET Core MVC application.
In the Okta world, users are separated into Groups. By default however, ASP.NET only has handling for the Authorize attribute to handle authorization using Roles. There are a couple of ways you could go about handling authorization using the Groups that come from Okta:
- You can write your own custom
AuthorizeAttributeand have it looks at groups instead of roles. - You can map the
GroupstoRolesclaims and let the regular ASP.NETAuthorizeAttributehandle authorization
This second approach is far easier to implement, so that’s the approach this article will take.
Start by cloning the application at https://github.com/oktadeveloper/aspnetcore-oidc-okta-example. This is the base application with authentication covered in my previous post. You’ll add authorization to this application.
Note: In May 2025, the Okta Integrator Free Plan replaced Okta Developer Edition Accounts, and the Okta CLI was deprecated.
We preserved this post for reference, but the instructions no longer work exactly as written. Replace the Okta CLI commands by manually configuring Okta following the instructions in our Developer Documentation.
Let ASP.NET Know Where Your Roles Are
In the startup.cs file, where the OpenIdConfigurationOptions are set, one of the items being set is the TokenValidationParameters. In the new TokenValidationParameters add a property called RoleClaimType with a value of ClaimTypes.Role. This is an enumeration in the System.Security.Claims namespace that holds the URL that describes the “role” claim type. Ultimately, your TokenValidationParameters property should look like this.
TokenValidationParameters = new TokenValidationParameters
{
  ValidateIssuer = true,
  RoleClaimType = ClaimTypes.Role
}
Add a Claims Transformer
The Claims Tranformer is a way to manipulate the ClaimsPrincipal, which is the main user in your ASP.NET application, once the user is authenticated.
Add a folder inside the Domain folder called Authorization. Then add a class called GroupsToRolesTransformer. The contents of the transformer should be:
using System.Linq;
using System.Security.Claims;
using System.Threading.Tasks;
using Microsoft.AspNetCore.Authentication;
using Okta.Sdk;
using Okta.Sdk.Configuration;

namespace AspnetOkta.Domain.Authorization
{
  public class GroupsToRolesTransformer : IClaimsTransformer
  {
    private OktaClient client;

    public GroupsToRolesTransformer()
    {
        client = new OktaClient(new OktaClientConfiguration{
            OrgUrl = "https://{yourOktaDomain}",
            Token = "JiBBerJabbER"
        });
    }

    public async Task<ClaimsPrincipal> TransformAsync(ClaimsTransformationContext context)
    {
      var idClaim = context.Principal.FindFirst(x=>x.Type == ClaimTypes.NameIdentifier);
      if(idClaim != null)
      {
          var user = await client.Users.GetUserAsync(idClaim.Value);
          if(user != null){
            var groups = user.Groups.ToEnumerable();
            foreach (var group in groups)
            {
                ((ClaimsIdentity)context.Principal.Identity).AddClaim(new Claim(ClaimTypes.Role, group.Profile.Name));
            }
          }
      }
      return context.Principal;
    }
  }
}
As you can see here, in the constructor, you are creating an OktaClient object to be stored in a class-level variable called client. You’ll need your org URL from Okta and an API token which you can get from the Okta Developer Dashboard under API > Tokens.
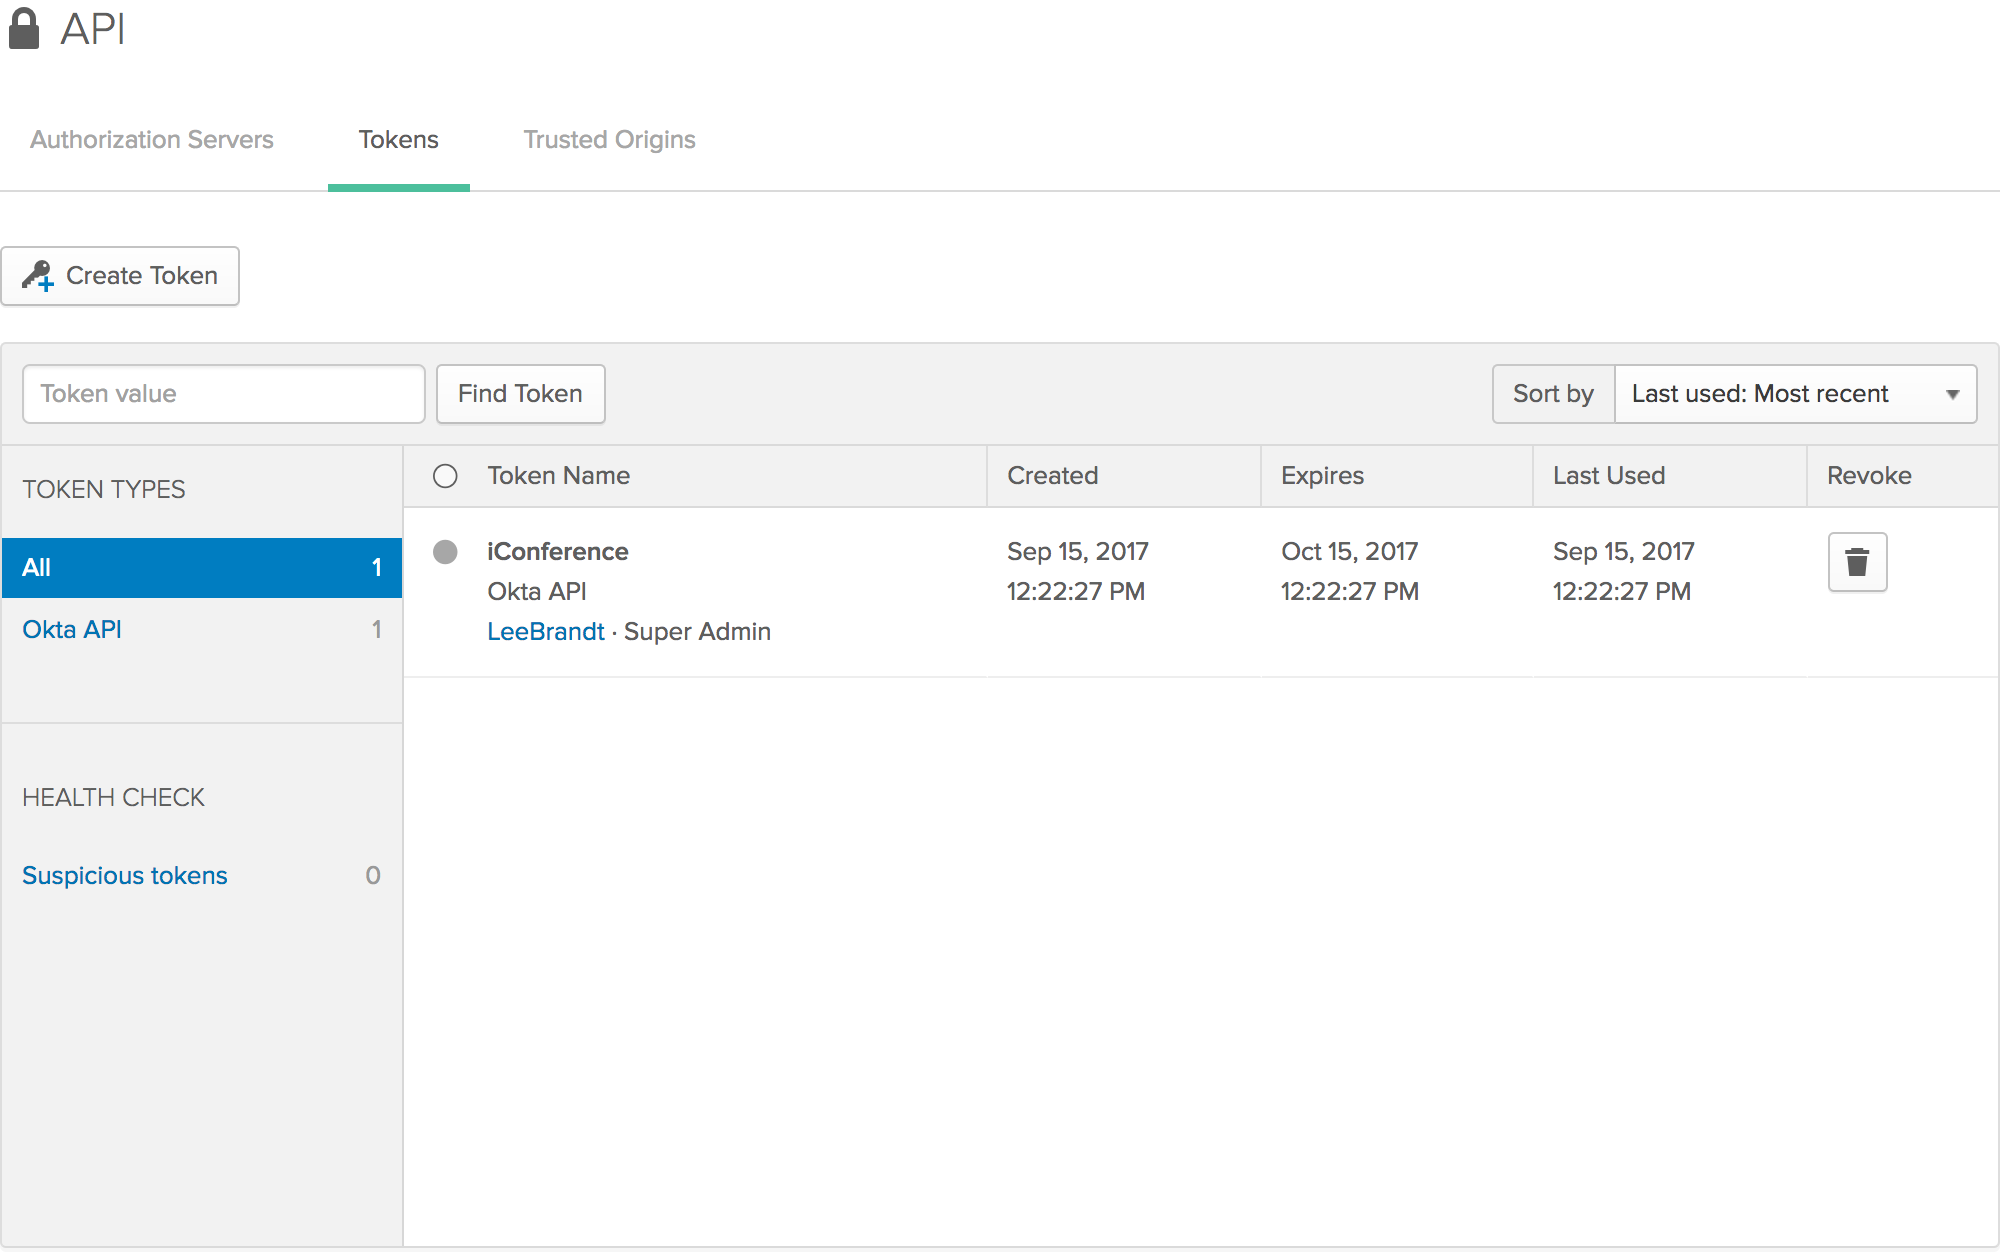
Be aware that you only get to see the API token when you create it, so make sure you save it somewhere so you can reference it later.
Once you’ve created a transformer, it will implement the IClaimsTransformer interface. There is only one method you’ll need to worry about, and that’s the TransformAsync method. It takes a ClaimsTransformationContext and returns a Task with a ClaimsPrincipal in it.
Note that if you use the key shortcuts to get Visual Studio (or Visual Studio Code) to implement the interface for you, it will not add the public or async keywords to the signature. You’ll have to add them manually.
In this method, you’ll get the currently authenticated user’s NameIdentifier property. This is the ID you’ll use to get the Okta user so that you can get their groups. Just a quick null check for the idClaim variable and then go and get the Groups from the user object. From there, simply loop through the Groups and add a Claim using the ClaimTypes.Role enumeration and using the group.Profile.Name for the value of the claim.
Return the context.Principal no matter what. If you didn’t find the user’s identifier, or get a user back from the GetUserAsync call, at least the application will still get the ClaimsPrincipal back into the flow of the application.
Tell the Application to Use Your Transformer
The only thing left is to configure your application to use the new transformer in your middleware pipeline.
Right below the OIDC setup in the Configure method of your startup.cs file, add the following code:
app.UseClaimsTransformation(new ClaimsTransformationOptions{
  Transformer = new GroupsToRolesTransformer()
});
This tells the application that you want to transform the claims and which claims transformer you want to use.
Prove that it Works
You’ll need to set up two users in two different groups in your Okta Developer Dashboard, call one group “Admin” and the other “Enthusiast”.
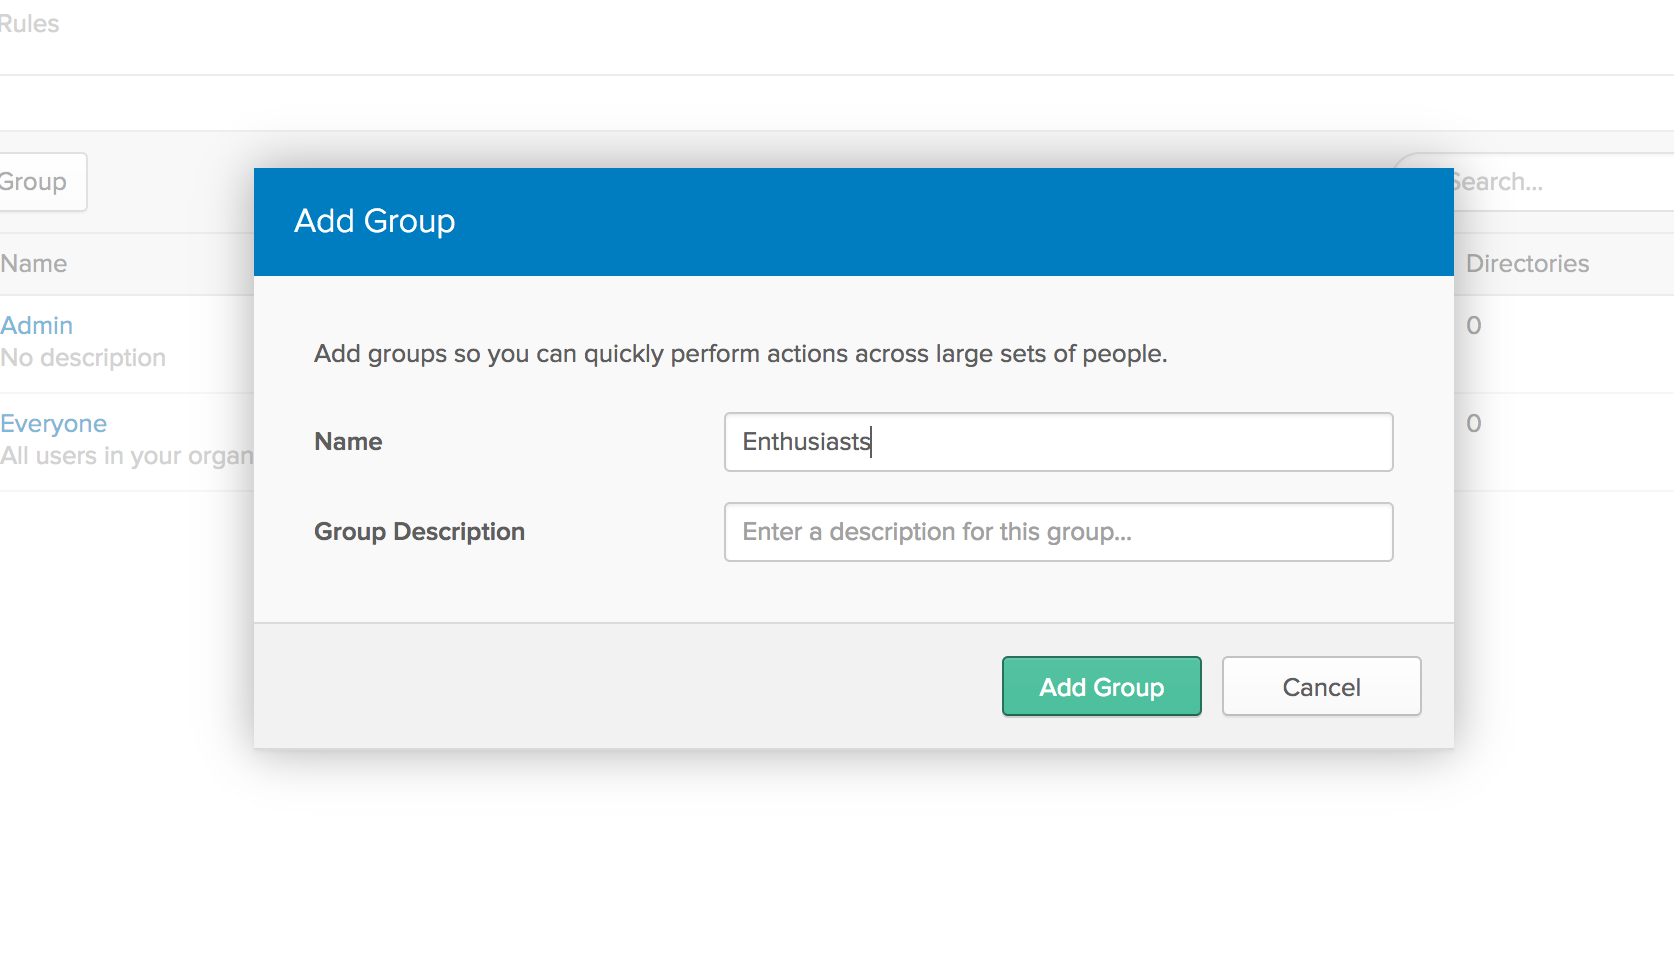
Make sure the groups are assigned to your application:

Then create some routes in the UserController decorated with the AuthorizeAttribute.
  [Authorize(Roles = "Admin")]
  public IActionResult AdminOnly()
  {
    return View();
  }

  [Authorize(Roles = "Enthusiast")]
  public IActionResult EnthusiastOnly()
  {
    return View();
  }
Then create matching views for those routes.
AdminOnly.cshtml
<h1>Admin Dashboard</h1>
EnthusiastOnly.cshtml
<h1>Enthusiast Dashboard</h1>
Now you should be able to run your application, log in as a user in the “Admin” group, and go to the http://localhost:5000/User/AdminOnly route successfully. The EnthusiastOnly route should return an unauthorized error.
Log back out and log in as a member of the “Enthusiast” group and go to the http://localhost:5000/User/EnthusiastOnly URL, and you should be able to get to it.
Congratulations! You just added authorization to you .NET application! Not only can users get into your application, but you can make sure they have access to the data and functionality they need!
Learn More
You can learn more about the .NET Claims Tranformer at https://docs.microsoft.com/en-us/aspnet/core/api/microsoft.aspnetcore.authentication.claimstransformer and the broader spectrum of security in .NET at https://docs.microsoft.com/en-us/aspnet/core/security/.
And don’t forget, Okta can help you make user management simple! Sign up for a free forever developer account at https://developer.okta.com! As always, if you have questions about anything here, feel free to reach out on Twitter https://twitter.com/leebrandt or email me at lee.brandt@okta.com.
Okta Developer Blog Comment Policy
We welcome relevant and respectful comments. Off-topic comments may be removed.