OpenID Connect for User Authentication in ASP.NET Core
In the age of the “personalized web experience”, authentication and user management is a given, and it’s easier than ever to tap into third-party authentication providers like Facebook, Twitter, and Google. And it’s not just the wild, wild web that needs it. Businesses need ways to secure their APIs, and identify users logged into their apps.
OpenID Connect is a protocol for authenticating users. It is a specification by the OpenID Foundation describing the best way for the authentication “handshake” to happen. It lays out what an Identity Provider needs to provide in order to be considered “OpenID Connect Certified” which makes it easier than ever to consume authentication as a service.
Why Not Use OAuth 2.0?
First, OAuth 2.0 is NOT an authentication protocol. I know what you’re thinking: “What?!!?” But it’s not. It is an delegated authorization framework, which many modern authentication protocols are built on.
Second, while OAuth 2.0 does a great job of providing the necessary information for consumers to make authorization decisions, it says nothing about how that information will be exchanged securely. This has led to every authentication provider having their own way of exchanging the OAuth 2.0 information, which has led to a few well-publicized hacks. OpenID Connect fixes these problems by providing an authentication protocol that describes exactly how the exchange of authorization information happens between a subscriber and their provider.
So let’s see how this works.
Nothing Up My Sleeve
You’ll be using Visual Studio Code and the command line. You can also use Visual Studio, but Visual Studio Code is cross-platform and lightweight, so it won’t matter what operating system you are using.
First, get the dotnet command-line program. Once you have the dotnet-cli installed, run the dotnet new mvc --auth None command. This will create a new MVC application without the built-in authentication. You’re going to do that yourself.
In just a few seconds you’ll have a simple ASP.NET Core app ready to go. You may need to run a dotnet restore command to install the dependencies for the base application.
Add an Identity Provider
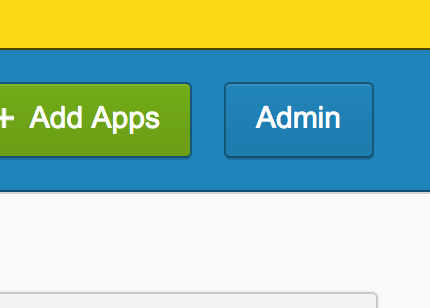
Now you need an Identity Provider. For this tutorial you’ll use Okta. Once you’ve created an account and logged in, click Admin on the top menu.
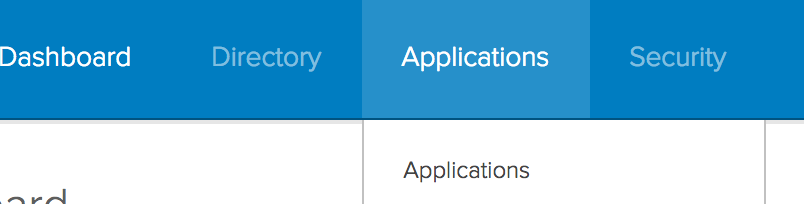
Then choose the Applications menu item from the admin dashboard.
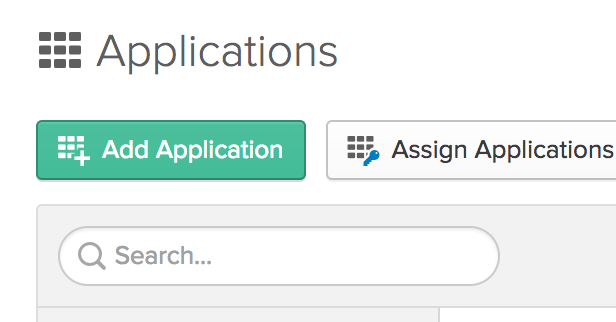
From the Applications page, click the Add Application button.
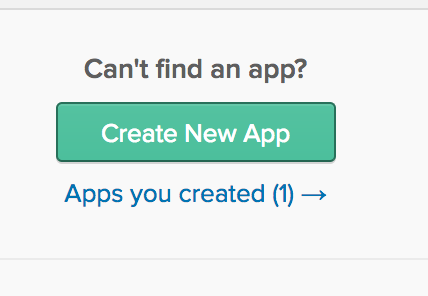
On the Add Application page, click on the Create New Application button.
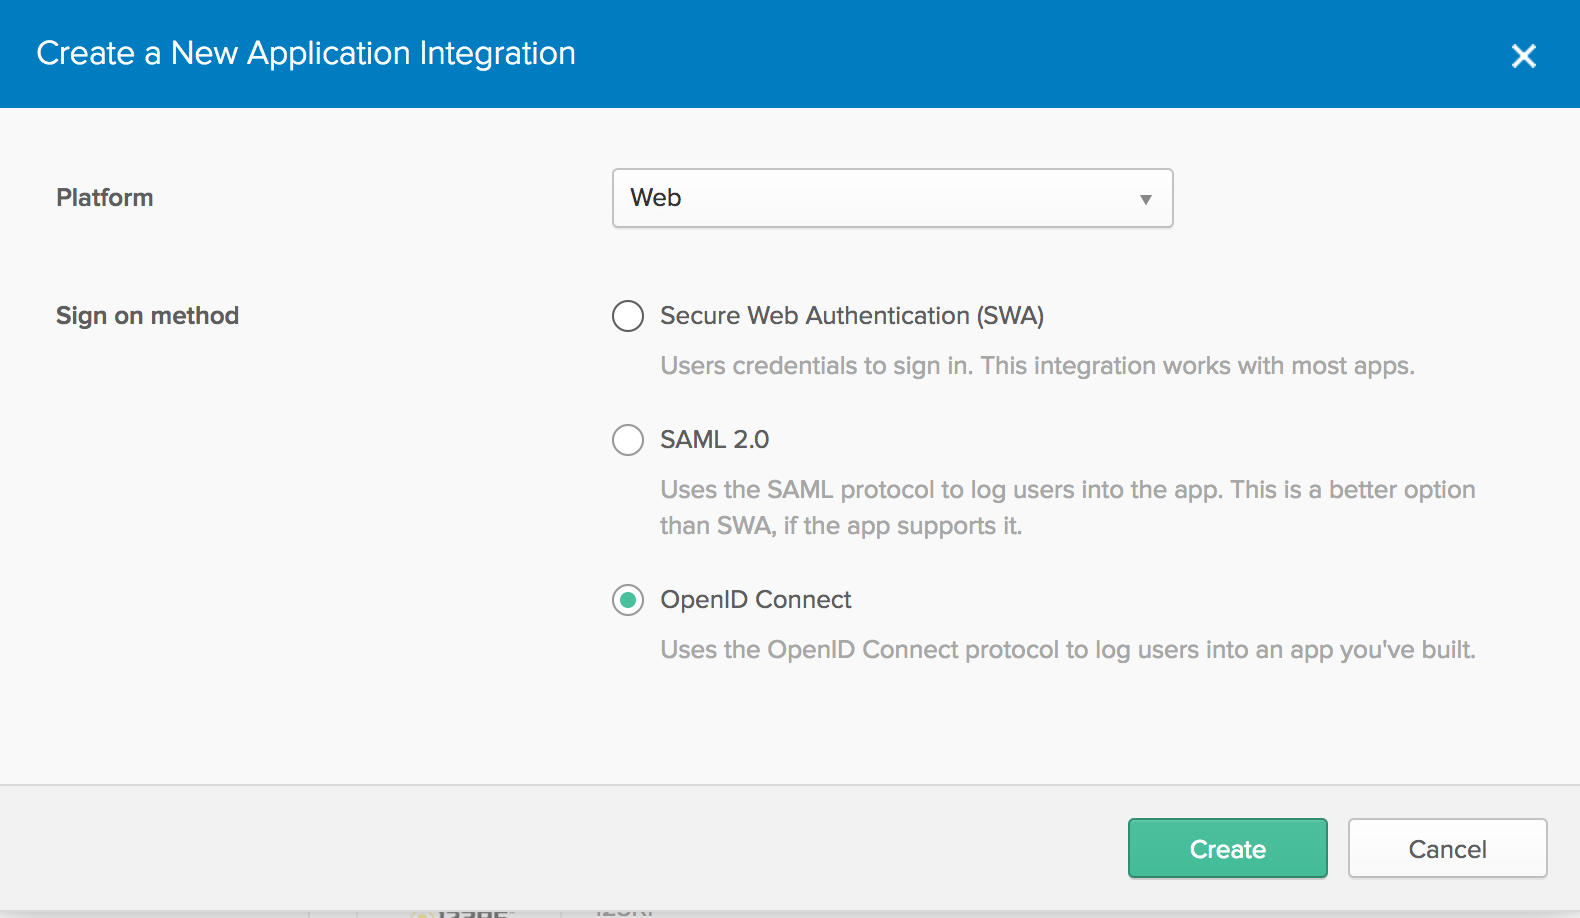
When the New Application Integration window pops up, set up the new application. We’ll choose Web from the Platform dropdown, and OpenID Connect from the Sign On Method.
Once you’ve created the application, choose it from the list of applications. In the General Settings tab, click the Edit button and make sure to add http://localhost:5000/signin-oidc to the Redirect URIs.
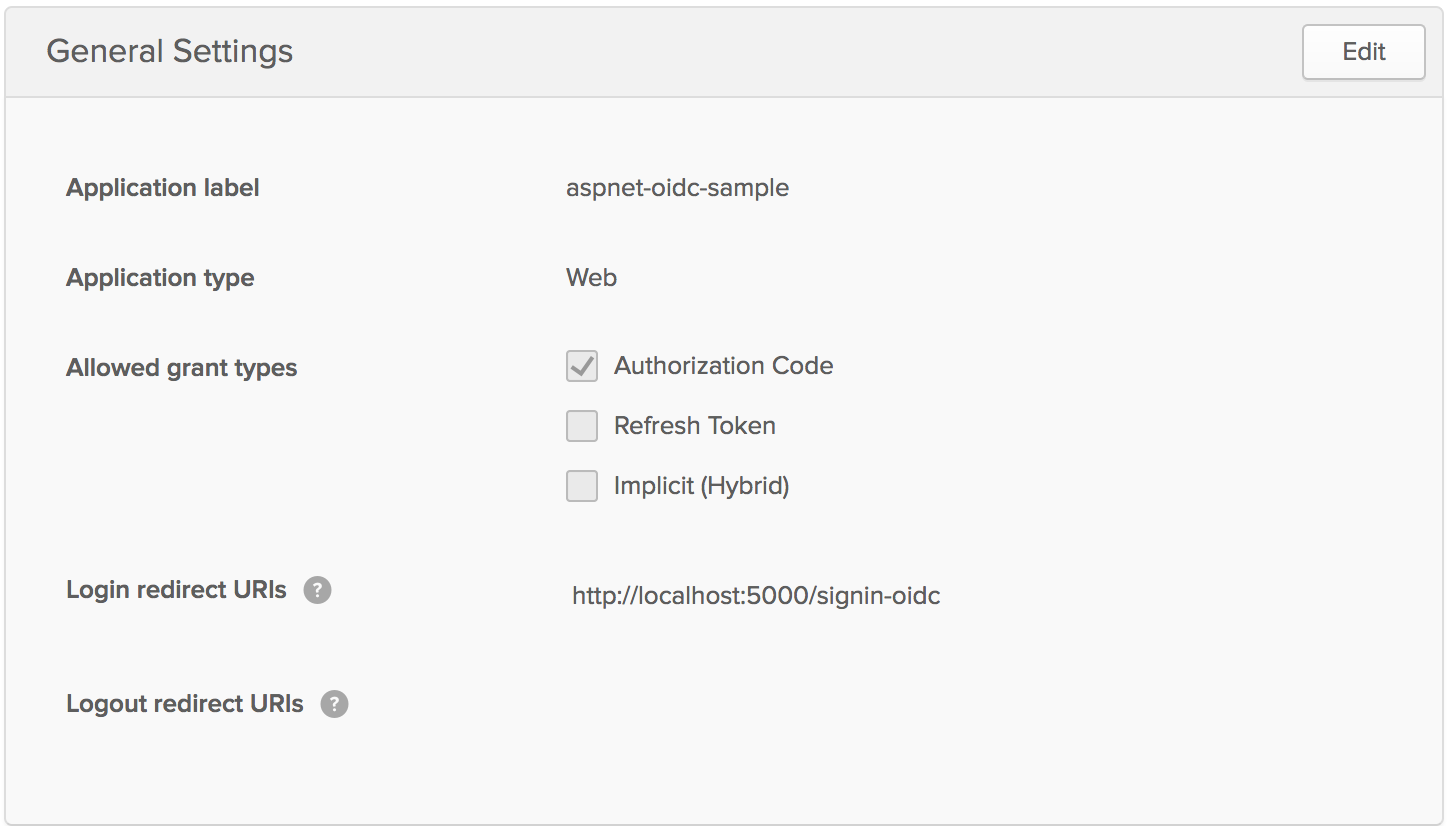
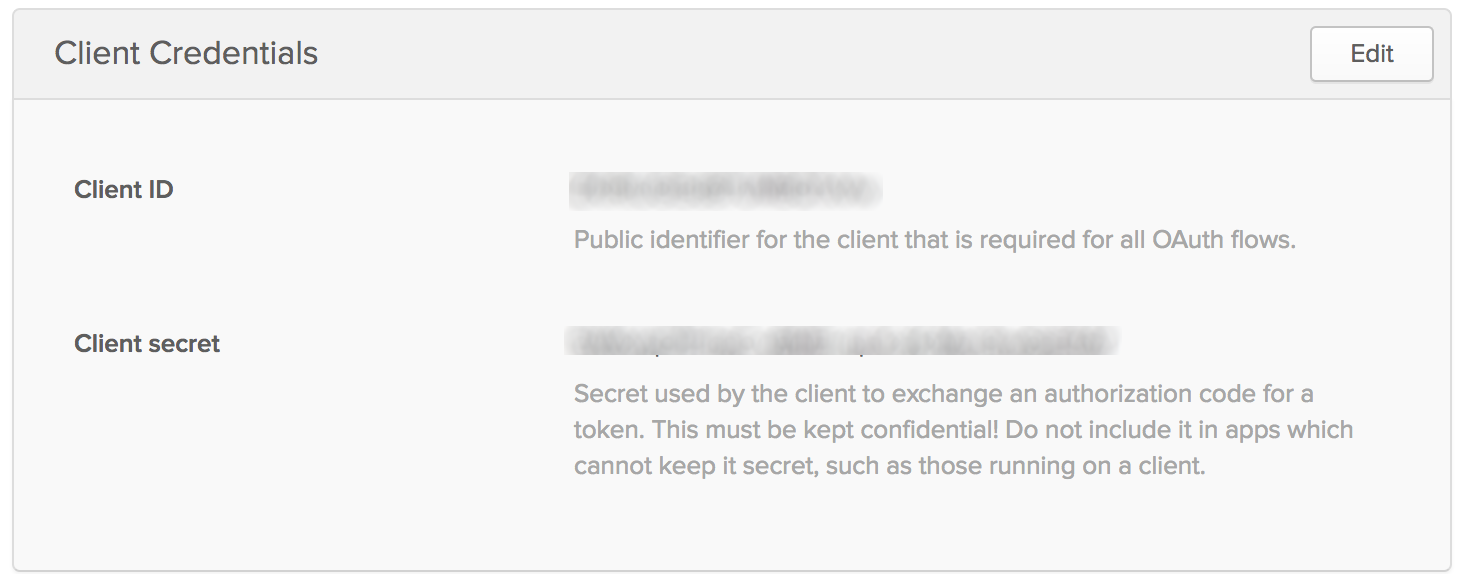
While you are on the General Settings tab, scroll down and copy your Client ID and Client Secret somewhere. You’ll use this later when configuring the middleware in your application.
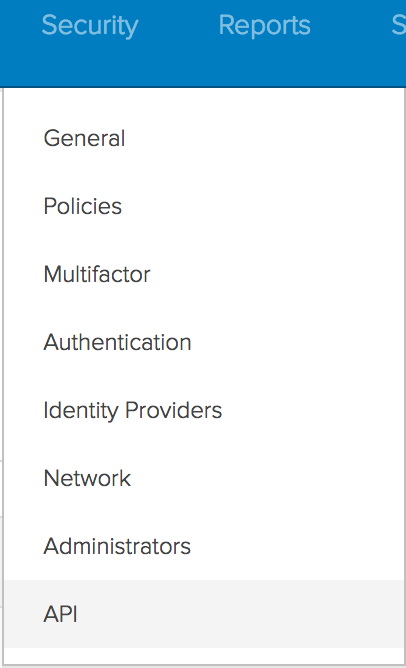
Finally, you’ll need to make sure that you can use the API by adding the localhost URI to your CORS settings. First, choose the Security menu item from the dashboard and the choose API from the drop down menu.
Then select the Trusted Origins tab.

Click on Add Origin and add http://localhost:5000 as a trusted origin. Make sure that CORS and Redirect are selected. Enter “ASP.NET web app (debug)” as the redirect name (or any other name that makes sense to you).
Now you’re ready to set up authentication!
Add Authentication
When you open your application in Visual Studio or Visual Studio Code, you’ll notice that there’s a <ProjectName>.csproj file. You’ll need to make some quick changes to that to get some dependencies you’ll need to make this work. In the ItemGroup section of the csproj document add:
<PackageReference Include="Microsoft.AspNetCore.Authentication.JwtBearer" Version="1.1.2"/>
<PackageReference Include="Microsoft.AspNetCore.Authentication.OpenIdConnect" Version="1.1.2"/>
<PackageReference Include="Microsoft.AspNetCore.Authentication.Cookies" Version="1.1.2"/>
This will allow you to use JSON Web Tokens for authorization information, get the tokens from the OpenID Connect provider (Okta in this case) and store them in cookies for session management. You’ll need to run a quick dotnet restore command, but don’t worry, once you save the file, VS Code will give you an option to return to the command line.
Now, open the Startup.cs file, and on the first line of the Configure method add:
using Microsoft.IdentityModel.Protocols.OpenIdConnect;
using System.IdentityModel.Tokens.Jwt;
using Microsoft.IdentityModel.Tokens;
Then, between the app.UseStaticFiles(); and app.UseMvc(...); add:
app.UseCookieAuthentication(new CookieAuthenticationOptions(){
  AuthenticationScheme = "Cookies",
  AutomaticAuthenticate = true
});
This tells the application that you want to store your session tokens in cookies. Then, you just need to add the authentication instructions.
app.UseOpenIdConnectAuthentication(new OpenIdConnectOptions()
{
  AuthenticationScheme = "oidc",
  SignInScheme = "Cookies",
  Authority = "https://{yourOktaDomain}",
  ResponseType = OpenIdConnectResponseType.Code,
  ClientId = "{clientId}",
  ClientSecret = "{clientSecret}",
  GetClaimsFromUserInfoEndpoint = true,
  TokenValidationParameters = new TokenValidationParameters
  {
    ValidateIssuer = true
  },
  SaveTokens = true
});
This is the important part, so let’s go through it line by line:
- The
AuthenticationSchemegives out scheme a name, and will be used to build the default callback url (~/signin-oidc). - The
SignInSchemeis used to set the sign-in middleware. - The
Authorityidentifies the authorization endpoint for your Identity Provider. It’s discoverable as part of the OpenID specification, and is located at: https://{yourOktaDomain}/oauth2/default/.well-known/openid-configuration. - The
ResponseTypeis also specified in that document under “response_types_supported”. This tells the application you want to start an authorization code flow from from the provider. - The
ClientId, andClientSecretare the Client ID and Client Secret you got from the General Settings tab. For production, I would highly suggest storing these in a secure way and referencing them here. They’re in line here for demonstration purposes. - Setting
GetClaimsFromUserInfoEndpoint = truetells the provider that if you’re successful authenticating, go ahead and make a call to theuserinfo_endpoint(specified in the configuration document at the same URL you got theauthorization_endpointand theresponse_types_supportedfrom). This will get the claims that we’re going to display from Okta once the authentication has completed. - The TokenValidationParameters tells the middleware that we want to validate that the issuer is who we expect it to be by getting the signing key from the
jwks_uriendpoint in the.well-known/openid_configurationdocument. - Finally, we tell the application to save the token once it comes back from the provider.
That’s all there is to it, but how do you know it’s working? Well, you could hook up a login form but there is an easier way!
Check Your Work
All you really need to do is add an [Authorize] attribute to a controller method. That will simply and quickly show us that it’s going to the login page on the provider, but it won’t show us what the provider is sending back. Let’s create a page that will show that information so you can make sure you’re getting what you think you should be getting from the provider.
First, add a using statement to the HomeController.cs for the Authorize attribute.
using Microsoft.AspNetCore.Authorization;
Then add a “Secure” method to the HomeController.cs controller.
[Authorize]
public IActionResult Secure()
{
    return View();
}
Then create a view to return in ~/Views/Home called Security.cshtml.
@{
    ViewData["Title"] = "Security";
}
<h2>Secure</h2>

<dl>
    @foreach (var claim in User.Claims)
    {
        <dt>@claim.Type</dt>
        <dd>@claim.Value</dd>
    }
</dl>
This will just loop through the claims and output them. When you navigate to http://localhost:5000/Home/Secure, you should be redirected to a login page. Once you’re logged in (with a user that is assigned to your app), you should now see a list of the claims on the secure page.
If you do, congratulations! You just set up OpenID Connect for authenticating in your ASP.NET Core app!
If you have any questions, comments, or suggestions, feel free to reach out to me via email, or hit me up in the comments or via Twitter @leebrandt.
Okta Developer Blog Comment Policy
We welcome relevant and respectful comments. Off-topic comments may be removed.