Build a Basic CRUD App with Angular 7.0 and Spring Boot 2.1
Heads up... this blog post is old!
For an updated version of this blog post, see Build a CRUD App with Angular 9 and Spring Boot 2.2.
Technology moves fast these days. It can be challenging to keep up with the latest trends as well as new releases of your favorite projects. I’m here to help! Spring Boot and Angular are two of my favorite projects, so I figured I’d write y’all a guide to show you how to build and secure a basic app using their latest and greatest releases.
In Spring Boot, the most significant change in 2.0 is its new web framework: Spring WebFlux. Spring Boot 2.1 is a minor release, so there shouldn’t be any major changes, just incremental improvements. In Angular 7.0, the most significant change is upgrading to RxJS v6, and there are rumors that a new, faster renderer will be included.
I wrote about how to integrate Spring Boot 2.0 and Angular 5.0 last December. This post was extremely popular on the Okta Developer blog and became an inspiration for many future blog posts. When Angular 6 was released, I was reluctant to update it because it has “Angular 5.0” in its title, and you don’t change a title because of SEO.
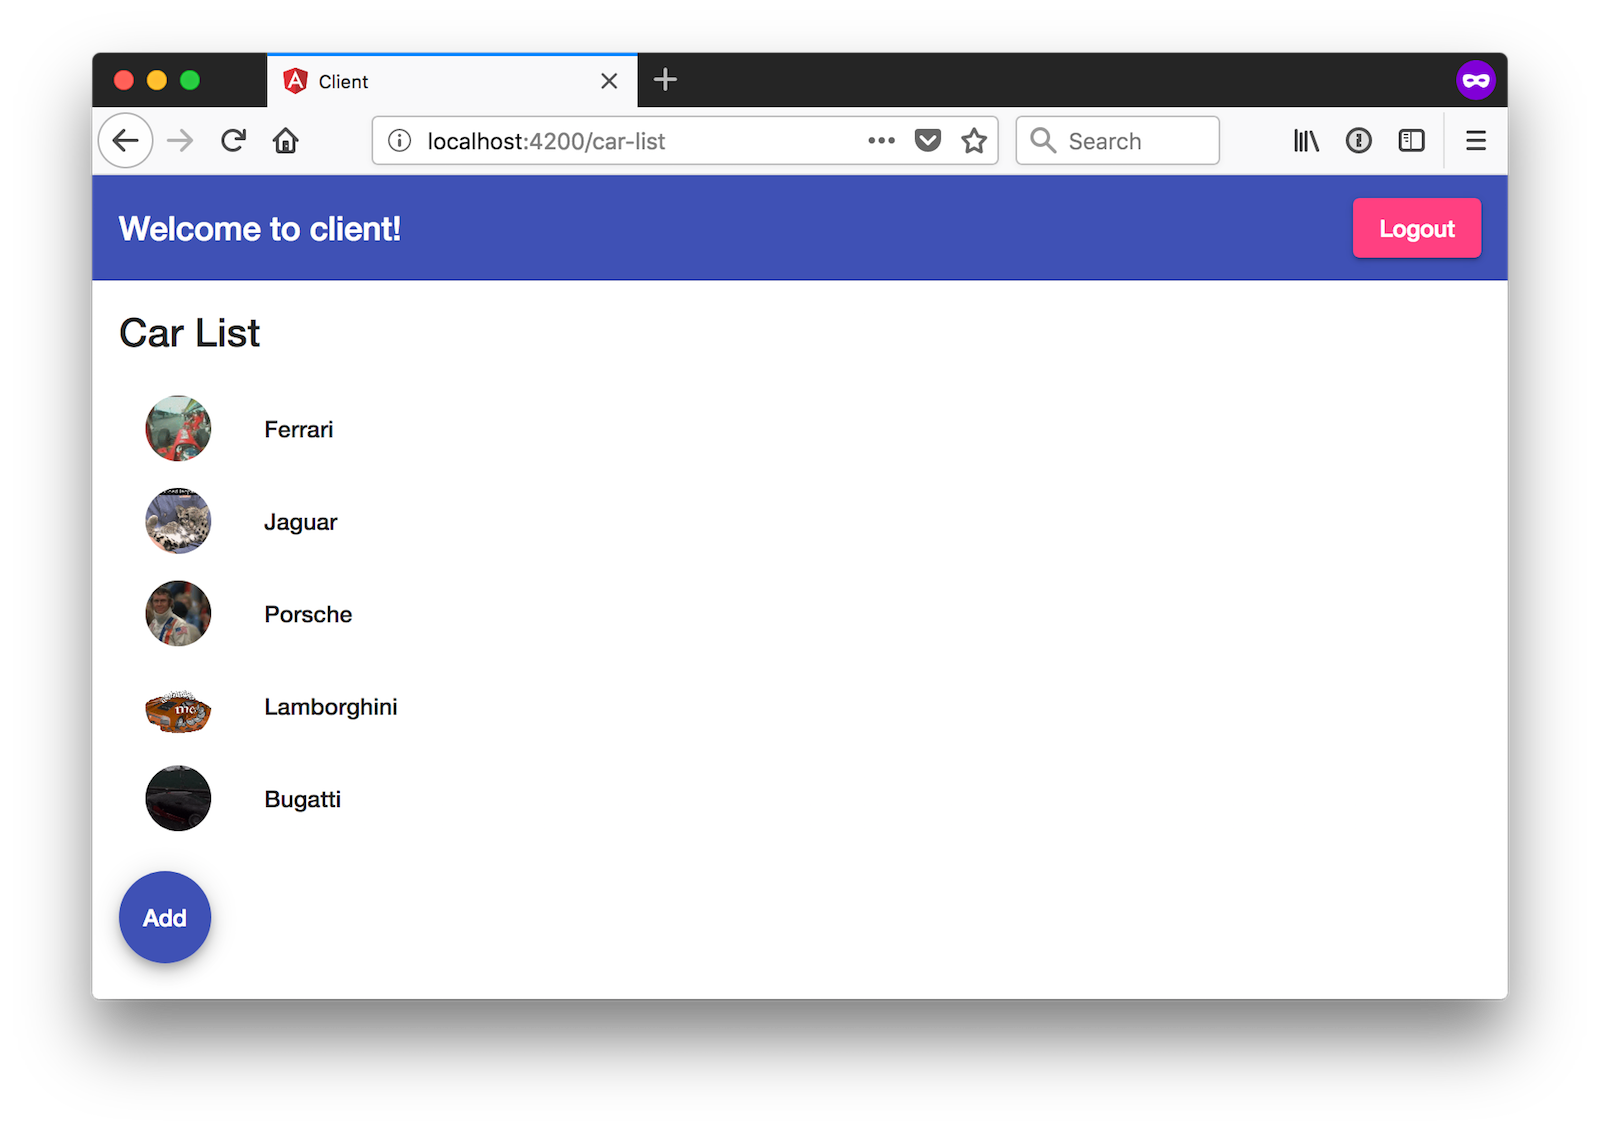
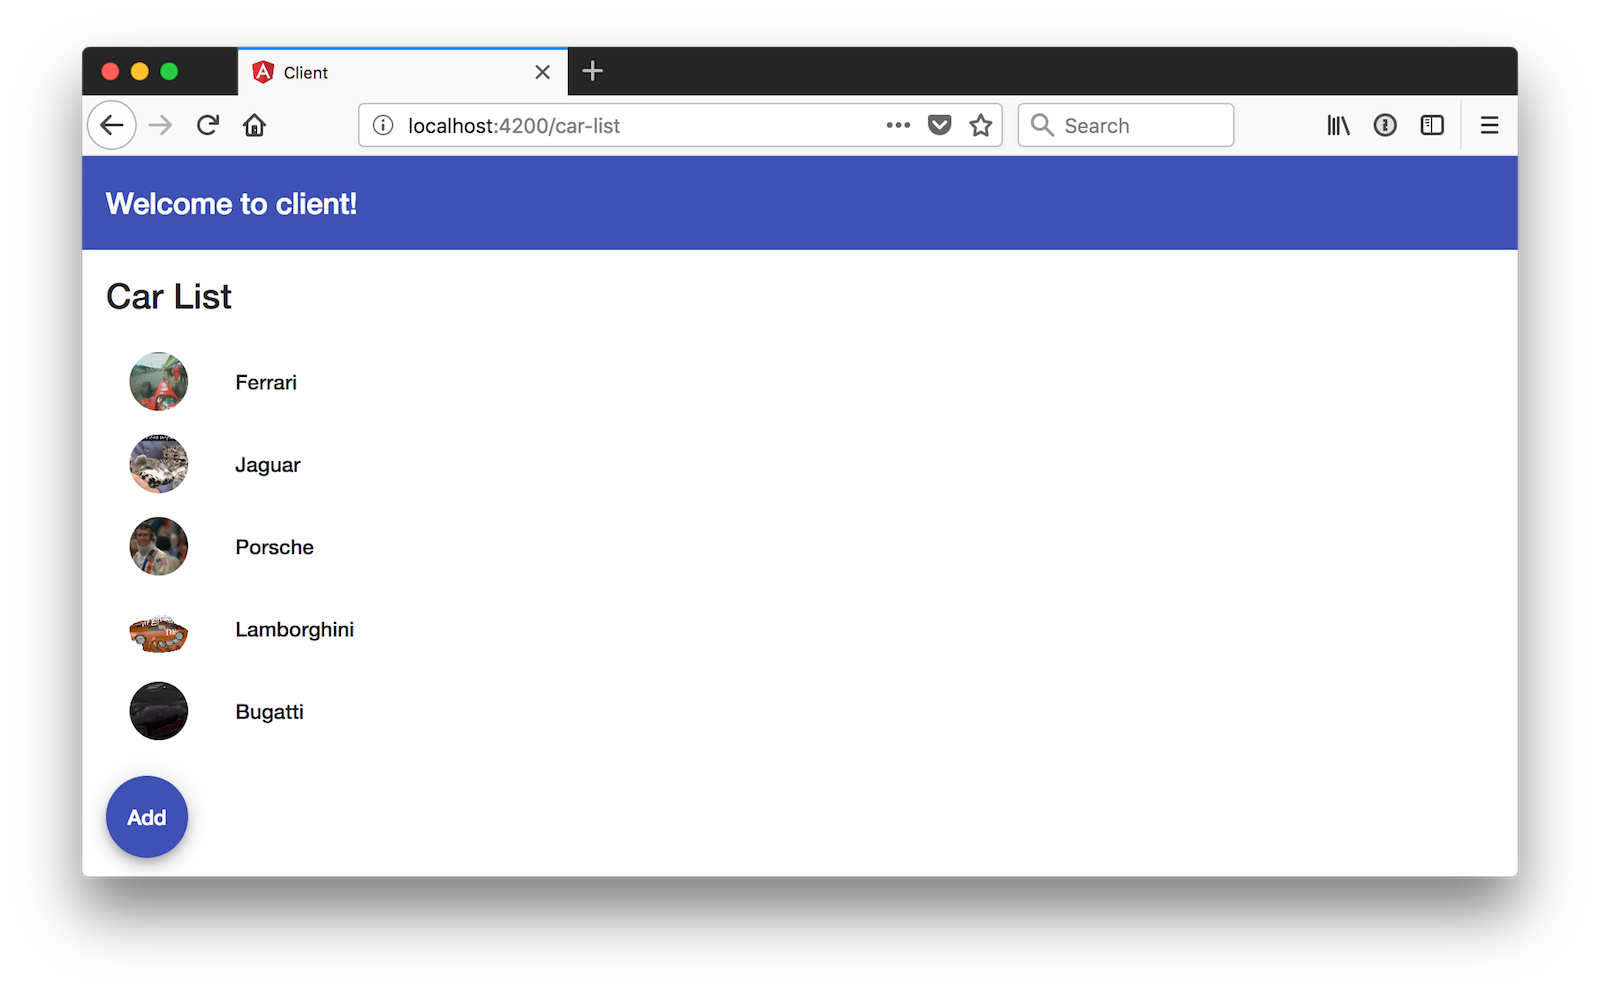
This article describes how to build a simple CRUD application that displays a list of cool cars. It’ll allow you to edit the cars, and it’ll show an animated gif from GIPHY that matches the car’s name. You’ll also learn how to secure your application using Okta’s Spring Boot starter and Angular SDK. Below is a screenshot of the app when it’s completed.
You will need Java 8 and Node.js 8+ installed to complete this tutorial. For Java 10+, you’ll need to change the java.version property and jaxb-api as a dependency. Hat tip to Josh Long’s spring-boot-and-java-10 project on GitHub.
Note: In May 2025, the Okta Integrator Free Plan replaced Okta Developer Edition Accounts, and the Okta CLI was deprecated.
We preserved this post for reference, but the instructions no longer work exactly as written. Replace the Okta CLI commands by manually configuring Okta following the instructions in our Developer Documentation.
Build an API with Spring Boot 2.1
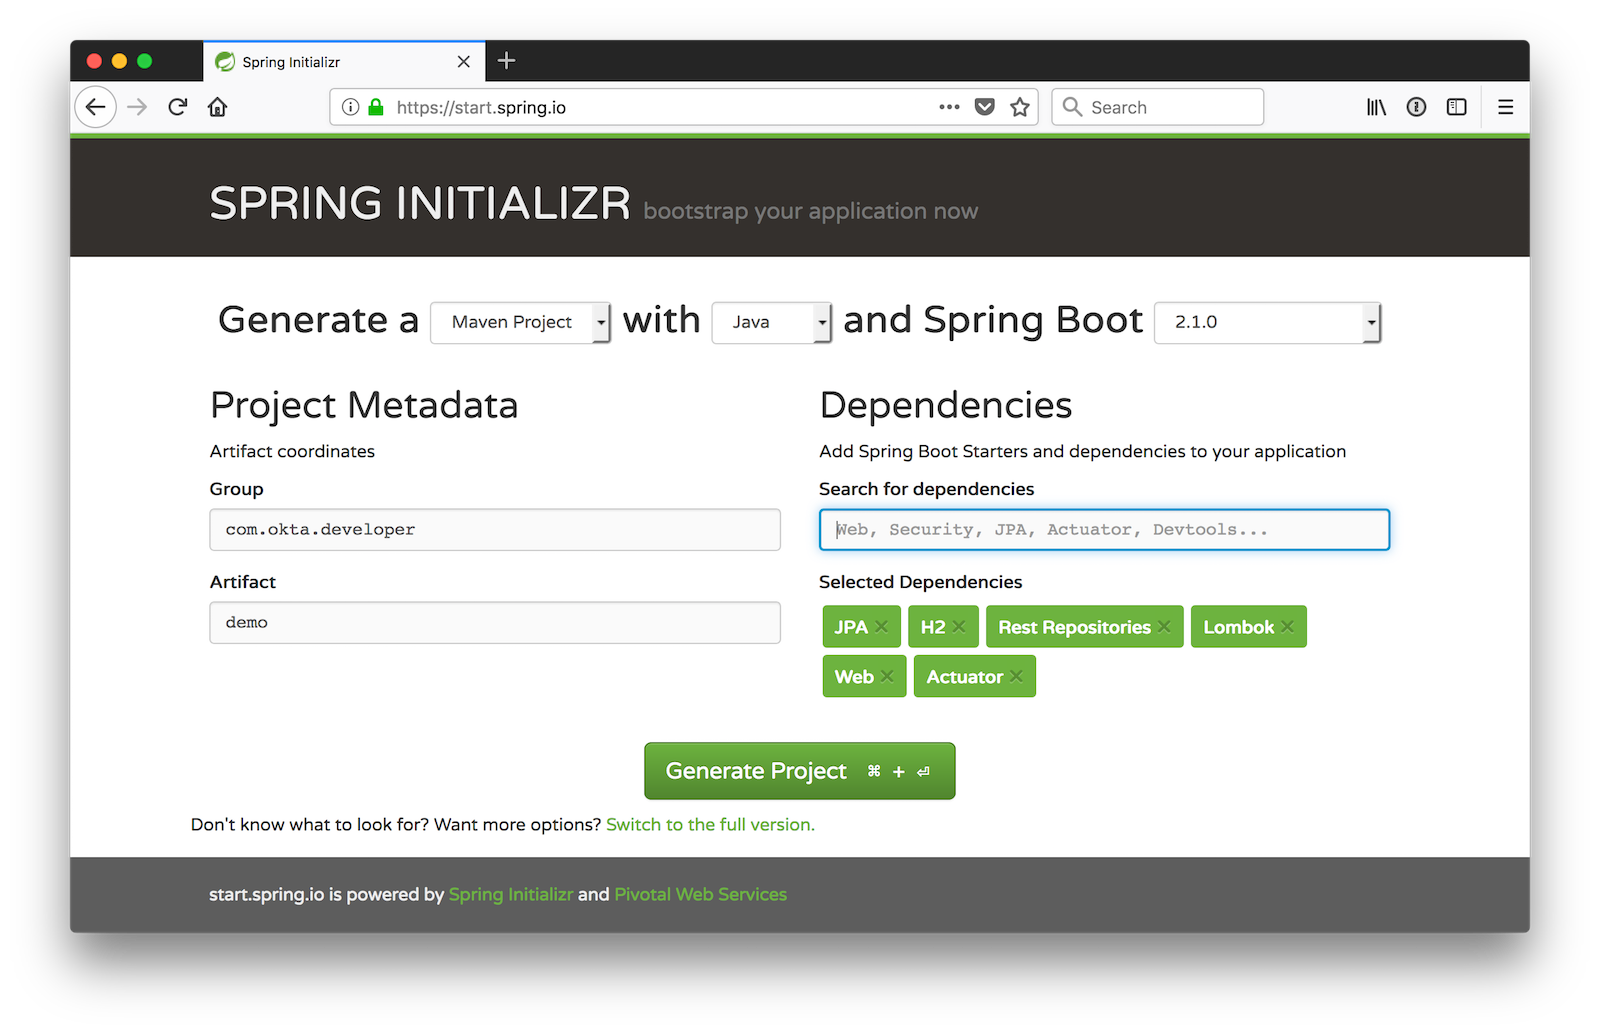
To get started with Spring Boot 2.1, head on over to start.spring.io and create a new project that uses Java, Spring Boot version 2.1.0, and options to create a simple API: JPA, H2, Rest Repositories, Lombok, and Web. In this example, I’ve added Actuator as well, since it’s a very cool feature of Spring Boot.
Create a directory to hold your server and client applications. I called mine okta-spring-boot-2-angular-7-example, but you can call yours whatever you like. If you’d rather see the app running than write code, you can see the example on GitHub, or clone and run locally using the commands below.
git clone https://github.com/oktadeveloper/okta-spring-boot-2-angular-7-example.git
cd okta-spring-boot-2-angular-7-example/client
npm install
ng serve &
cd ../server
./mvnw spring-boot:run
After downloading demo.zip from start.spring.io, expand it and copy the demo directory to your app-holder directory. Rename demo to server. Open the project in your favorite IDE and create a Car.java file in the src/main/java/com/okta/developer/demo directory. You can use Lombok’s annotations to reduce boilerplate code.
package com.okta.developer.demo;

import lombok.*;

import javax.persistence.Id;
import javax.persistence.GeneratedValue;
import javax.persistence.Entity;

@Entity
@Data
@NoArgsConstructor
public class Car {
    @Id @GeneratedValue
    private Long id;
    private @NonNull String name;
}
Create a CarRepository class to perform CRUD (create, read, update, and delete) on the Car entity.
package com.okta.developer.demo;

import org.springframework.data.jpa.repository.JpaRepository;
import org.springframework.data.rest.core.annotation.RepositoryRestResource;

@RepositoryRestResource
interface CarRepository extends JpaRepository<Car, Long> {
}
Add an ApplicationRunner bean to the DemoApplication class (in src/main/java/com/okta/developer/demo/DemoApplication.java) and use it to add some default data to the database.
package com.okta.developer.demo;

import org.springframework.boot.ApplicationRunner;
import org.springframework.boot.SpringApplication;
import org.springframework.boot.autoconfigure.SpringBootApplication;
import org.springframework.context.annotation.Bean;
import java.util.stream.Stream;

@SpringBootApplication
public class DemoApplication {

    public static void main(String[] args) {
        SpringApplication.run(DemoApplication.class, args);
    }

    @Bean
    ApplicationRunner init(CarRepository repository) {
        return args -> {
            Stream.of("Ferrari", "Jaguar", "Porsche", "Lamborghini", "Bugatti",
                      "AMC Gremlin", "Triumph Stag", "Ford Pinto", "Yugo GV").forEach(name -> {
                Car car = new Car();
                car.setName(name);
                repository.save(car);
            });
            repository.findAll().forEach(System.out::println);
        };
    }
}
If you start your app (using ./mvnw spring-boot:run) after adding this code, you’ll see the list of cars displayed in your console on startup.
Car(id=1, name=Ferrari)
Car(id=2, name=Jaguar)
Car(id=3, name=Porsche)
Car(id=4, name=Lamborghini)
Car(id=5, name=Bugatti)
Car(id=6, name=AMC Gremlin)
Car(id=7, name=Triumph Stag)
Car(id=8, name=Ford Pinto)
Car(id=9, name=Yugo GV)
Add a CoolCarController class (in src/main/java/com/okta/developer/demo/CoolCarController.java) that returns a list of cool cars to display in the Angular client.
package com.okta.developer.demo;

import org.springframework.web.bind.annotation.GetMapping;
import org.springframework.web.bind.annotation.RestController;
import java.util.Collection;
import java.util.stream.Collectors;

@RestController
class CoolCarController {
    private CarRepository repository;

    public CoolCarController(CarRepository repository) {
        this.repository = repository;
    }

    @GetMapping("/cool-cars")
    public Collection<Car> coolCars() {
        return repository.findAll().stream()
                .filter(this::isCool)
                .collect(Collectors.toList());
    }

    private boolean isCool(Car car) {
        return !car.getName().equals("AMC Gremlin") &&
                !car.getName().equals("Triumph Stag") &&
                !car.getName().equals("Ford Pinto") &&
                !car.getName().equals("Yugo GV");
    }
}
If you restart your server app and hit http://localhost:8080/cool-cars with your browser, or a command-line client, you should see the filtered list of cars.
$ http localhost:8080/cool-cars
HTTP/1.1 200
Content-Type: application/json;charset=UTF-8
Date: Fri, 02 Nov 2018 10:36:51 GMT
Transfer-Encoding: chunked
[
    {
        "id": 1,
        "name": "Ferrari"
    },
    {
        "id": 2,
        "name": "Jaguar"
    },
    {
        "id": 3,
        "name": "Porsche"
    },
    {
        "id": 4,
        "name": "Lamborghini"
    },
    {
        "id": 5,
        "name": "Bugatti"
    }
]
Create a Client with Angular CLI
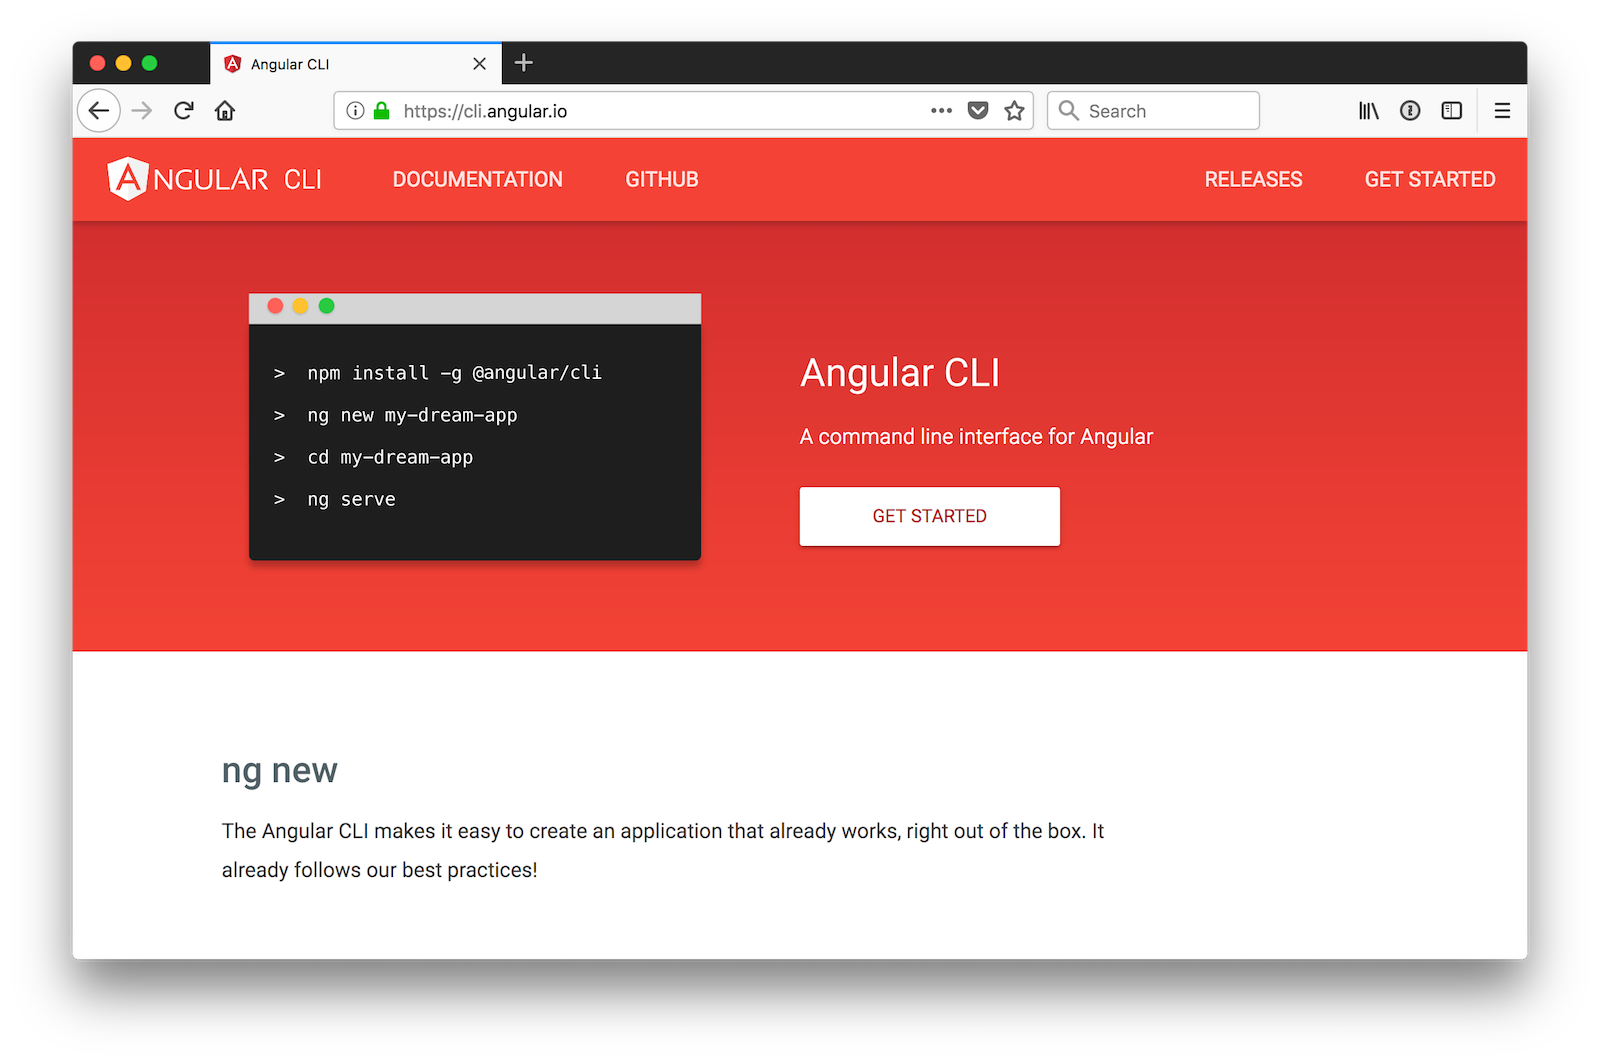
Angular CLI is a command-line utility that can generate an Angular project for you. Not only can it create new projects, but it can also generate code. It’s a convenient tool because it also offers commands that will build and optimize your project for production. It uses webpack under the covers for building. If you want to learn more about webpack, I recommend webpack.academy.
You can learn the basics of Angular CLI at cli.angular.io.
Install the latest version of Angular CLI, which is version 7.0.4 at the time of this writing.
npm install -g @angular/cli@7.0.4
Create a new project in the umbrella directory you created. Again, mine is named okta-spring-boot-2-angular-7-example.
ng new client
When prompted to install Angular routing, type “Y”. For the stylesheet format, choose “CSS” (the default).
After the client is created, navigate into its directory, remove its Git configuration, and install Angular Material.
cd client
rm -rf .git
npm install @angular/material@7.0.2 @angular/cdk@7.0.2
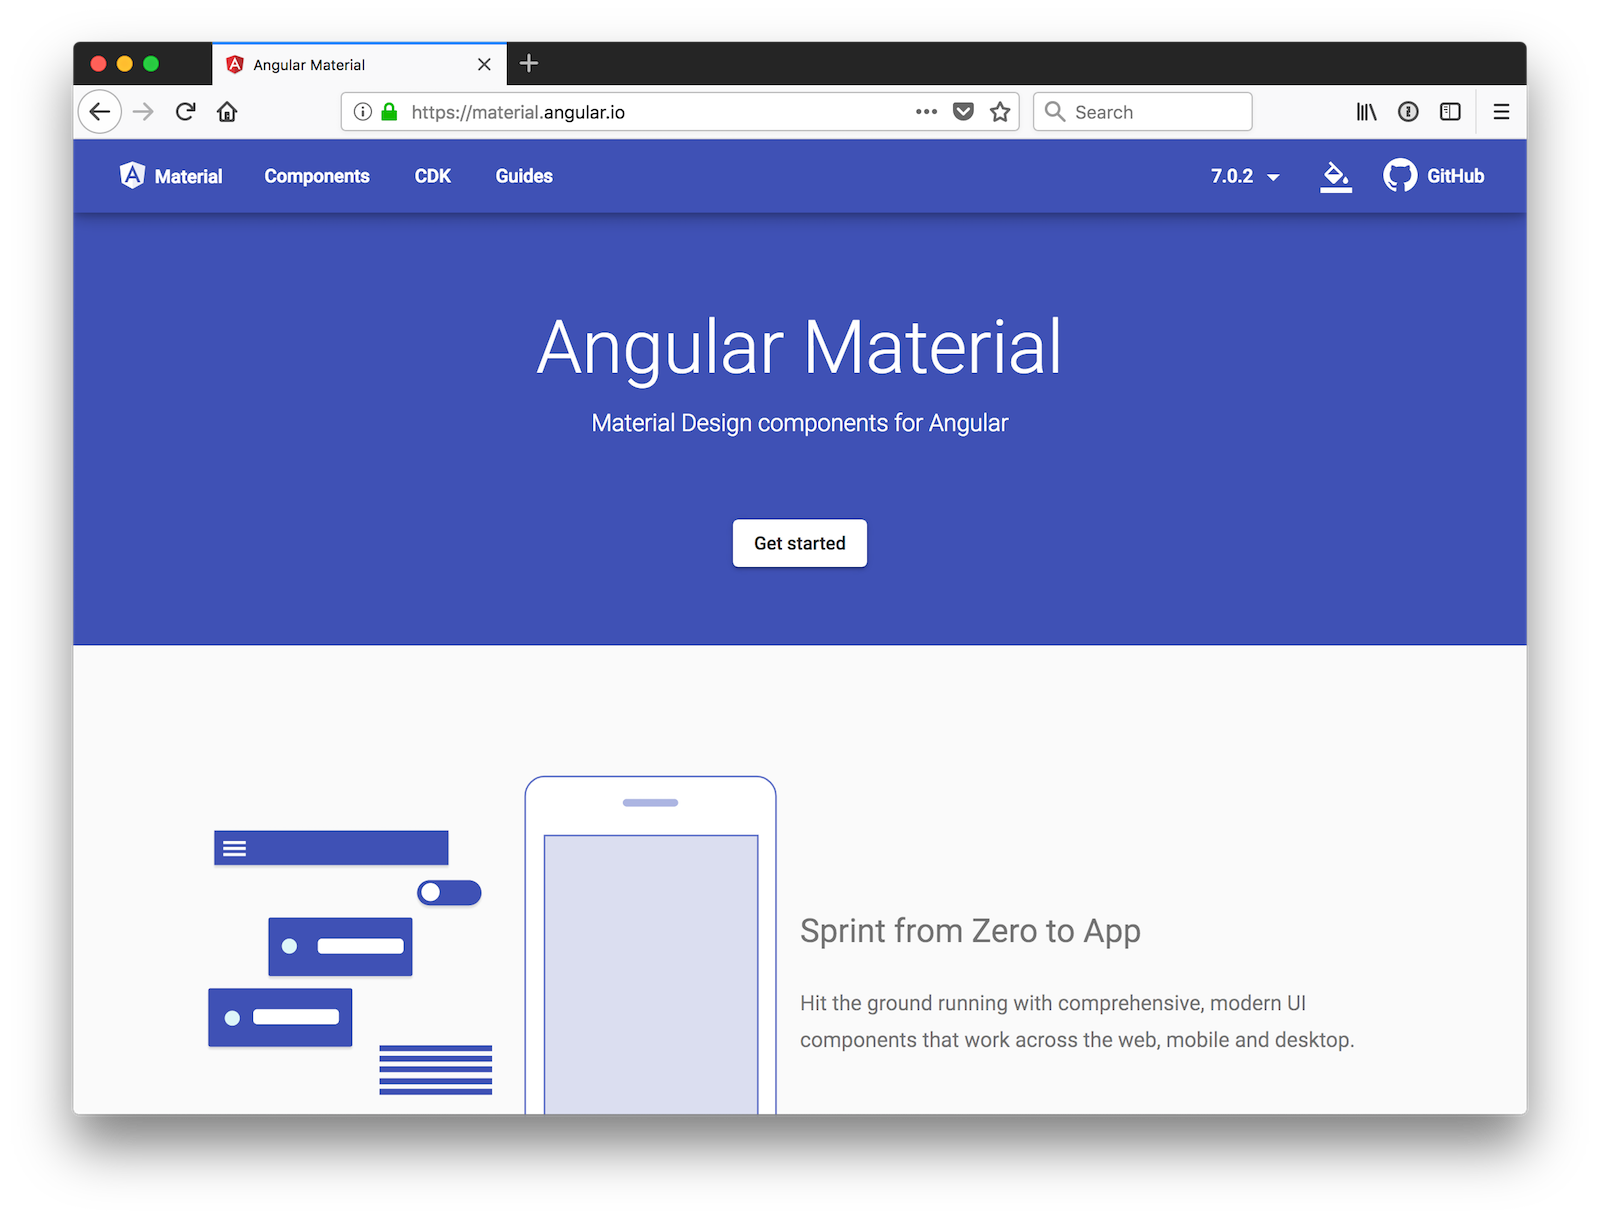
You’ll use Angular Material’s components to make the UI look better, especially on mobile phones. If you’d like to learn more about Angular Material, see material.angular.io. It has extensive documentation on its various components and how to use them. The paint bucket in the top right corner will allow you to preview available theme colors.
Build a Car List Page with Angular CLI
Use Angular CLI to generate a car service that can talk to the Cool Cars API.
ng g s shared/car/car
Update the code in car.service.ts to fetch the list of cars from the server.
import { Injectable } from '@angular/core';
import { HttpClient } from '@angular/common/http';
import { Observable } from 'rxjs';

@Injectable({providedIn: 'root'})
export class CarService {

  constructor(private http: HttpClient) {
  }

  getAll(): Observable<any> {
    return this.http.get('//localhost:8080/cool-cars');
  }
}
One of the changes I like in Angular 6+ is your services can now register themselves. In previous versions, when you annotated a class with @Injectable(), you had to register it as a provider in a module or component to use it. In Angular 6+, you can specify providedIn and it will auto-register itself when the app bootstraps.
Open src/app/app.module.ts, and add HttpClientModule as an import.
import { HttpClientModule } from '@angular/common/http';

@NgModule({
  declarations: [
    AppComponent
  ],
  imports: [
    BrowserModule,
    AppRoutingModule,
    HttpClientModule
  ],
  providers: [],
  bootstrap: [AppComponent]
})
Generate a car-list component to display the list of cars.
ng g c car-list
Update client/src/app/car-list/car-list.component.ts to use the CarService to fetch the list and set the values in a local cars variable.
import { Component, OnInit } from '@angular/core';
import { CarService } from '../shared/car/car.service';

@Component({
  selector: 'app-car-list',
  templateUrl: './car-list.component.html',
  styleUrls: ['./car-list.component.css']
})
export class CarListComponent implements OnInit {
  cars: Array<any>;

  constructor(private carService: CarService) { }

  ngOnInit() {
    this.carService.getAll().subscribe(data => {
      this.cars = data;
    });
  }
}
Update client/src/app/car-list/car-list.component.html to show the list of cars.
<h2>Car List</h2>

<div *ngFor="let car of cars">
  {{car.name}}
</div>
Update client/src/app/app.component.html to have the app-car-list element.
<div style="text-align:center">
  <h1>
    Welcome to {{ title }}!
  </h1>
</div>

<app-car-list></app-car-list>
<router-outlet></router-outlet>
Start the client application using ng serve. Open your favorite browser to http://localhost:4200. You won’t see the
car list just yet, and if you open your developer console, you’ll see why.
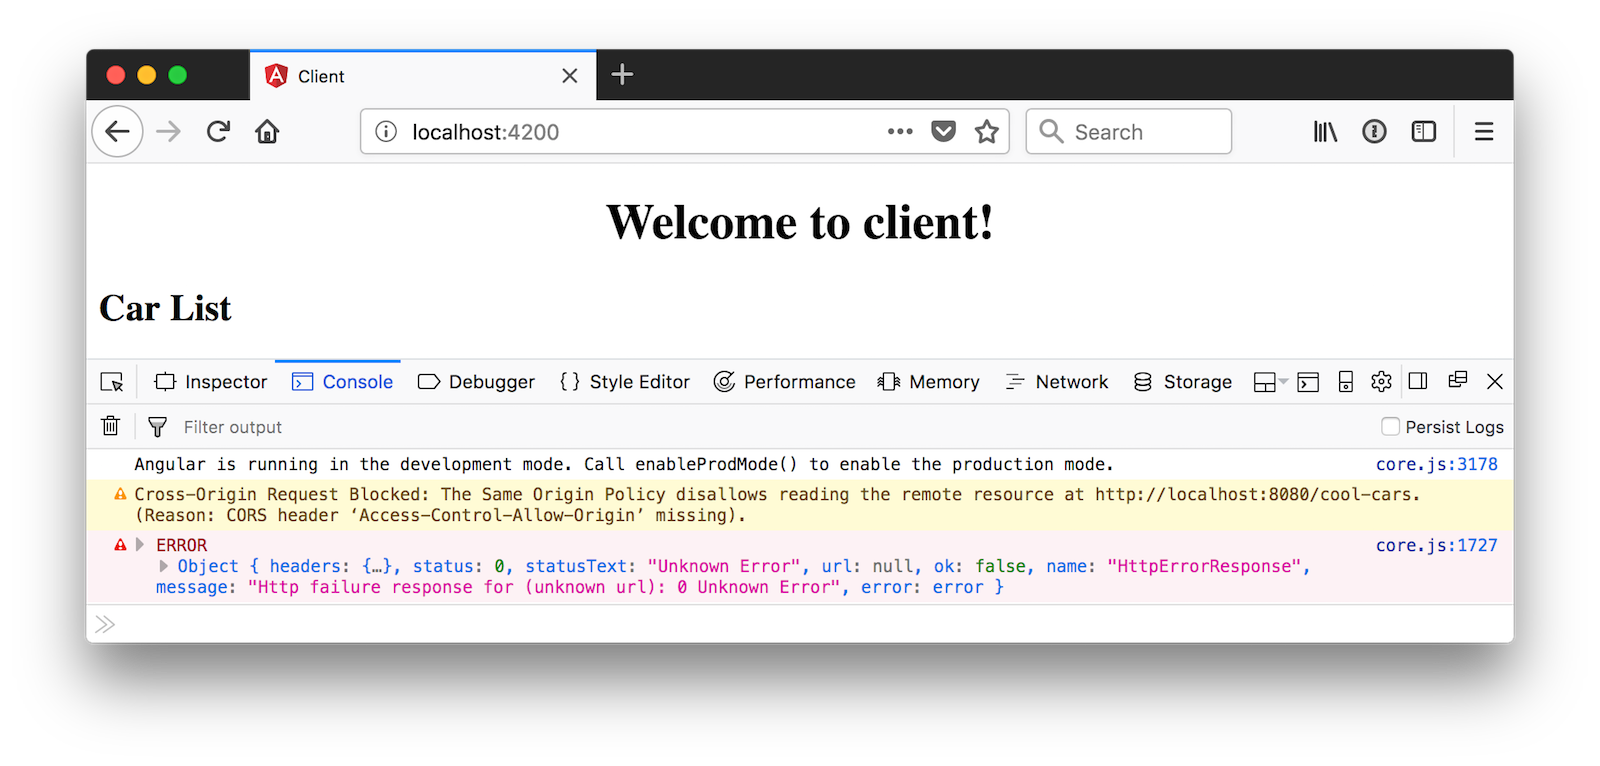
This error happens because you haven’t enabled CORS (Cross-Origin Resource Sharing) on the server.
Enable CORS on the Server
To enable CORS on the server, add a @CrossOrigin annotation to the CoolCarController (in server/src/main/java/com/okta/developer/demo/CoolCarController.java).
import org.springframework.web.bind.annotation.CrossOrigin;
...
@GetMapping("/cool-cars")
@CrossOrigin(origins = "http://localhost:4200")
public Collection<Car> coolCars() {
    return repository.findAll().stream()
            .filter(this::isCool)
            .collect(Collectors.toList());
}
Also, add it to CarRepository so you can communicate with its endpoints when adding/deleting/editing.
@RepositoryRestResource
@CrossOrigin(origins = "http://localhost:4200")
interface CarRepository extends JpaRepository<Car, Long> {
}
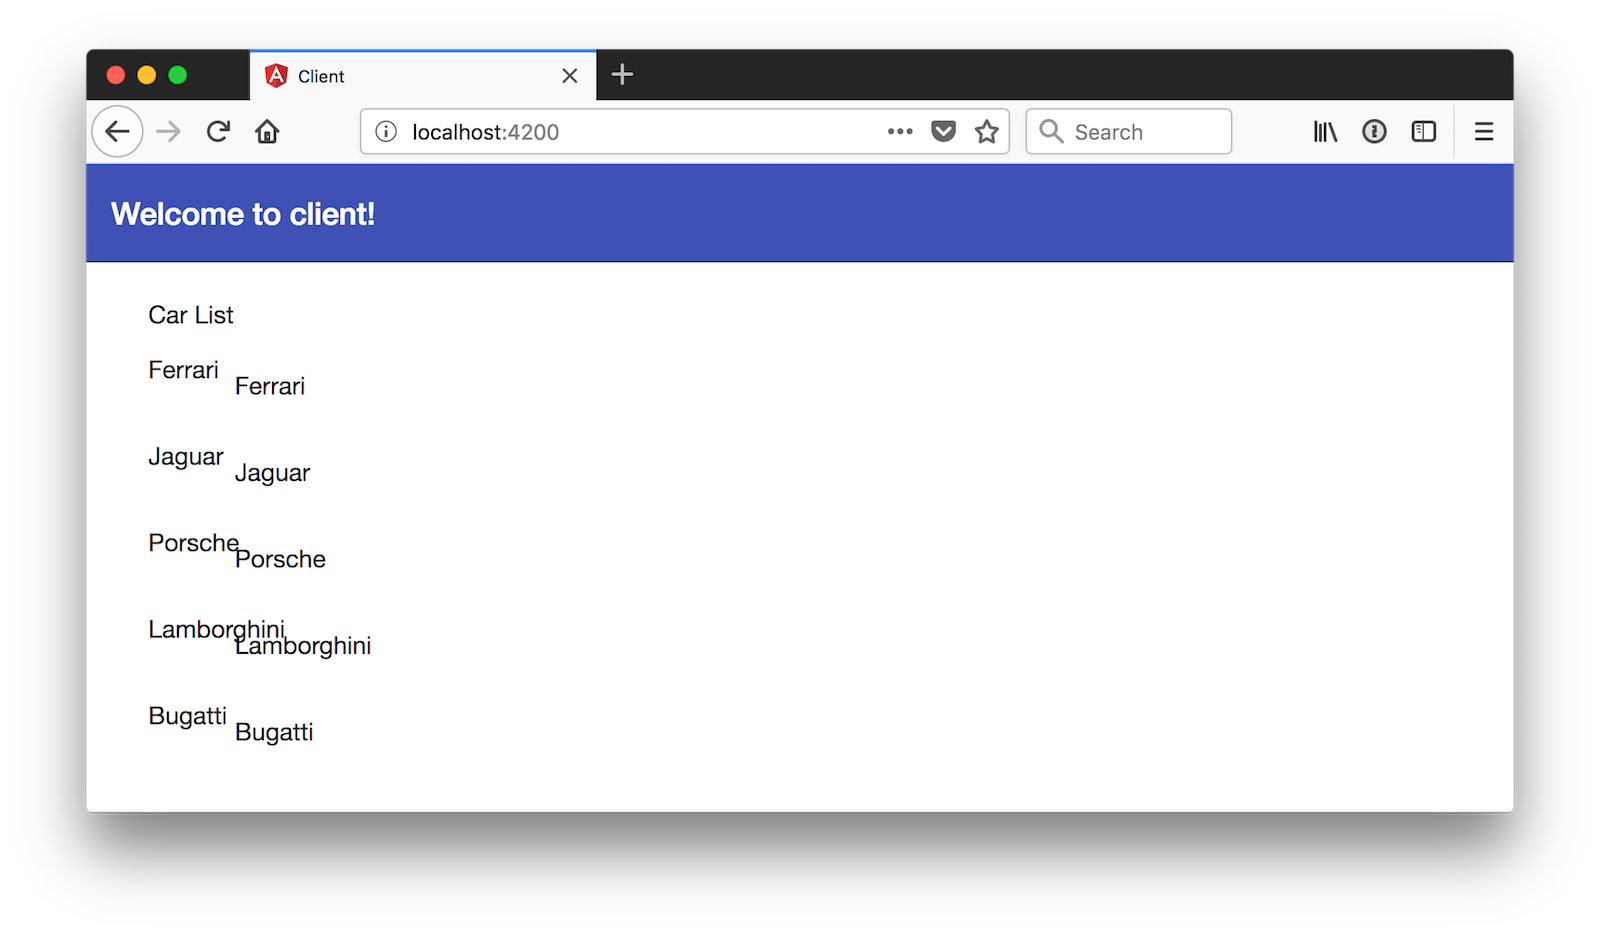
Restart the server, refresh the client, and you should see the list of cars in your browser.
Add Angular Material
You’ve already installed Angular Material, to use its components, you just need to import them. Open client/src/app/app.module.ts and add imports for animations, and Material’s toolbar, buttons, inputs, lists, and card layout.
import { MatButtonModule, MatCardModule, MatInputModule, MatListModule, MatToolbarModule } from '@angular/material';
import { BrowserAnimationsModule } from '@angular/platform-browser/animations';

@NgModule({
  ...
  imports: [
    BrowserModule,
    AppRoutingModule,
    HttpClientModule,
    BrowserAnimationsModule,
    MatButtonModule,
    MatCardModule,
    MatInputModule,
    MatListModule,
    MatToolbarModule
  ],
  ...
})
Update client/src/app/app.component.html to use the toolbar component.
<mat-toolbar color="primary">
  <span>Welcome to {{title}}!</span>
</mat-toolbar>

<app-car-list></app-car-list>
<router-outlet></router-outlet>
Update client/src/app/car-list/car-list.component.html to use the card layout and list component.
<mat-card>
  <mat-card-title>Car List</mat-card-title>
  <mat-card-content>
    <mat-list>
      <mat-list-item *ngFor="let car of cars">
        <img mat-list-avatar src="{{car.giphyUrl}}" alt="{{car.name}}">
        <h3 mat-line>{{car.name}}</h3>
      </mat-list-item>
    </mat-list>
  </mat-card-content>
</mat-card>
Modify client/src/styles.css to specify the theme and icons.
@import "~@angular/material/prebuilt-themes/indigo-pink.css";
@import 'https://fonts.googleapis.com/icon?family=Material+Icons';

body {
  margin: 0;
  font-family: Roboto, sans-serif;
}
If you run your client with ng serve and navigate to http://localhost:4200, you’ll see the list of cars, but no images associated with them.
Add Animated GIFs with Giphy
To add a giphyUrl property to cars, create client/src/app/shared/giphy/giphy.service.ts and populate it with the code below.
import { Injectable } from '@angular/core';
import { HttpClient } from '@angular/common/http';
import { map } from 'rxjs/operators';

@Injectable({providedIn: 'root'})
// http://tutorials.pluralsight.com/front-end-javascript/getting-started-with-angular-2-by-building-a-giphy-search-application
export class GiphyService {

  // Public beta key: https://github.com/Giphy/GiphyAPI#public-beta-key
  giphyApi = '//api.giphy.com/v1/gifs/search?api_key=dc6zaTOxFJmzC&limit=1&q=';

  constructor(public http: HttpClient) {
  }

  get(searchTerm) {
    const apiLink = this.giphyApi + searchTerm;
    return this.http.get(apiLink).pipe(map((response: any) => {
      if (response.data.length > 0) {
        return response.data[0].images.original.url;
      } else {
        return 'https://media.giphy.com/media/YaOxRsmrv9IeA/giphy.gif'; // dancing cat for 404
      }
    }));
  }
}
Update the code in client/src/app/car-list/car-list.component.ts to set the giphyUrl property on each car.
import { GiphyService } from '../shared/giphy/giphy.service';

export class CarListComponent implements OnInit {
  cars: Array<any>;

  constructor(private carService: CarService, private giphyService: GiphyService) { }

  ngOnInit() {
    this.carService.getAll().subscribe(data => {
      this.cars = data;
      for (const car of this.cars) {
        this.giphyService.get(car.name).subscribe(url => car.giphyUrl = url);
      }
    });
  }
}
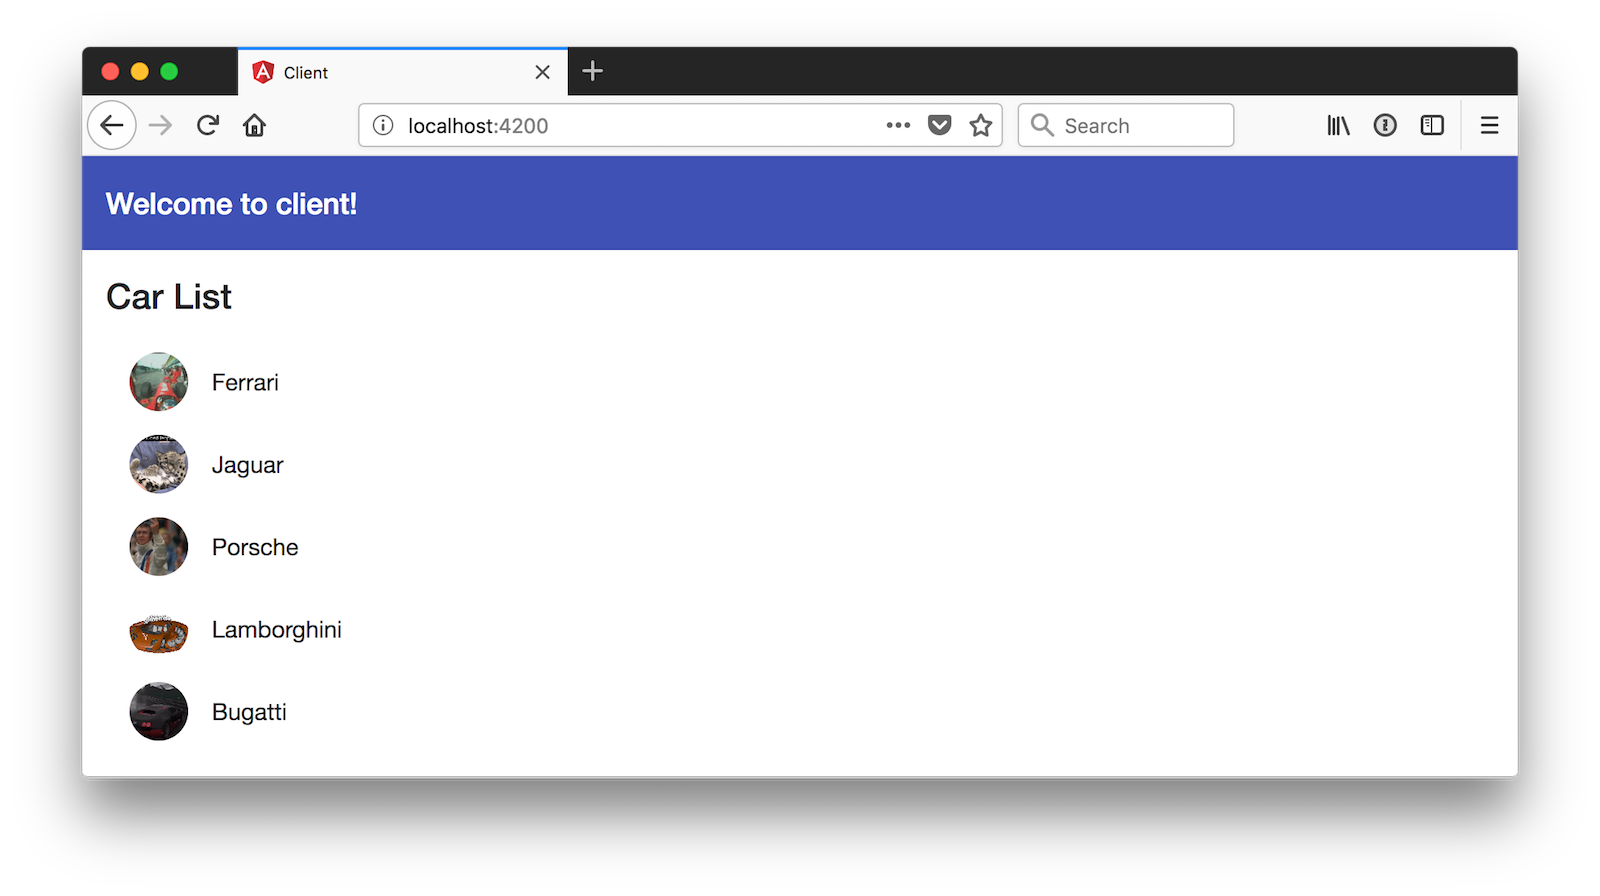
Now your browser should show you the list of car names, along with an avatar image beside them.
Add an Edit Feature to Your Angular App
Having a list of car names and images is cool, but it’s a lot more fun when you can interact with it! To add an edit feature, start by generating a car-edit component.
ng g c car-edit
Update client/src/app/shared/car/car.service.ts to have methods for adding, removing, and updating cars. These methods
talk to the endpoints provided by the CarRepository and the @RepositoryRestResource annotation.
import { Injectable } from '@angular/core';
import { HttpClient } from '@angular/common/http';
import { Observable } from 'rxjs';

@Injectable({providedIn: 'root'})
export class CarService {
  public API = '//localhost:8080';
  public CAR_API = this.API + '/cars';

  constructor(private http: HttpClient) {
  }

  getAll(): Observable<any> {
    return this.http.get(this.API + '/cool-cars');
  }

  get(id: string) {
    return this.http.get(this.CAR_API + '/' + id);
  }

  save(car: any): Observable<any> {
    let result: Observable<Object>;
    if (car['href']) {
      result = this.http.put(car.href, car);
    } else {
      result = this.http.post(this.CAR_API, car);
    }
    return result;
  }

  remove(href: string) {
    return this.http.delete(href);
  }
}
In client/src/app/car-list/car-list.component.html, add a link to the edit component. Also, add a button at the bottom
to add a new car.
<mat-card>
  <mat-card-title>Car List</mat-card-title>
  <mat-card-content>
    <mat-list>
      <mat-list-item *ngFor="let car of cars">
        <img mat-list-avatar src="{{car.giphyUrl}}" alt="{{car.name}}">
        <h3 mat-line>
          <a mat-button [routerLink]="['/car-edit', car.id]">{{car.name}}</a>
        </h3>
      </mat-list-item>
    </mat-list>
  </mat-card-content>

  <button mat-fab color="primary" [routerLink]="['/car-add']">Add</button>
</mat-card>
In client/src/app/app.module.ts, import the FormsModule.
import { FormsModule } from '@angular/forms';

@NgModule({
  ...
  imports: [
    ...
    FormsModule
  ],
  ...
})
In client/src/app/app-routing.module.ts, add routes for the CarListComponent and CarEditComponent.
import { NgModule } from '@angular/core';
import { Routes, RouterModule } from '@angular/router';
import { CarListComponent } from './car-list/car-list.component';
import { CarEditComponent } from './car-edit/car-edit.component';

const routes: Routes = [
  { path: '', redirectTo: '/car-list', pathMatch: 'full' },
  {
    path: 'car-list',
    component: CarListComponent
  },
  {
    path: 'car-add',
    component: CarEditComponent
  },
  {
    path: 'car-edit/:id',
    component: CarEditComponent
  }
];

@NgModule({
  imports: [RouterModule.forRoot(routes)],
  exports: [RouterModule]
})
export class AppRoutingModule { }
Modify client/src/app/car-edit/car-edit.component.ts to fetch a car’s information from the id passed on the URL, and to add methods for saving and deleting.
import { Component, OnDestroy, OnInit } from '@angular/core';
import { Subscription } from 'rxjs';
import { ActivatedRoute, Router } from '@angular/router';
import { CarService } from '../shared/car/car.service';
import { GiphyService } from '../shared/giphy/giphy.service';
import { NgForm } from '@angular/forms';

@Component({
  selector: 'app-car-edit',
  templateUrl: './car-edit.component.html',
  styleUrls: ['./car-edit.component.css']
})
export class CarEditComponent implements OnInit, OnDestroy {
  car: any = {};

  sub: Subscription;

  constructor(private route: ActivatedRoute,
              private router: Router,
              private carService: CarService,
              private giphyService: GiphyService) {
  }

  ngOnInit() {
    this.sub = this.route.params.subscribe(params => {
      const id = params['id'];
      if (id) {
        this.carService.get(id).subscribe((car: any) => {
          if (car) {
            this.car = car;
            this.car.href = car._links.self.href;
            this.giphyService.get(car.name).subscribe(url => car.giphyUrl = url);
          } else {
            console.log(`Car with id '${id}' not found, returning to list`);
            this.gotoList();
          }
        });
      }
    });
  }

  ngOnDestroy() {
    this.sub.unsubscribe();
  }

  gotoList() {
    this.router.navigate(['/car-list']);
  }

  save(form: NgForm) {
    this.carService.save(form).subscribe(result => {
      this.gotoList();
    }, error => console.error(error));
  }

  remove(href) {
    this.carService.remove(href).subscribe(result => {
      this.gotoList();
    }, error => console.error(error));
  }
}
Update the HTML in client/src/app/car-edit/car-edit.component.html to have a form with the car’s name, as well as to display the image from Giphy.
<mat-card>
  <form #carForm="ngForm" (ngSubmit)="save(carForm.value)">
    <mat-card-header>
      <mat-card-title><h2>{{car.name ? 'Edit' : 'Add'}} Car</h2></mat-card-title>
    </mat-card-header>
    <mat-card-content>
      <input type="hidden" name="href" [(ngModel)]="car.href">
      <mat-form-field>
        <input matInput placeholder="Car Name" [(ngModel)]="car.name"
               required name="name" #name>
      </mat-form-field>
    </mat-card-content>
    <mat-card-actions>
      <button mat-raised-button color="primary" type="submit"
              [disabled]="!carForm.form.valid">Save</button>
      <button mat-raised-button color="secondary" (click)="remove(car.href)"
              *ngIf="car.href" type="button">Delete</button>
      <a mat-button routerLink="/car-list">Cancel</a>
    </mat-card-actions>
    <mat-card-footer>
      <div class="giphy">
        <img src="{{car.giphyUrl}}" alt="{{car.name}}">
      </div>
    </mat-card-footer>
  </form>
</mat-card>
Put a little padding around the image by adding the following CSS to client/src/app/car-edit/car-edit.component.css.
.giphy {
  margin: 10px;
}
Modify client/src/app/app.component.html and remove <app-car-list></app-car-list>.
<mat-toolbar color="primary">
  <span>Welcome to {{title}}!</span>
</mat-toolbar>

<router-outlet></router-outlet>
After you make all these changes, you should be able to add, edit, or delete any cars. Below is a screenshot that shows the list with the add button.
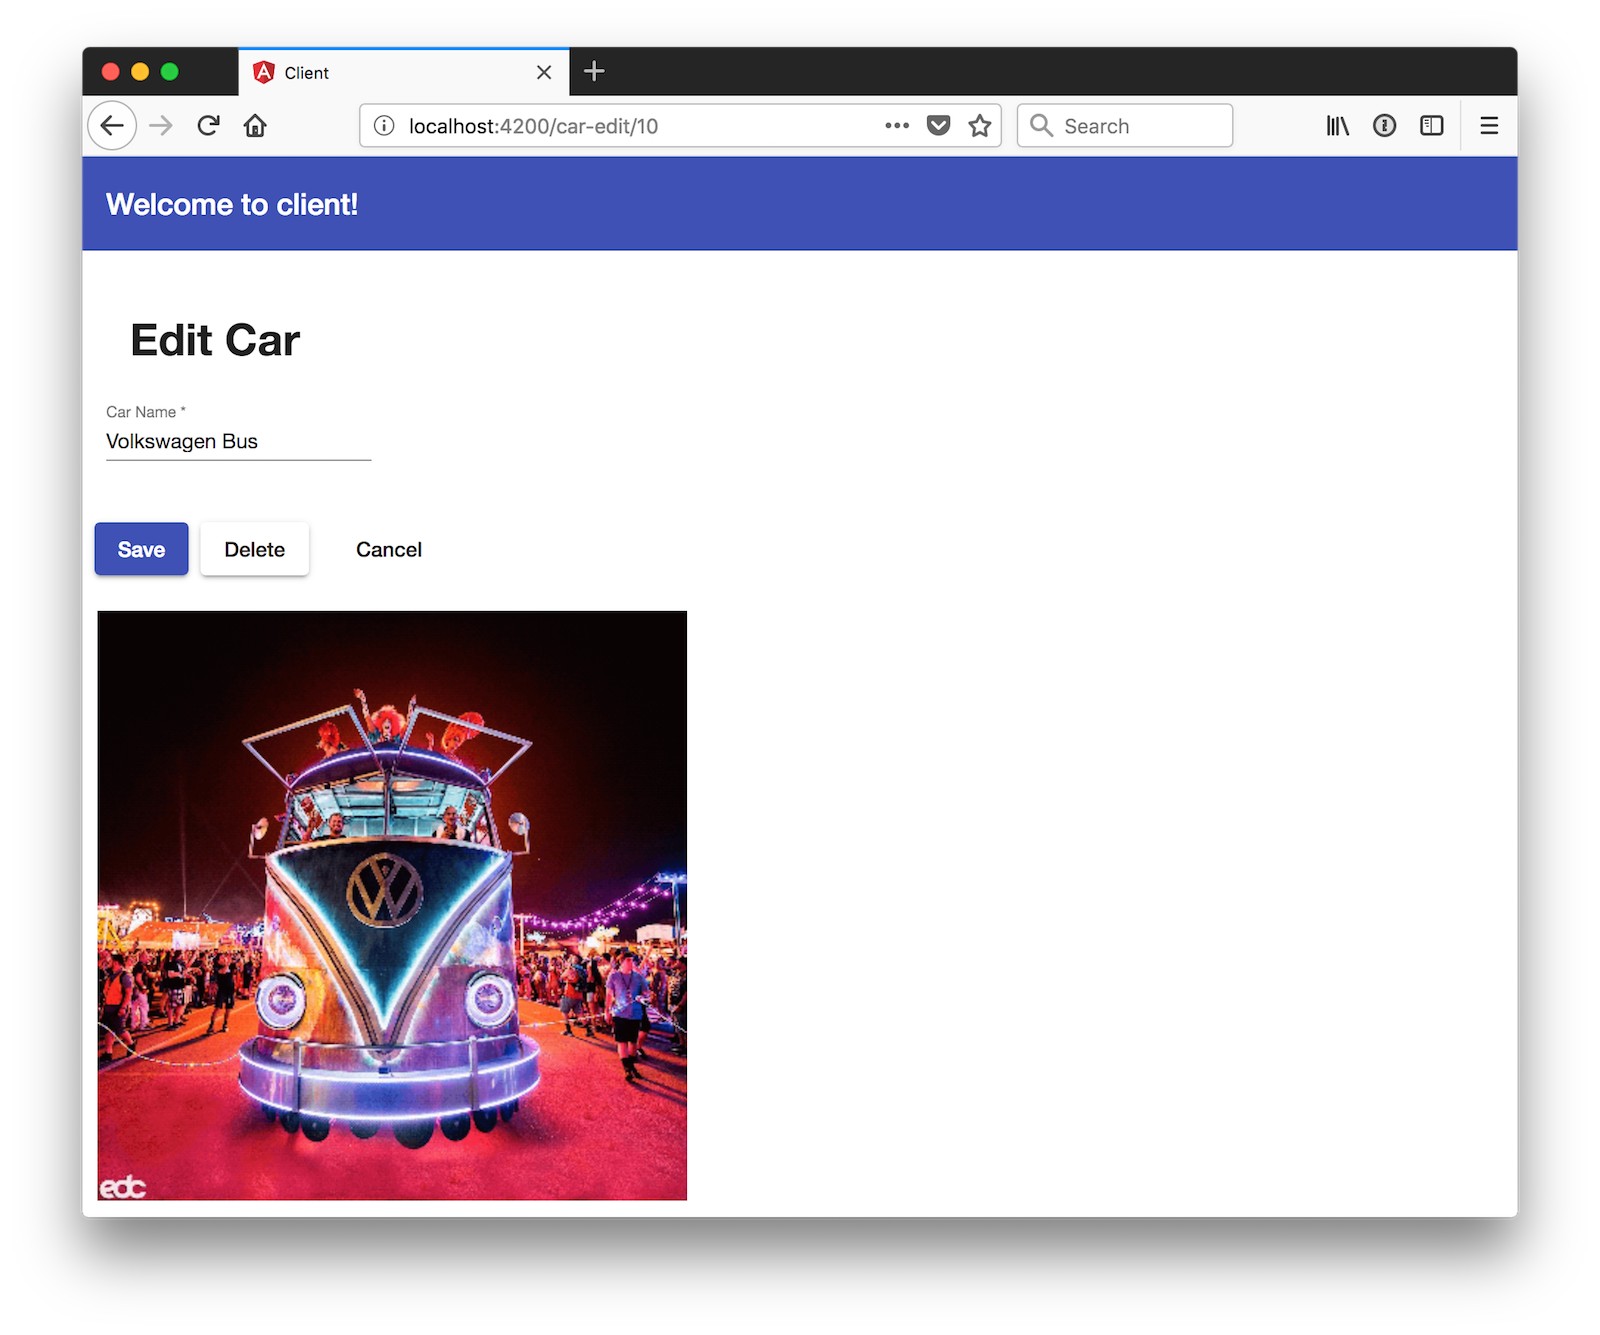
The following screenshot shows what it looks like to edit a car that you’ve added.
Add Authentication to Your Spring Boot + Angular App with Okta
Add authentication with Okta is a nifty feature you can add to this application. Knowing who the person is can come in handy if you want to add auditing, or personalize your application (with a rating feature for example).
Spring Security + OAuth 2.0
On the server side, you can lock things down with Okta’s Spring Boot Starter, which leverages Spring Security and its OAuth 2.0 support. Open server/pom.xml and add the following dependencies.
<dependency>
    <groupId>com.okta.spring</groupId>
    <artifactId>okta-spring-boot-starter</artifactId>
    <version>0.6.1</version>
</dependency>
<dependency>
    <groupId>org.springframework.security.oauth.boot</groupId>
    <artifactId>spring-security-oauth2-autoconfigure</artifactId>
    <version>2.1.0.RELEASE</version>
</dependency>
Now you need to configure the server to use Okta for authentication. You’ll need to create an OIDC app in Okta for that.
Create an OIDC App in Okta
Log in to your Okta Developer account (or sign up if you don’t have an account) and navigate to Applications > Add Application. Click Single-Page App, click Next, and give the app a name you’ll remember. Change all instances of localhost:8080 to localhost:4200 and click Done.
Create server/src/main/resources/application.yml and copy the client ID into it. While you’re in there, change the issuer to match your Okta domain.
okta:
  oauth2:
    client-id: {clientId}
    issuer: https://{yourOktaDomain}/oauth2/default
Update server/src/main/java/com/okta/developer/demo/DemoApplication.java to enable it as a resource server.
import org.springframework.security.oauth2.config.annotation.web.configuration.EnableResourceServer;

@EnableResourceServer
@SpringBootApplication
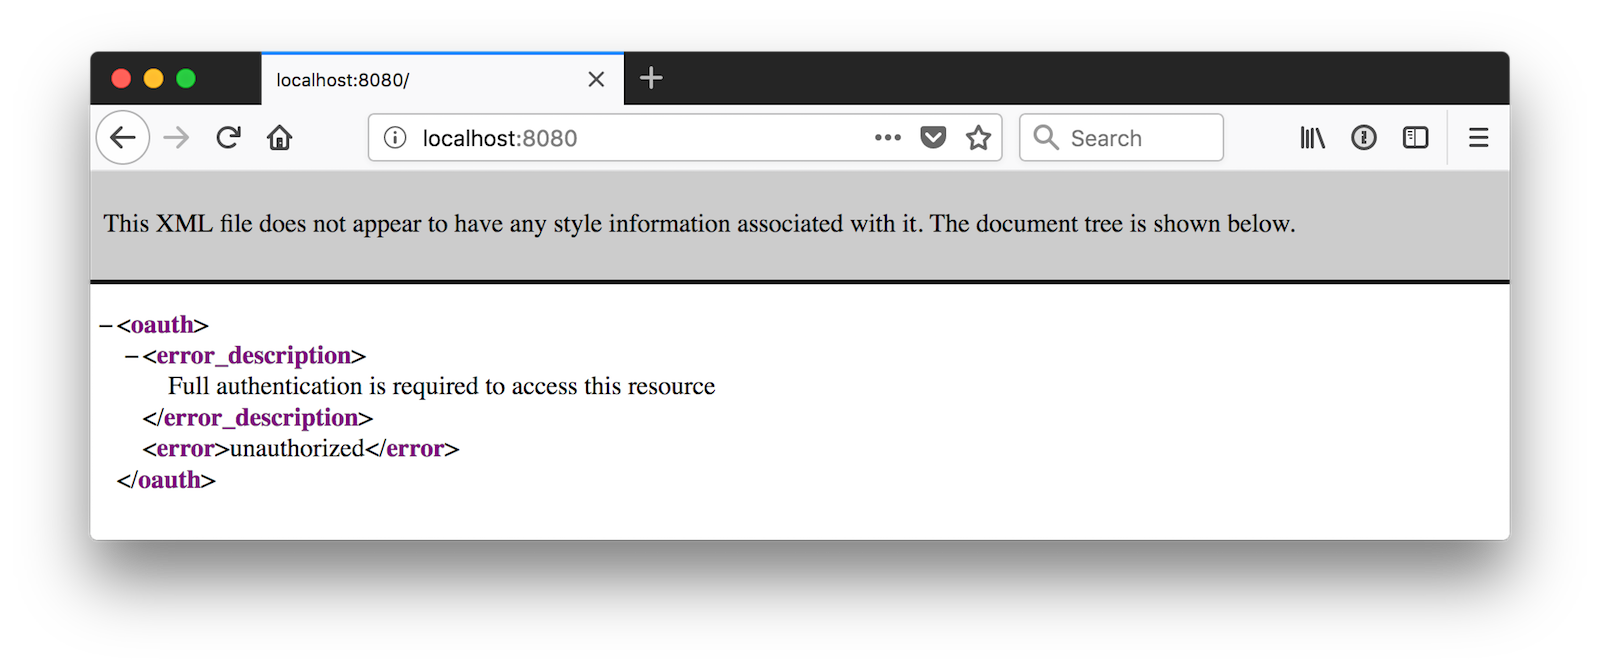
After making these changes, you should be able to restart your app and see access denied when you try to navigate to http://localhost:8080.
It’s nice that your server is locked down, but now you need to configure your client to talk to it. This is where Okta’s Angular support comes in handy.
Okta’s Angular Support
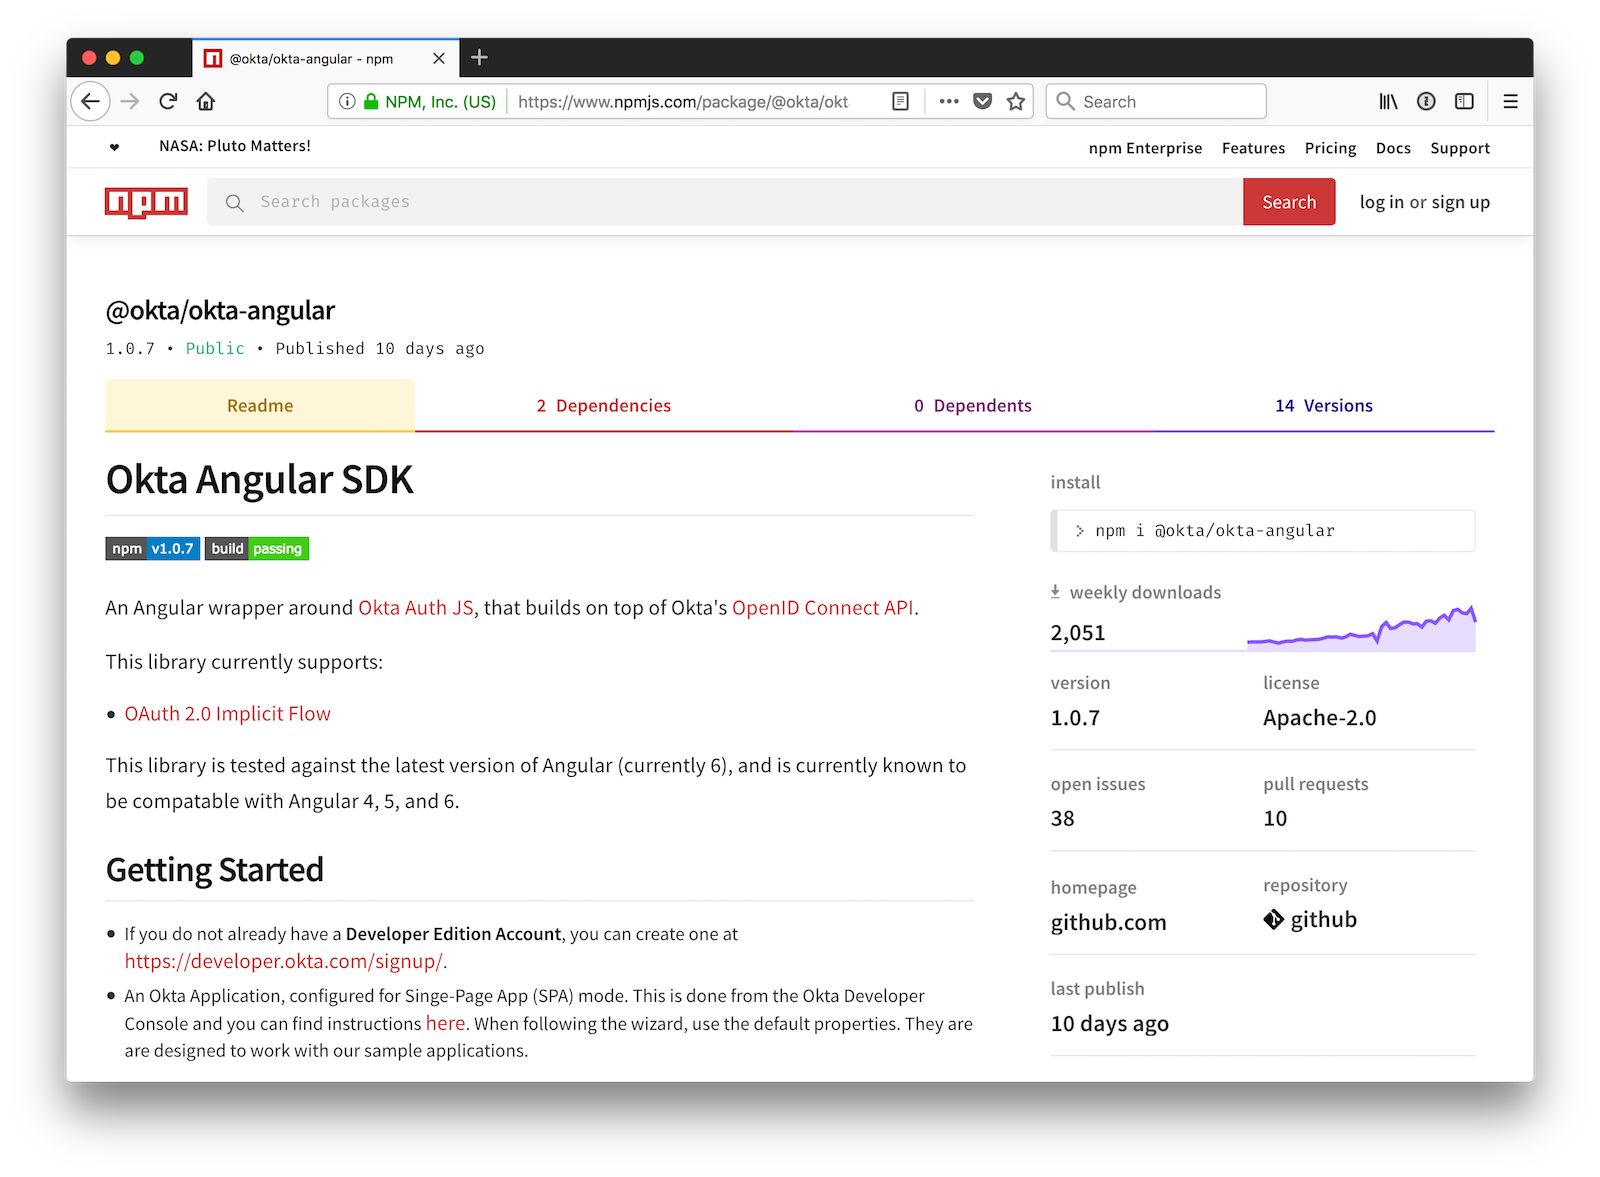
The Okta Angular SDK is a wrapper around Okta Auth JS, which builds on top of OIDC. More information about Okta’s Angular library can be found on npmjs.com.
To install it, run the following command in the client directory:
npm install @okta/okta-angular@1.0.7
In client/src/app/app.module.ts, add a config variable with the settings for your OIDC app.
const config = {
  issuer: 'https://{yourOktaDomain}/oauth2/default',
  redirectUri: 'http://localhost:4200/implicit/callback',
  clientId: '{clientId}'
};
Next, initialize and import the OktaAuthModule.
import { OktaAuthModule } from '@okta/okta-angular';

@NgModule({
  ...
  imports: [
    ...
    OktaAuthModule.initAuth(config)
  ],
  ...
})
In client/src/app/app-routing.module.ts, you’ll also need to add a new route for the redirectUri that points to the OktaCallbackComponent.
import { OktaCallbackComponent } from '@okta/okta-angular';

const routes: Routes = [
  ...
  {
    path: 'implicit/callback',
    component: OktaCallbackComponent
  }
];
These are the three steps you need to set up an Angular app to use Okta. To make it easy to add a bearer token to HTTP
requests, you can use an HttpInterceptor.
Create client/src/app/shared/okta/auth.interceptor.ts and add the following code to it.
import { Injectable } from '@angular/core';
import { HttpEvent, HttpHandler, HttpInterceptor, HttpRequest } from '@angular/common/http';
import { Observable, from } from 'rxjs';
import { OktaAuthService } from '@okta/okta-angular';

@Injectable()
export class AuthInterceptor implements HttpInterceptor {

  constructor(private oktaAuth: OktaAuthService) {
  }

  intercept(request: HttpRequest<any>, next: HttpHandler): Observable<HttpEvent<any>> {
    return from(this.handleAccess(request, next));
  }

  private async handleAccess(request: HttpRequest<any>, next: HttpHandler): Promise<HttpEvent<any>> {
    // Only add to known domains since we don't want to send our tokens to just anyone.
    // Also, Giphy's API fails when the request includes a token.
    if (request.urlWithParams.indexOf('localhost') > -1) {
      const accessToken = await this.oktaAuth.getAccessToken();
      request = request.clone({
        setHeaders: {
          Authorization: 'Bearer ' + accessToken
        }
      });
    }
    return next.handle(request).toPromise();
  }
}
To register this interceptor, add it as a provider in client/src/app/app.module.ts.
import { HTTP_INTERCEPTORS, HttpClientModule } from '@angular/common/http';
import { AuthInterceptor } from './shared/okta/auth.interceptor';

@NgModule({
  ...
  providers: [{provide: HTTP_INTERCEPTORS, useClass: AuthInterceptor, multi: true}],
  ...
})
Modify client/src/app/app.component.html to have login and logout buttons.
<mat-toolbar color="primary">
  <span>Welcome to {{title}}!</span>
  <span class="toolbar-spacer"></span>
  <button mat-raised-button color="accent" *ngIf="isAuthenticated"
          (click)="oktaAuth.logout()">Logout
  </button>
</mat-toolbar>

<mat-card *ngIf="!isAuthenticated">
  <mat-card-content>
    <button mat-raised-button color="accent"
            (click)="oktaAuth.loginRedirect()">Login
    </button>
  </mat-card-content>
</mat-card>

<router-outlet></router-outlet>
You might notice there’s a span with a toolbar-spacer class. To make that work as expected, update client/src/app/app.component.css to have the following class.
.toolbar-spacer {
  flex: 1 1 auto;
}
There’s also a reference to isAuthenticated for checking authenticated status. To make this work, add it as a dependency to the constructor in client/src/app/app.component.ts and add an initializer method that sets the variable.
import { Component, OnInit } from '@angular/core';
import { OktaAuthService } from '@okta/okta-angular';

@Component({
  selector: 'app-root',
  templateUrl: './app.component.html',
  styleUrls: ['./app.component.css']
})
export class AppComponent implements OnInit {
  title = 'client';
  isAuthenticated: boolean;

  constructor(public oktaAuth: OktaAuthService) {
  }

  async ngOnInit() {
    this.isAuthenticated = await this.oktaAuth.isAuthenticated();
    // Subscribe to authentication state changes
    this.oktaAuth.$authenticationState.subscribe(
      (isAuthenticated: boolean)  => this.isAuthenticated = isAuthenticated
    );
  }
}
Now if you restart your client, you should see a login button.
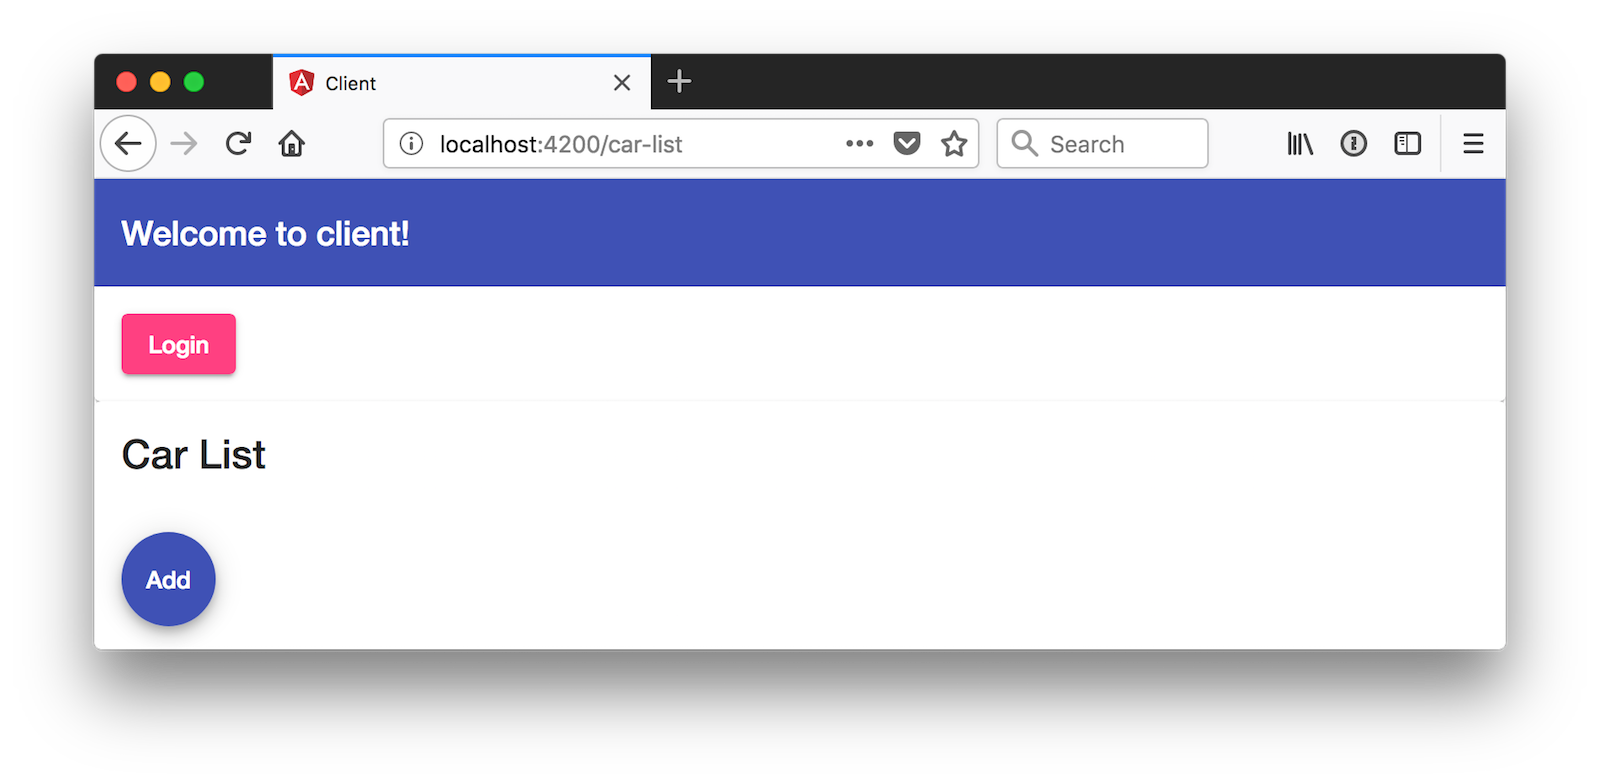
Notice that this shows elements from the car-list component. To fix this, you can create a home component and make it the default route.
ng g c home
Modify client/src/app/app-routing.module.ts to update the routes.
import { HomeComponent } from './home/home.component';

const routes: Routes = [
  {path: '', redirectTo: '/home', pathMatch: 'full'},
  {
    path: 'home',
    component: HomeComponent
  },
  ...
}
Move the HTML for the Login button from app.component.html to client/src/app/home/home.component.html.
<mat-card>
  <mat-card-content>
    <button mat-raised-button color="accent" *ngIf="!isAuthenticated"
            (click)="oktaAuth.loginRedirect()">Login
    </button>
    <button mat-raised-button color="accent" *ngIf="isAuthenticated"
            [routerLink]="['/car-list']">Car List
    </button>
  </mat-card-content>
</mat-card>
Add oktaAuth as a dependency in client/src/app/home/home.component.ts and set it up to initialize/change the isAuthenticated variable.
import { Component, OnInit } from '@angular/core';
import { OktaAuthService } from '@okta/okta-angular';

@Component({
  selector: 'app-home',
  templateUrl: './home.component.html',
  styleUrls: ['./home.component.css']
})
export class HomeComponent implements OnInit {
  isAuthenticated: boolean;

  constructor(private oktaAuth: OktaAuthService) {
  }

  async ngOnInit() {
    this.isAuthenticated = await this.oktaAuth.isAuthenticated();
    // Subscribe to authentication state changes
    this.oktaAuth.$authenticationState.subscribe(
      (isAuthenticated: boolean)  => this.isAuthenticated = isAuthenticated
    );
  }
}
Update client/src/app/app.component.html, so the Logout button redirects back to home when it’s clicked.
<mat-toolbar color="primary">
  <span>Welcome to {{title}}!</span>
  <span class="toolbar-spacer"></span>
  <button mat-raised-button color="accent" *ngIf="isAuthenticated"
          (click)="oktaAuth.logout()" [routerLink]="['/home']">Logout
  </button>
</mat-toolbar>

<router-outlet></router-outlet>
To make it so there’s not a bottom border at the bottom of your content, make the <mat-card> element fill the screen by adding the following to client/src/styles.css.
mat-card {
  height: 100vh;
}
Now you should be able to open your browser to http://localhost:4200 and click on the Login button. If you’ve configured everything correctly, you’ll be redirected to Okta to log in.
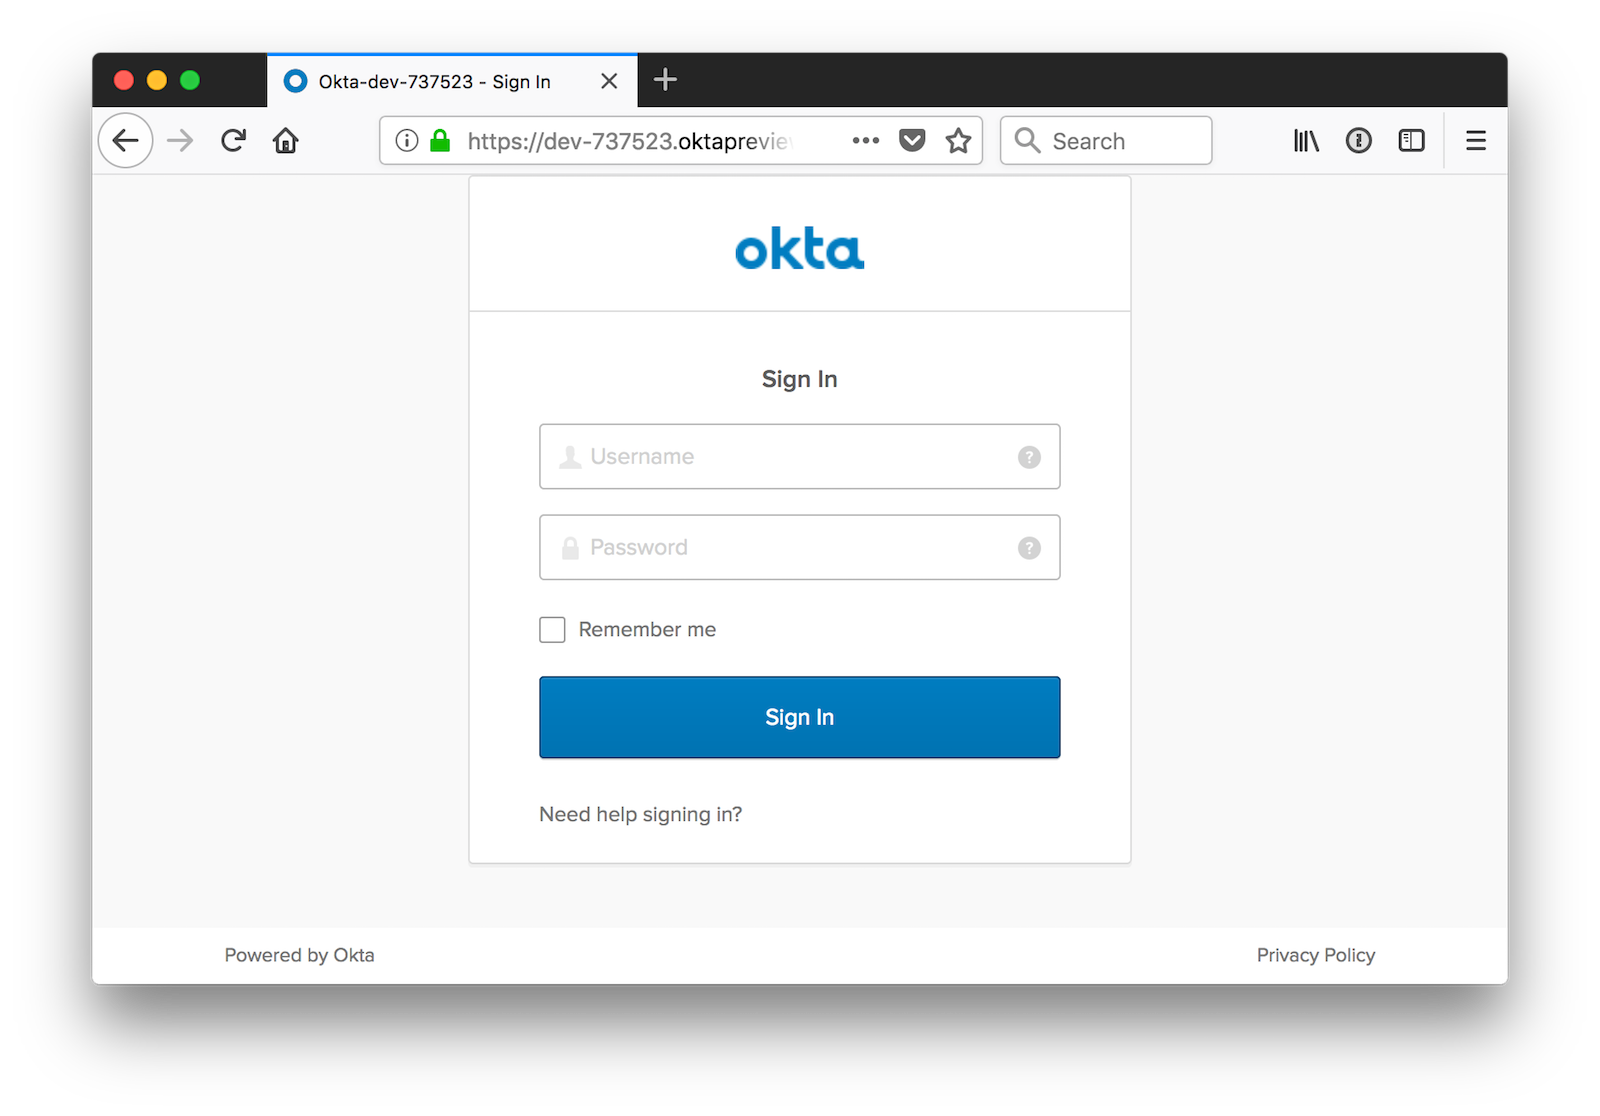
Enter the credentials you used to sign up for an account, and you should be redirected back to your app. However, your
list of cars won’t load because of a CORS error. This happens because Spring’s @CrossOrigin doesn’t work well with
Spring Security.
To fix this, add a bean to DemoApplication.java that handles CORS.
import org.springframework.boot.web.servlet.FilterRegistrationBean;
import org.springframework.core.Ordered;
import org.springframework.web.cors.CorsConfiguration;
import org.springframework.web.cors.UrlBasedCorsConfigurationSource;
import org.springframework.web.filter.CorsFilter;
import java.util.Collections;

...

public class DemoApplication {
    // main() and init() methods

    @Bean
    public FilterRegistrationBean<CorsFilter> simpleCorsFilter() {
        UrlBasedCorsConfigurationSource source = new UrlBasedCorsConfigurationSource();
        CorsConfiguration config = new CorsConfiguration();
        config.setAllowCredentials(true);
        config.setAllowedOrigins(Collections.singletonList("http://localhost:4200"));
        config.setAllowedMethods(Collections.singletonList("*"));
        config.setAllowedHeaders(Collections.singletonList("*"));
        source.registerCorsConfiguration("/**", config);
        FilterRegistrationBean<CorsFilter> bean = new FilterRegistrationBean<>(new CorsFilter(source));
        bean.setOrder(Ordered.HIGHEST_PRECEDENCE);
        return bean;
    }
}
Restart your server and celebrate when it all works! 🎉
You can see the full source code for the application developed in this tutorial on GitHub at https://github.com/oktadeveloper/okta-spring-boot-2-angular-7-example.
Learn More about Spring Boot and Angular
It can be tough to keep up with fast-moving frameworks like Spring Boot and Angular. This article is meant to give you a jump start on the latest releases. For specific changes in Angular 7, see its changelog. For Spring Boot, see its 2.1 Release Notes.
This article uses Okta’s Angular SDK. To learn more about this project, or help improve it, see its GitHub project. I’d love to make it even easier to use!
This blog has a plethora of Spring Boot and Angular tutorials. Here are some of my favorites:
- Build a CRUD App with Angular 9 and Spring Boot 2.2
- Angular 8 + Spring Boot 2.2: Build a CRUD App Today!
- Deploy Your Secure Spring Boot + Angular PWA as a Single Artifact
- Build and Secure Microservices with Spring Boot 2.0 and OAuth 2.0
- Angular 6: What’s New, and Why Upgrade
- Angular Authentication with OpenID Connect and Okta in 20 Minutes
- Build an Angular App with Okta’s Sign-In Widget in 15 Minutes
If you have any questions, please don’t hesitate to leave a comment below, or ask us on our Okta Developer Forums. Don’t forget to follow us on Twitter and YouTube too!
Changelog:
- Nov 2, 2018: Updated to use Angular 7.0 and Spring Boot 2.1 GA releases. You can see the example app changes in okta-spring-boot-2-angular-7-example#5; changes to this post can be viewed in okta.github.io#2456.
Matt Raible is a well-known figure in the Java community and has been building web applications for most of his adult life. For over 20 years, he has helped developers learn and adopt open source frameworks and use them effectively. He's a web developer, Java Champion, and Developer Advocate at Okta. Matt has been a speaker at many conferences worldwide, including Devnexus, Devoxx Belgium, Devoxx France, Jfokus, and JavaOne. He is the author of The Angular Mini-Book, The JHipster Mini-Book, Spring Live, and contributed to Pro JSP. He is a frequent contributor to open source and a member of the JHipster development team. You can find him online @mraible and raibledesigns.com.
Okta Developer Blog Comment Policy
We welcome relevant and respectful comments. Off-topic comments may be removed.