On this page
Sign in to your native mobile app
Add authentication to your mobile app using the Okta Client SDK for Swift. This example implements a sample iOS app, using Okta APIs and interaction code flow, for browserless authentication.
Learning outcomes
- Create an integration that represents your app in your Okta org.
- Configure the Interaction Code grant type in your Okta org.
- Open and review the sample mobile iOS app from the SDK.
- Add dependencies and configure the sample mobile app to use Okta.
- Test your integration by signing in as a user.
Sample code
Overview of the Okta mobile sign-in flow
This guide introduces using the Okta Client SDK for Swift for integrating authentication flows in to your browserless, mobile apps.
You initialize your mobile app with your Okta org's app integration details. Then the flow requests the initial step, then cycles through responding to steps until the user signs in, cancels, or an error occurs. Each sign-in step can include one or more user actions, such as choosing an authenticator or entering a one-time passcode (OTP).
The following sections demonstrate the iOS sign-in flow processes usingokta-mobile-swift SDK, and begins by setting up your Okta org integration and then the SDK sample app (IdxAuthSignIn (opens new window)).
Set up your Okta org
Set up your Okta org. You can sign up free for an Okta Integrator Free Plan org (opens new window) that works with the sample app.
Make a note of your Okta domain. Use it wherever {yourOktaDomain} appears in this guide.
Enable the Interaction Code grant type for your org
Enable this grant type to allow apps the ability to use embedded sign-in flows across your entire org. You must have the super admin role to enable this setting.
- Sign in to the Admin Console for your org.
- Go to Settings > Account > Embedded widget sign-in support. (Scroll down to see this tile.)
- Click Edit.
- Select Interaction Code.
- Click Save.
For further information on the Interaction Code grant type, see Interaction Code grant type.
Create an Okta integration for your iOS app
An app integration represents your app in your Okta org. The integration configures how your app integrates with the Okta services. This includes which users and groups have access, app sign-in policies, token refresh requirements, redirect URLs, and more. The integration includes configuration information required by the app to access Okta.
To create your app integration in the Okta Admin Console:
Sign in to your Okta org (opens new window) with your admin account. Click Admin on the top right of the page.
Go to Applications > Applications.
Click Create App Integration.
Select OIDC - OpenID Connect as the Sign-in method.
Select Native Application as the Application type, and then click Next.
Note: If you choose the wrong app type, it can break the sign-in or sign-out flows.
Enter an App integration name.
Select the Grant type. Ensure that the Authorization Code grant type is selected. Add the Refresh Token grant type and under the Advanced arrow, select Interaction Code.
Note: You can't use the direct auth API grant types if you're using the Interaction Code grant.
Enter the callback routes.
Select the type of Controlled access for your app in the Assignments section. You can allow all users to have access or limit access to individuals and groups. See the Assign app integrations (opens new window).
Click Save to create the app integration and open its configuration page.
Make a note of the following values: Client ID, Sign-in redirect URIs, and Sign-out redirect URIs on the General page. You need to use these values to configure your iOS app.
Update the default custom authorization server
Configure your custom authorization server with an access policy and to use the Interaction Code grant type.
In the Admin Console, go to Security > API.
Select the Authorization Servers tab, select the custom authorization server that you want to update, and click the edit icon.
Select the Access Policies tab.
Ensure that your default custom authorization server has an access policy. Add an access policy if it's not there. See Create access policies (opens new window).
From the Actions column for the policy that applies to your app, edit the policy rule.
In the IF Grant type is section of the Edit Rule dialog, click Advanced.
Select Interaction Code in the Other grants section.
Note: If the Interaction Code checkbox doesn’t appear, the Interaction Code grant type isn’t enabled for your org. To enable it, go to Settings > Account > Embedded widget sign-in support. See Verify that the Interaction Code grant type is enabled.
Click Create Rule or Update Rule.
Download the Okta Client SDK for Swift
Download the Okta Client SDK for Swift repository to access libraries and sample iOS apps for various authentication flows. See the Okta Client SDK for Swift ReadMe (opens new window) and the OktaClient SDK documentation (opens new window). This guide uses the OktaIdxAuth library and sample app to demonstrate an iOS app with browserless authentication.
git clone https://github.com/okta/okta-mobile-swift.git
cd okta-mobile-swift
Open the browserless sample app
- In Xcode, open the
OktaClient.xcworkspaceworkspace from the root level. - In the navigator pane, select the
IdxAuthSignInapp target fromSamples, and choose a simulator type to use.
Add project dependencies
- In Xcode, choose File > Add Package Dependencies.
- Search for and select
https://github.com/okta/okta-mobile-swift. - Ensure that the Dependency Rule is Up to Next Major Version, and you're adding to the correct project (
IdxAuthSignIn). - Click Add Package.
- In the Choose Package Products for okta-mobile-swift dialog, add the packages
AuthFoundationandOktaIdxAuthto the project by clicking in the Add to Target field. - Click Add Package.
Configure the Okta property list
Update the Okta property list (Okta.plist) with the Okta org OIDC settings that you created earlier in Create an Okta integration for your iOS app.
In Xcode, open the sample app's
Okta.plistfile (IdxAuthSignIn/IdxAuthSignIn/Okta).Use the built-in-editor, or other means, to update the string values for the following keys:
Key Value clientIdThe idfor your Okta app integration (for example,0oatd7g4tyk3bSlgL8867)issuerThe customer authorization server URL for your org (for example, https:{yourOktaDomain}.okta.com/oauth2/default)logoutRedirectUriYour Okta app integration's Sign-our redirect URIs value, for example, com.okta.{yourOktaDomain}:/redirectUriYour Okta app integration's Sign-in redirect URIs value, for example, com.okta.{yourOktaDomain}:/callbackscopeThe scopes required by the app. Use openid profile offline_accessSave the file.
Run and test the sample app
- Click the run button in the toolbar or choose Product > Run to build and run the app on the selected simulated or a real device.
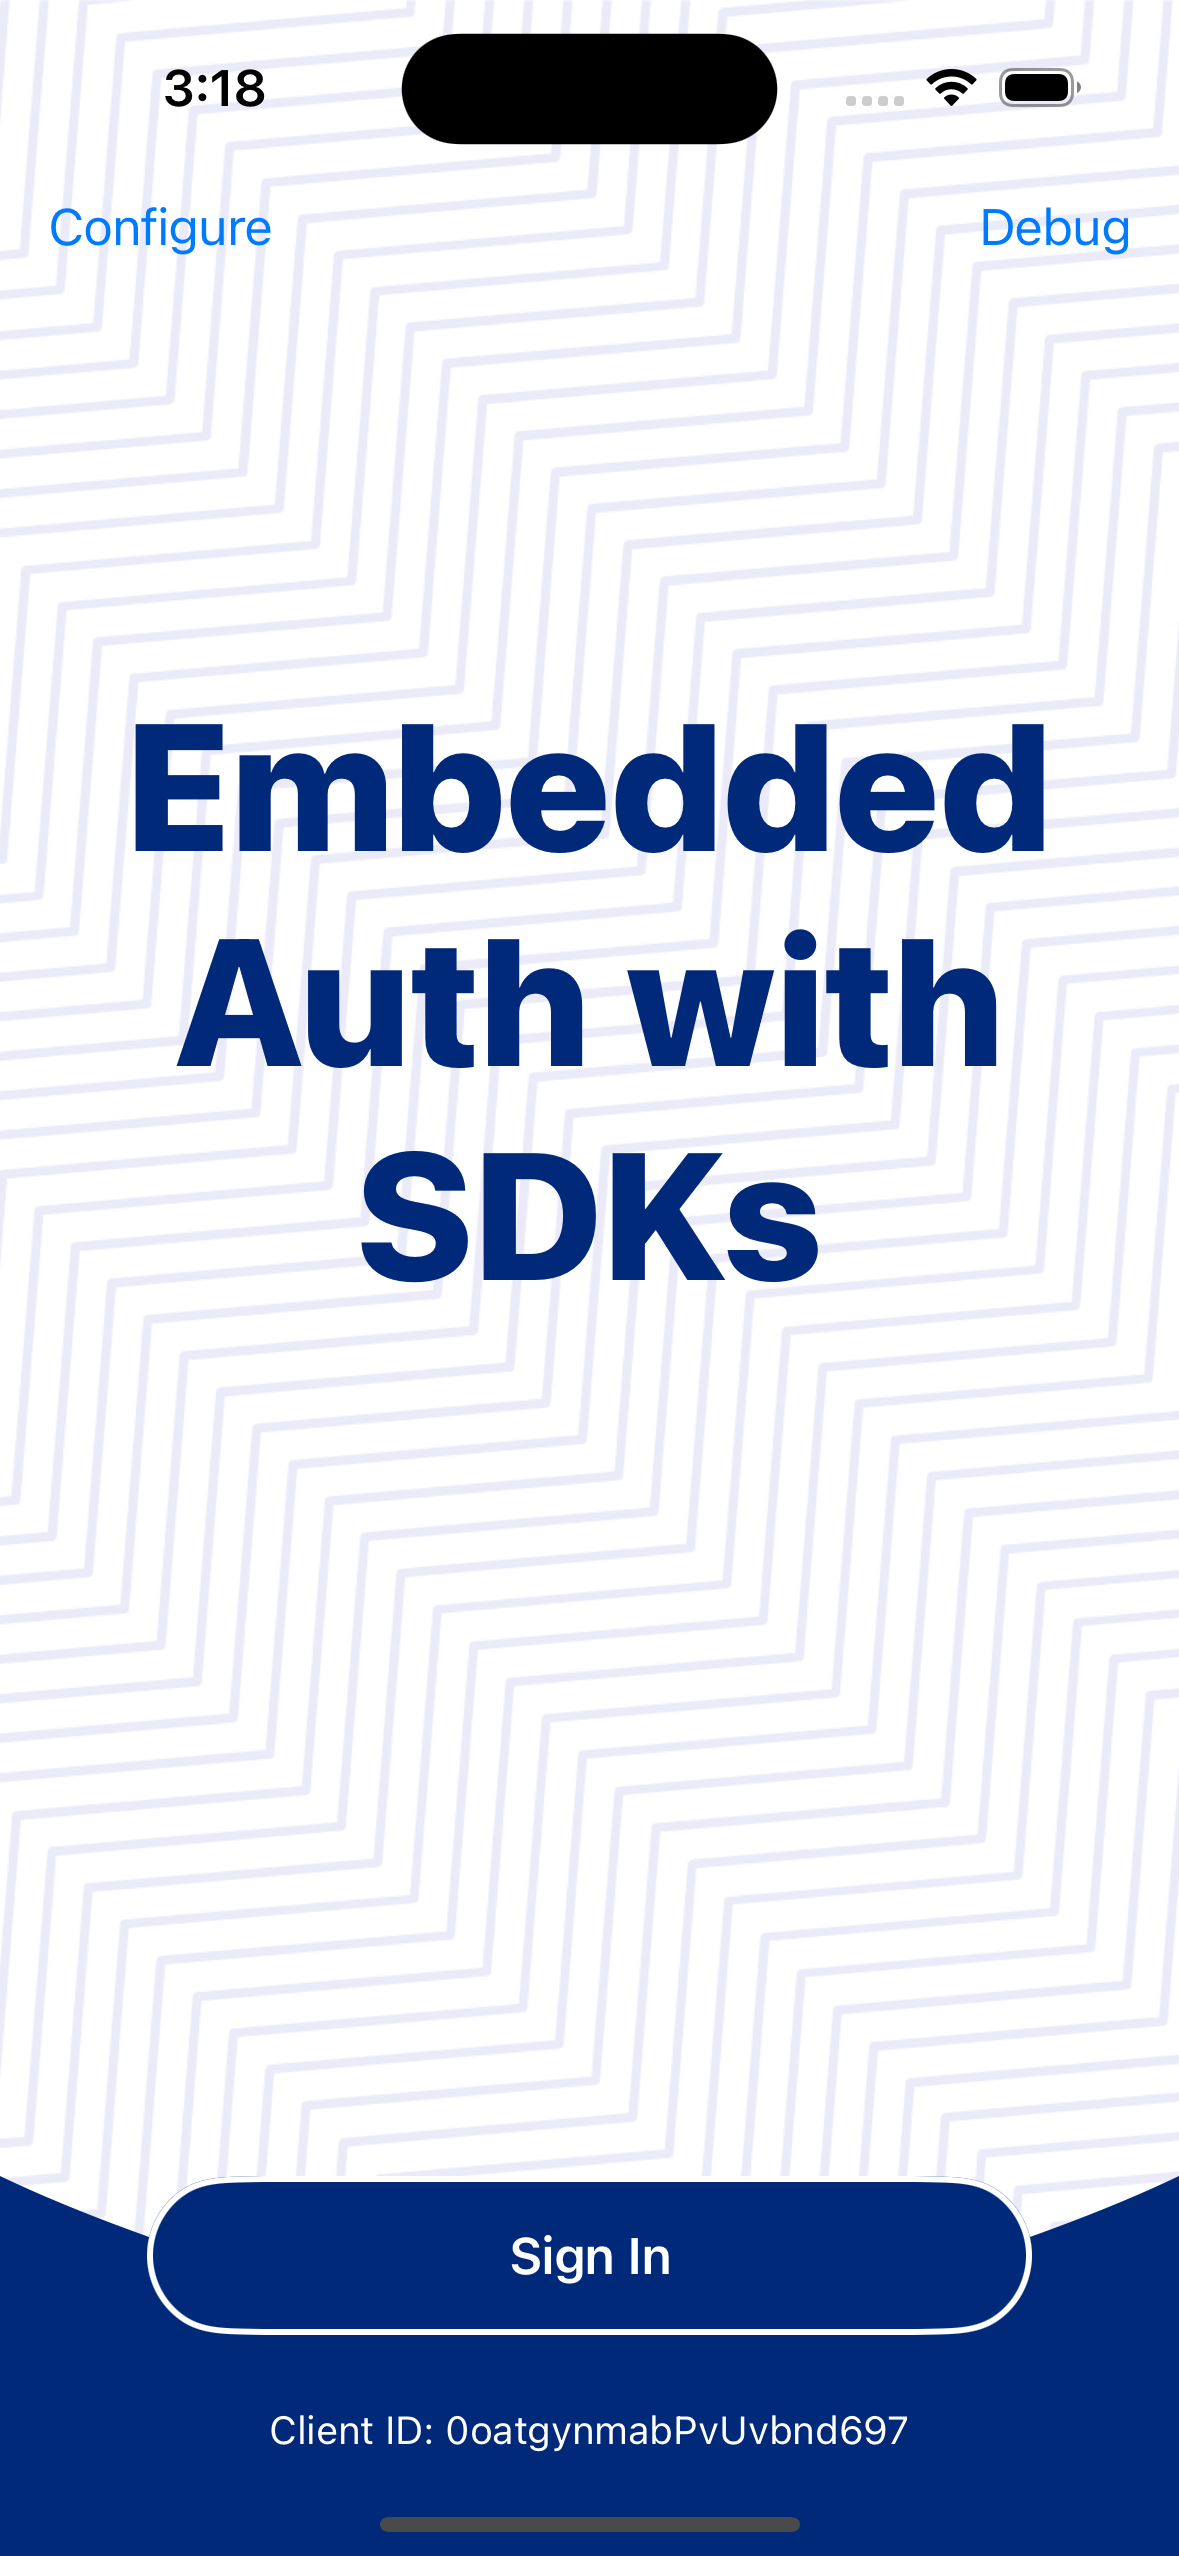
- Click Sign In in the simulator or device. You can see the Client ID of your app integration at the bottom of the simulator.
- Sign in with a user assigned to your app integration. Authenticate with one or more authenticators based on your app's app sign-in policy. Your user's profile appears.
- Click Token details to review the access token and the refresh token.
- Click Sign Out and Revoke Tokens to sign out and return to the sign-in page.
Next steps
Use the following references to review the authentication options and flows for your app:
Configuring your client (opens new window): a review of the sign-in authentication flows for browser-based apps.
Overview of the mobile Identity Engine SDK: a detailed review of the sign-in flow and objects.